On the road to a fully automated bottle line there will be lots of testing and errors. I have now tested the pump and solenoid and measured the time needed to fill bottles with the current setup. I have ordered flow meters that I will incorporate into the design, but right now I need to understand how the pump and solenoids affect the flow, and how I can control it.
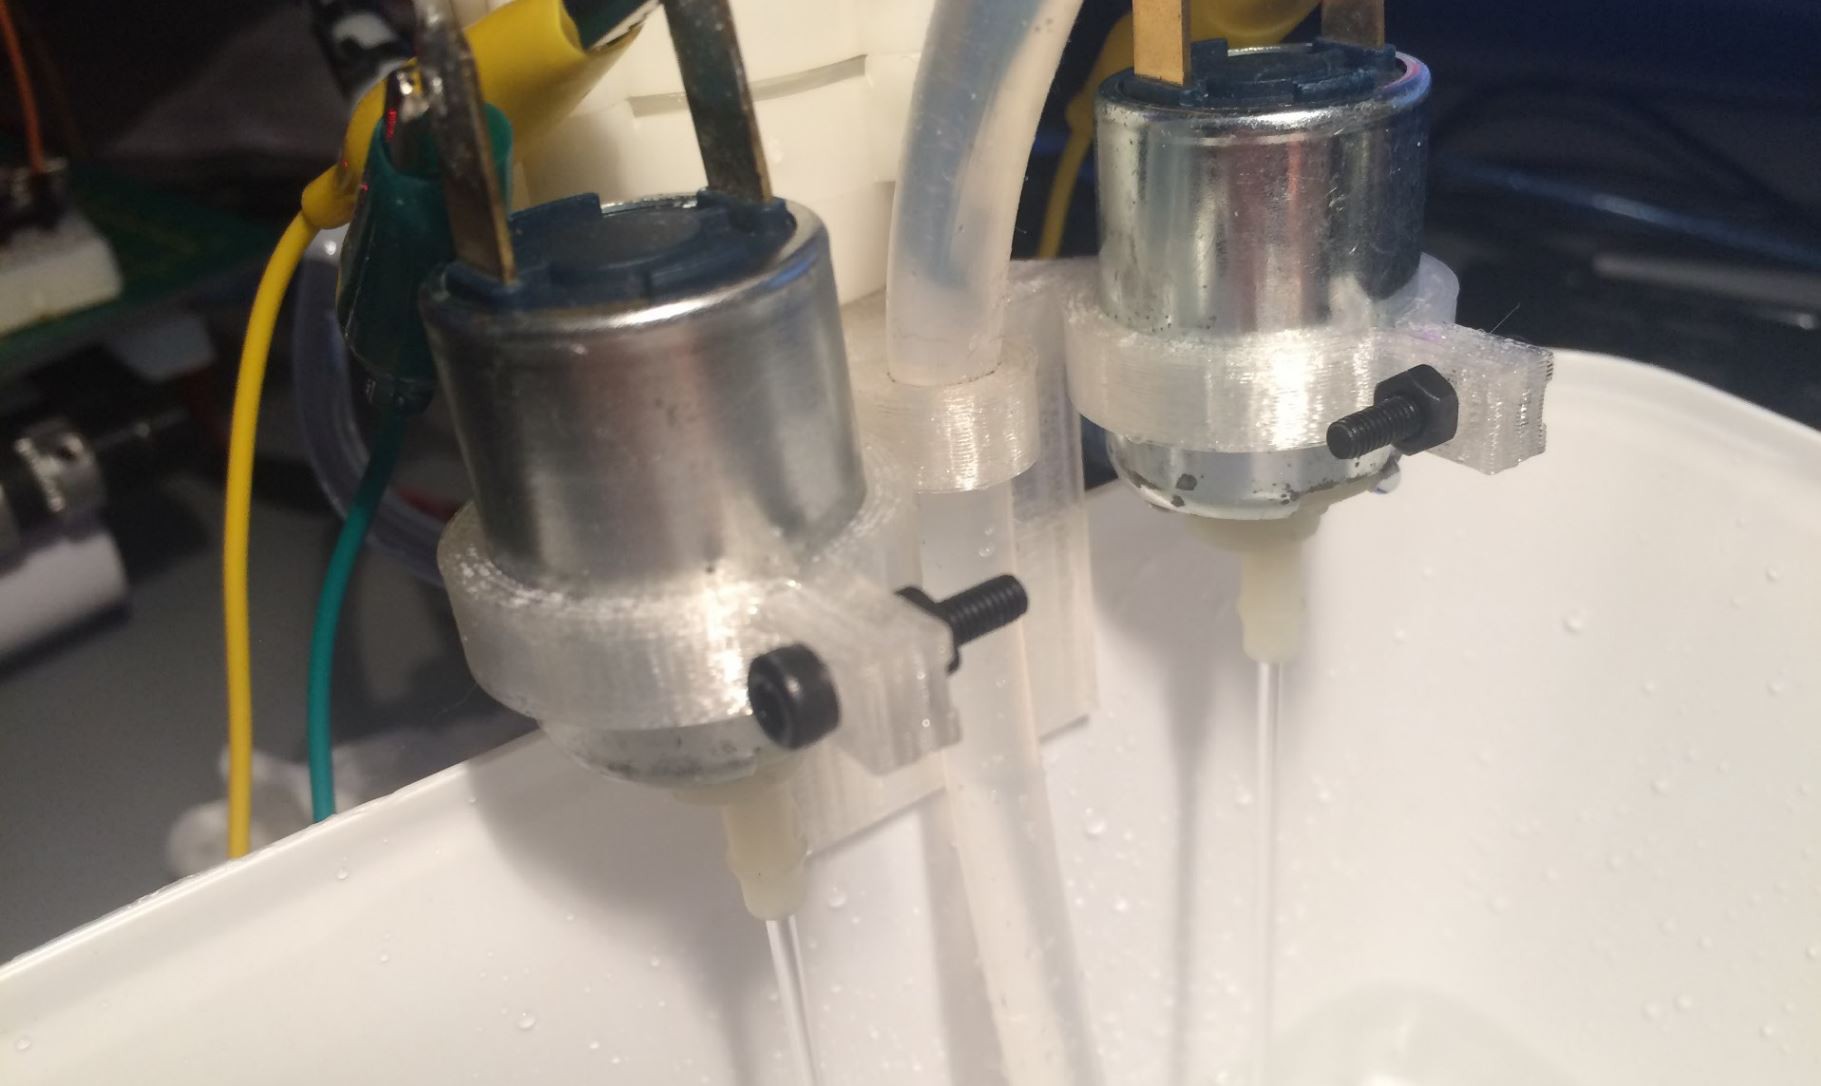
I have designed a rough holder for the solenoids and the pump that can hang on a plastic container with water. A tube goes from the water to the pump, and from the pump to a (leaking) Y-connector that splits into two tubes for each solenoid valve. I have set up a circuit nearby (on the BottleBot conveyor belt) and use arduino nano to control everything.
This basic setup works OK. Below are the results after test filling a beer bottle (0,33L). The tube from the pump is approx. 6 mm ID and the tubes for the solenoids are approx. 4 mm. So for curiosity I also checked the time for filling a bottle from the pump itself.
| Filling 1 bottle (one solenoids open, one closed) | Filling 2 bottles (both solenoids open) | Filling a bottle directly from the pump tube | |
| test 1 | 33,20 seconds | 44,4 seconds | 13,25 seconds |
| test 2 | 33,12 seconds | 43,23 seconds | 12,74 seconds |
| test 3 | 33,41 seconds | 44,18 seconds | 12,87 seconds |
Filling two bottles at the same time is about 22 seconds for each bottle. It basically mean I have 22 seconds to grab the bottle, put a cap on it manually and put it into the crate. Considering this is a tabletop bottle line assisting me with my home brew I think it's acceptable.
Filling the bottles with two pumps with 6 mm tubes would be effective. The drawback is that the size of flow into the bottle makes the liquid splash a lot, which can be bad for some beer types. The flow from the 4 mm tubes, or out of the solenoids itself, are straight and clean and makes no splashing or bubbles in the bottle.
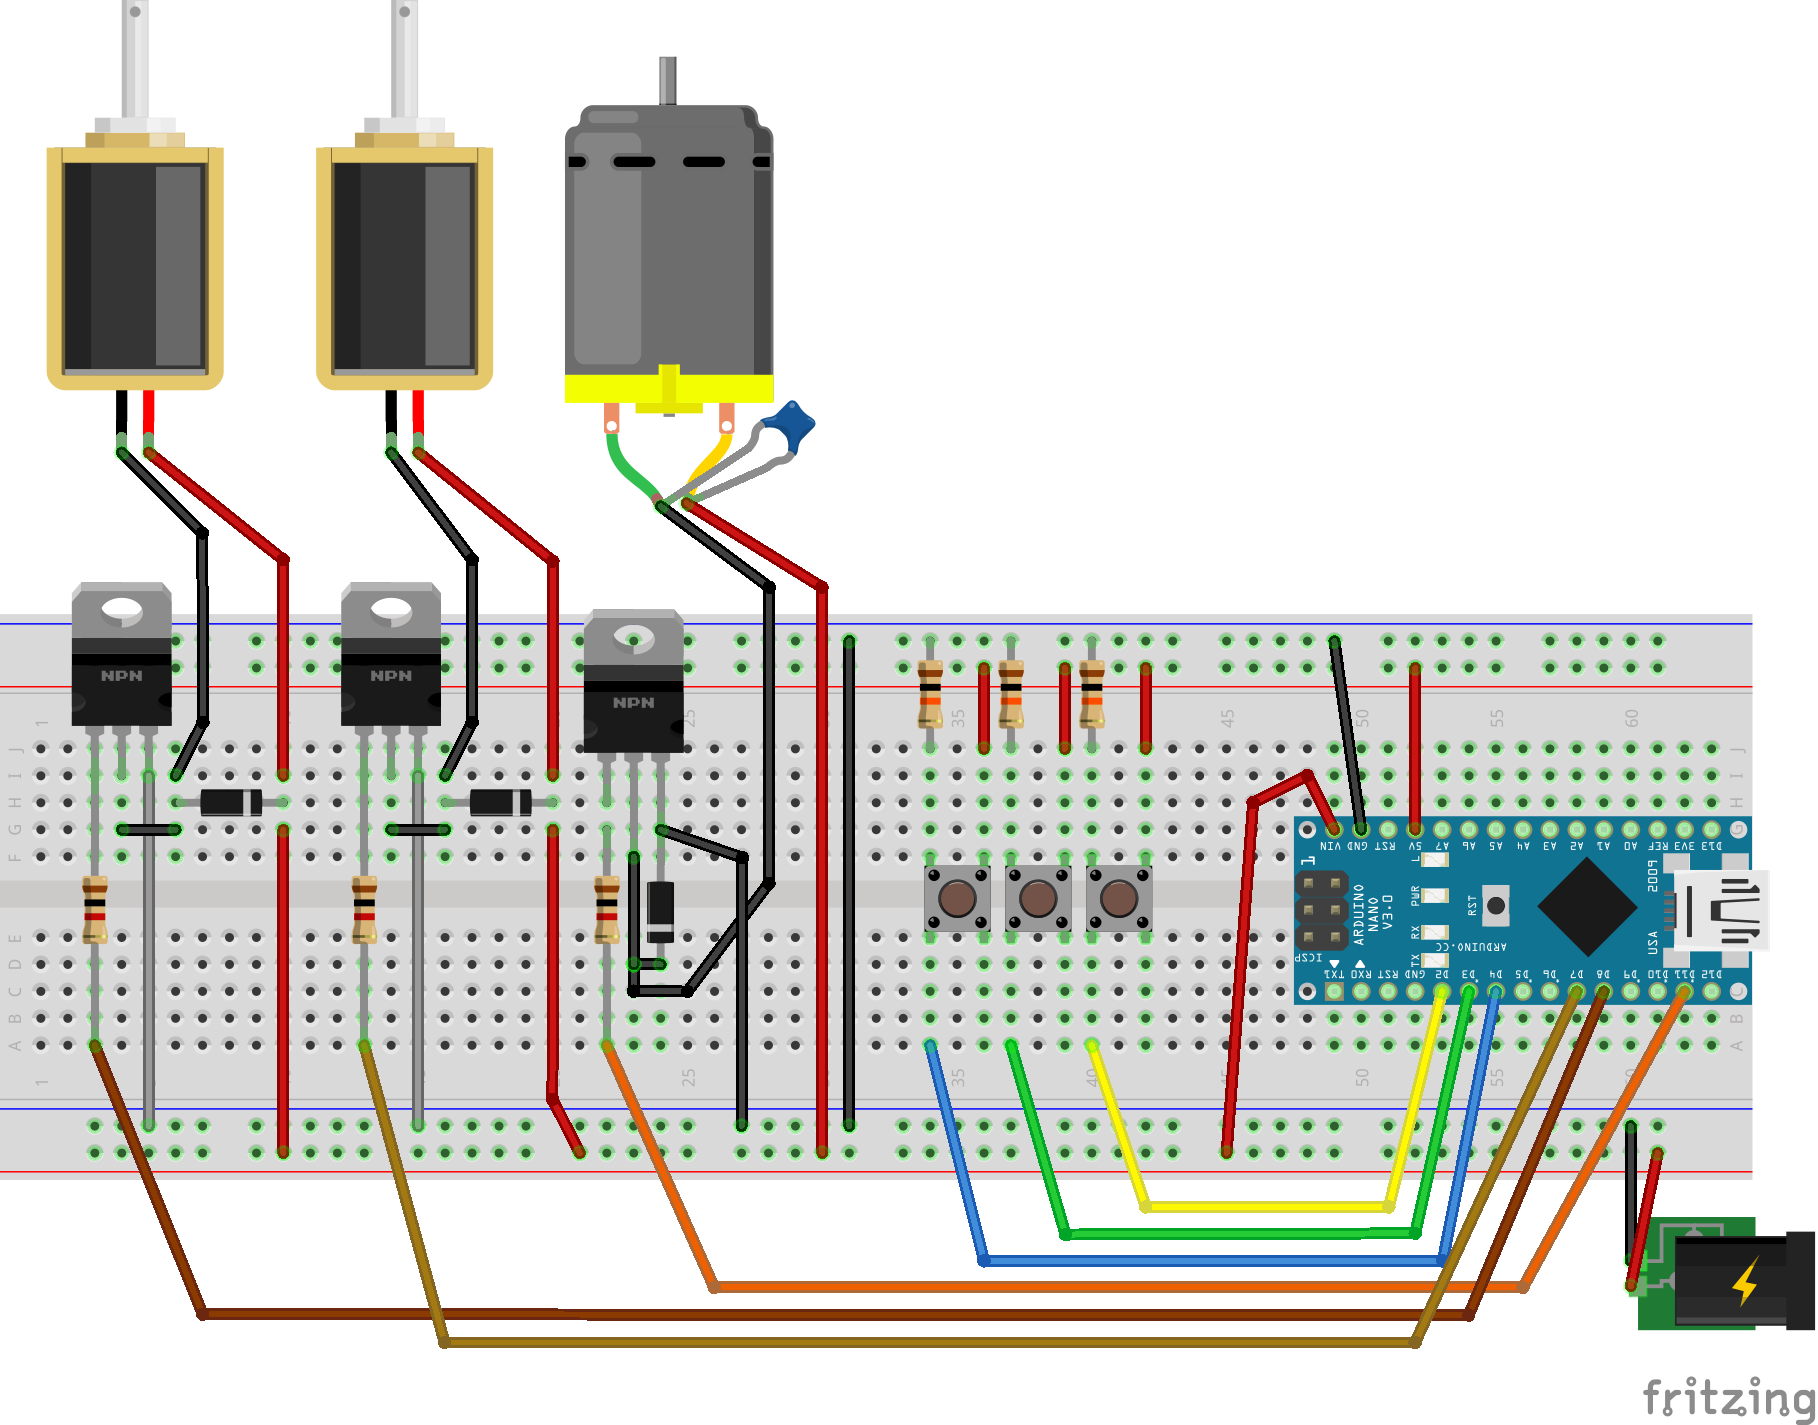
Circuit designed in Fritzing. Pressing button 1 turns on the pump, pressing button 2 turns on solenoid 1, pressing button 3 turns on solenoid 2.
Sources and inspiration for using TIP120 transistors and controlling motors and solenoids:
- http://www.instructables.com/id/Use-Arduino-with-TIP120-transistor-to-control-moto/
- http://www.martyncurrey.com/controlling-a-solenoid-valve-from-an-arduino/
- http://www.instructables.com/id/Controling-a-solenoid-valve-with-an-Arduino/
- http://playground.arduino.cc/Learning/SolenoidTutorial
- http://bildr.org/2011/03/high-power-control-with-arduino-and-tip120/
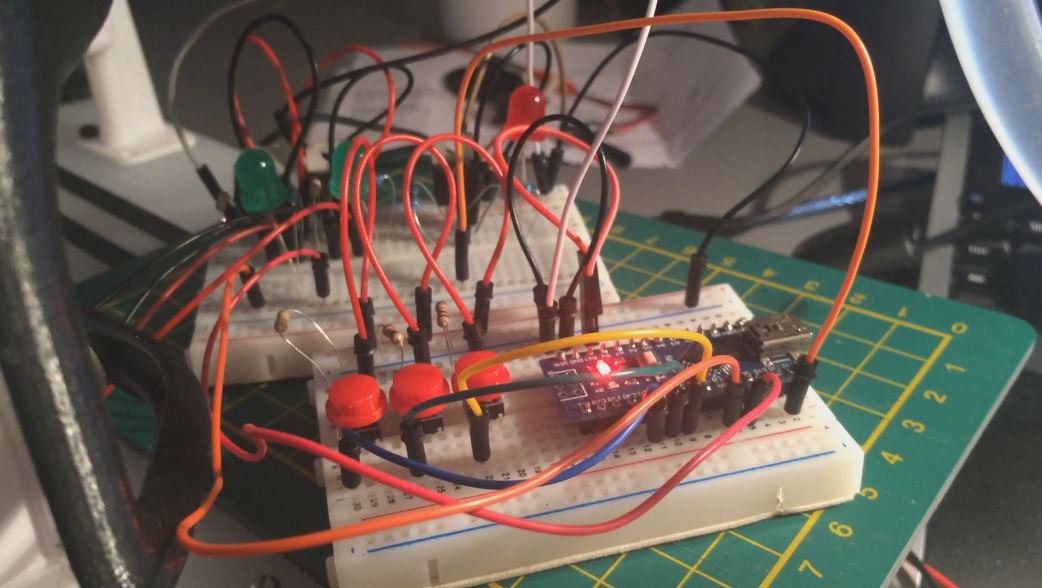
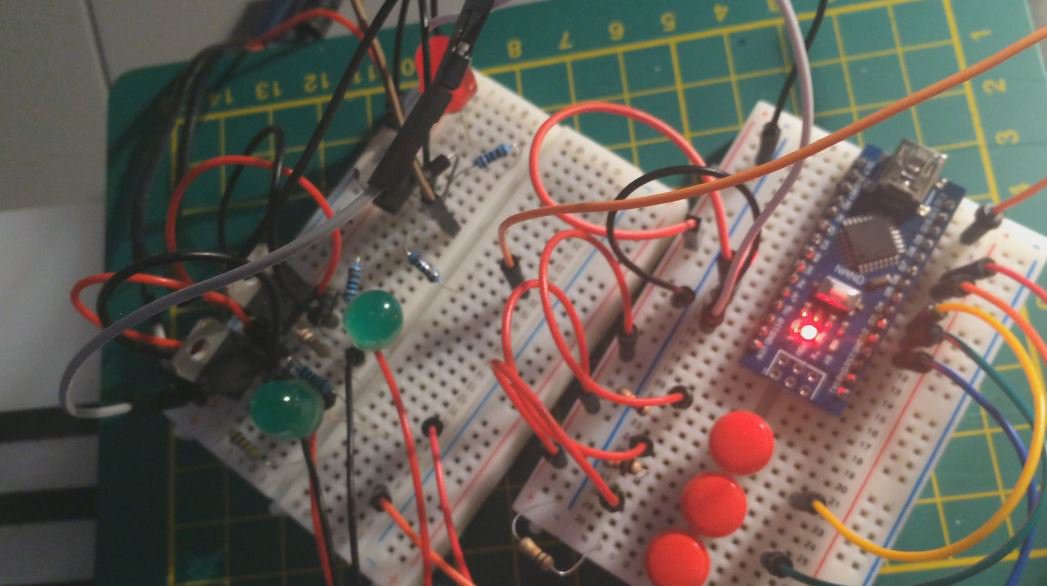
I have struggled with bugs in either the code or the circuit itself and added LED's for each function to get a visual feedback when things should be on or off.
Problem is that a solenoid may suddenly turn on by itself (also turning the green LED on). This can also happen when I press another button. For example, turning off one solenoid may turn on the other one at the same time, even though only one button was pressed.
/* Anders Holm 18.dec 2016 - FunctionalDesign https://fdproj.wordpress.com/

Controlling 2pcs 12V Solenoids and 1pcs 12V Pump with Arduino
This demonstrates how to control solenoids and a pump using pushbuttons with debounce
and TIP120 Transistor with Arduino.
 The circuit:
 button1 for pump - Digital Pin 2
 button2 for solenoid- Digital Pin 3
 button3 for solenoidmp- Digital Pin 4
 TIP120 Transistor for solenoid 1 - Digital Pin 07
 TIP120 Transistor for solenoid 2 - Digital Pin 08
 TIP120 Transistor for 12V pump - Digital Pin 11
 Based on http://www.arduino.cc/en/Tutorial/Debounce
*/
// constants won't change. They're used here to set pin numbers:
const int button1Pin = 2;     // the number of the pushbutton1 pin - pump
const int button2Pin = 3;     // the number of the pushbutton2 pin - solenoid 1
const int button3Pin = 4;     // the number of the pushbutton3 pin - solenoid 1
const int Solenoid1pin =  7;  // the number of the solenoid1 pin
const int Solenoid2pin =  8;  // the number of the solenoid2 pin
const int pumpPin =  11;      // the number of the pump pin
// variables will change:
int button1State = 0;         // variable for reading the button status
int button2State = 0;         // variable for reading the button status
int button3State = 0;         // variable for reading the button status
int lastButton1State = LOW;   // the previous reading from the input pin
int lastButton2State = LOW;   // the previous reading from the input pin
int lastButton3State = LOW;   // the previous reading from the input pin
long button1_lastDebounceTime = 0;  // the last time the output pin was toggled
long button2_lastDebounceTime = 0;  // the last time the output pin was toggled
long button3_lastDebounceTime = 0;  // the last time the output pin was toggled
long debounceDelay = 50;    // the debounce time; increase if the output flickers
int PumpState = LOW;
int Solenoid1State = LOW;
int Solenoid2State = LOW;
void setup() {
      // initialize the pushbutton pin as an input:
      pinMode(button1Pin, INPUT);
      pinMode(button2Pin, INPUT);
      pinMode(button3Pin, INPUT);
      // initialize the relay pin as an output:
      pinMode(Solenoid1pin, OUTPUT);
      pinMode(Solenoid2pin, OUTPUT);
      pinMode(pumpPin, OUTPUT);
      // set initial state for pump and solenoids
      digitalWrite(Solenoid1pin, Solenoid1State);
      digitalWrite(Solenoid2pin, Solenoid2State);
      digitalWrite(pumpPin, PumpState);
}  //end setup

void loop(){
check_button1();
check_button2();
check_button3();
} //end loop

void check_button1()
{
   int readingButton1 = digitalRead(button1Pin);
    if (readingButton1 != lastButton1State) {
    button1_lastDebounceTime = millis();    // reset the debouncing timer
    }
    if ((millis() - button1_lastDebounceTime) > debounceDelay) {
    if (readingButton1 != button1State) {
      button1State = readingButton1;
      if (button1State == HIGH) {
        PumpState = !PumpState;
       }
     }
    }
    digitalWrite(pumpPin, PumpState);
    lastButton1State = readingButton1;
} //end check_button1
void check_button2()
{
   int readingButton2 = digitalRead(button2Pin);
    if (readingButton2 != lastButton2State) {
    button2_lastDebounceTime = millis();    // reset the debouncing timer
    }
    if ((millis() - button2_lastDebounceTime) > debounceDelay) {
    if (readingButton2 != button2State) {
      button2State = readingButton2;
      if (button2State == HIGH) {
        Solenoid1State = !Solenoid1State;
       }
     }
    }
    digitalWrite(Solenoid1pin, Solenoid1State);
    lastButton2State = readingButton2;
} //end check_button2
void check_button3()
{
   int readingButton3 = digitalRead(button3Pin);
    if (readingButton3 != lastButton3State) {
    button3_lastDebounceTime = millis();    // reset the debouncing timer
    }
    if ((millis() - button3_lastDebounceTime) > debounceDelay) {
    if (readingButton3 != button3State) {
      button3State = readingButton3;
      if (button3State == HIGH) {
        Solenoid2State = !Solenoid2State;
       }
     }
    }
    digitalWrite(Solenoid2pin, Solenoid2State);
    lastButton3State = readingButton3;
} //end check_button3
Any ideas on how to get full control of the solenoids when using buttons are welcome.
Discussions
Become a Hackaday.io Member
Create an account to leave a comment. Already have an account? Log In.