 Maximiliano Palay
First prints
If you head back to the last lines of the previous log, you'll find that engineers tend to overcomplicate things. Turns out if things aren't overcomplicated, they are oversimplified! - I'll tell you why, hold on.
First things first.
I 3D printed the bottom half which serves as the LED diffuser. You can see two of those on the next image.
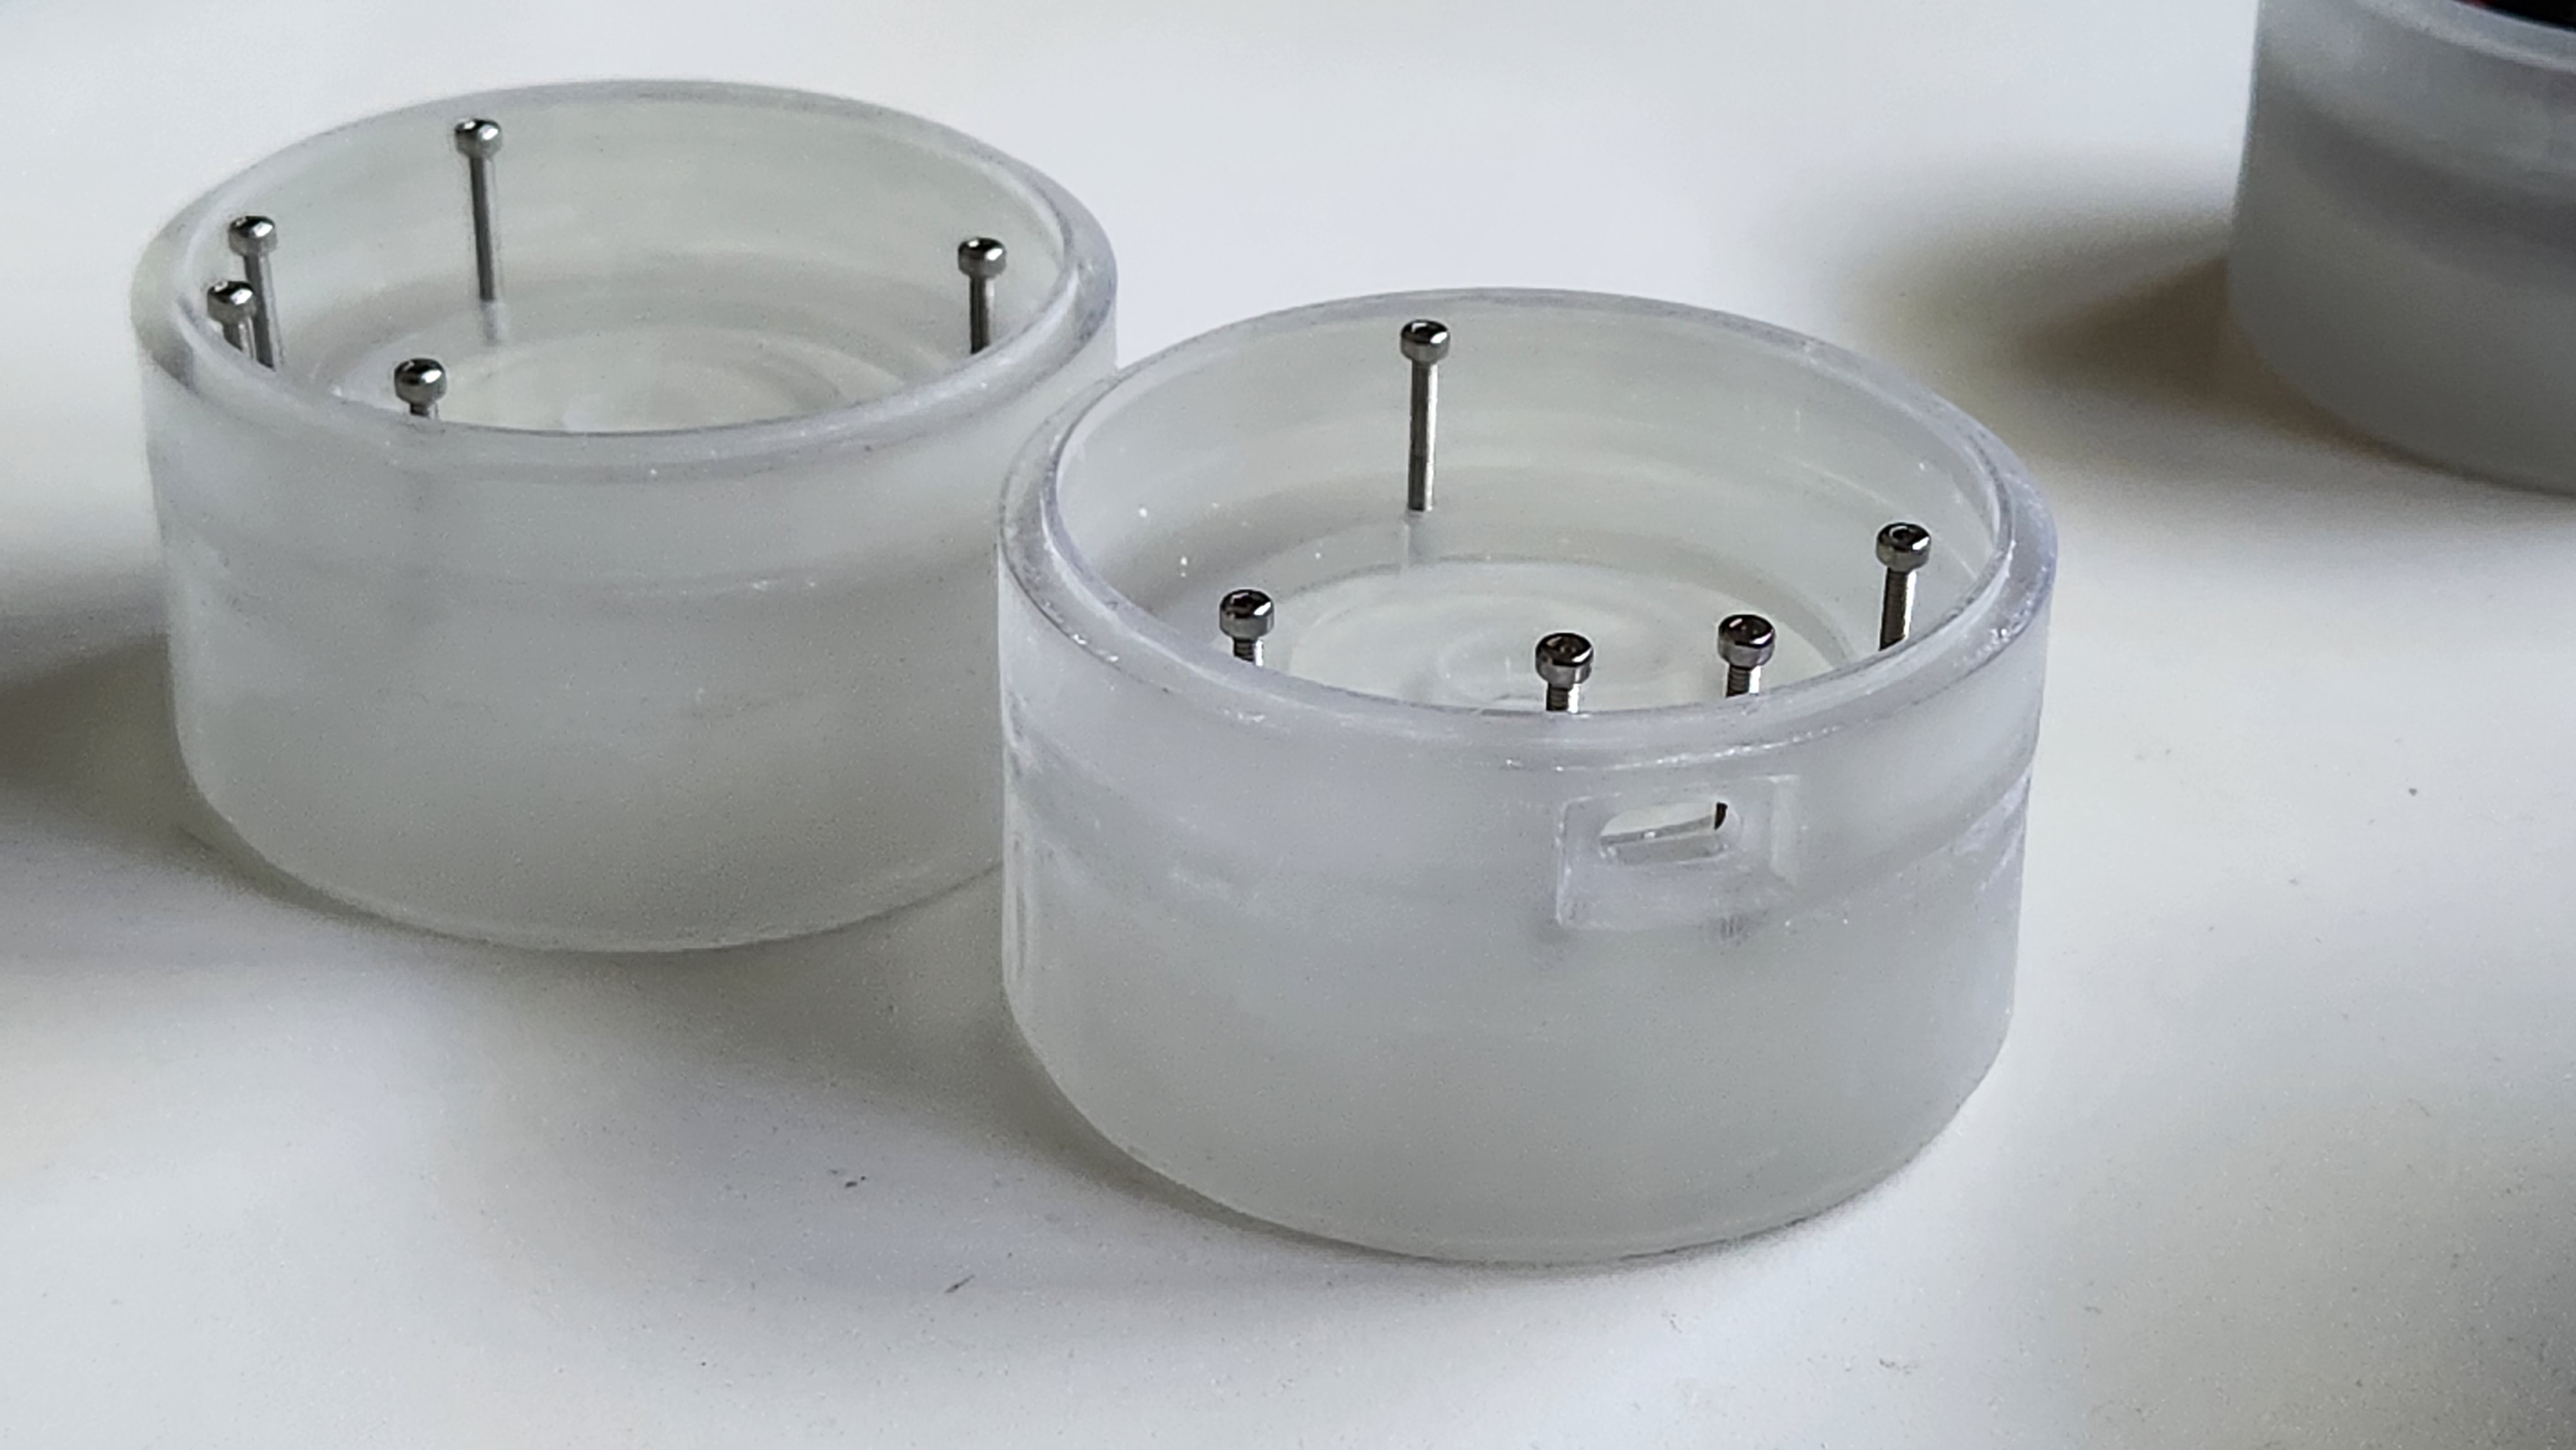
The screws are put in place so when the resin finished curing, the m2 threads won't get clogged. I'm not sure if I mentioned this before, but the resin printer prints m2 threads surprisingly well, so the threads are embedded into the parts. It has its pros and cons, but it is simpler for me to embed them and have them come out directly off the printer.
With FDM that is not the case. I'm usually printing clearance holes and using a thread cutter to make the threads.
Modifications
I have assembled the whole thing (without connecting anything) and tested the feeling of the top wheel/knob. It had a lot of play. Turns out adding additional support other than the encoder was indeed a good idea.
I thought of two options to fix this. One of them was using bearings I have lying around, not 100% sure this would fix it, but I gave it a try. The design was then modified to accommodate the bearing. Luckily, this wasn't a major change.
So the top wheel now grabs on to the encoder, but also has some lateral support at the bottom, provided by the bearing. We're keeping the amazing stack design alive. Although this does not solve the issue 100%, it alleviates it. I do have some more ideas for rev 2.
I'll leave some drawings of the final design attached as files for reference.
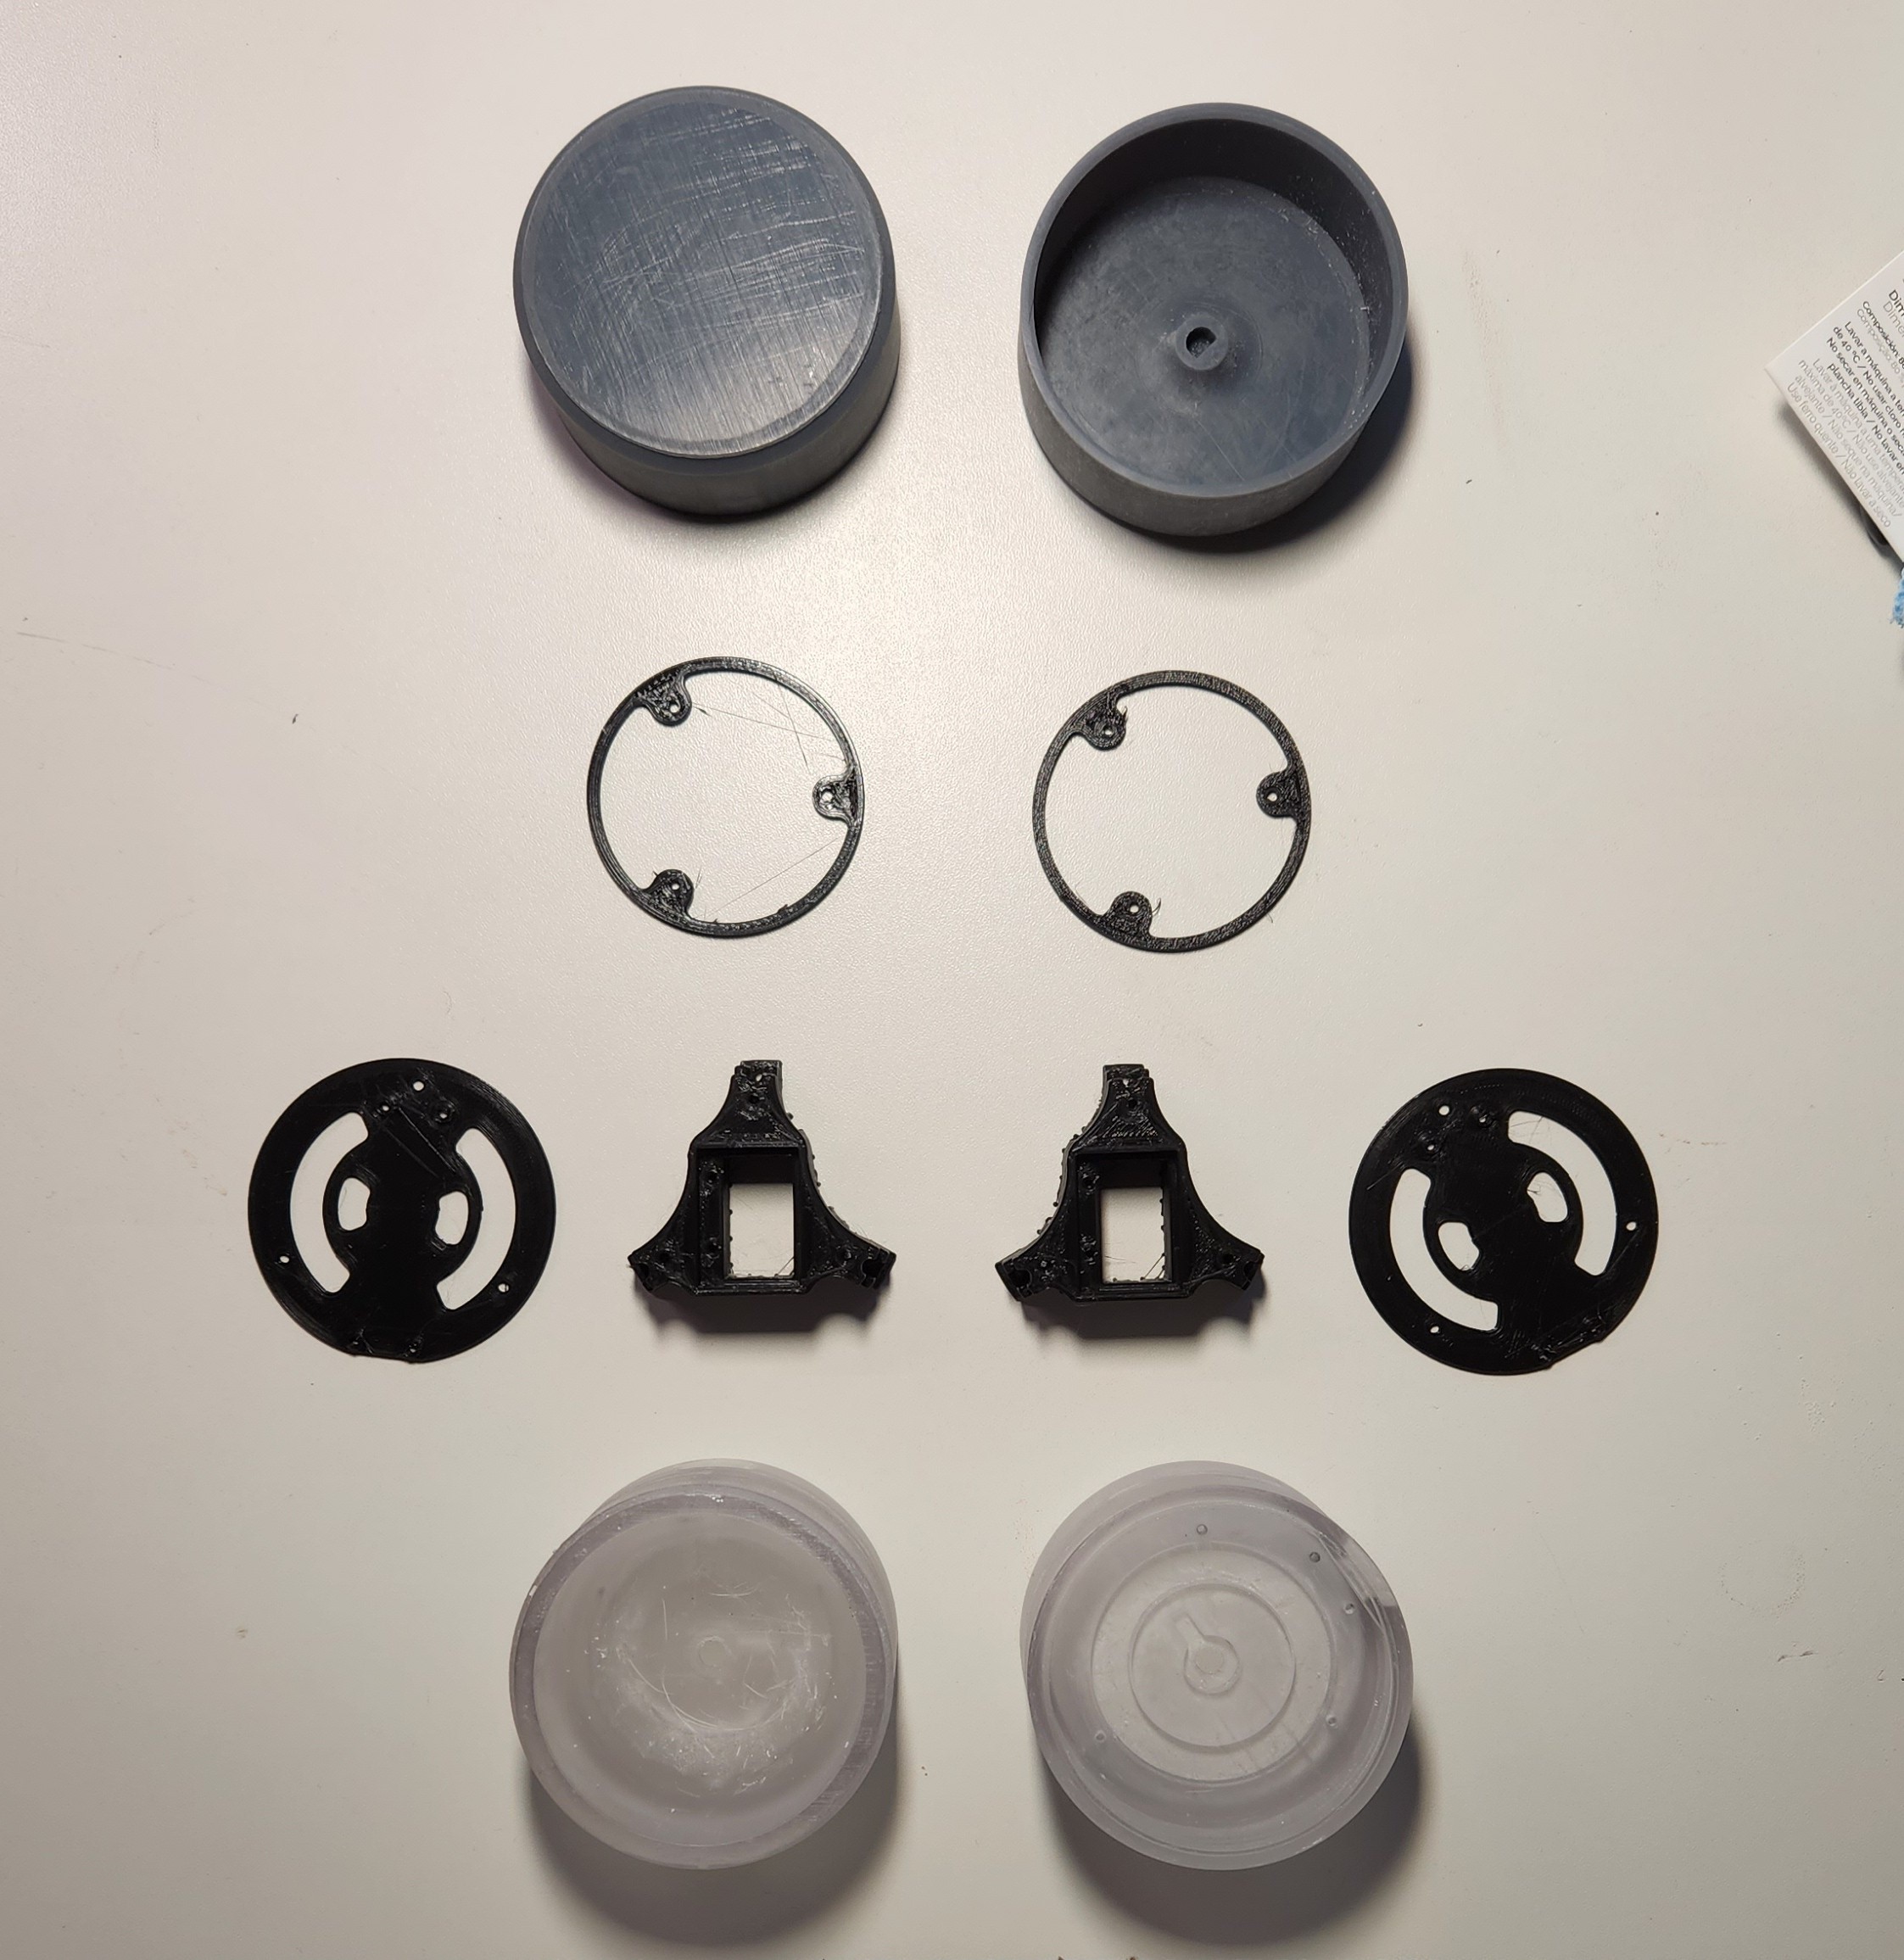
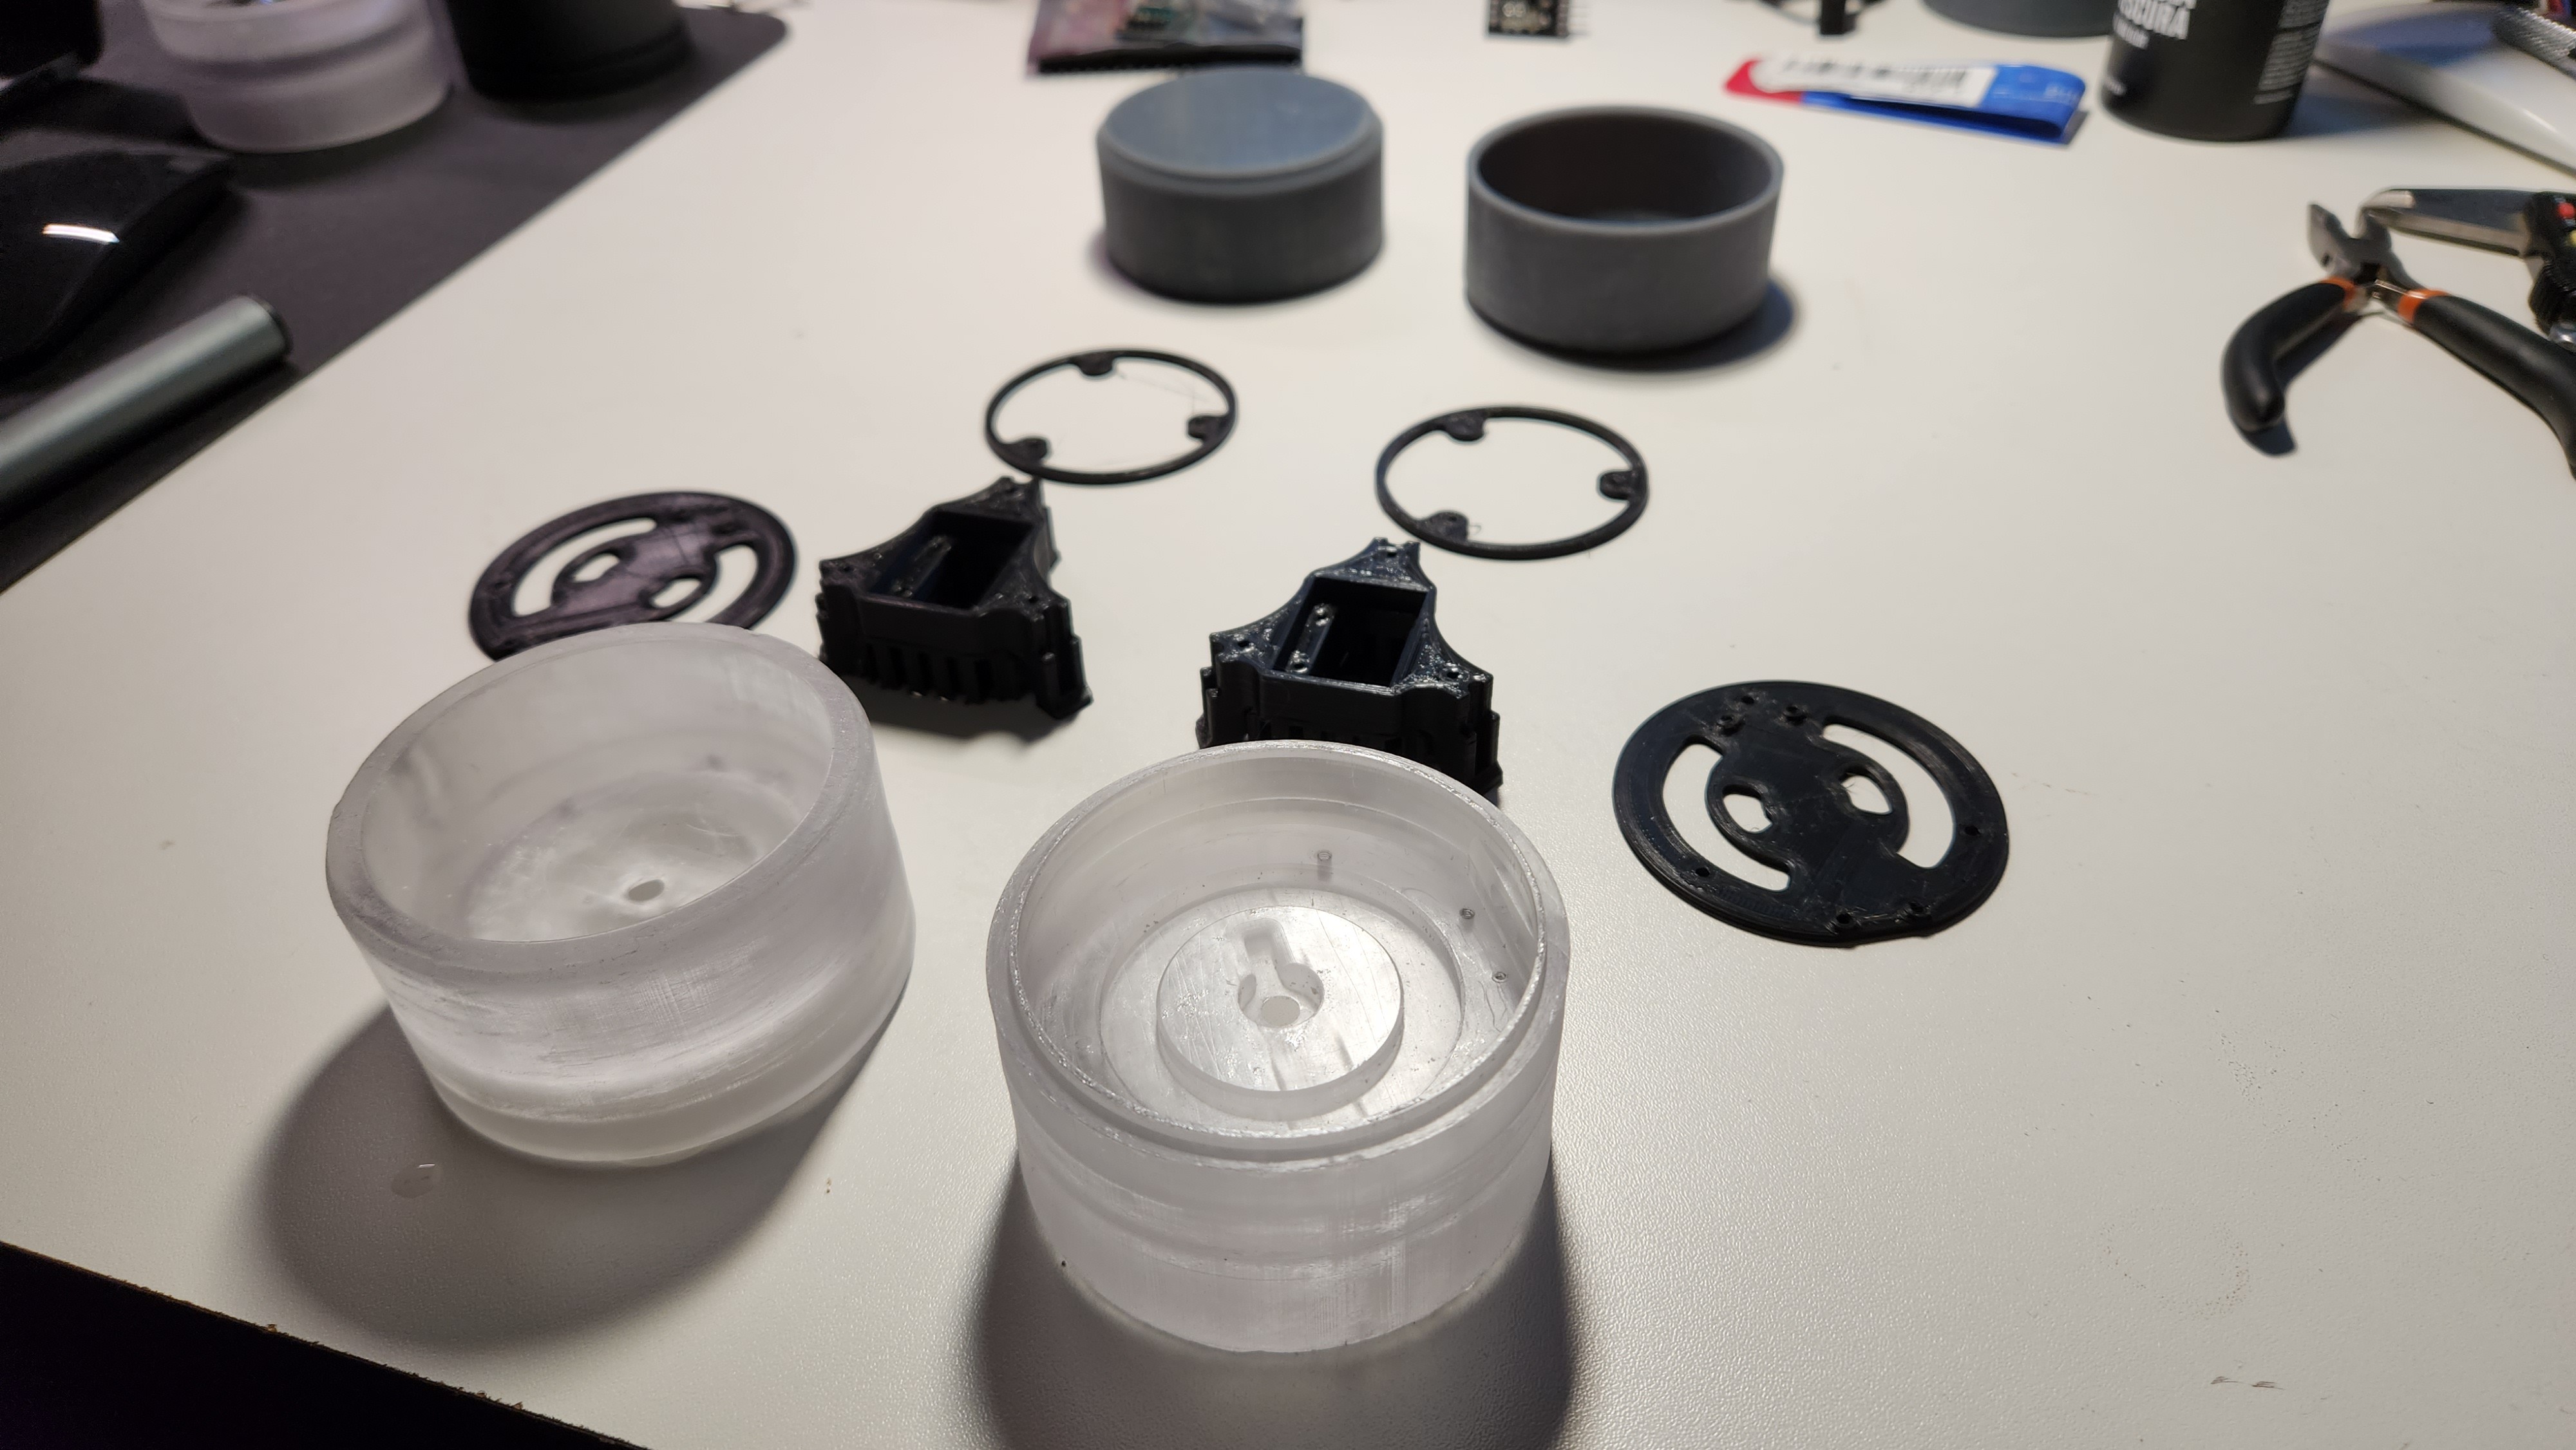
Printing everything
I combined resin printing with fdm, I do believe there is room for each of them. The parts which need a better finish were basically printed using resin. Overall FDM print time was around 6 hours (2 units) and SLA print time was around 6 hours as well (2 units). I'm not counting a few discarded pieces.
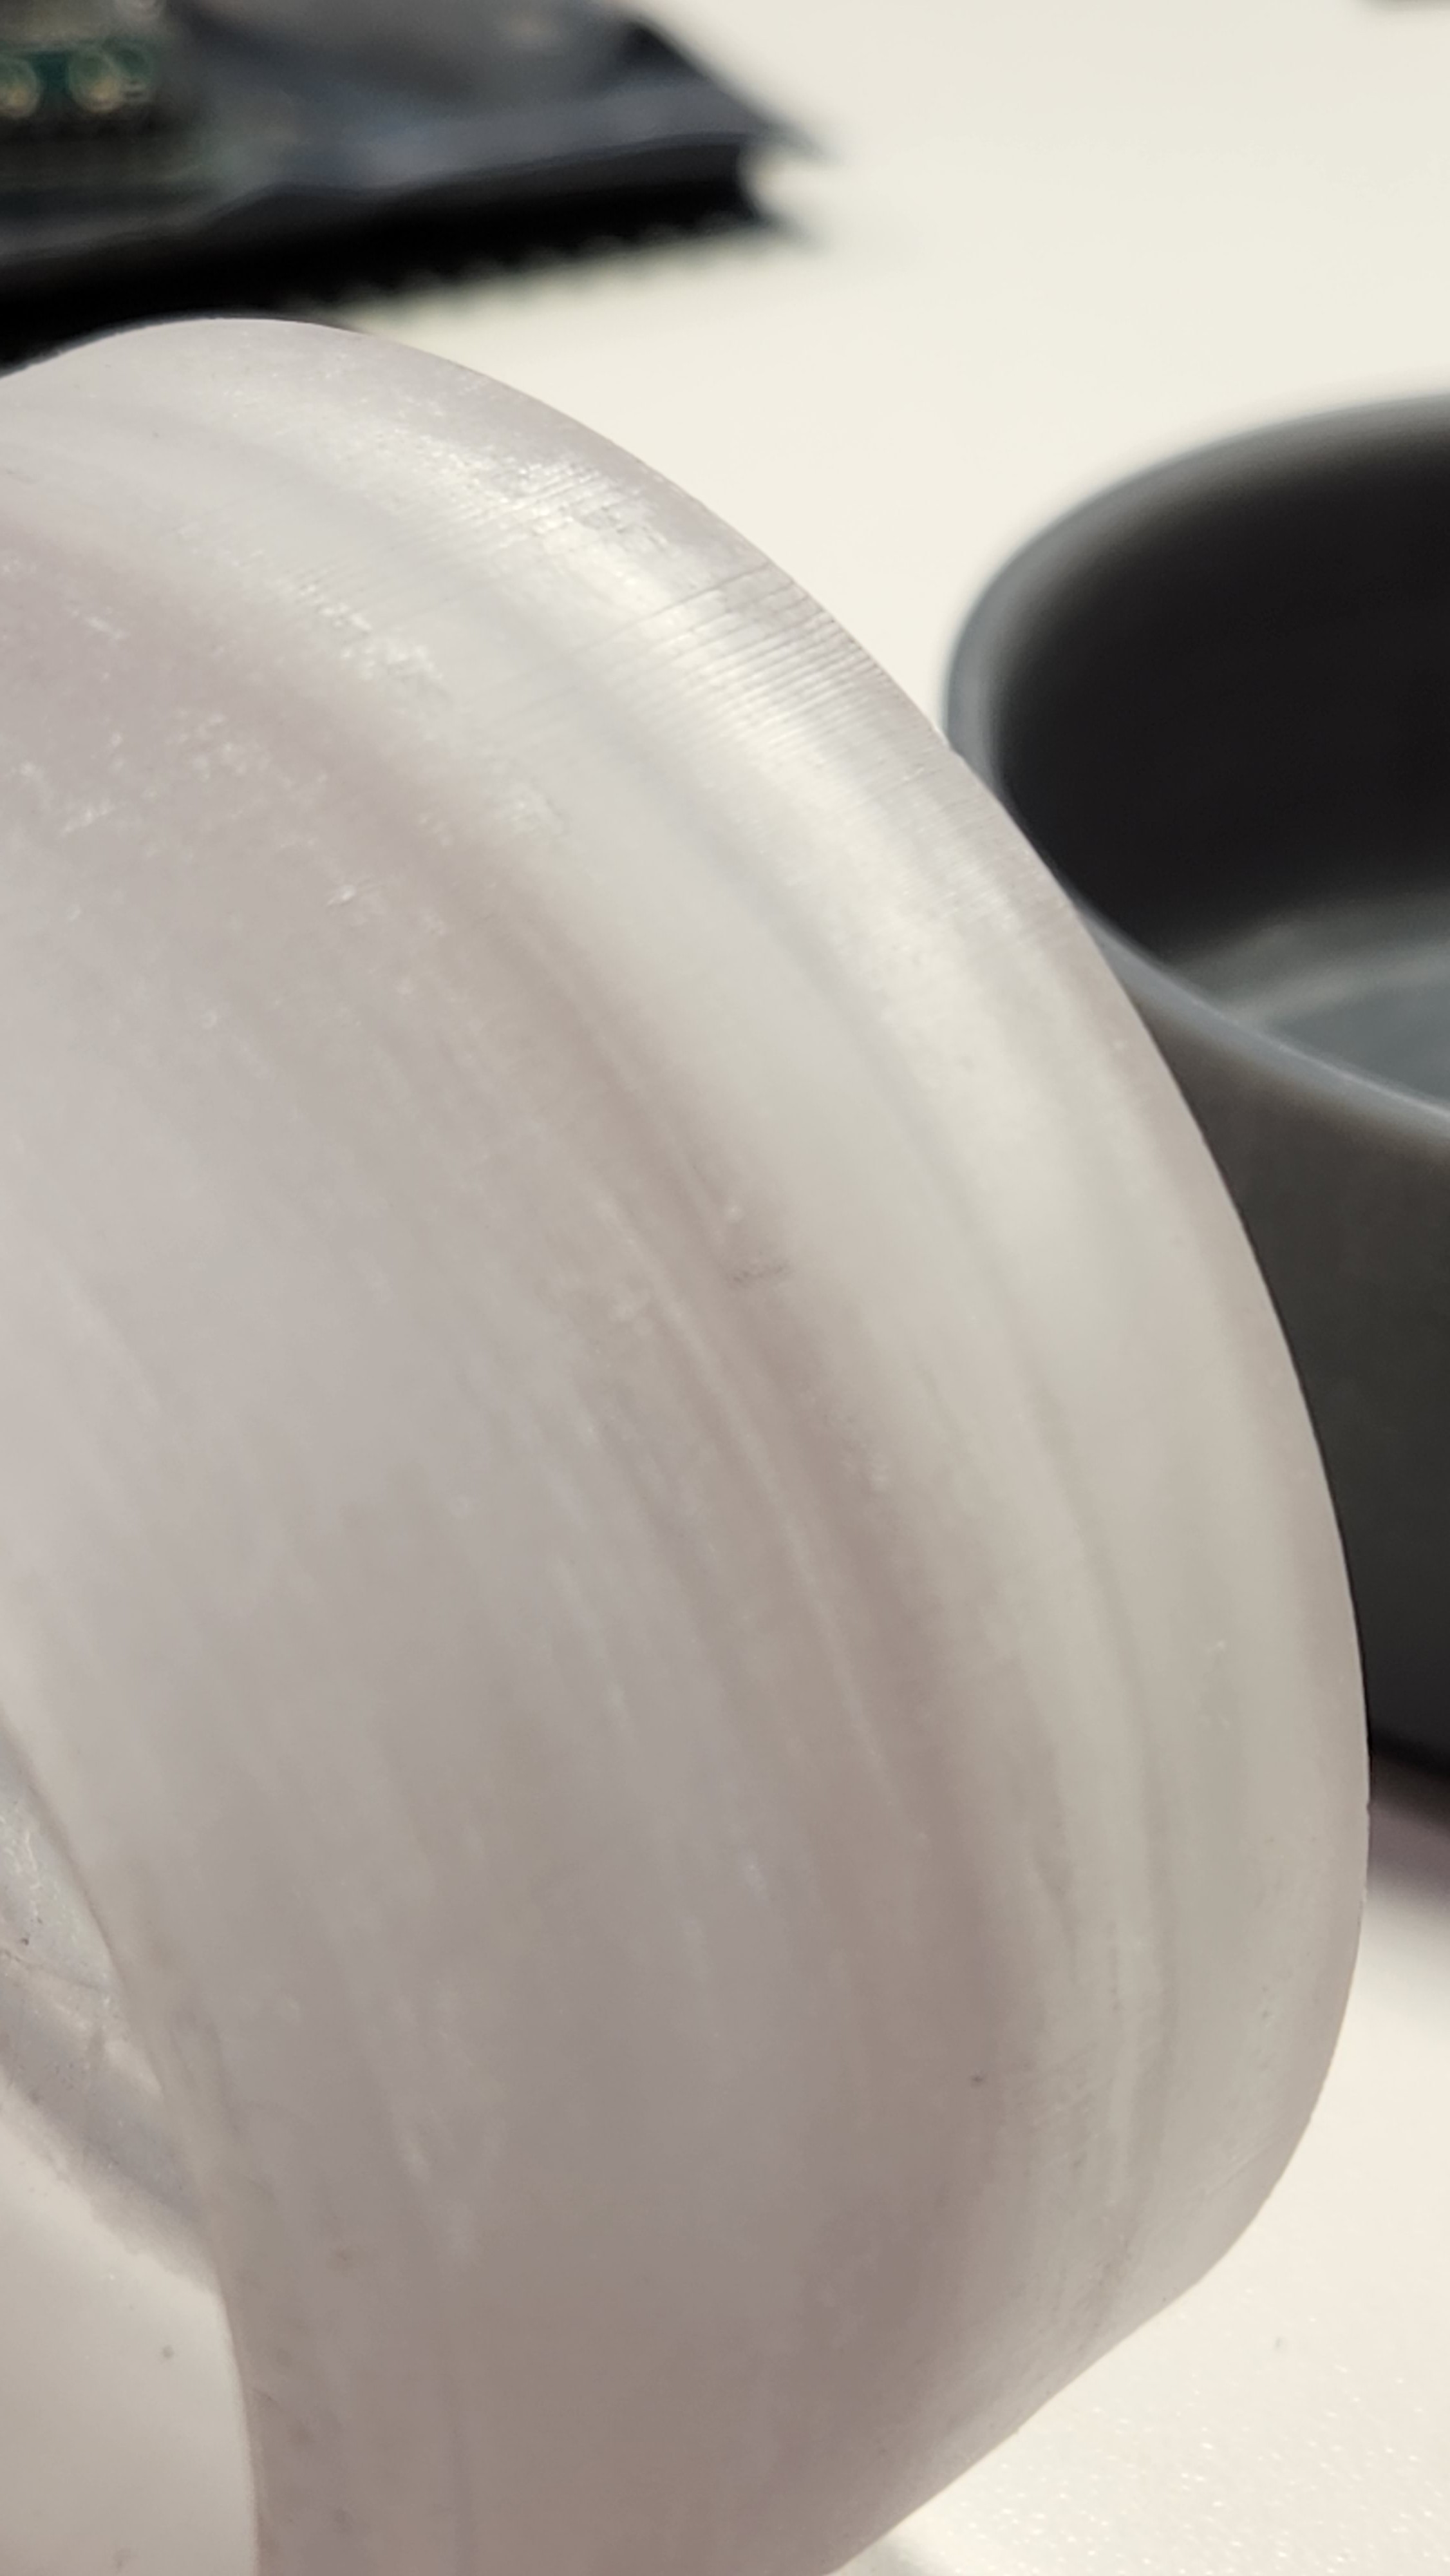
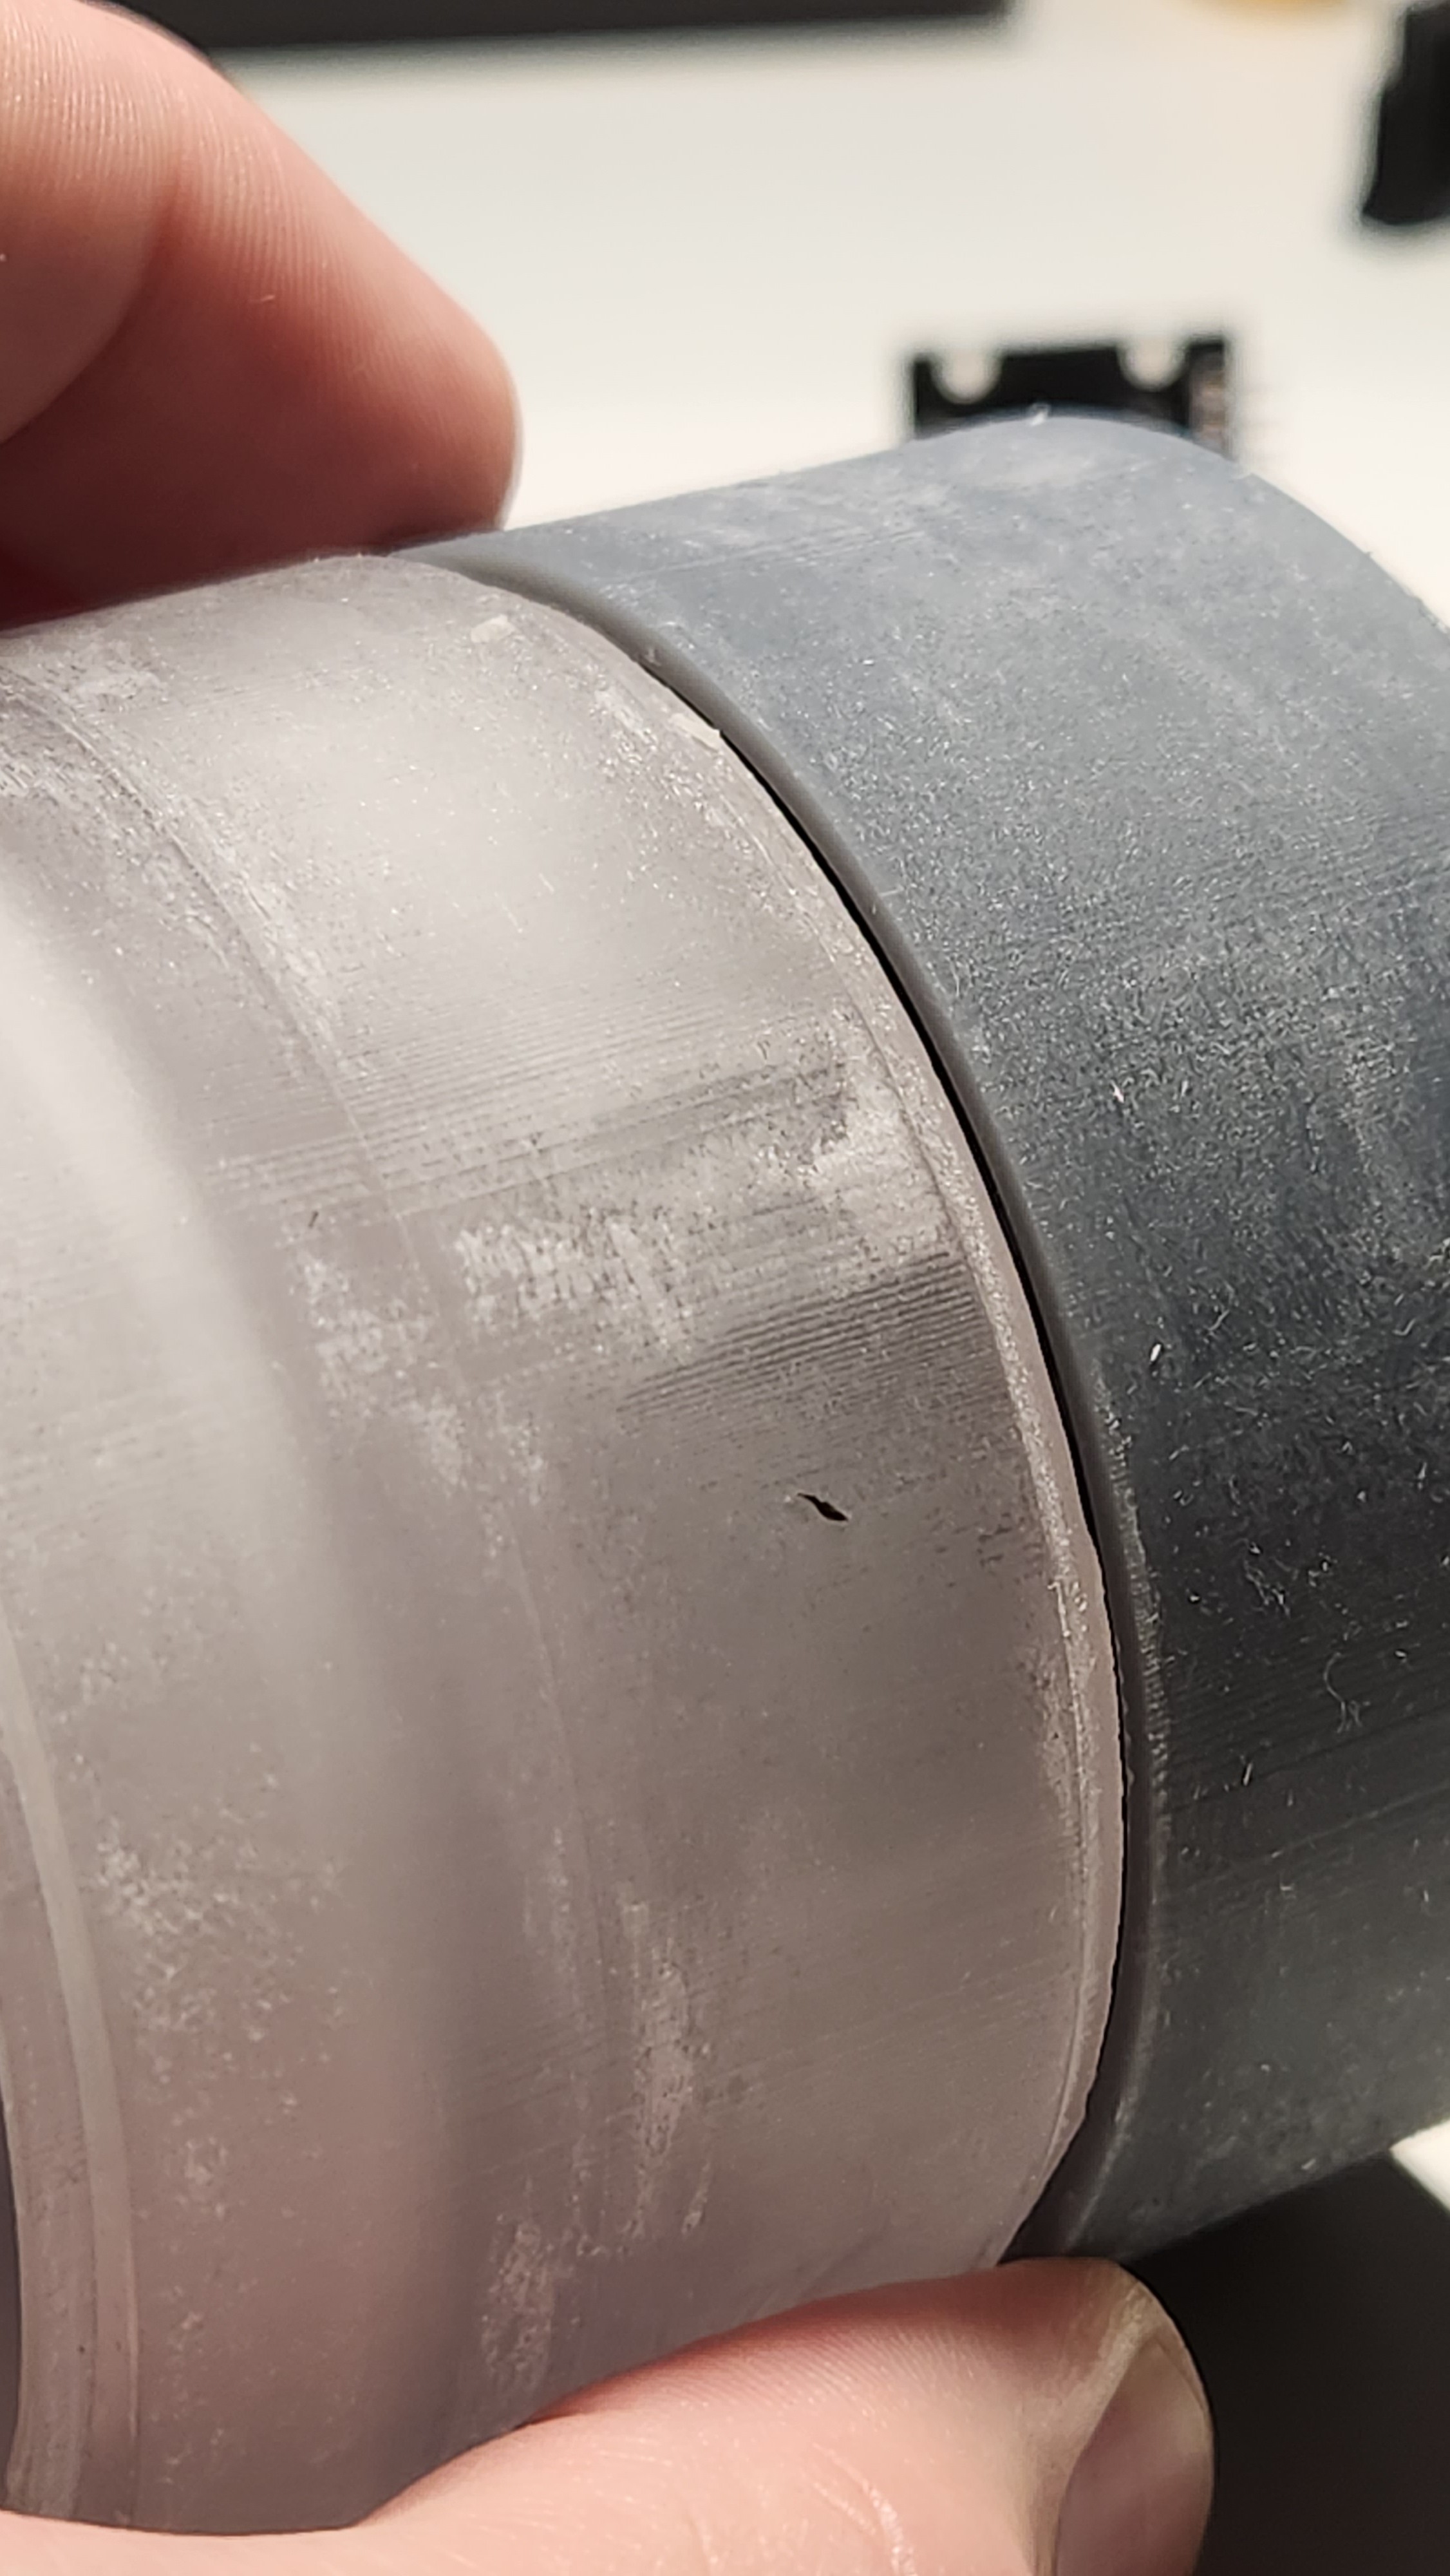
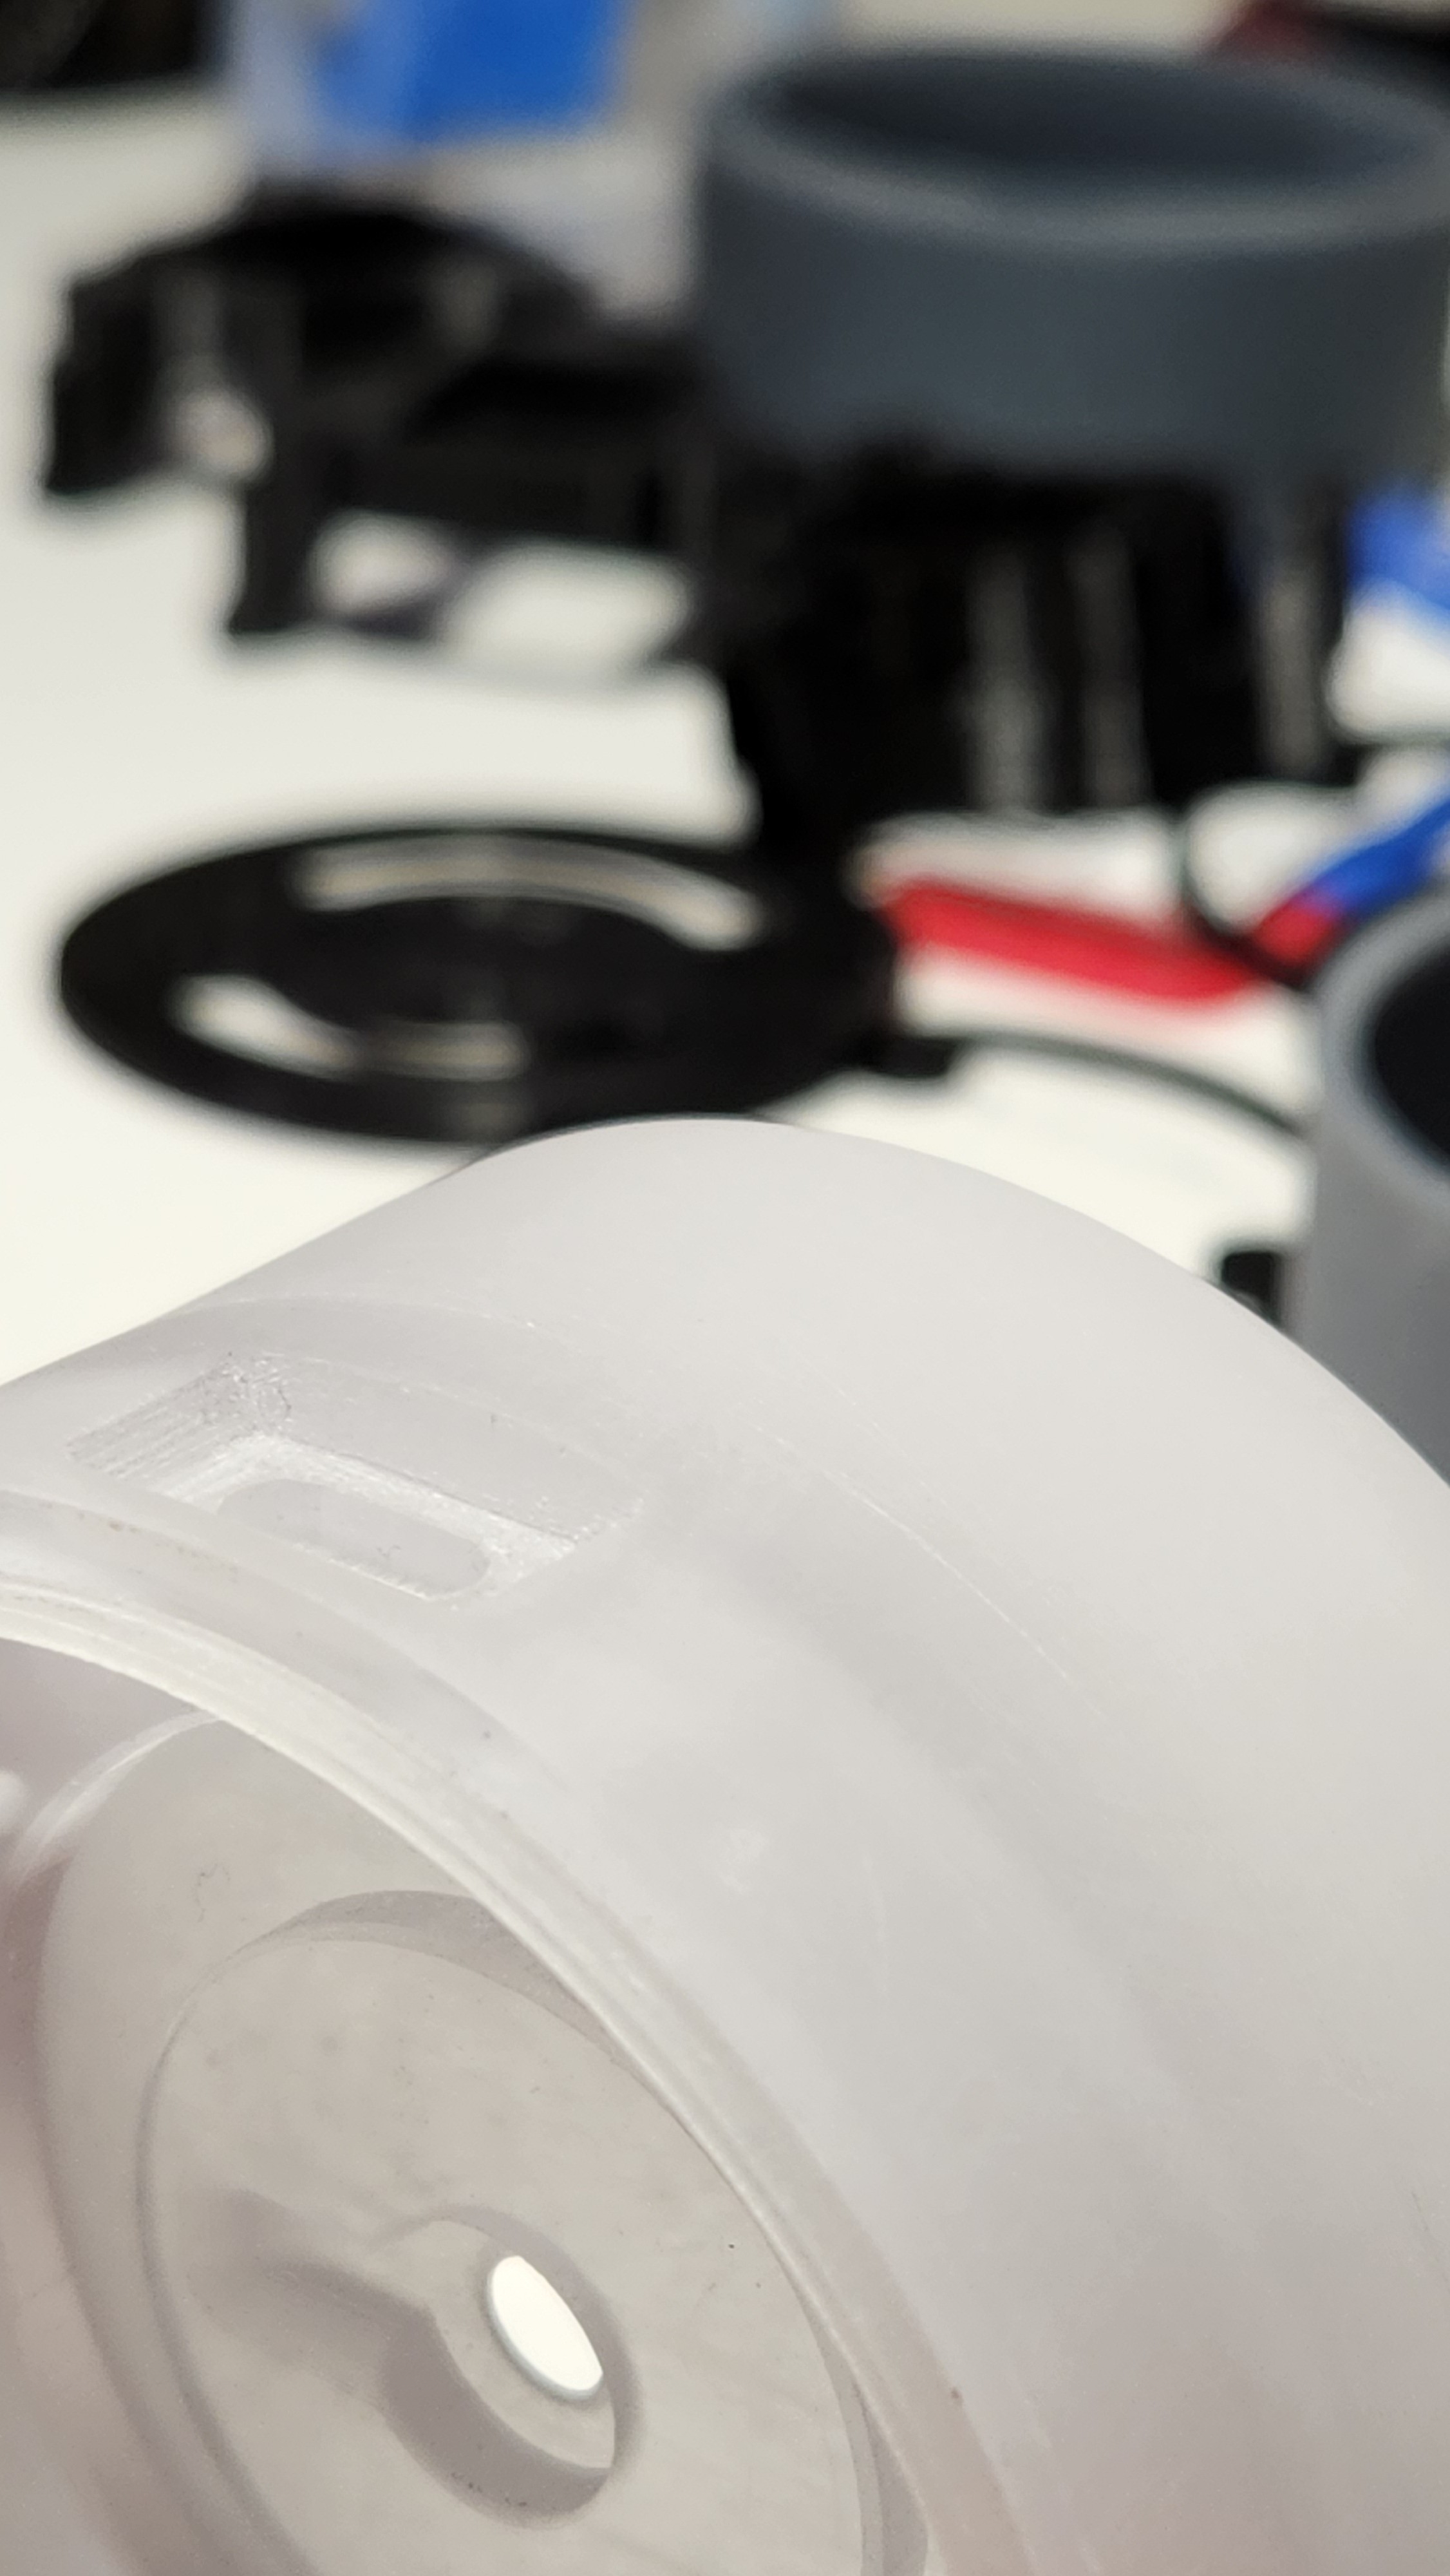
Post processing
Having in mind this is a product that one might interact with many times a day, I find the finish and feel very important. The clear base and the top wheel were sanded up to a 320 grit, by hand, to achieve a frosty look (clear base) and smooth feel. A few pictures of the process.
Final look
A final sanity check before going all-in on this design. Don't worry, I'll post a video of the whole assembly. This was just kind of a mockup to check how it looks.
Of course one of the first things I had to do was testing how it diffuses light. Have to say I'm quite happy with the results.
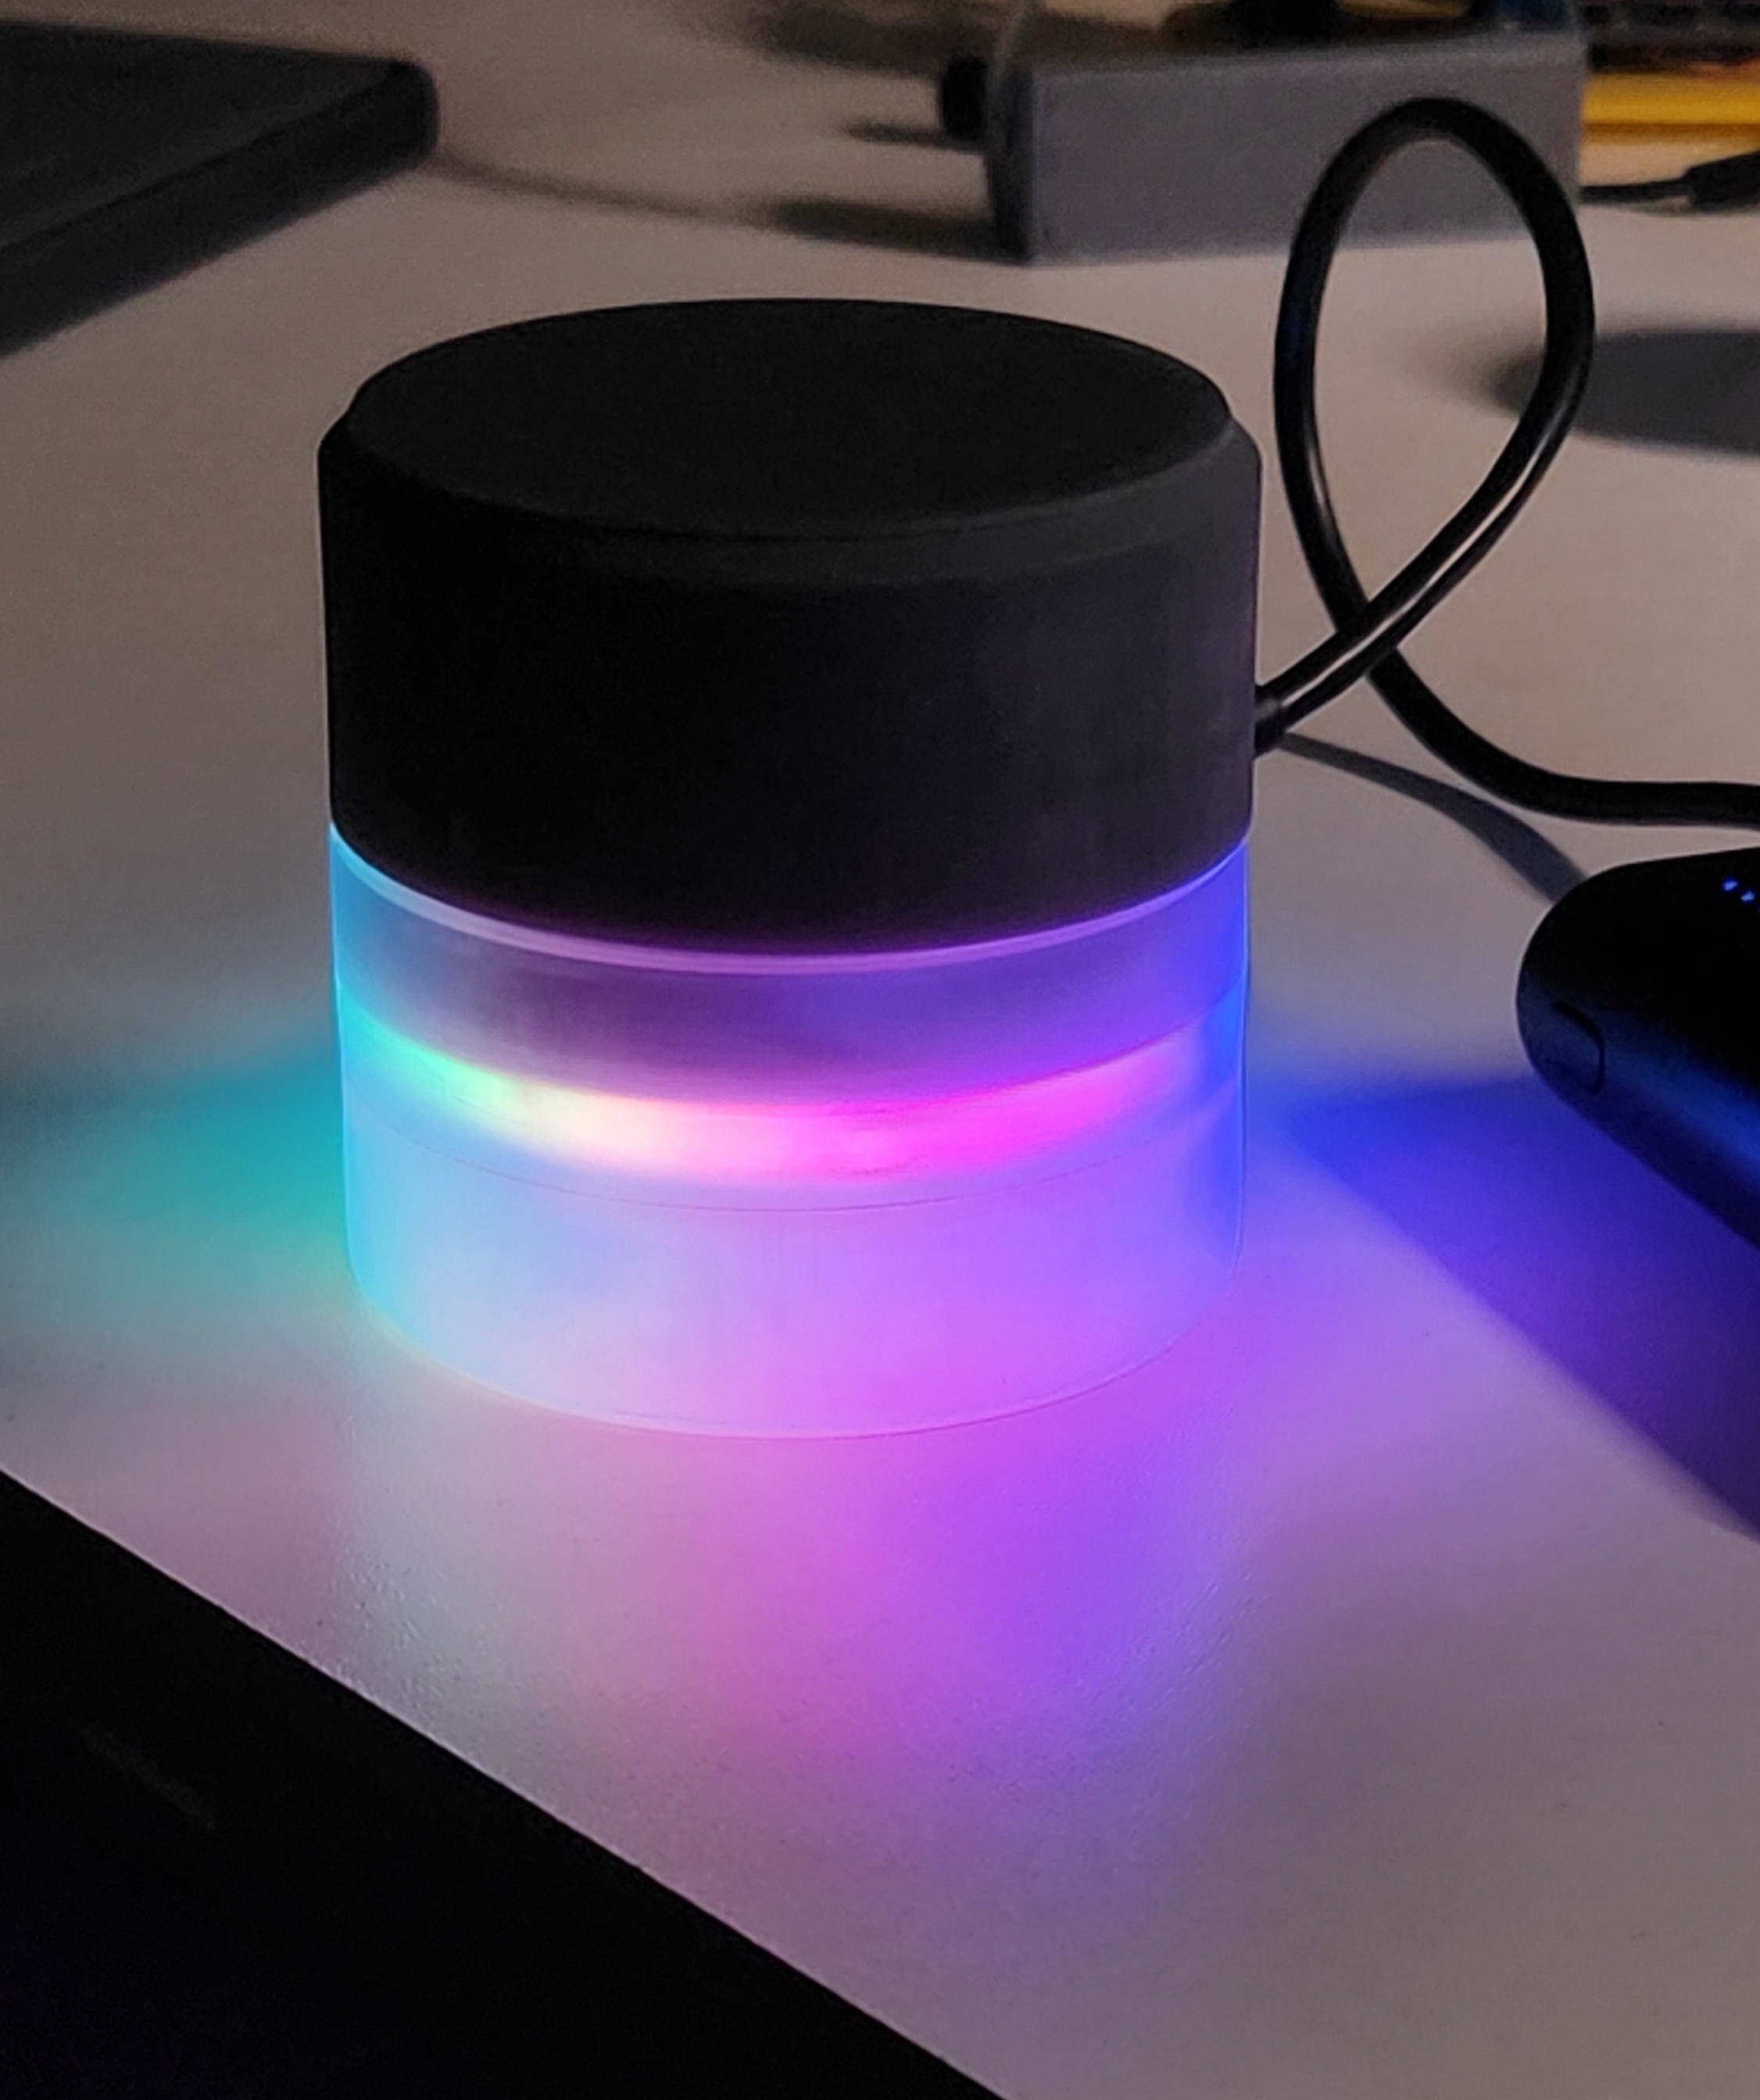
I wasn't sure about lots of things, but it turned out okay. Perhaps some of the fun of it is that - not knowing how things will turn out, at least not 100%.
Discussions
Become a Hackaday.io Member
Create an account to leave a comment. Already have an account? Log In.