 kelvinA
I got this in the mail on Monday 27th Feb and was fully aware that, whatever happened, I was sending this tent back. I thought I'd try it anyway since I don't want to return a second tent from things I could've learned from this tent.
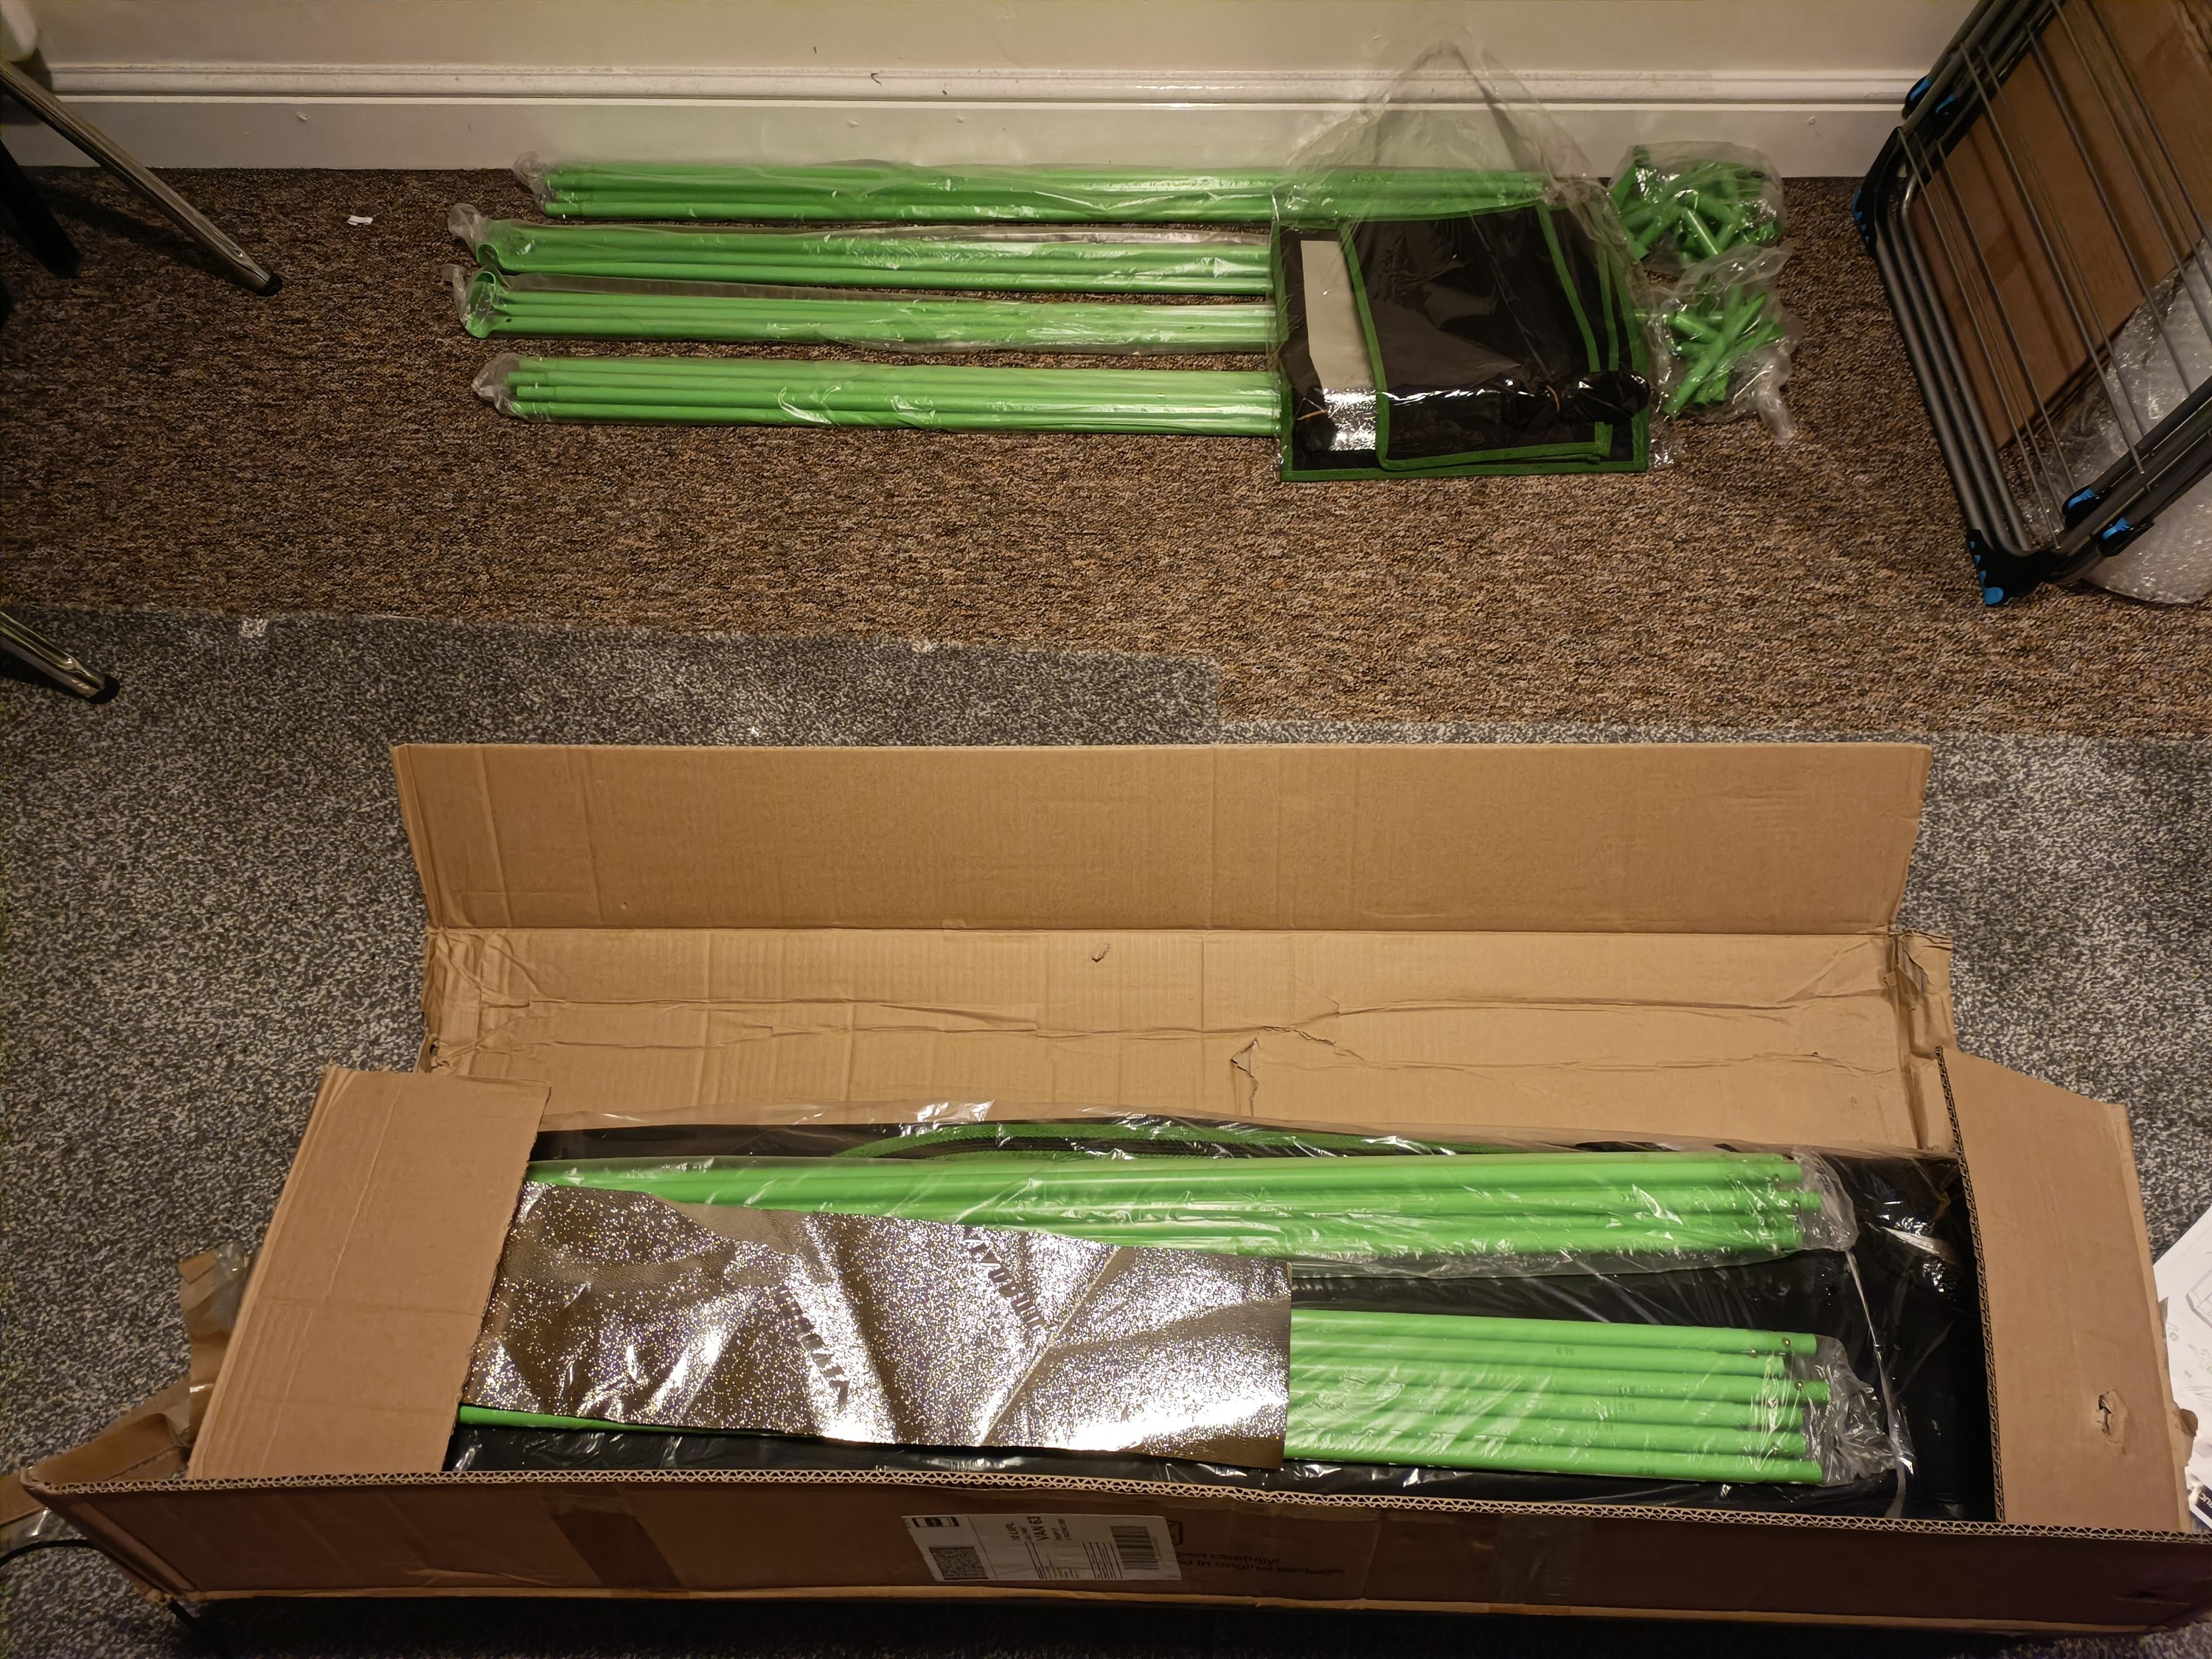
For starters, I was expecting to use the box as the storage medium (like a Christmas tree and the box it comes in), but I forgot that cardboard is usually standardised in terms of its strength, and it doesn't like carrying heavy things:
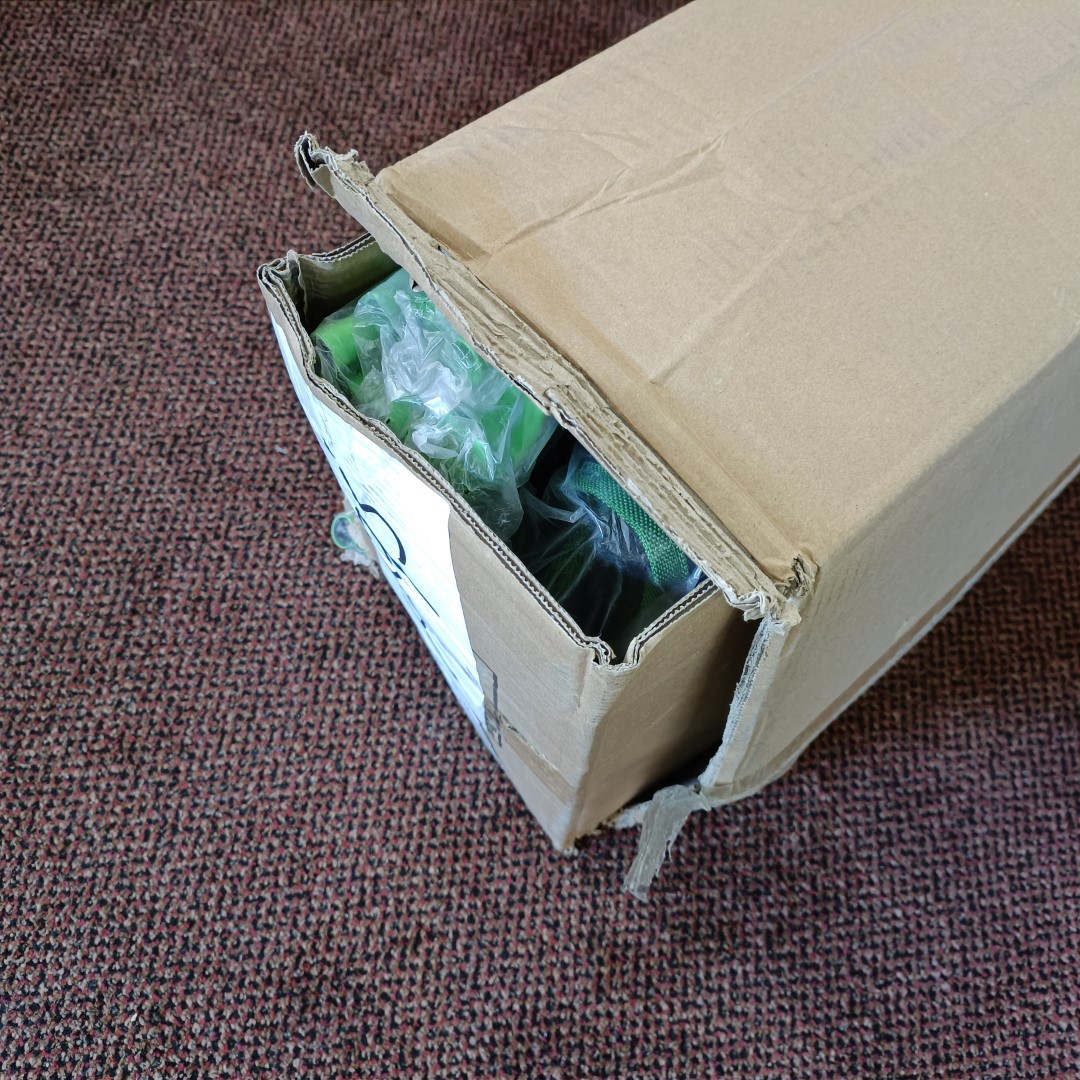
Nothing inside was missing or bent though so I moved on to taking loads of images of everything I could so that I knew how to refold the tent back. This also means that I'm going with the £119 Seuna tent instead of the £109 tent (among other reasons I'll mentiin the next log).
My hypothesis was that putting the metalwork together would be easy and manipulating the fabric would be the bottlneck for both assembling and dissassembling the tent.
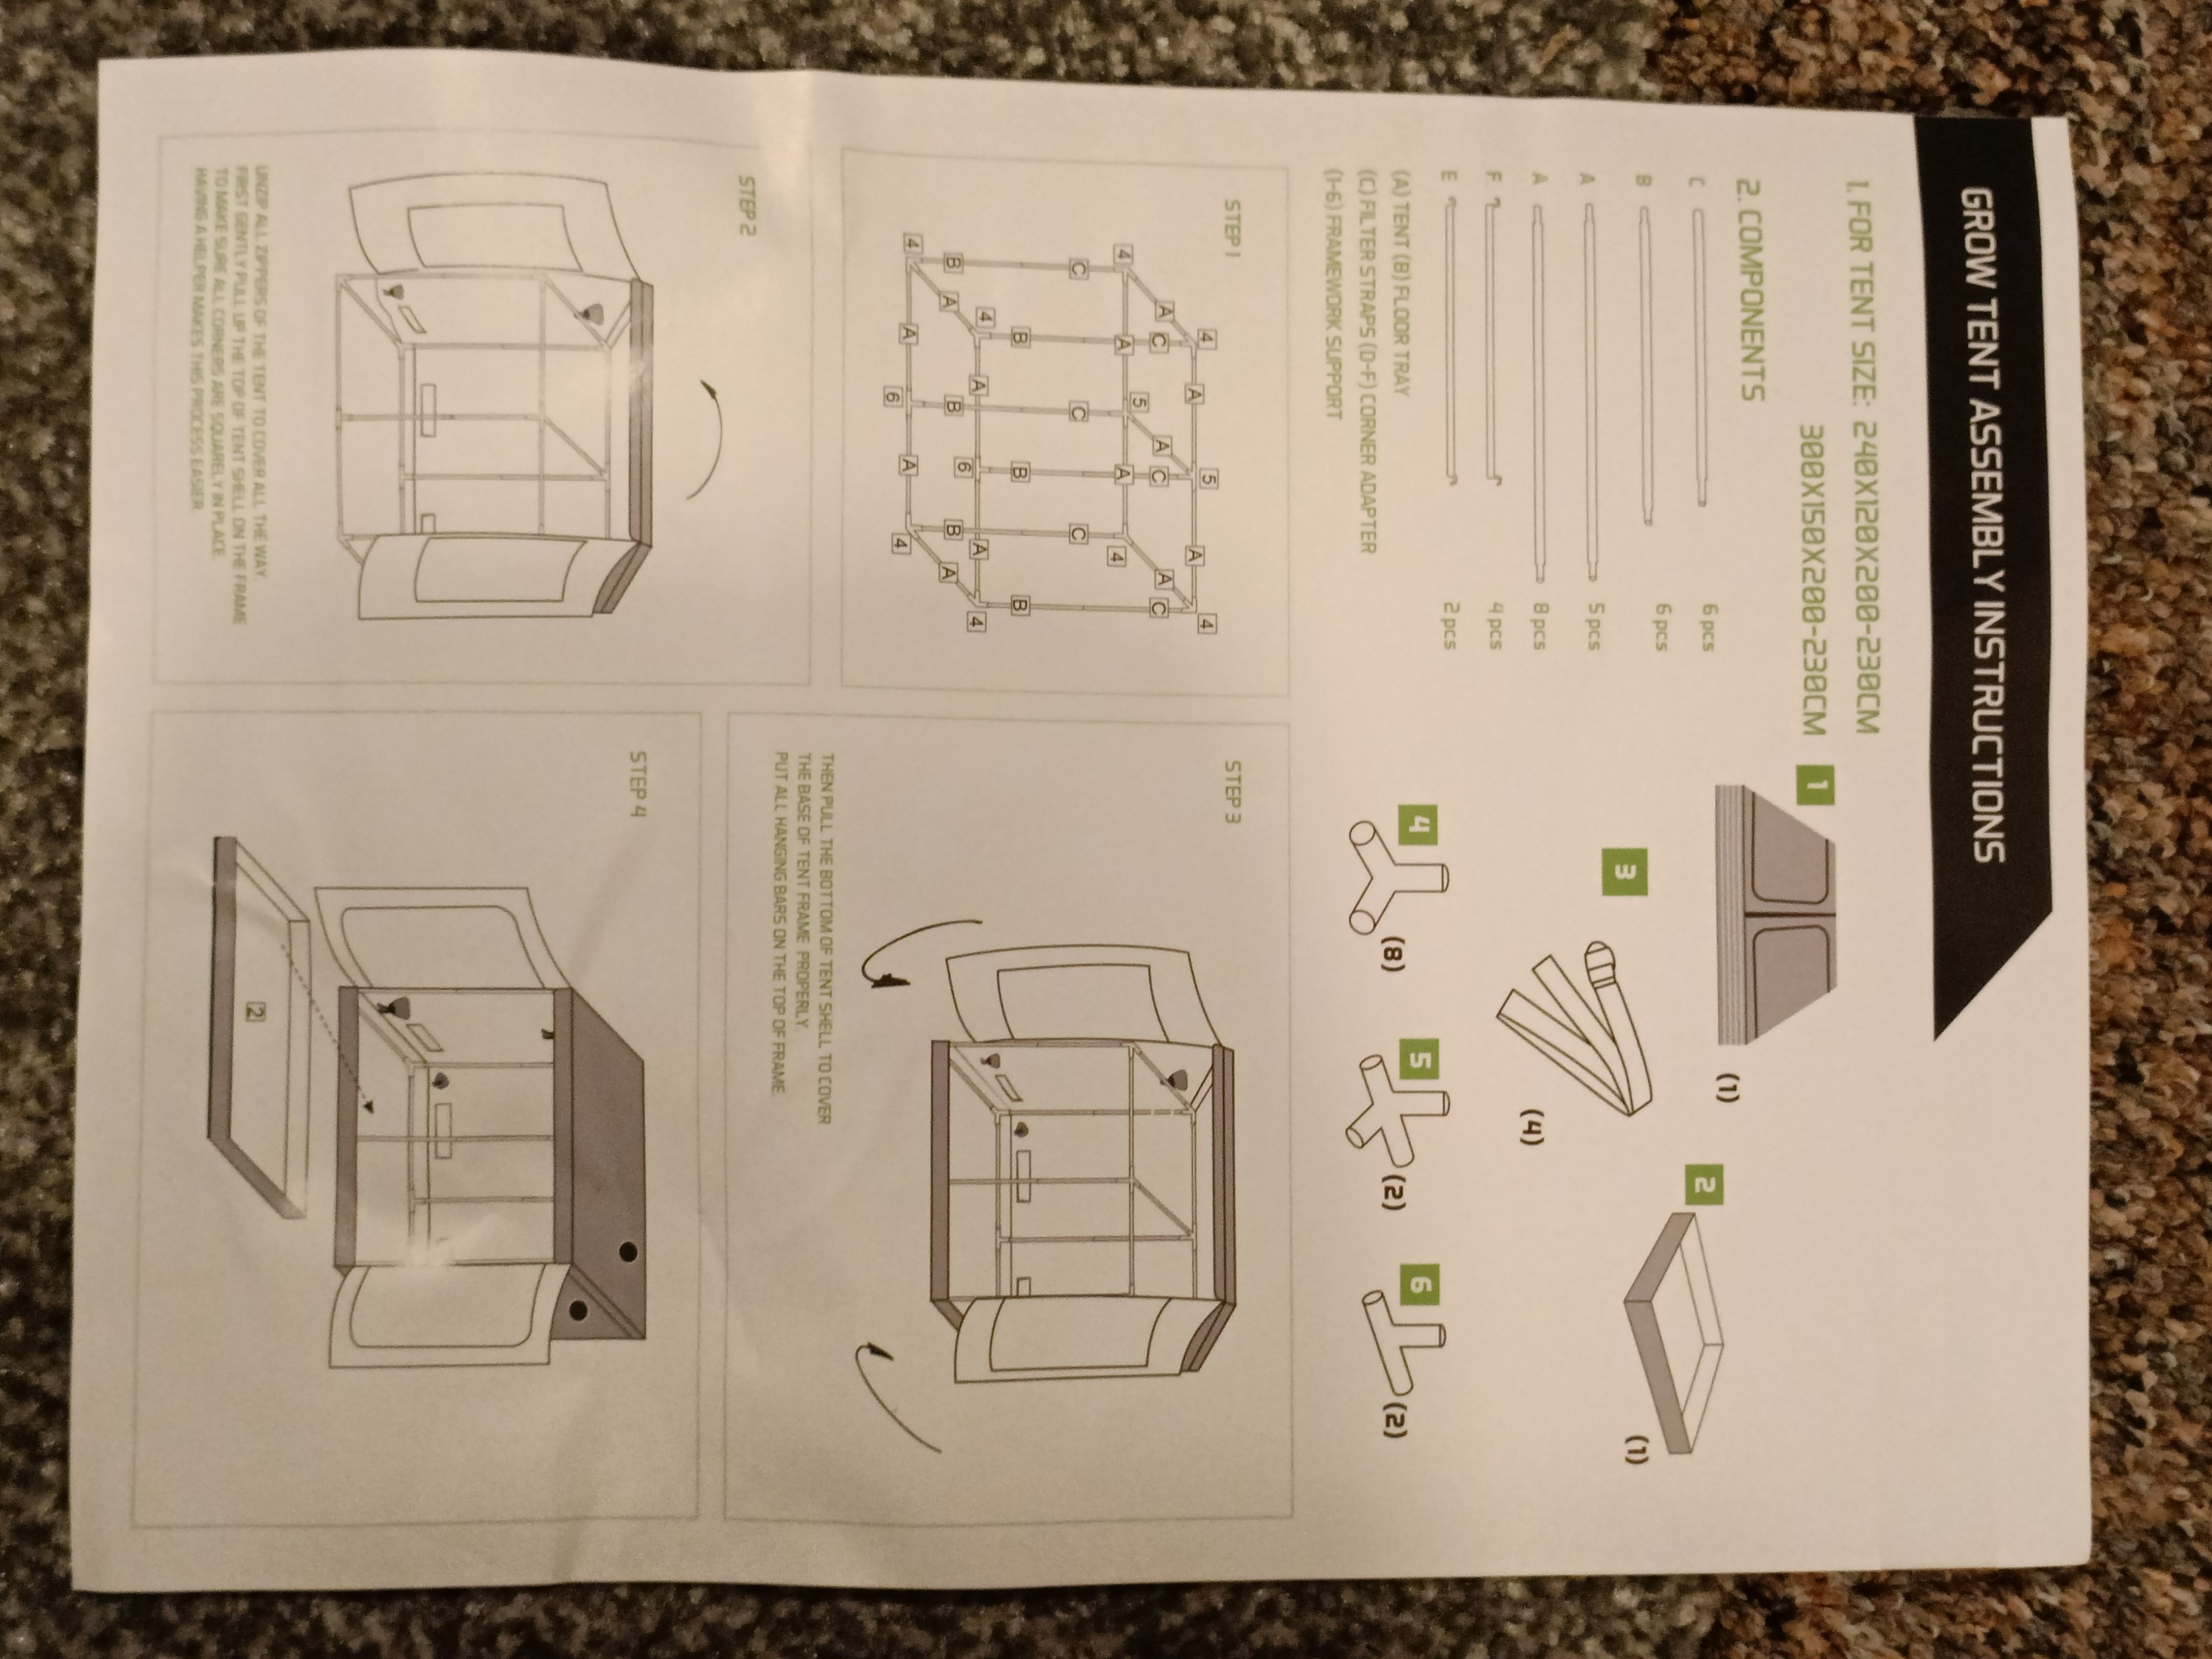
Assembly
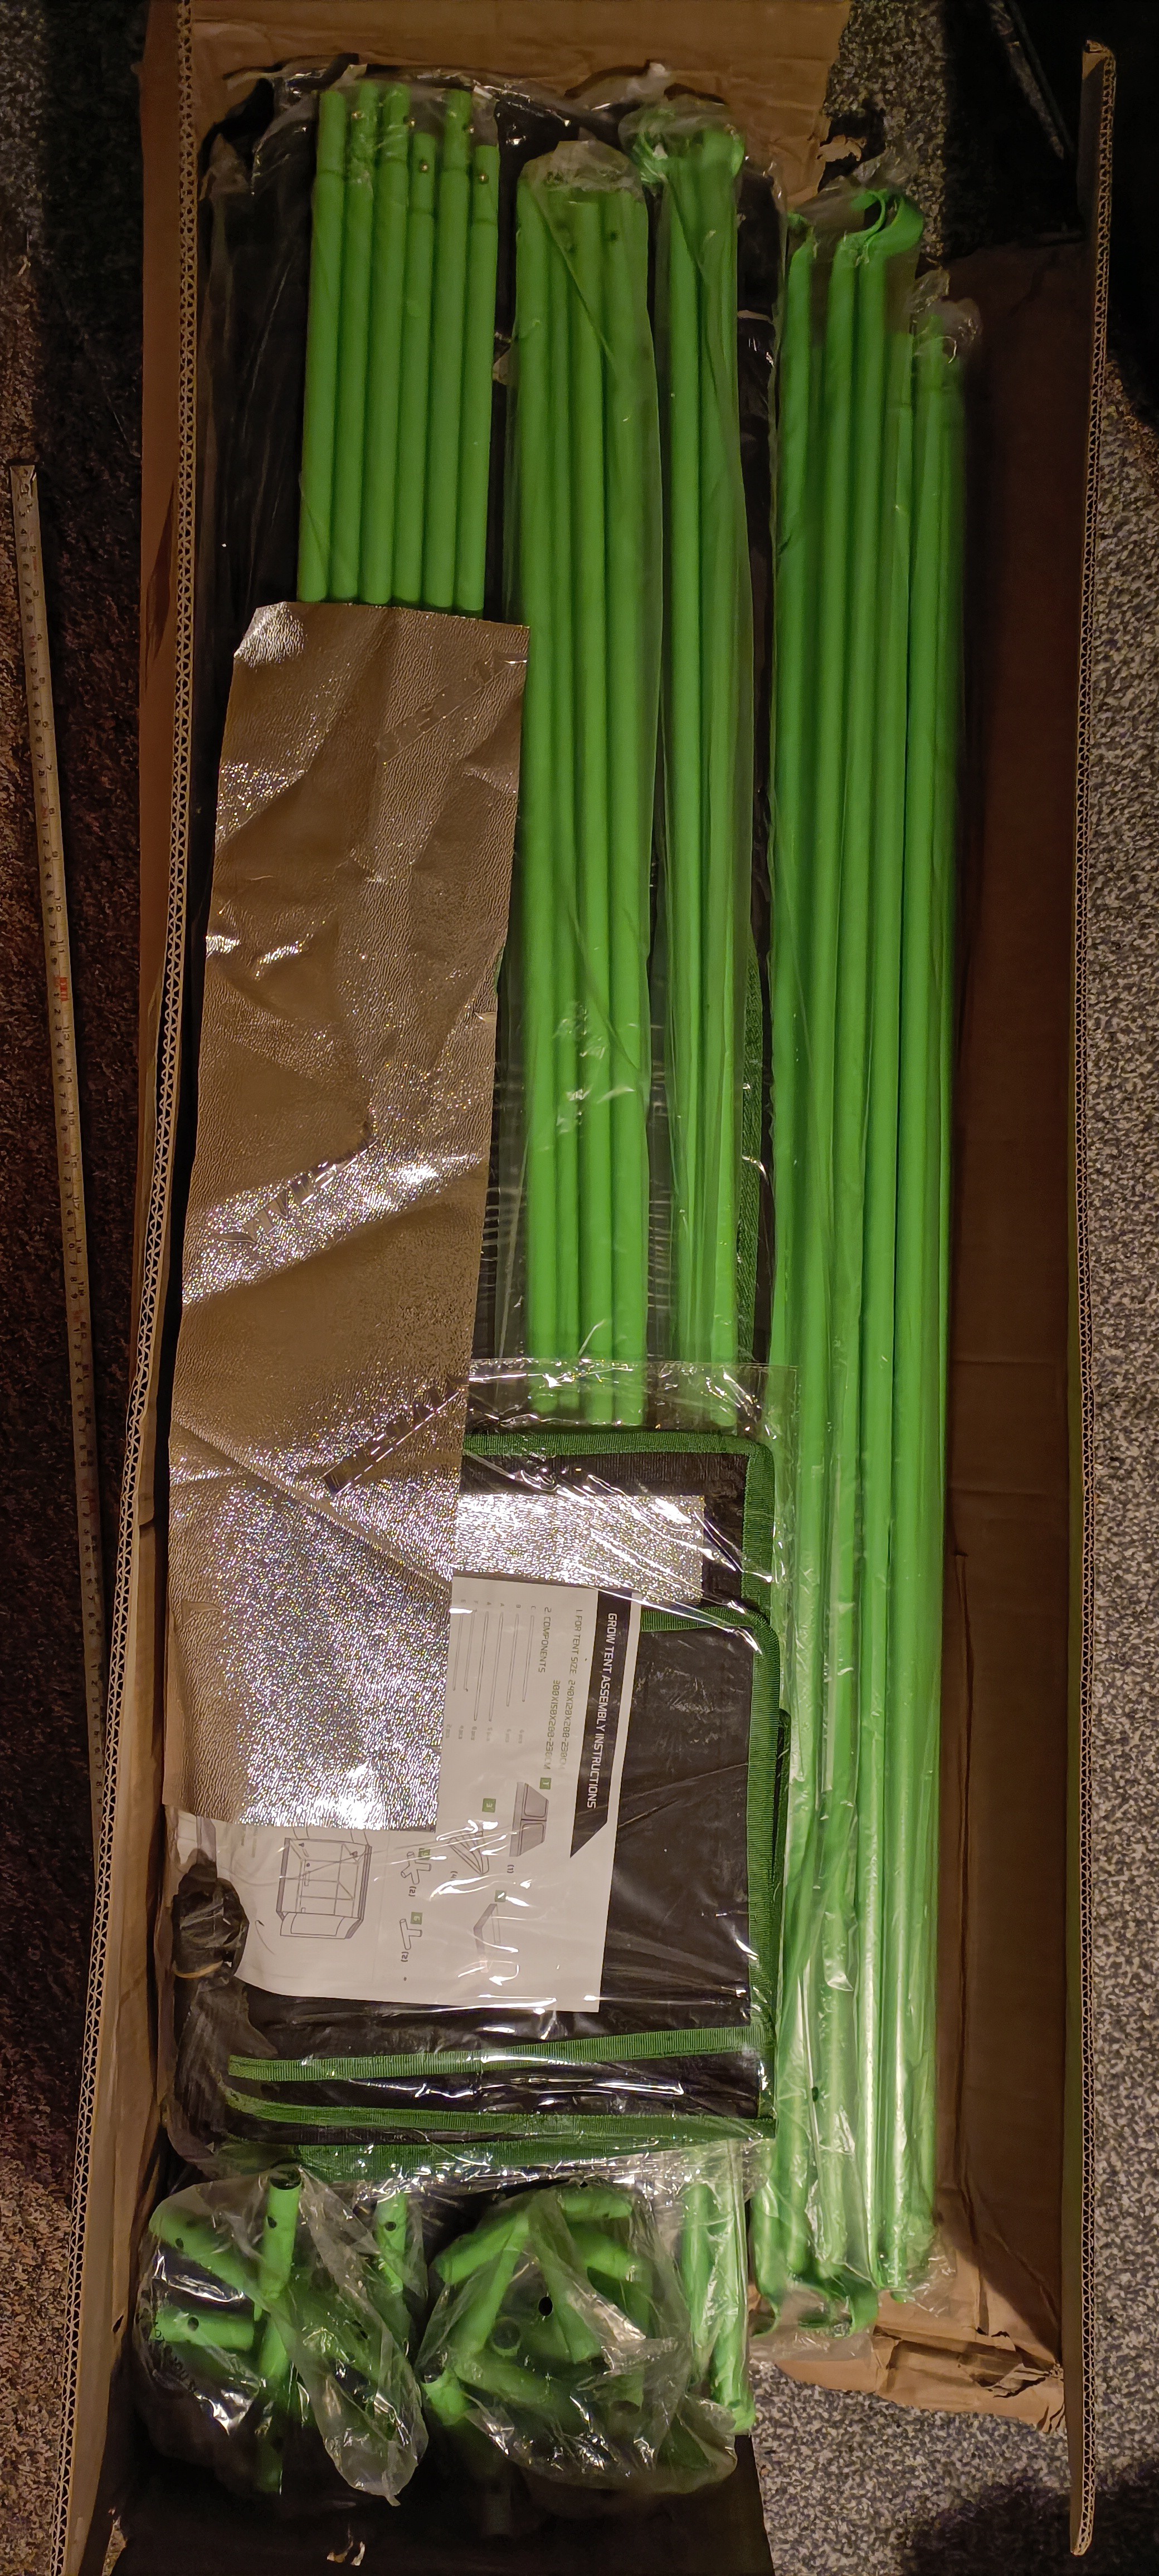
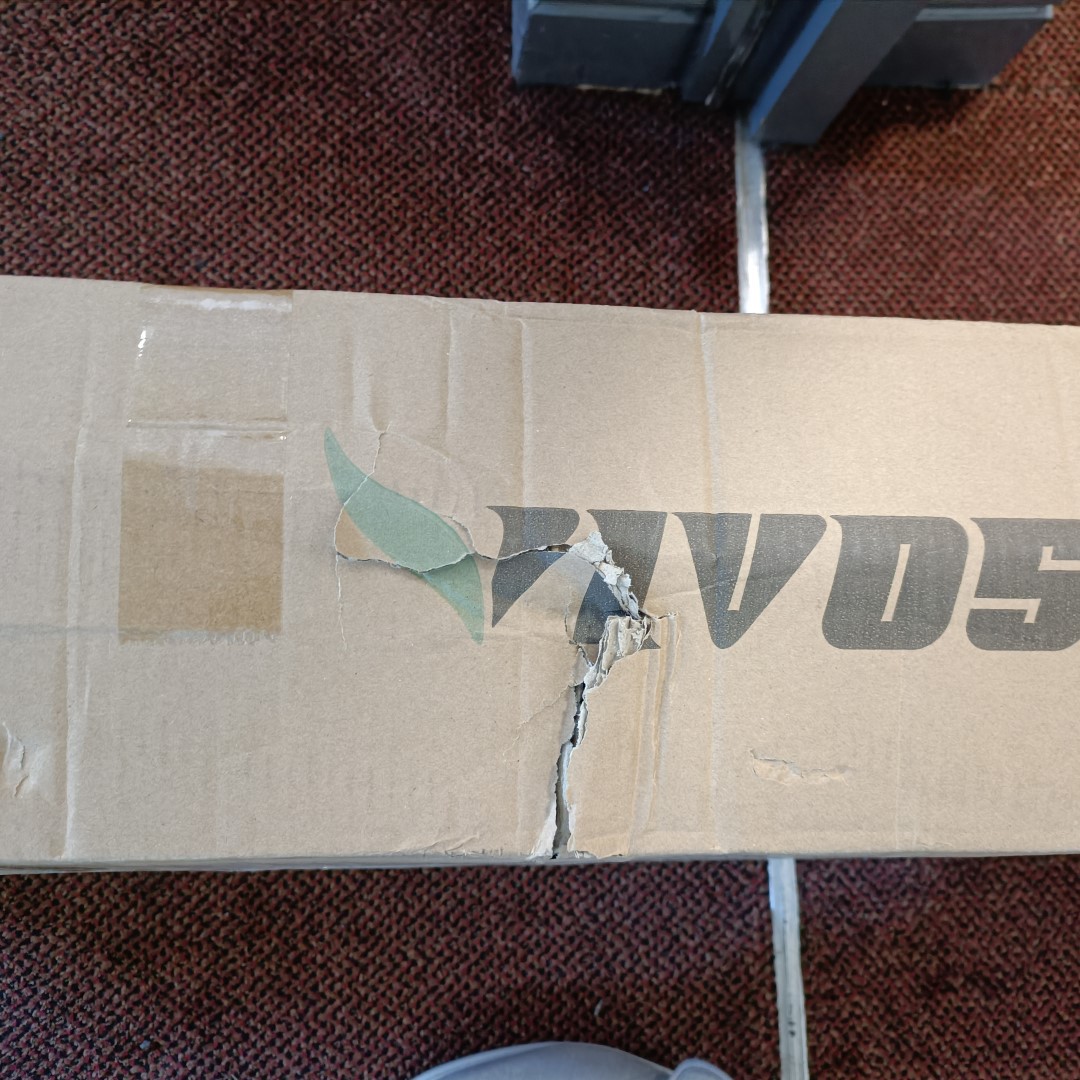
Not sure what that cutout of silver fabric is for, but I'm already not a fan of the branding. I did notice (over the couse of working with this tent) that my internal voice was repeating "Vivosun" loads because I was automatically reading text.
Anyway I took everything out and took pictures of every step of the way, because I feel that the majority of growtent buyers are only concerned with putting the tent up and less so of taking it down again.
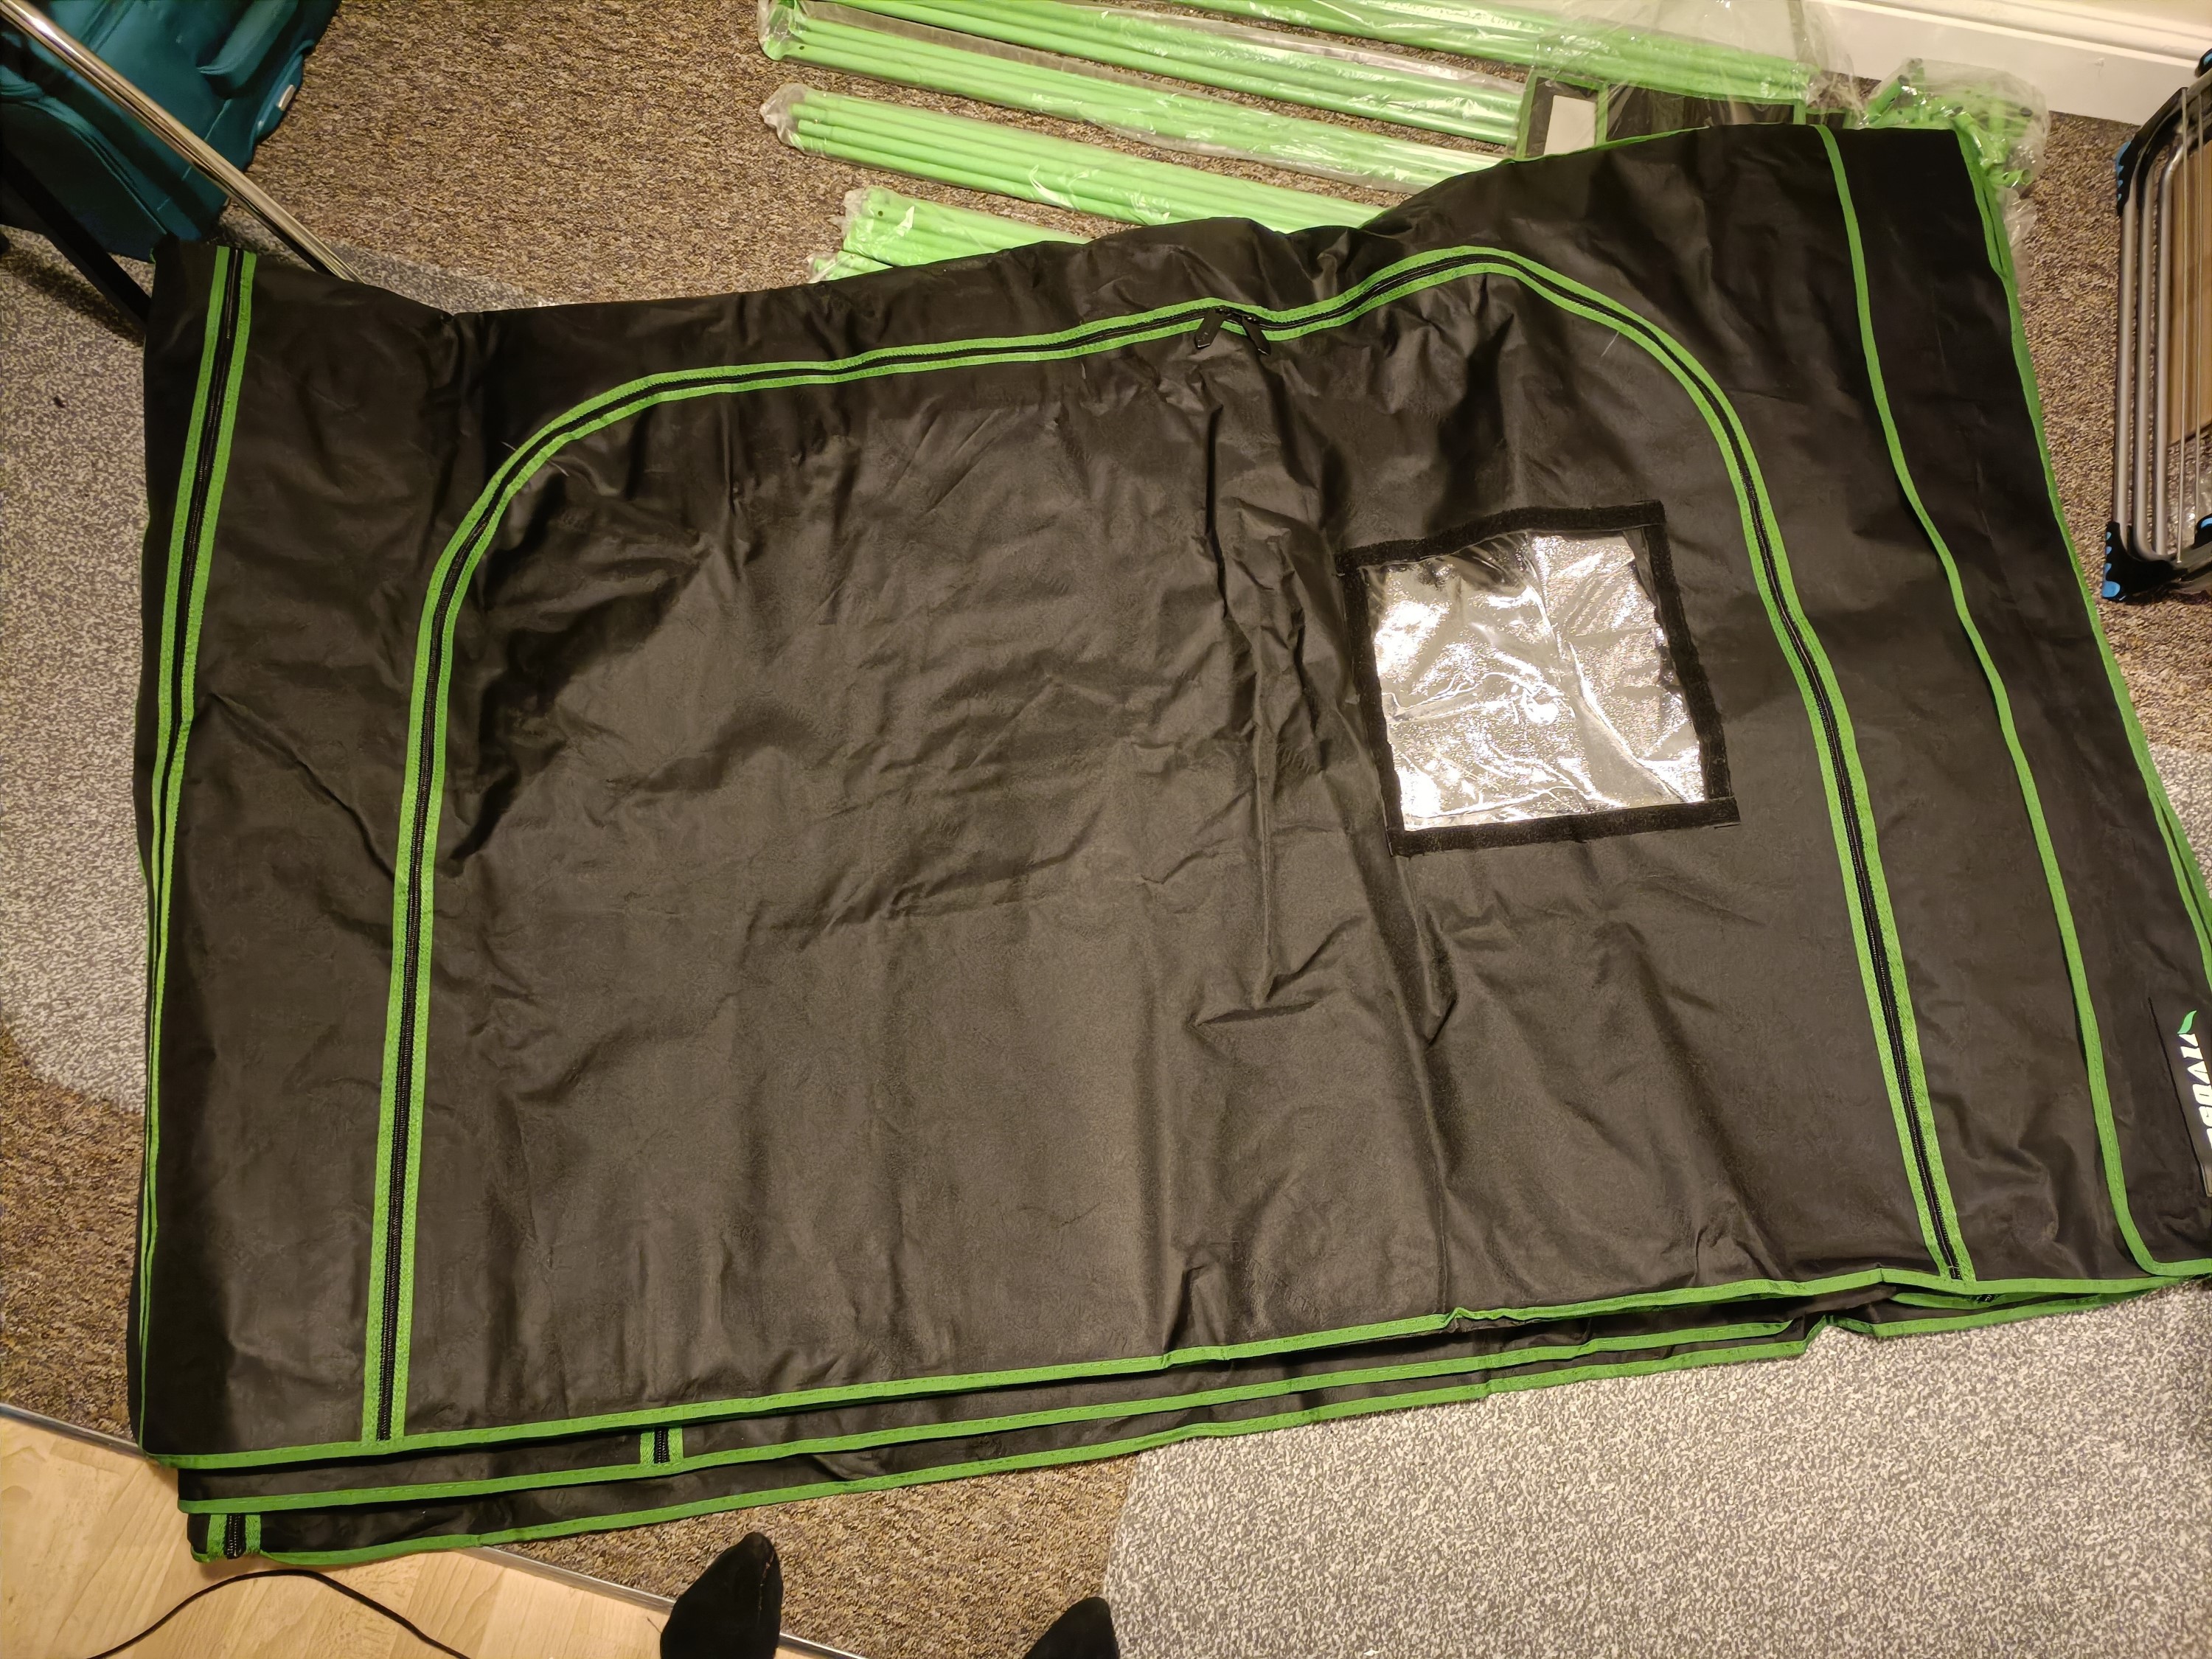
There was also a second rectangle of reflective fabric. under the main tent (and liquid tray). The back of it is a greyish blue.
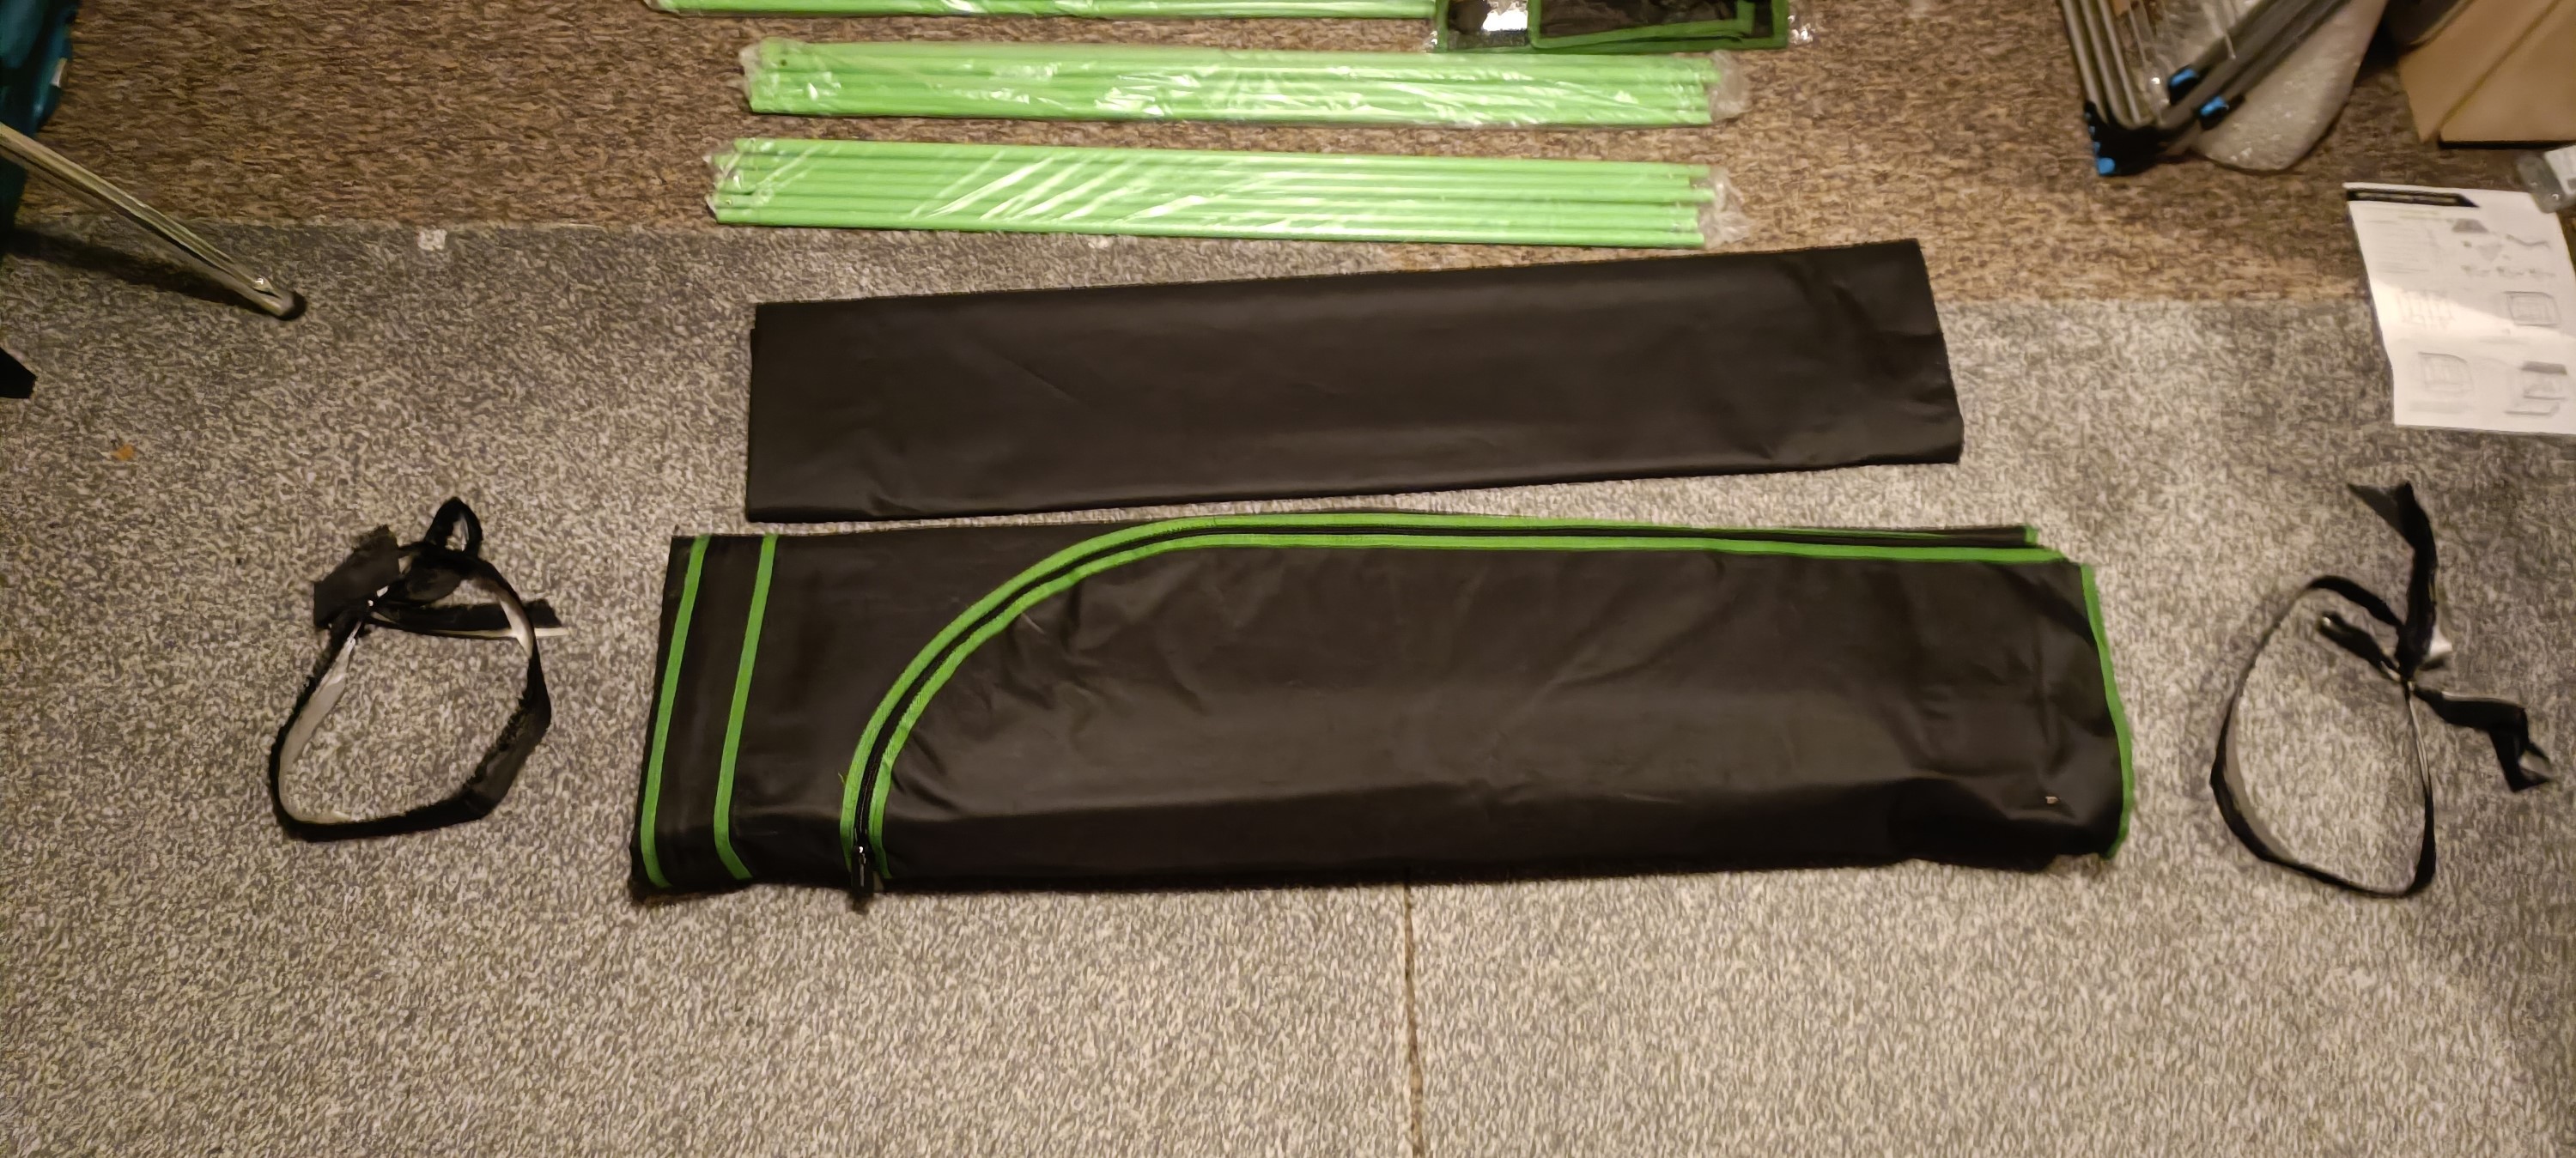
Unfolding the tent
Just in the event that somone wanted to know how to fold such a tent back up again. There have been many instances where I got something all nicely folded and had no idea how to get back to that state after I took it out of the packaging.
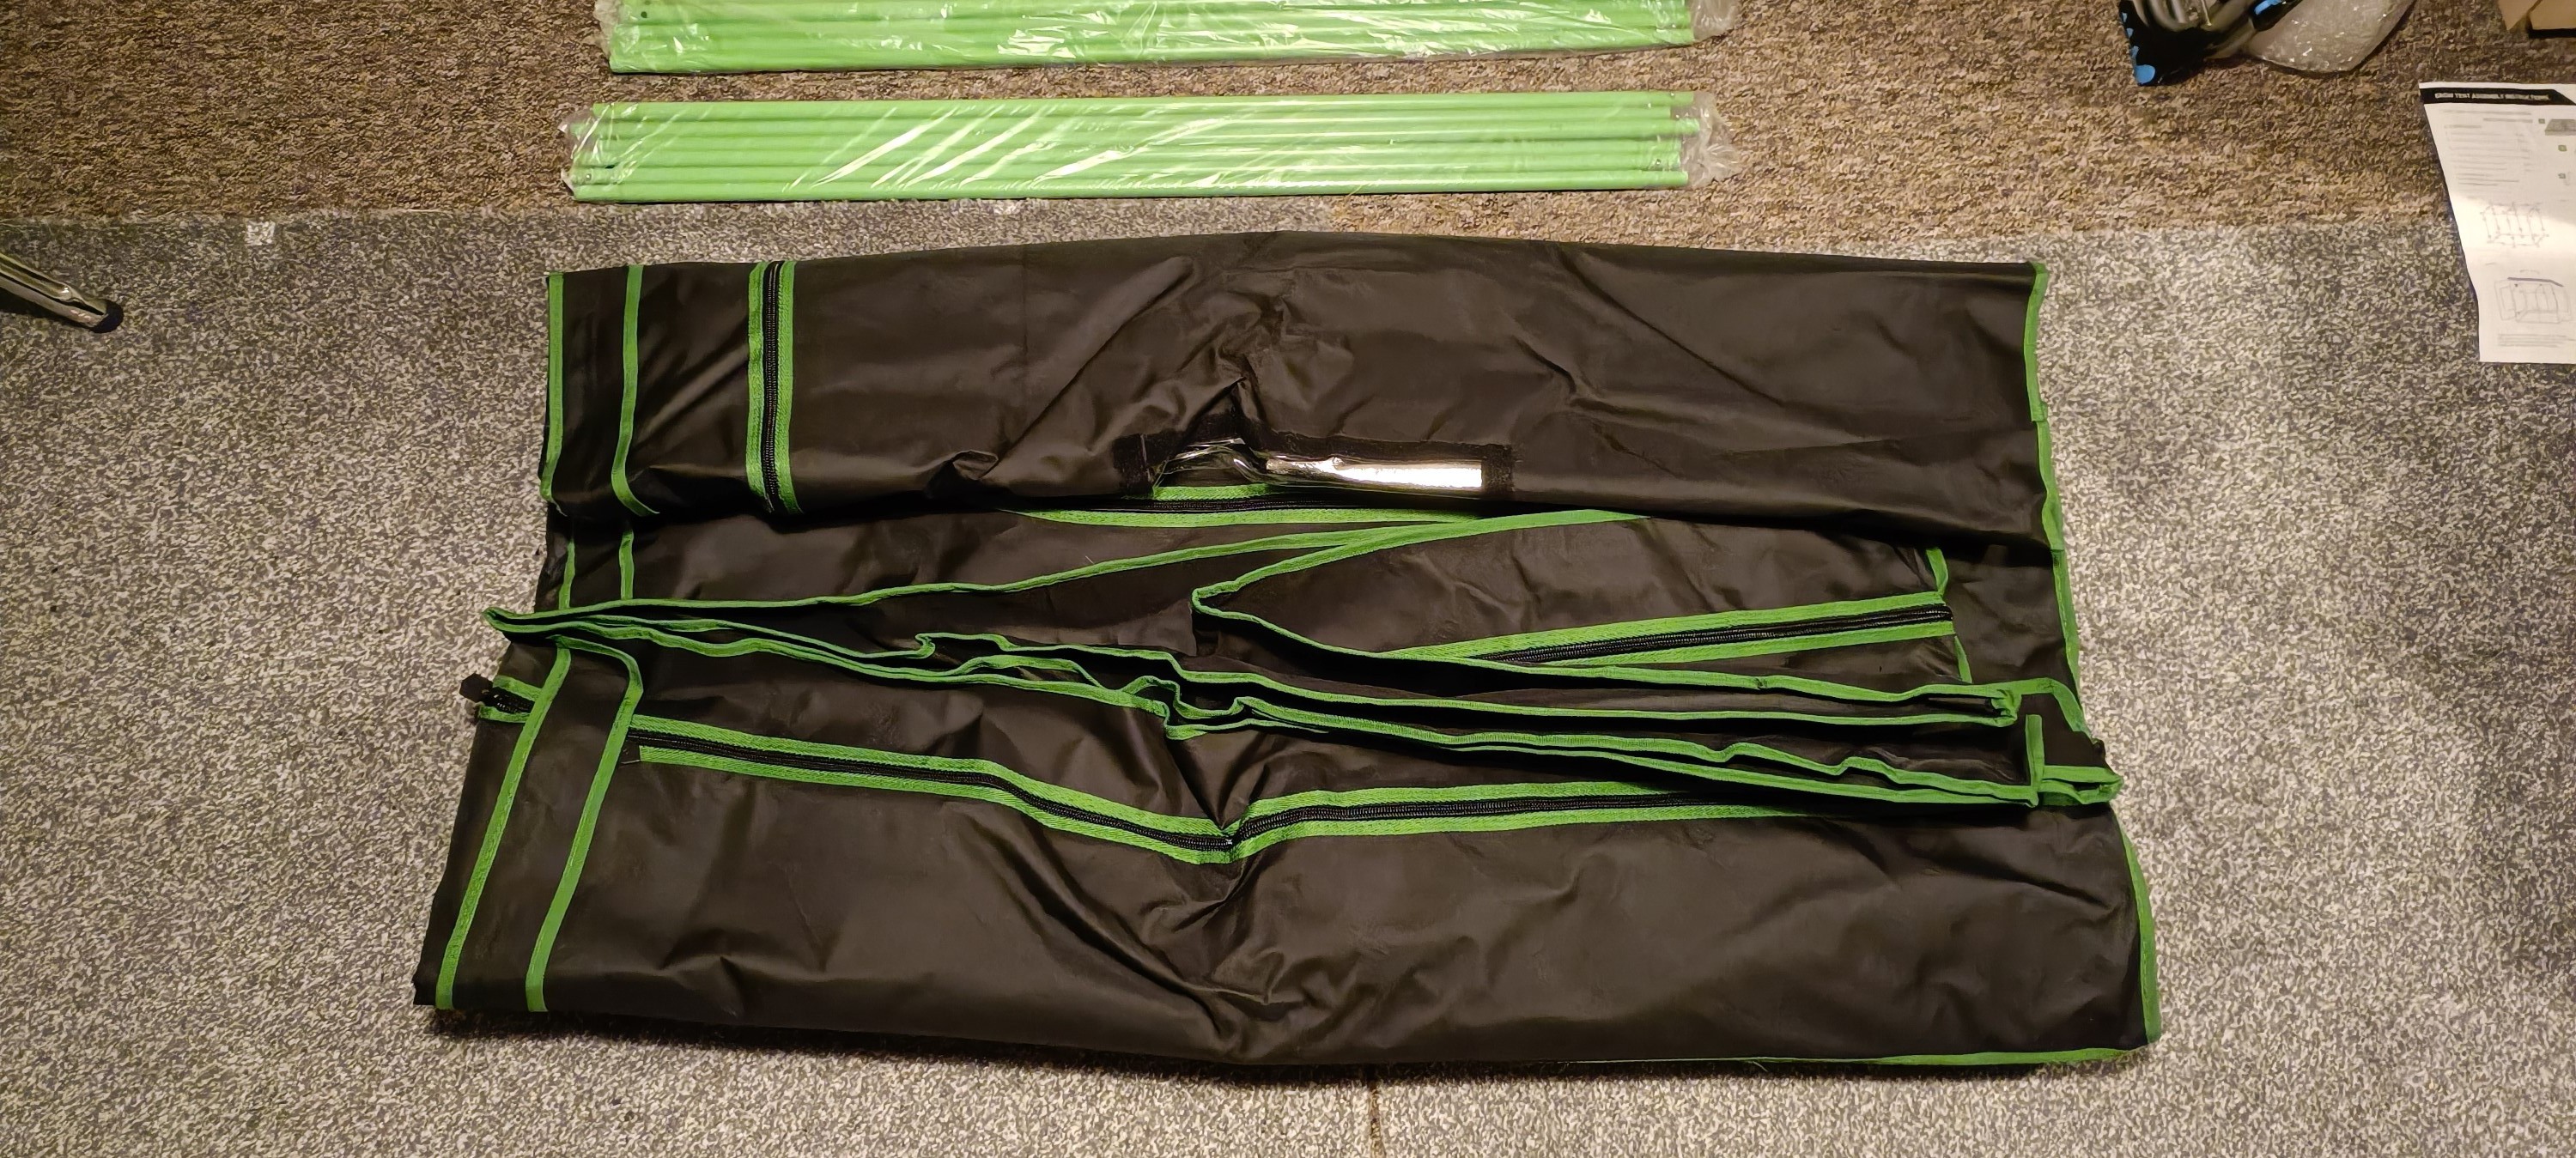
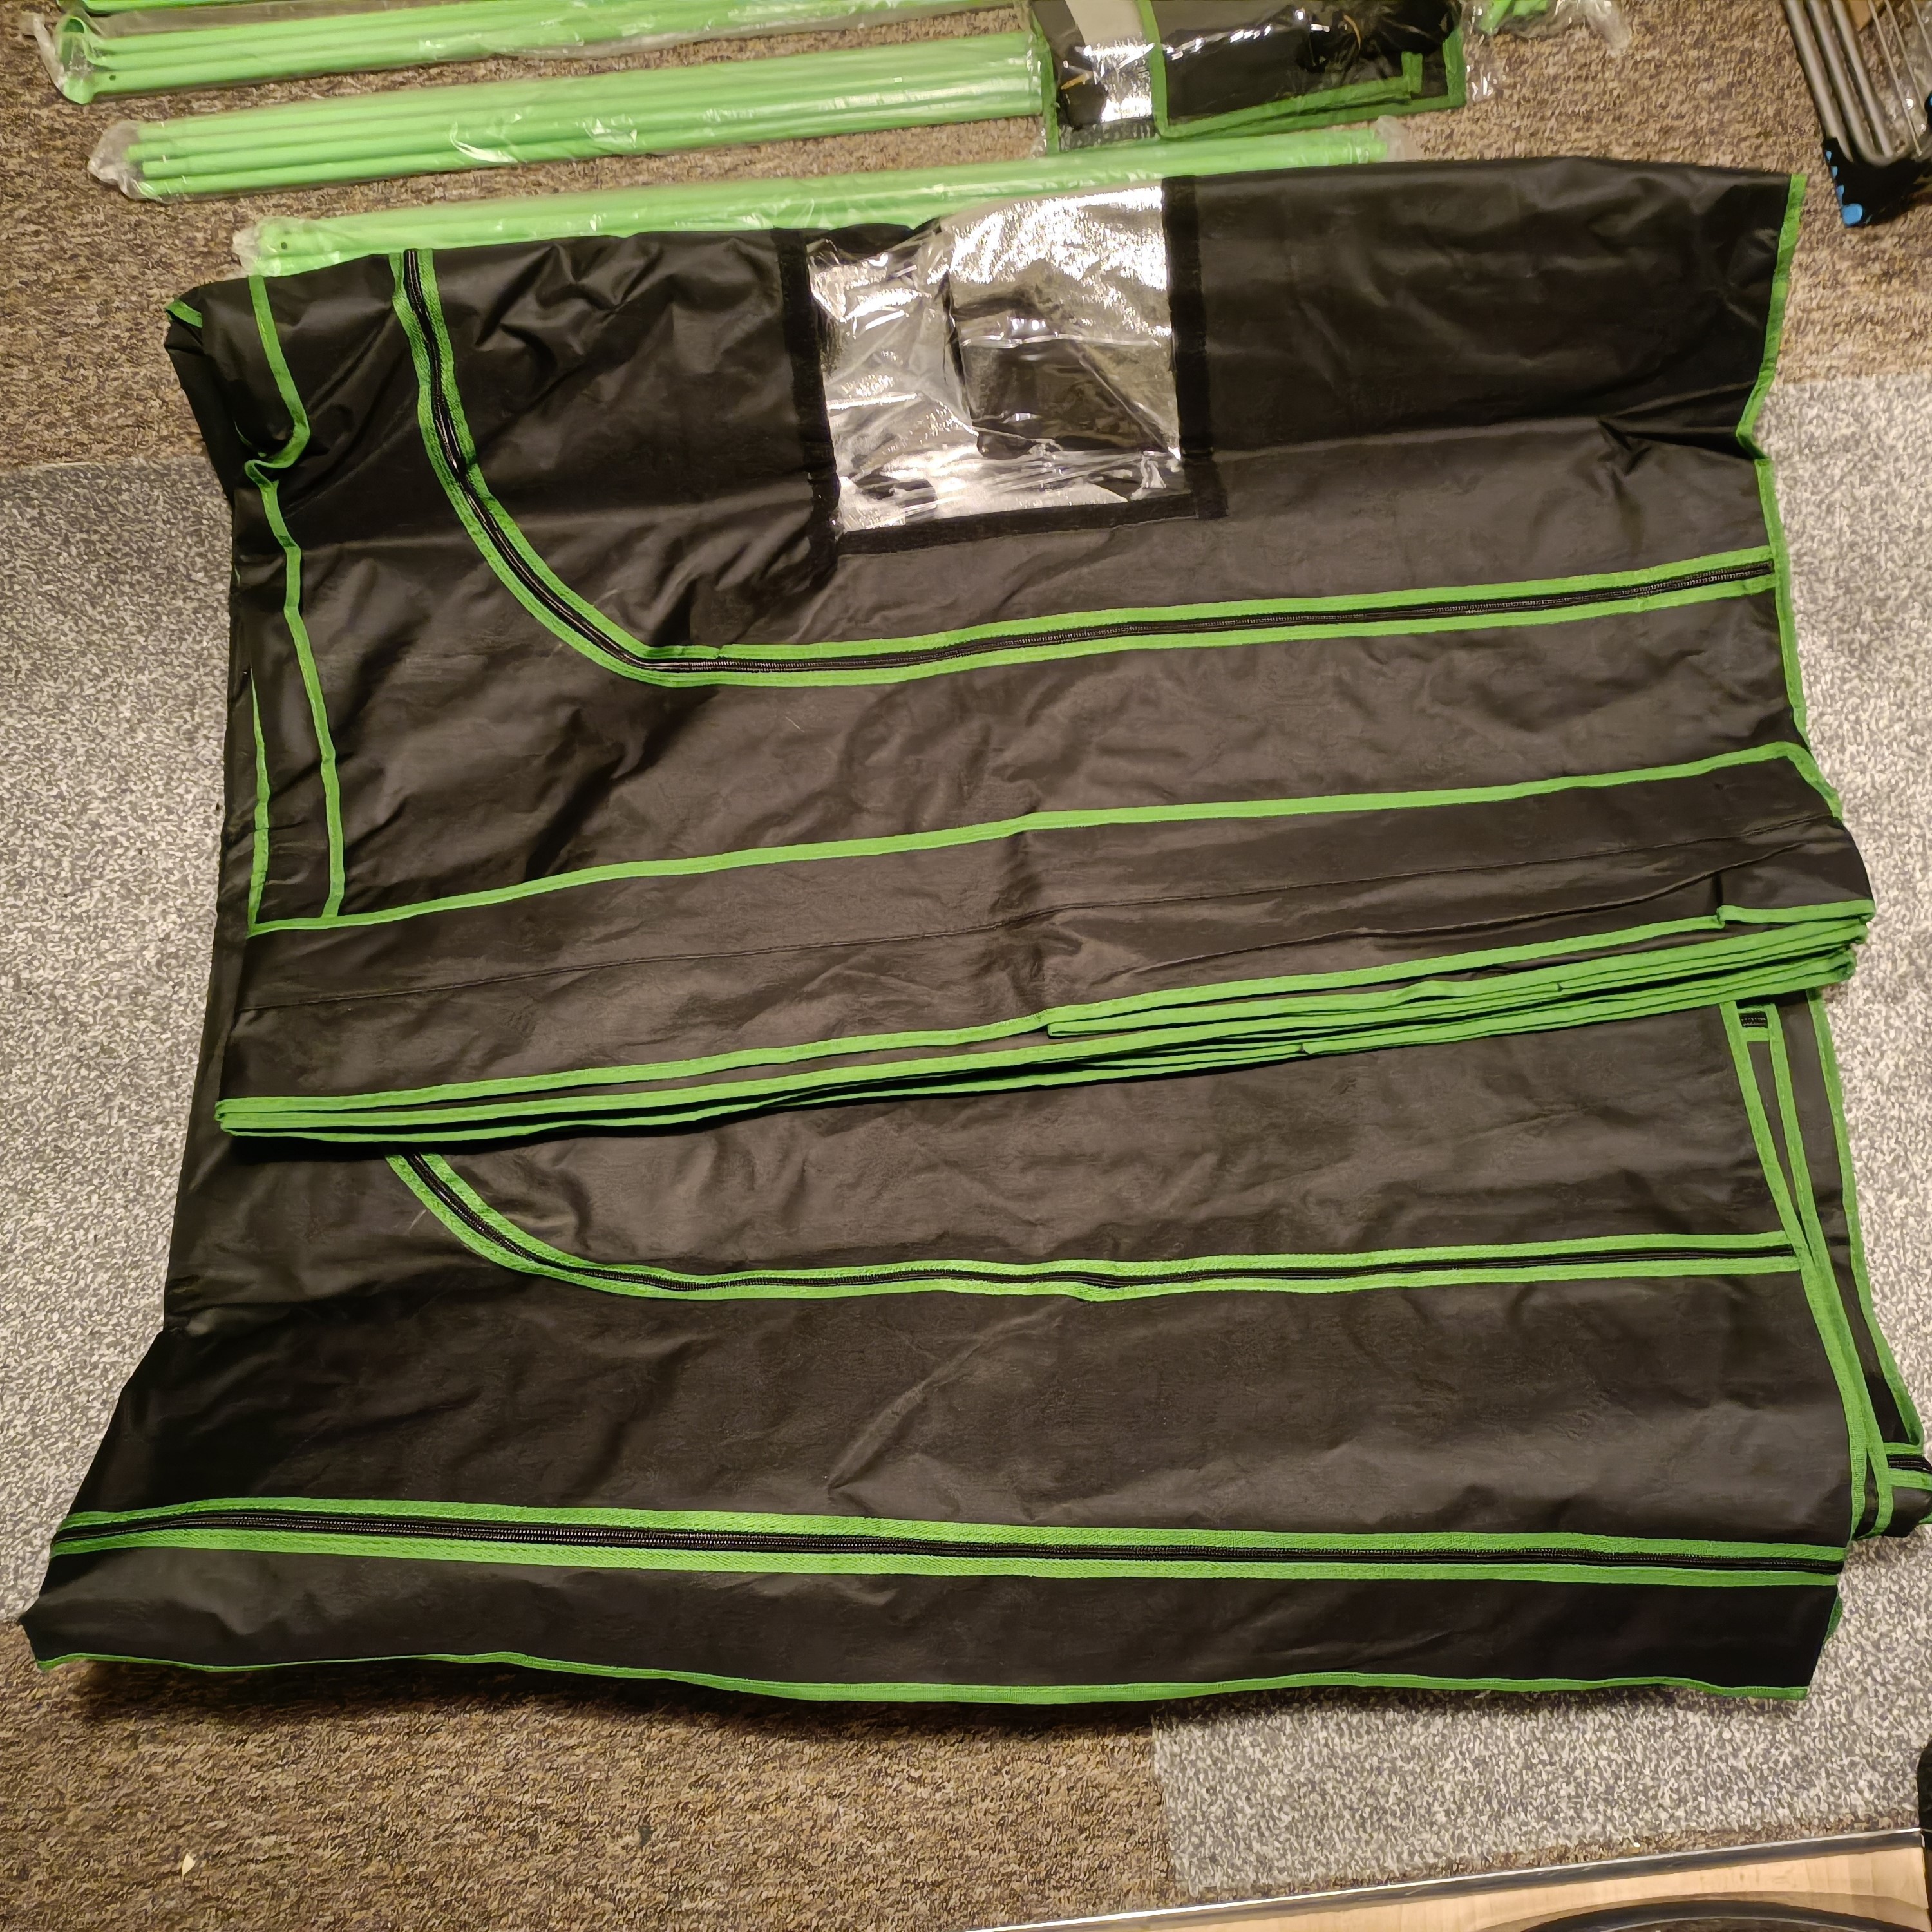
After this is the main fold that turns this 1.2x2m looking thing into a 2.4x2m looking thing.
Looking Around
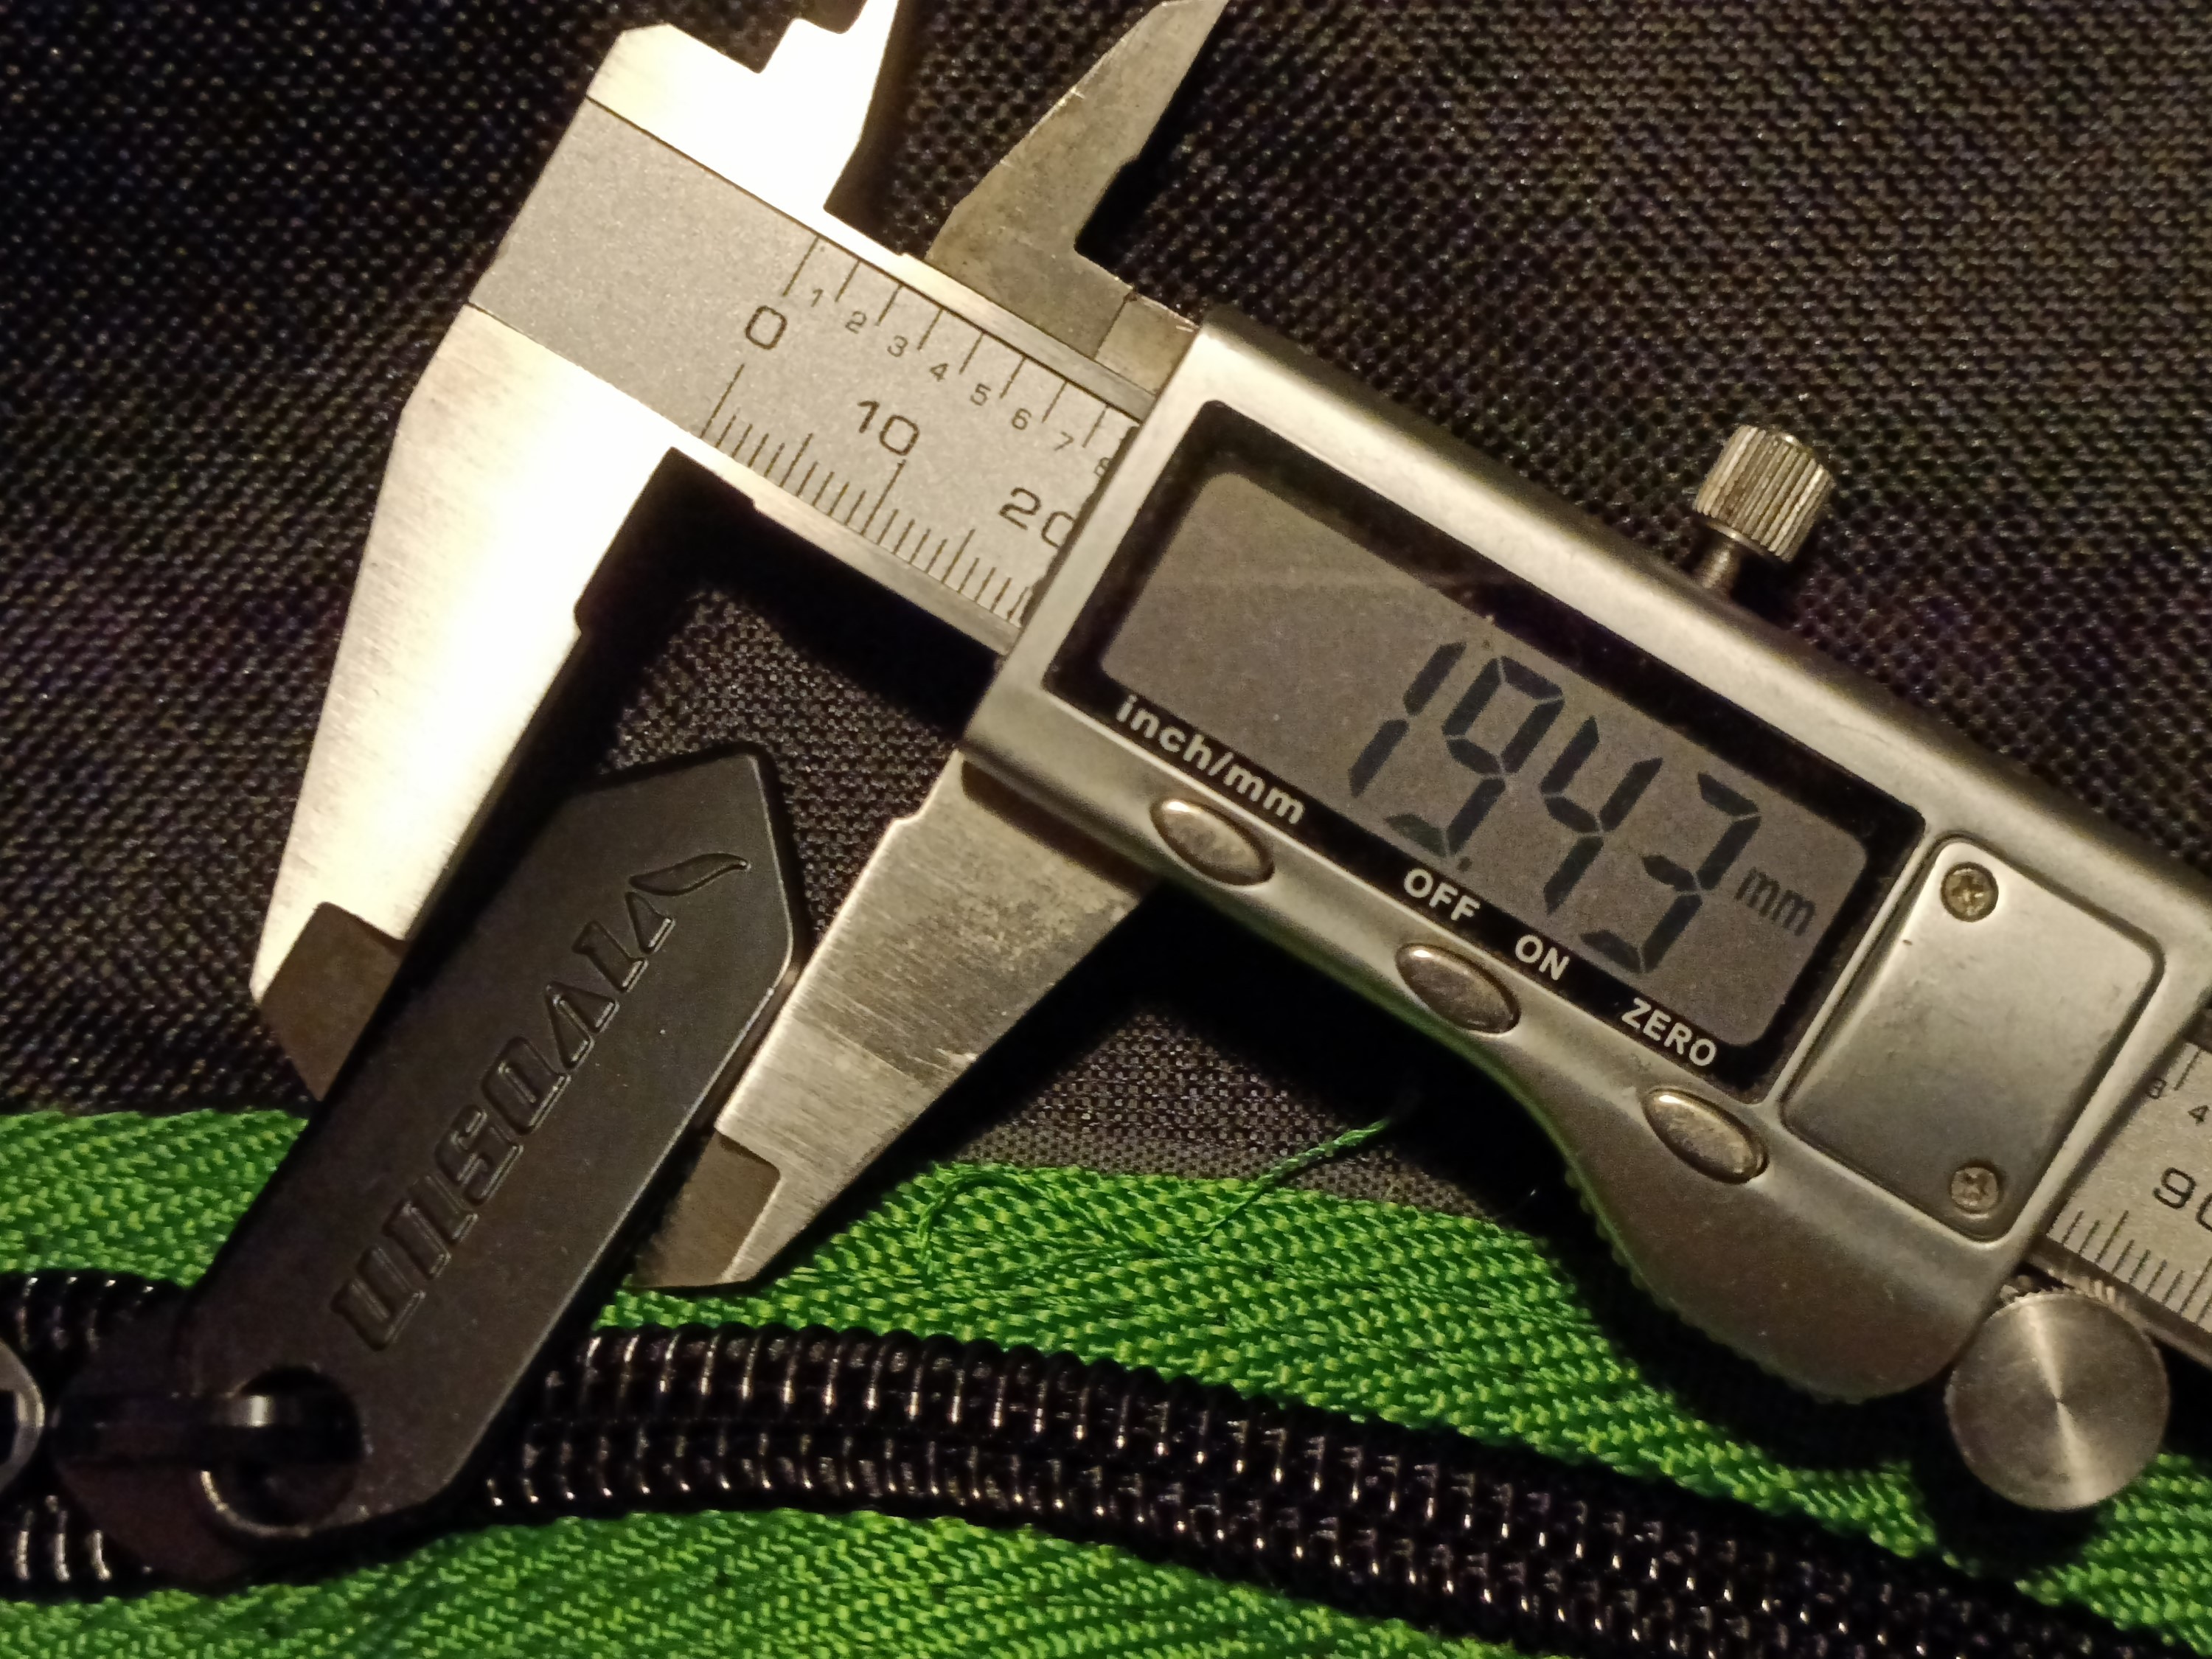
The zipper handles are quite large and made of metal:
 Moving on...
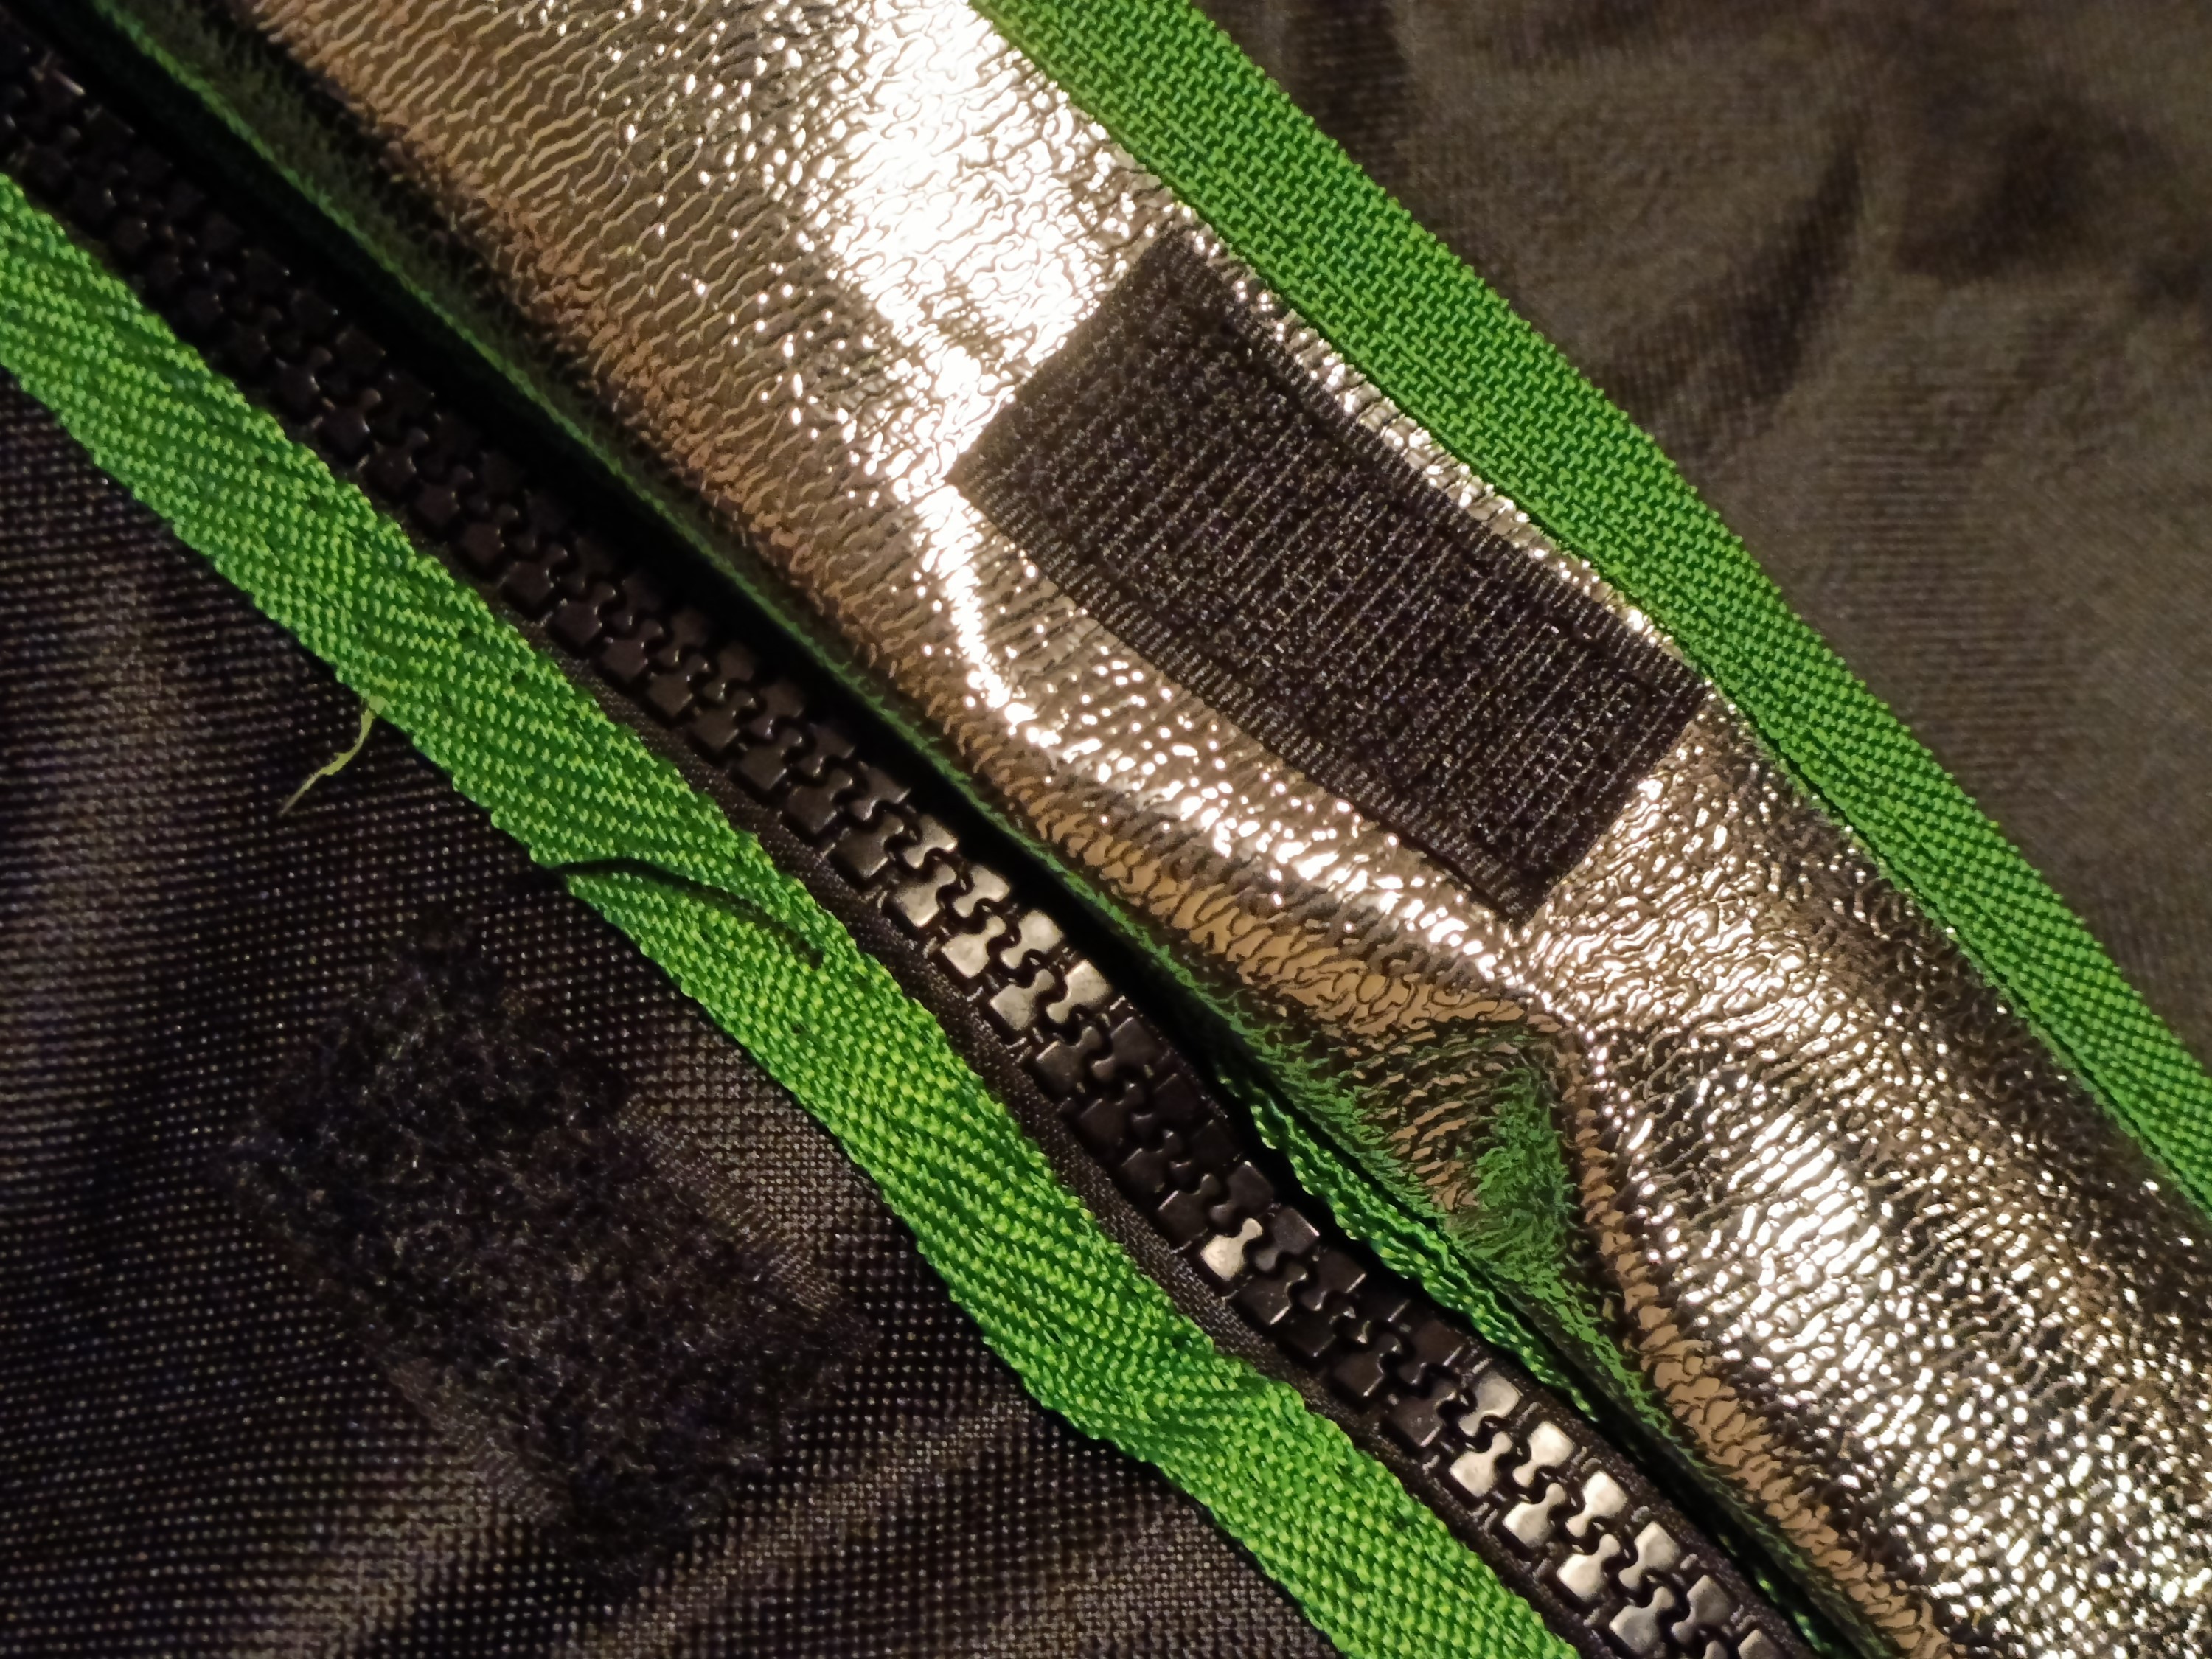
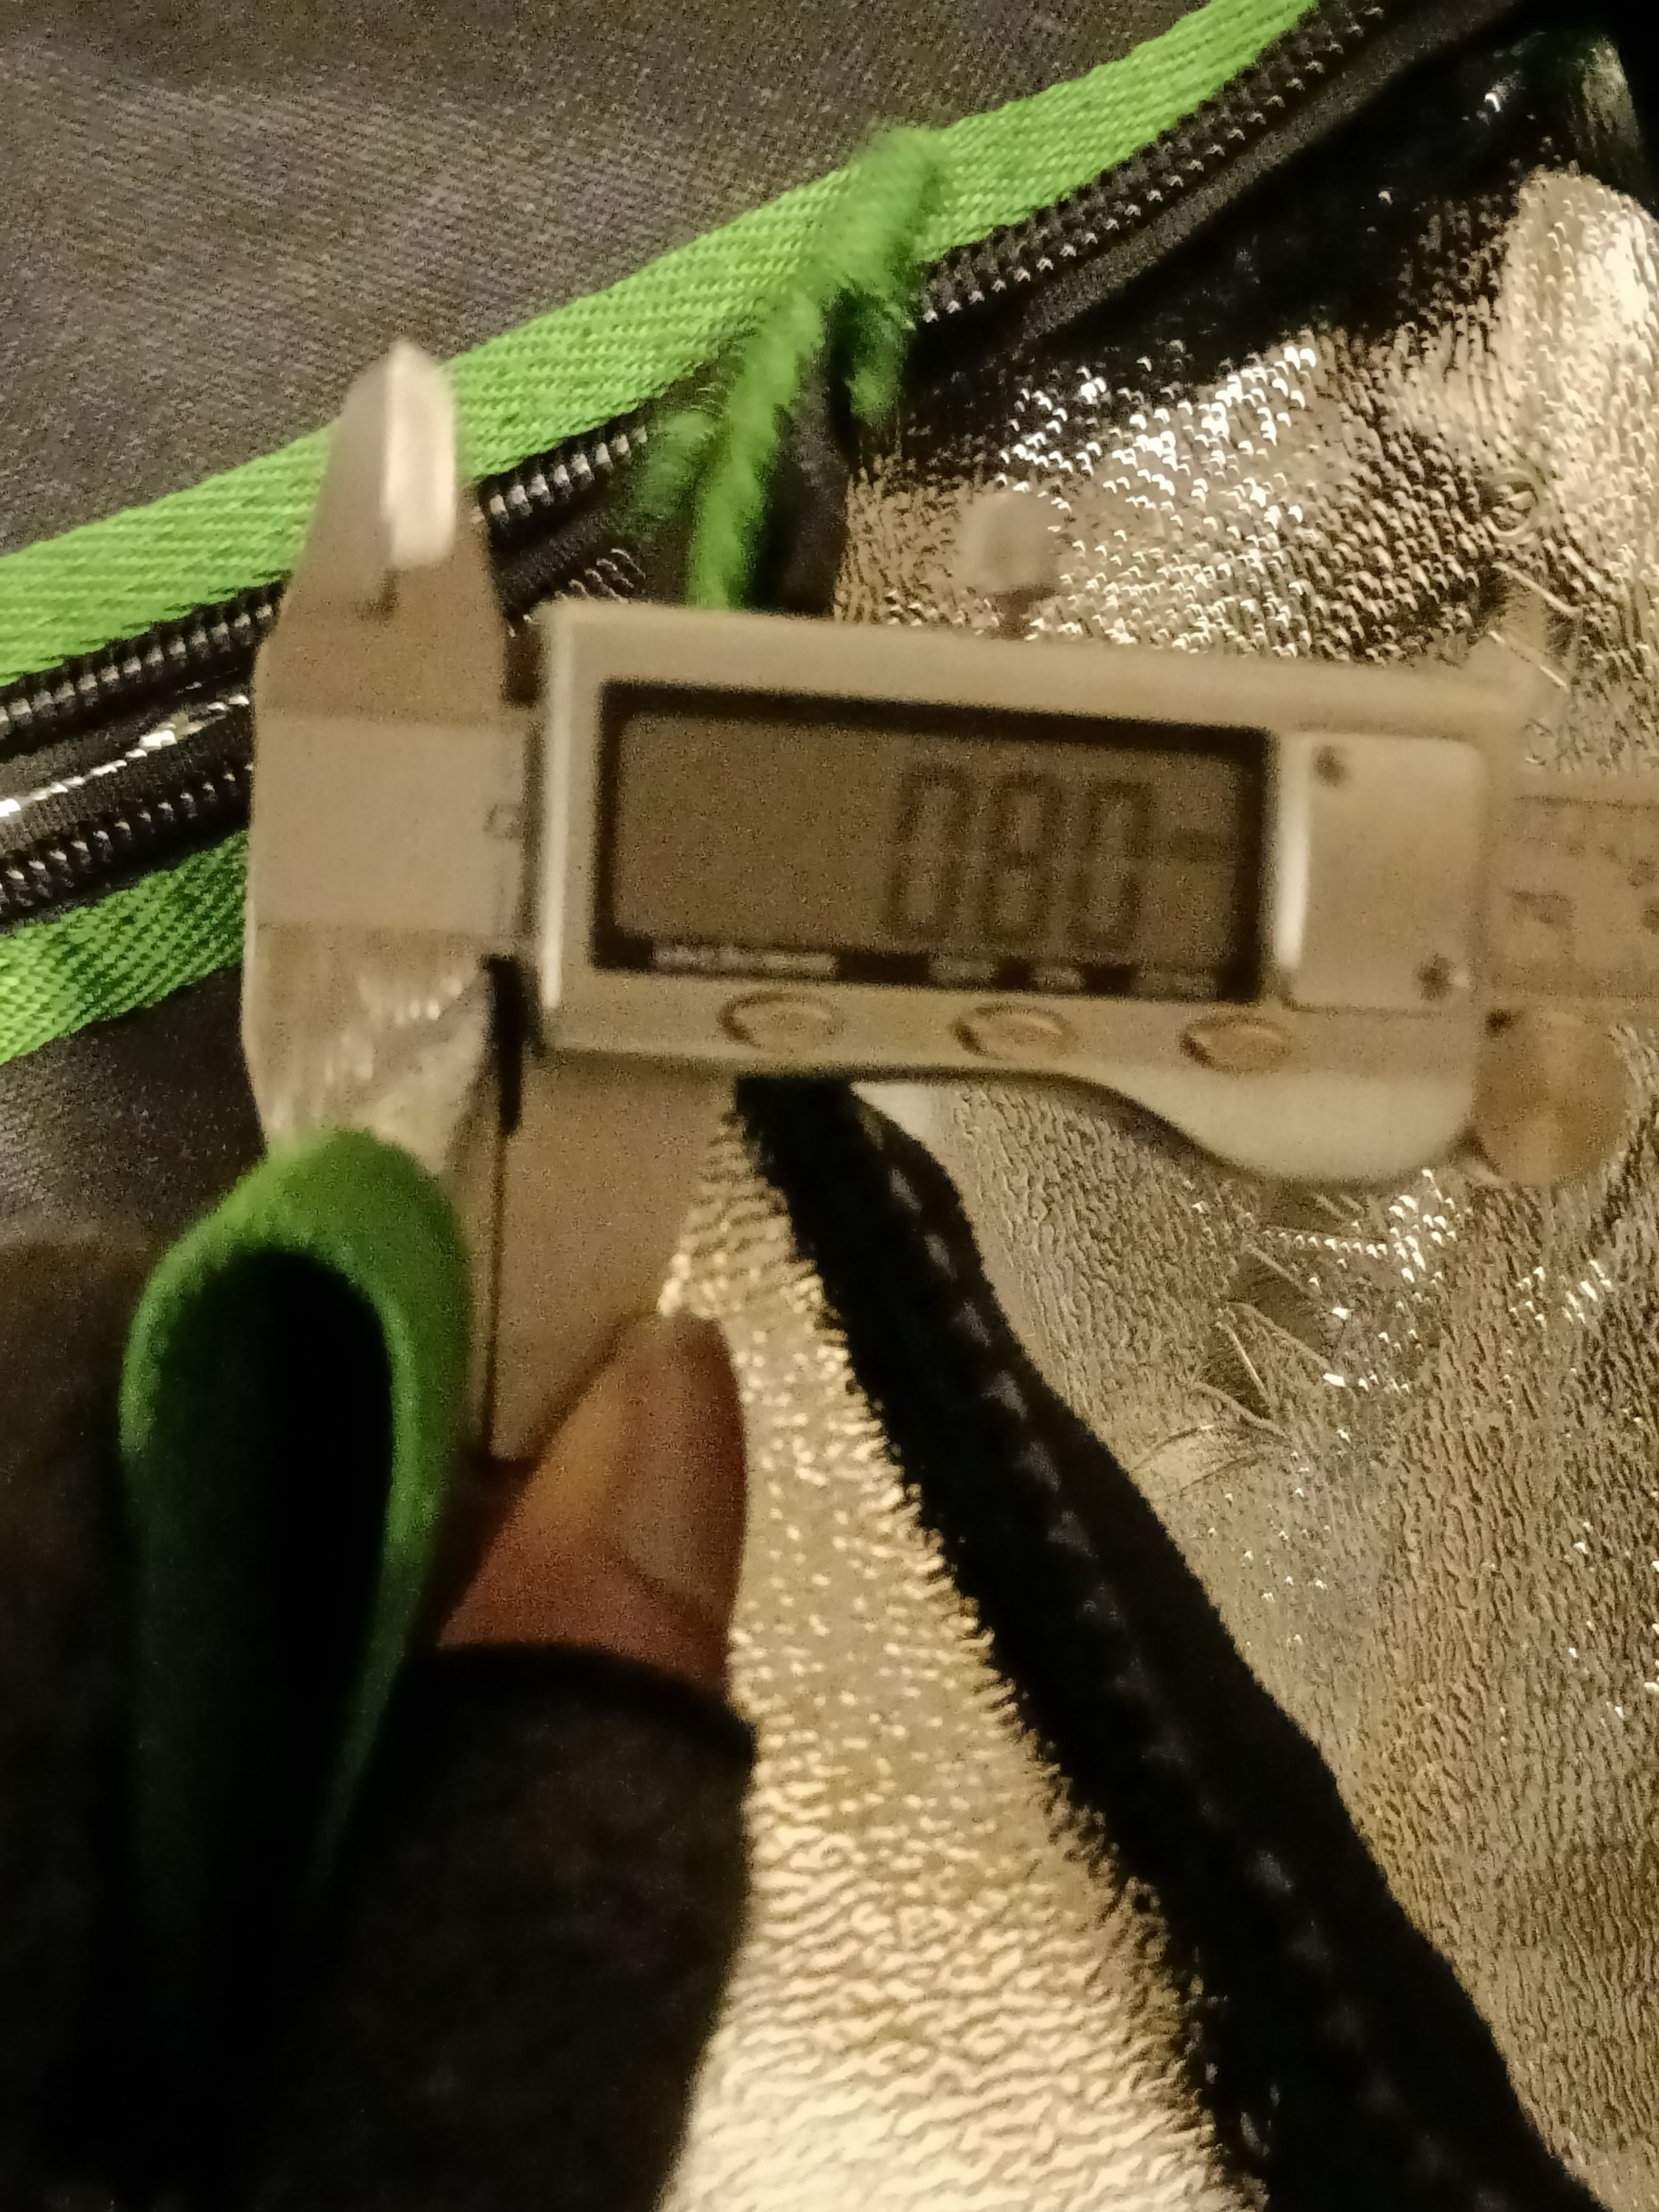
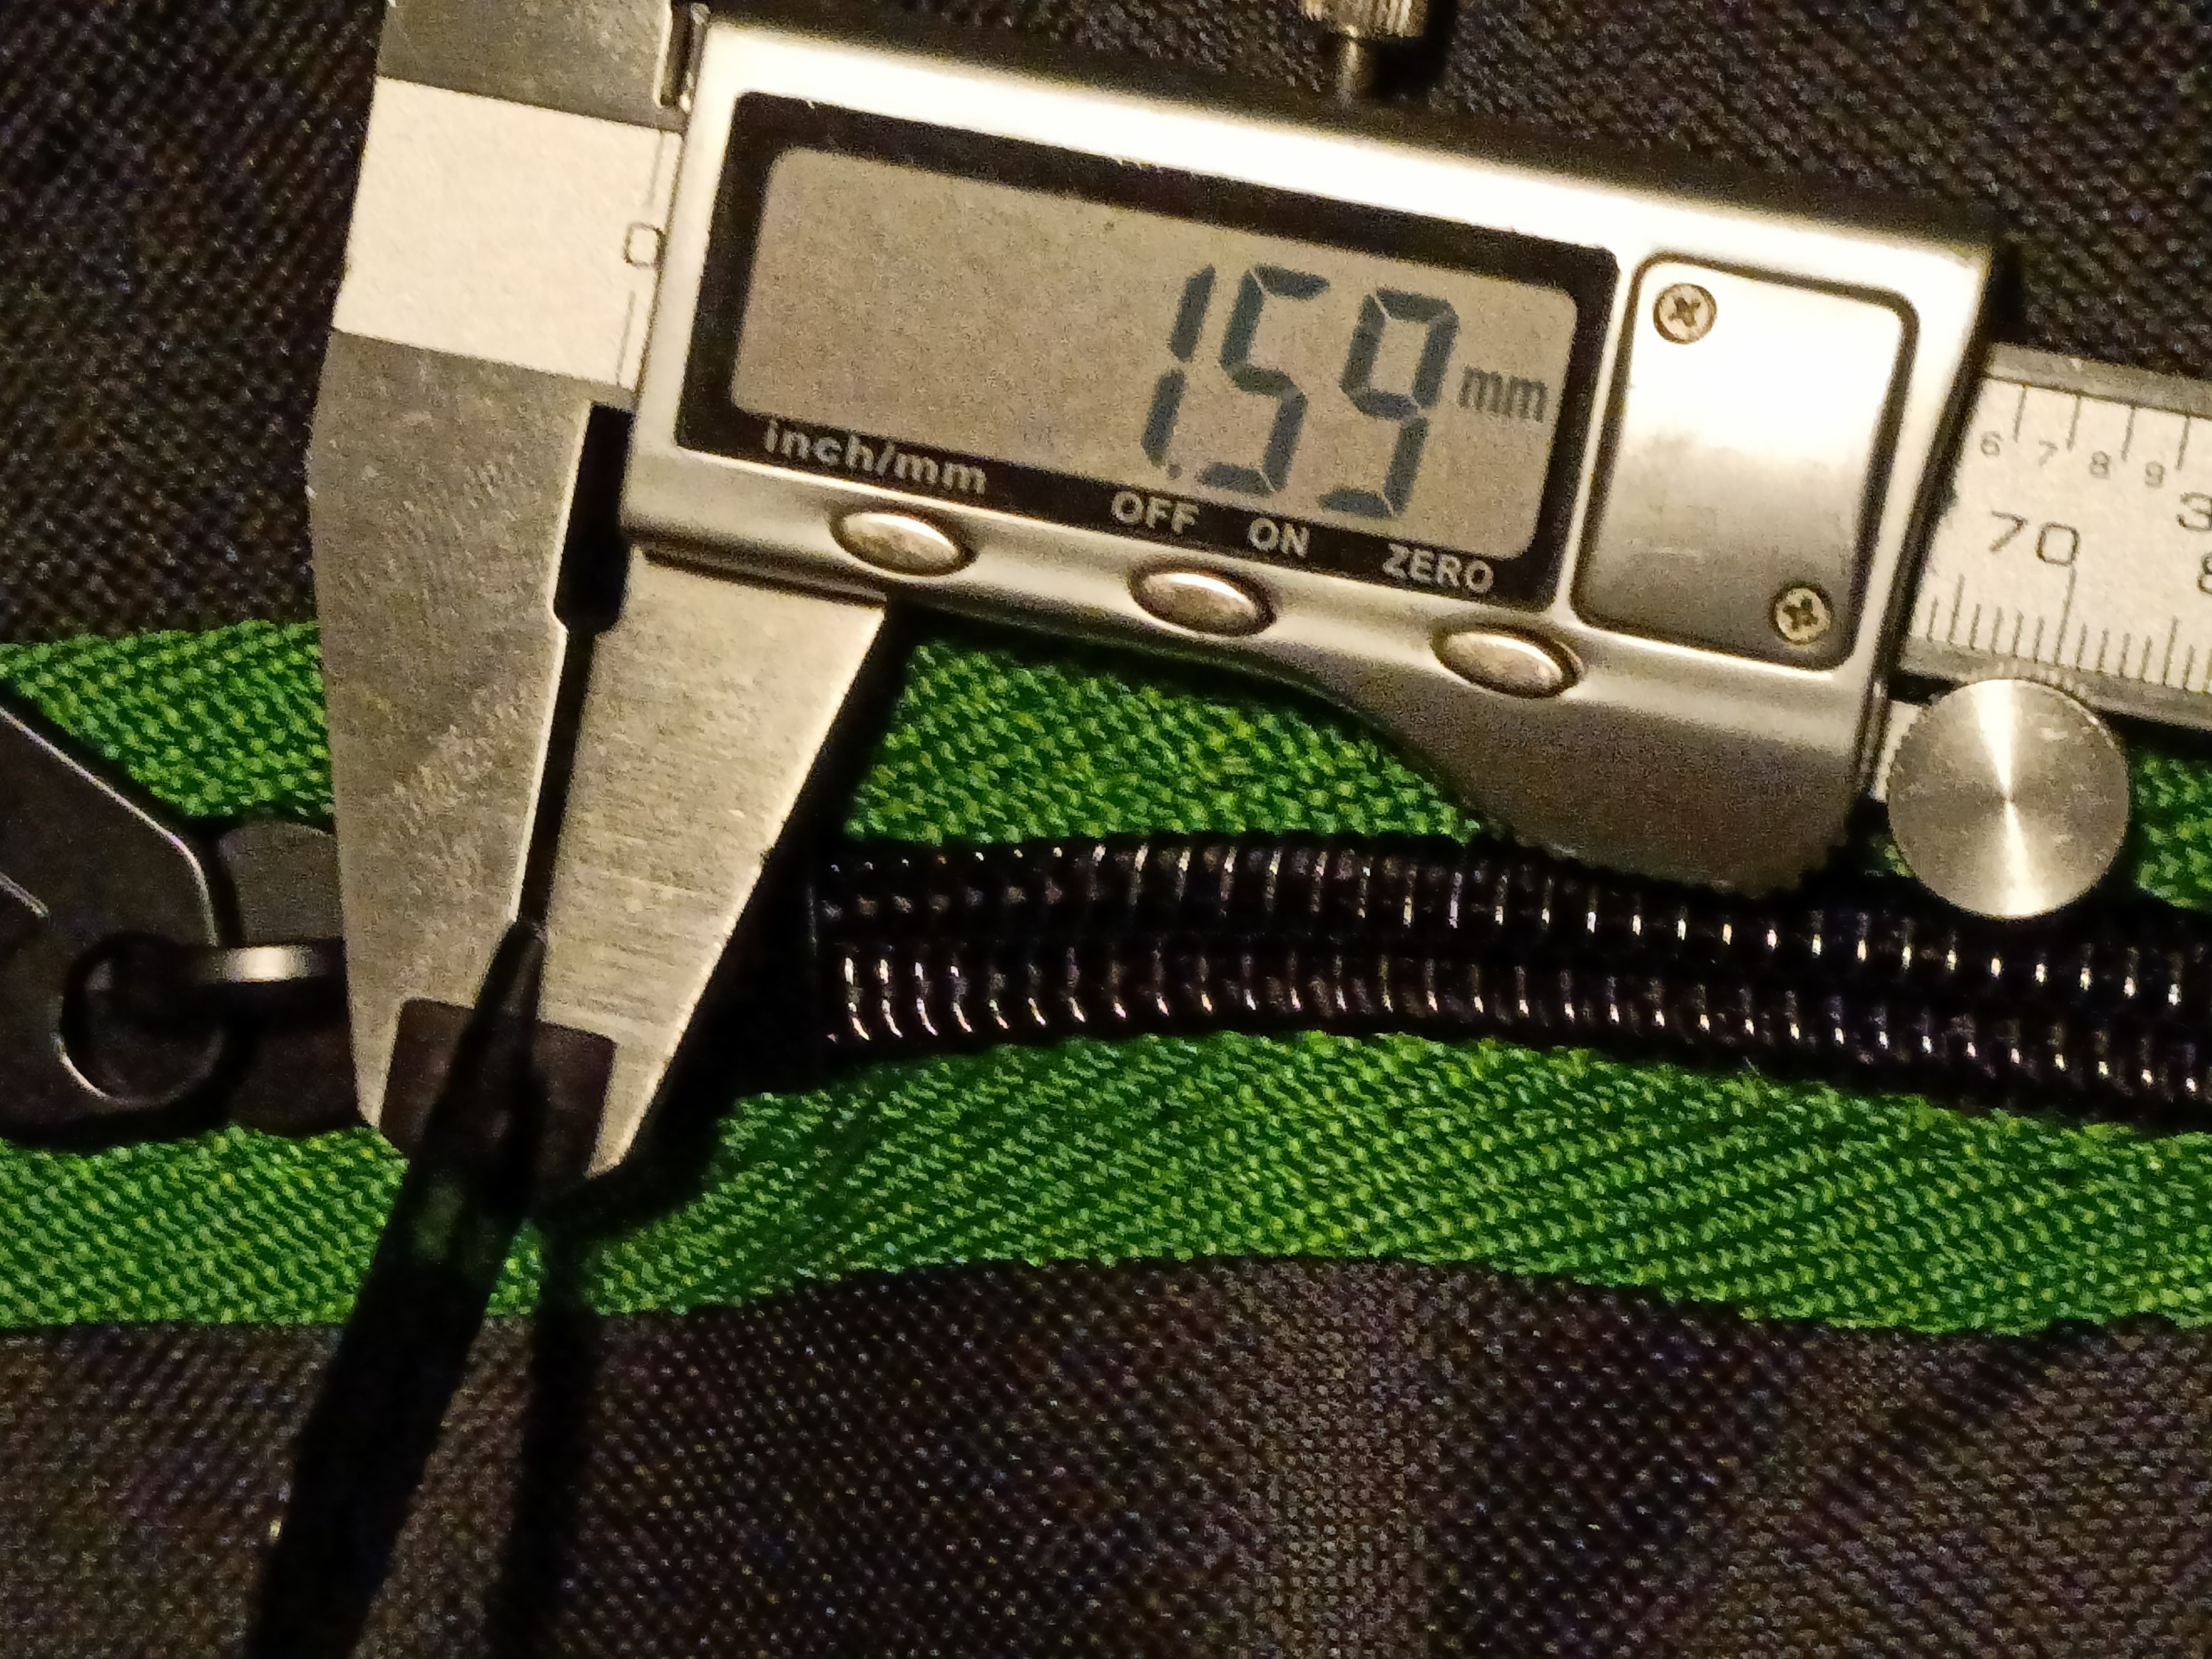
From the sounds of youtubers, I was thinking that 600D was some substantially thick material, but it's 0.4mm thick.
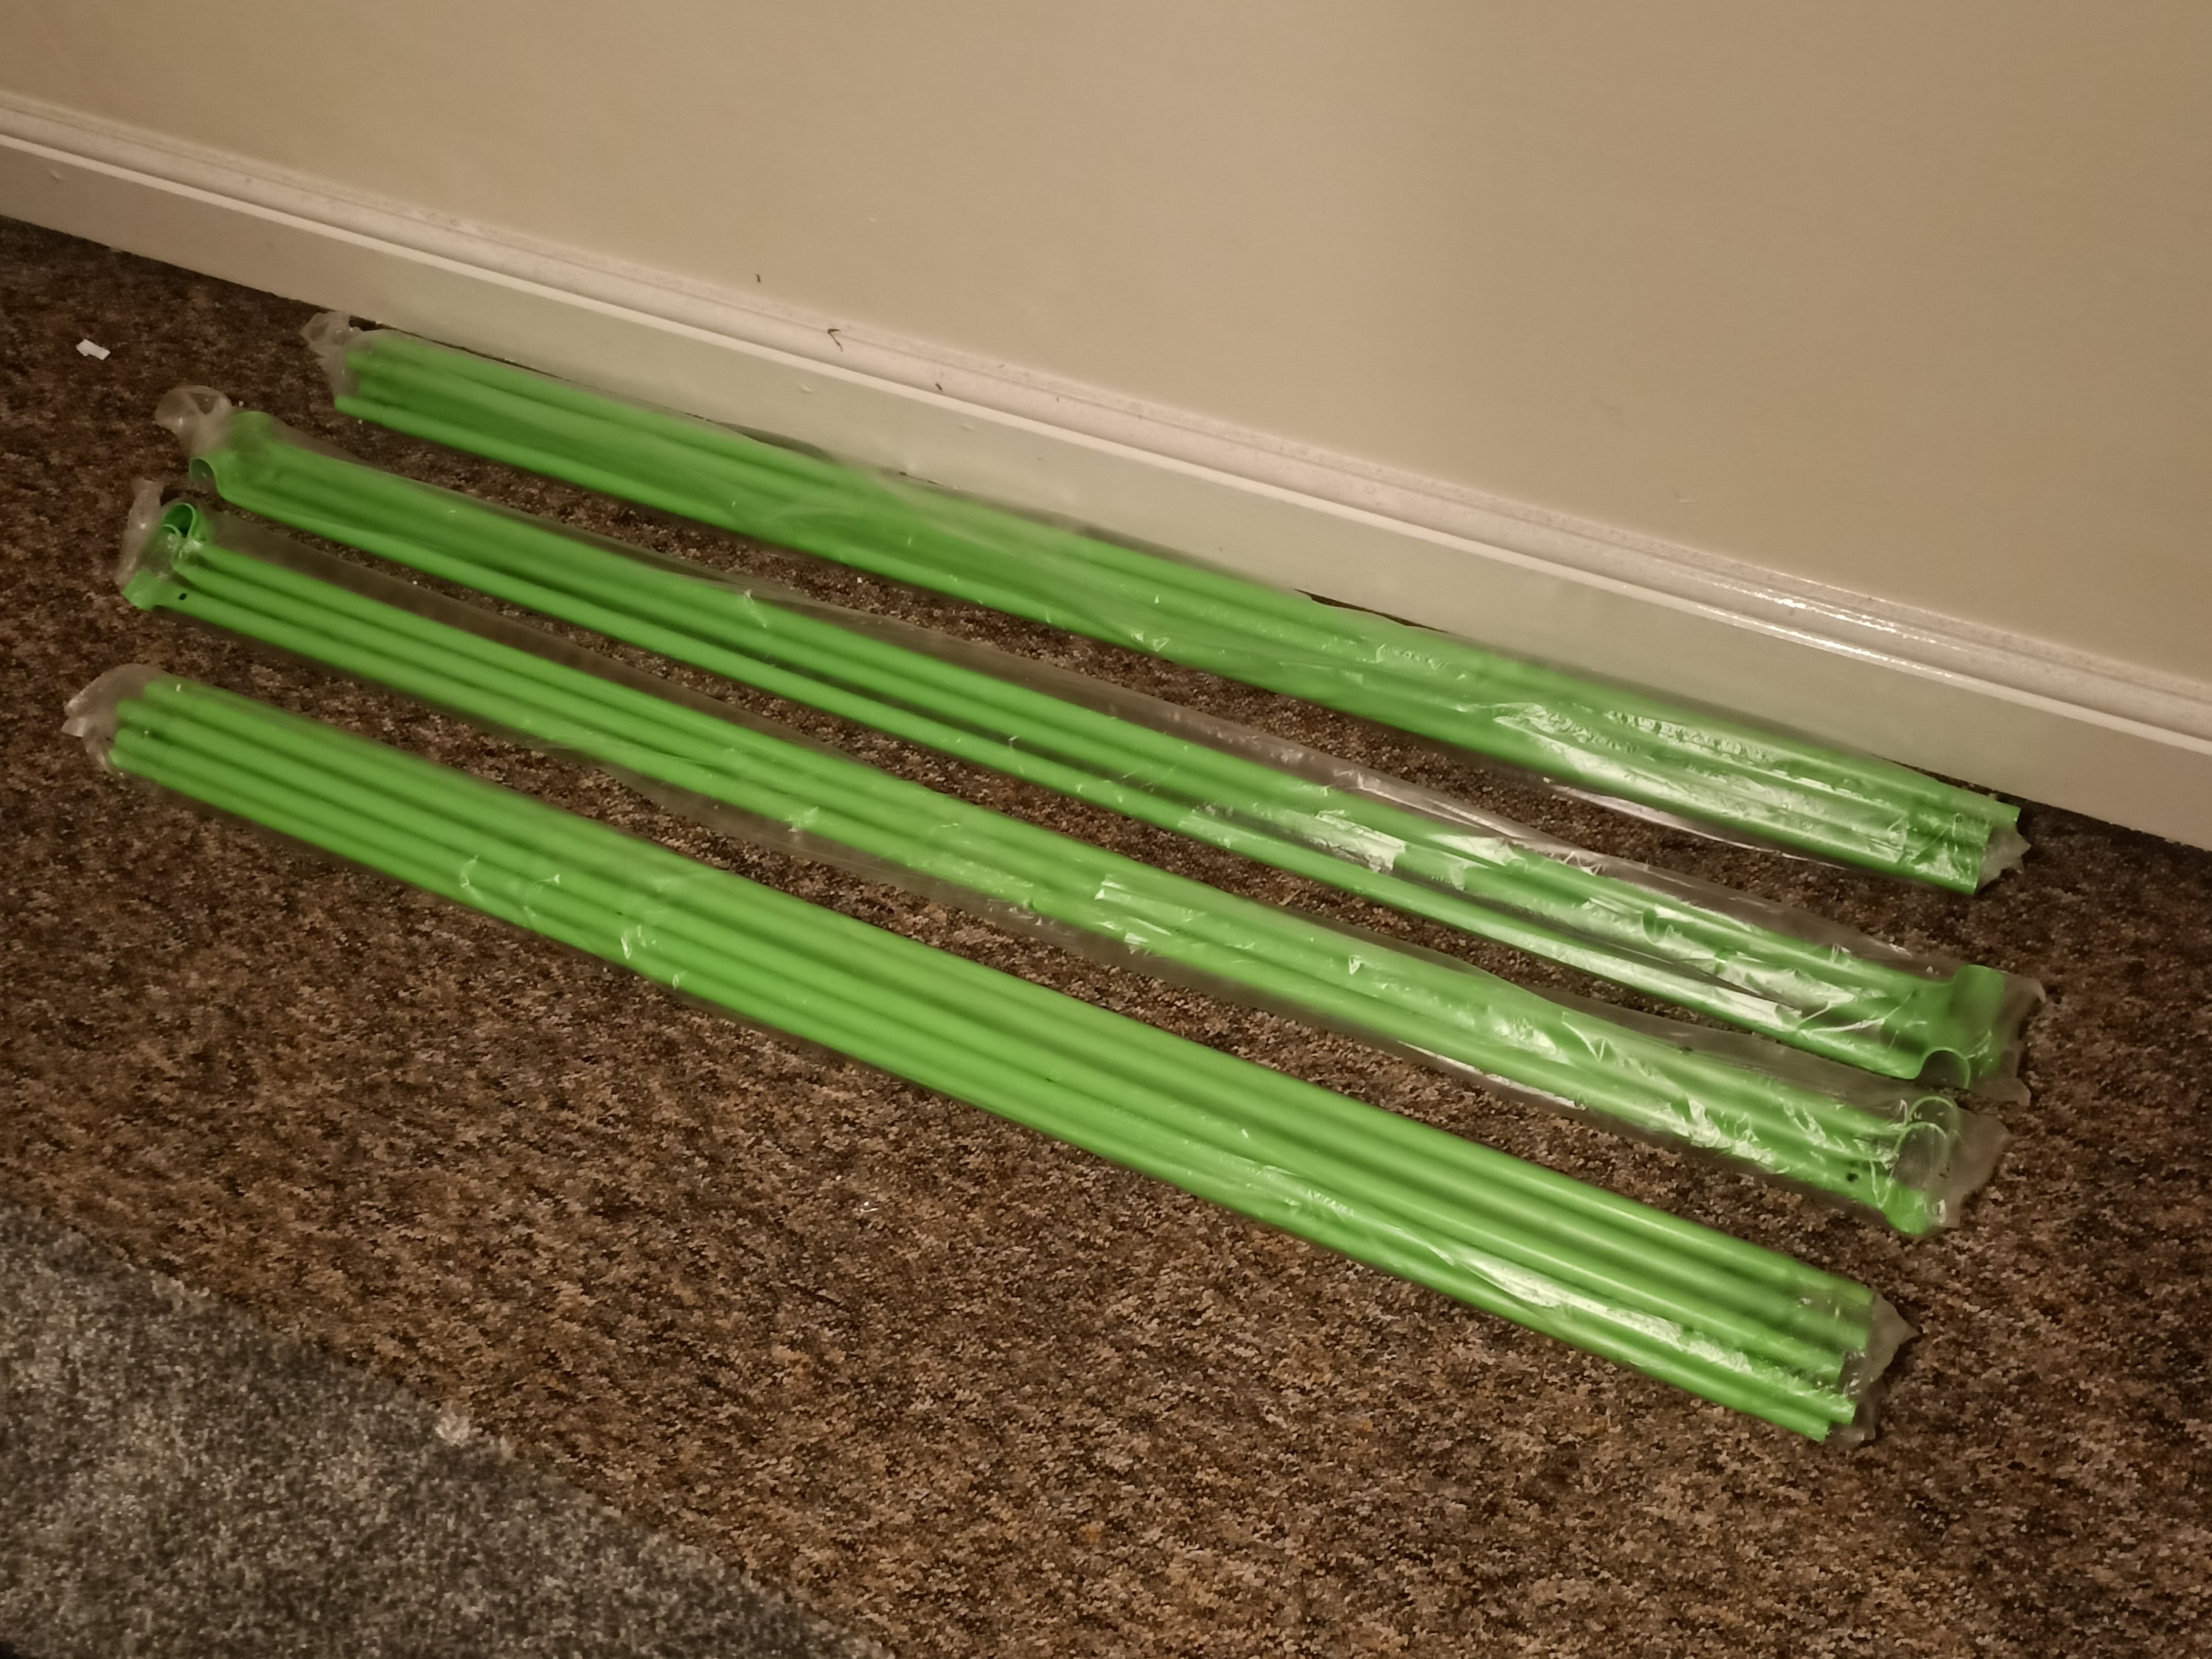
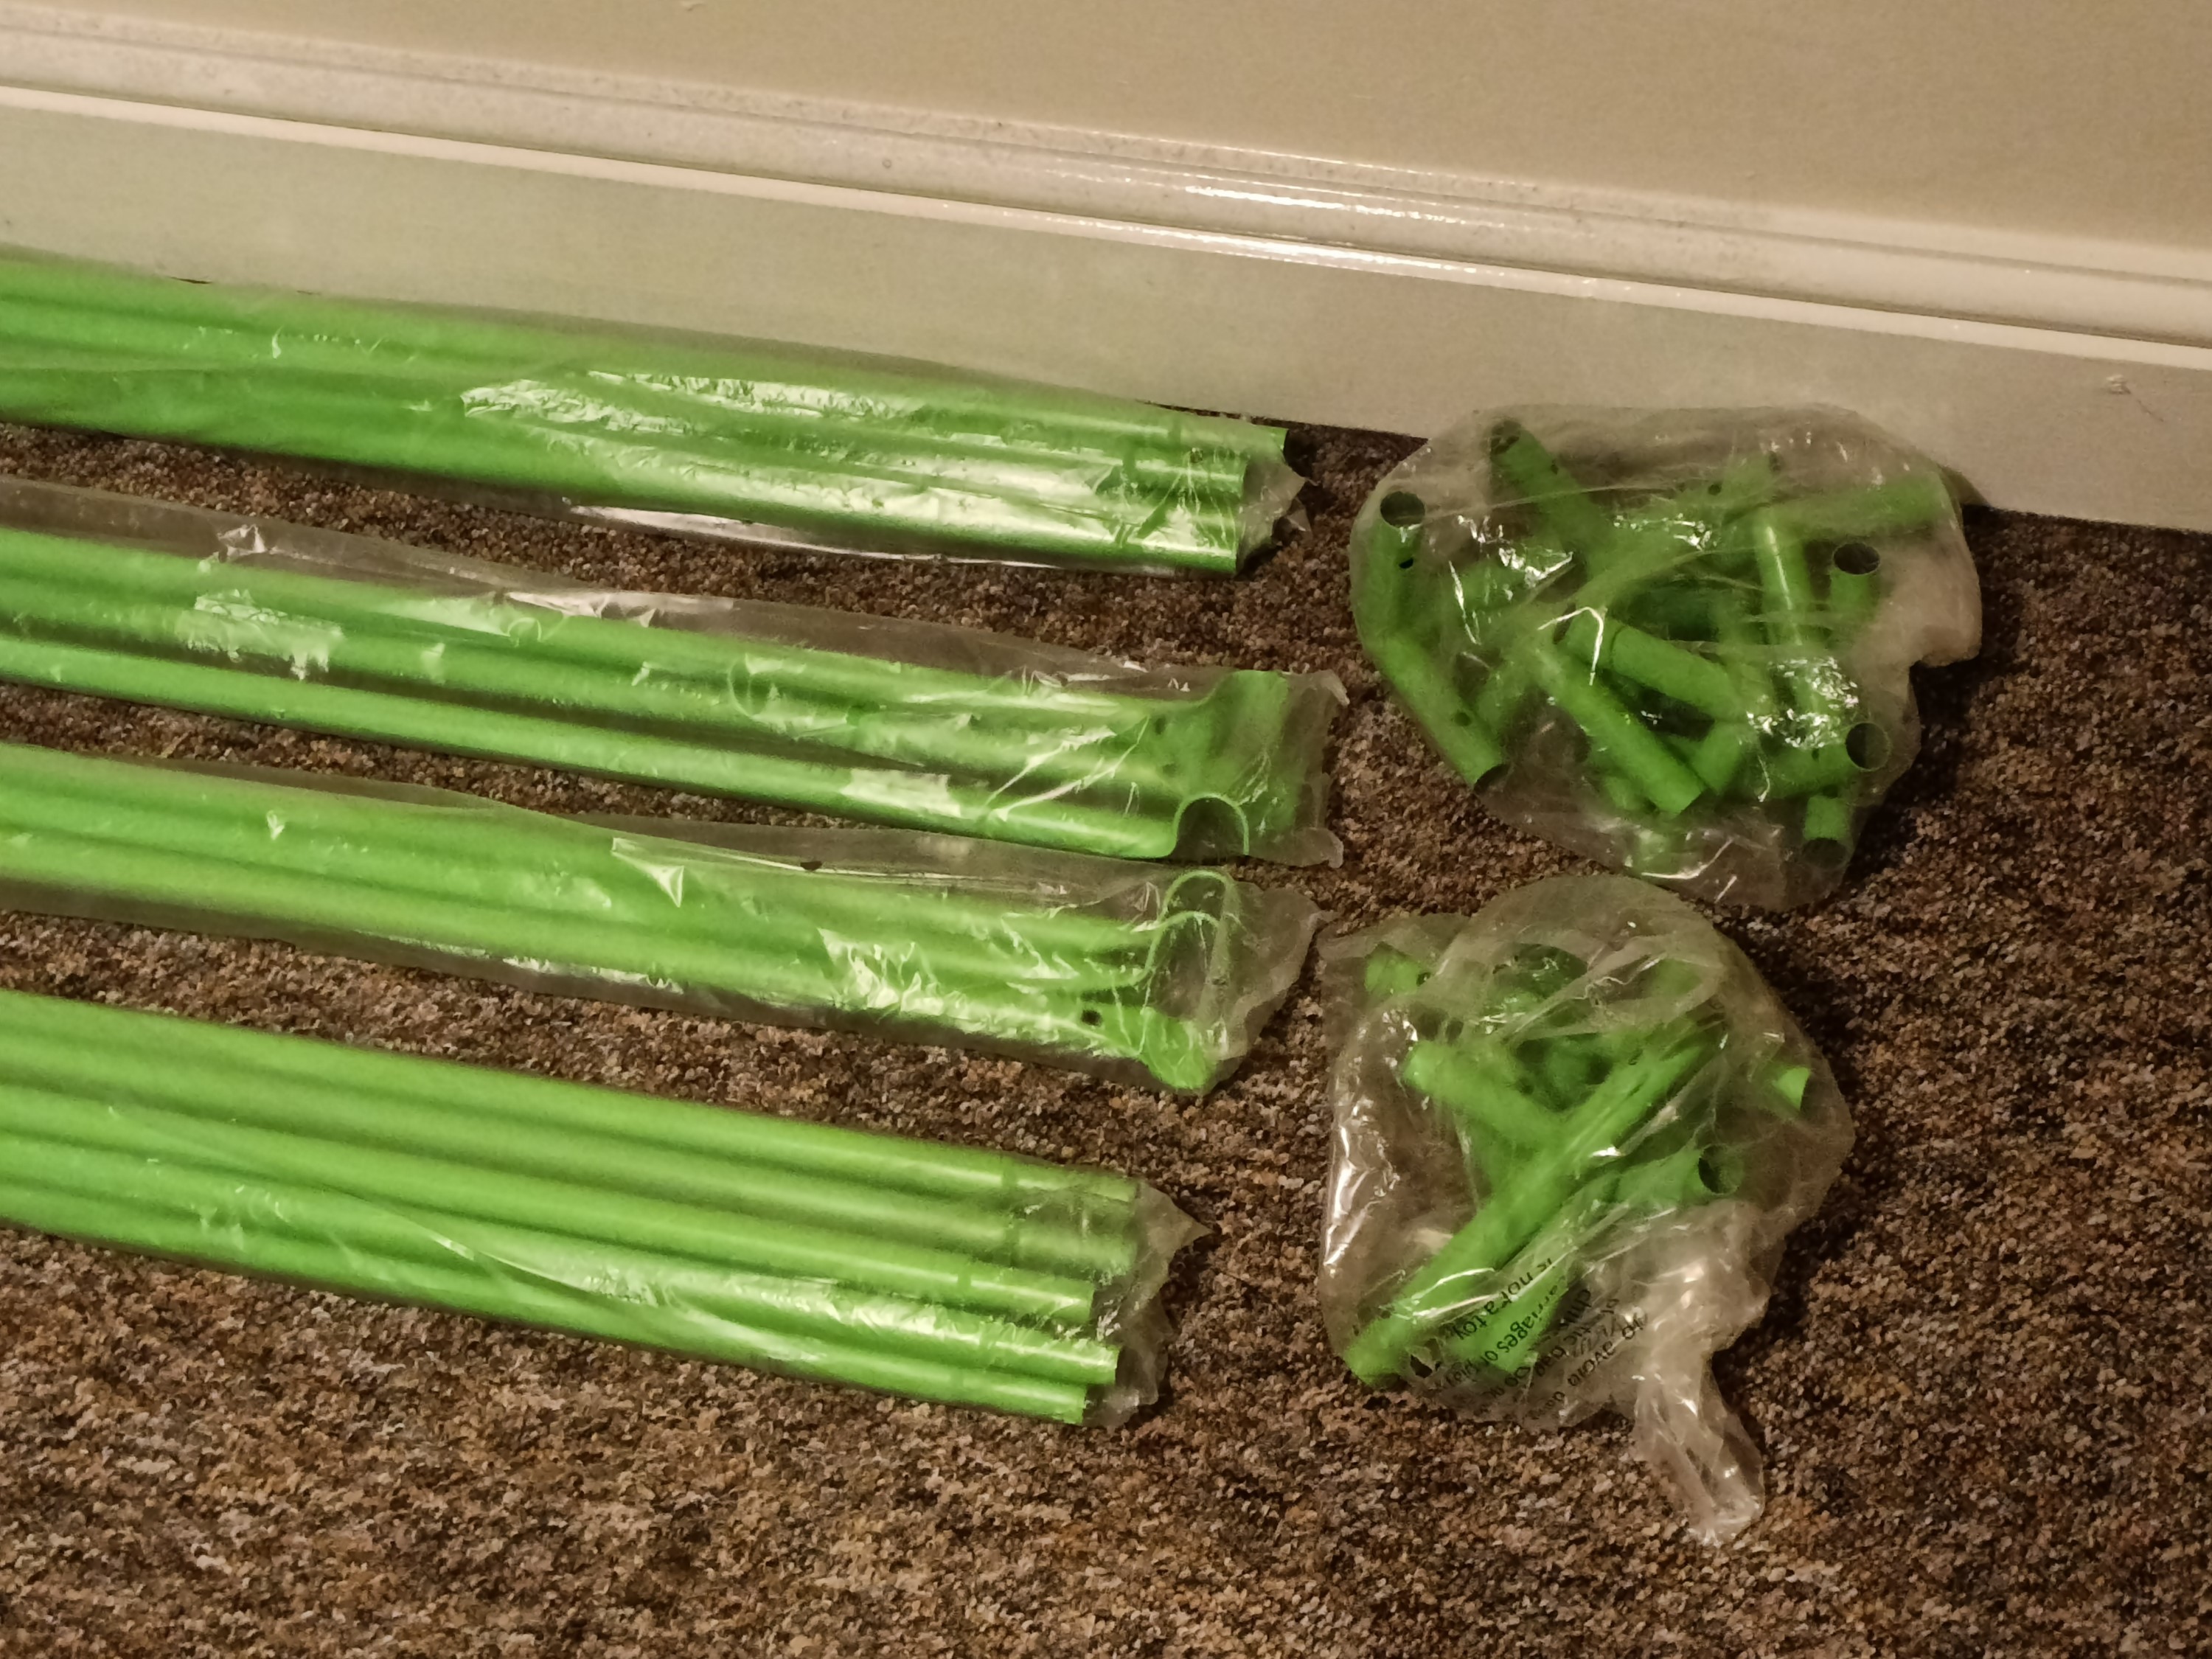
Putting the frame together
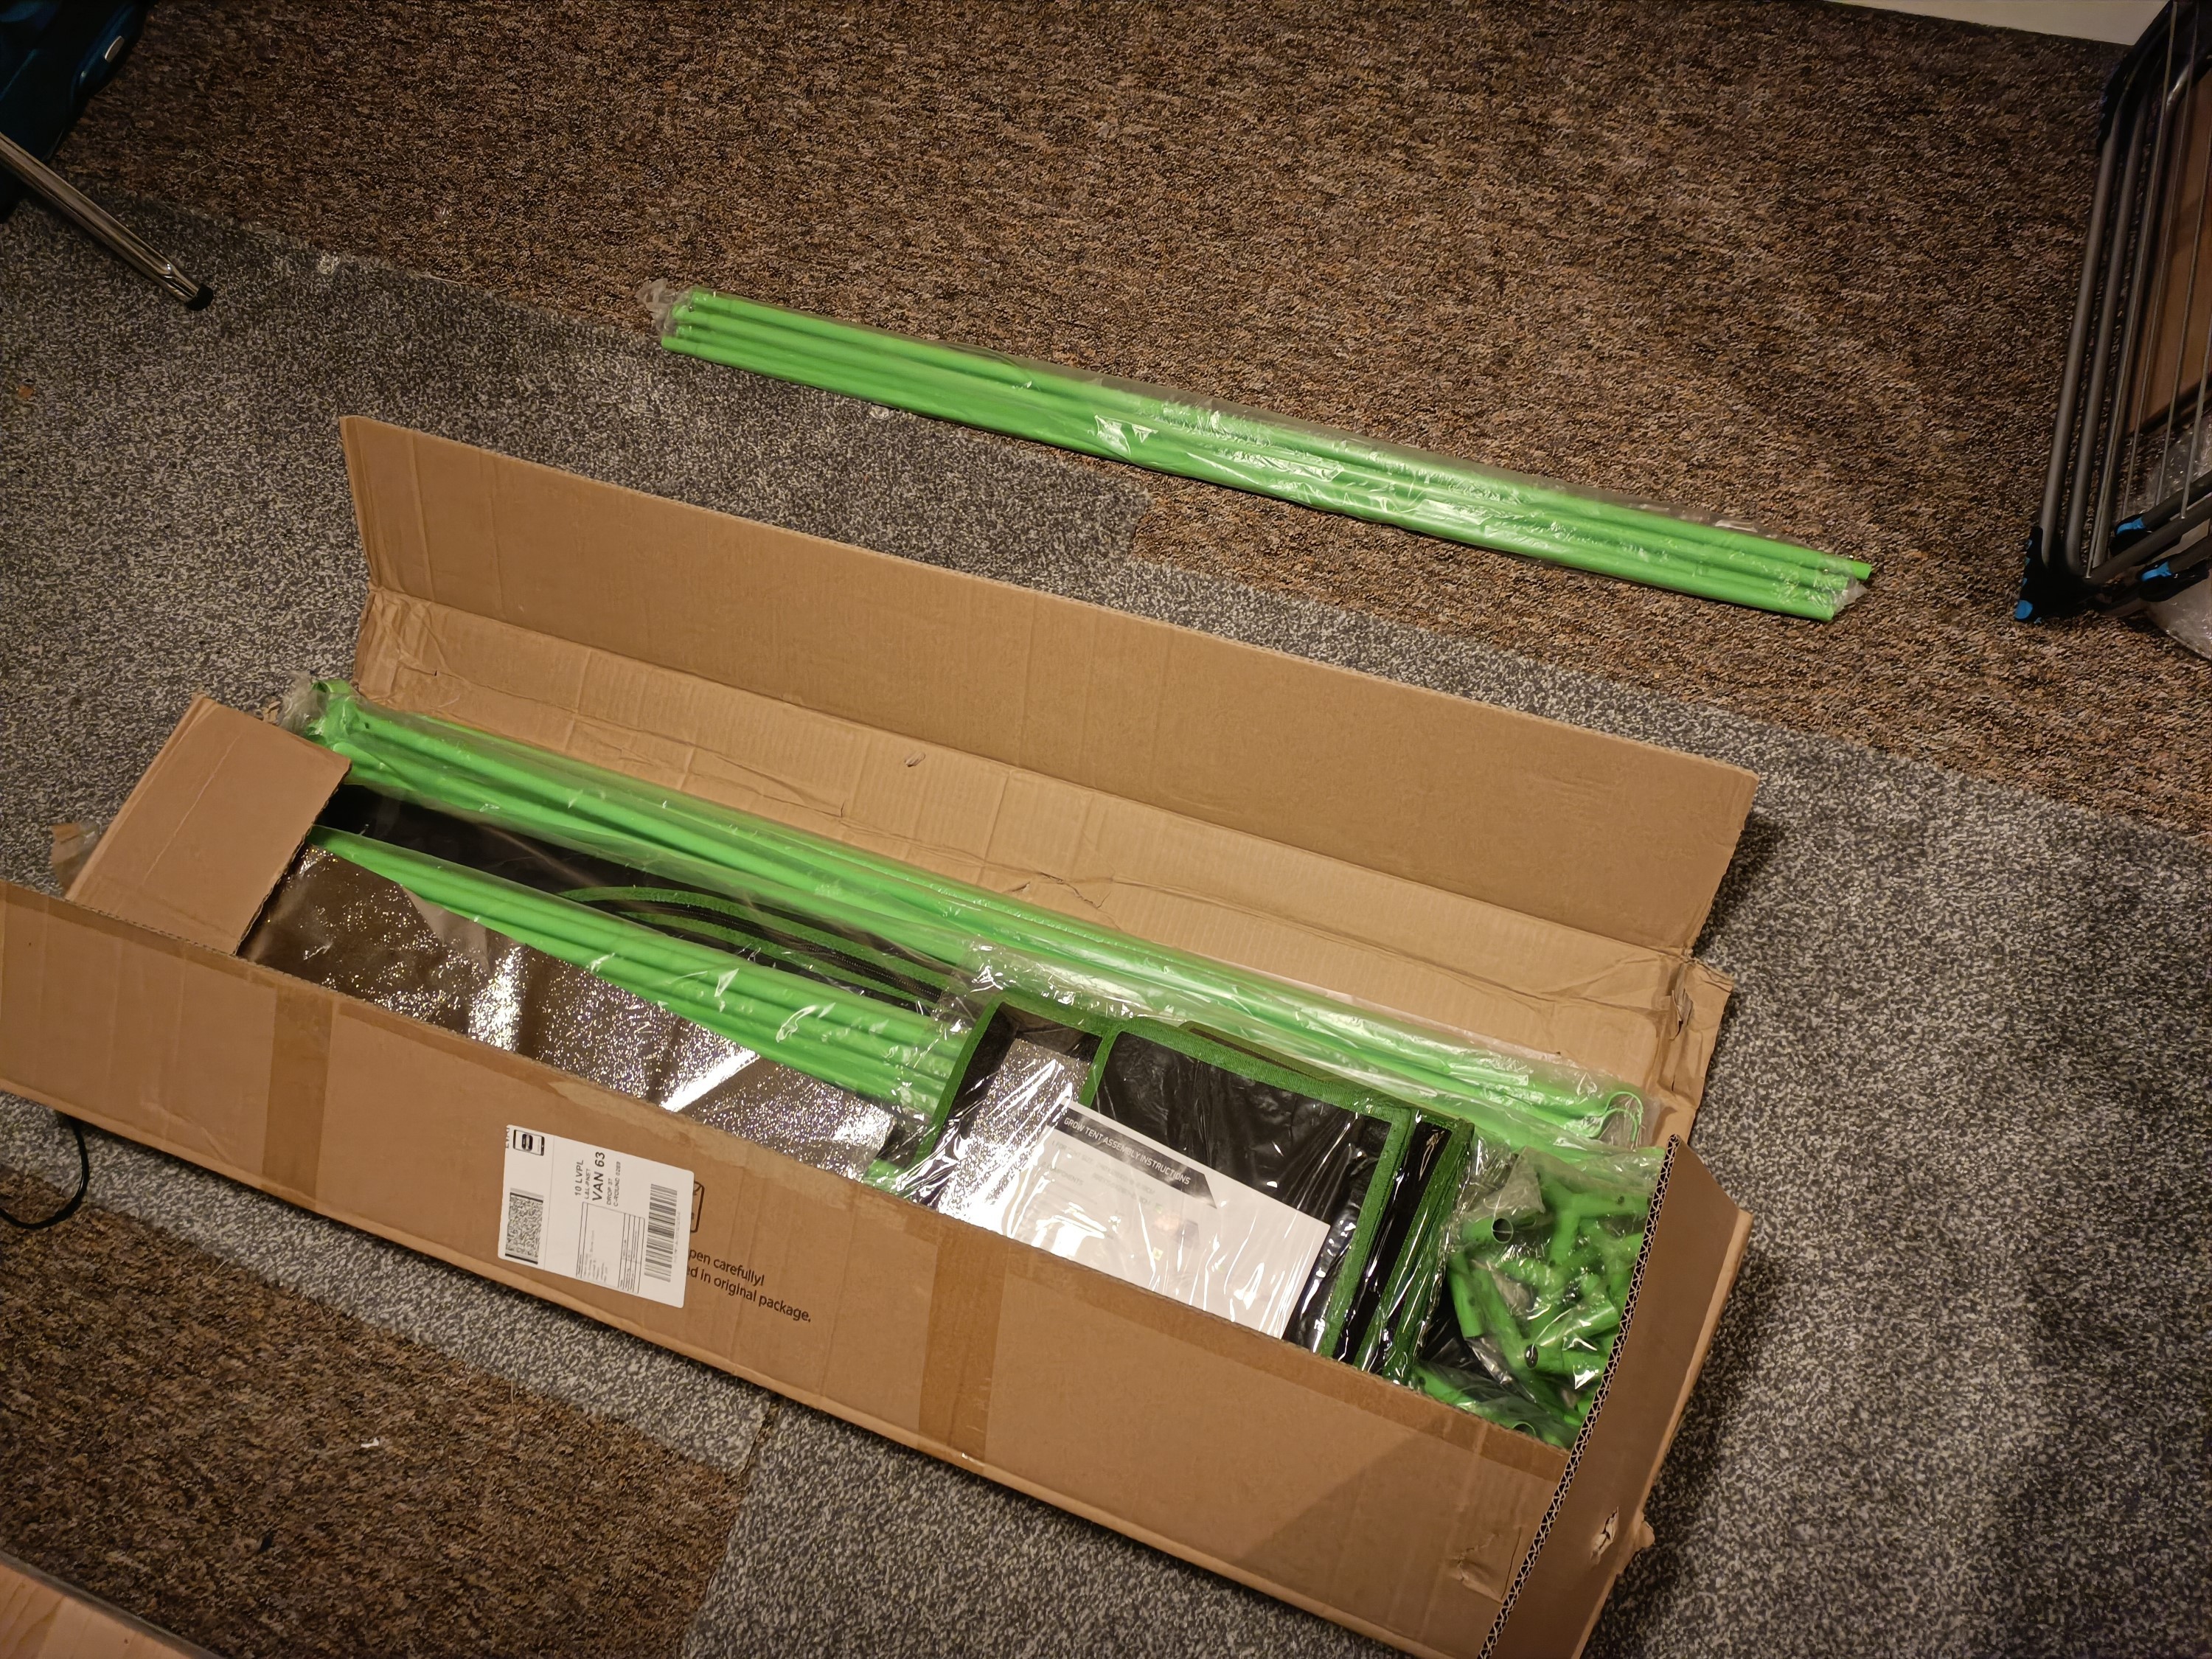
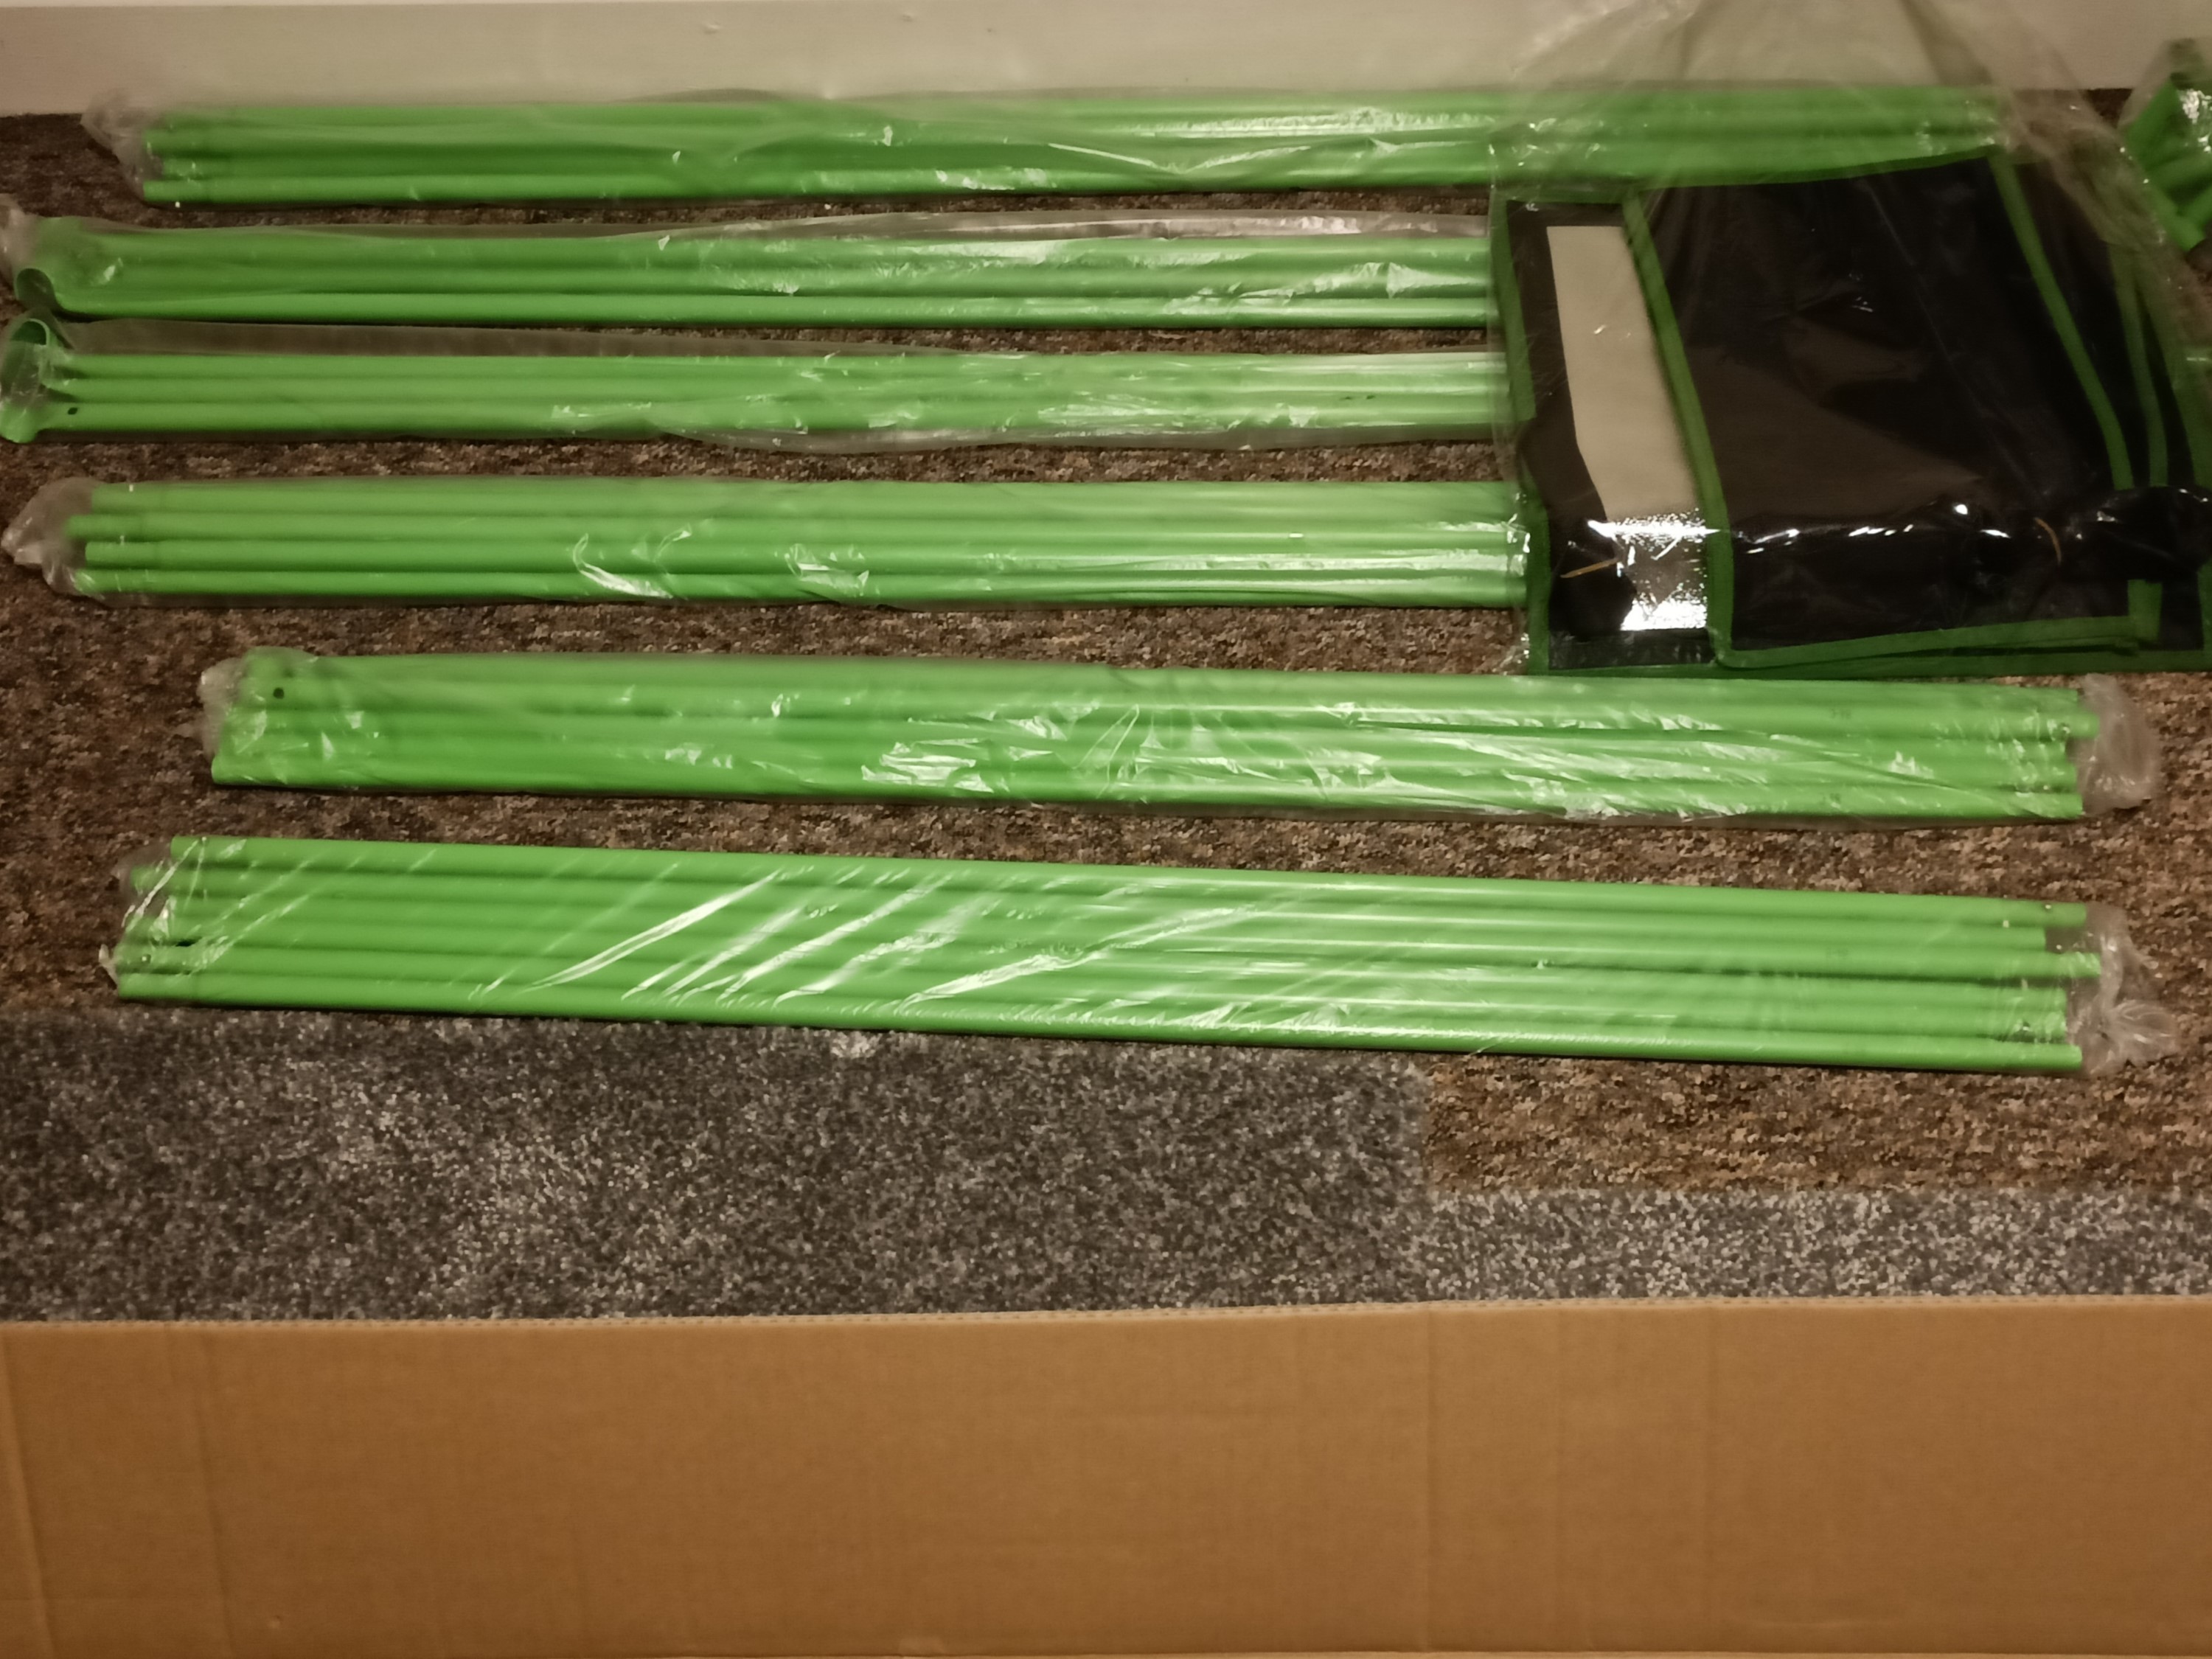
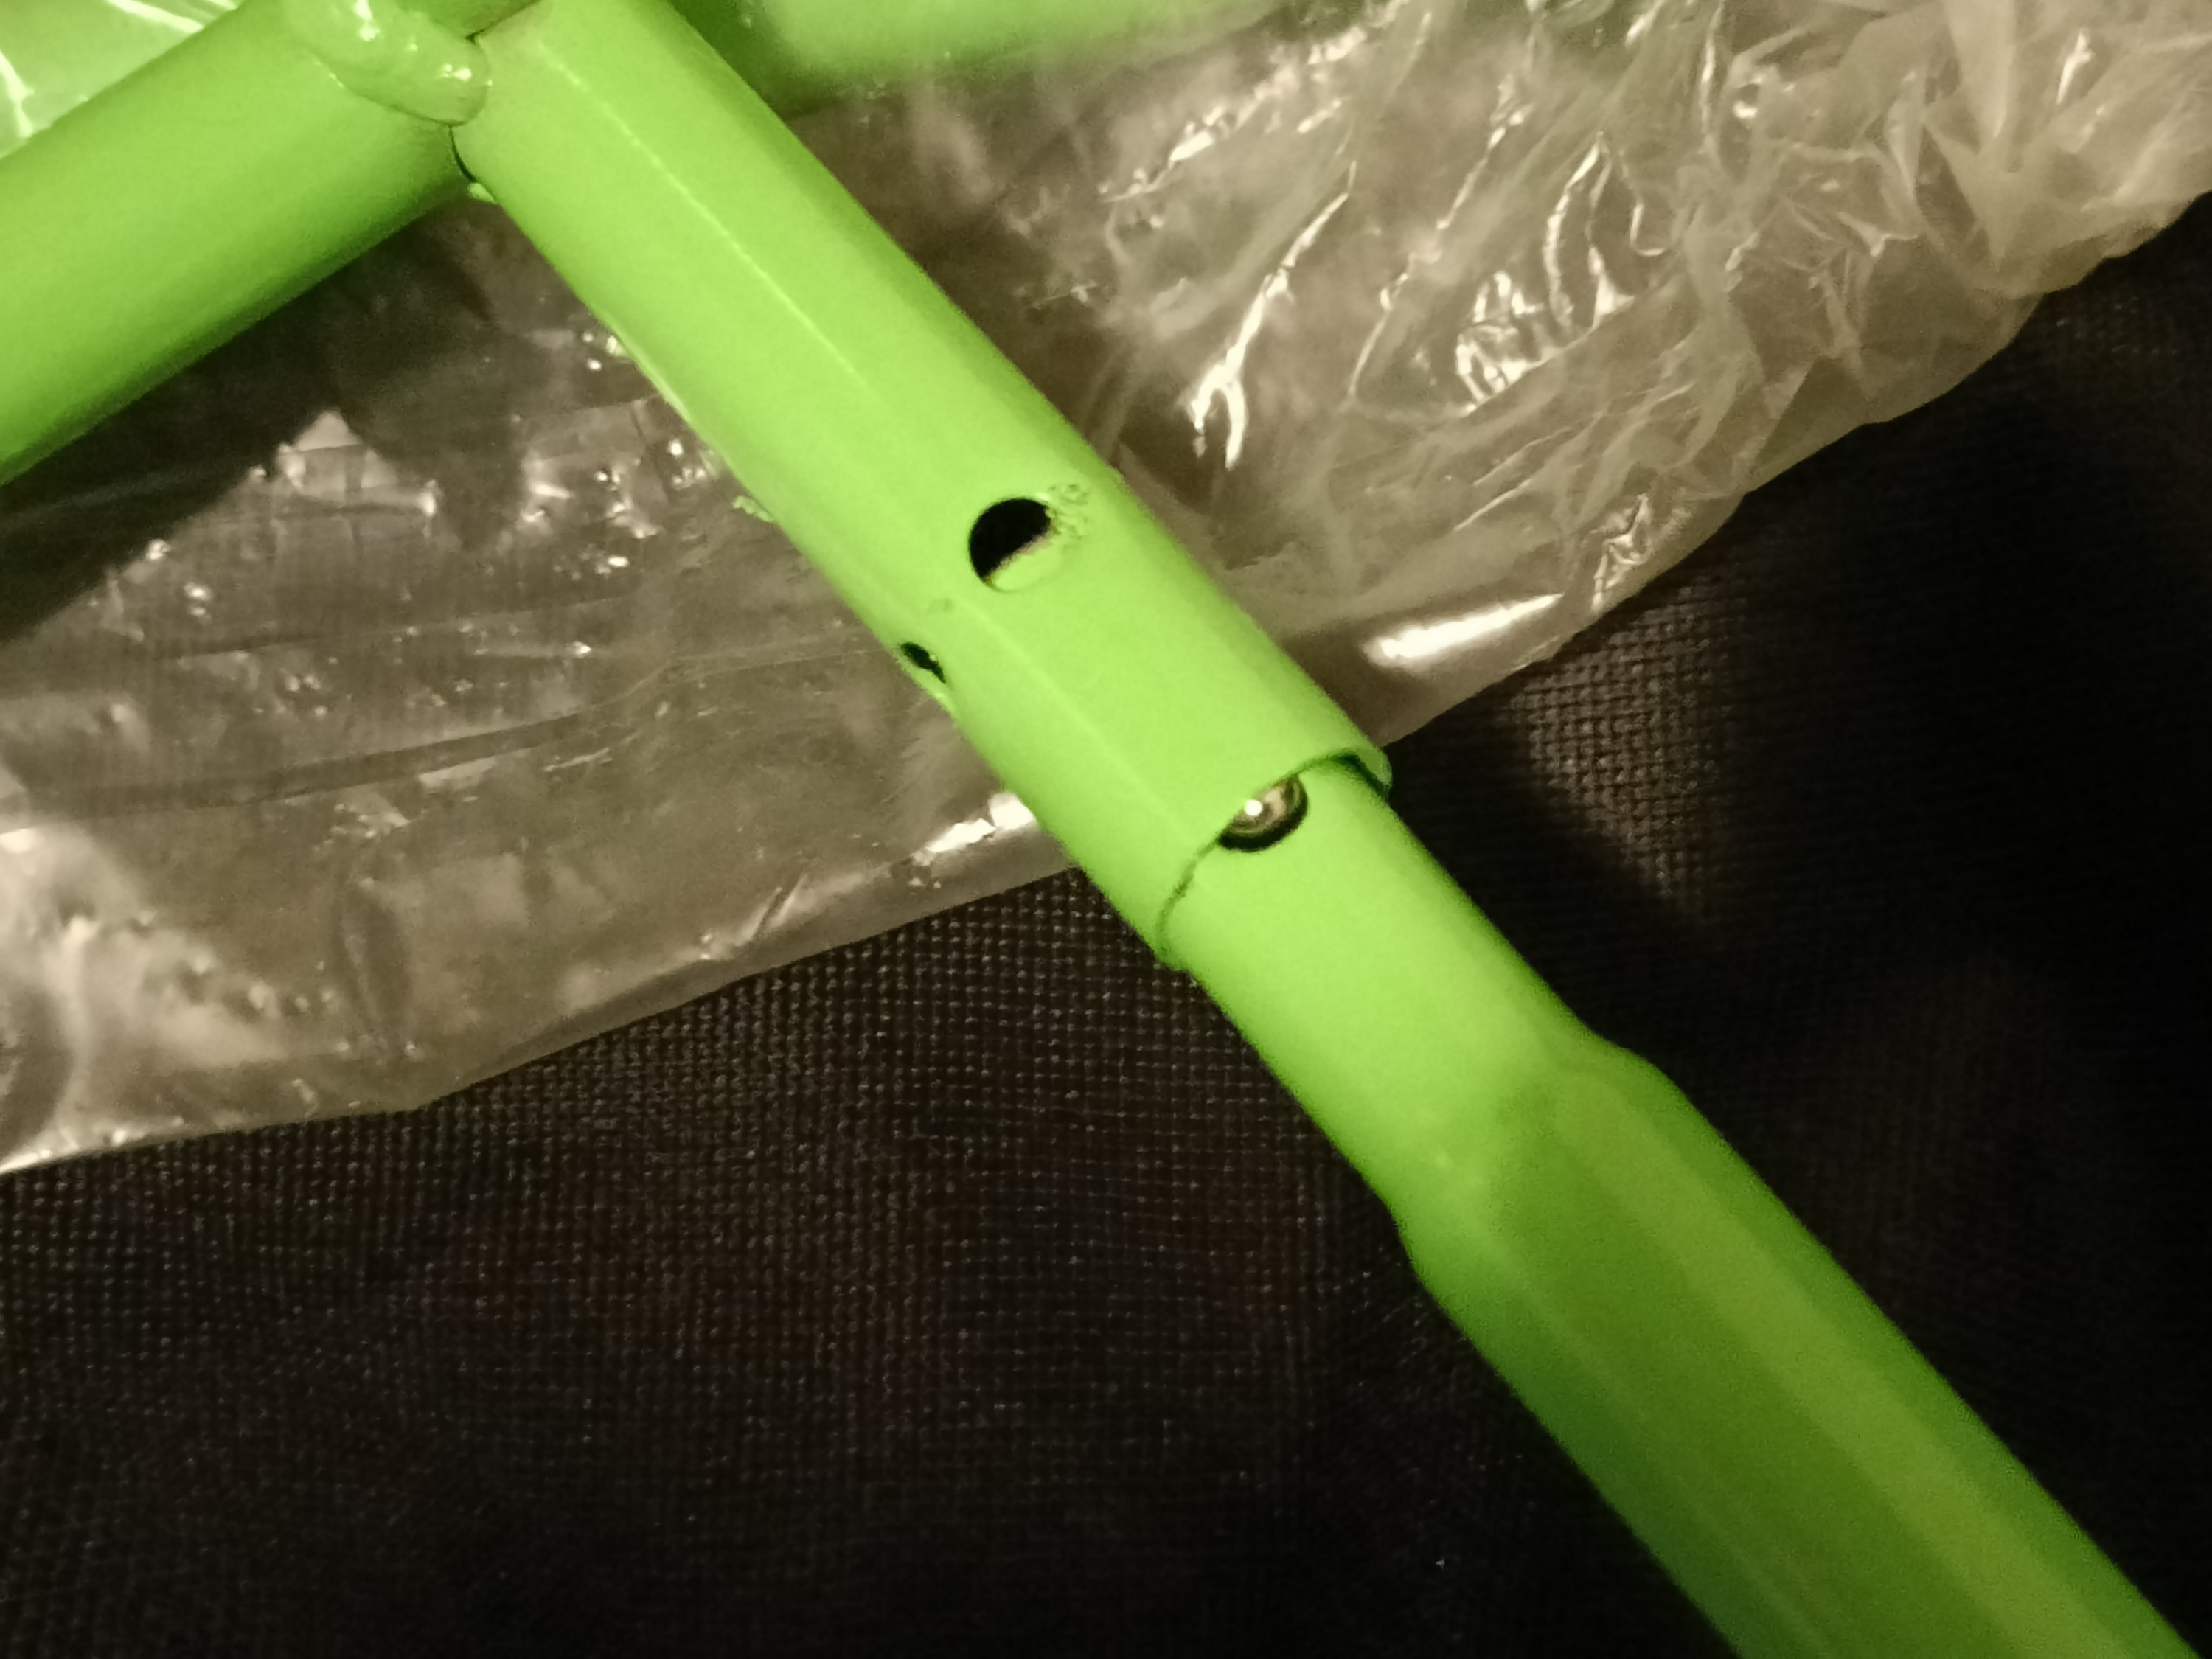
There's essentially 3 types of tube. Long tube with push buttons on each side, short tube with push butons on each side and short tube with a hole on one side and a push button on the other. The short tubes are verticals and the long tubes are horizontals.
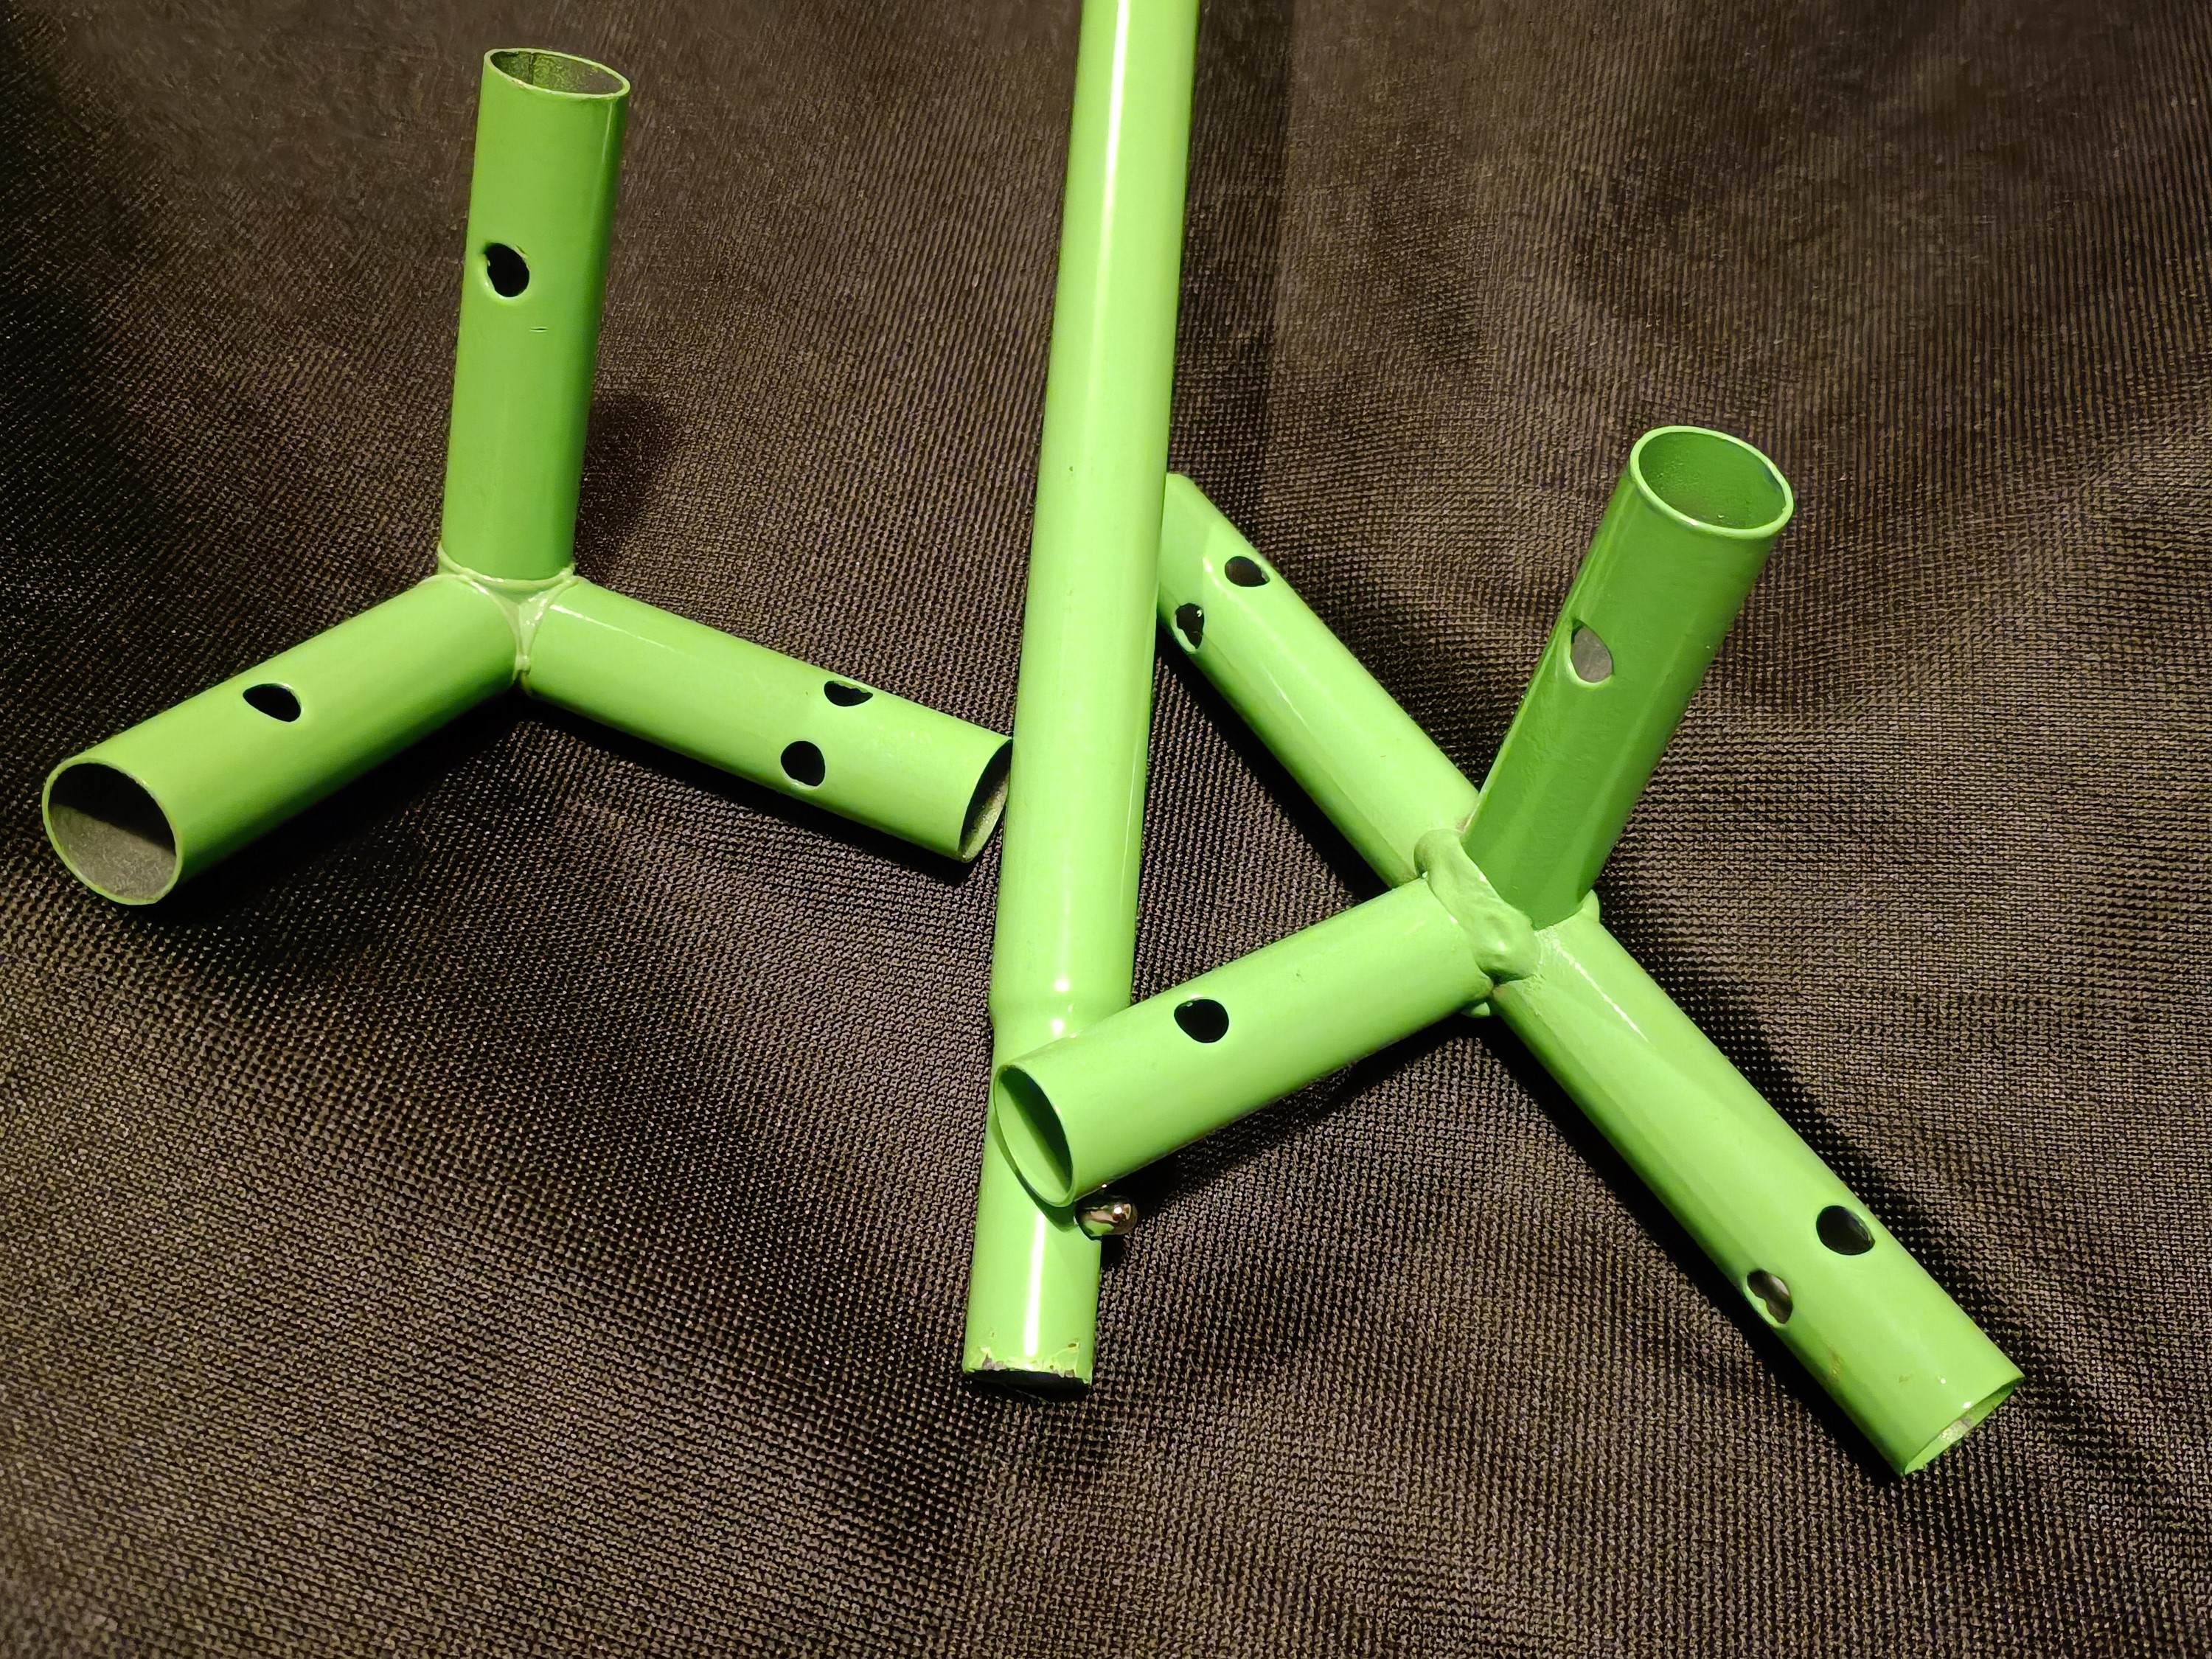
The green tube is a brighter shade of green than the fabric highlight. I should also mention that the more I looked at this green, the more I thought "Wow. This is really green!". Just... green green. Not LED green, not grass green, not milky green (though that would look great) but some stock standard, Fisher Price, kid-grade green.
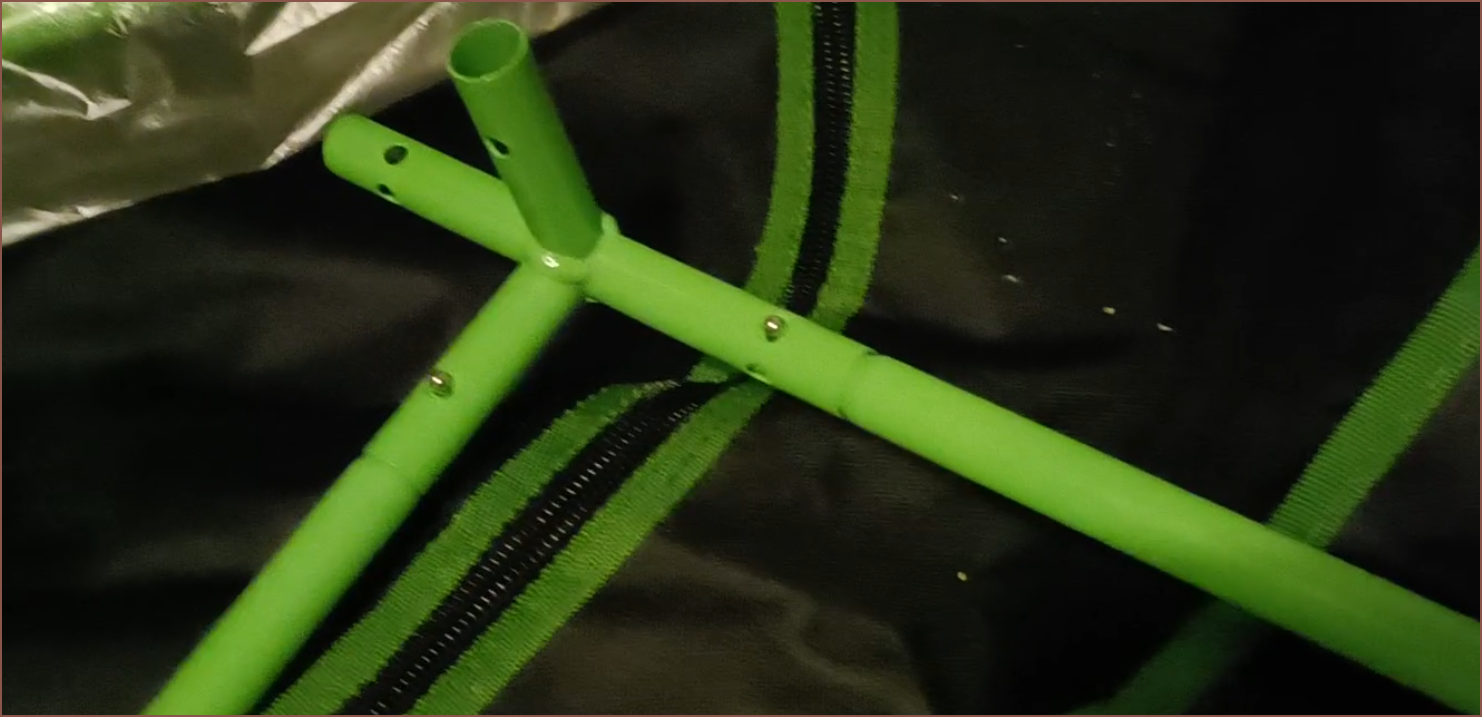
 My first idea was to start from the top and build downwards. Obviously that failed, so I quickly deconstructed my attempt and moved the quite heavy fabric so that I could start puting the base tubes in.
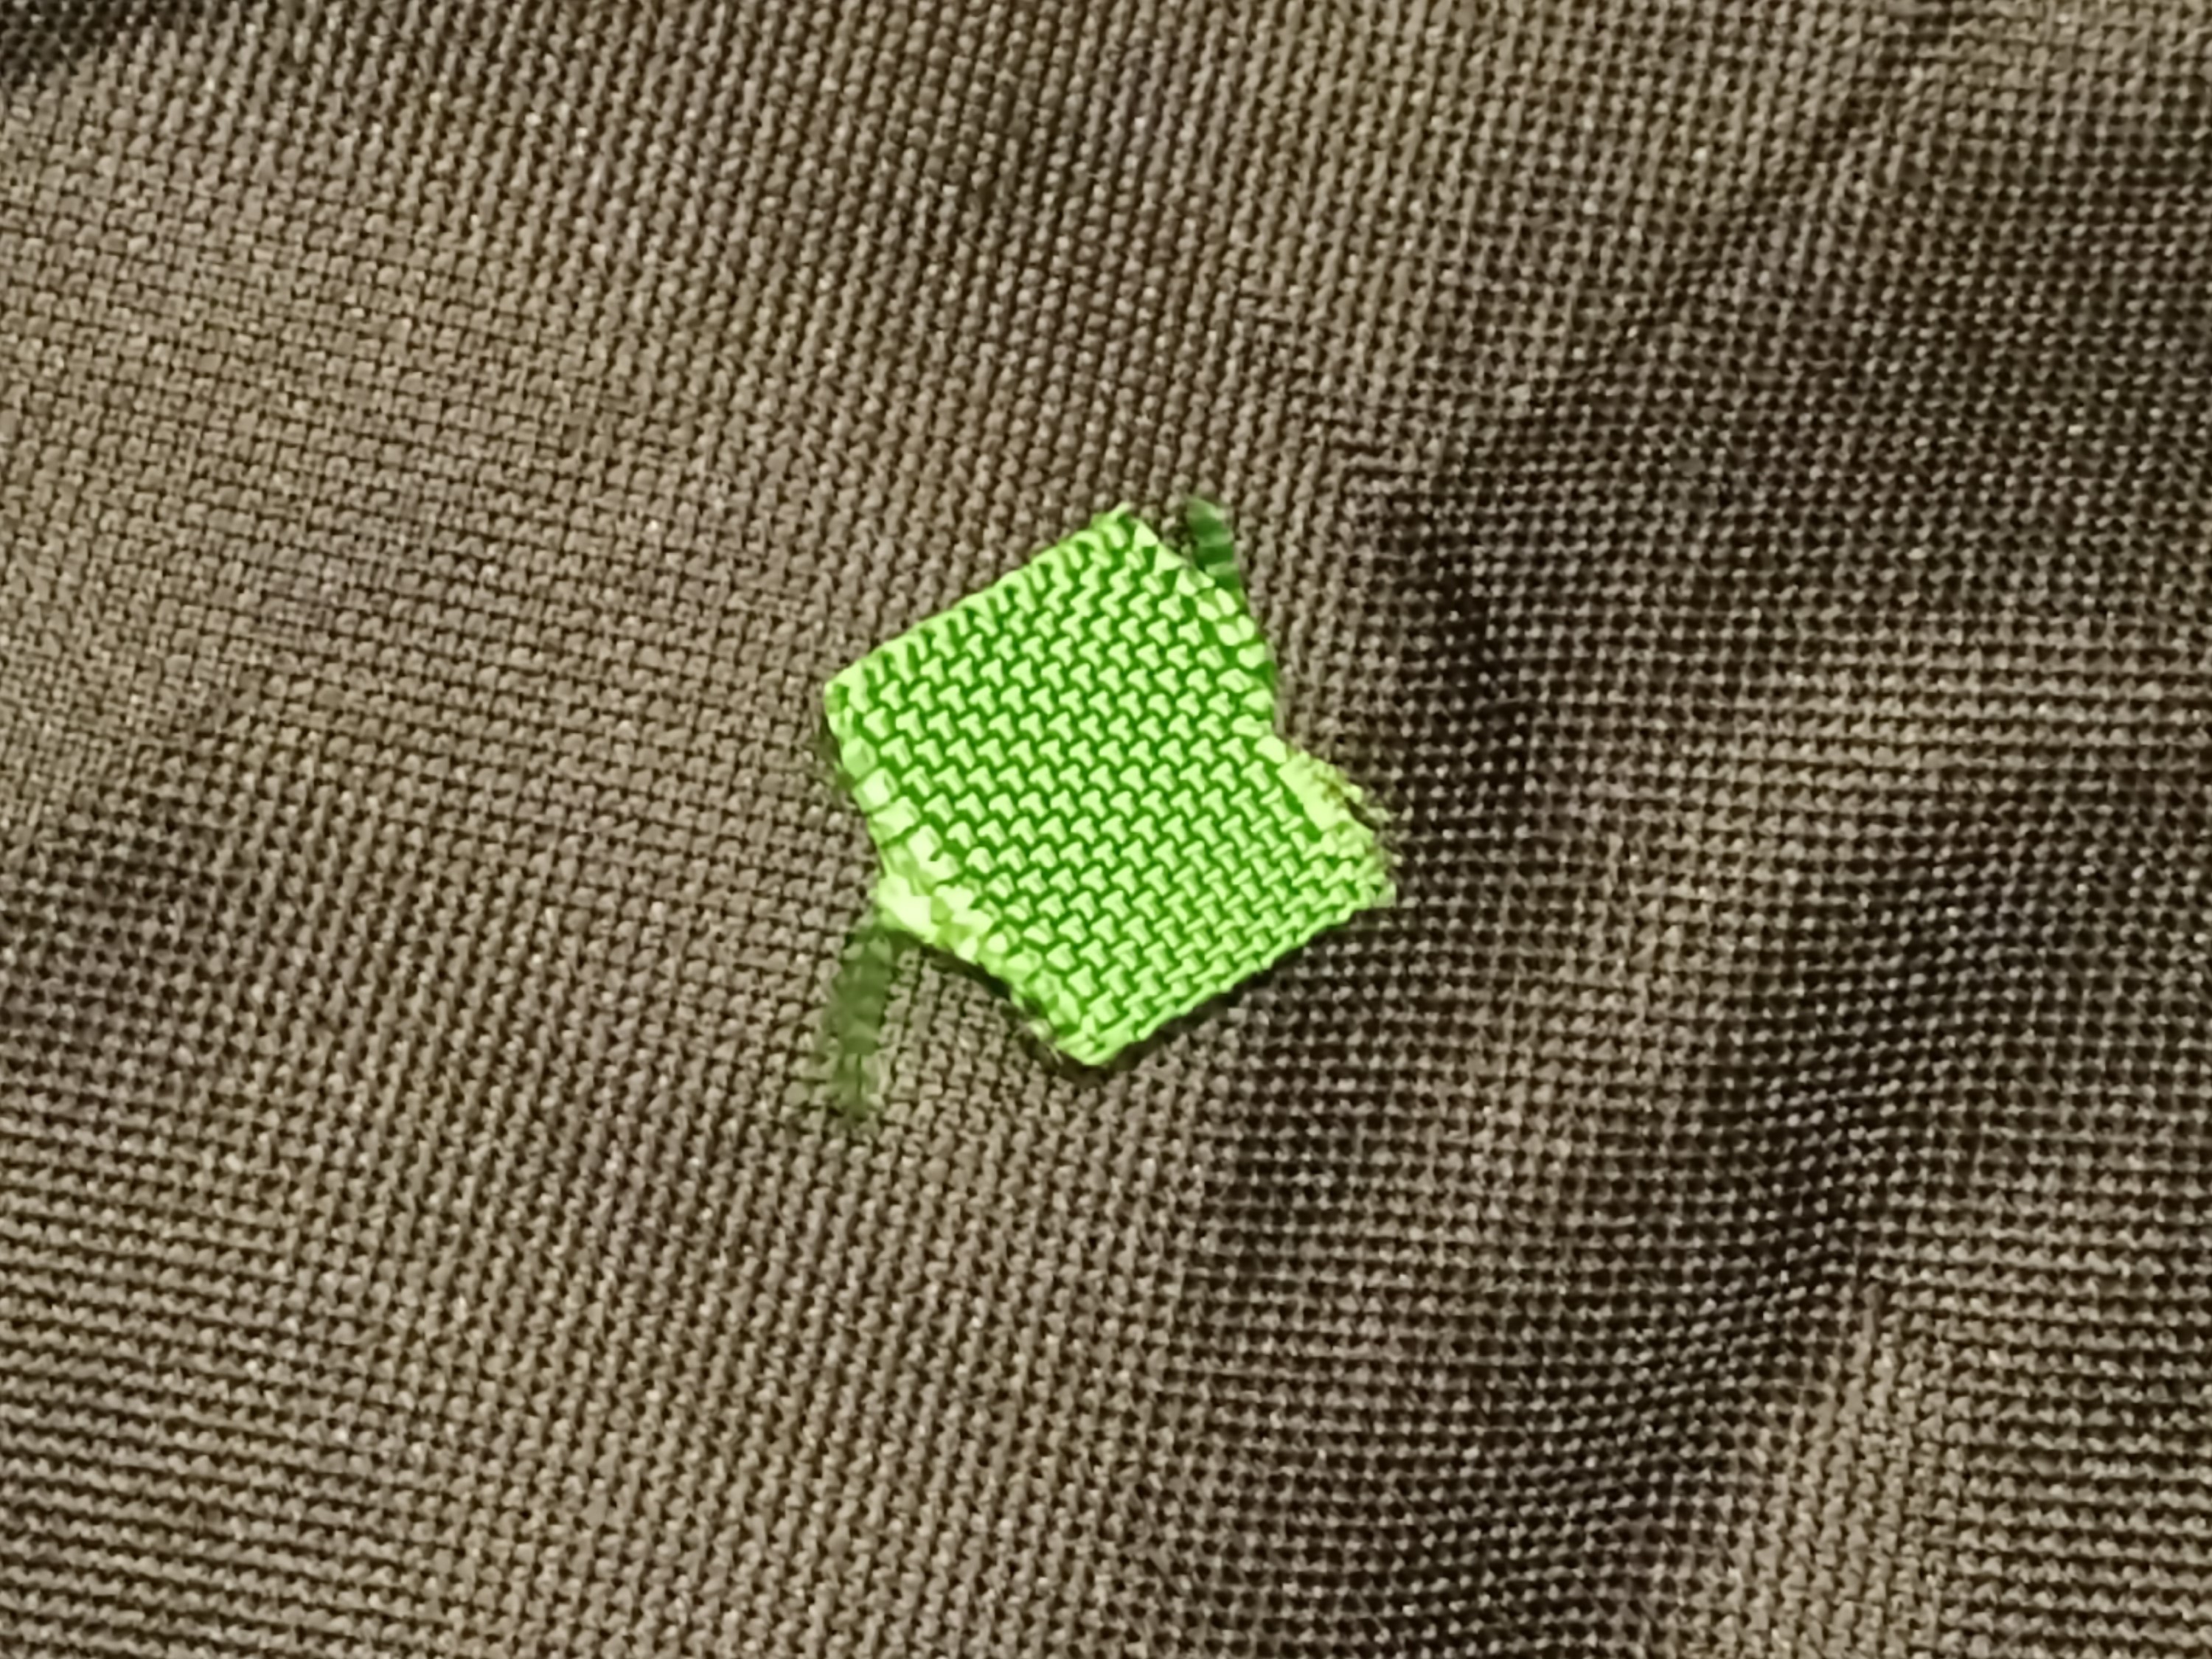
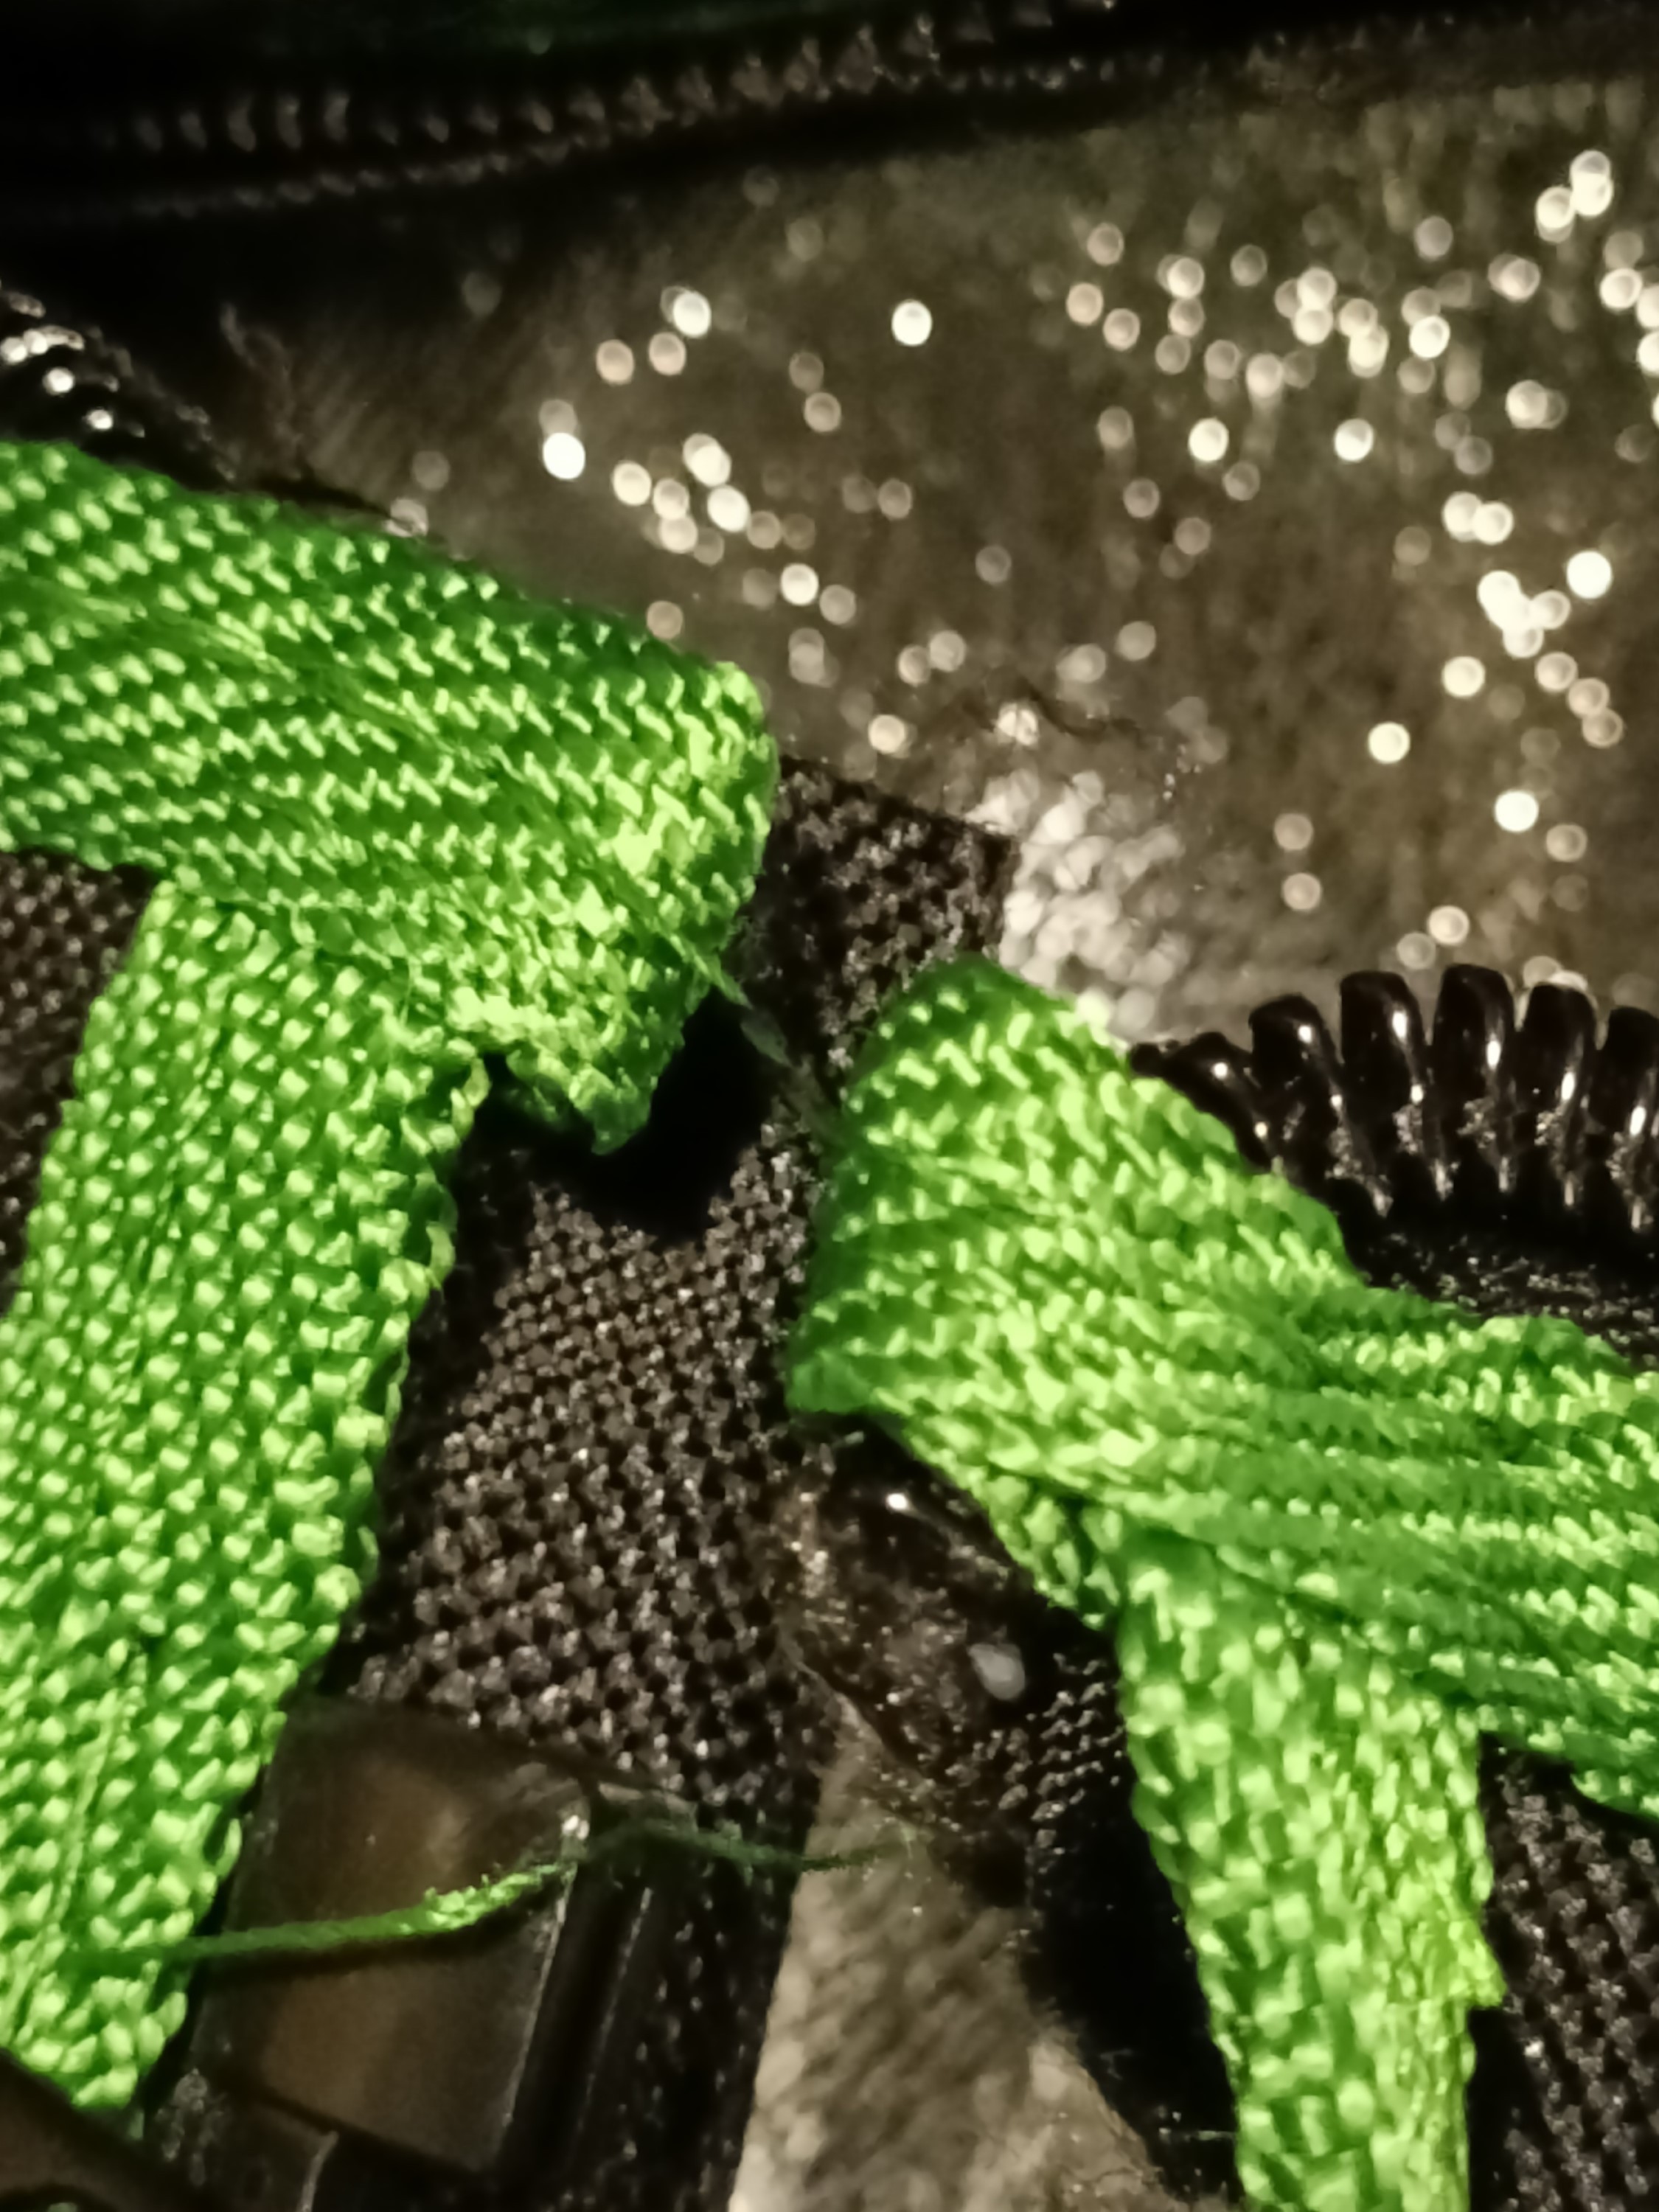
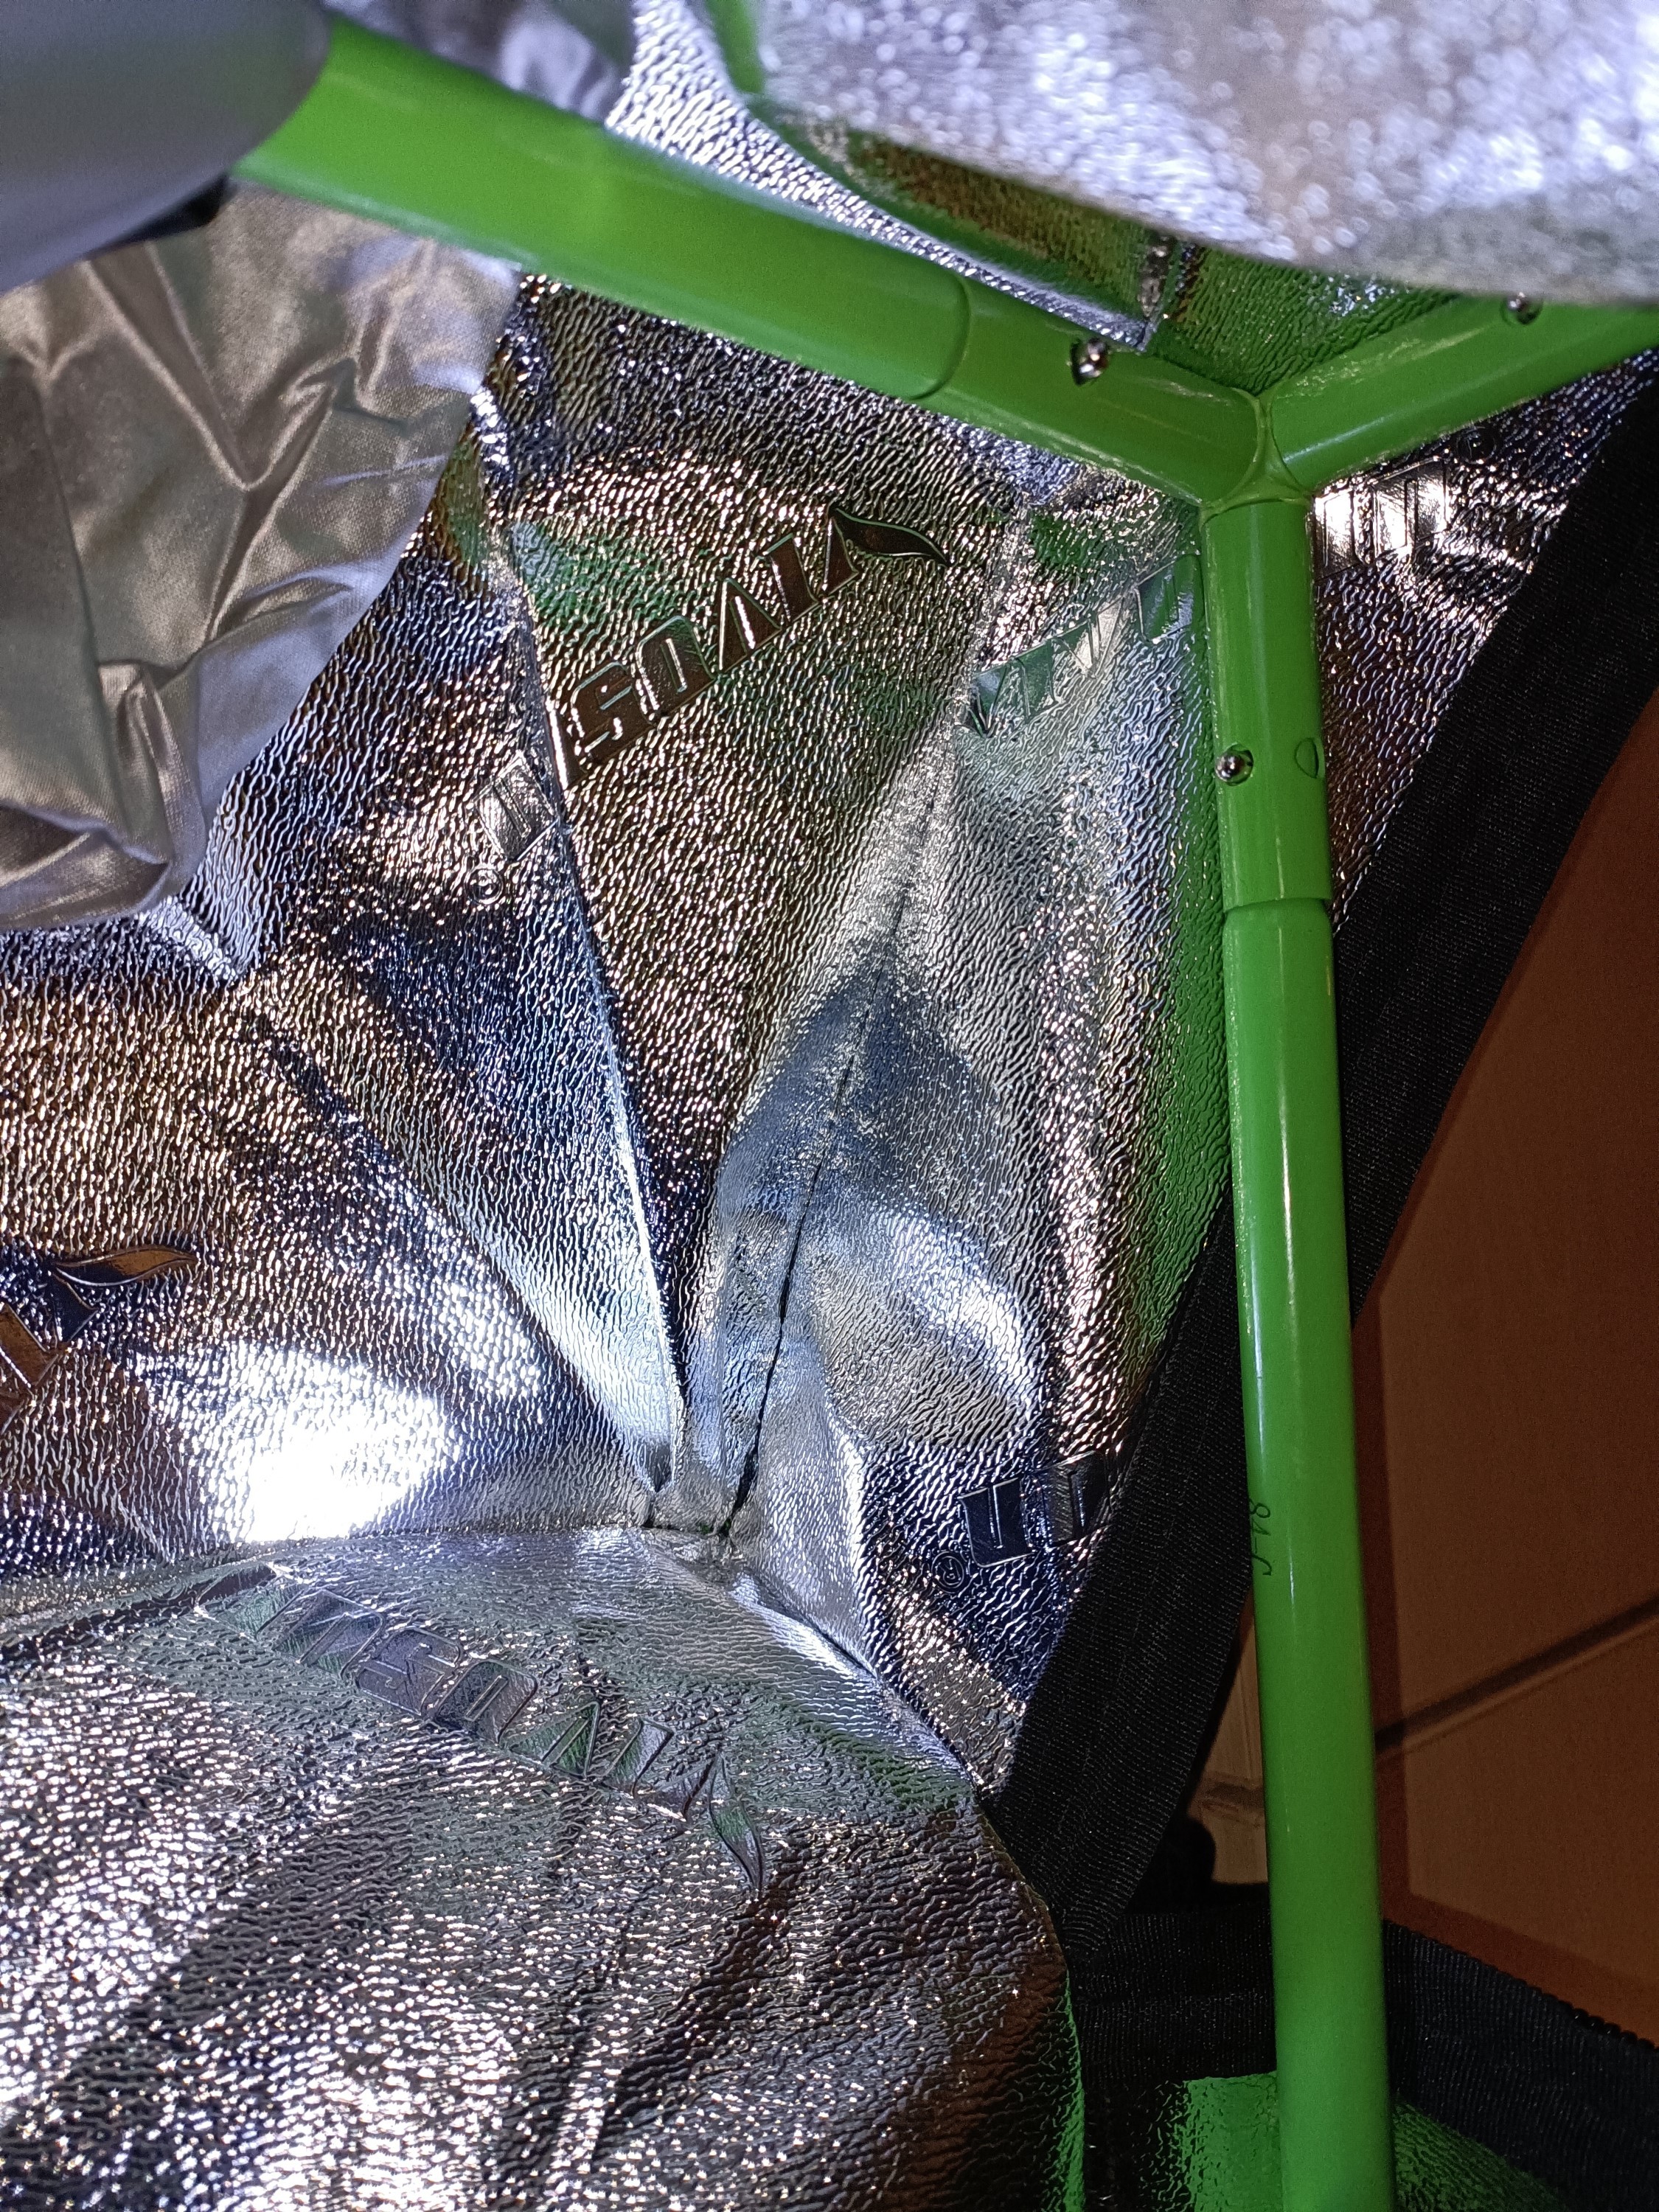
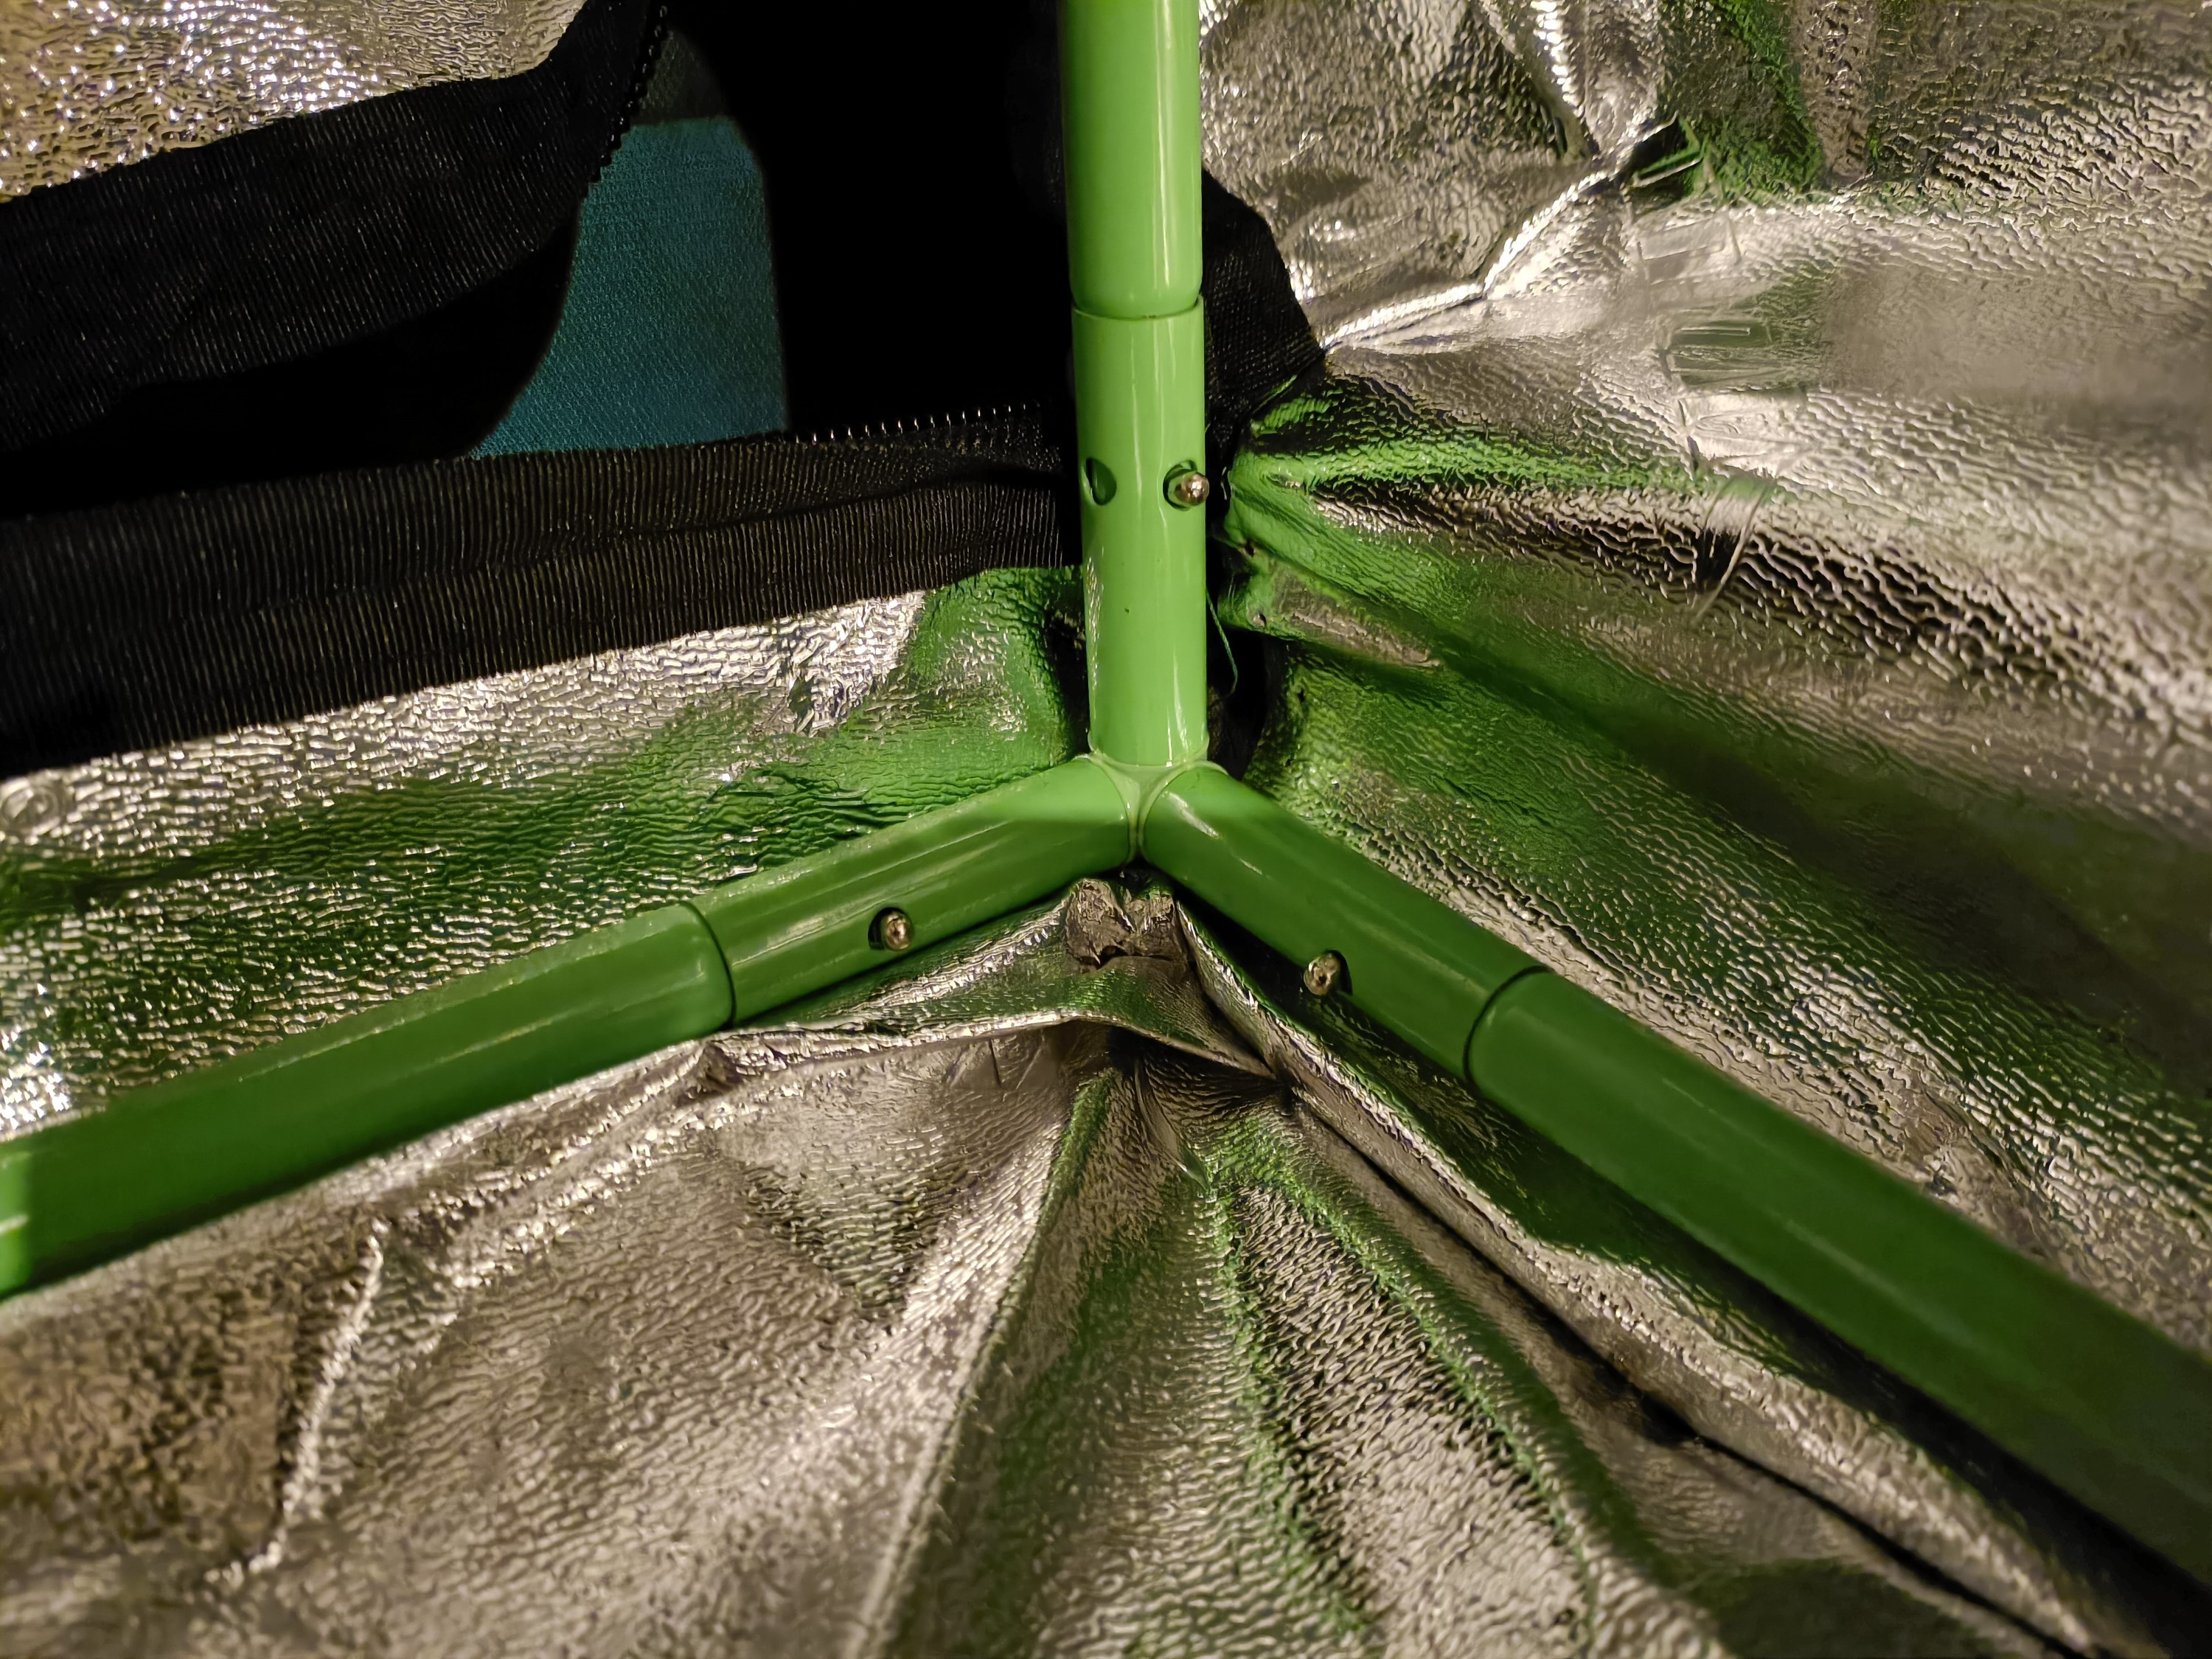 Things were all going great until this back left corner attacked. I think there's been a sewing error because none of the other corners have such a fold and the back line, with reference to the green poles, is visibly not straight. Unfortunately, the threads holding the corner broke midway though trying (and failing to squeeze) this corner on.
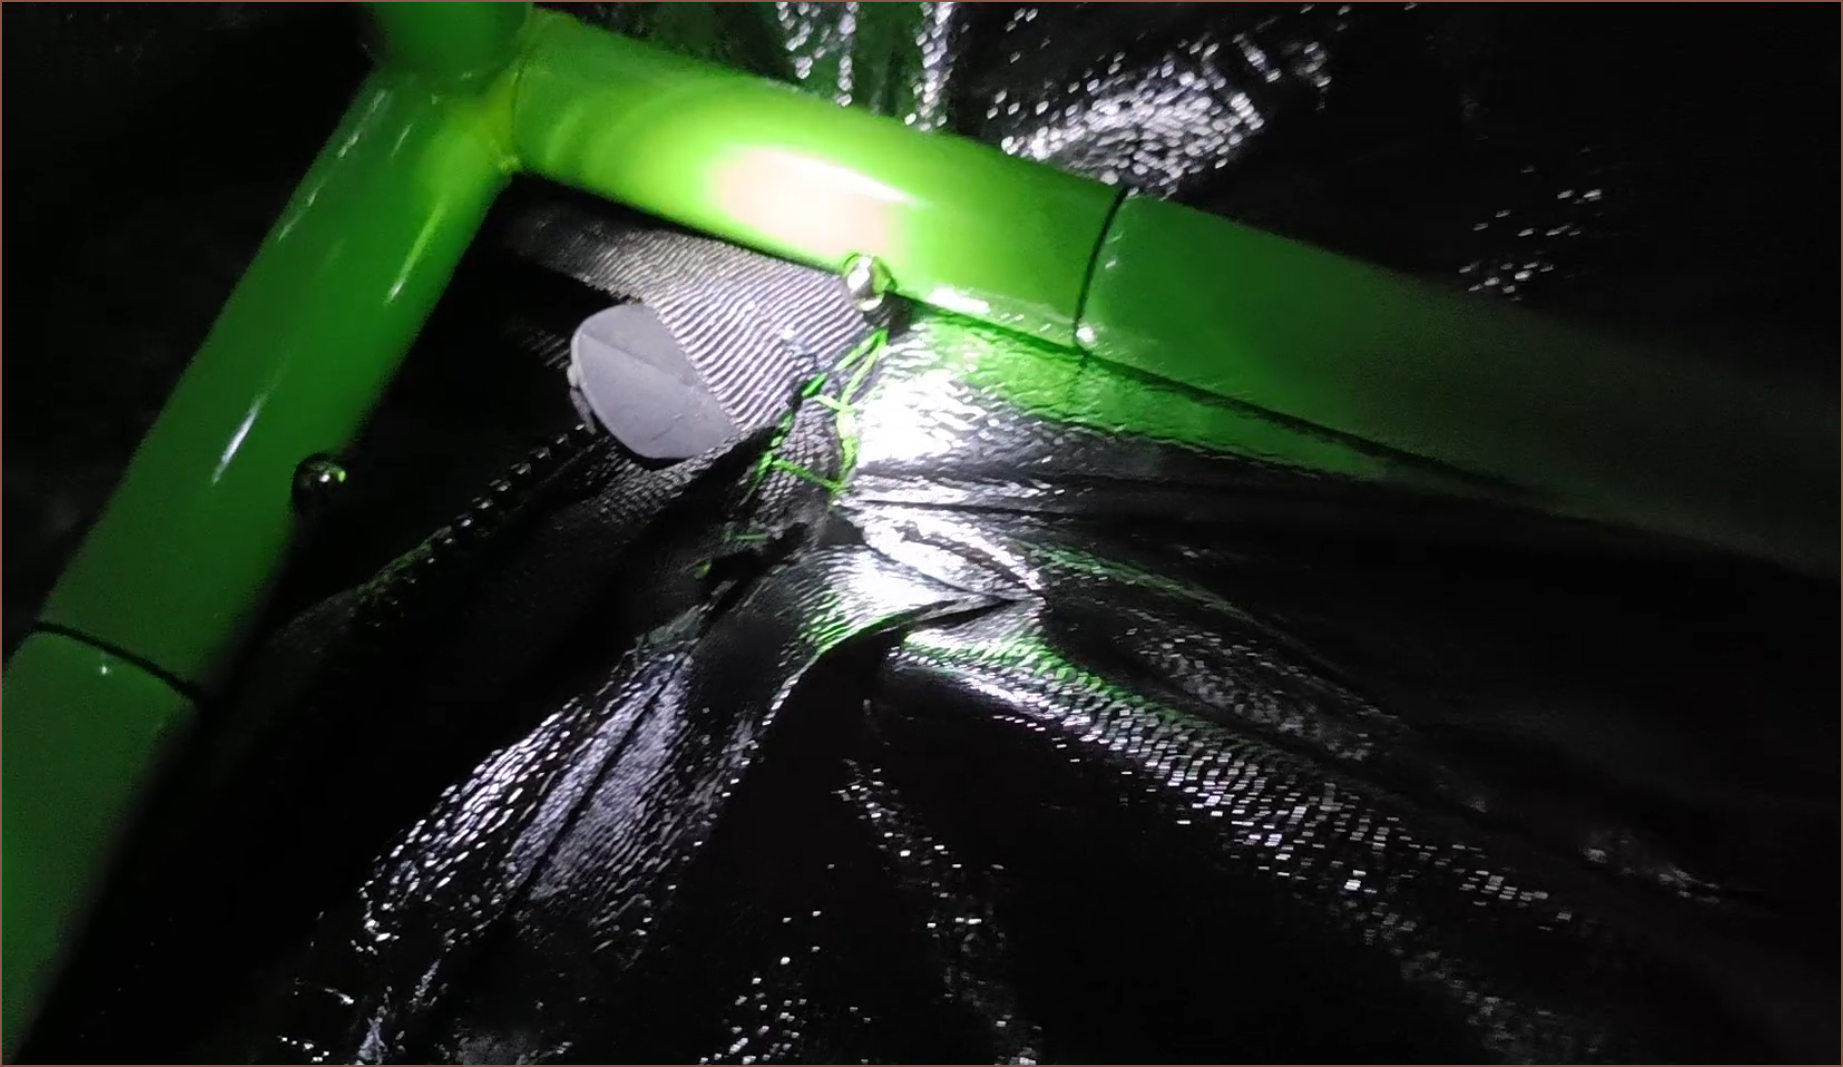
So, probably after an hour, I moved on and assembled what I could. It did not help that the back top right corner also had a strange fold, just to a lesser extent. It just multiplied the issue in the back bottom left.
 Anyway, I was able to assemble... half a tent. But don't worry because I can still get an idea of how this solution would work.
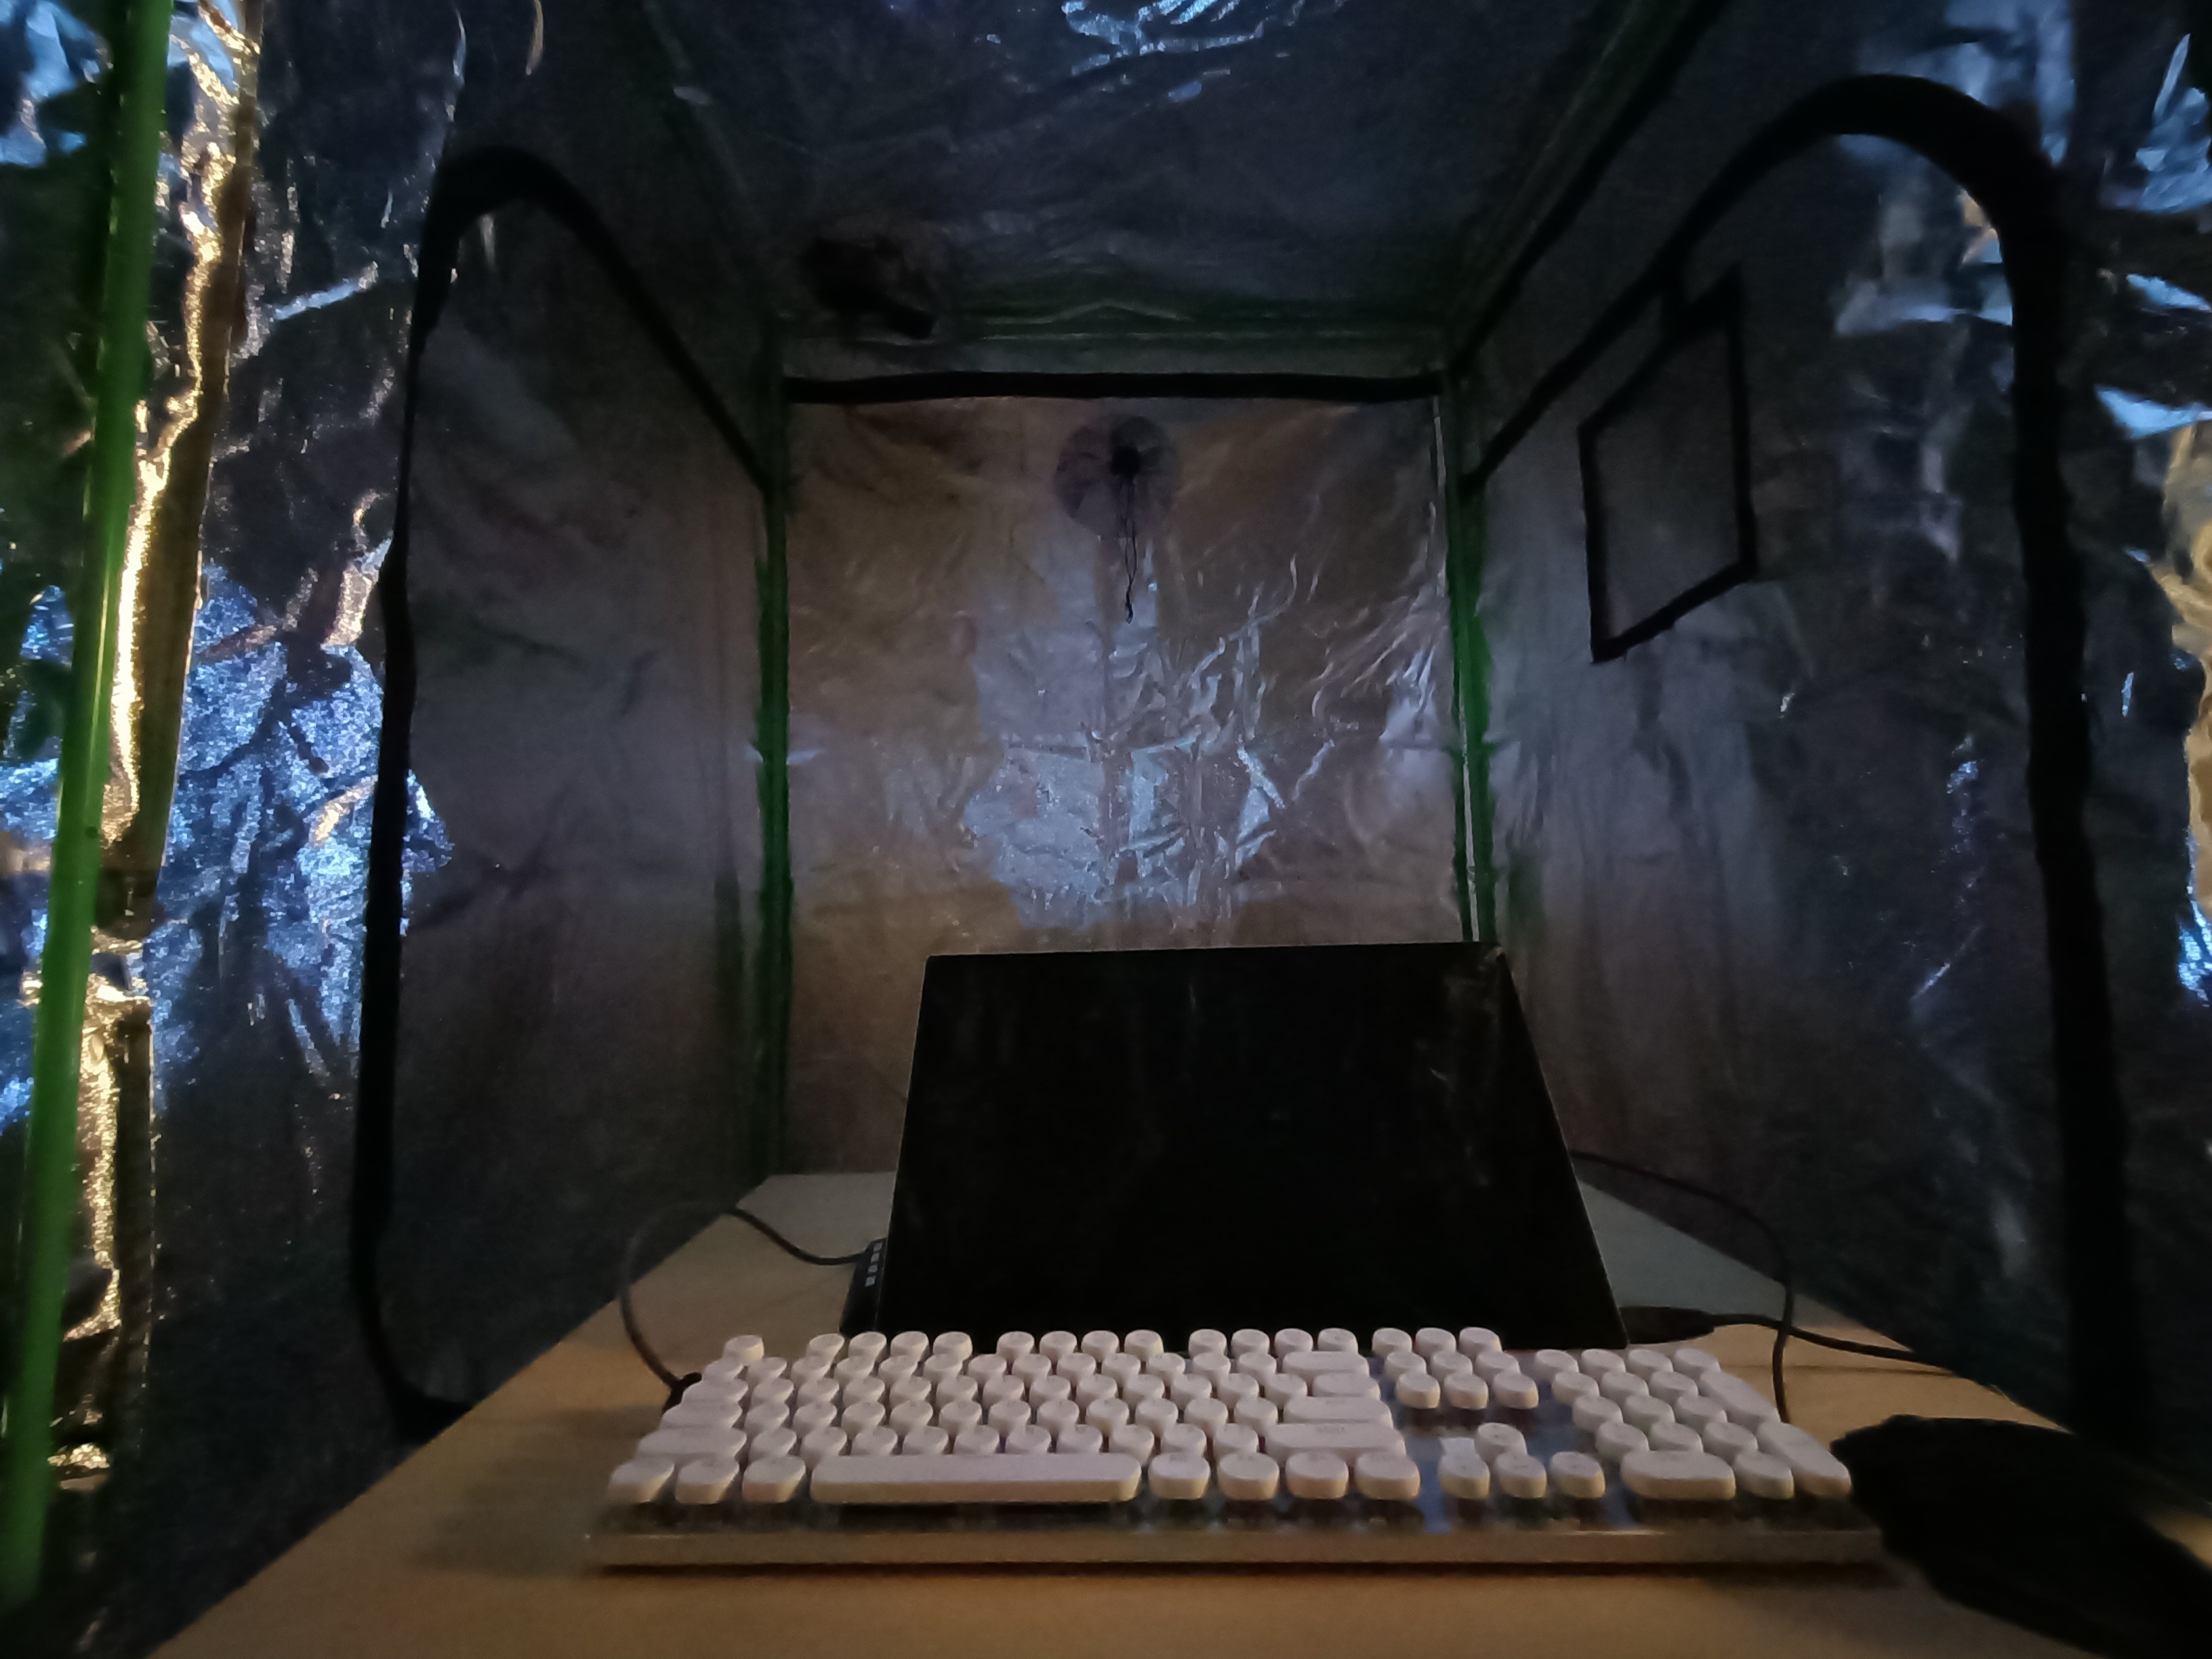 I checked the time and it had just been a minute over 3 hours to get to this point. It's now midnight. The hope was to see if I could dissasemble at this time (since this is when I'd likely stop working in the tent anyway), but since I just did 3 hours of manual work straight, I didn't think I'd get valid results (and I didn't want to break anything, including myself) so I slept and took it down in the morning.
Conclusions to draw from this experience
Right now the solution is about to fail.
The actual tent experience is great because the walls are reflective and the space feels spacious because the rear wall is a good distance away and I still have enough room behind me to stretch my arms.
The issue is the transit time. I'm looking at the act of moving furniture and building the tent the same way as getting a bike out and cycling to work, which is decent if it's like 15 - 20 minutes, especially since it's integrating a bit of a "gym of life" workout to get my body moving and energised.
While moving all the furniture out of the way, building the tent, installing the ventialtion, running the power cables (and ethernet, now that I think about it since WiFi probably isn't making its way though a metal-lined tent), placing a table+chair in there and then doing all that in reverse feeeels like the merge between a Lego build timelapse and the title screen for Build A Lot 2, the time to do all that needs to come way down or the solution fails.
This is what I'm mostly concerned about with all my projects. In one way or another, the issue usually comes back don to time why the solution fails. That's the reason why many of my active projects are trying to make things less time-expensive and my 3D printer brand is called "SecondSavr".
Hopefully, this is just an optimisation problem because 2.4x1.2x2m is both quite nice inside and conviniently the absolute maximum size my room can accomodate, particularly in height (due to the lighting fixture). The ventilation ports and ceiling mounting arrangements are also things not found in other tents.
However, as I hypothesised, manipulting the fabric slows down this entire operation.
16 March
Long story short...
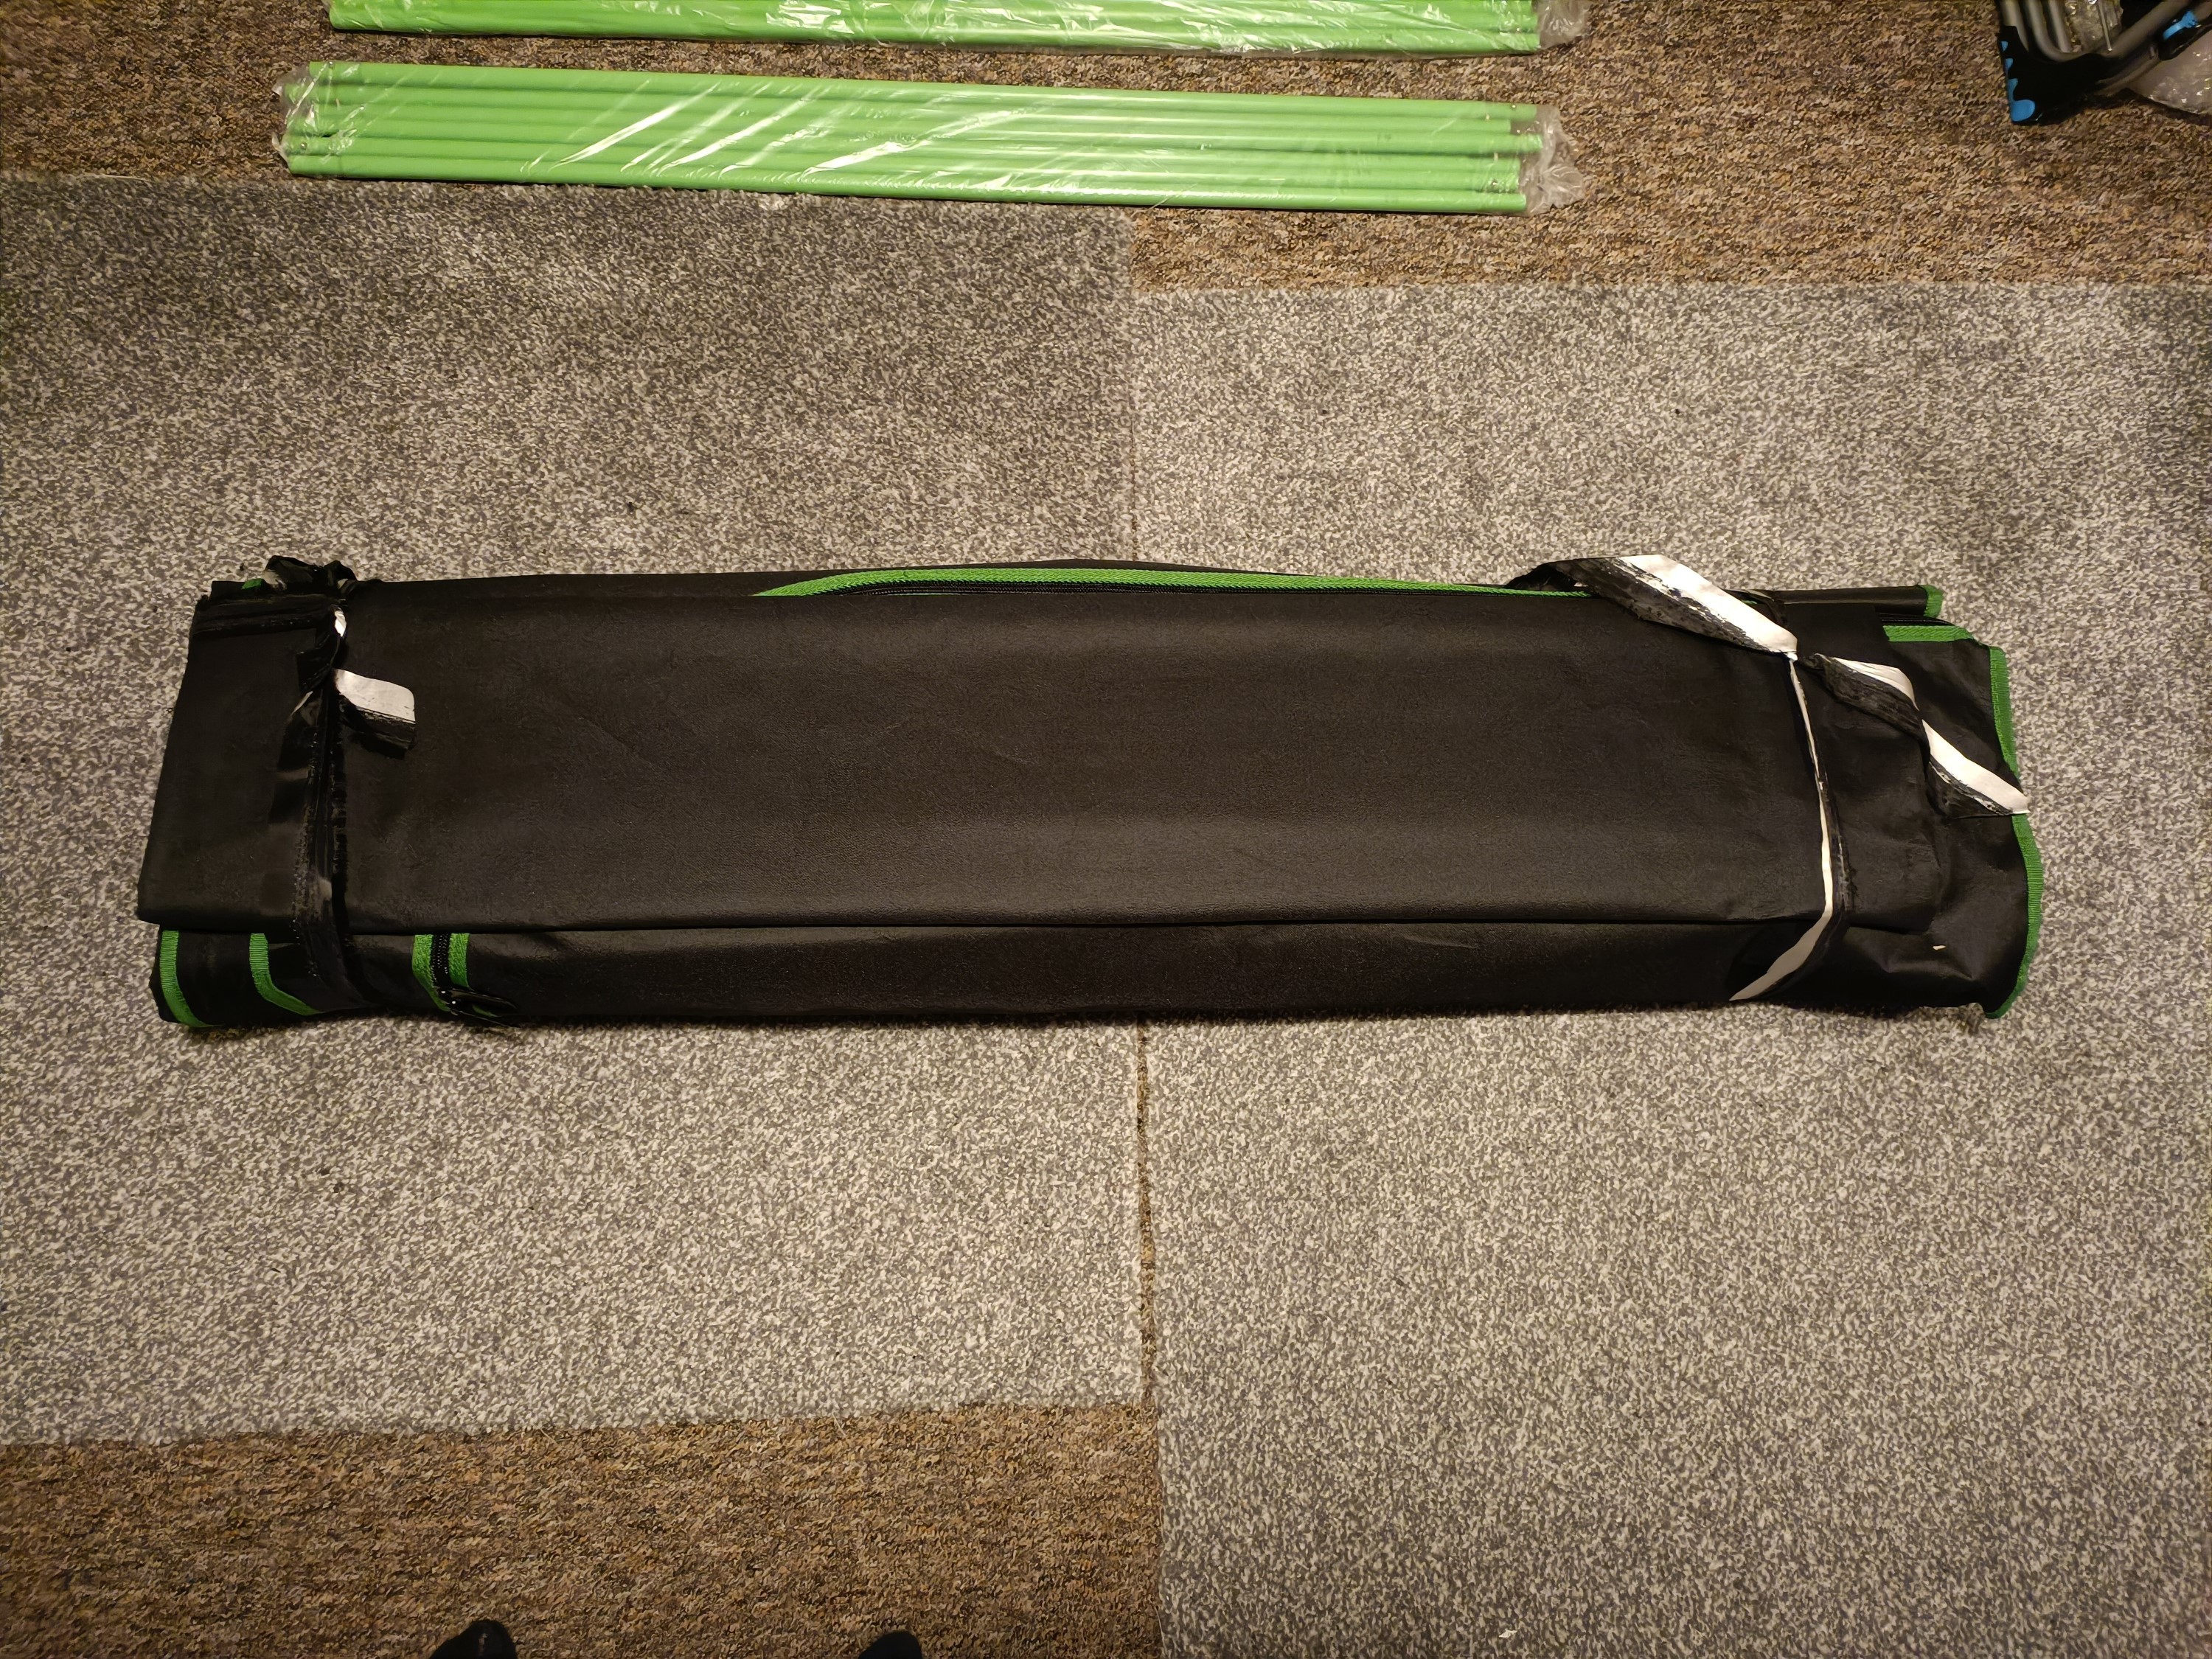
- I managed to pack up the tent back in the box, and used copious amounts of clear tape I just bought after asking the Post Office about this situation (to which they said to contact Royal Mail)
- I got clear tape because some other grow tent listing said that they didn't accept returns with brown tape. Since a roll of tape lasts a while, and my brown tape was almost empty anyways, I decided to stay on the safe lane in the event that any future eBay sellers have the same return policy requirement.
- I messaged the seller saying I'm returning the tent because of the fold issue. The seller offers £10 refrund + new tent sent out and I decline.
- I get a return QR code, but it's from Royal Mail and I'm thinking "Can Royal Mail deliver a 1.3m long parcel? Even as a return?". I go onto their website to book a collection and the largest is either 66cm for a "medium parcel" or 90cm for a "tube". I then assume that the seller has used some automated ebay return feature and the system hasn't picked up on the issue, so I message the seller about it. They say to contact RM so I do.
- I get an email back from RM saying that they indeed cannot mail the parcel, and I message the seller and ebay live chat.
- Unlike the seller, which is like 1 response a day, eBay live chat was like travelling in hyperspace and the guy knew there was an issue as soon as I said "but the parcel is 1.3m...". I suggested Evri as a solution, since that was the courier that got the parcel here in the first place, but he said that I'd get a refund if the seller didn't provide a new label in 6 days.
- In the meantime of those 6 days, I looked to see what my delivery options are and, as it turns out, Evri sends 1.2m parcels at max 15kg.
- One probably would get away with a 1.27m parcel, but I don't think 5 entire KG over the limit is going to fly. Maybe that's the reason why the box was kind-of beaten up in the first place.
- Well I now have a full refund and a 20KG box with a faulty tent inside. I guess I could sell it as "spares or repair" but I probably couldn't get a courier to deliver.
Discussions
Become a Hackaday.io Member
Create an account to leave a comment. Already have an account? Log In.