 Bharbour
After using the clock for a few weeks, it became apparent that the gap between the minutes 10 digit and the hours 1 digit was too narrow. The two discrete LEDs that make the colon between the hours and minutes blended into the characters enough that it was difficult to read. Viewing from an angle made it worse. Viewing it at 0 dark thirty, with one eye open and 5 brain cells on line did not help the situation either.
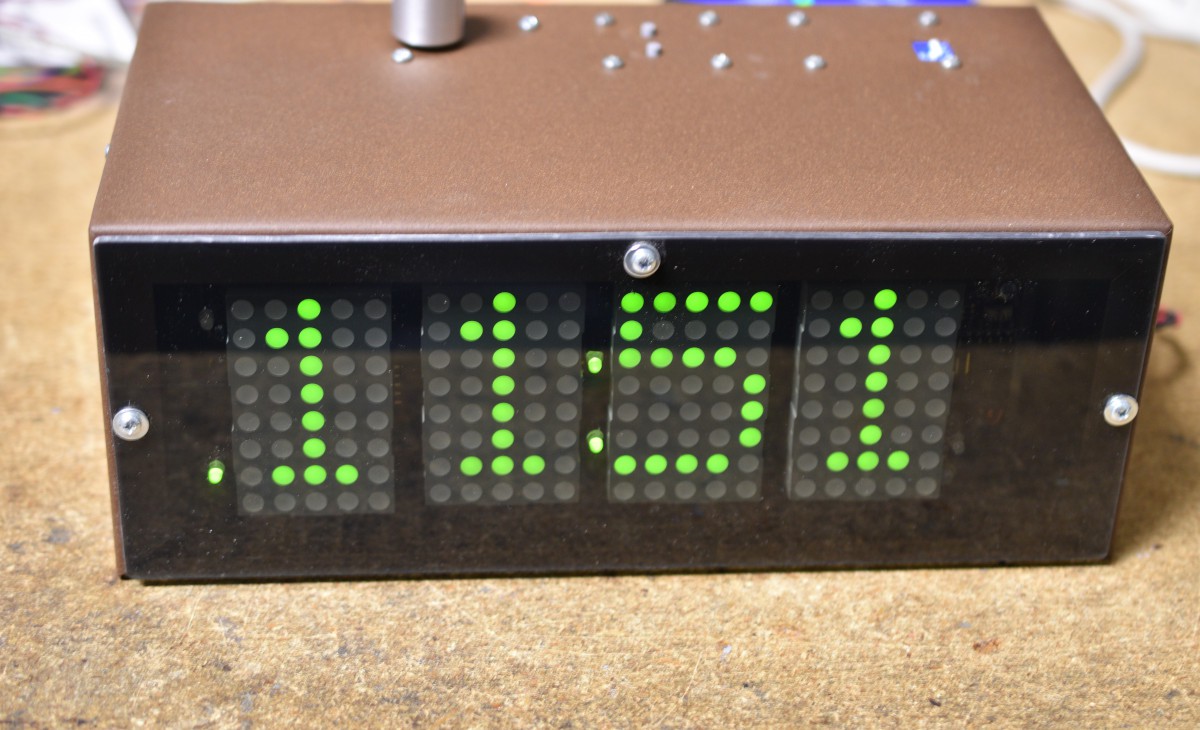
This is the original layout. If you look at the minute 10s digit, you can see how the colon LED merges into the digit.
A new mounting plate was made that doubled the distance between the hours and minutes digits. After replacing the mounting plate, It is easier to read.
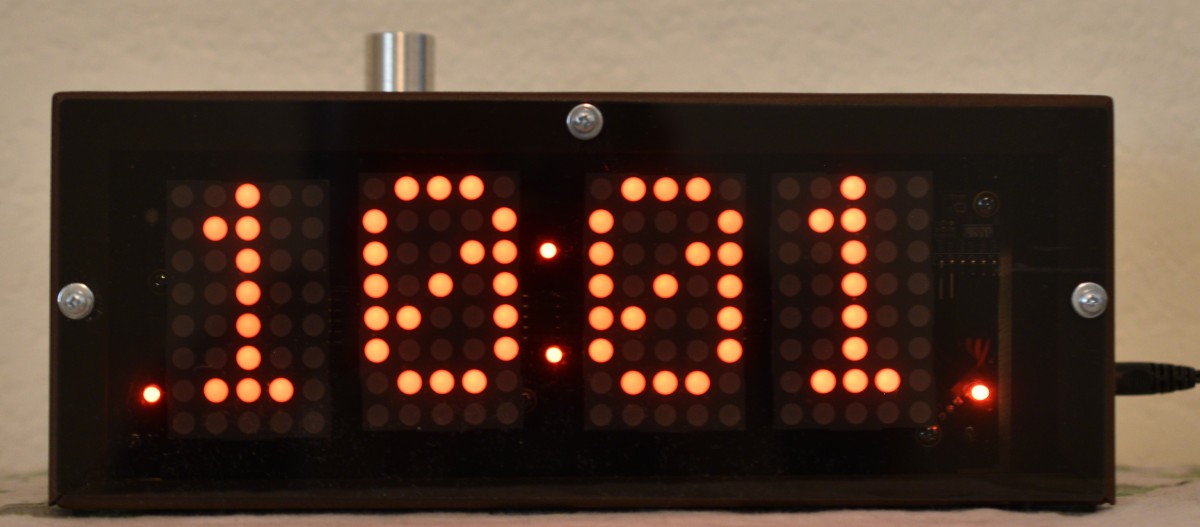
The front area around the displays is kind of crowded, but it was possible to move the hours digits to the left and the minutes digits to the right by 0.150" each. It was not necessary to modify the wiring harness to make the changes.
I opted to make a new mounting plate rather than modify the old one. A few changes had already been made to the old plate and the possibility of having the new holes too close to an existing hole seemed likely.
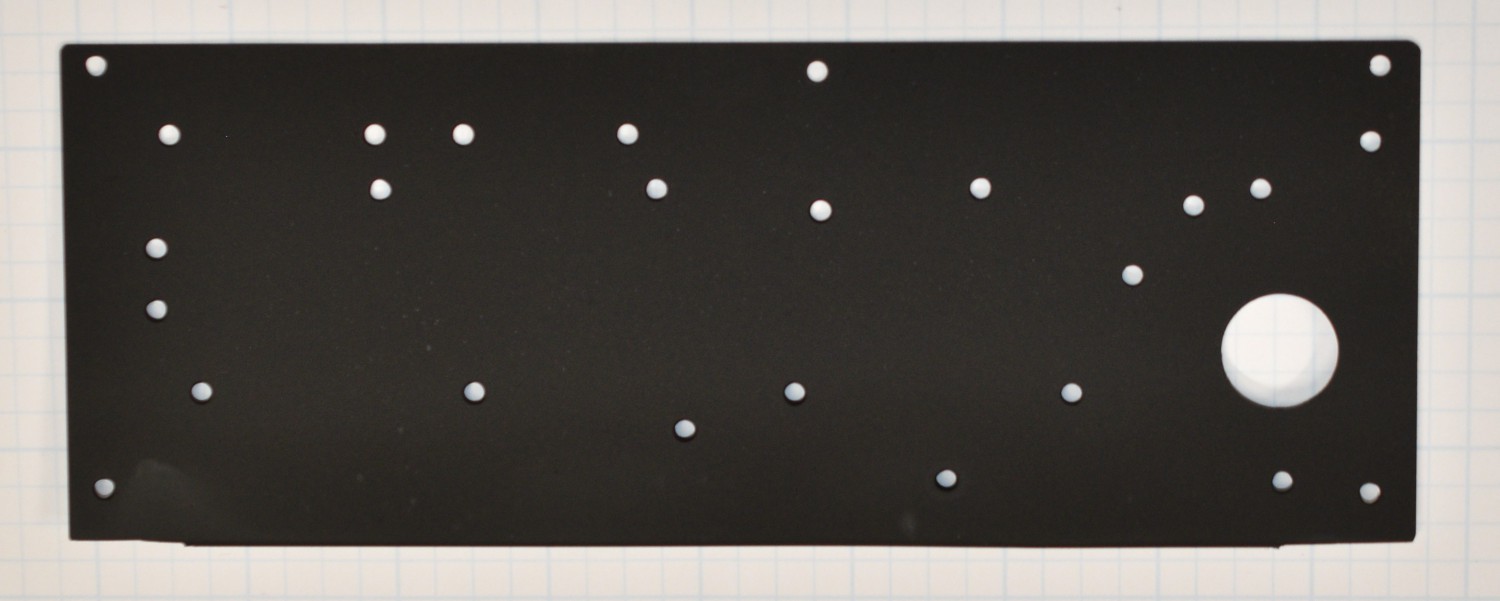
Here is the new mounting plate. Contrary to the appearance, it was not made with a shotgun :) With components mounted on the front and back side of the plate, you get a lot of holes. The large hole on the lower right side is for wiring to pass through. Originally, the plate was designed in CAD, and it was a pretty simple thing to move the components around and re-dimension the drawing. Drilling was done on a vertical mill with a digital readout, so placing the holes accurately is easy.
Discussions
Become a Hackaday.io Member
Create an account to leave a comment. Already have an account? Log In.