 Aaed Musa
Step-by-step instructions are found here
Design
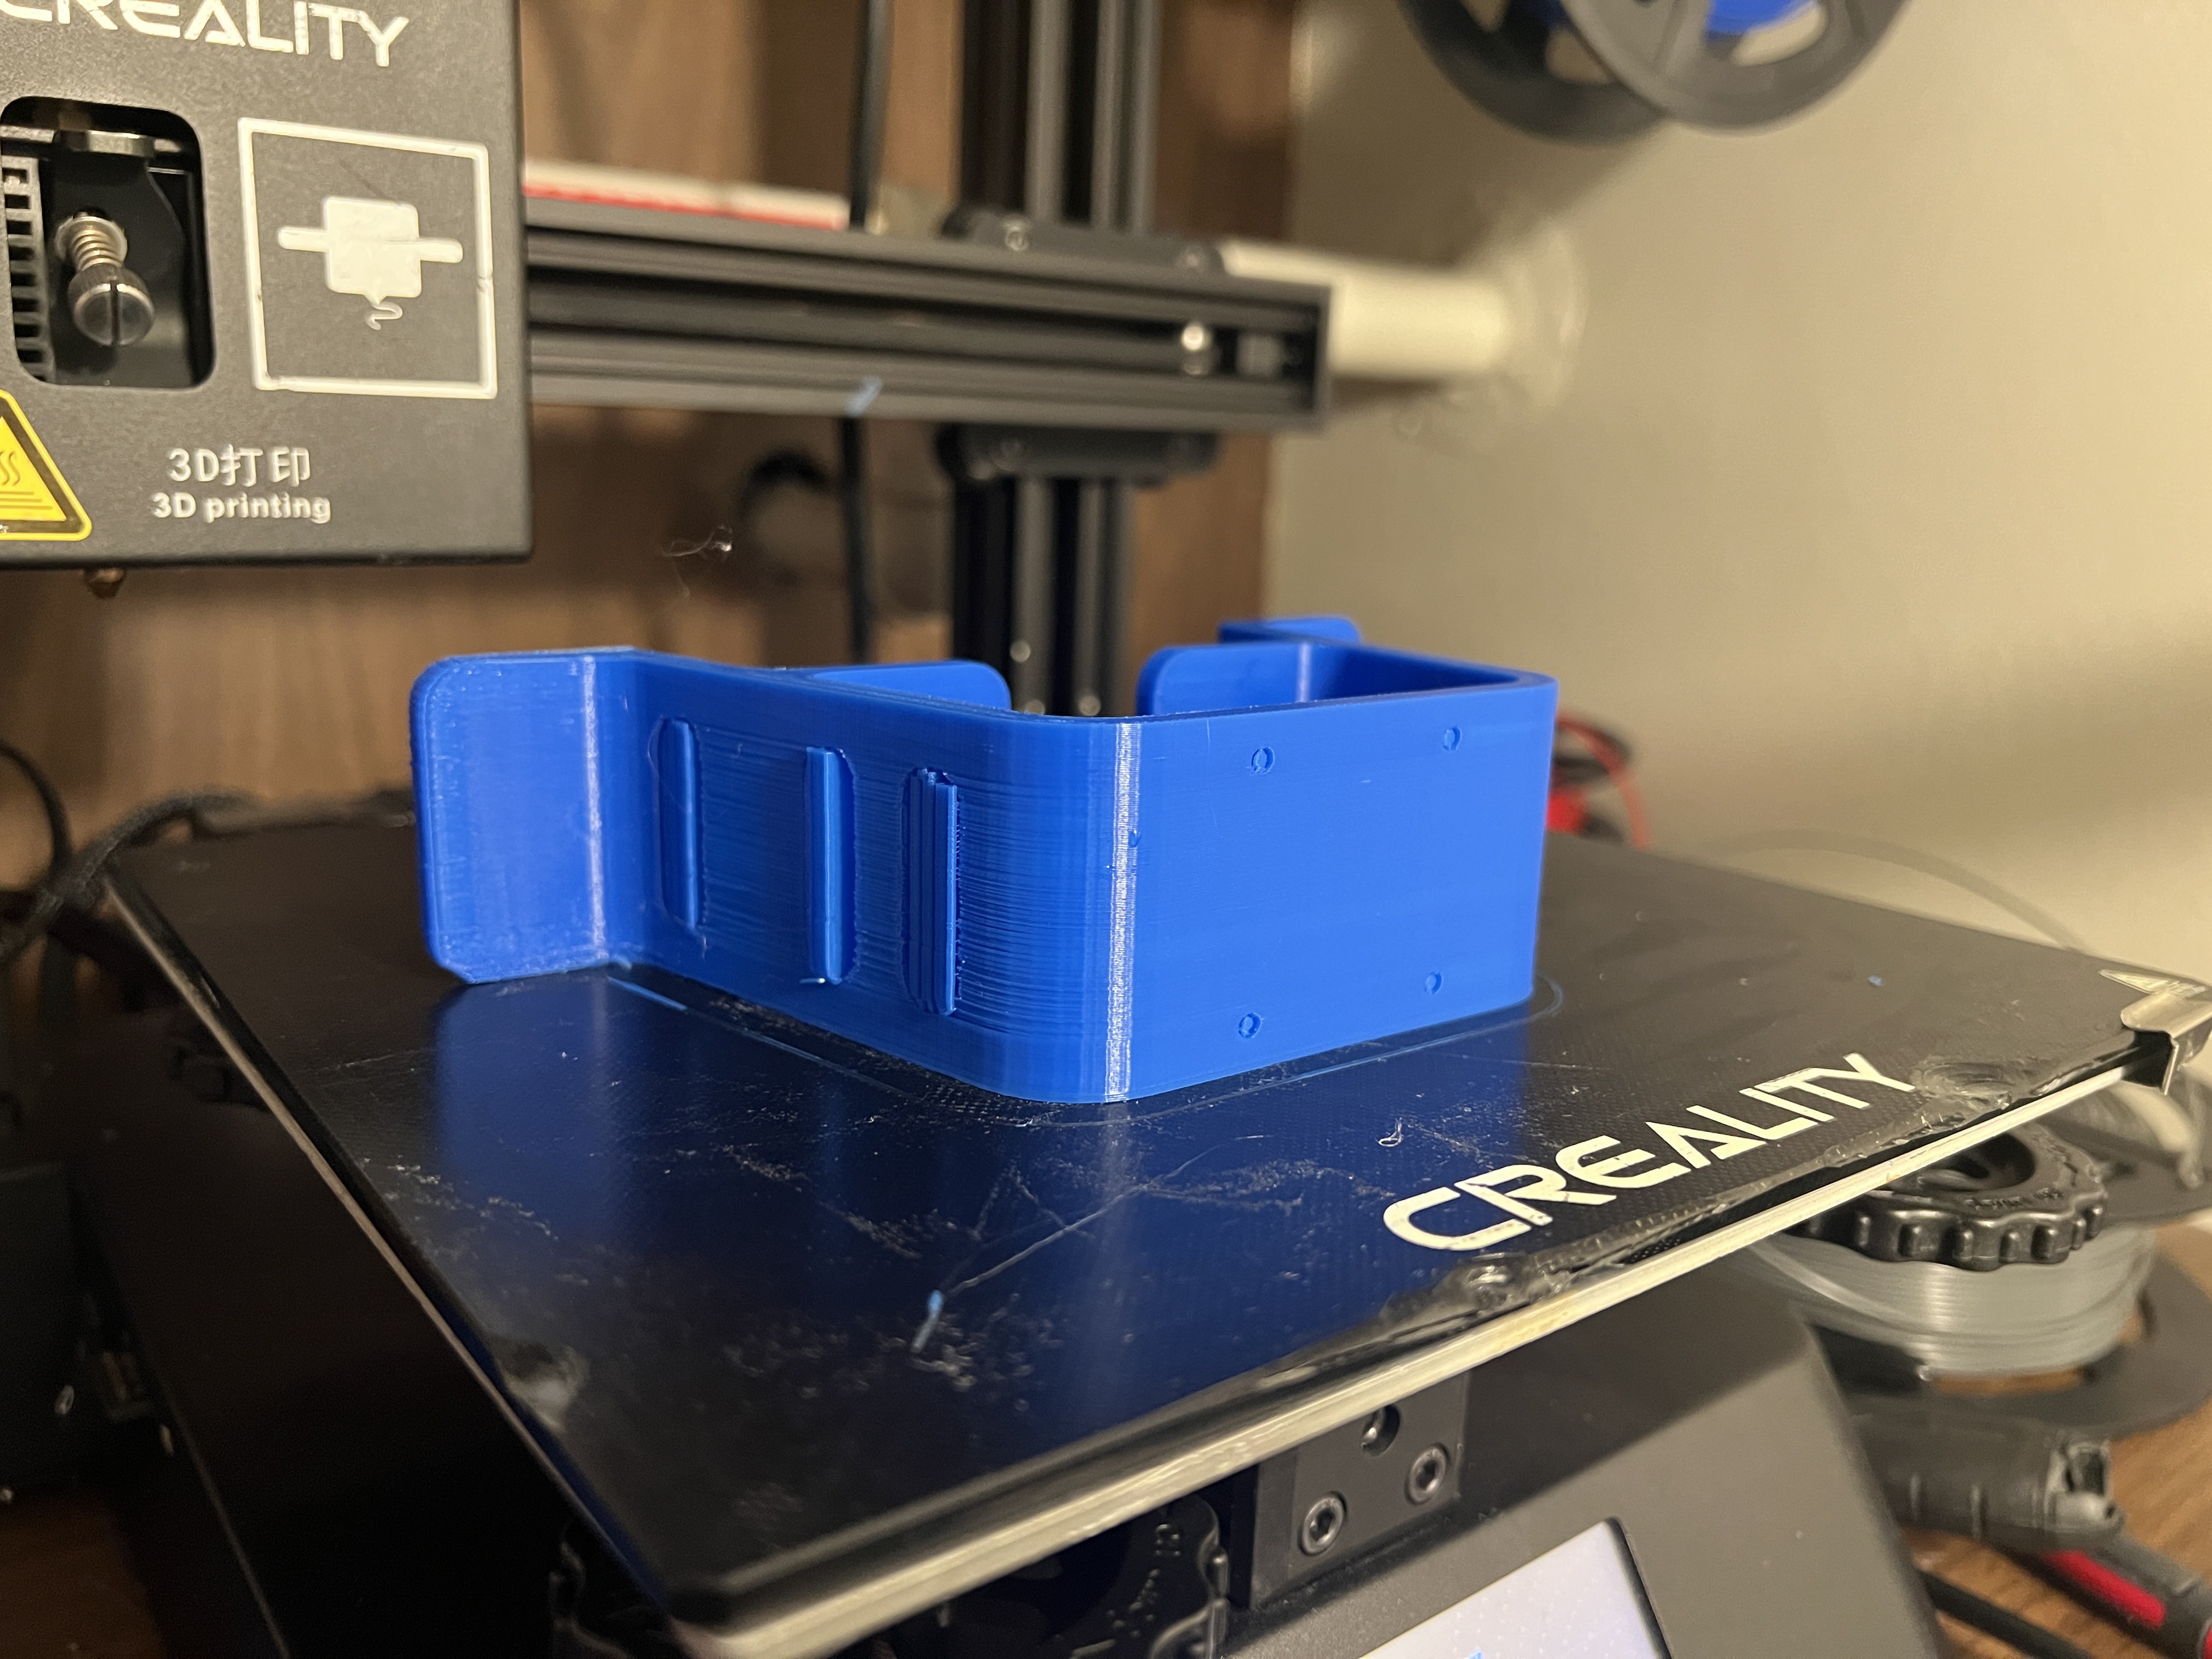
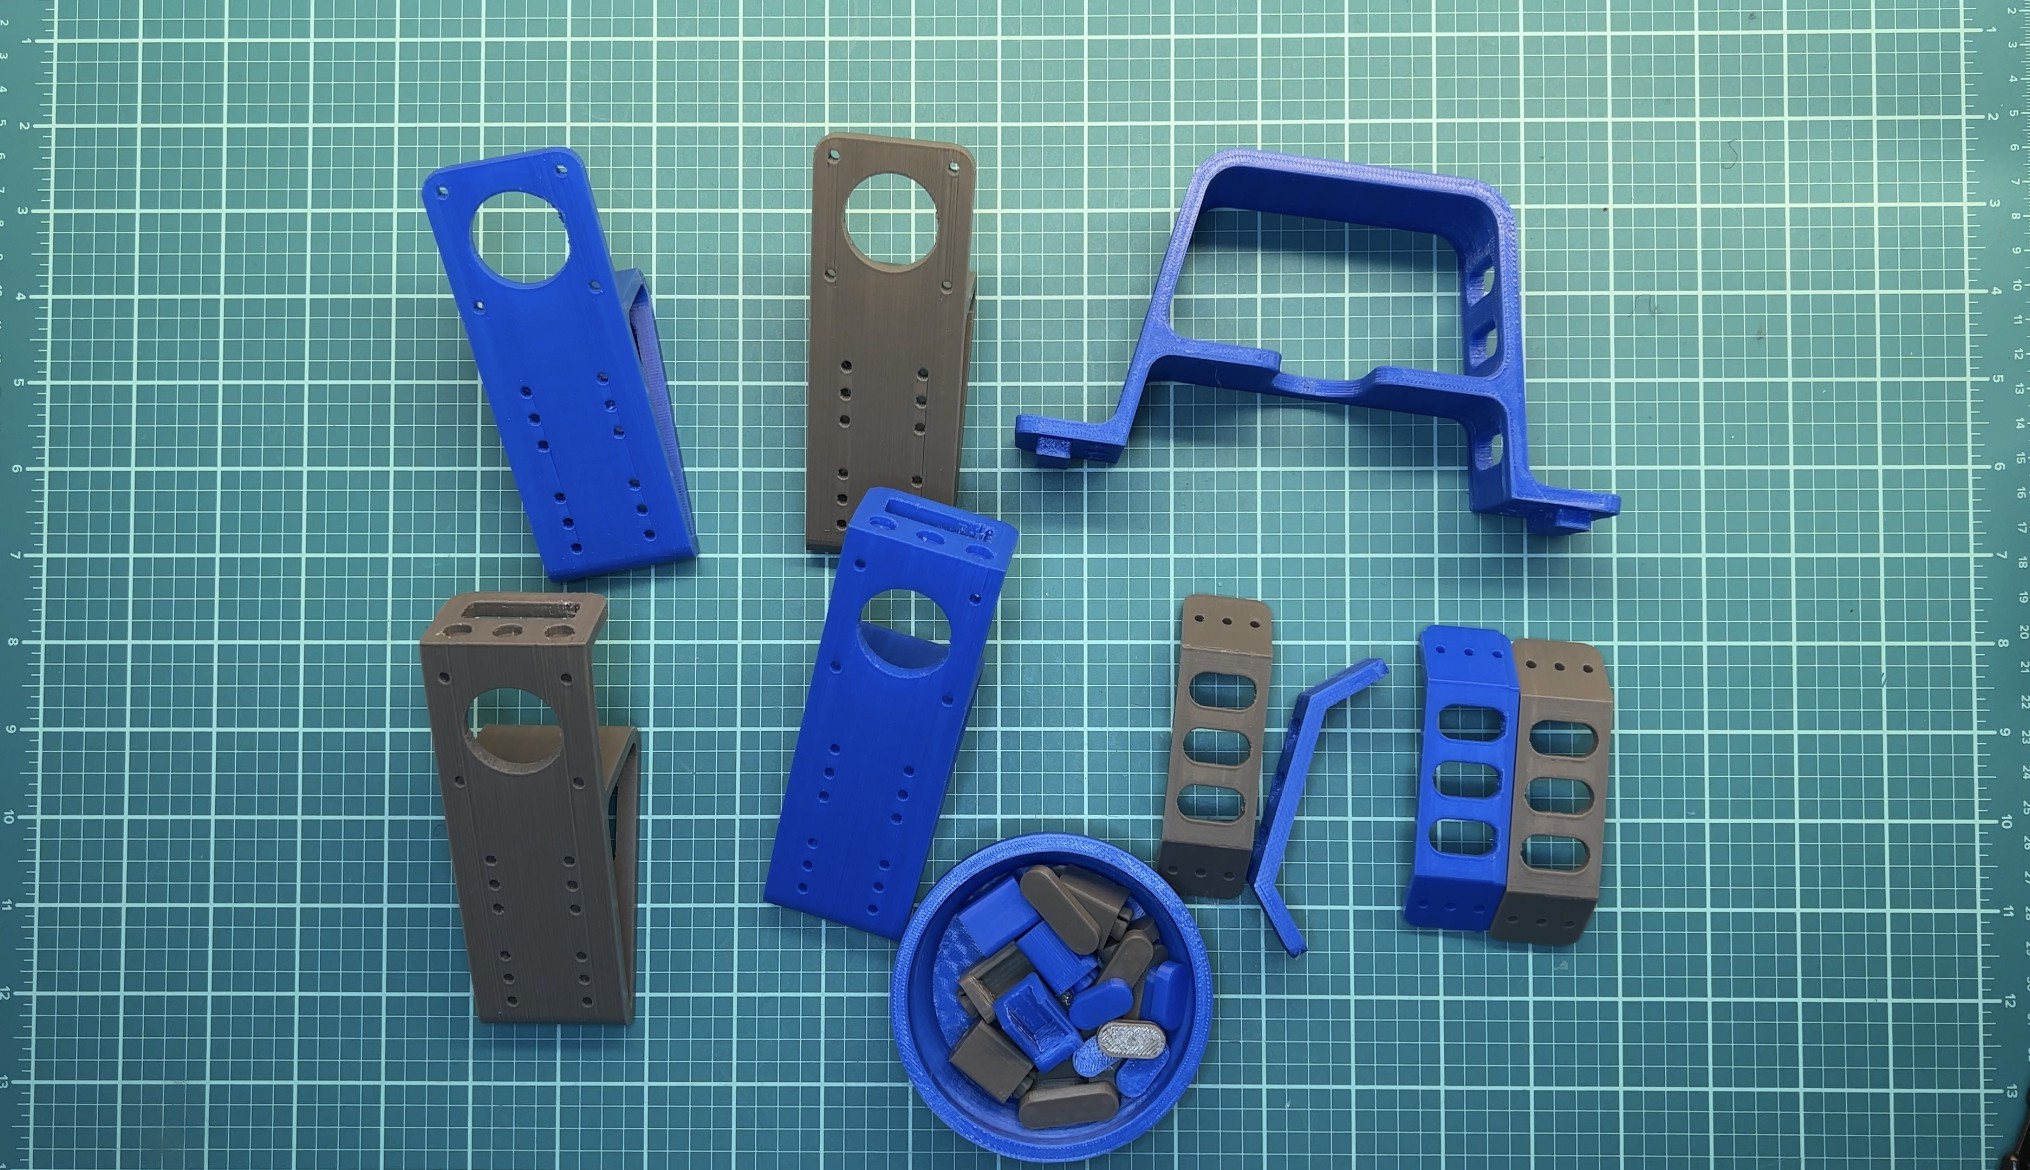
All of the parts were printed in PLA filament at 210°C at 20% infill on my Creality CP-01. The cumulative print time was about 30 hours. Total filament usage was about 316g.
Cube Adapters
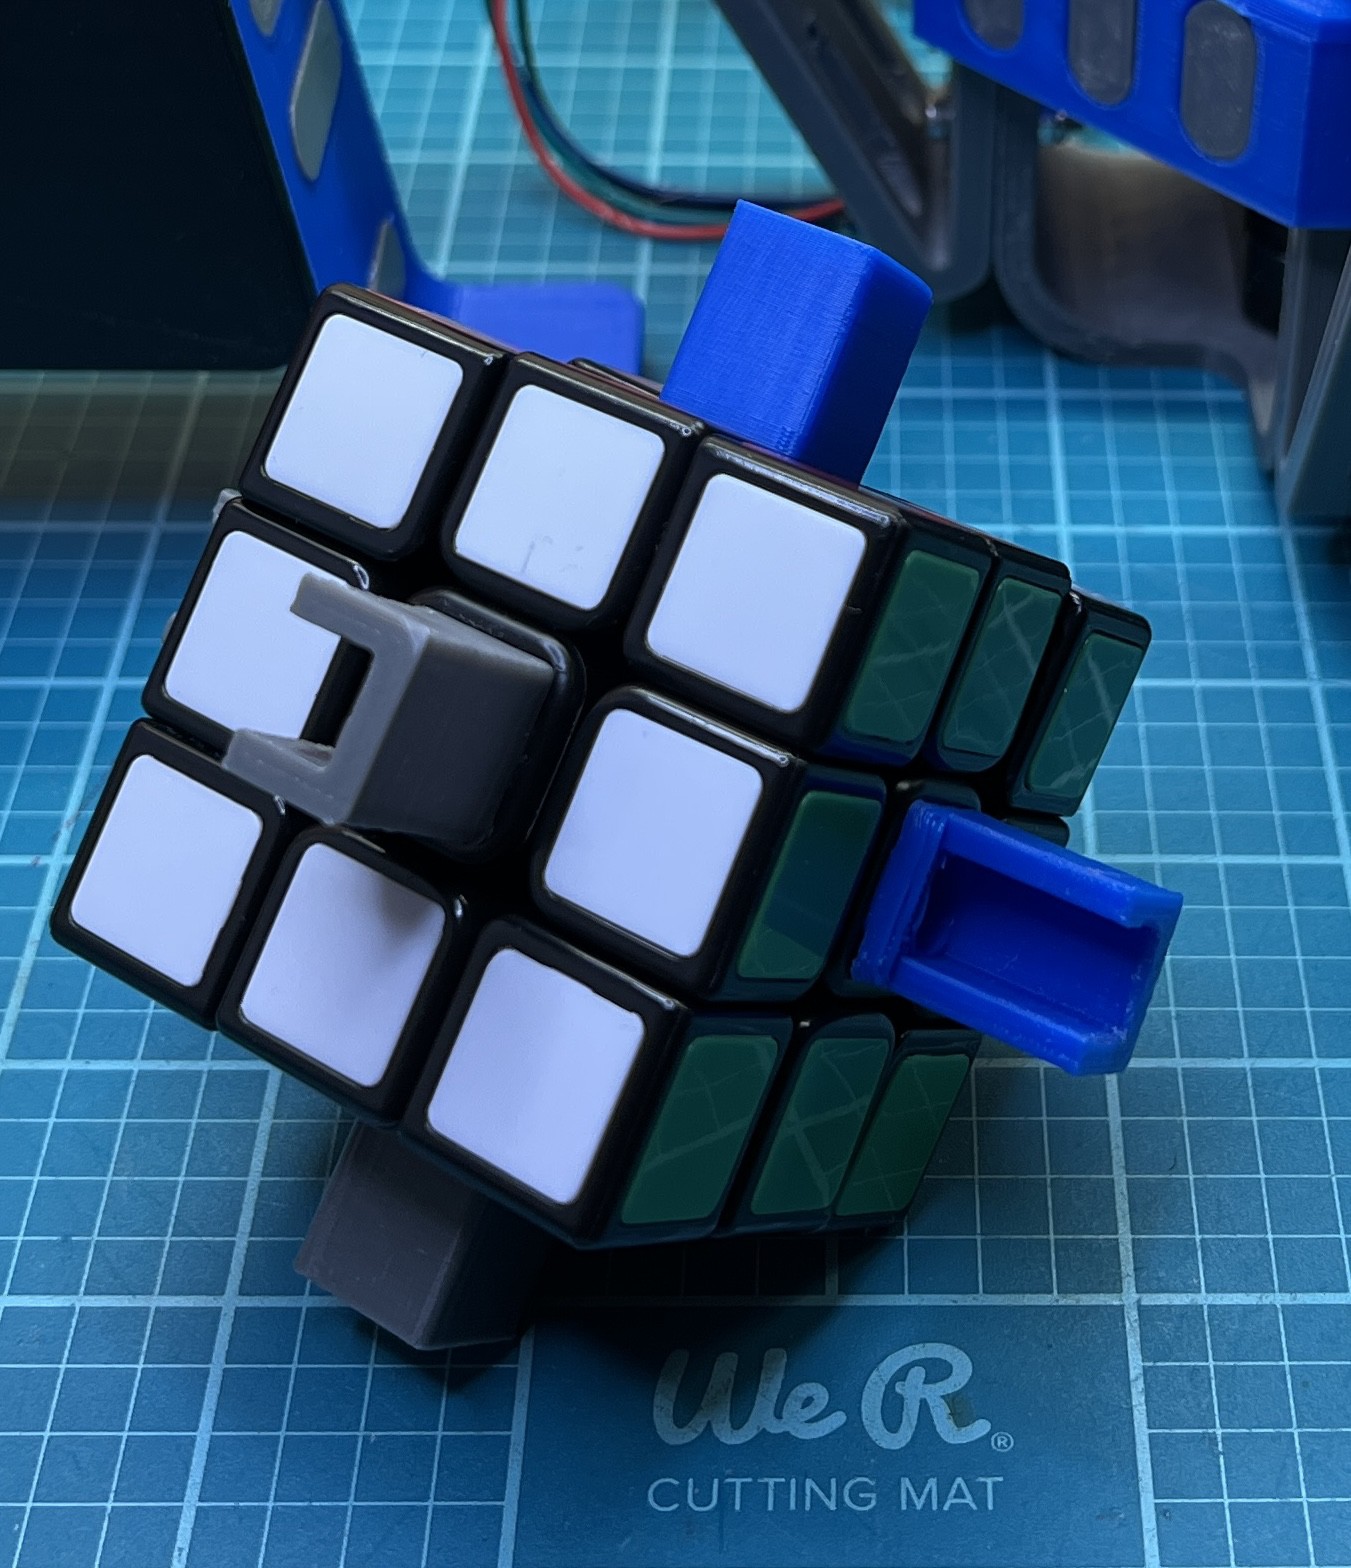
My first goal for the design of the machine was to find a way to turn each side of the cube. Using stepper motors for actuation was a must considering that the cube requires precision to be turned. I also knew that for a fast solve, each side would need to be turned independently, in other words, each side of the cube would have its own stepper. Creating an adapter piece to connect to the center of each side of the cube was the most reasonable route. I took the center tiles off of each face with an exacto knife and then designed the cube adapters. The cube adapters have the same profile as the tiles so that they can attach to the cube. You’ll notice that there are two types of adapter pieces: one closed on all sides, and another with an opening. This was done to allow the cube to be easily put in and taken out of the machine.

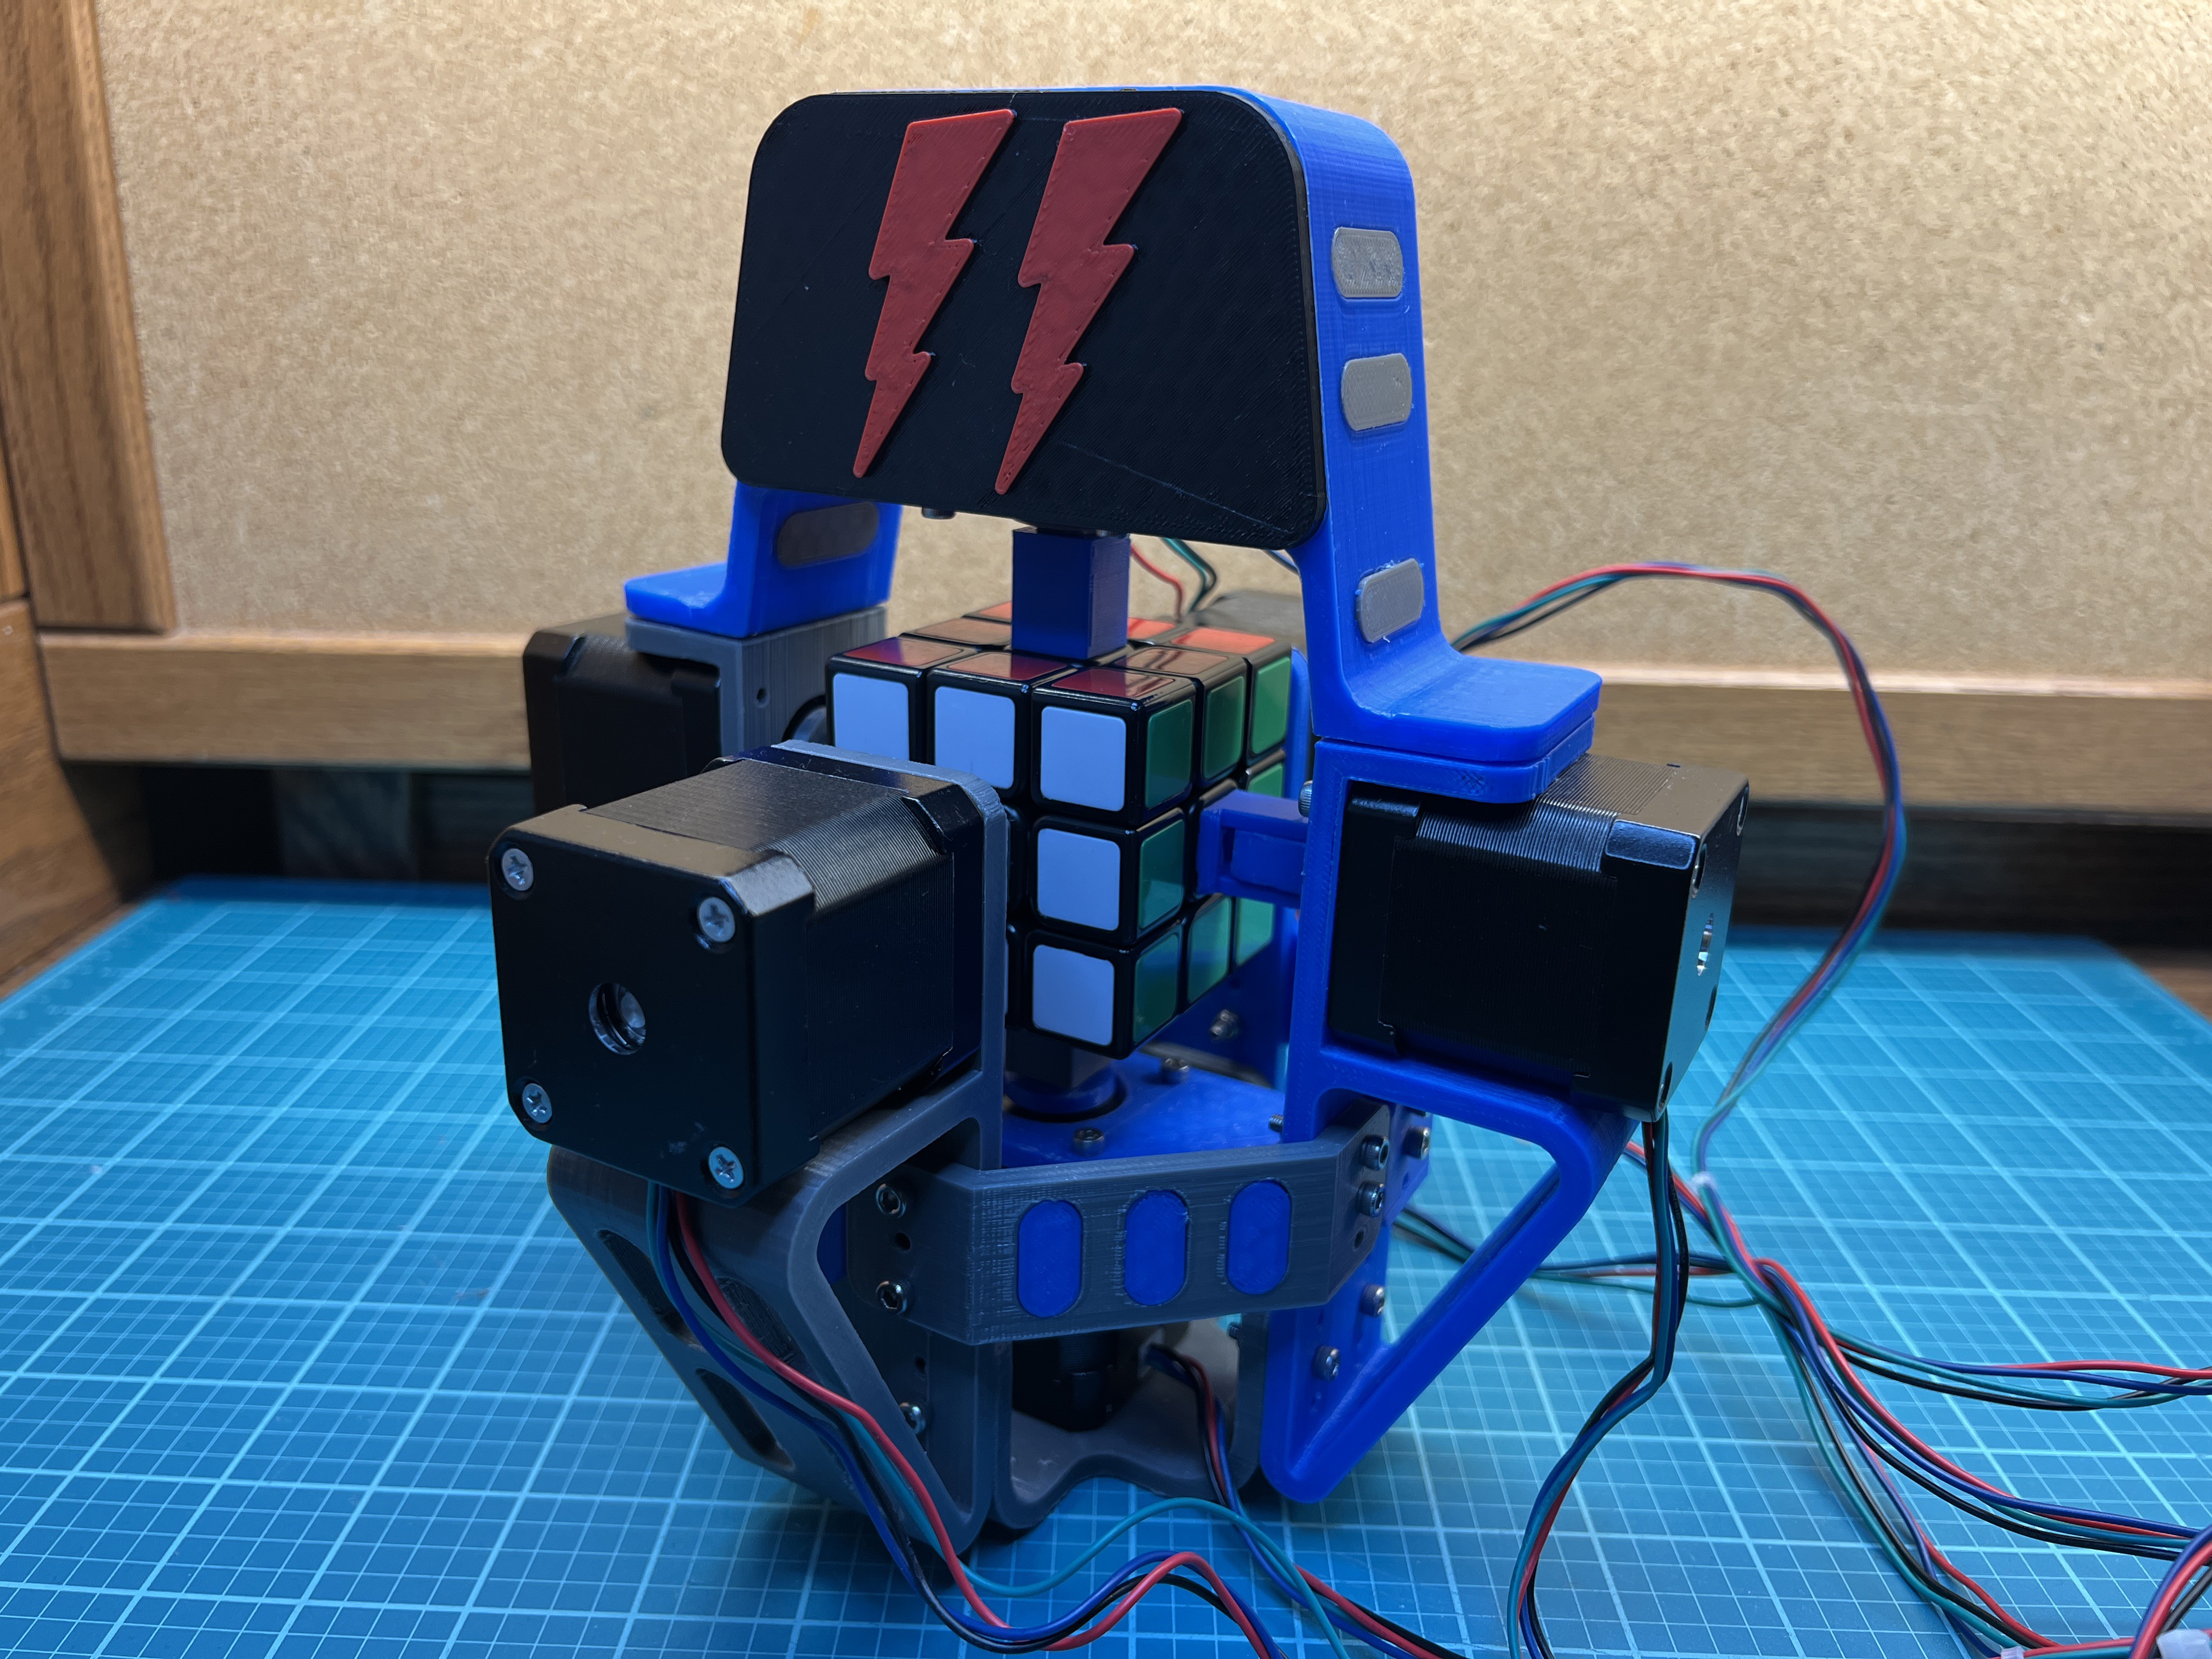
The Machine
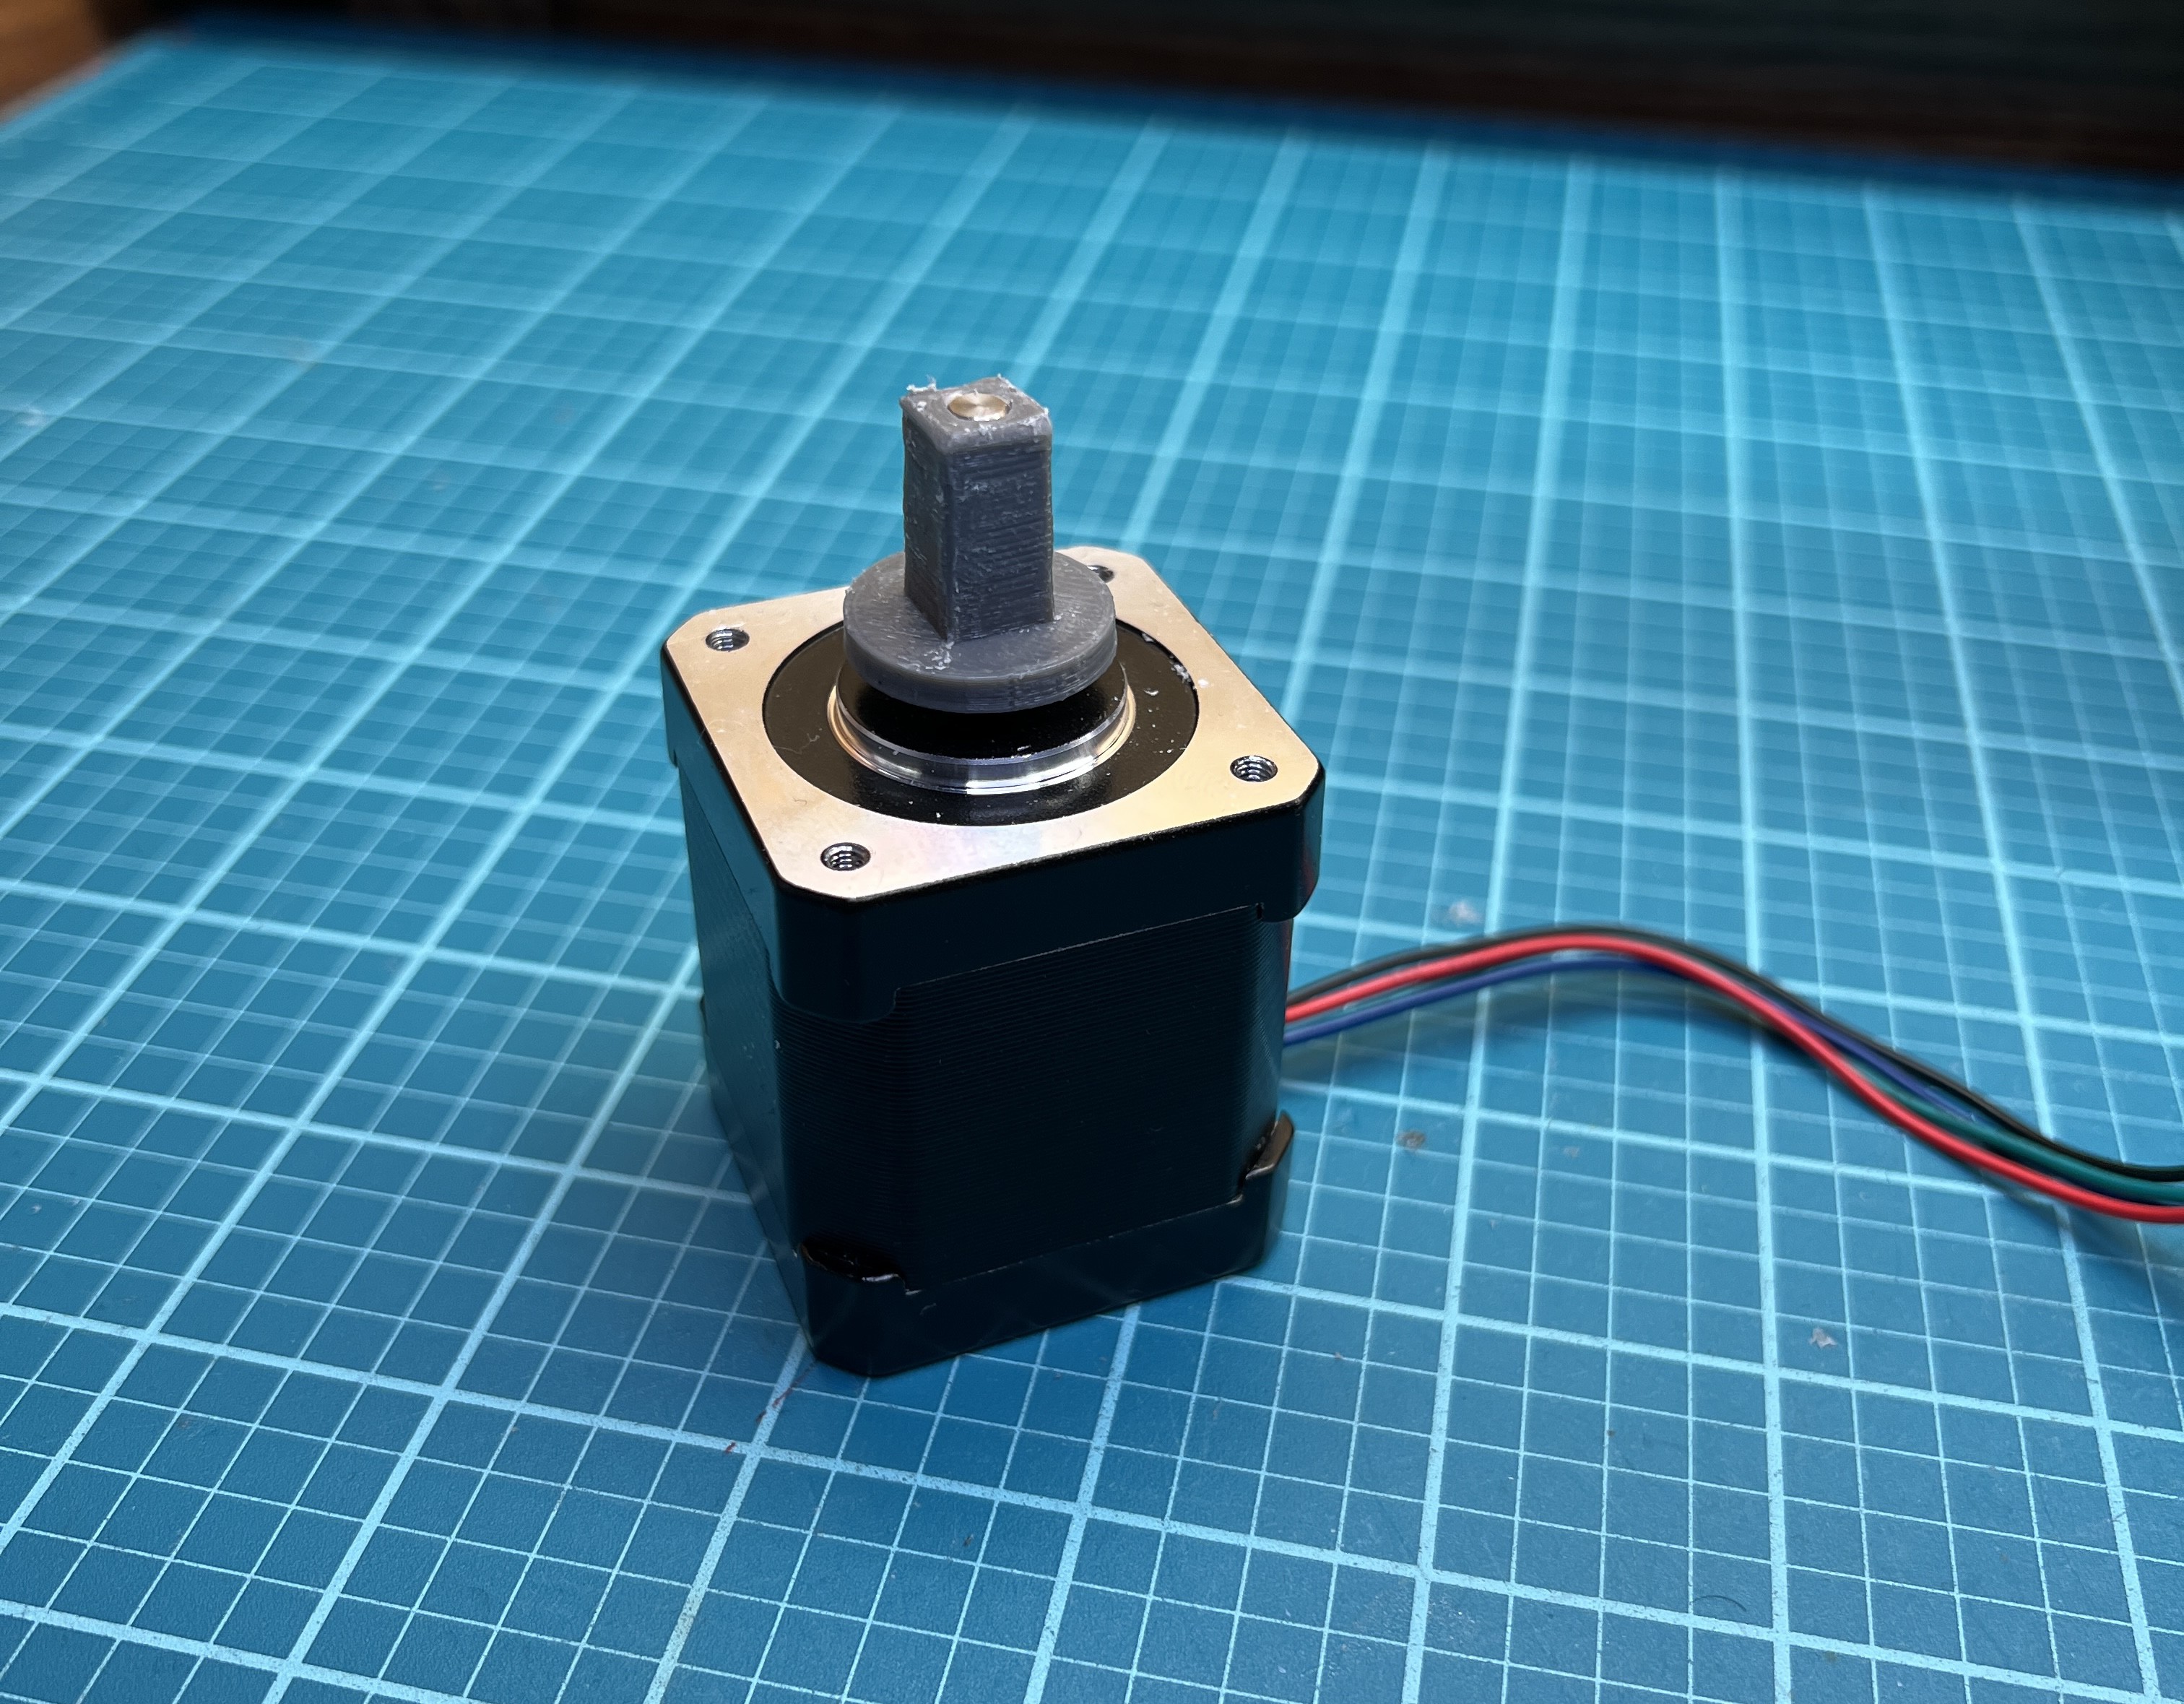
All four of the stepper motor mounts screw onto the base of the machine which holds the 5th stepper in the middle. The 6th stepper is mounted onto the removable hat of the machine. With neodymium magnets, the hat can clip onto the machine and be taken off. I added extra support structures between each stepper mount for extra sturdiness. Each of the steppers has a printed motor sleeve on its shaft. The motor sleeve has the same square profile as the cube adapters. Thus, when the cube is put into the machine, the adapters attached to the cube are able to slide onto the motor sleeves and allow the cube to be turned.
Electronics
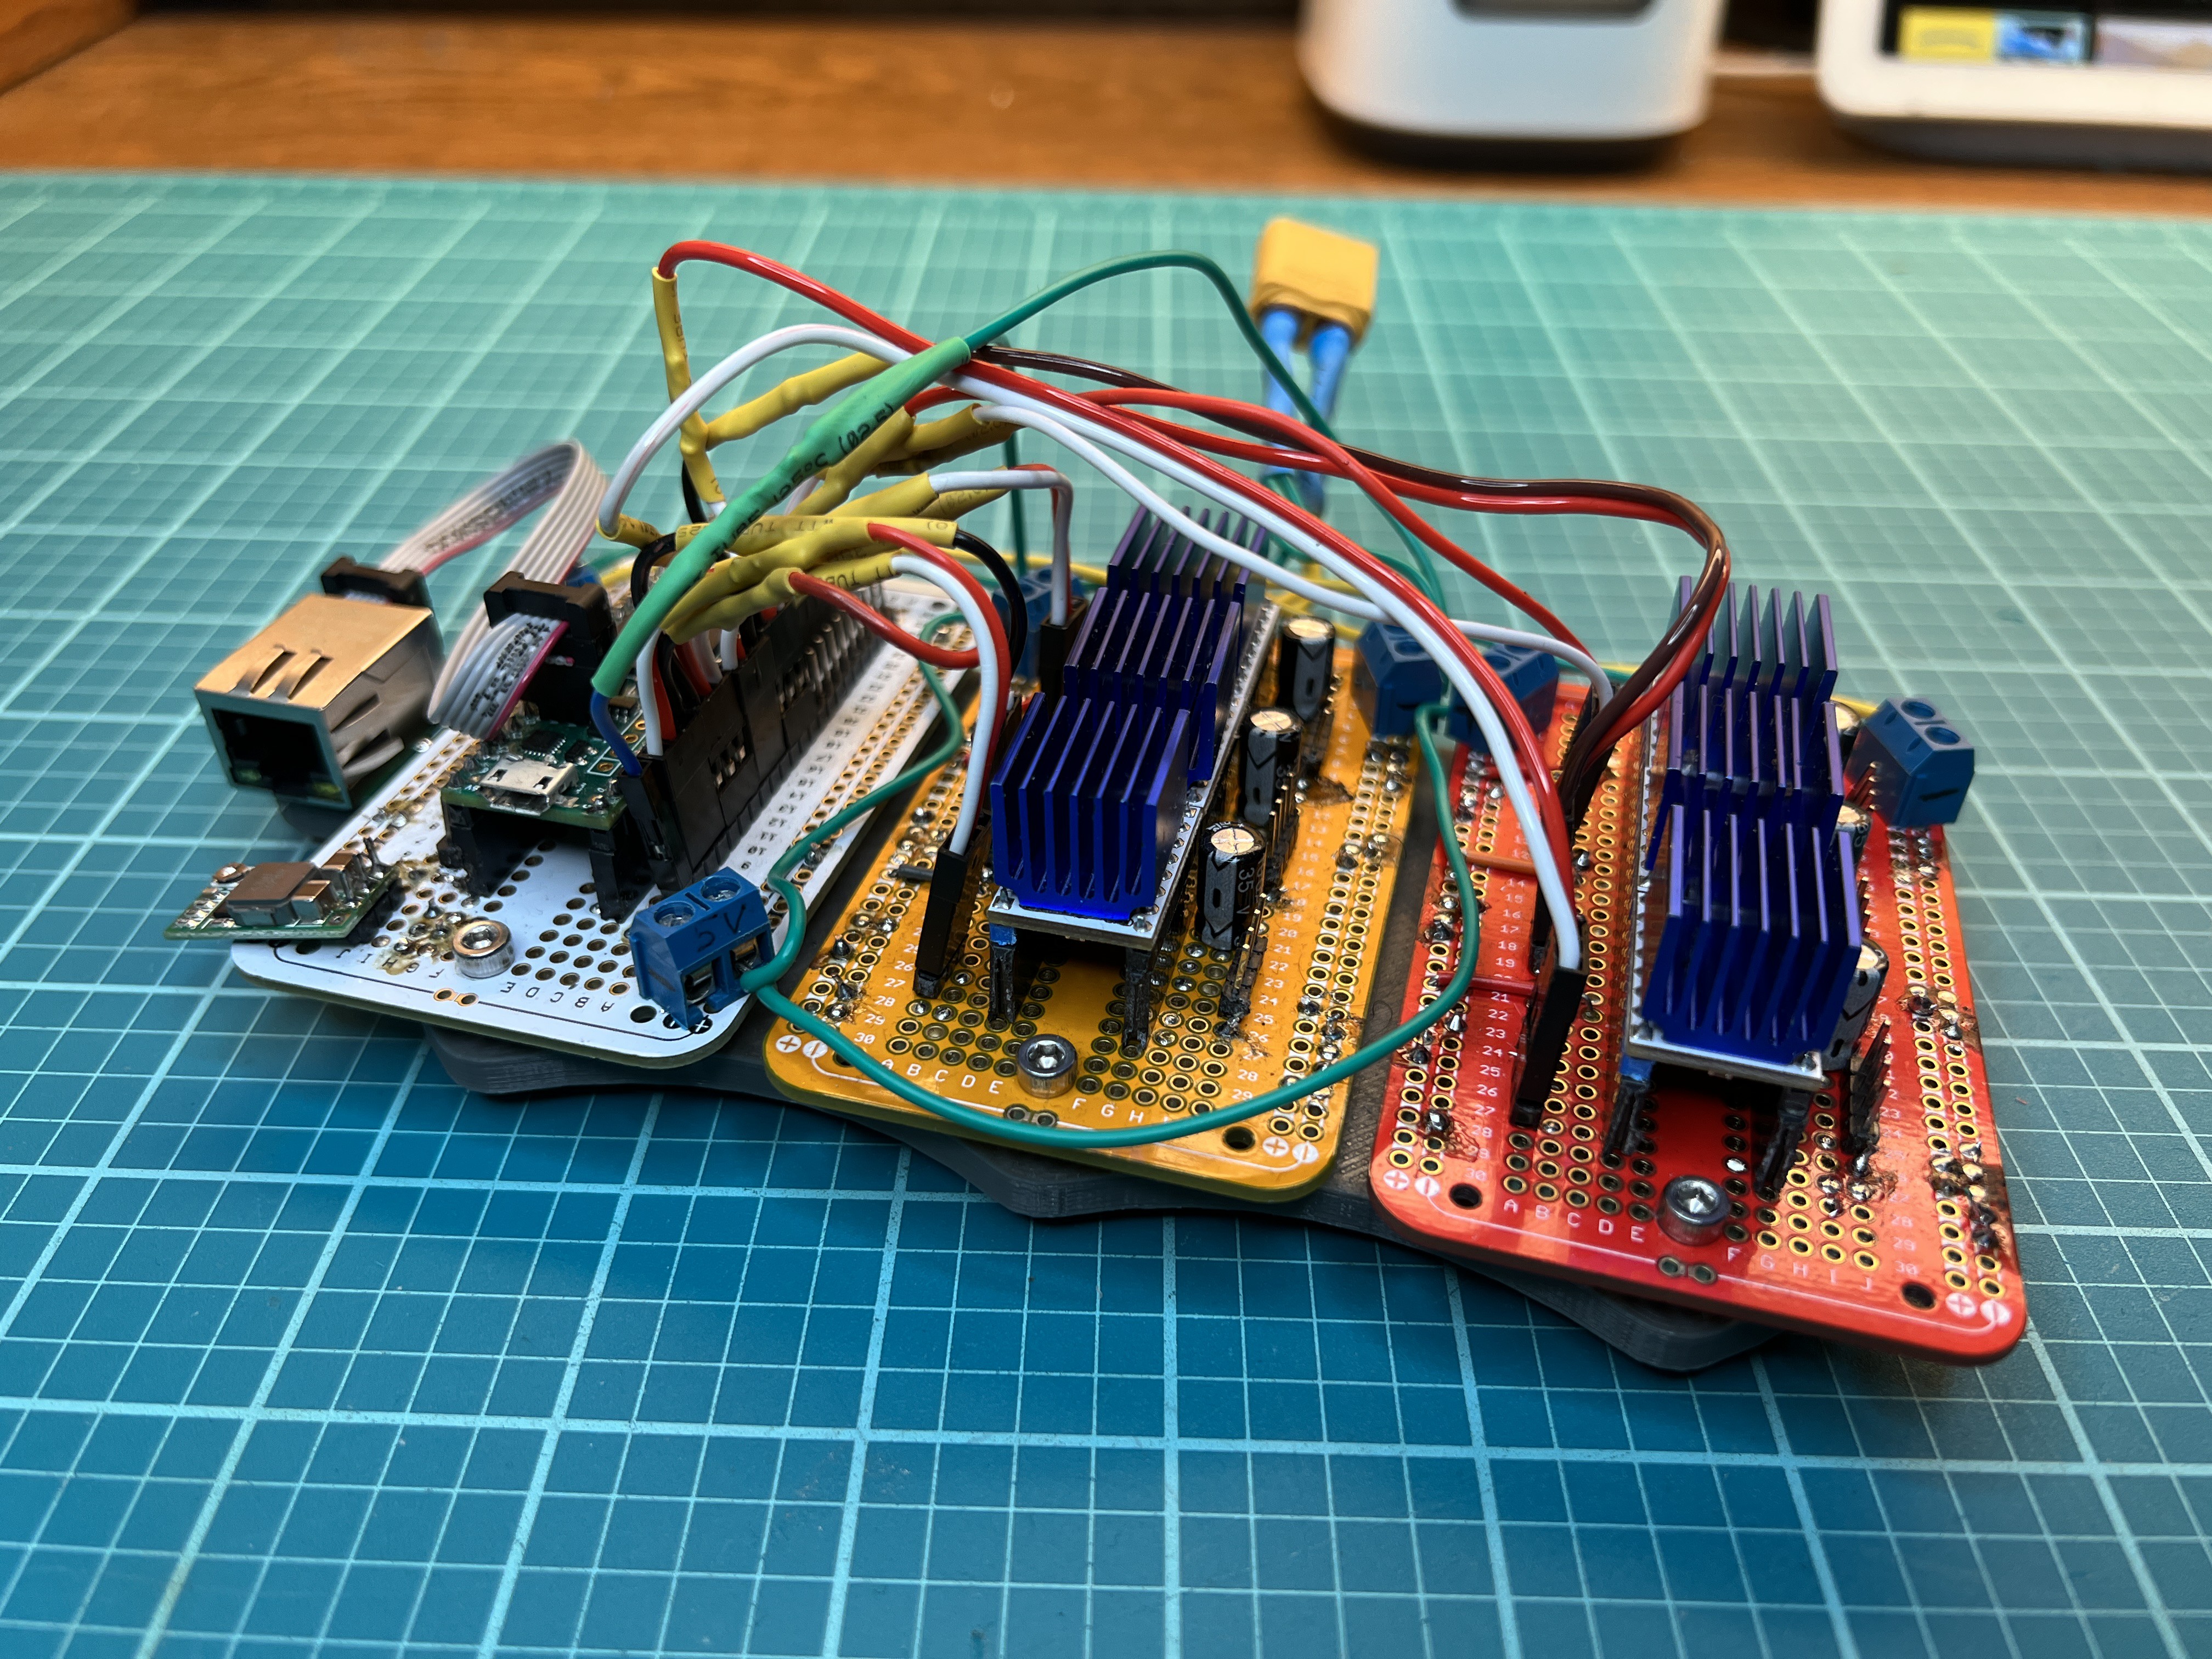
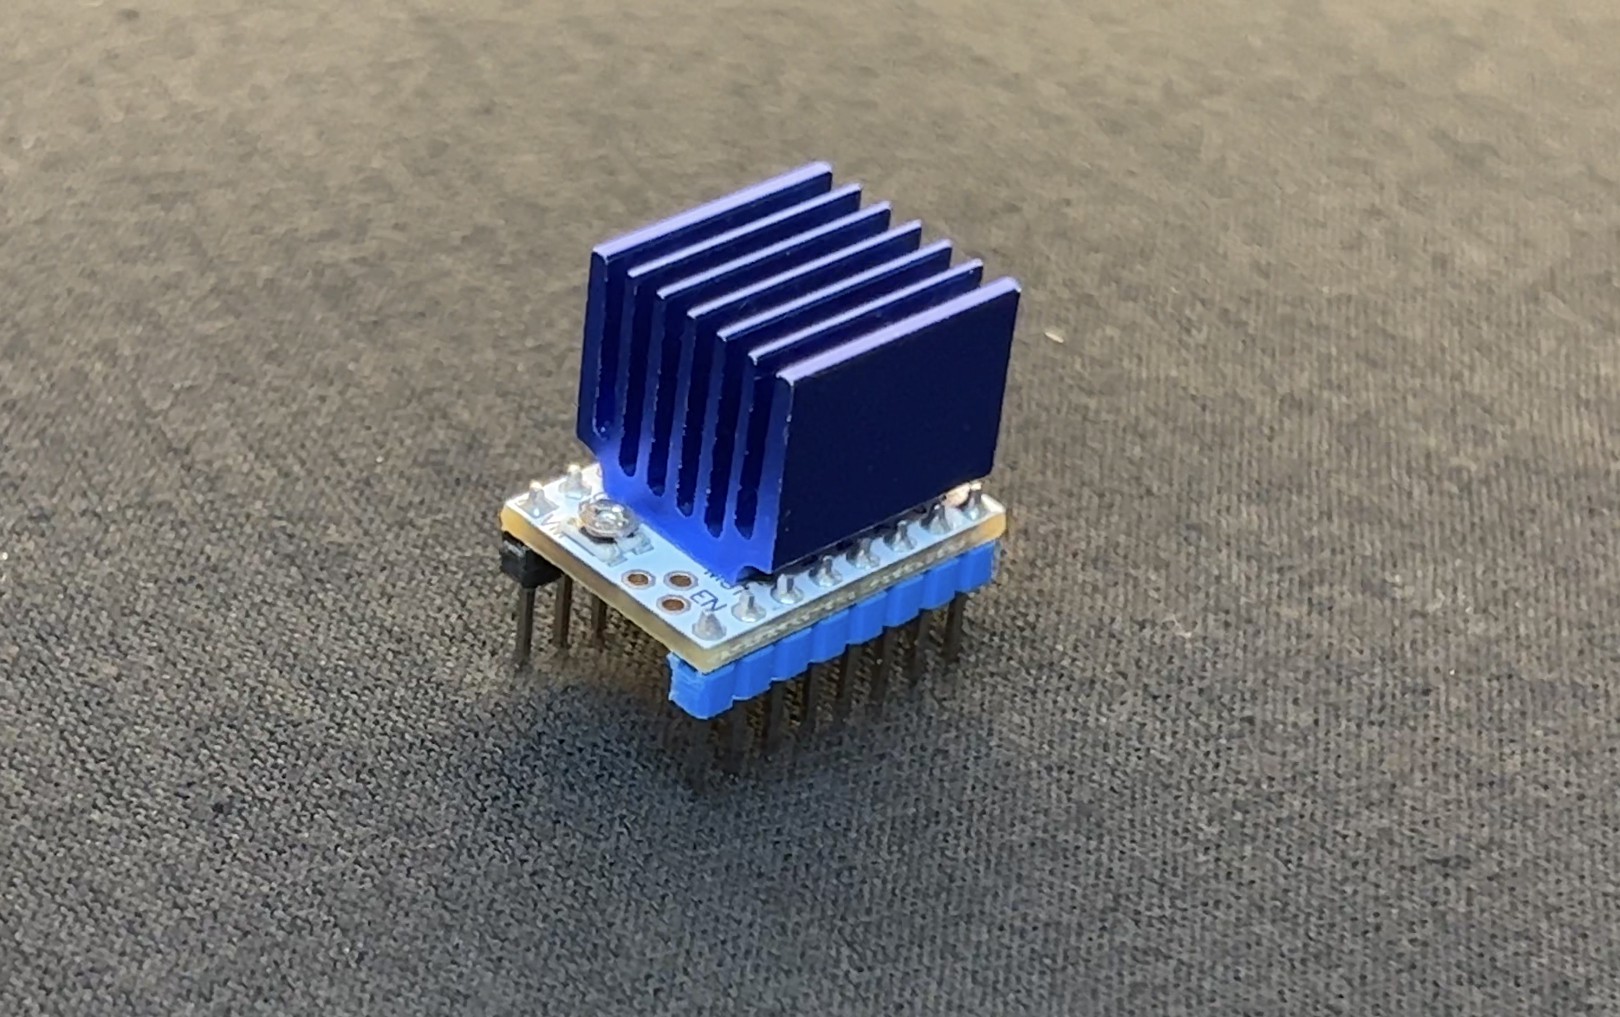
Stepper Motors/Drivers
The machine utilizes 6 x Nema-17 59Ncm stepper motors rated for 24V. I’m using 6 x TMC2208 stepper drivers to drive the motors. These drivers are extremely quiet. They can often be found on silent motherboards for 3D printers. In fact, they are the same ones used in my 3D printer. For these drivers, I’m using the lowest micro stepper level, ½ micro stepping (400 step/rev). These drivers can do up to 1/16 micro stepping (3200 steps/rev), but with higher precision, you get slower top speeds. Since these steppers will only ever turn 90° or 180° at a time, 400 steps/rev is just fine.
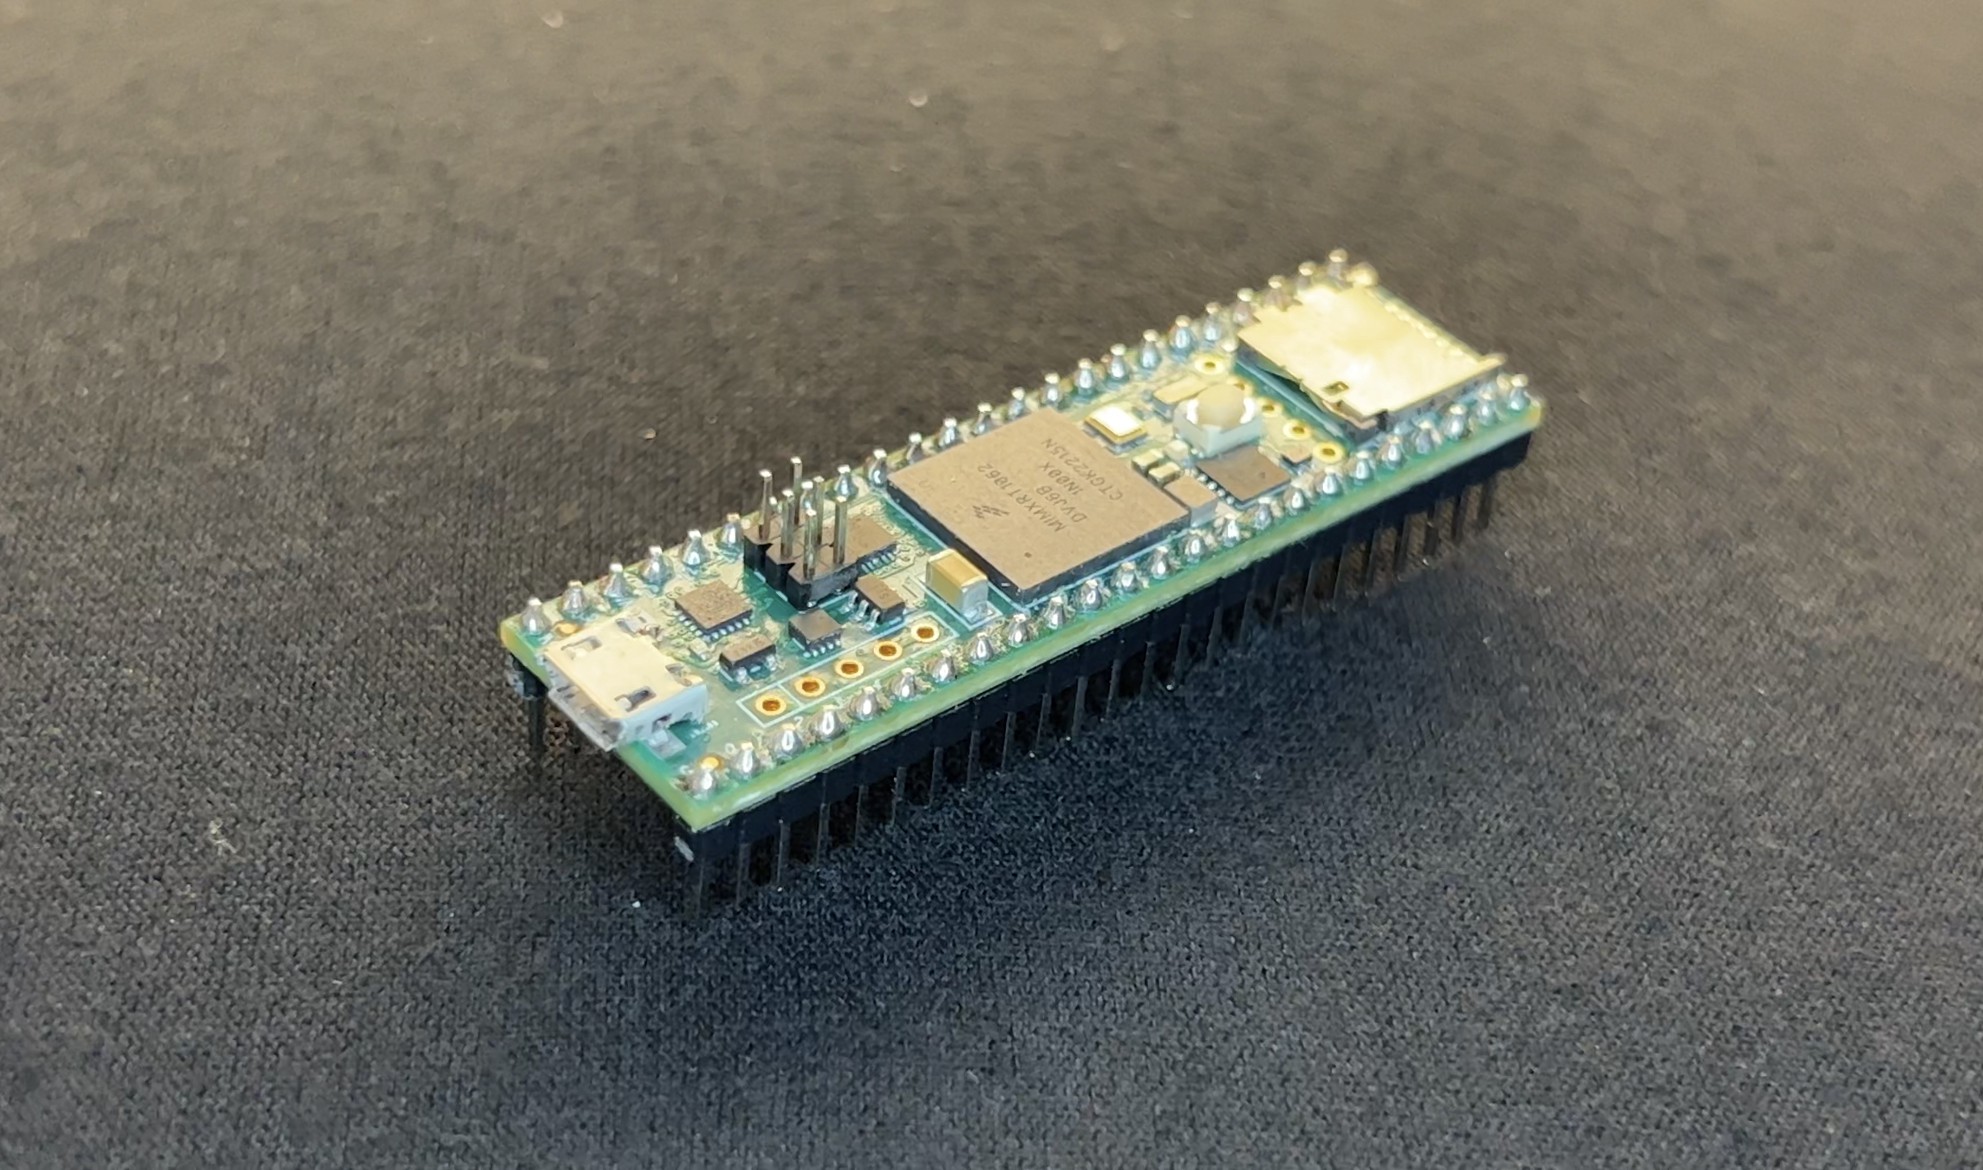
Teensy 4.1
I originally started programming this project on an Arduino UNO. As the code increased, the Arduino ran out of storage so I switched to the Teensy 4.1. The Teensy is superior to the Arduino in every way. It has 38 times the clock speed, much more storage, 55 pins, and 8 Mbytes of flash memory.
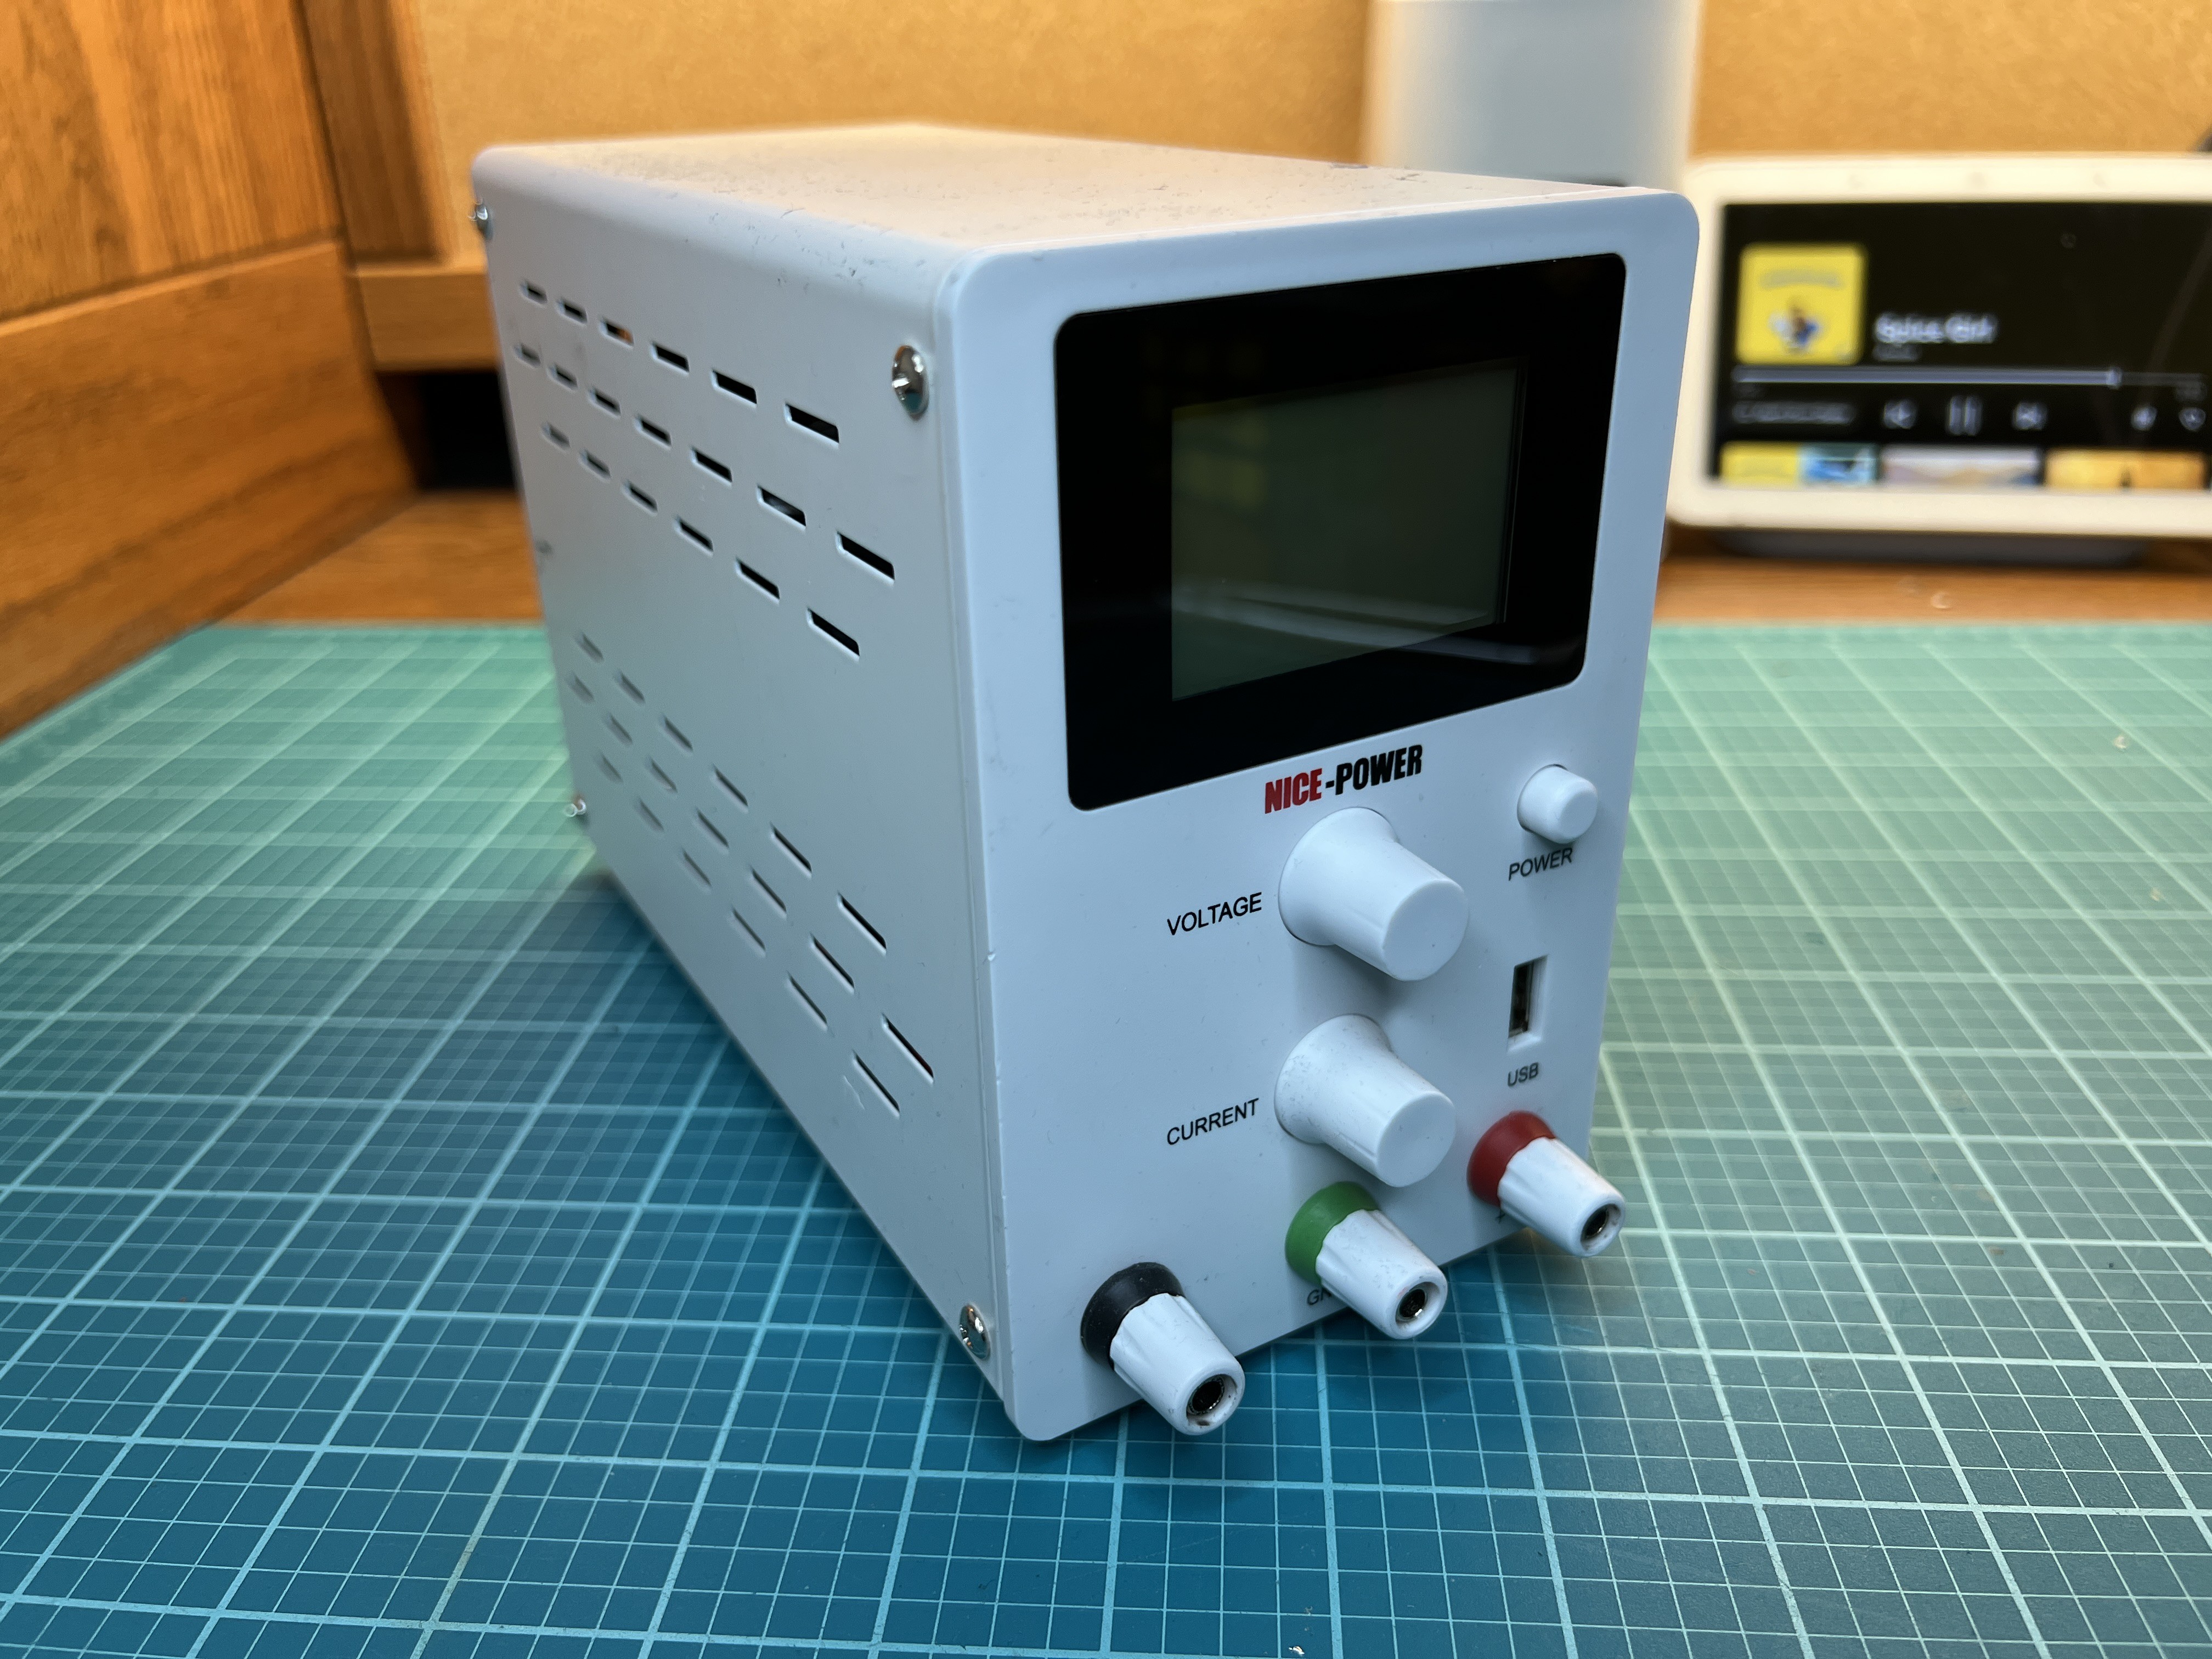
Power
I’m powering this entire system with 24V provided by a bench power supply. Each stepper motor is directly powered by the 24V while the Teensy and the logic boards on the drivers use 5V provided by a 5V regulator.
Programming (Arduino IDE)
There were 3 major components that went into programming the solver. First, there needs to be a way to obtain the configuration of the cube from the user. Next, and most importantly, the computer needs to be able to solve the cube and save the steps. Lastly, there needs to be a way to translate the steps into a sequence of stepper motor actions that solve the cube.
Web Server
Originally, I wanted to utilize camera vision to detect the color of each tile on the cube, but the pixy2 cam that I had wasn’t 100% accurate not to mention the challenge of scanning all six sides of the cube with a single camera. I then turned to developing a web server. Another advantage of using the Teensy 4.1 is that it has ethernet support. After purchasing the Teensy 4.1 Ethernet Kit, I created an HTML web server equipped with the following features:
- A display of all sides of the cube with buttons allowing the user to manually set the color of each tile.
- The ability to turn a given side of the cube...