 thpoll
")
Yeah what a mess... but that's not how it started.
I was actually just experimenting with displays/Arduino and coincidentally found out that one of these displays had the size of a keycap (it was a 0.49" 64x32 OLED display on a PCB with an I2C interface):
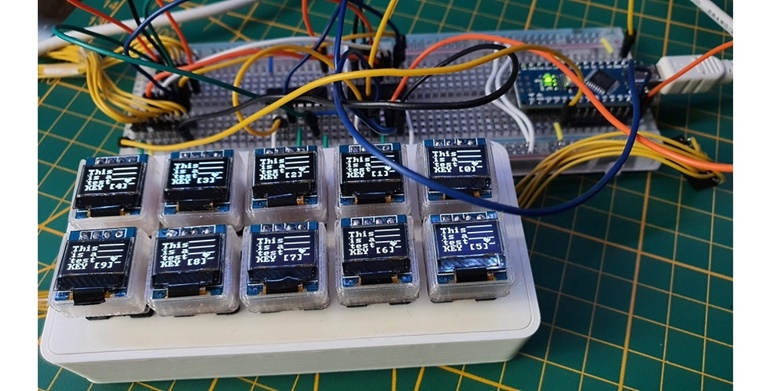
The size was less than 1U (19.05mm), but still too big to fit into an ordinary keycap as the get smaller towards the top.
Therefore, I just 3D printed some custom ones with transparent PETG: The keycaps are in fact not as blurry as they look like on the picture.
After some experiments, I figured out that it was possible to control an arbitrary number of displays by settings the SCL (clock) line via a shift register so that only the displays I want to update really receive a clock impulse (that means that all shift register outputs are connected to the displays SCLs). On top of that the shift register can be controlled via SPI, which saved my from the effort of writing the bit-bang code...
Smol Display You Need!
So that worked, but I was not really satisfied with the 3D printed keycaps, as they are a bit strange if you are thinking about building a full keyboard, which at this stage became a fixed idea.
It took me some time to find even smaller displays, but luckily I came across this 0.42" OLED display which is sold in bigger quantities on Alibaba for about 1$ each!

Stripboard with ESP32
My first breadboard setup was controlled by an ESP32 I wanted to try out, and I spent a felt infinity to control the brightness. Eventually, it worked out and I decided to solder together this stripboard you saw at the beginning for a 4 key/display setup:

These 0.42" displays only support SPI and that's why I switched to used the shift register to pick the right CS line which in the end felt much better than the hack with the I2C SCL line.
Switch to STM32 MCU
After some early attempts of writing the key input and HID code myself using some Arduino libraries I did more research of what people usually use for custom keyboards and came across QMK Firmware. It has been used for countless keyboards including DIY and more commercial projects, so I figured that it would be a perfect fit for my project
As it turned out, QMK does not support the architecture of ESP32, only AVR and ARM based chips which made me switch to the quite powerful STM32F407 (for dev purpose I thought it would be good to have plenty of IO pins, at that time some STM chips were still available for 'normal' prices).
Unfortunately, I had to add support for the STM32F407 myself, but the QMK community was very helpful and provided enough guidance to get that chip support into the repository. Yay!
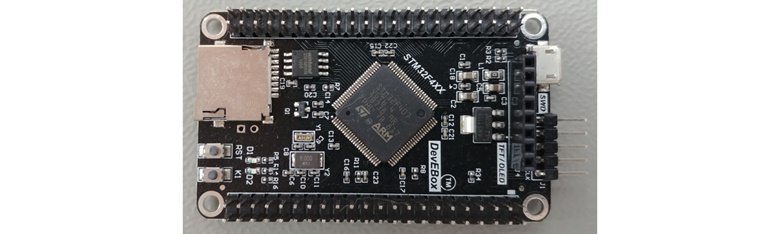
Just before the chip shortage started to ramp up I got my board, 2 years later the price tag has reached heights beyond comprehension.
Maybe it's not a surprise, but I switched again the MCU to the RP2040, but that will be part of another post!
Discussions
Become a Hackaday.io Member
Create an account to leave a comment. Already have an account? Log In.