 thpoll
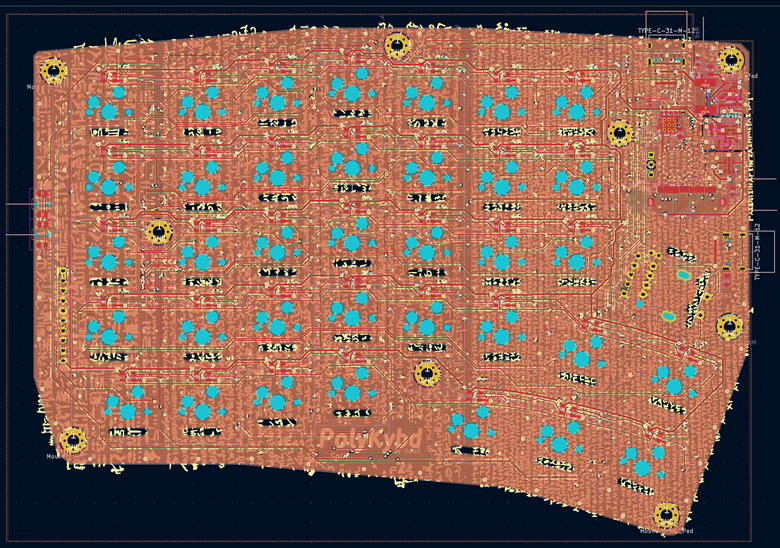
The same thing was needed in the past when transferring the initial PCB design from the left to the right. This time, it turned out less painful (TBH I would like to automate a lot of things, maybe with skidl and pcbflow as mentioned in that article: https://kbd.news/Keyboard-as-Python-code-1834.html).
At the same time, I was iterating on the 3D resin prints. Here is the case, which was an almost 100% fit. I did print it first on my FDM printer before, but the tolerances are just a bit different:
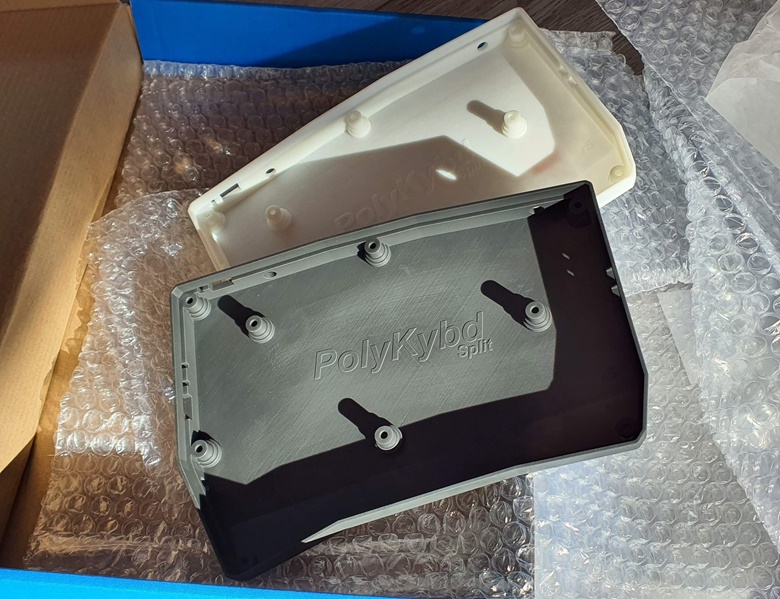
The gap between plate and case is a bit larger than I wanted it to be. The fix was easy and the new version should be spot-on!
On the picture above, the print looks a bit scratchy from the post processing, but it is not so pronounced under normal light conditions. In fact, I was surprised how great all the parts turned out.
Only on my second batch, I had a few parts with some excess material here and there, that in my opinion, comes from a faulty resin printer LCD/mask:
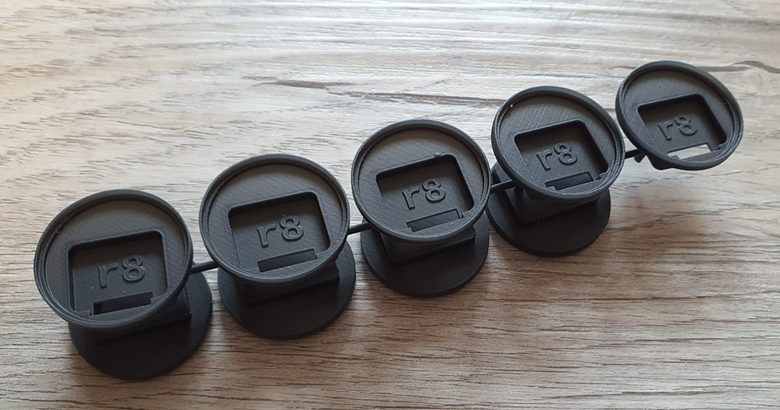
You can see a little blob on the middle element. I hope that was just a one-off issue.
The cirque trackpad mounts do fit. However, I have to raise them a bit higher from the plate, otherwise the finger drops too much down when reaching for the trackpad. Also, the keycap stems need some more tuning:
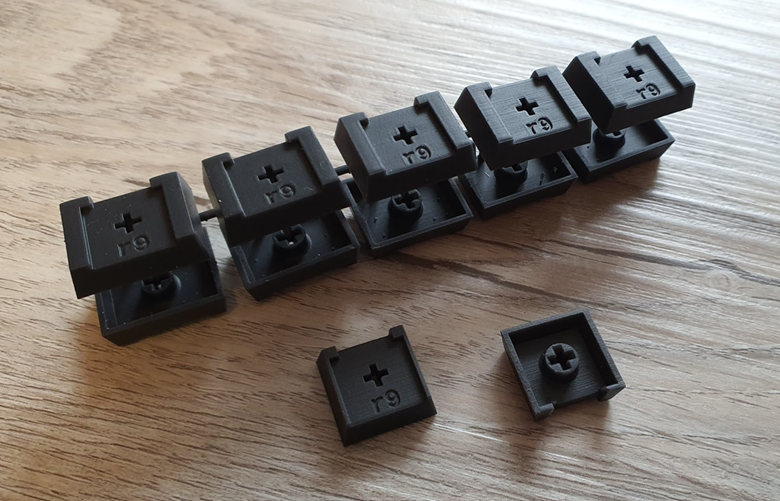
While I can just push the FDM print onto the MX-cross of the switch, the resin print is not so flexible and then sometimes cracks. Making the cross cutout at the bottom just a little bit bigger should fix that.
While waiting for the assembled PCB, I'm working on the software side and it is about time to do that :)
Discussions
Become a Hackaday.io Member
Create an account to leave a comment. Already have an account? Log In.