 Peter Lyons
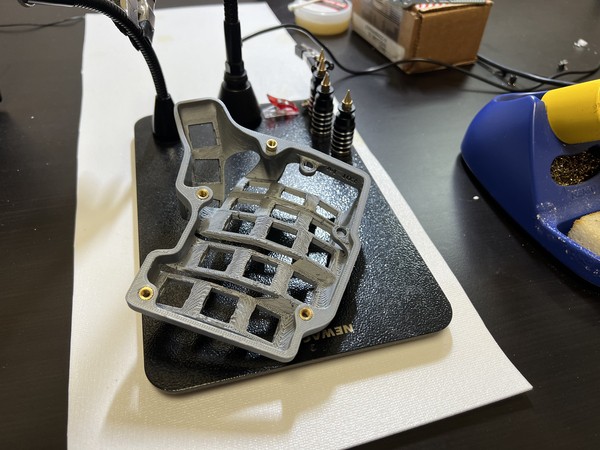
I got the case 3D printed on a friend's printer while traveling this winter and had the electronics kit waiting for me at home. I bought it since I won a coupon in a raffle by kbd.news.
I started the build today and got the heat-set threaded inserts in no problem. I use these all the time in my personal projects so I'm very comfortable with them.
I arranged the PCB parts to keep track of left/right more easily.

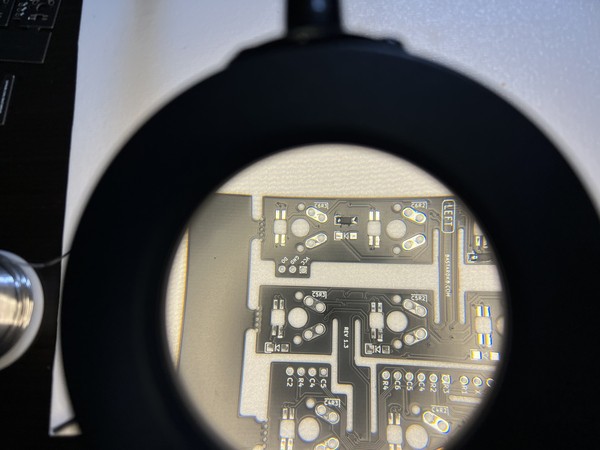
Next were the very tiny T4 surface mounted diodes. I've done a bit of surface mount soldering before, but nothing quite so tiny. I started out using a magnifying glass but eventually my eyes adjusted and it was easier to do without the magnification.
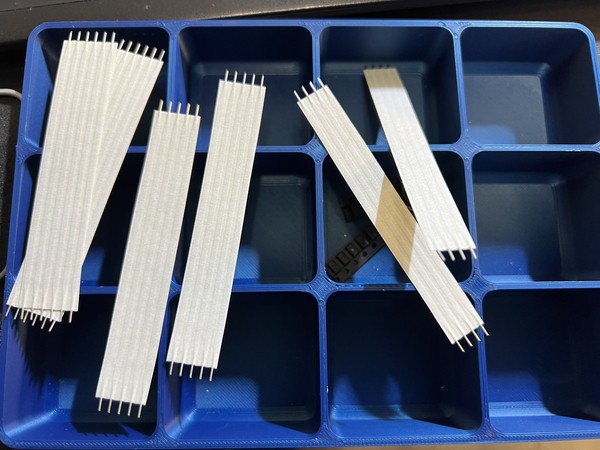
After all the diodes were on, it was time for the ribbon cables. I wasn't aware of this type of cable. It's basically some flattened wires with masking tape. It's pretty clever and tidy though.
Here they are soldered into the board.
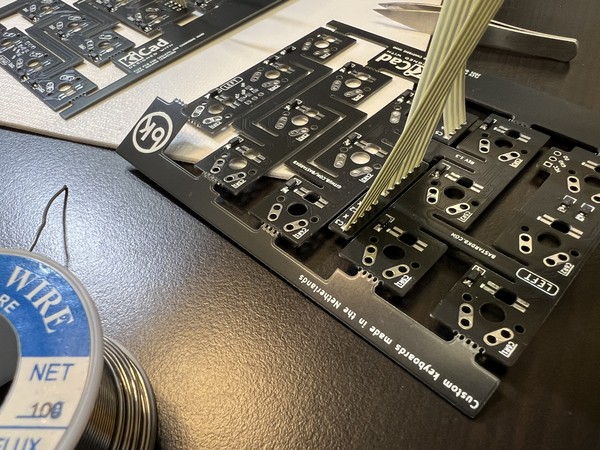
I also hadn't used these "mouse bit" breakaway sections so I was nervous but everything worked as designed.
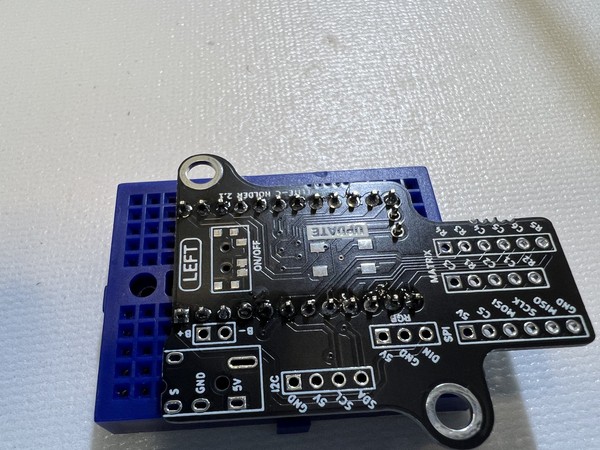
This kit has some clever daughter boards for the slinky microcontroller, and those came next. I think if I screwed up this step, it's game over.

I got the wires interconnected and called it a day for day 1. Tomorrow I'll work on the switches and cases.
Discussions
Become a Hackaday.io Member
Create an account to leave a comment. Already have an account? Log In.