 Remi Serriere
Fitting a hard drive
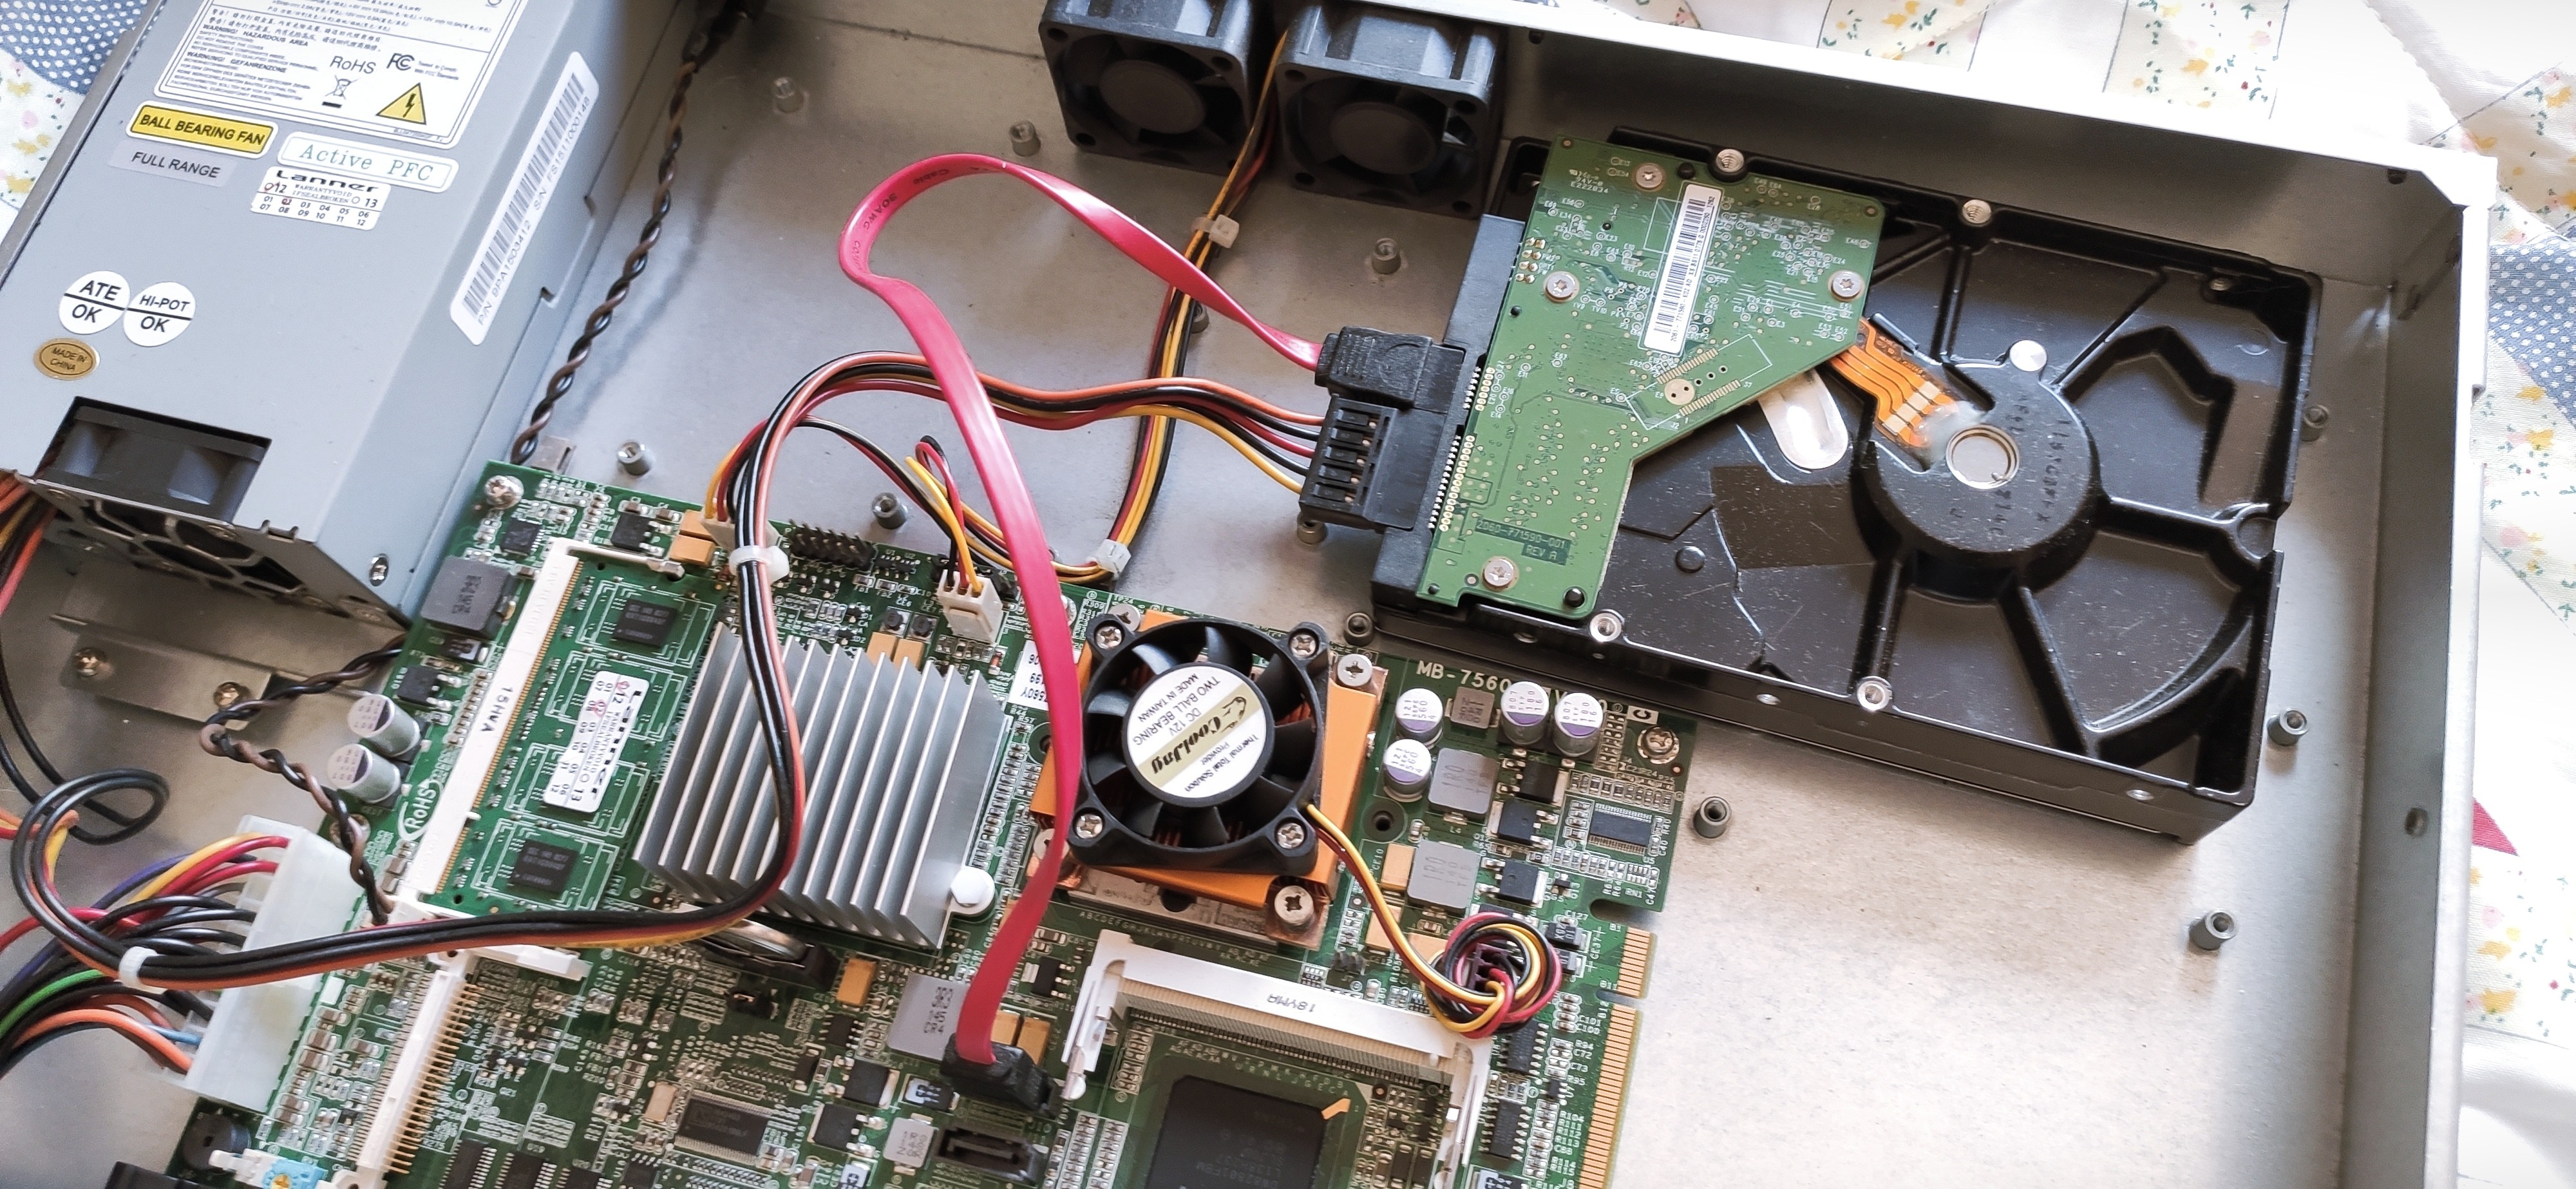
The 4GB CompactFlash that came with the unit was corrupted and did not survive the dump I made to retrieve the license. Since I had a brand new SATA HDD, I gave it a try. After looking up the prices of CF memory cards, I think it would be wise to stick to HDD or even SSD, you get more GB per $$$. If the drive is recognized by the BIOS!
Running Putty on a computer with the Meru connected via an old Cisco RJ45-DB9 console cable, I powered the device and watched the BIOS loading. Sometimes, most of the POST information would not show up on the console. Oh well... Here is a log extracted from Putty, the disk is indeed recognized!
Press <spacebar> to update BIOS.S
AMIBIOS(C)2005 American Megatrends, Inc.
MB-7560 Ver.ACB 09/06/2010
CPU : Intel(R) Celeron(R) M processor         1.50GHz
Speed : 1.49 GHz
Press F12 if you want to boot from the network
Press F11 for BBS POPUP  (F3 on Remote Keyboard)
Initializing USB Controllers .. Done.
1016MB OK
0075
Auto-Detecting Pri Master..
0078Auto-Detecting Pri Master..IDE Hard Disk
Pri Master: WDC WD3200AAJS-56M0A0  01.03E01
Ultra DMA Mode-5, S.M.A.R.T. Capable and Status OK
Auto-detecting USB Mass Storage Devices ..
00 USB mass storage devices found and configured.
CMOS Settings Wrong
CMOS Date/Time Not Set
0085Checking NVRAM..</spacebar>
Preparing a bootable Debian USB key
The Celeron M is a 32 bits CPU so an x86 Linux distribution must be used (no x64/amd64). I went with Debian 11.6 and used Rufus to burn the full DVD image named "debian-11.6.0-i386-DVD-1.iso" to a USB flash drive, with Rufus's default settings. A few files have to be modified on the key:
isolinux/adtxt.cfg
label expert
    menu label E^xpert install
    kernel /install.386/vmlinuz
    #append priority=low vga=788 initrd=/install.386/initrd.gz ---
    append priority=low vga=788 console=ttyS0,115200n8 initrd=/install.386/initrd.gz --- console=ttyS0,115200n8
include rqtxt.cfg
label auto
    menu label ^Automated install
    kernel /install.386/vmlinuz
    #append auto=true priority=critical vga=788 initrd=/install.386/initrd.gz --- quiet
    append auto=true priority=critical vga=788 console=ttyS0,115200n8 initrd=/install.386/initrd.gz --- quiet console=ttyS0,115200n8
isolinux/isolinux.cfg
Add "serial 0 115200" and "console 0" after the line "path":
# D-I config version 2.0
# search path for the c32 support libraries (libcom32, libutil etc.)
path
serial 0 115200
console 0
include menu.cfg
default vesamenu.c32
prompt 0
timeout 0
isolinux/txt.cfg
label install
    menu label ^Install
    kernel /install.386/vmlinuz
    #append vga=788 initrd=/install.386/initrd.gz --- quiet
    append vga=788 console=ttyS0,115200n8 initrd=/install.386/initrd.gz --- quiet console=ttyS0,115200n8
boot/grub/grub.cfg
Edit the two menu entries as follow, removing the "quiet" command:
...
menuentry --hotkey=g 'Graphical install' {
    set background_color=black
    linux    /install.386/vmlinuz vga=788 console=tty0 console=ttyS0,115200n8 --- quiet console=tty0 console=ttyS0,115200n8
    initrd   /install.386/gtk/initrd.gz
}
menuentry --hotkey=i 'Install' {
    set background_color=black
    linux    /install.386/vmlinuz vga=788 console=tty0 console=ttyS0,115200n8 --- quiet console=tty0 console=ttyS0,115200n8
    initrd   /install.386/initrd.gz
}
...
Installing Debian!
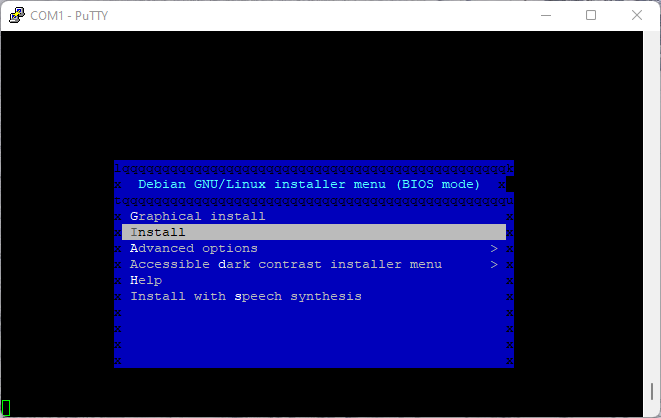
Now plug the key into the device and reboot... Grub should load eventually. Select the 2nd install option, and follow the wizard. Configure the network (I used /dev/usb0, sharing my phone's Internet connection via USB on the 2nd port), etc... The hard drive is detected and can be partitioned, awesome! We don't need any desktop environment so we can safely deselect that in the installation options ;) Installing the OpenSSH package is highly recommended :)
Unfortunately, I lost all screenshots from the installation procedure!
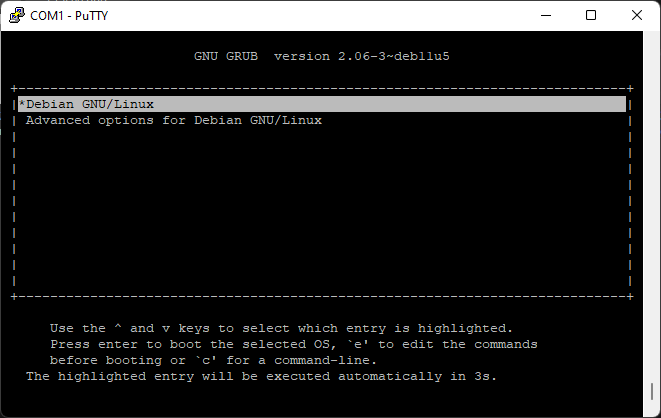
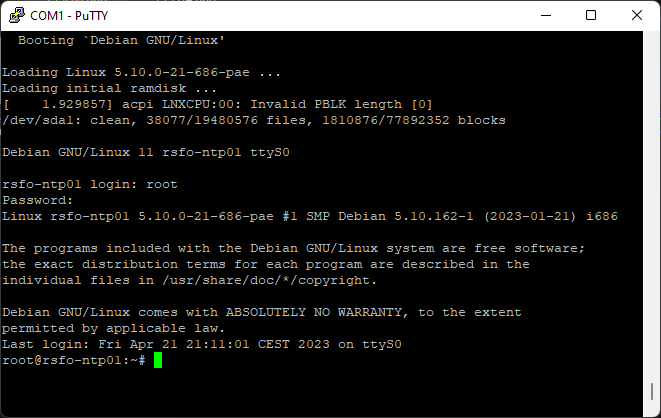
After the installation completes, reboot the "computer" and unplug the USB key... And... Debian is booting :)
Edit the file /etc/apt/sources.list to comment out the "cdrom" depot. You don't want to use "vi" over serial, "nano" is way easier... I decided to include the non-free depots as well:
Let's update the APT cache, install a few packages that we might need later, and update the distribution and packages... And we now have an up-to-date Debian running on the Meru controller!
apt update
apt install vim curl wget git
apt upgrade
apt dist-upgrade
Discussions
Become a Hackaday.io Member
Create an account to leave a comment. Already have an account? Log In.