 kelvinA
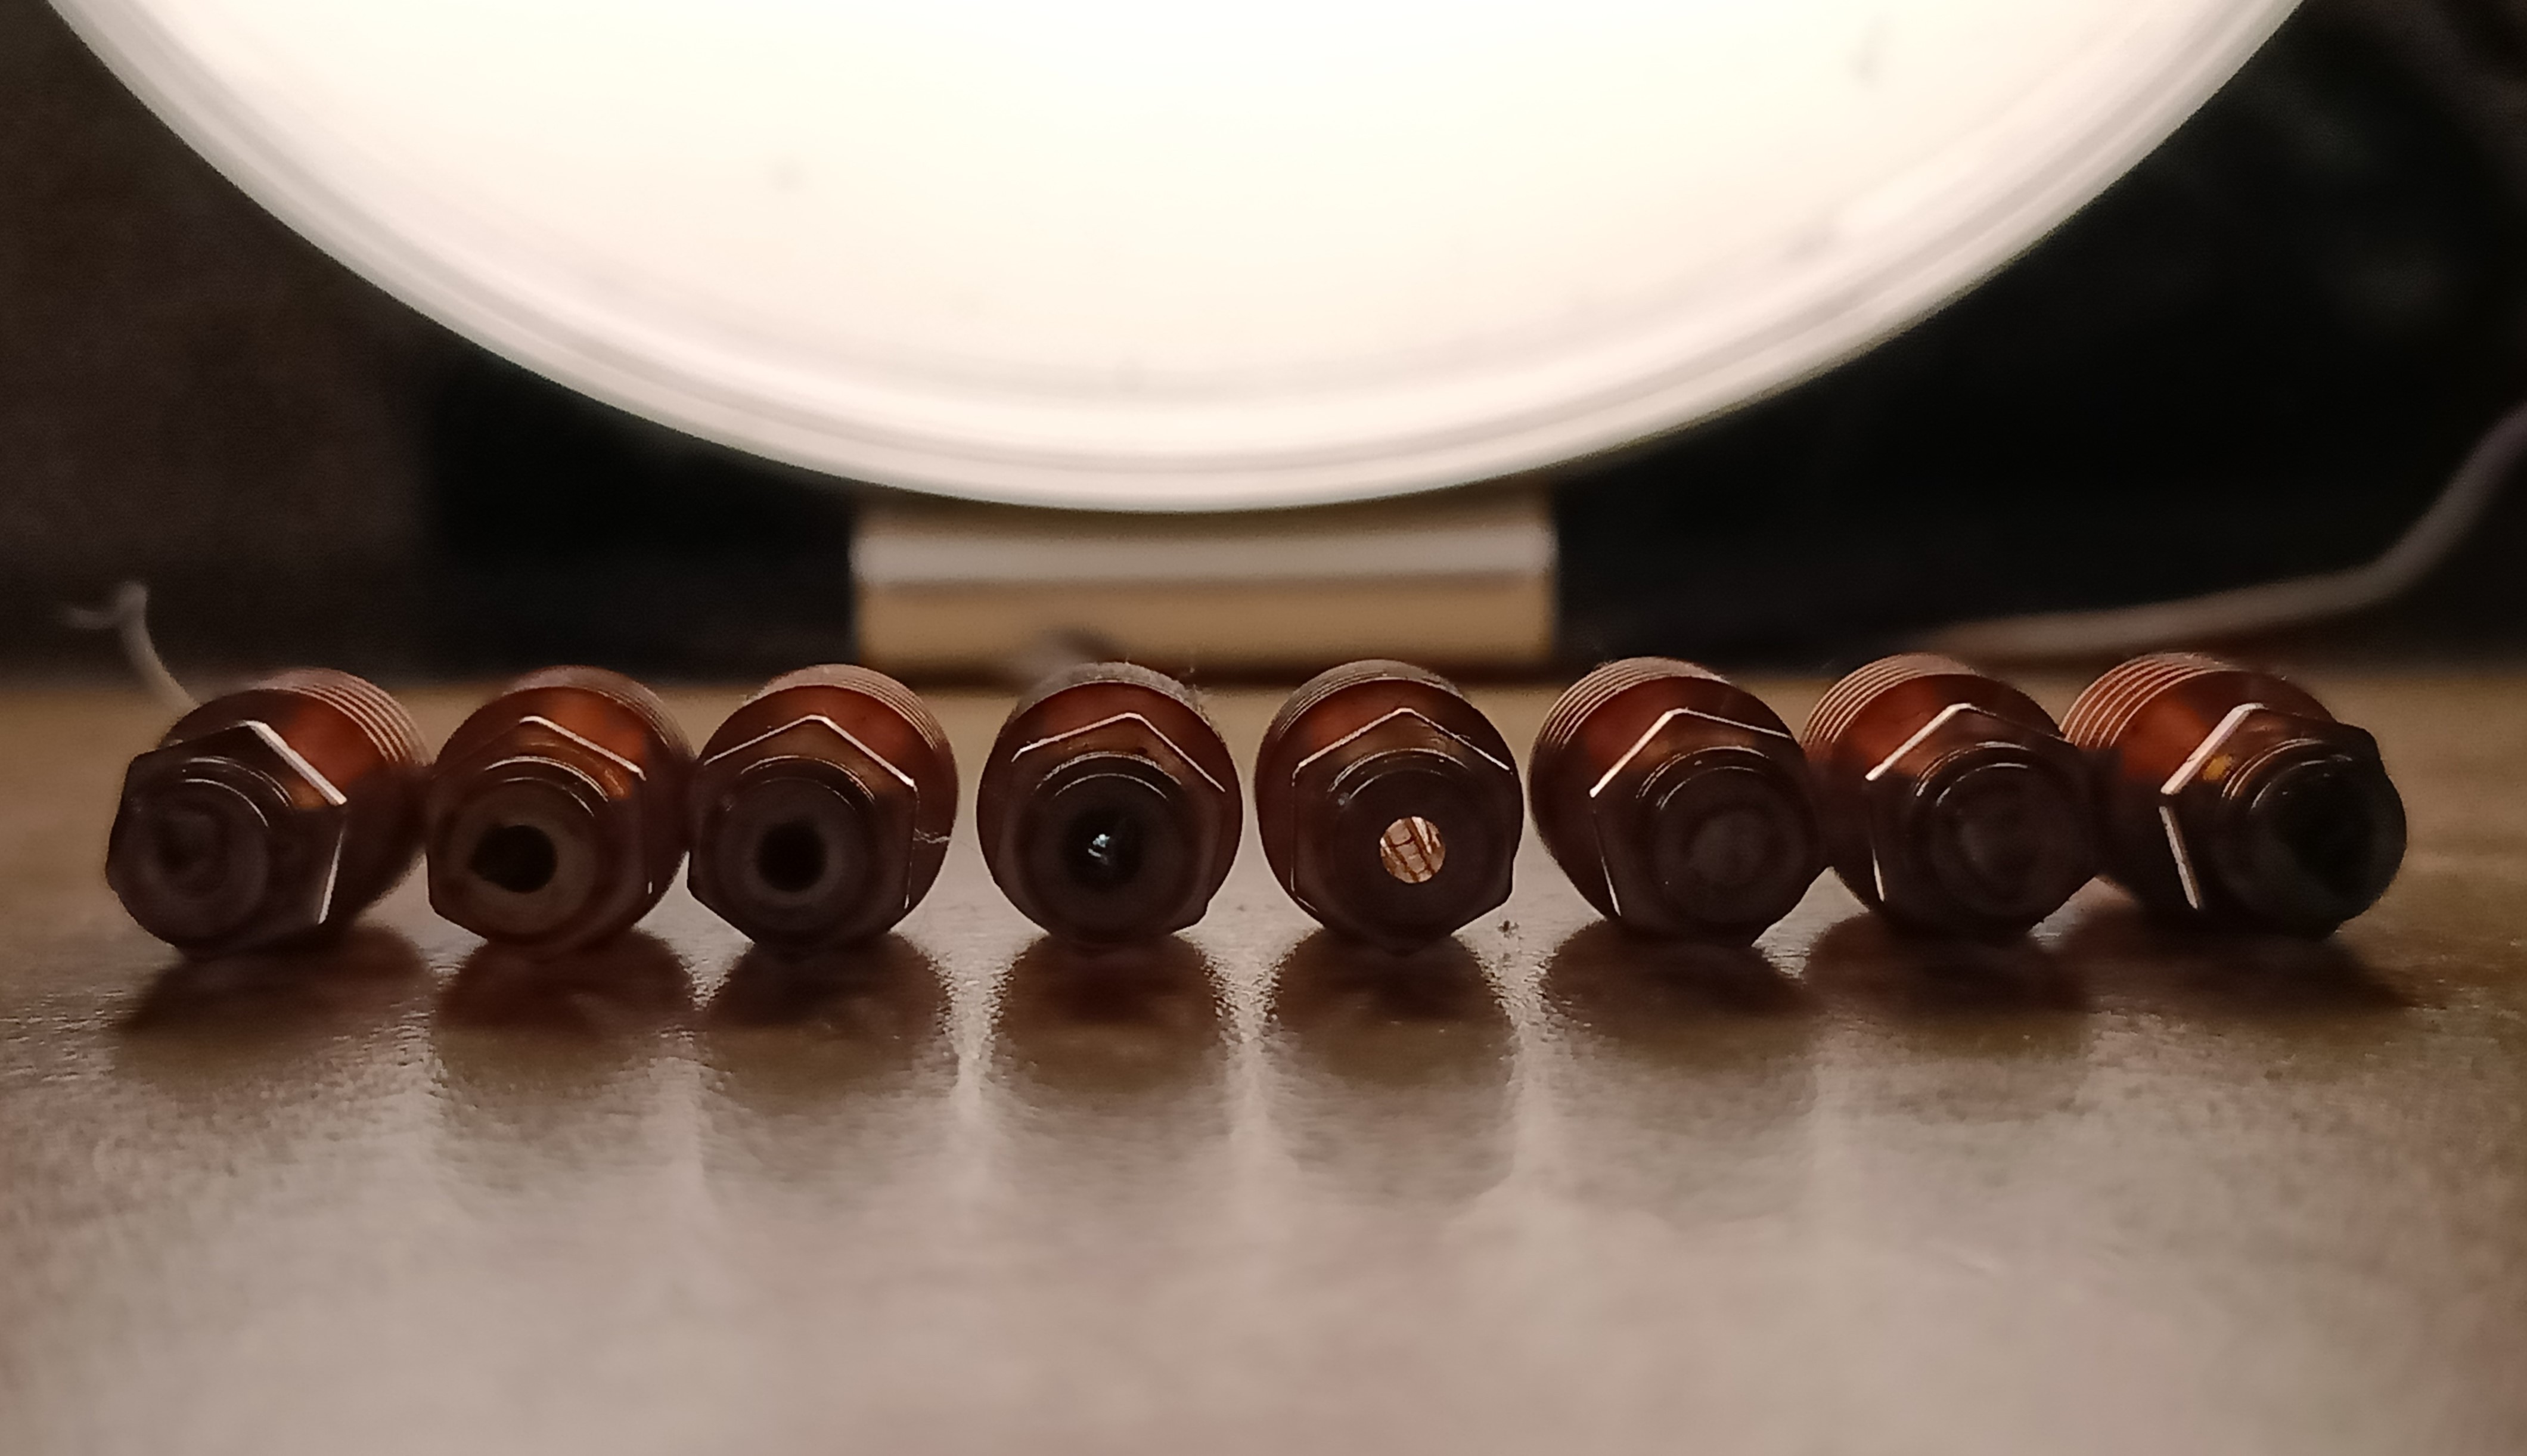
The above picture of all 8 heatsinks neatly in a line probably gave it away if the title didn't already, but it's ovur and I've dissassembled the Coaxial8or hotend.
Extrusion (and colour uniformity) tests
 I started today with an extrusion test to get some real numbers for volumetric flow rate. So that I could also finally answer the question of "Does it coaxialate?", I decided to create a virtual filament of white + some other colour.
First I tested white encased in blue on channel 7 and 8, thus white was in 7 and blue was in 8 and they were a 50/50 mix. I also decided to create a purge line GCODE in PrusaSlicer:
; Extruder Priming Setup
T[current_extruder]
[start_filament_gcode[current_extruder]]
; Priming nozzle
G0 X0 Y0 Z0.5 F9000
G92 E0
G1 Y305 E48 F600
G0 X0.5
G1 Y0 E48
G1 E-4
G92 E0
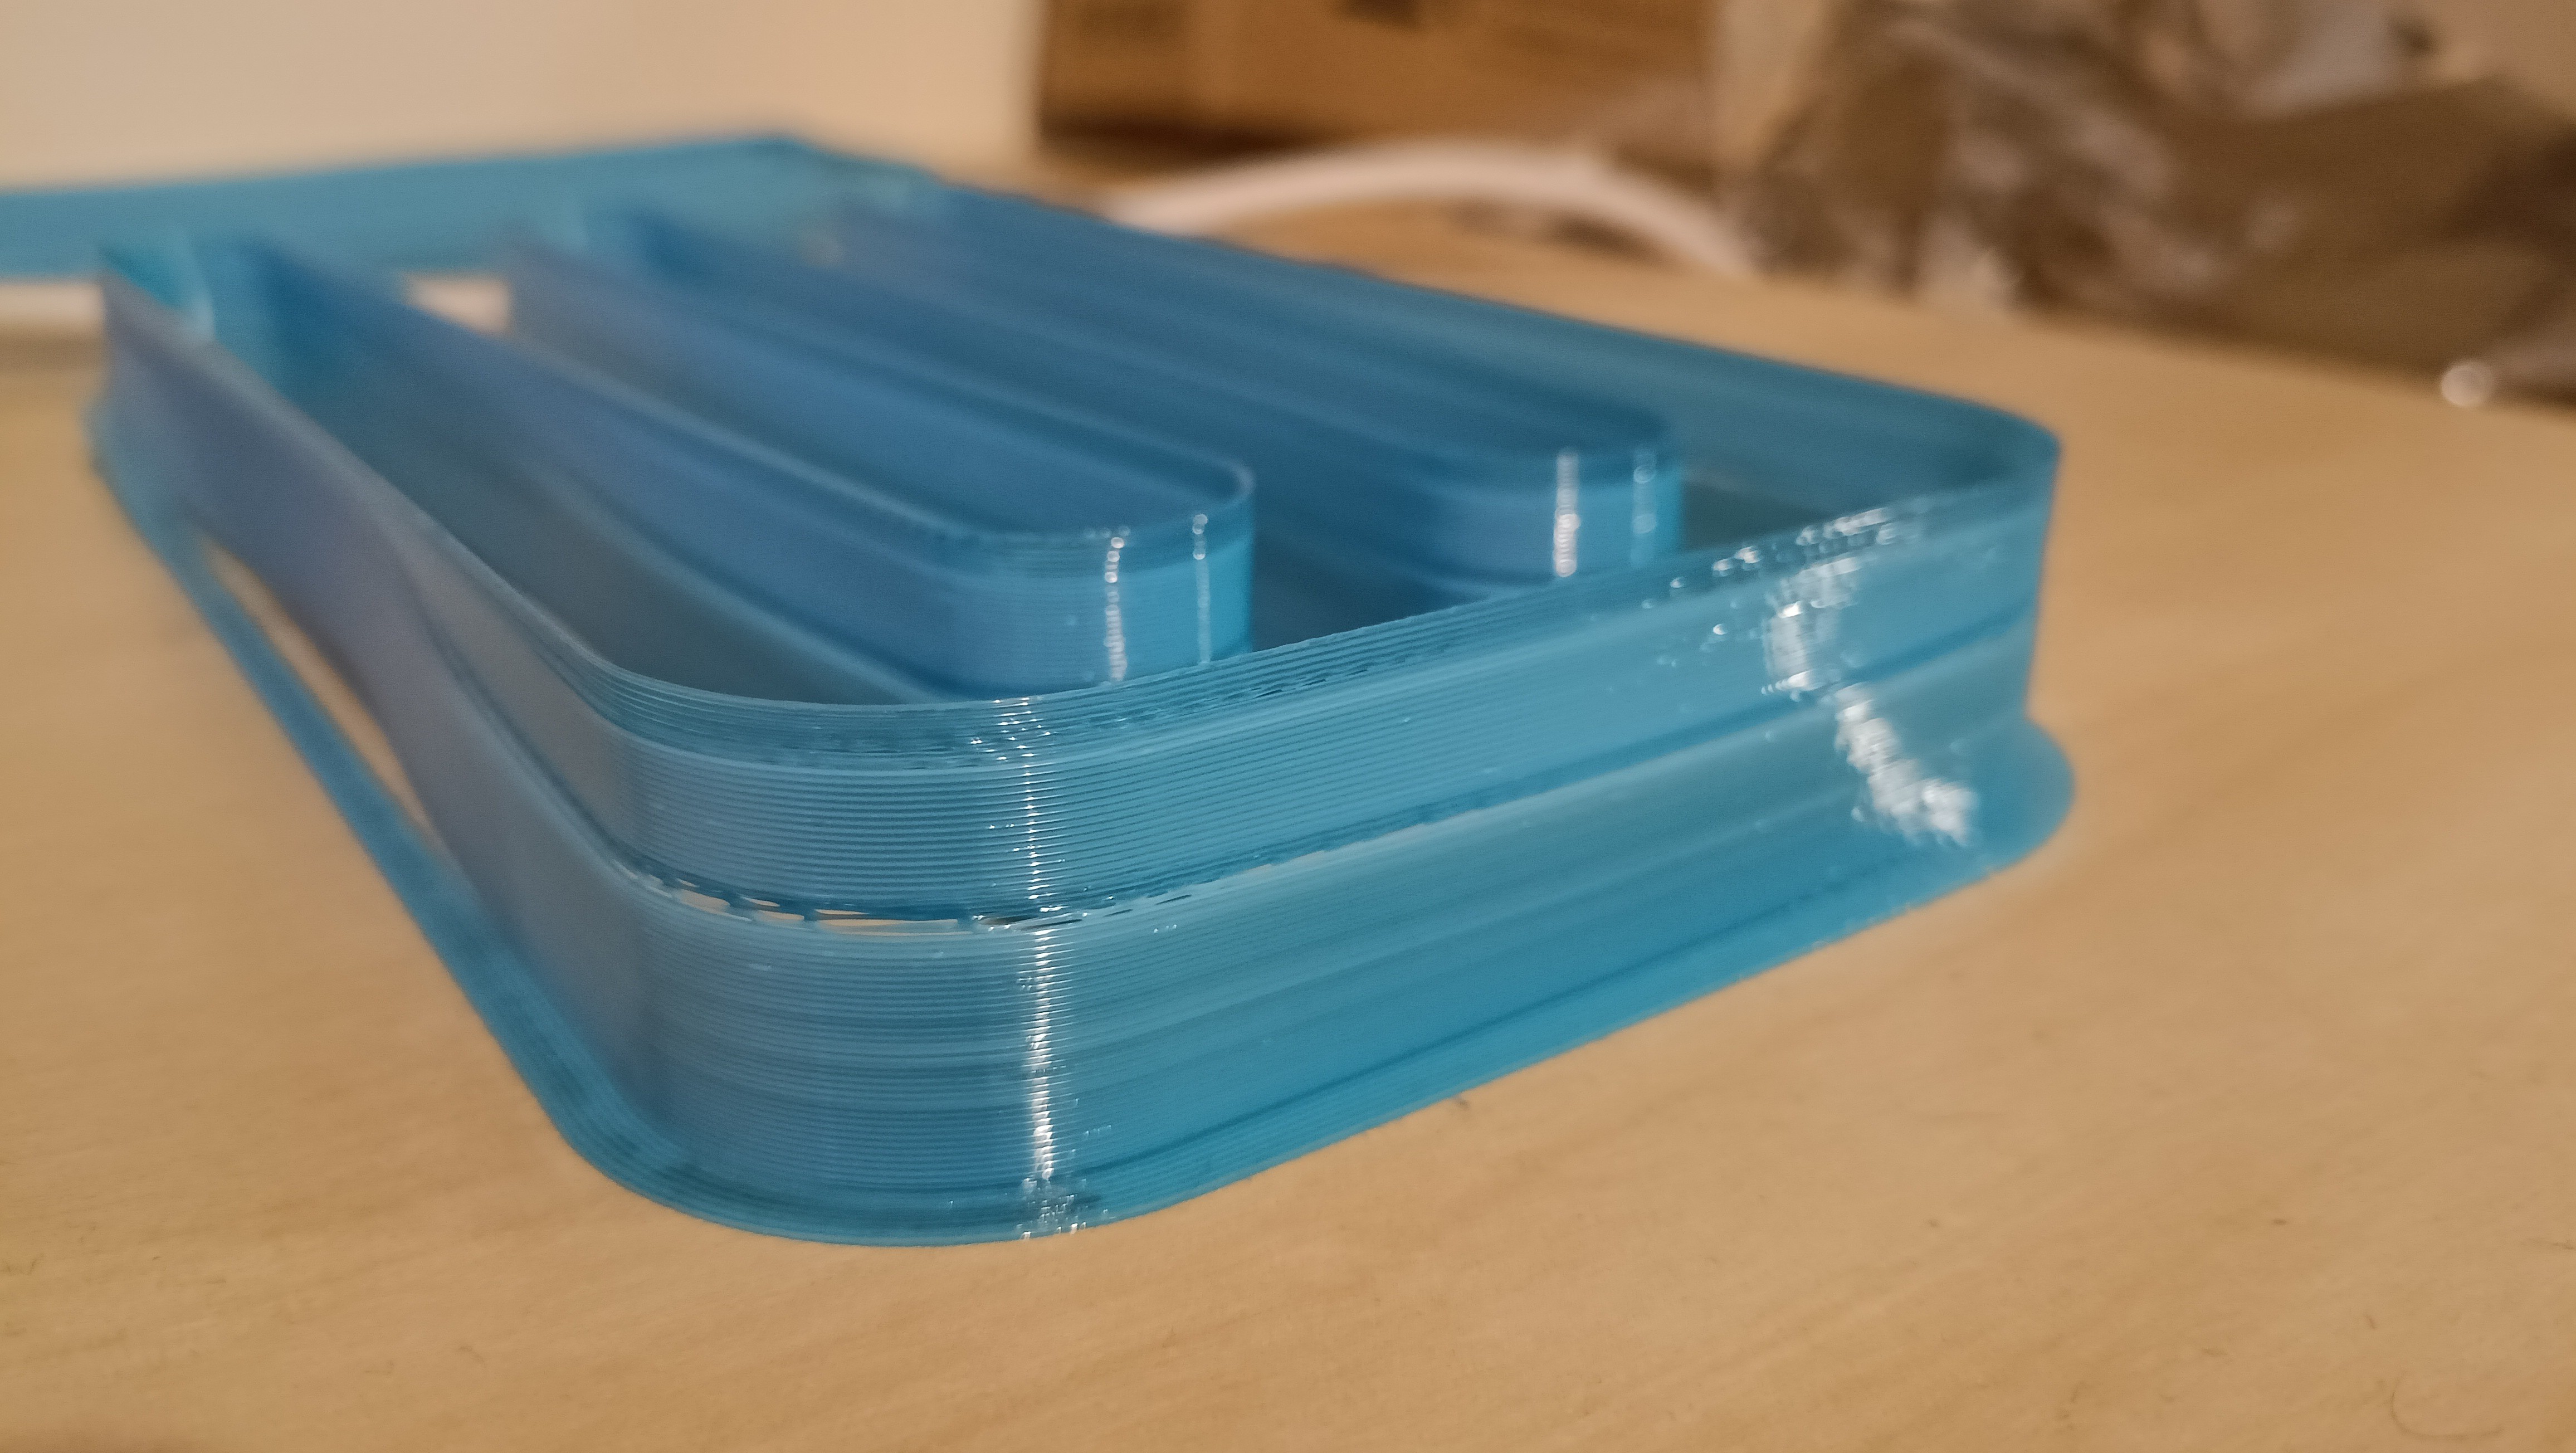
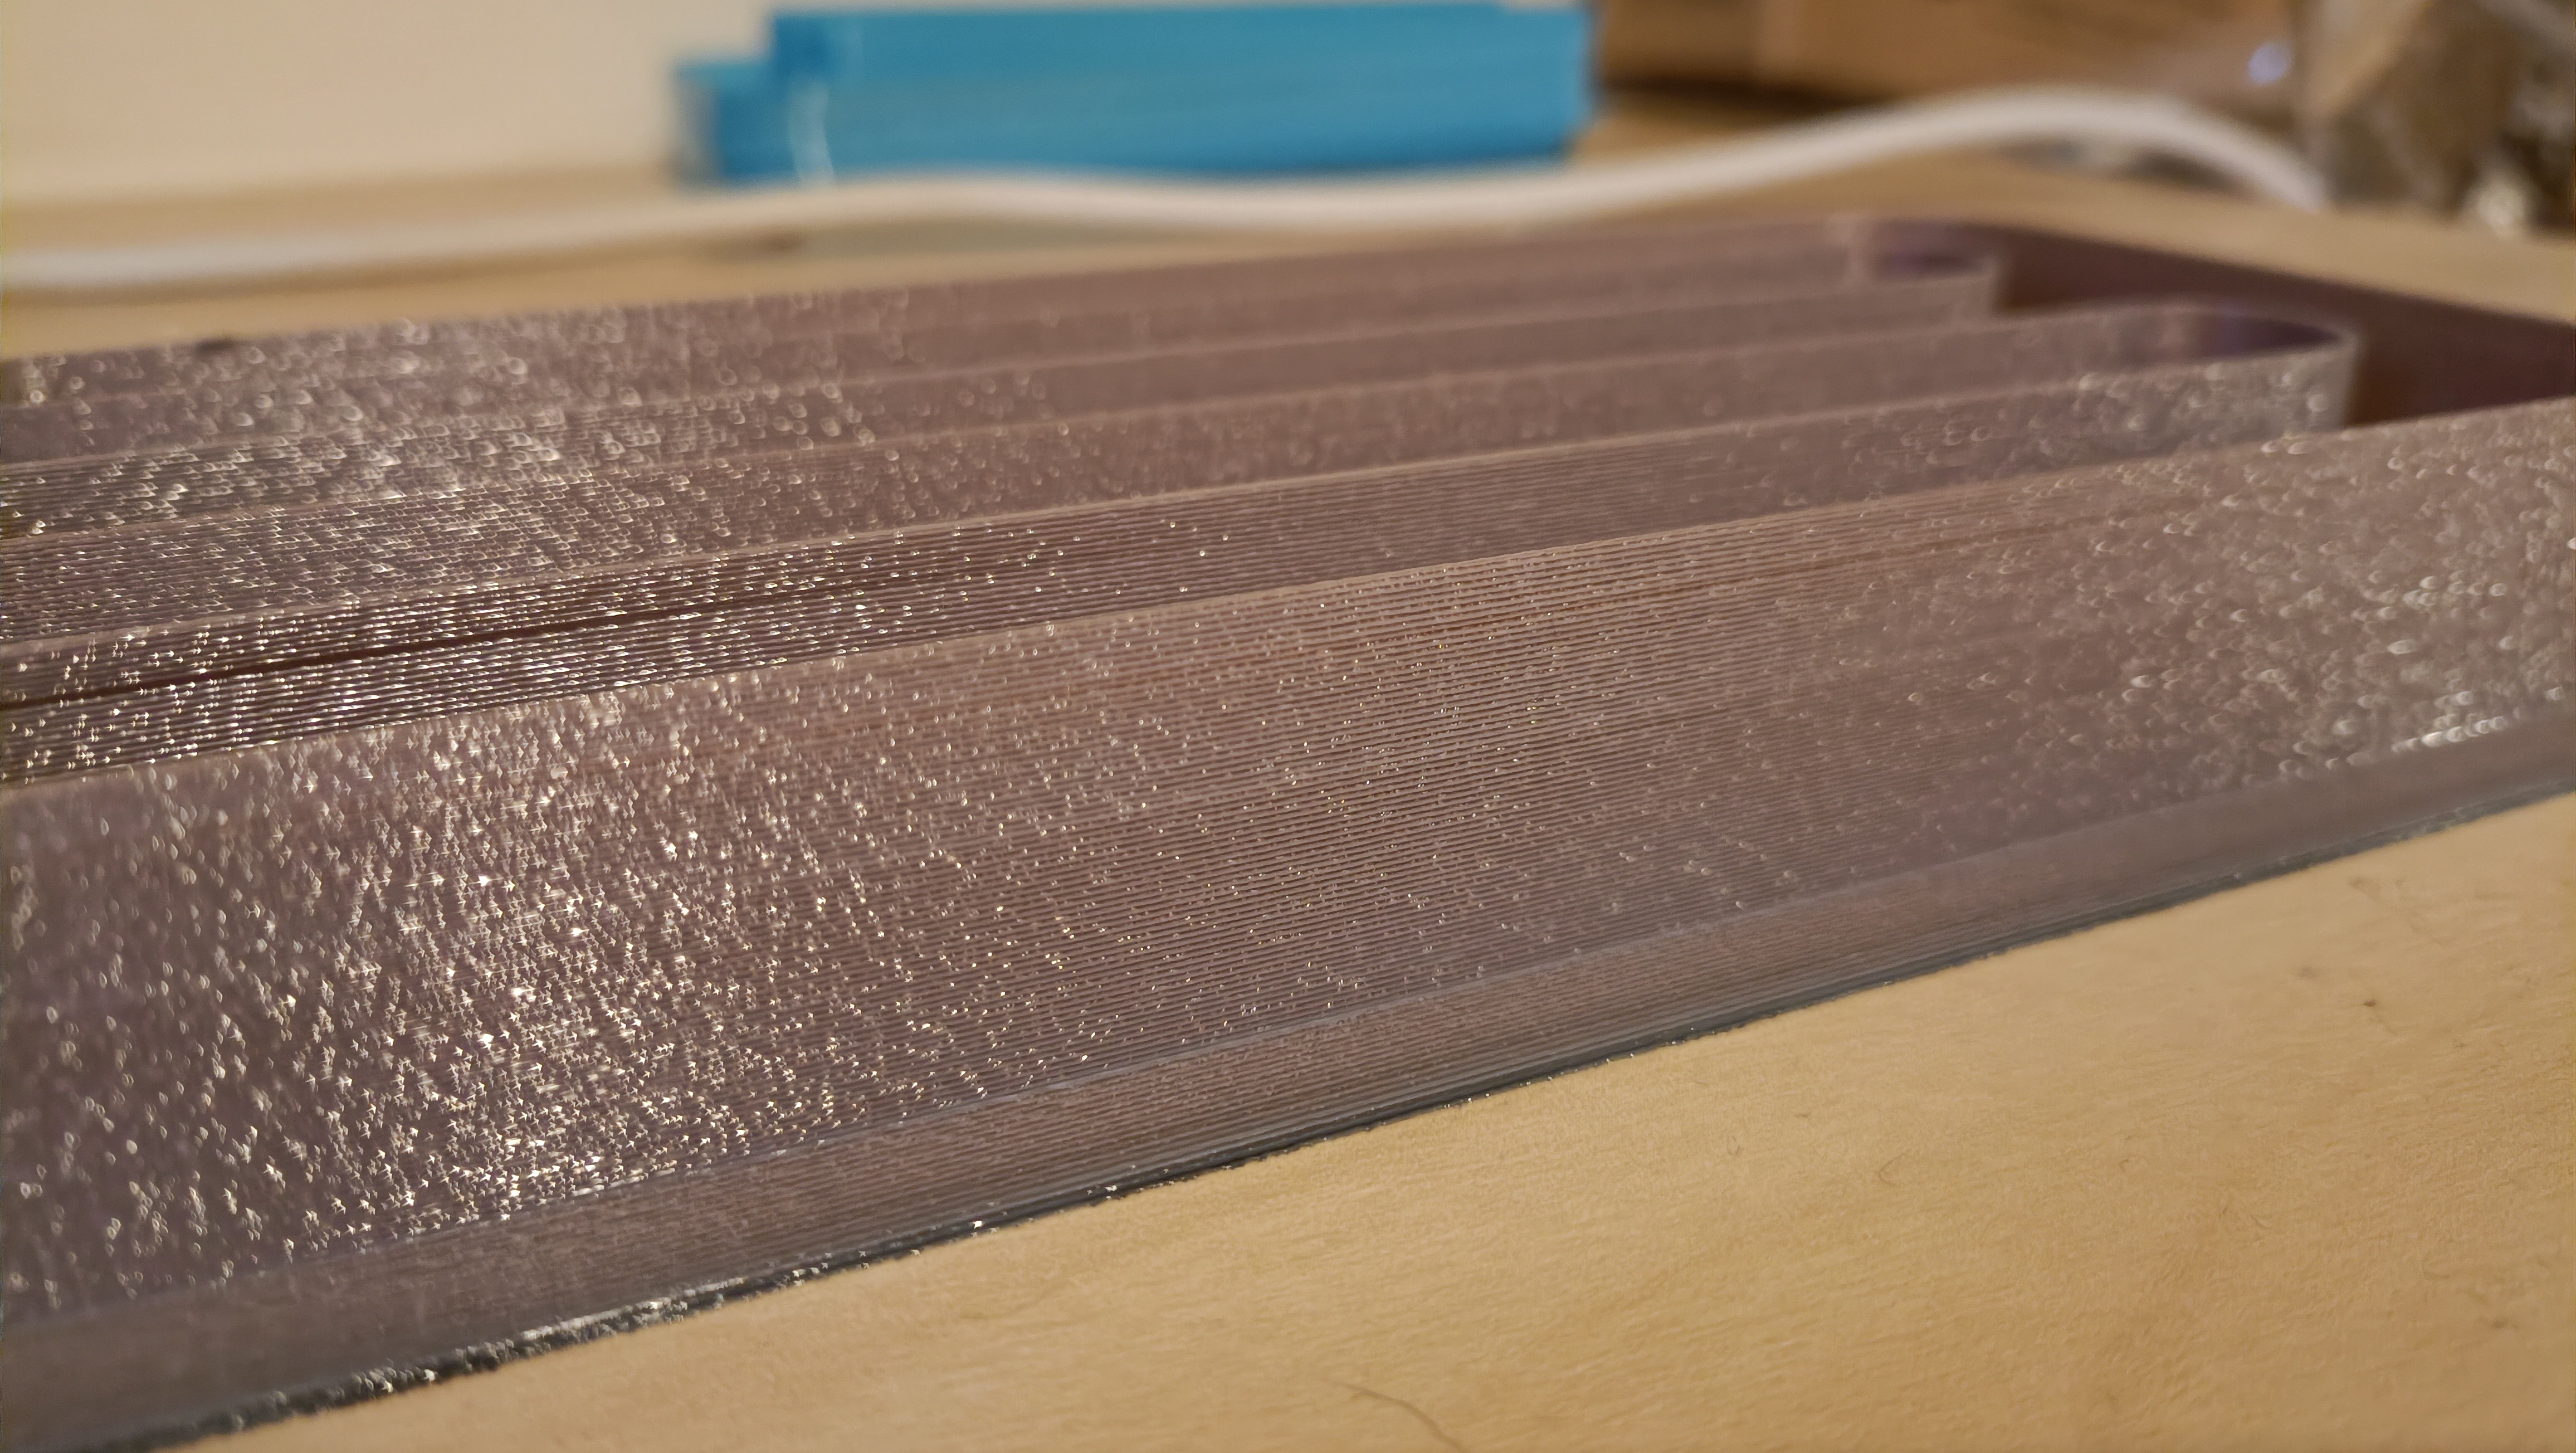
Then I started the print and quite quickly had to slow it down to 35% because it wasn't working all that well. I managed to get up to 90% speed though. My settings were 0.4mm layer height, 0.6mm nozzle, and 90% speed would correspond to 54mm/s. The good news is that it does seem to coaxialate, and looks consistent when the nozzle is travelling up and down the Y axis.
I cancelled this print not because it looked like it was about to warp off the bed, but because I noticed that there was a black blob of molten plastic seemingly oozing out the top of the CHC Pro and went to clean up and reseat the nozzle.
After levelling the bed so that both the edges and centre were of equal spacing to the nozzle, I tried again at 54mm/s but had to slow it down again to 90% speed, meaning that I'm probably fine at 48mm/s but 54 is at the edge of reliability. PrusaSlicer says this corresponds to 11.4mm3/s, which is very low. I was expecting that this design would be at least in the 30s. Additionally, the extruder for the white filament stopped turning for the last 2mm for some reason, so the very top is just transparent blue. Noticeably, the X direction is a slightly darker shade of blue. It's very slight though and I've got to
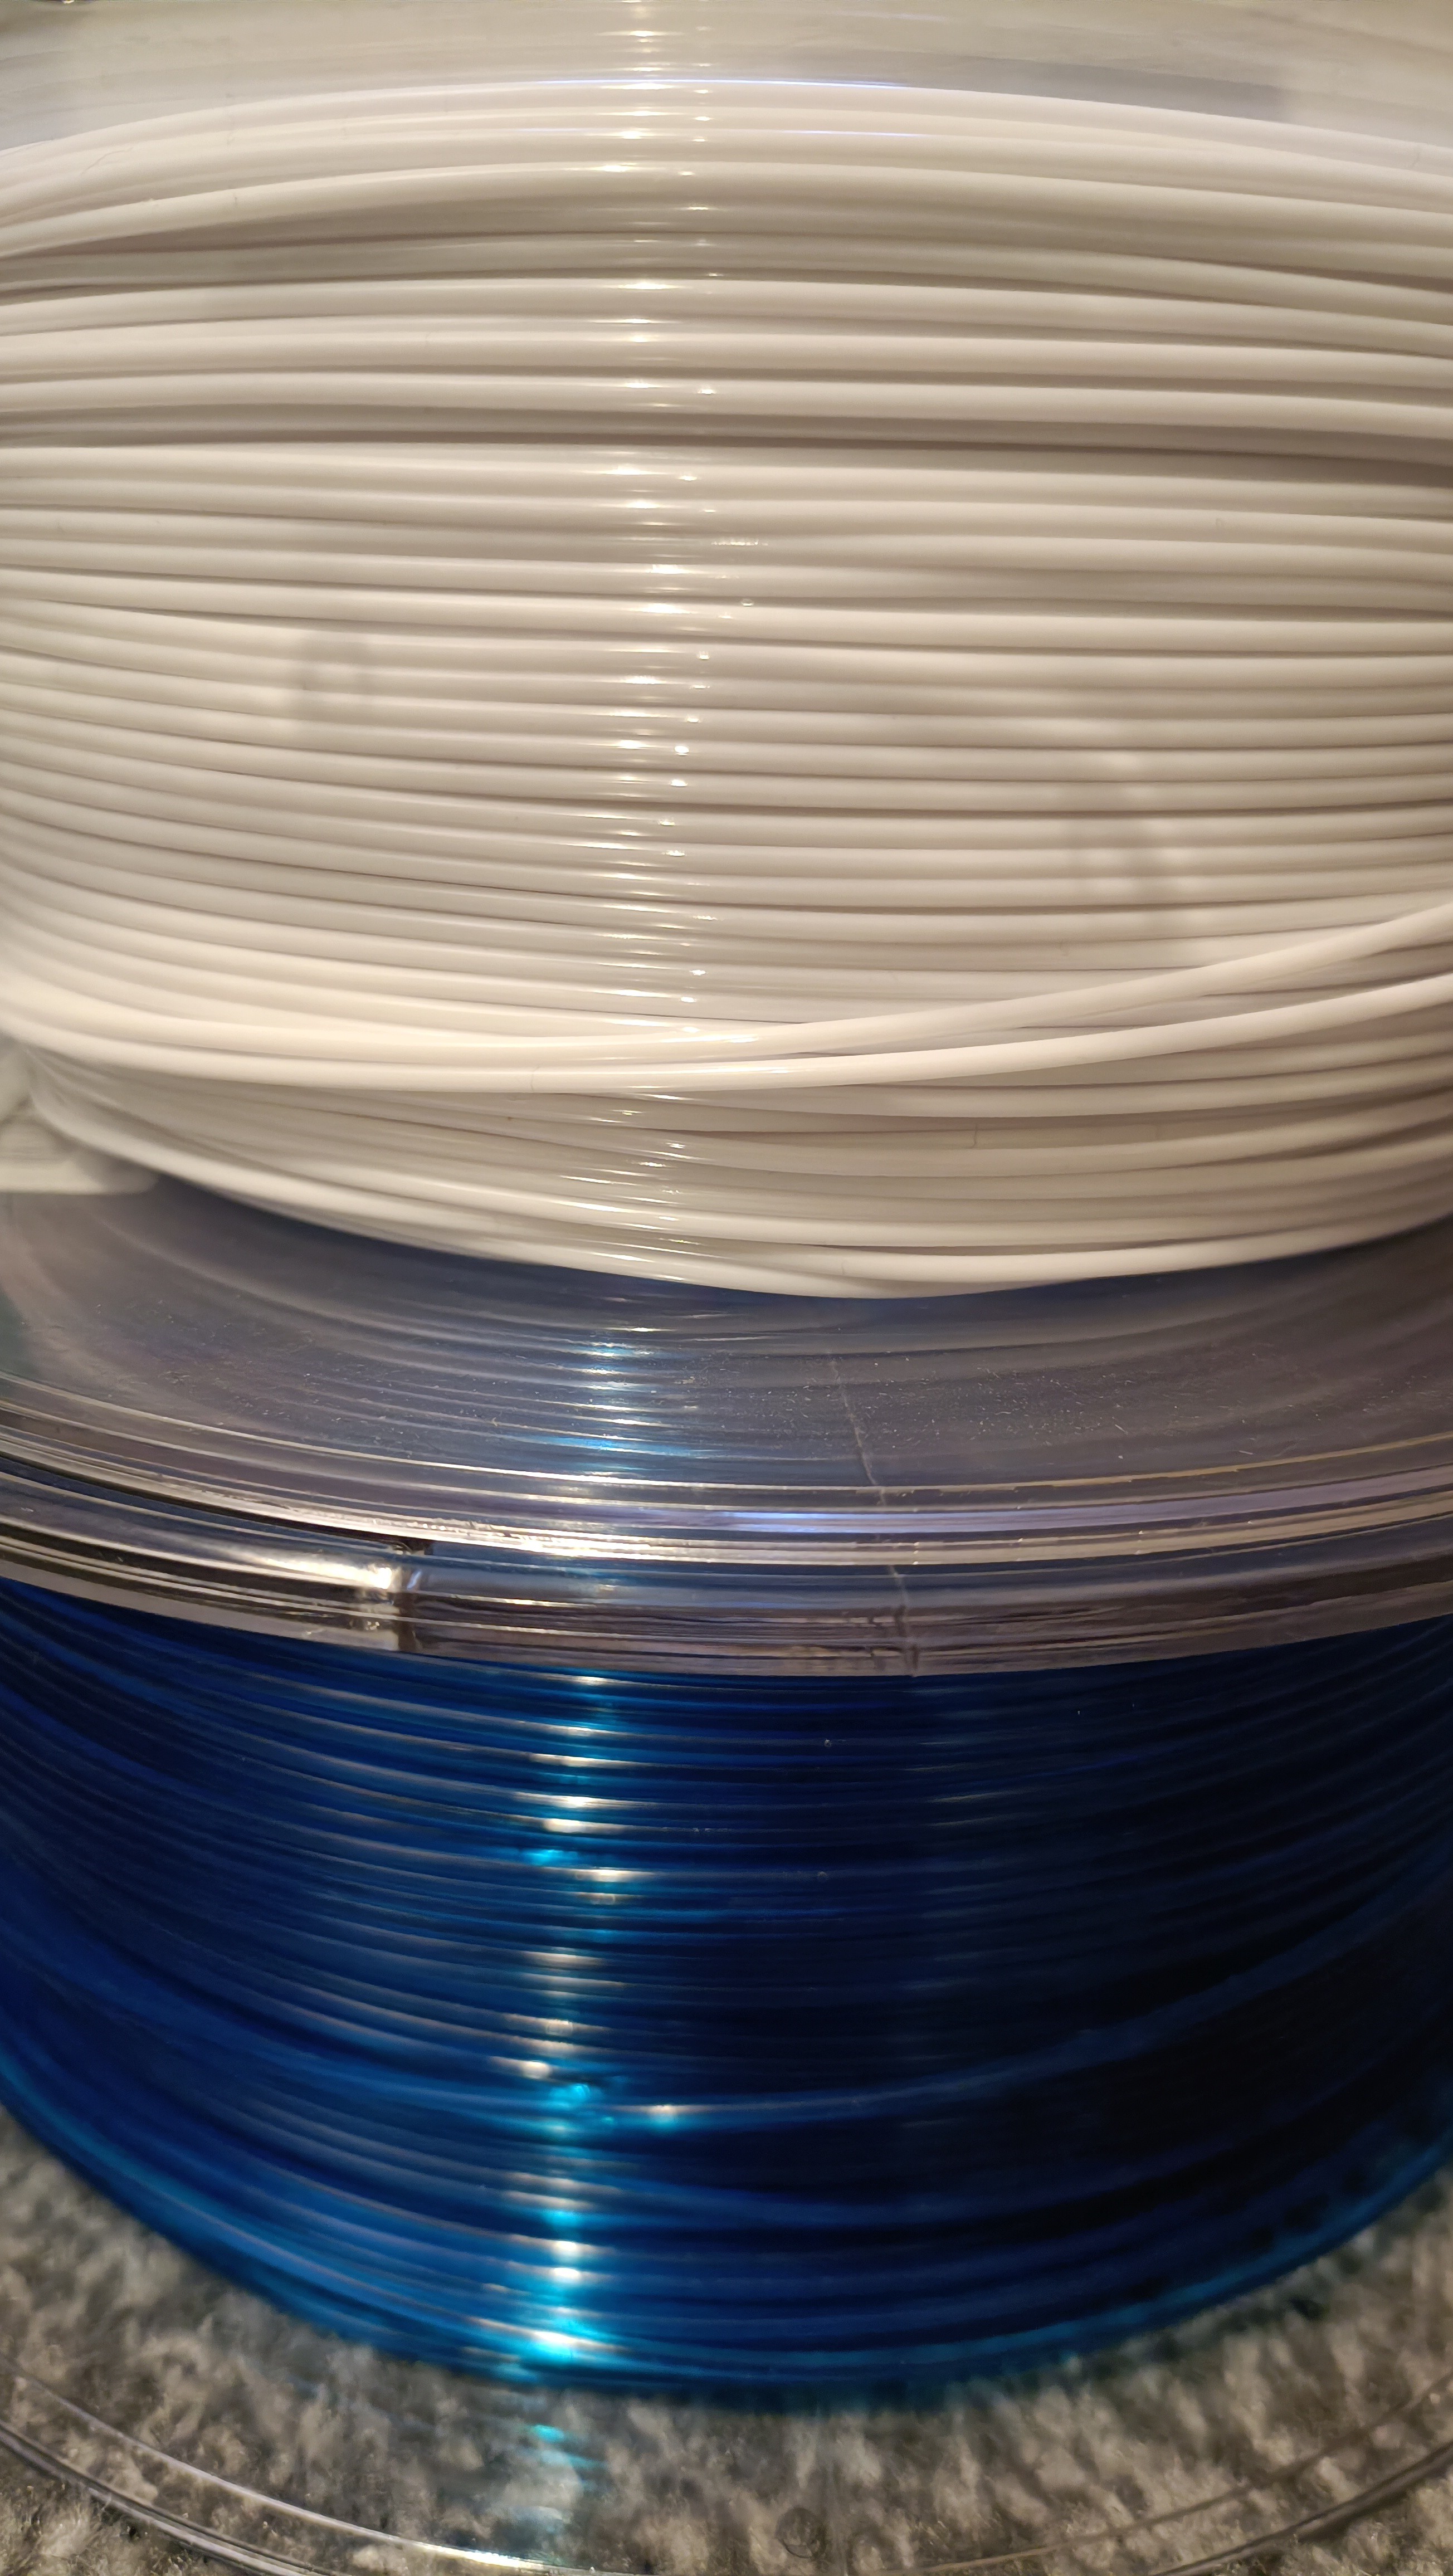
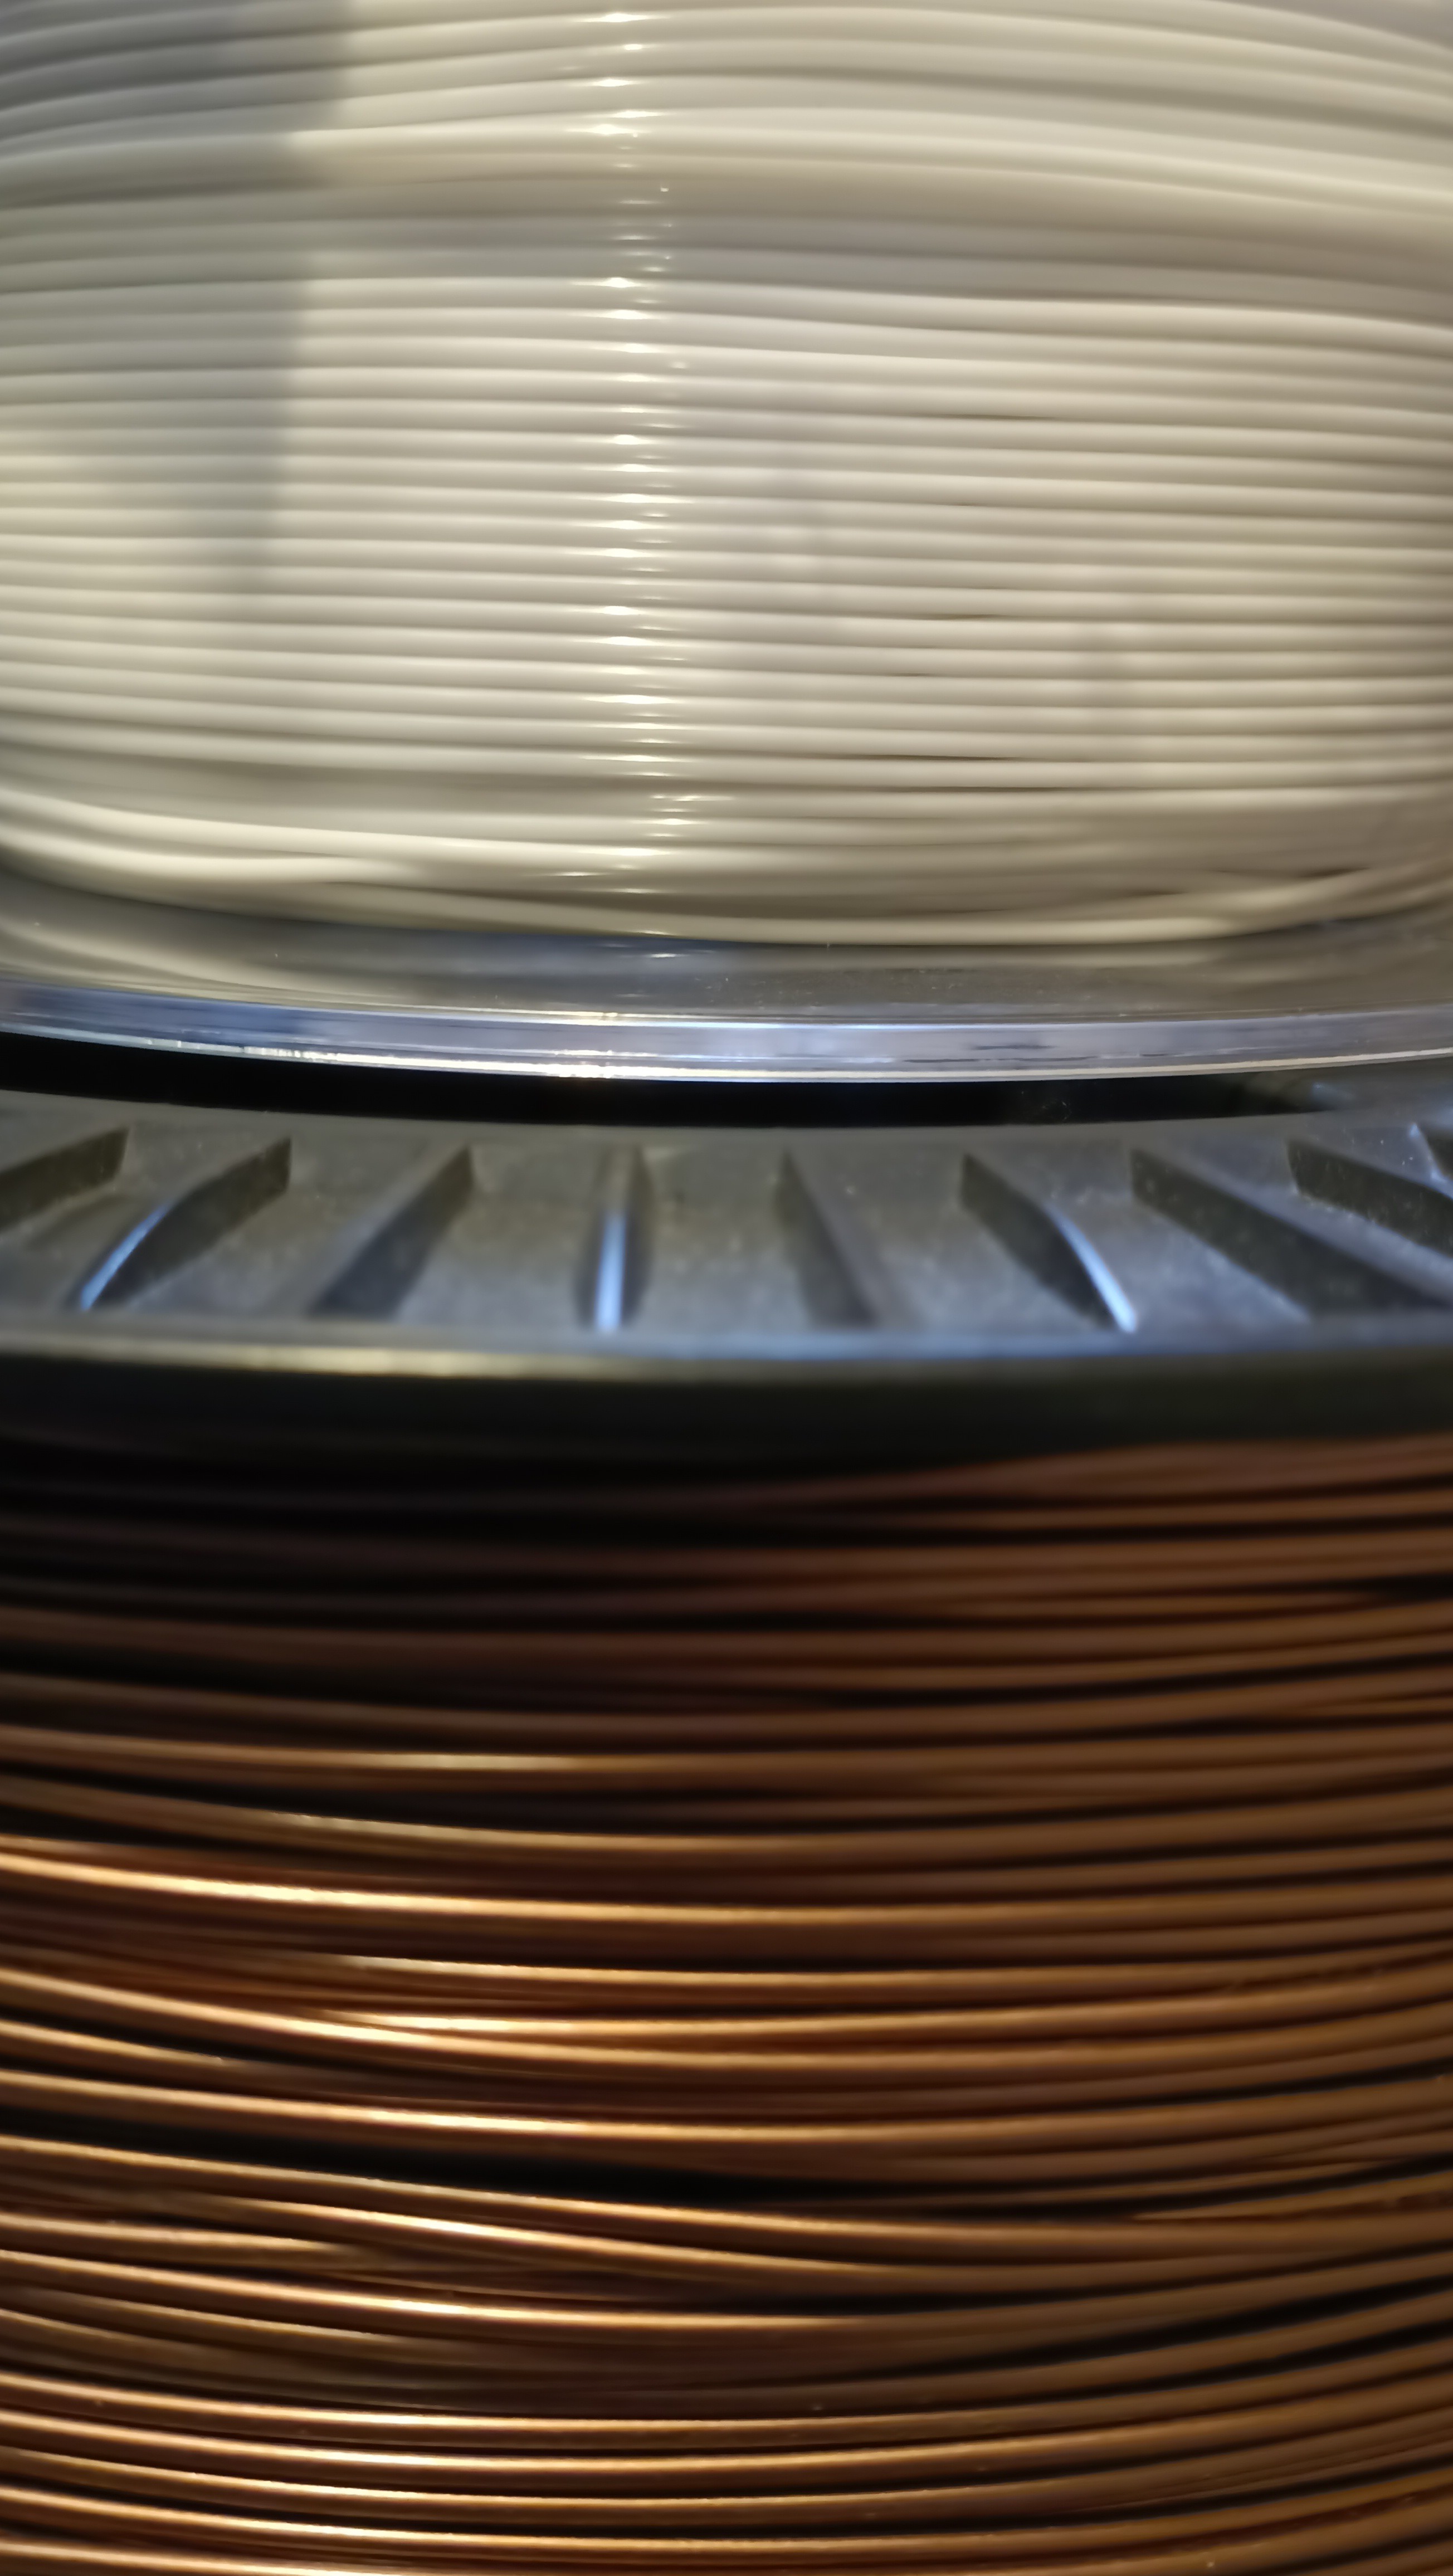
For reference, this is what the input filaments look like:
Anyway, at this point, my answer to the question "Does the solution pass or fail?" is actually "Partial Credit.". I can't say outright that the solution fails, because as long as it's good enough to put my other projects together, being able to mix, albeit slowly, is the solution actually working.
I decided to then move on with this 48mm/s speed to a new virtual filament of 50/50 copper/white, where the white encases the copper.
I also decided to try channel 5 and 6 to see if it's potentially the minor channels that are bottlenecking my speeds. 5 and 6 have the longest uninterrupted major-channel diameter of 1.7mm, wheras I suspect that the dual minor channels are 1.05mm each.
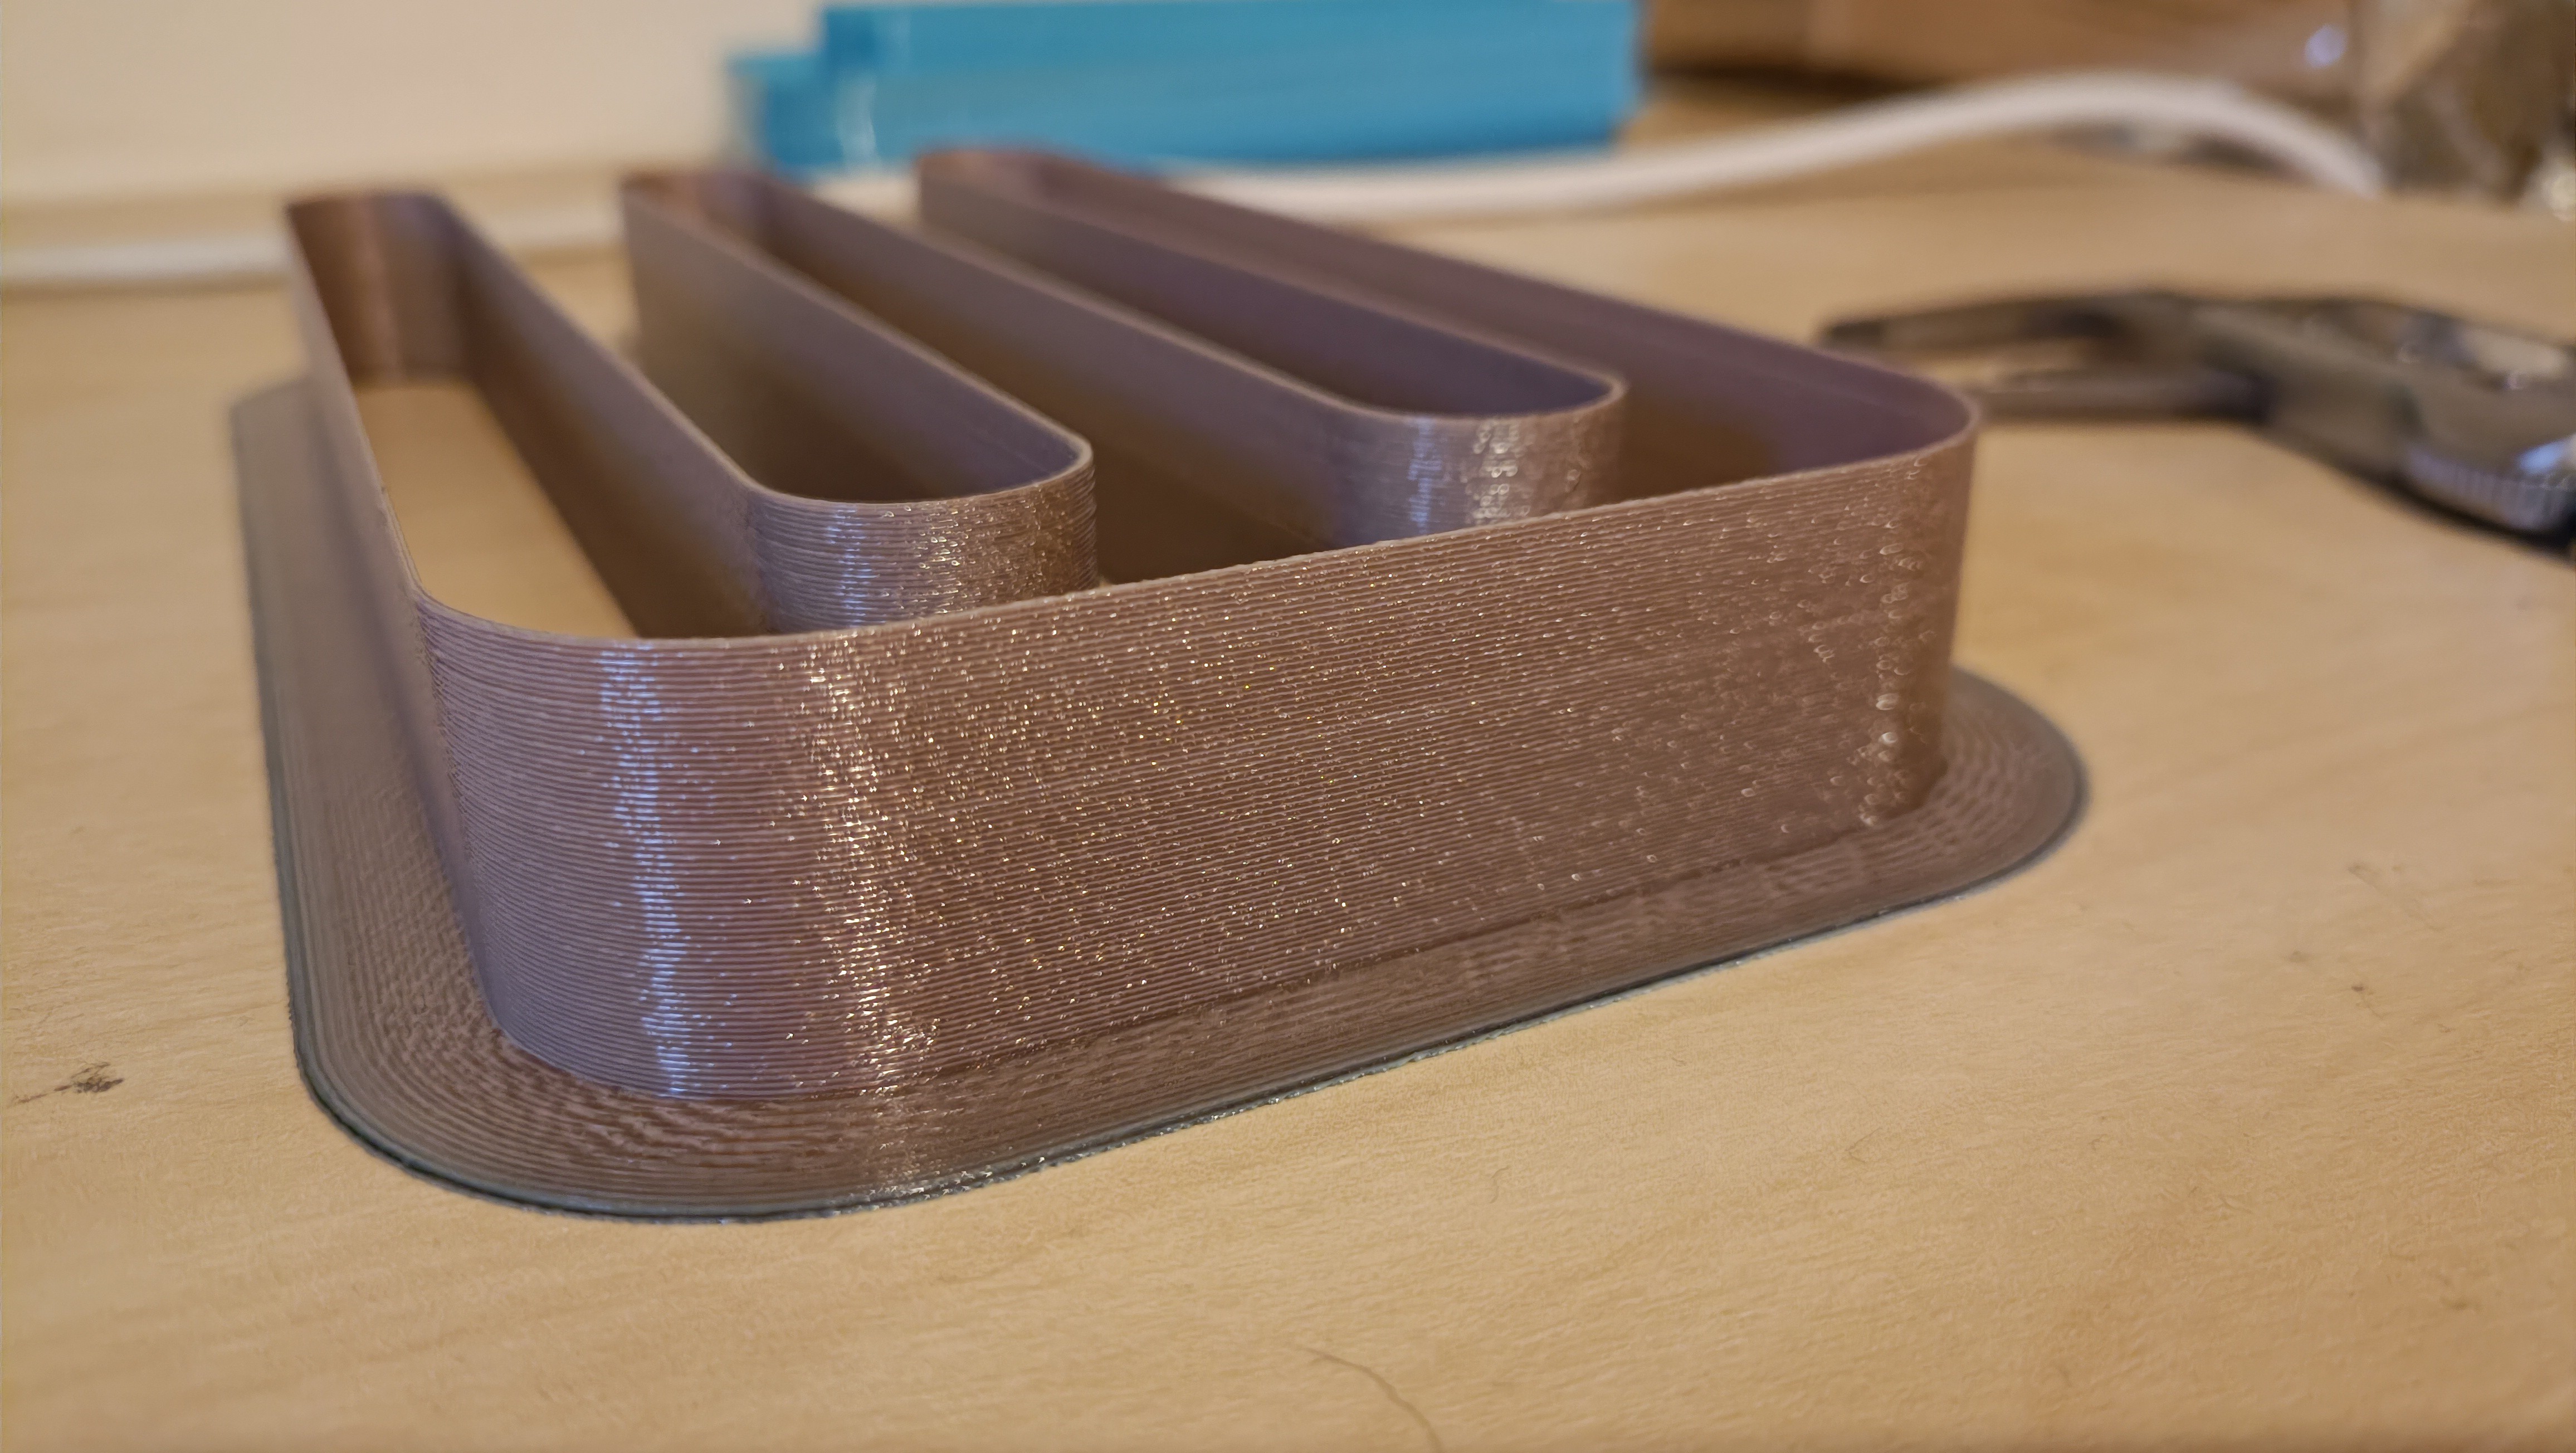
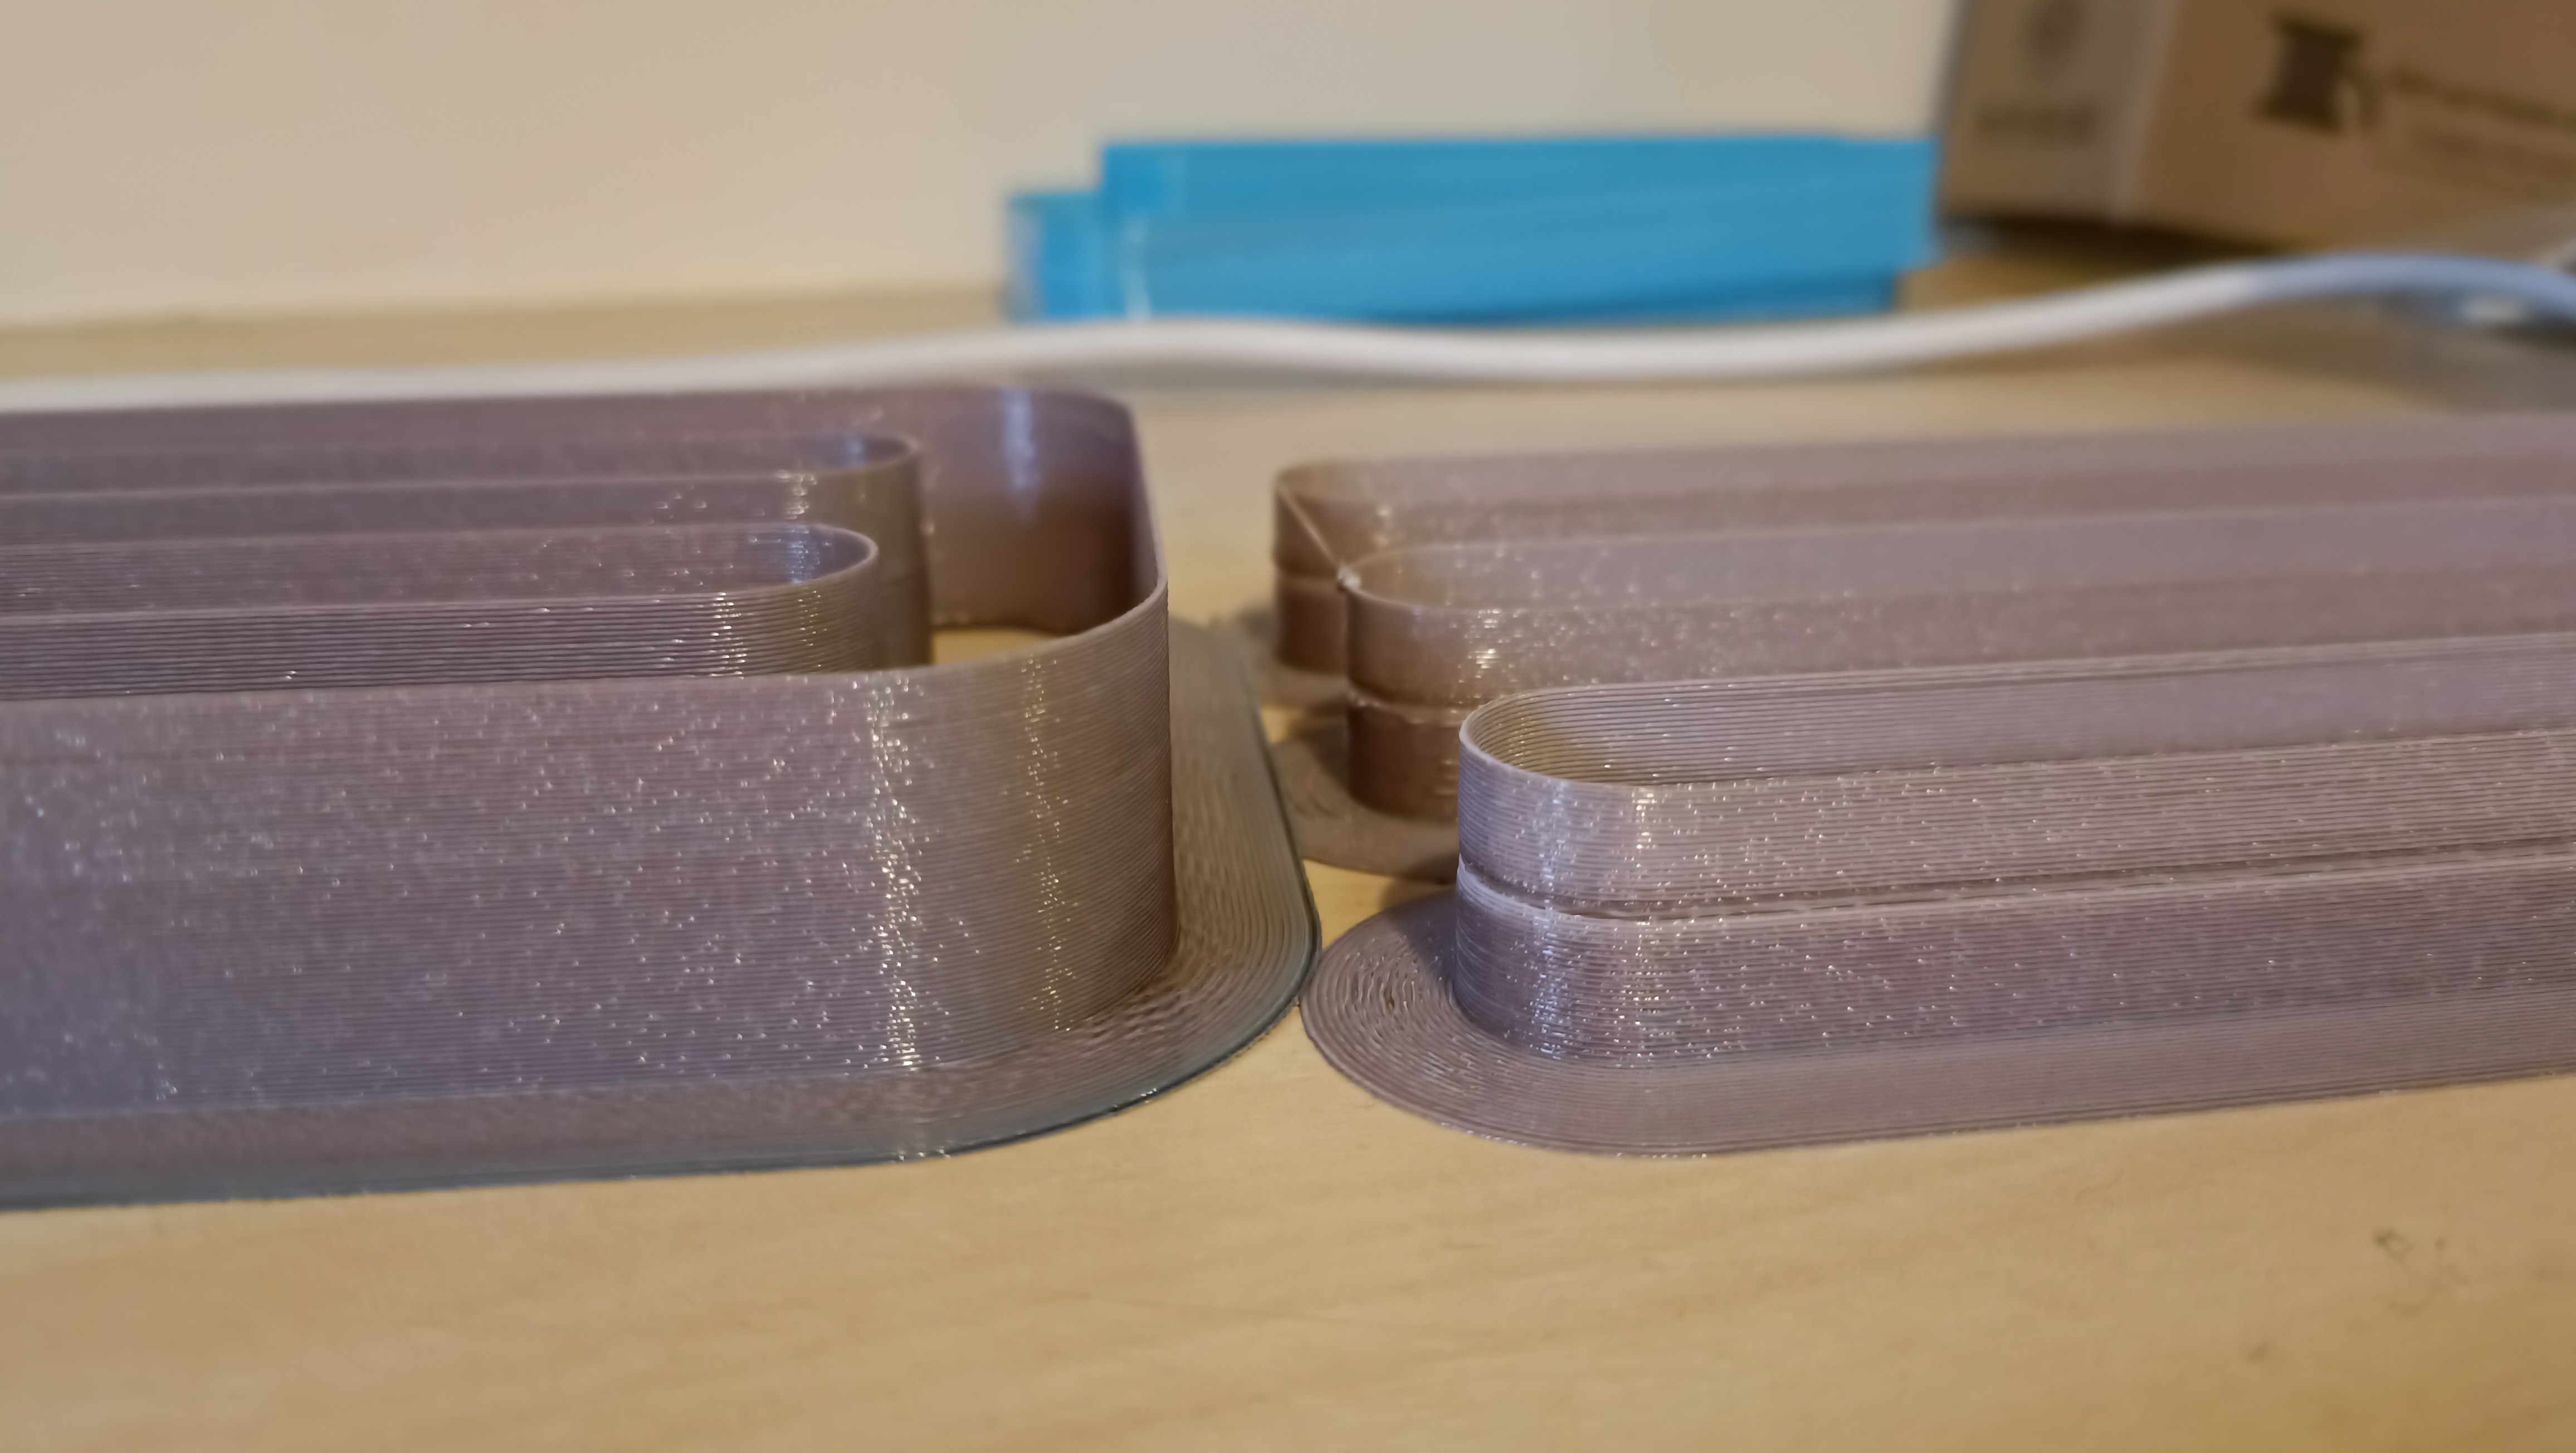
I started the print at 48mm/s and by the end of it, I was up 180mm/s speed! That corresponds to 86mm/s which I rounded up to 90mm/s for the print afterwards. Just like with the virtual light blue, this virtual light copper was a darker shade on the X axis, just even more noticeable this time. Both virtual filaments do look nice though.
With this test, it also confirms that I've been able to extrude through all 8 inputs. 🎉🎉
The next print was to confirm that I could print at 90mm/s, and it certainly looked like I could. 110% worked too but 120% didn't (see underextrusion gap) so I reverted to 110%:
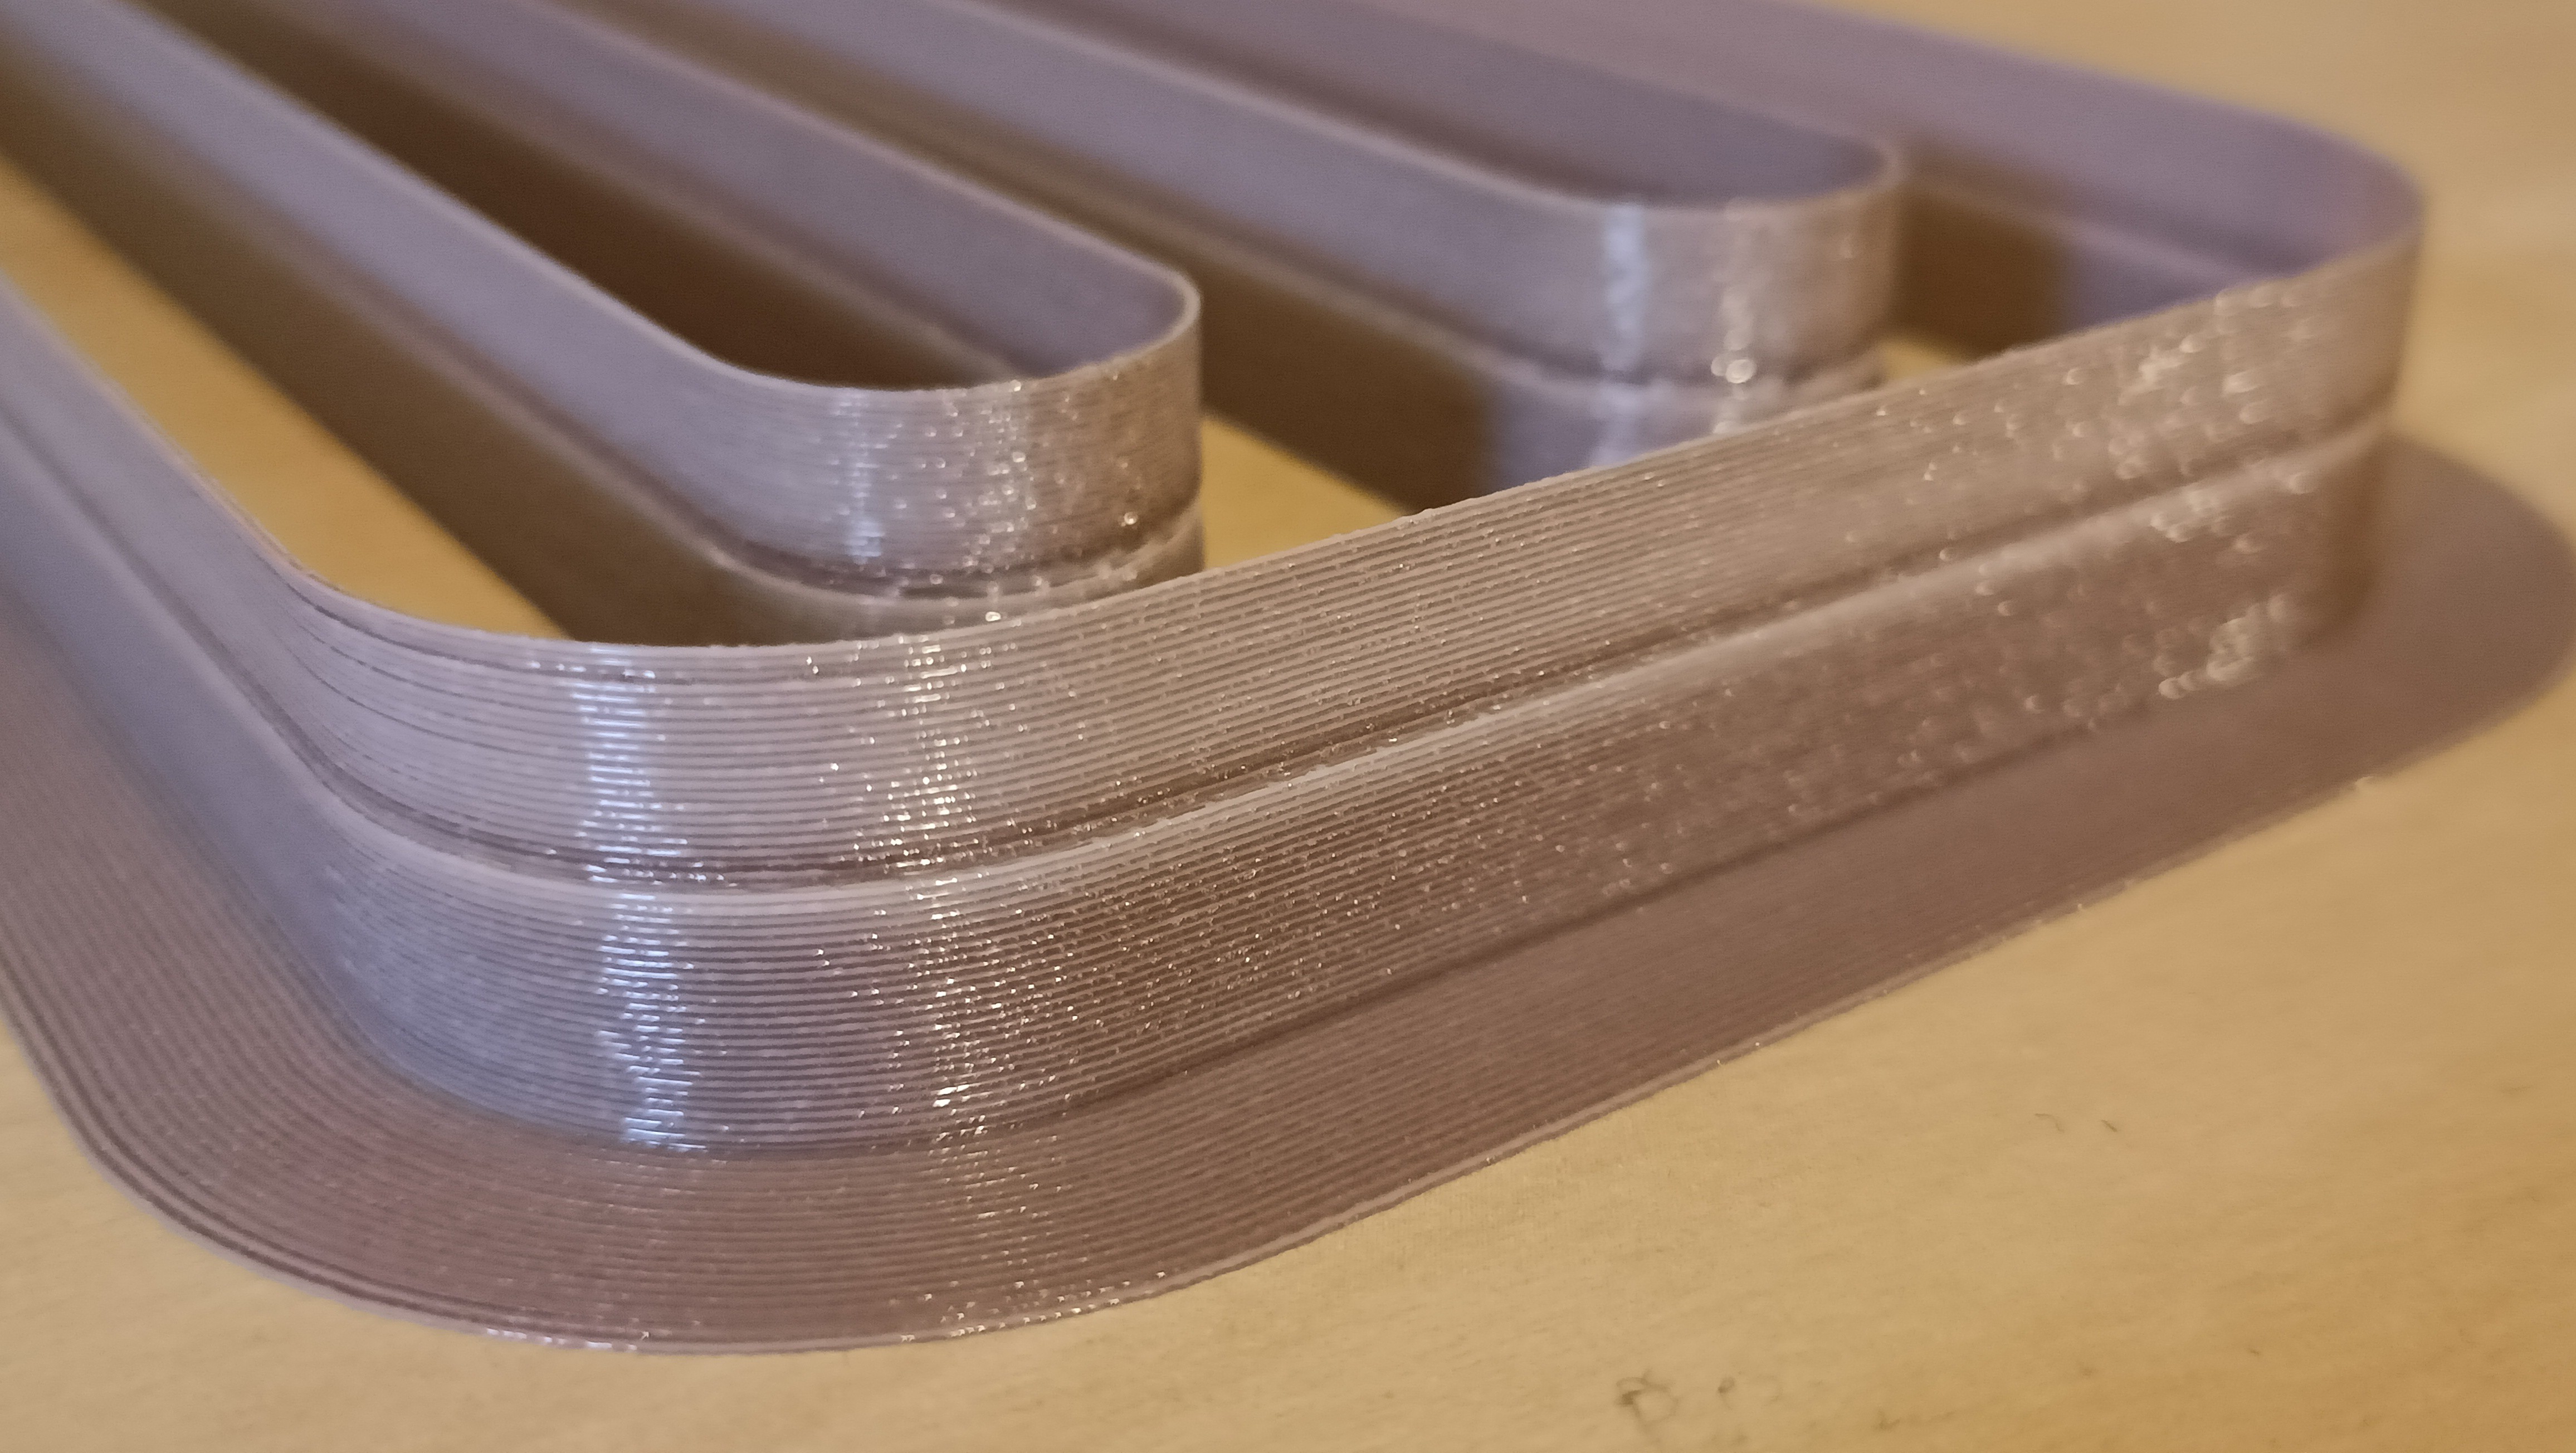
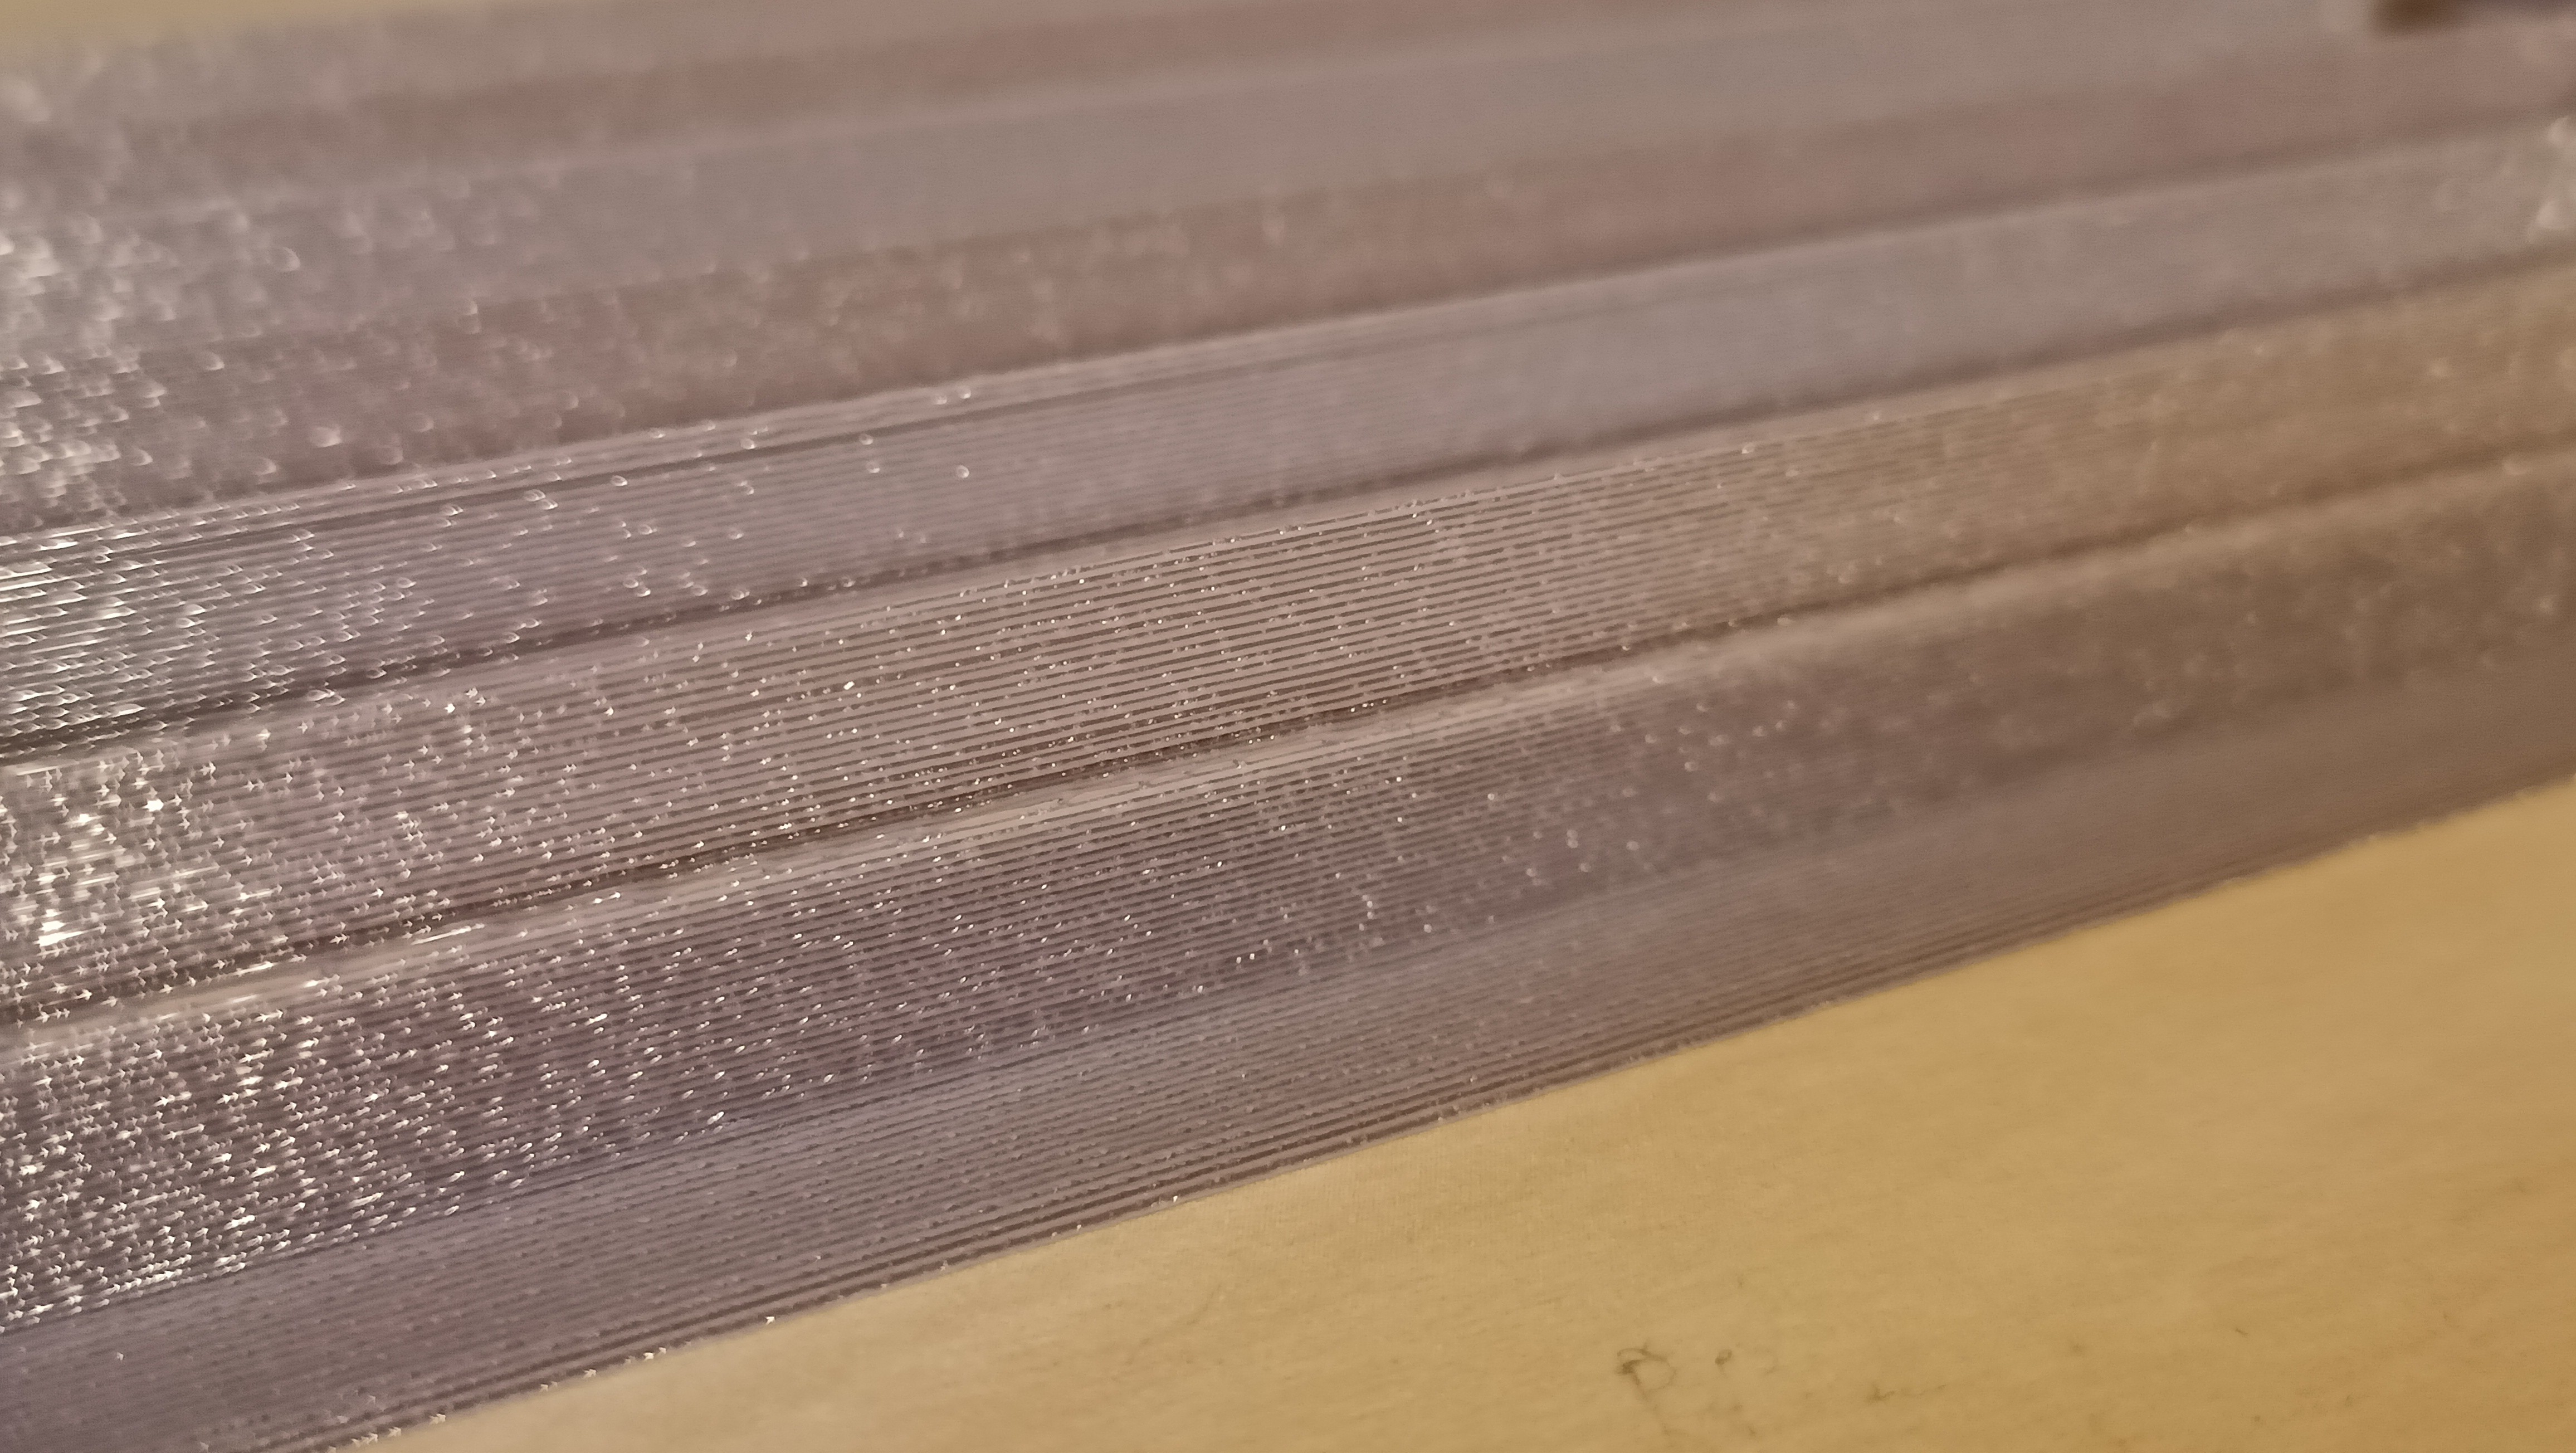
As you can see, the zone when I reverted from 120% to 110% looked more consistent in X and Y. It was also lighter than the previous run:
Secret super leak
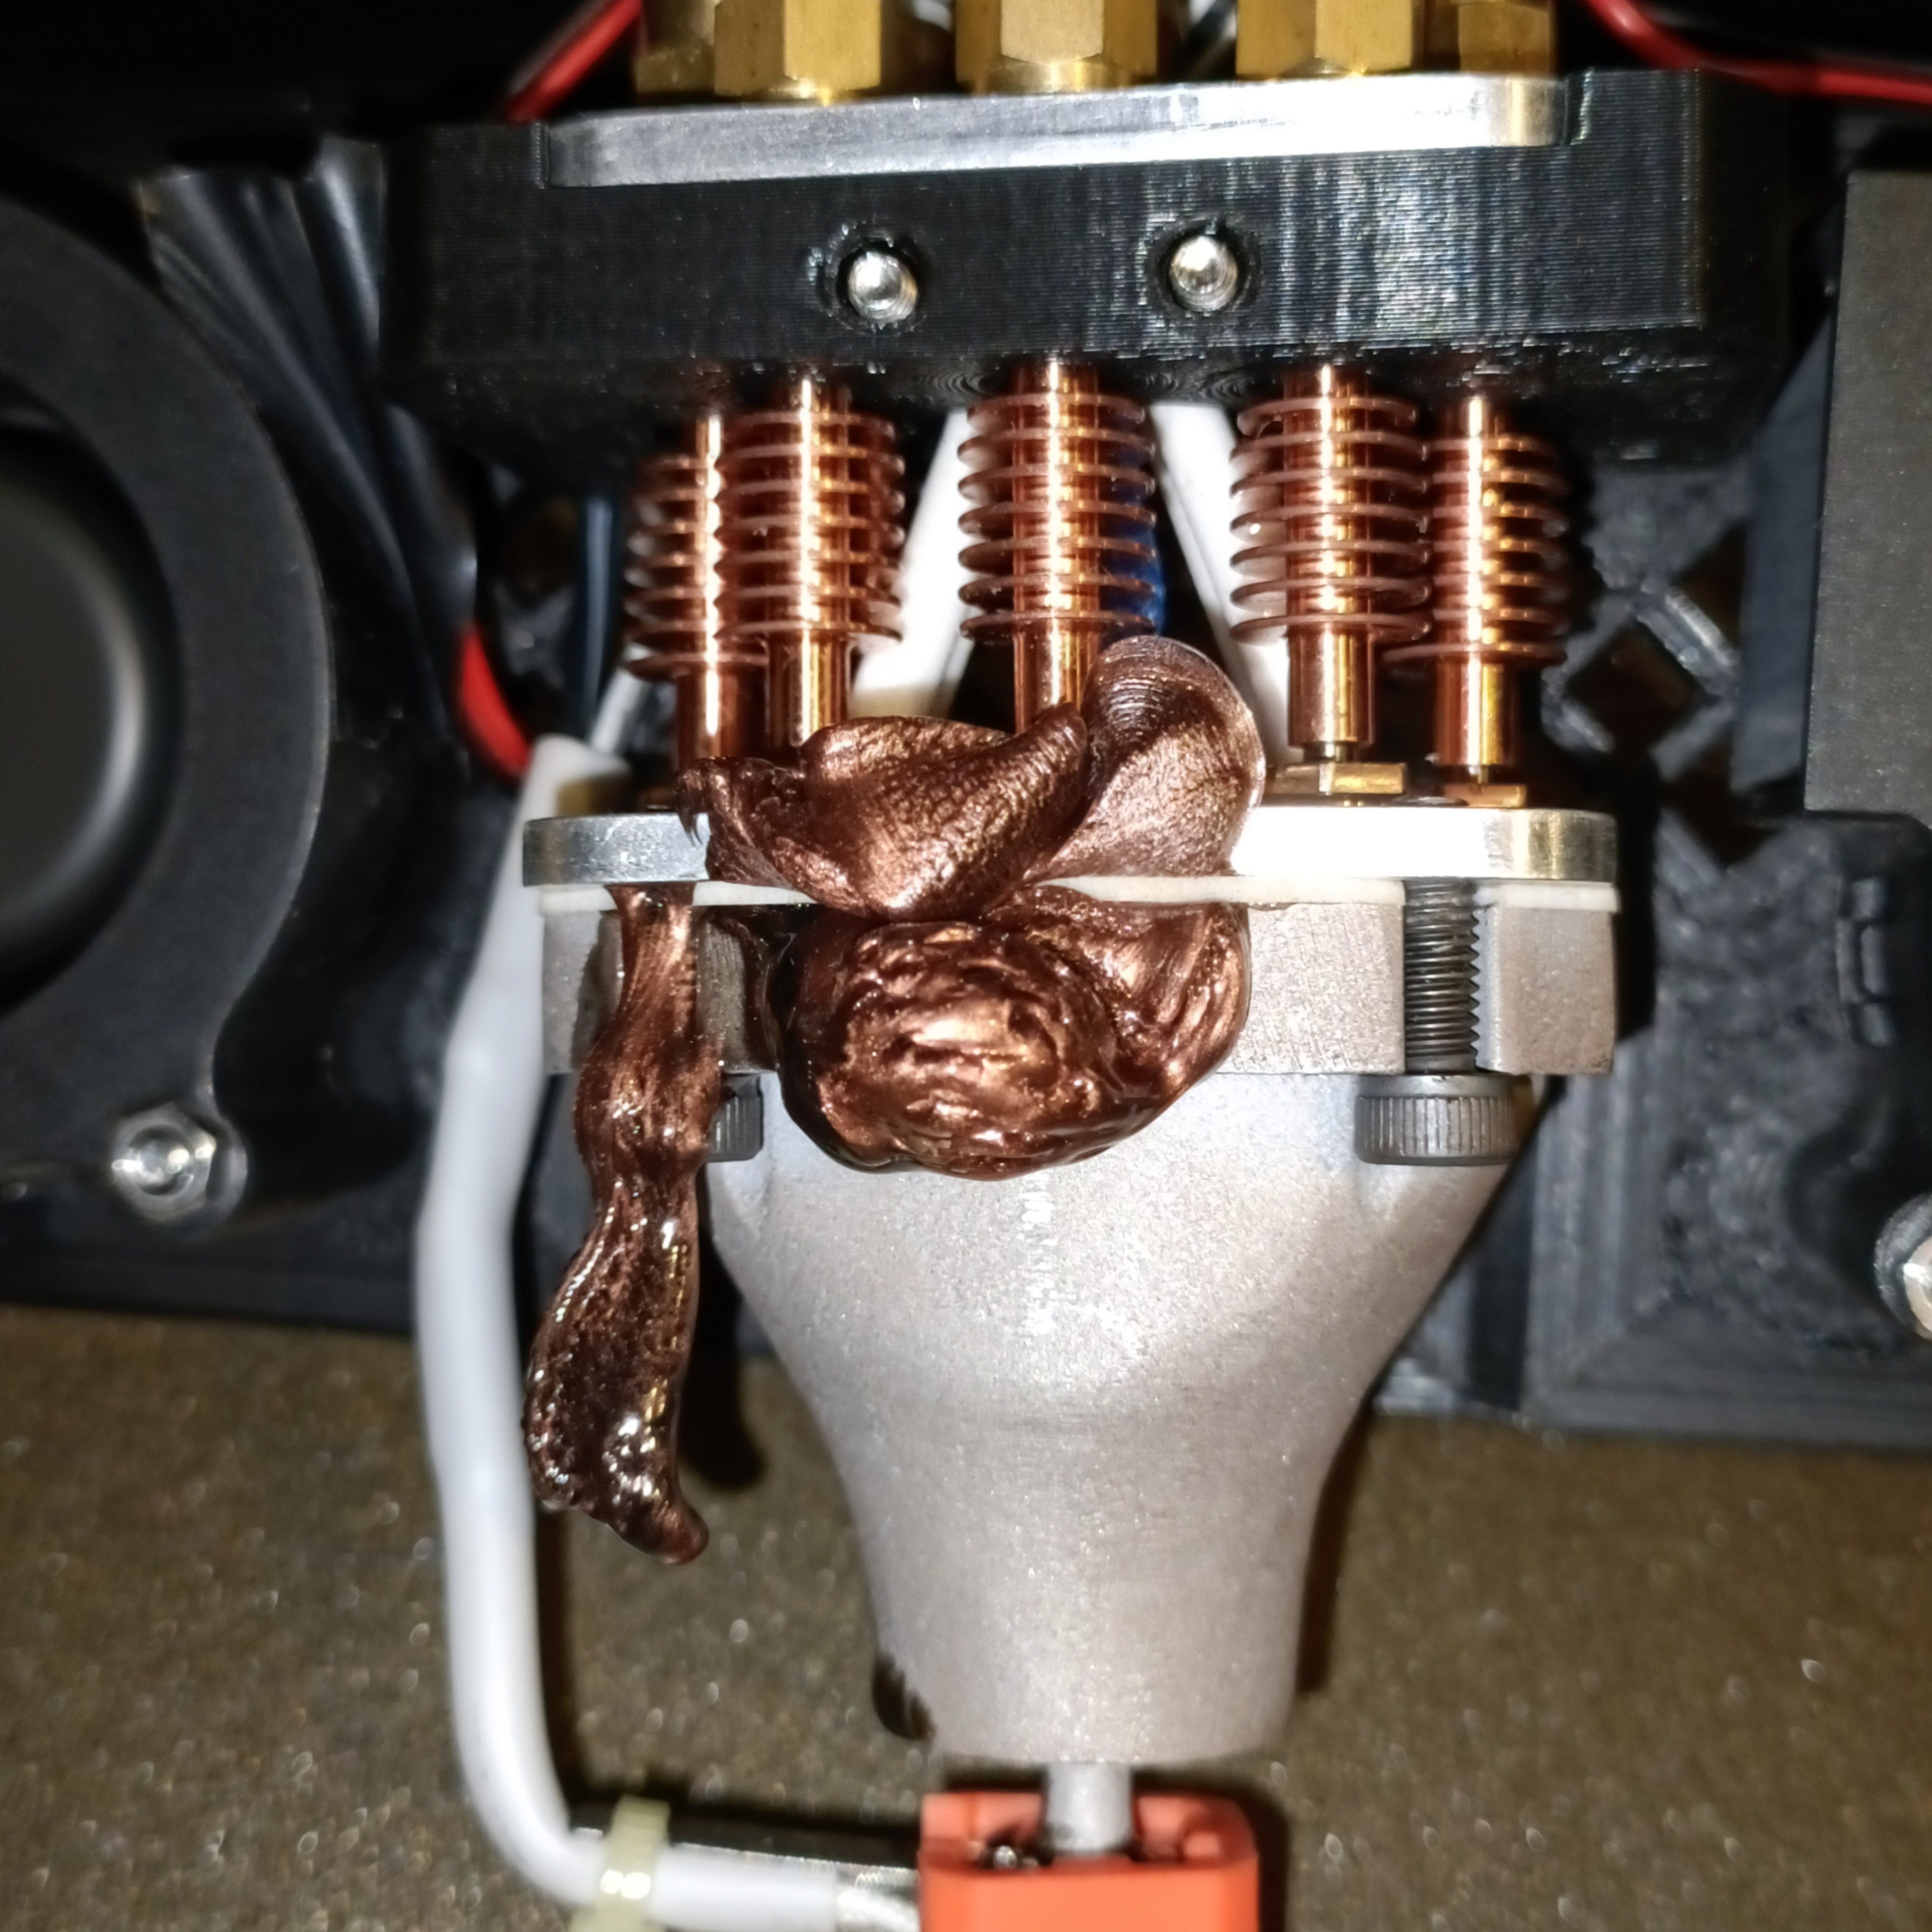
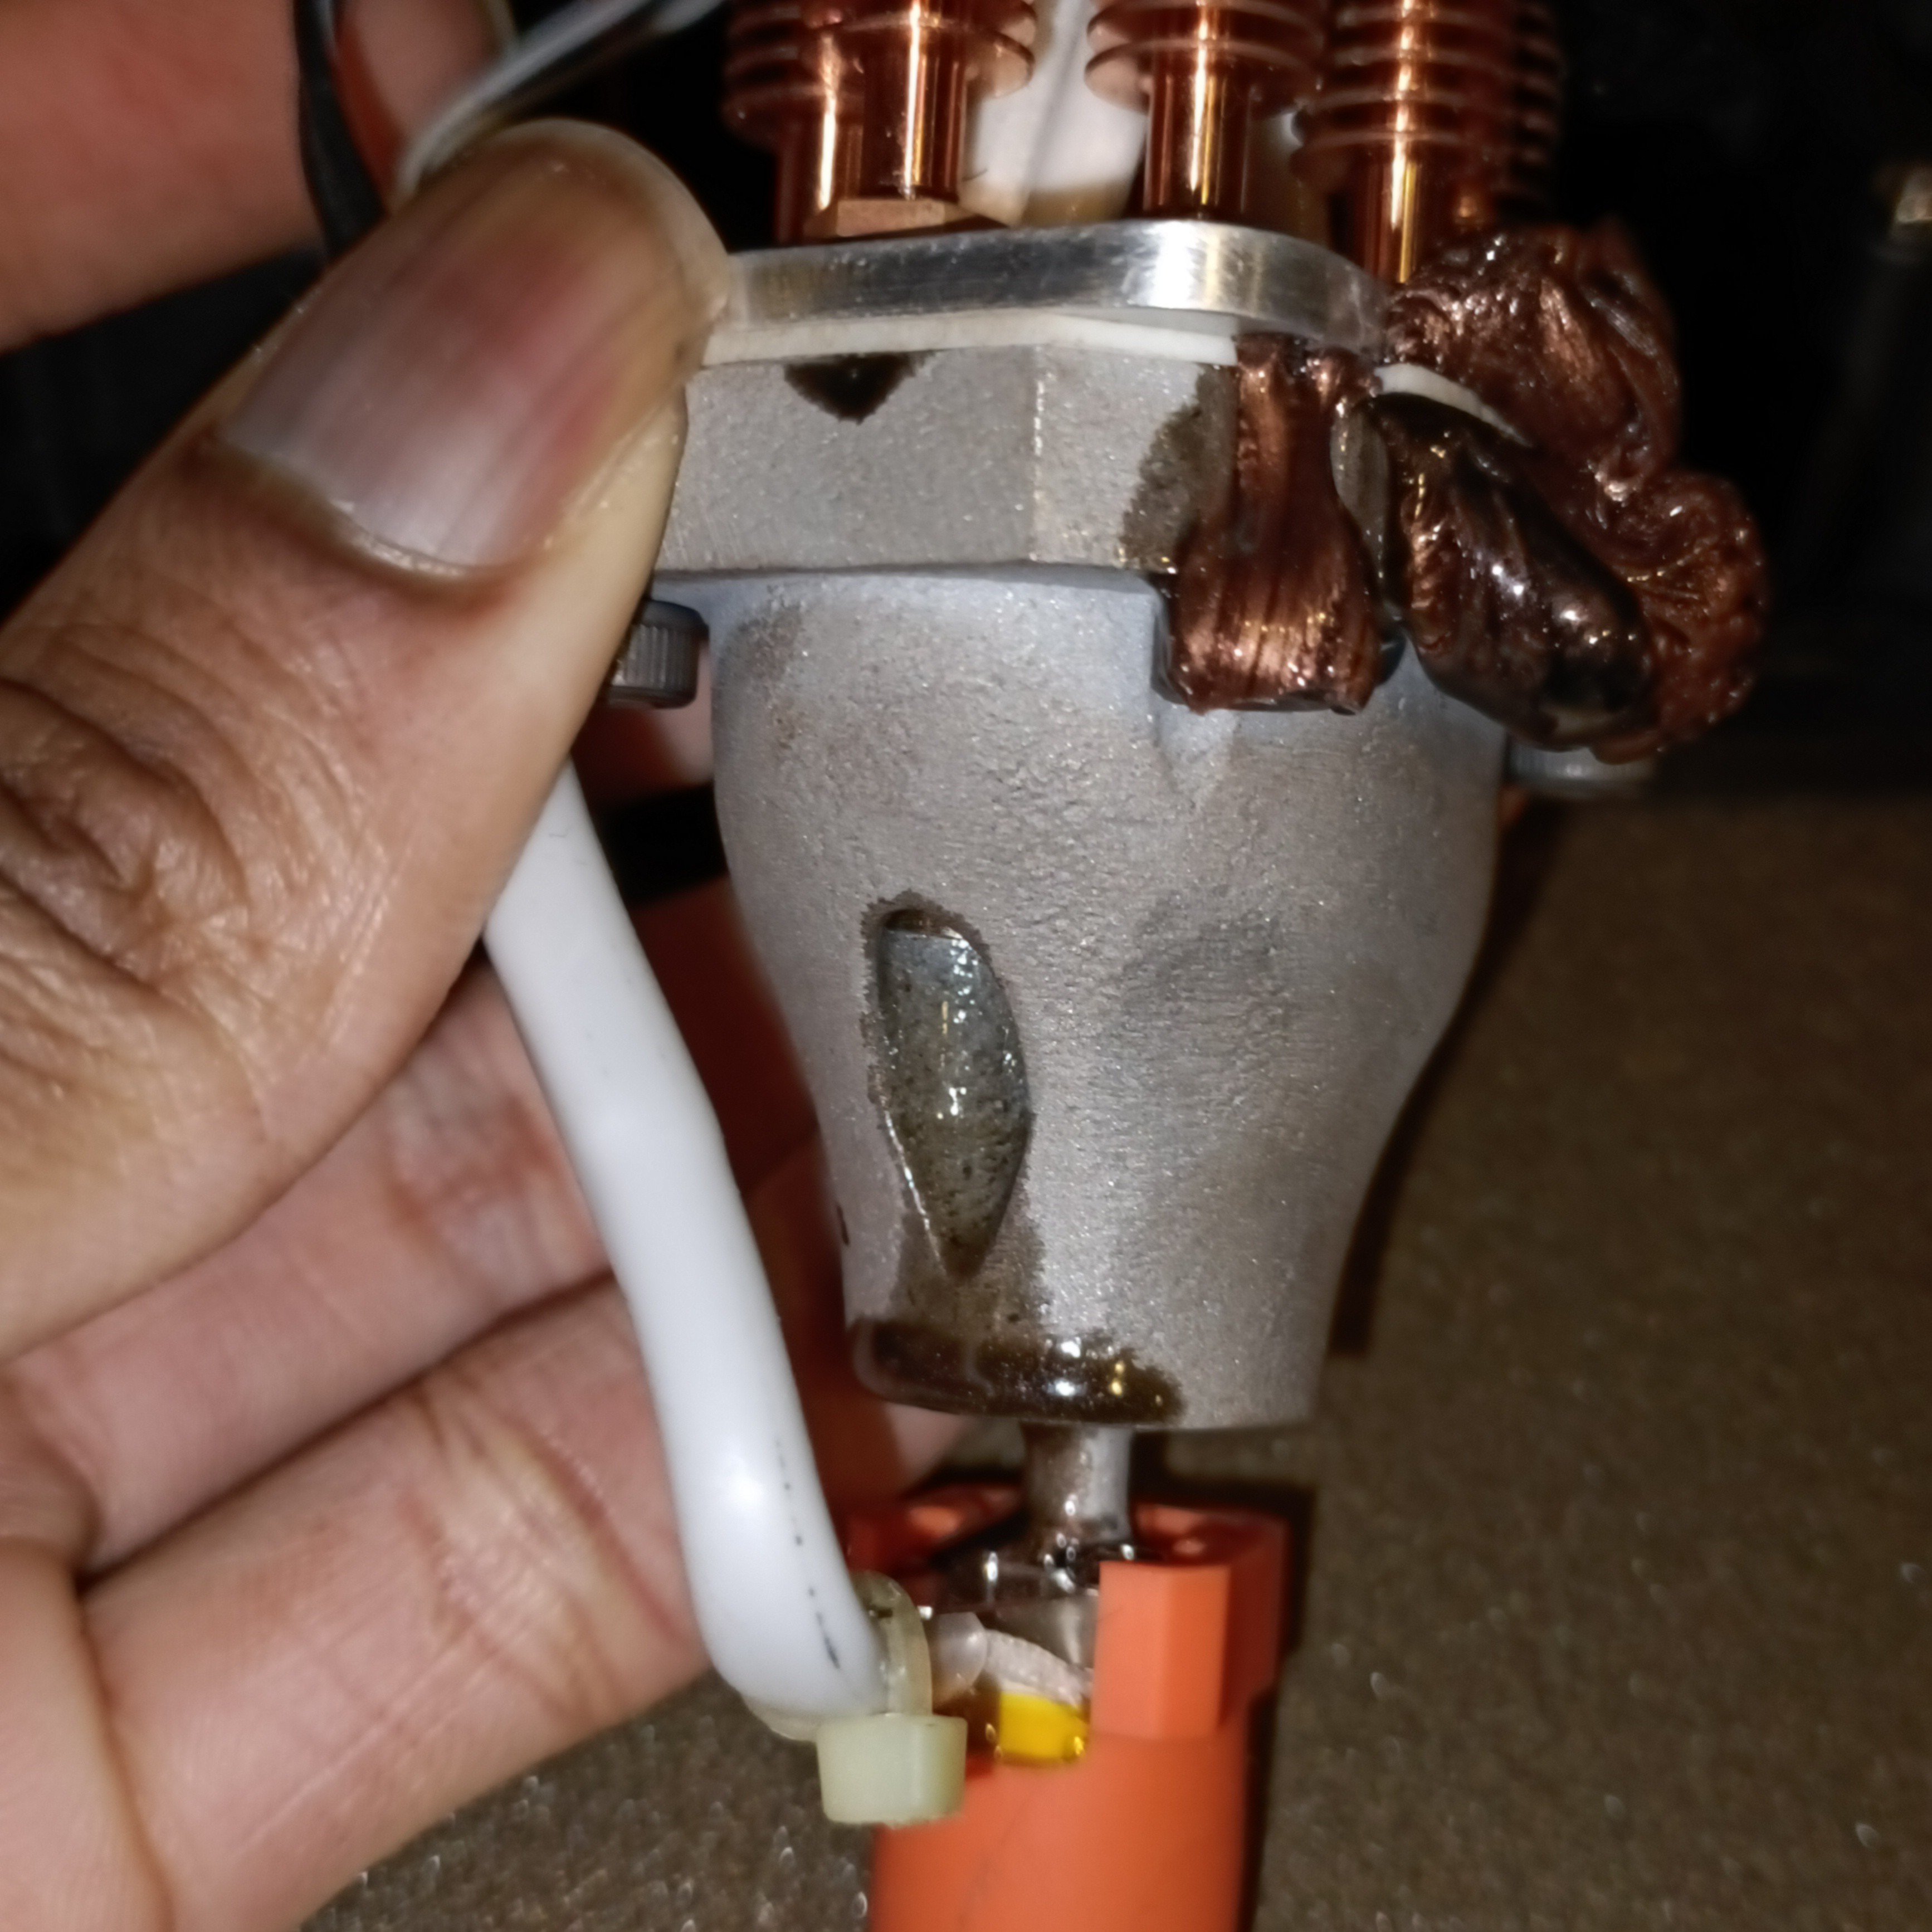
Now if you're wondering why the second run of Virtual Light Copper looks shorter than the first run, it's because I could smell a chemical-like odour and went to investigate. I shone a light though the front grill and everything seemed clean until I noticed that there was a black blob where the thermistor hole in the clamp plate is.
"Uh oh. What does the back look like?"
I squeeze to the back of the CR600S and I see two black+copper blobs coming out all sneakily through the boundaries between the PTFE gasket and the heatblock/clamp plate, and it was moving kind of like slow lava.
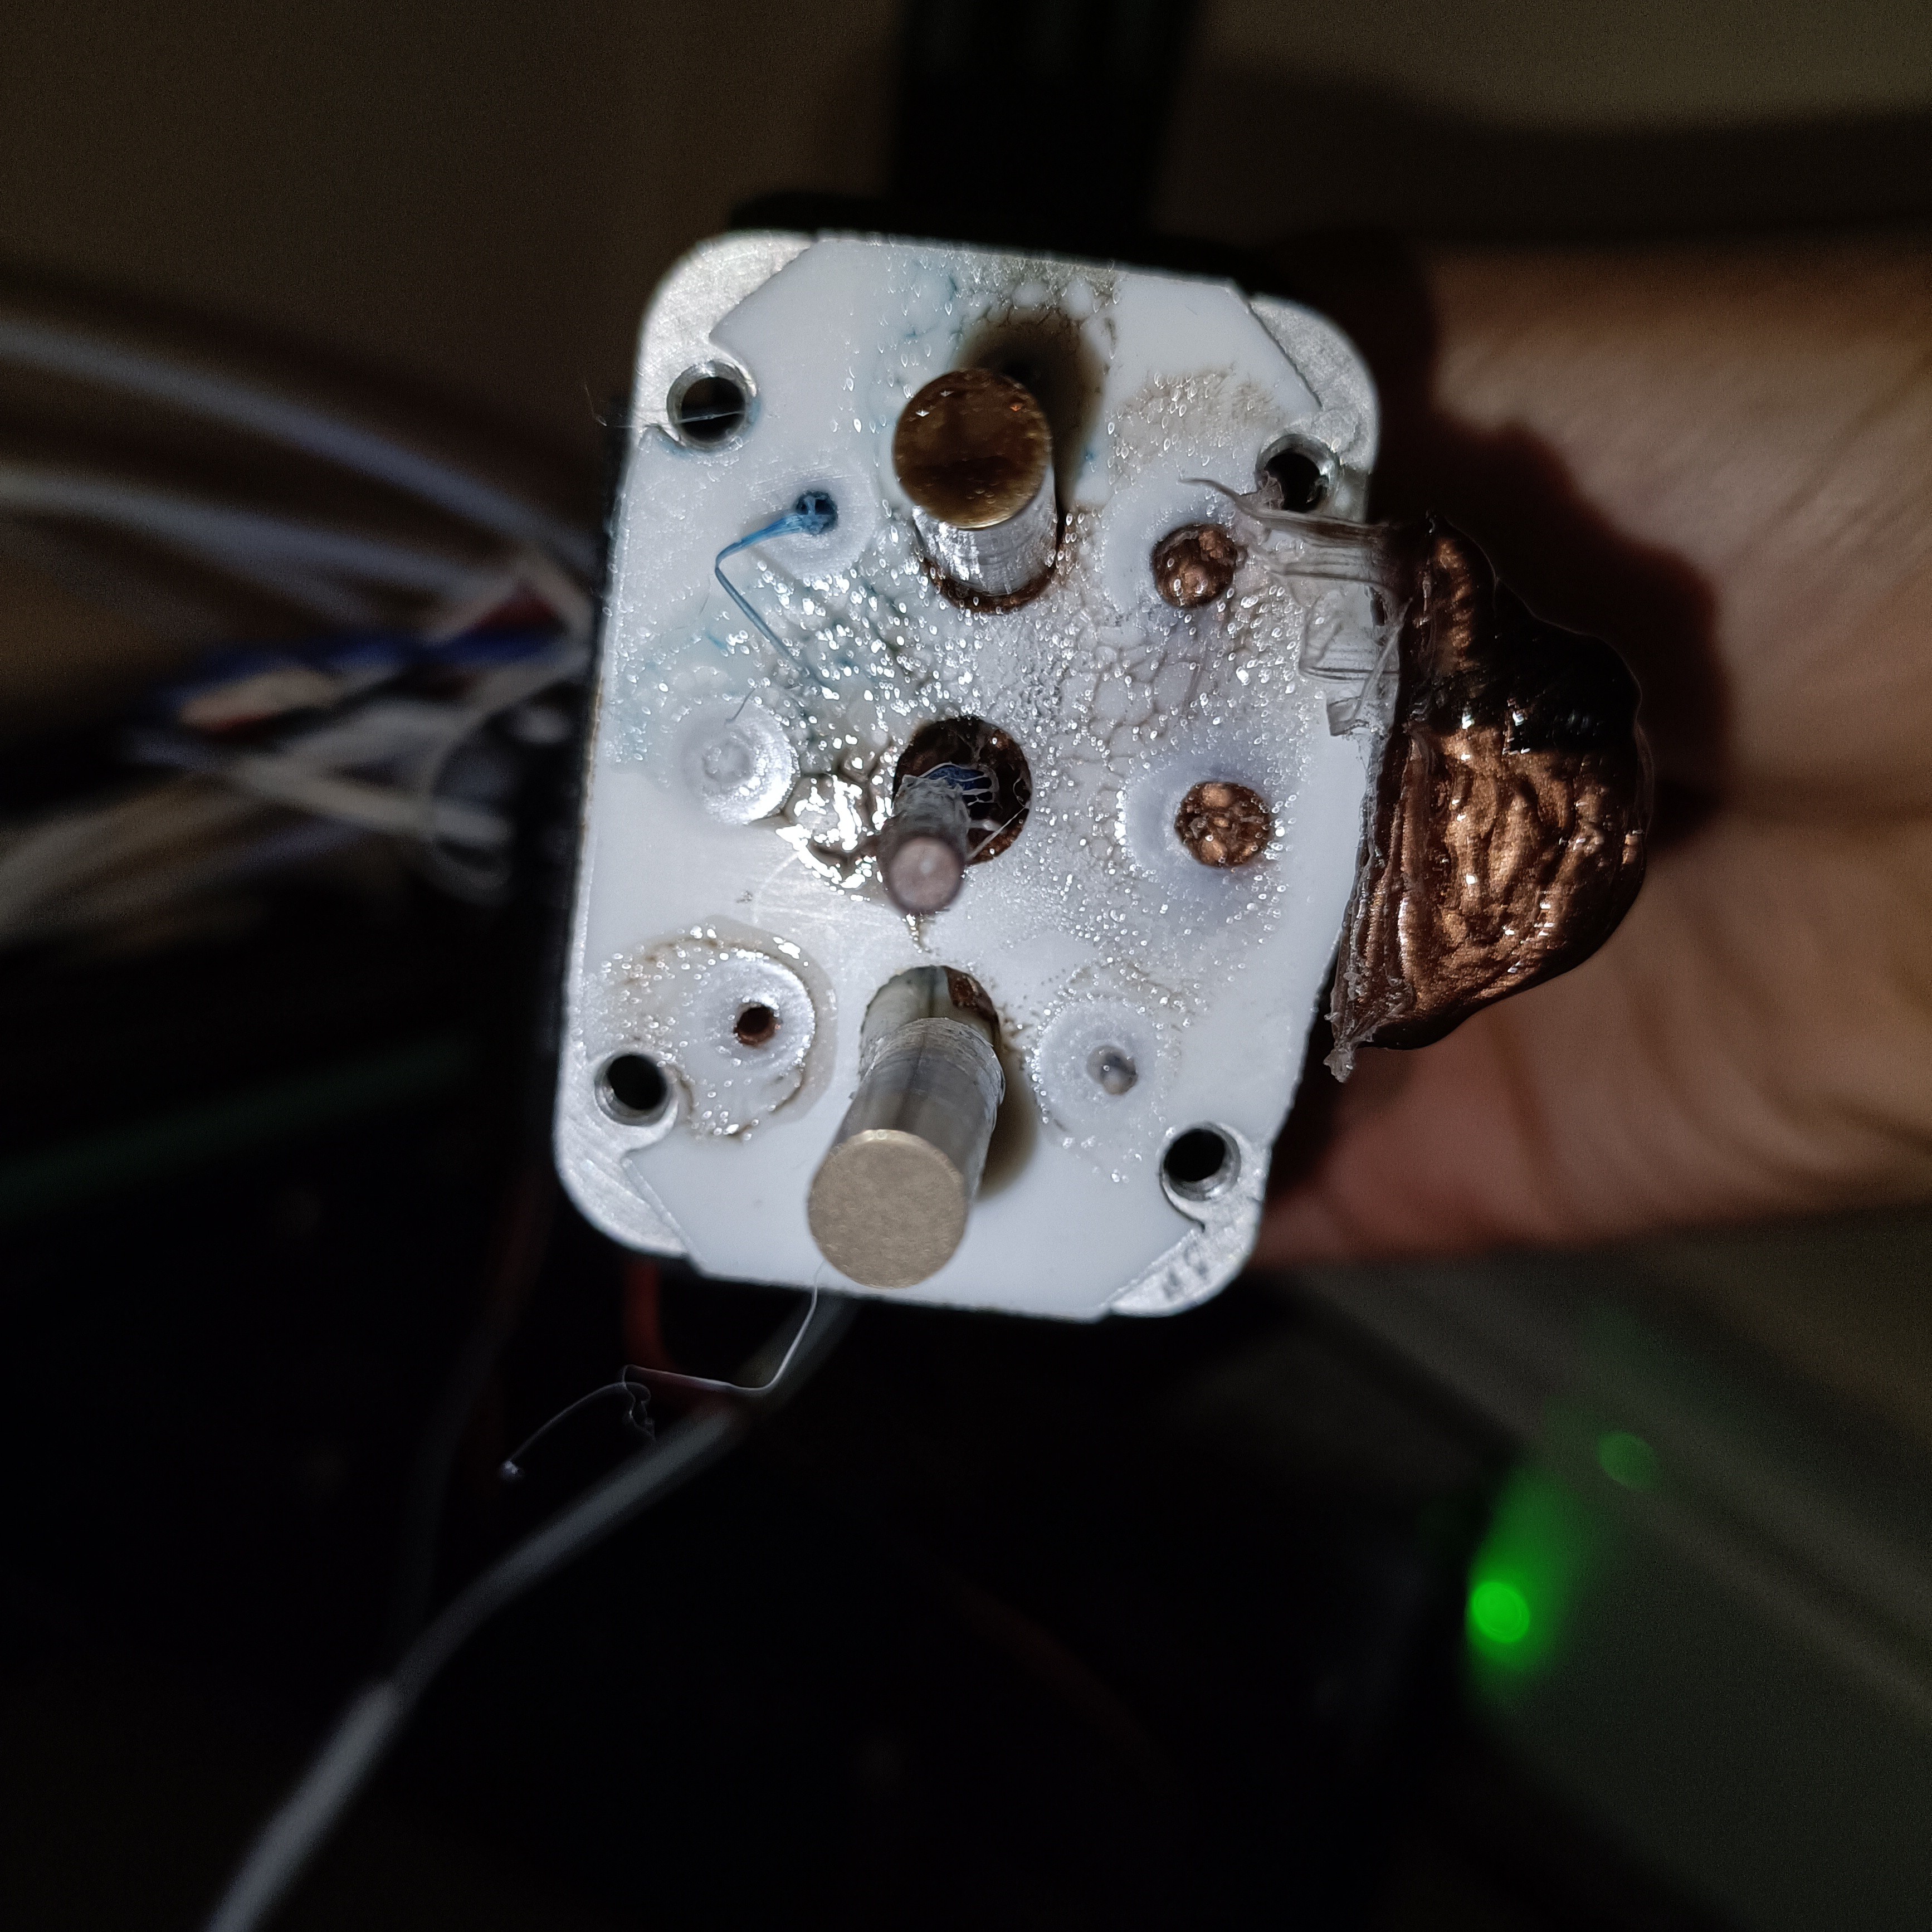
It was easy to take out all filament channels (except channel 3, which was stuck), then unscrew the bolts holding the clamp plate and the grubs holding the thermistors, then turn off the heaters, then slowly pull the heatsinks from the heatblock and finally unscrew the heatsinks.
I ordered the heatsinks from channel 1 to 8 in the below image. Surprisingly, even though channel 5 was the source of the leak, it's the one that is the cleanest; it cleanly separated from the copper PTFE.
Conclusions and future work
So, unfortunately, just like hitting a bomb in Fruit Ninja, this leaking means that:
The solution...
fails.
In the Coaxial8or R1 CAD file, I've increased the minor channels to 1.5mm, which should result in 1.3mm channels being fabricated. Now the cross sectional area of the two channels is 118% of 1.75mm filament instead of 77%. Below, I've highlighted the kinds of channels I'm talking about:
As for future work, I'm most likely going to have to pivot to a copper gasket:
Heinz said that the copper deforms, and I'd imagine it'll be similar to the indents that the grub screws have made on the copper heatsinks.
Discussions
Become a Hackaday.io Member
Create an account to leave a comment. Already have an account? Log In.