 Vijay
Vijay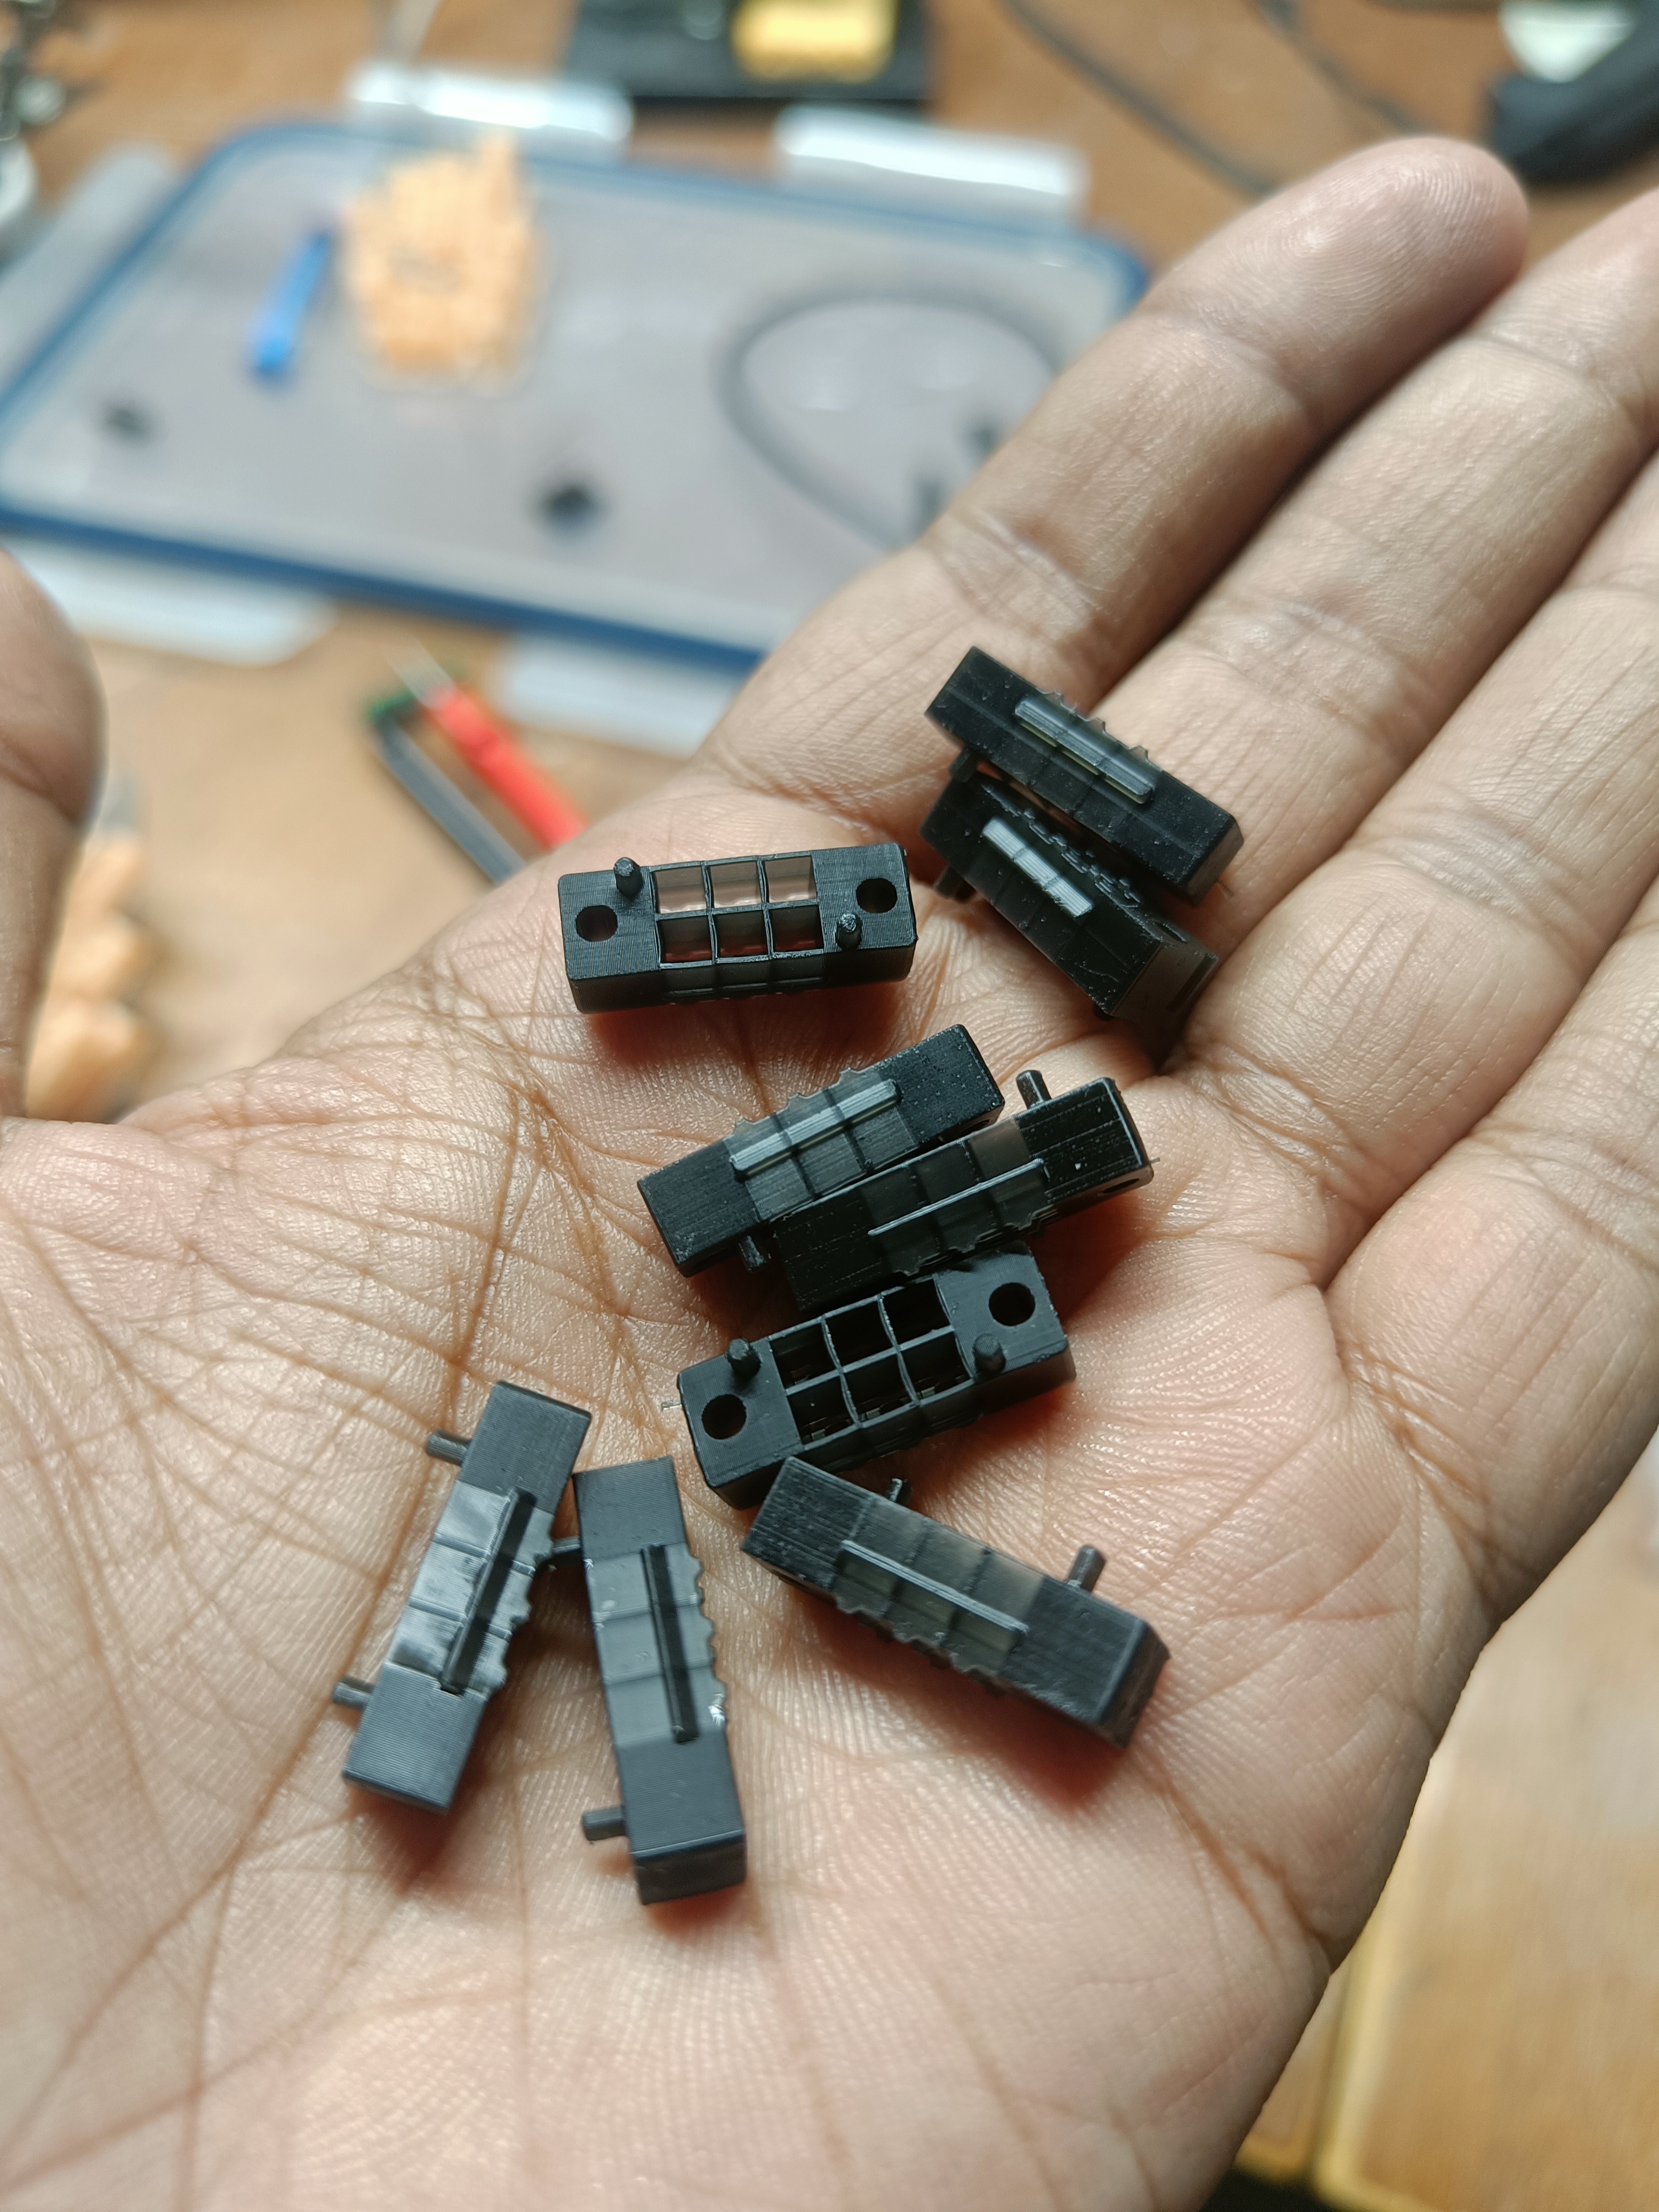
Fig 1. Version 3 Braille Parts printed on a Figure4 3D Printer by 3D Systems
Getting the design right has been a bigger challenge than I initially thought it would be. I had to go through 7 iterations before things were getting to something that fit together satisfactorily.
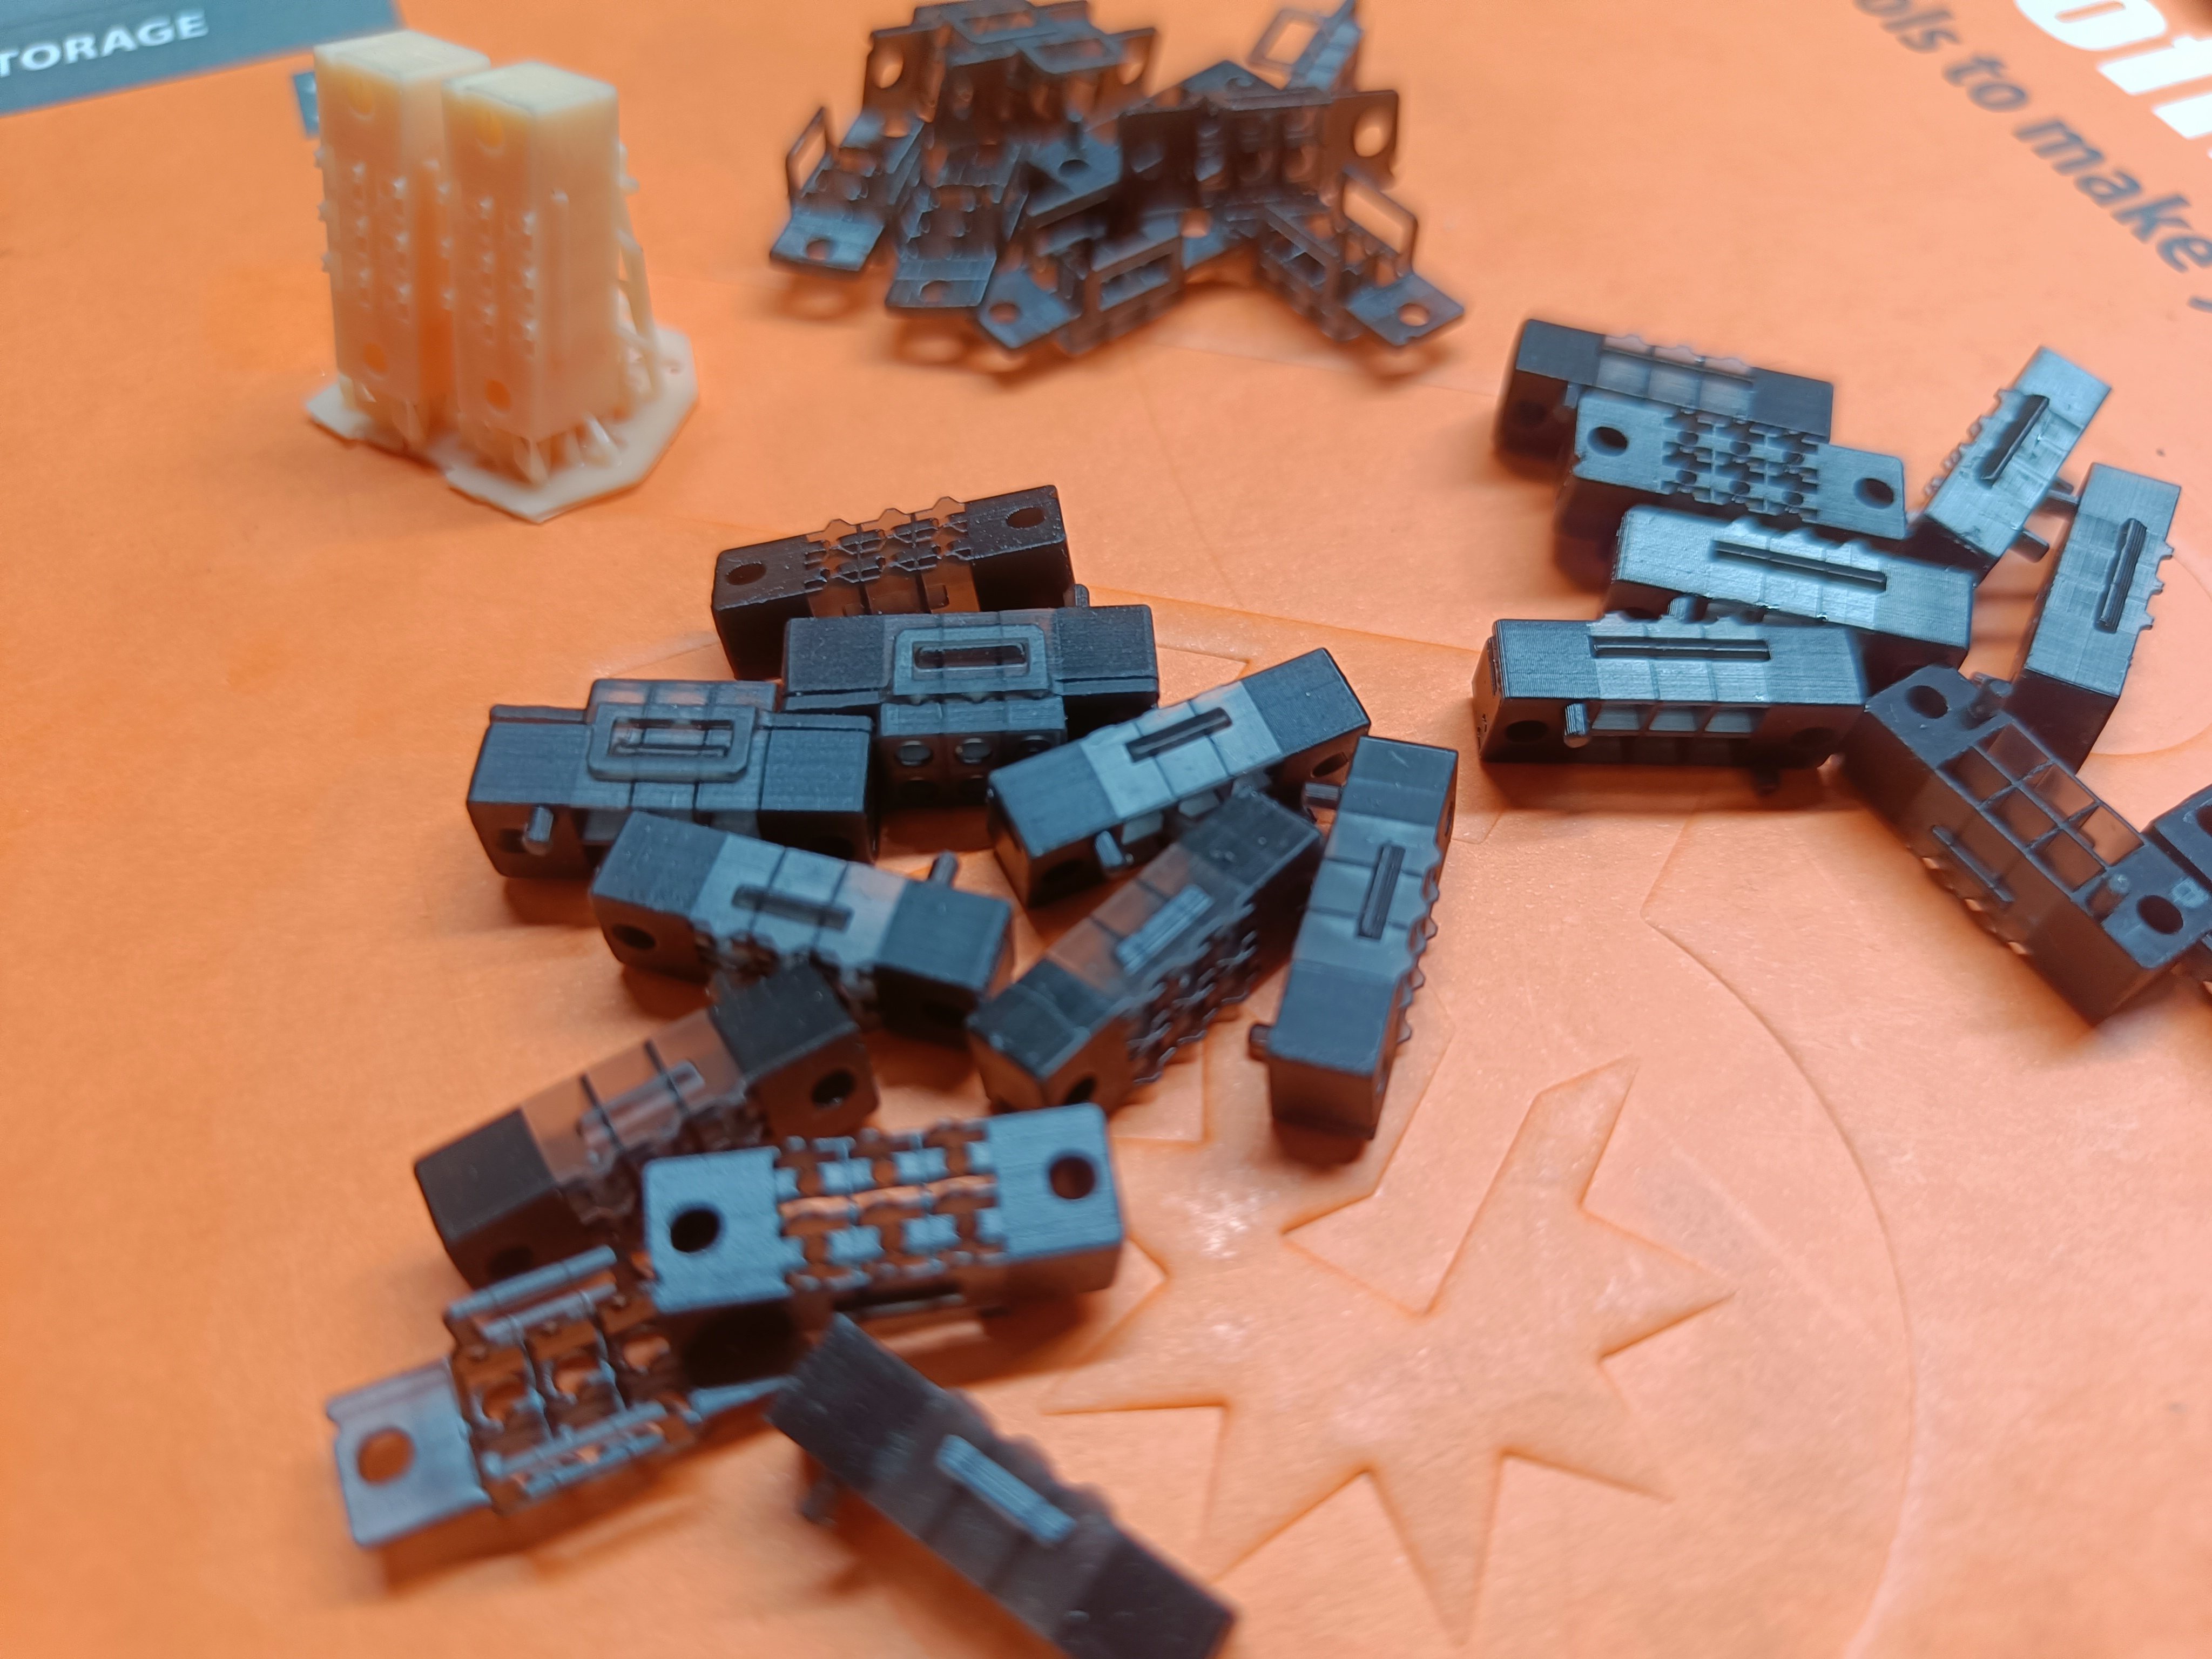
Fig 2. The various versions of the braille cells printed in SLA in different orientations
I initially was outsourcing to an external vendor who had a 3D systems figure machine with ProBLK 10 resin that produced pretty strong parts at extremely high detail. Even though I was very impressed at first, I quickly realized that things were either too snug a fit and wouldn't allow for easy motion or that there was too much tolerance and the mechanisms would not actuate predictably.
The orientation the print was printed and what surface was used to support the part played a huge role in the functionality as well.
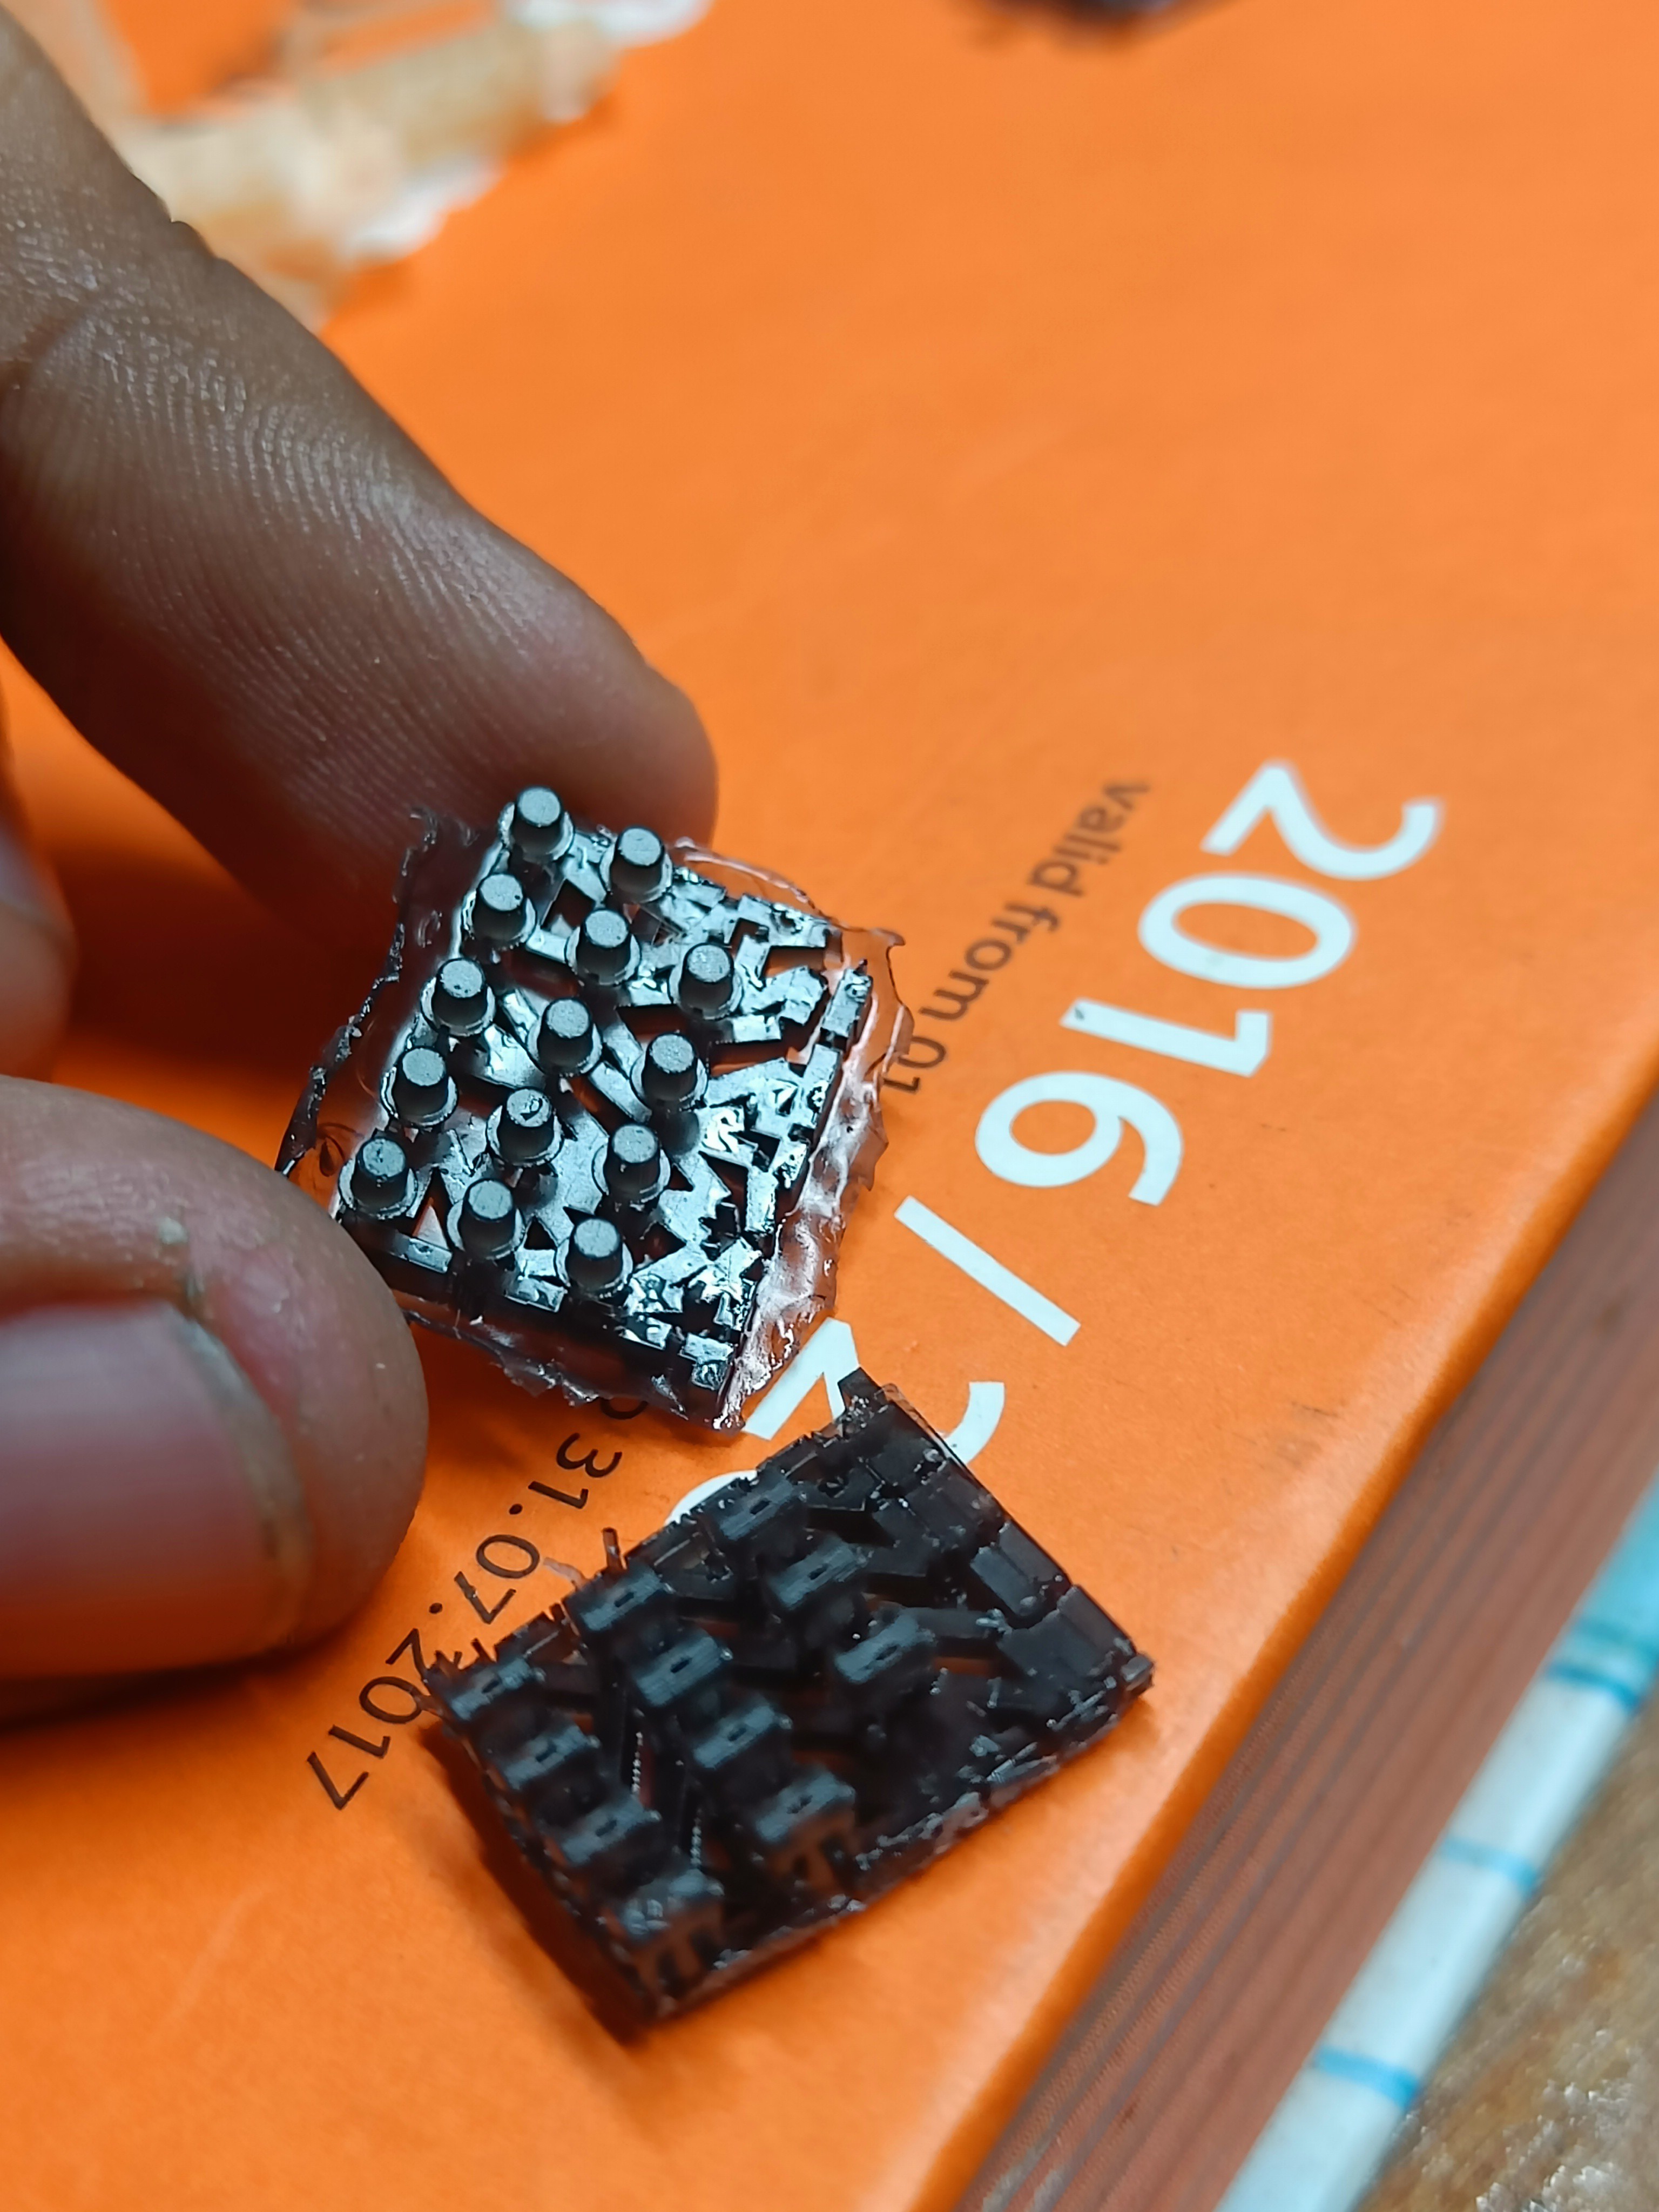
Fig 3. The Support tree holding up the Cam and Braille pins
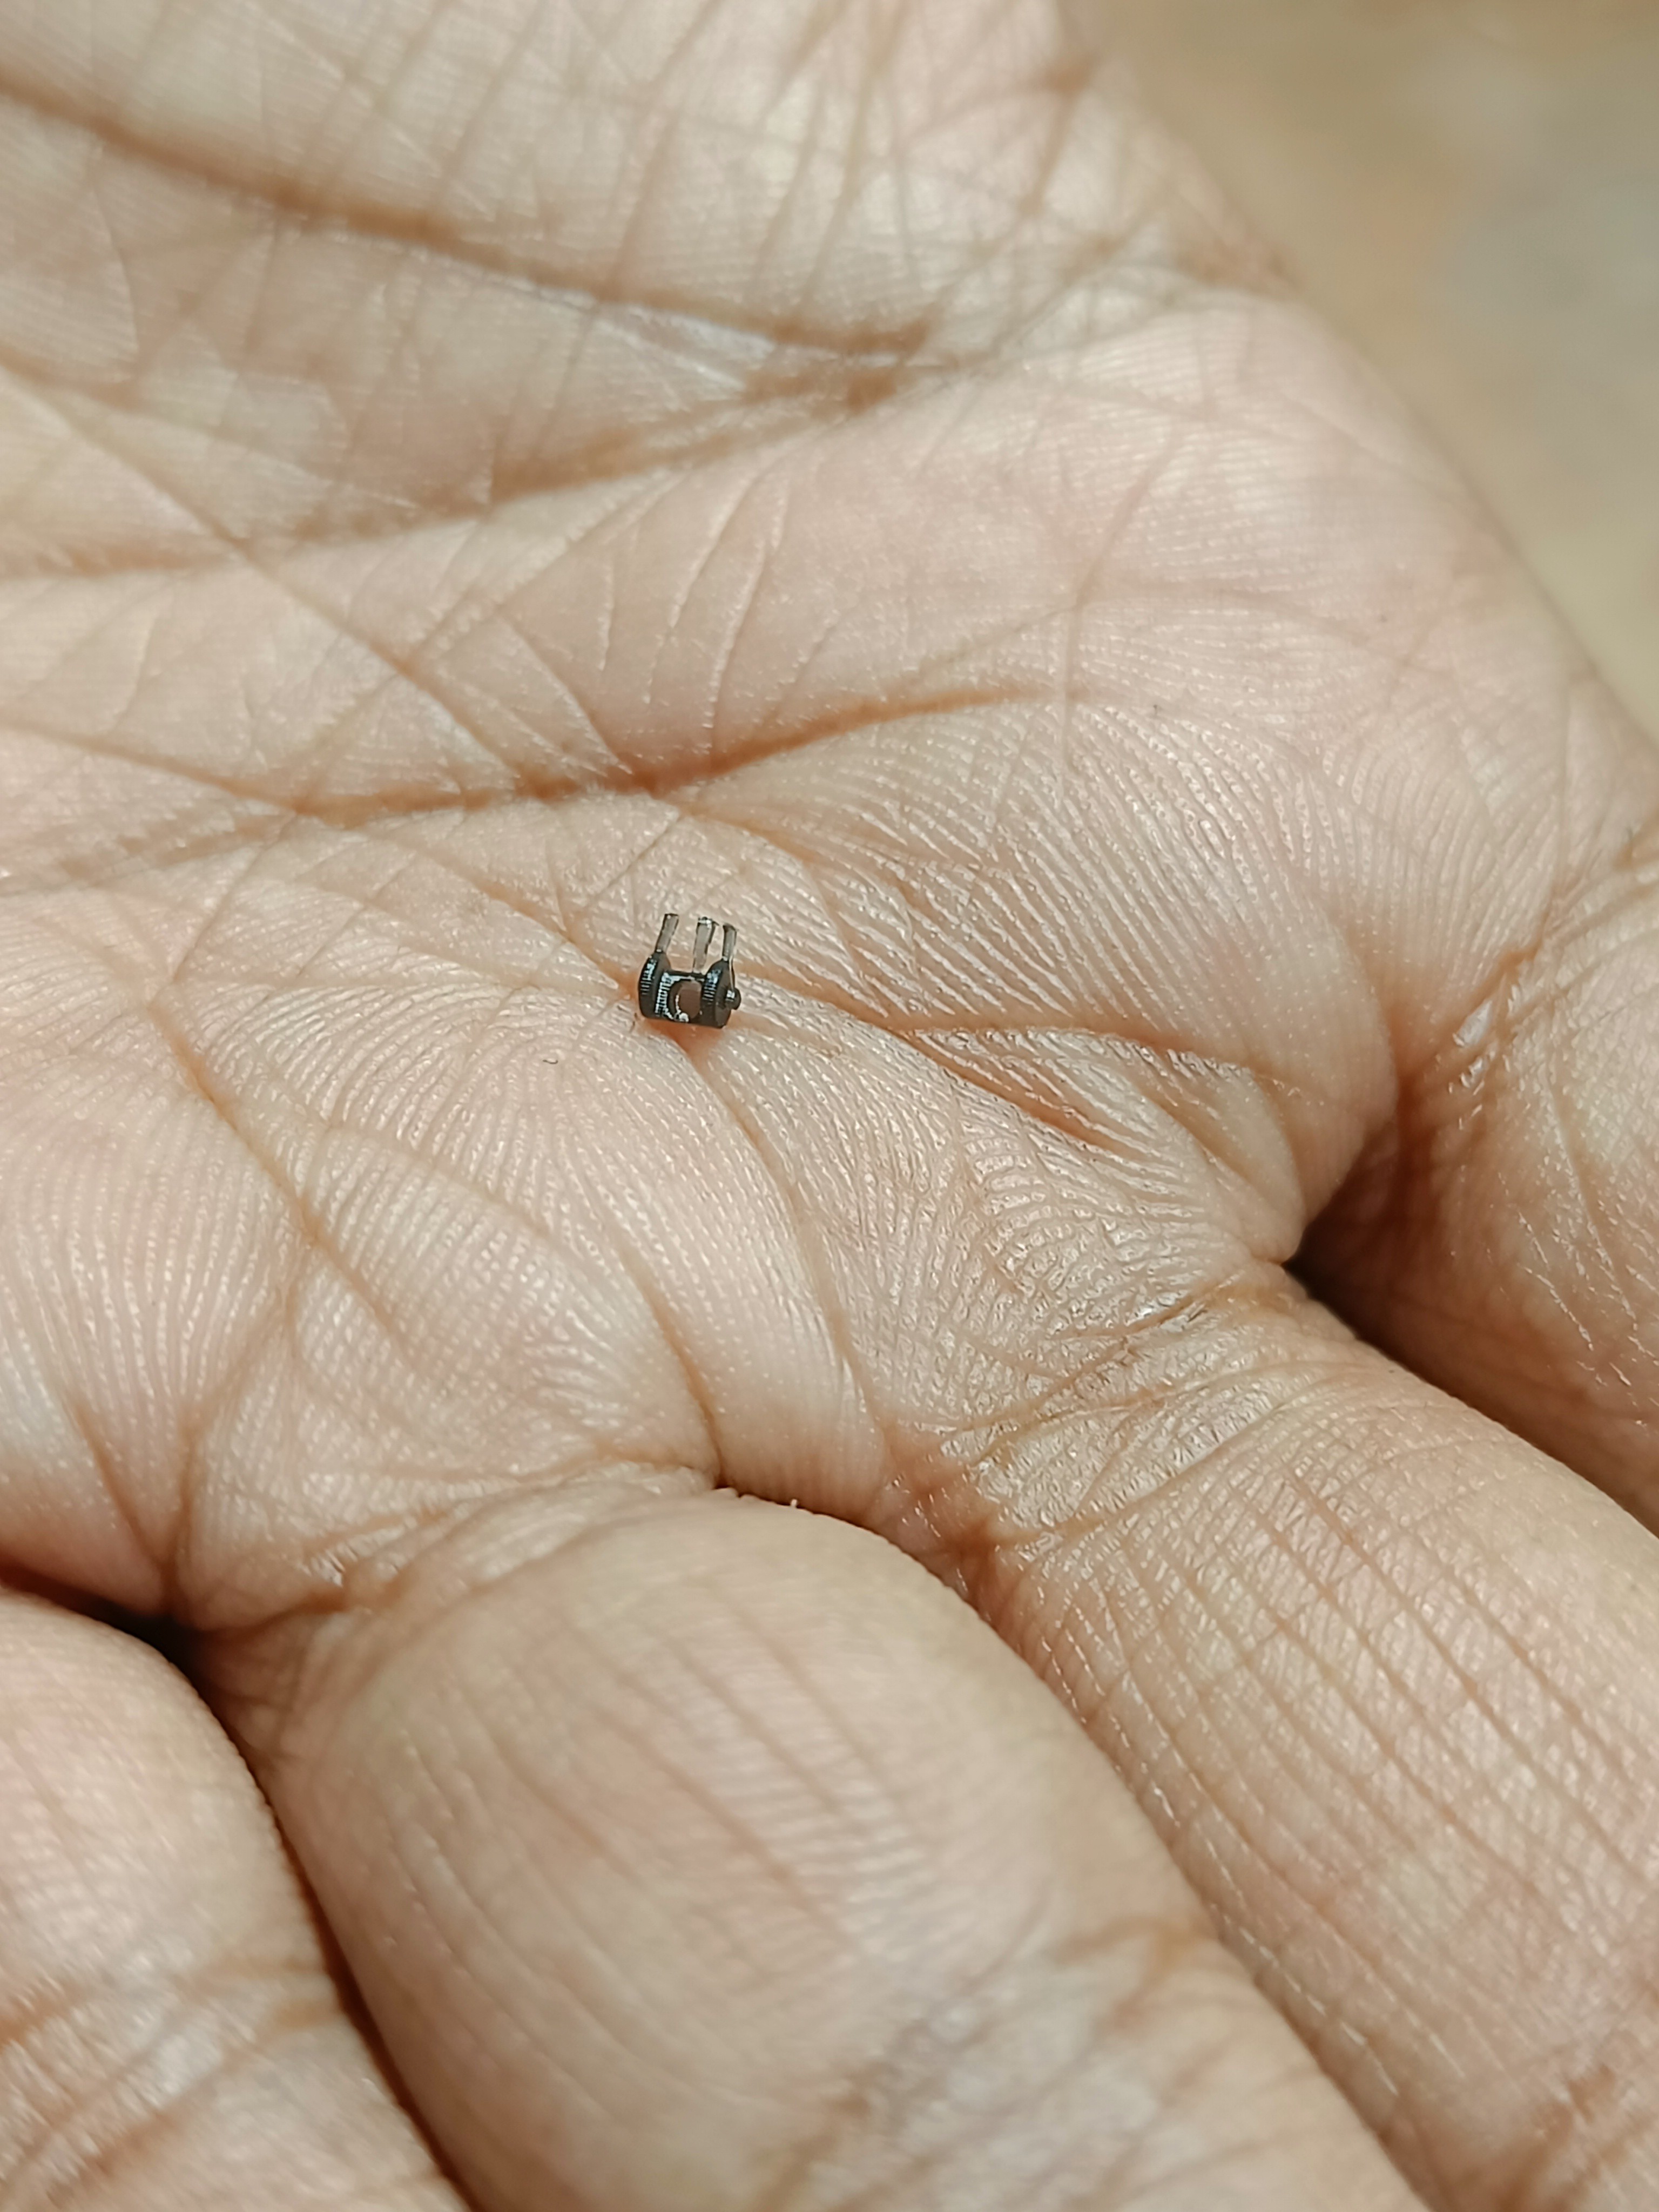
Fig 4. Cam cut out from the part tree, with nubs of support still attached.
For the Cam's, arguably the most critical part of the braille cell, choosing to put the support on the curvature was the lesser of the evils. When oriented axially with the Z axis, one of the little axils that the cam spins about used to be too loose and would require close attention to detail when removing the support and post-processing. When orienting at a 45-degree angle, other issues with the hole for the magnet or the cam riding surface would be affected.
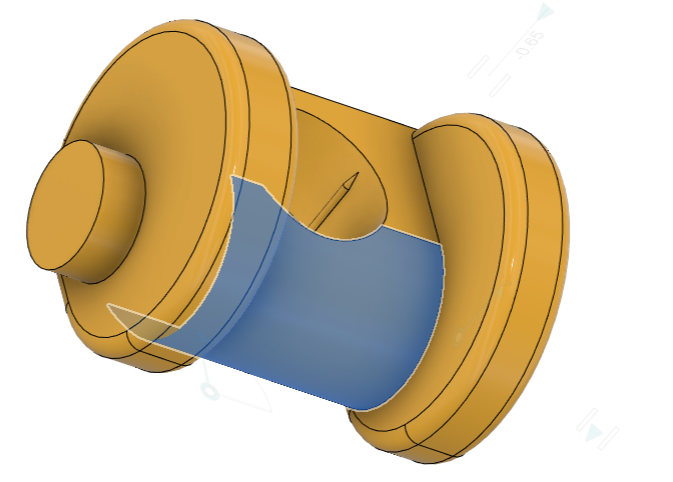
Fig 5. The final orientation of the cam chosen, to which support would attach
The highlighted portion was chosen as it is a non-critical surface compared to all the other features and details on the cam as it does not come into contact with anything, and I can be a bit more lenient while removing support material.
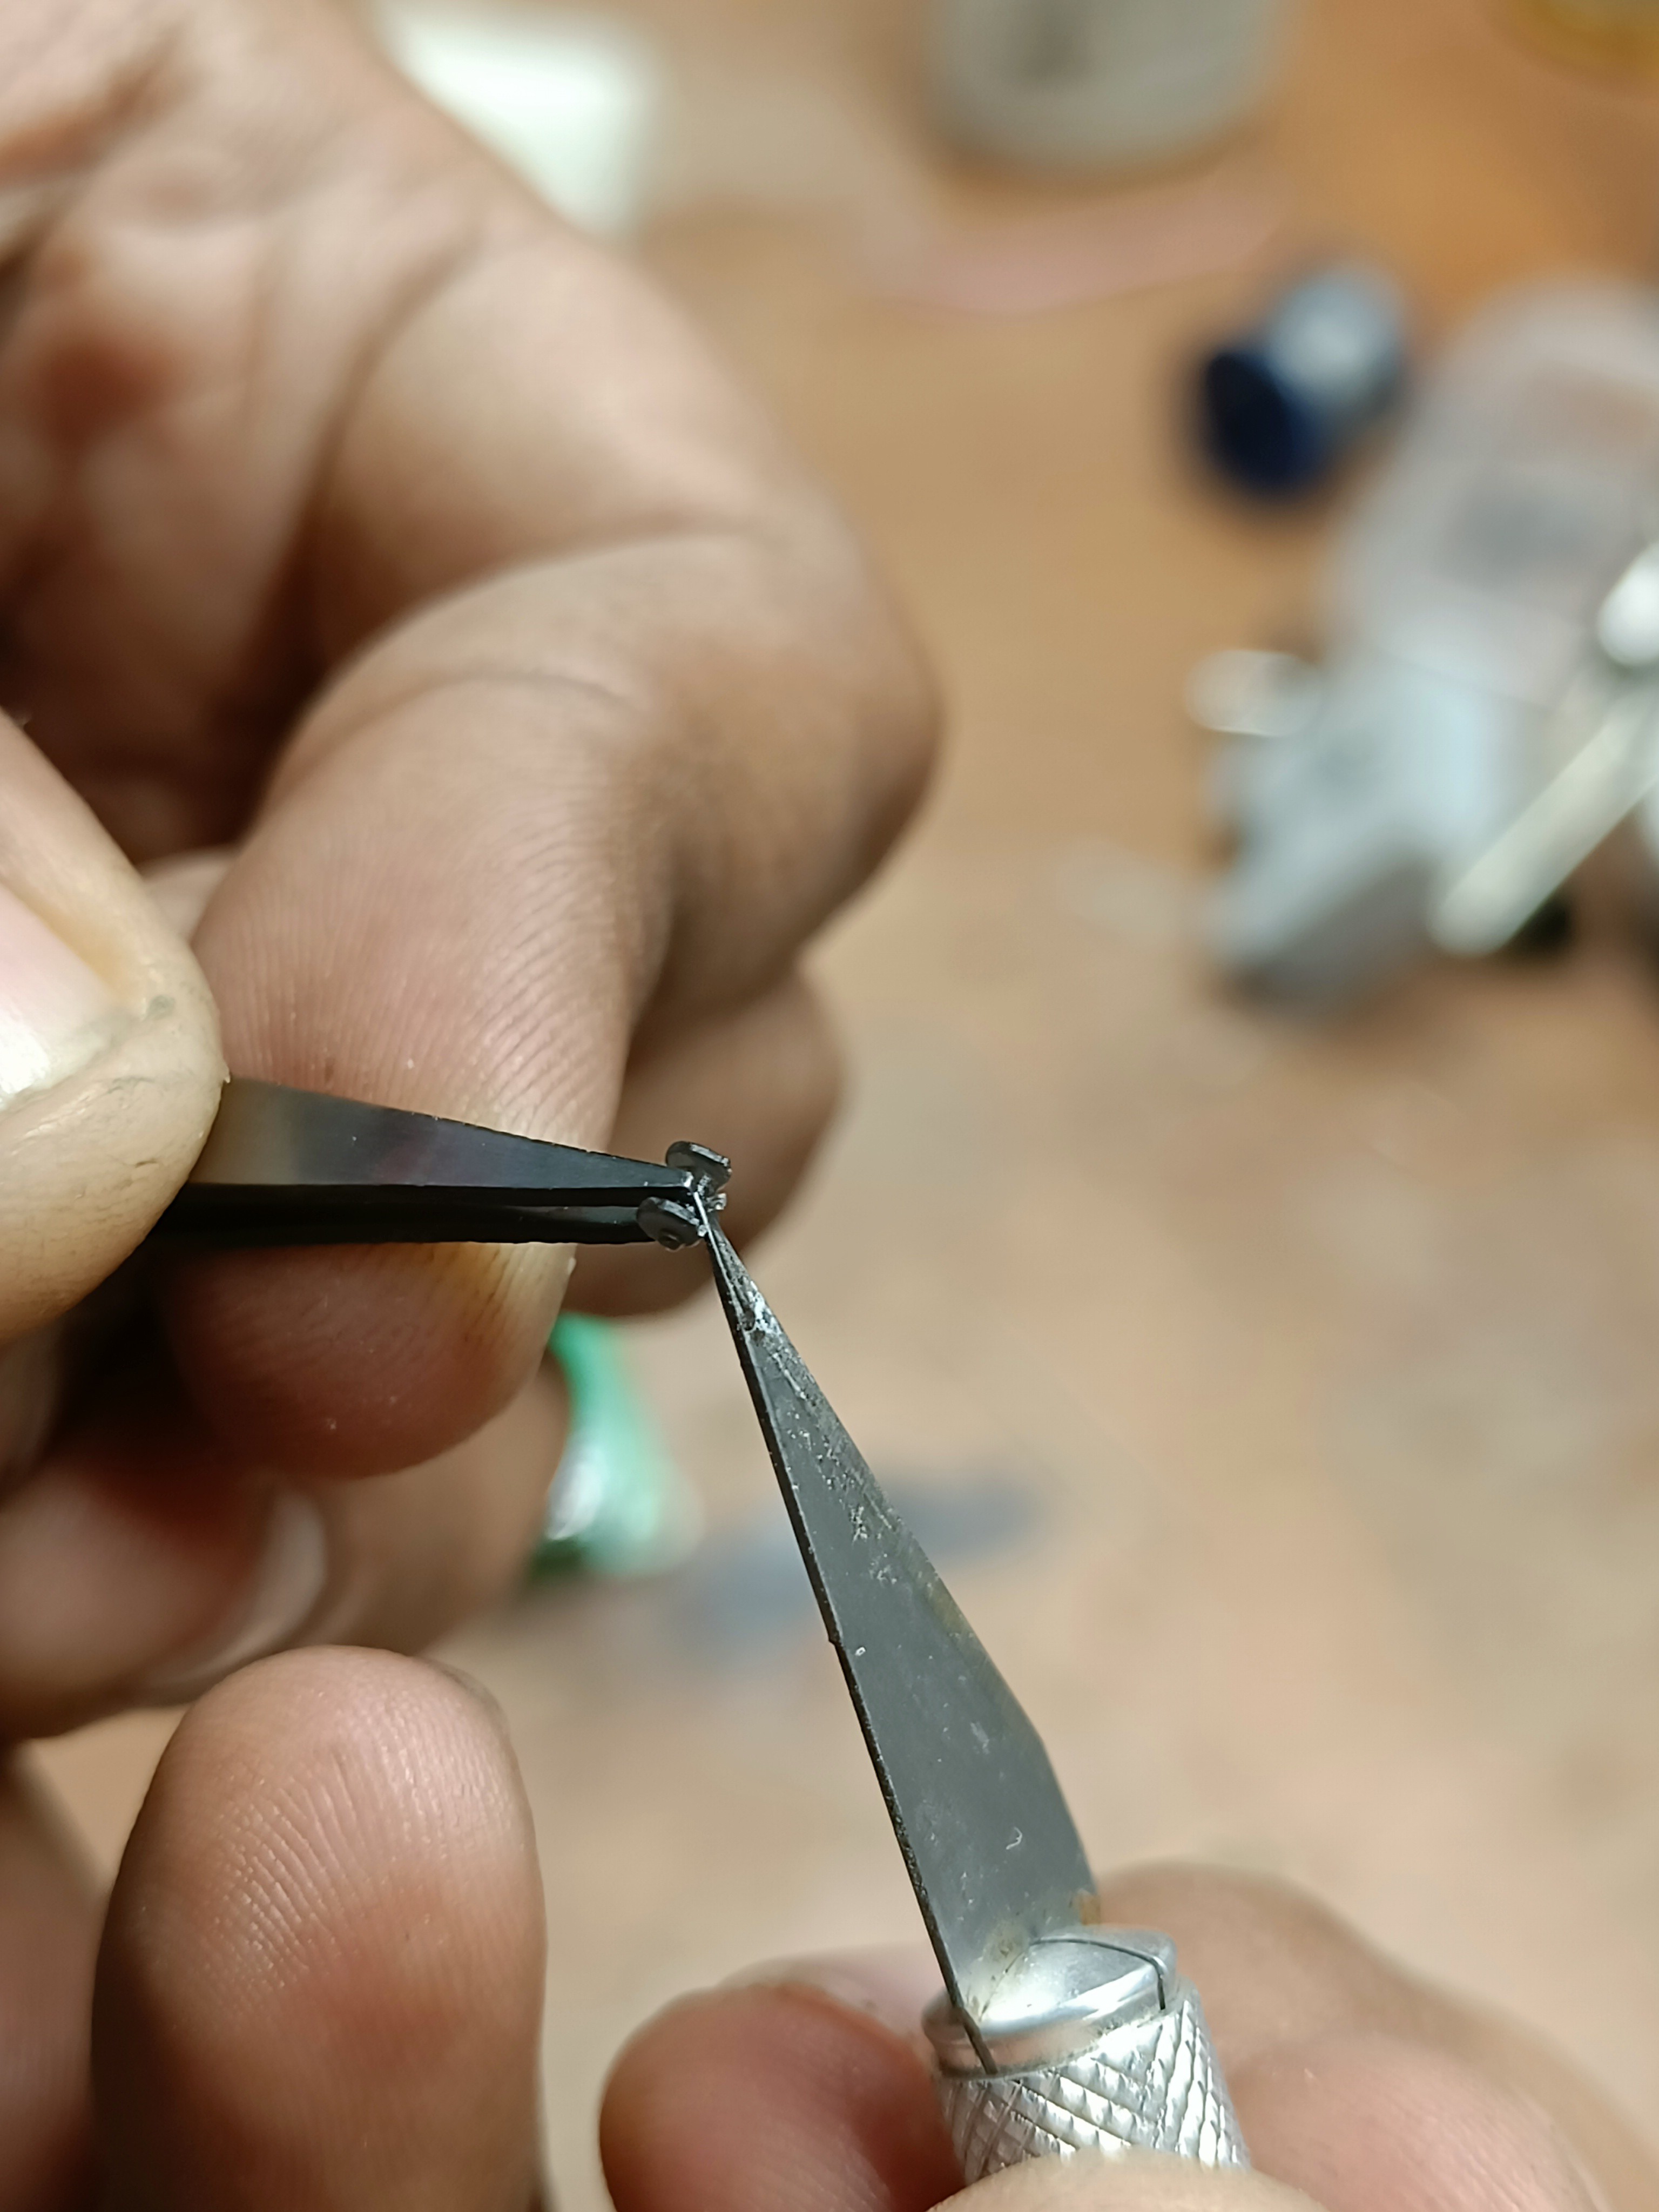
Fig 6. Cutting out the supports from the cam
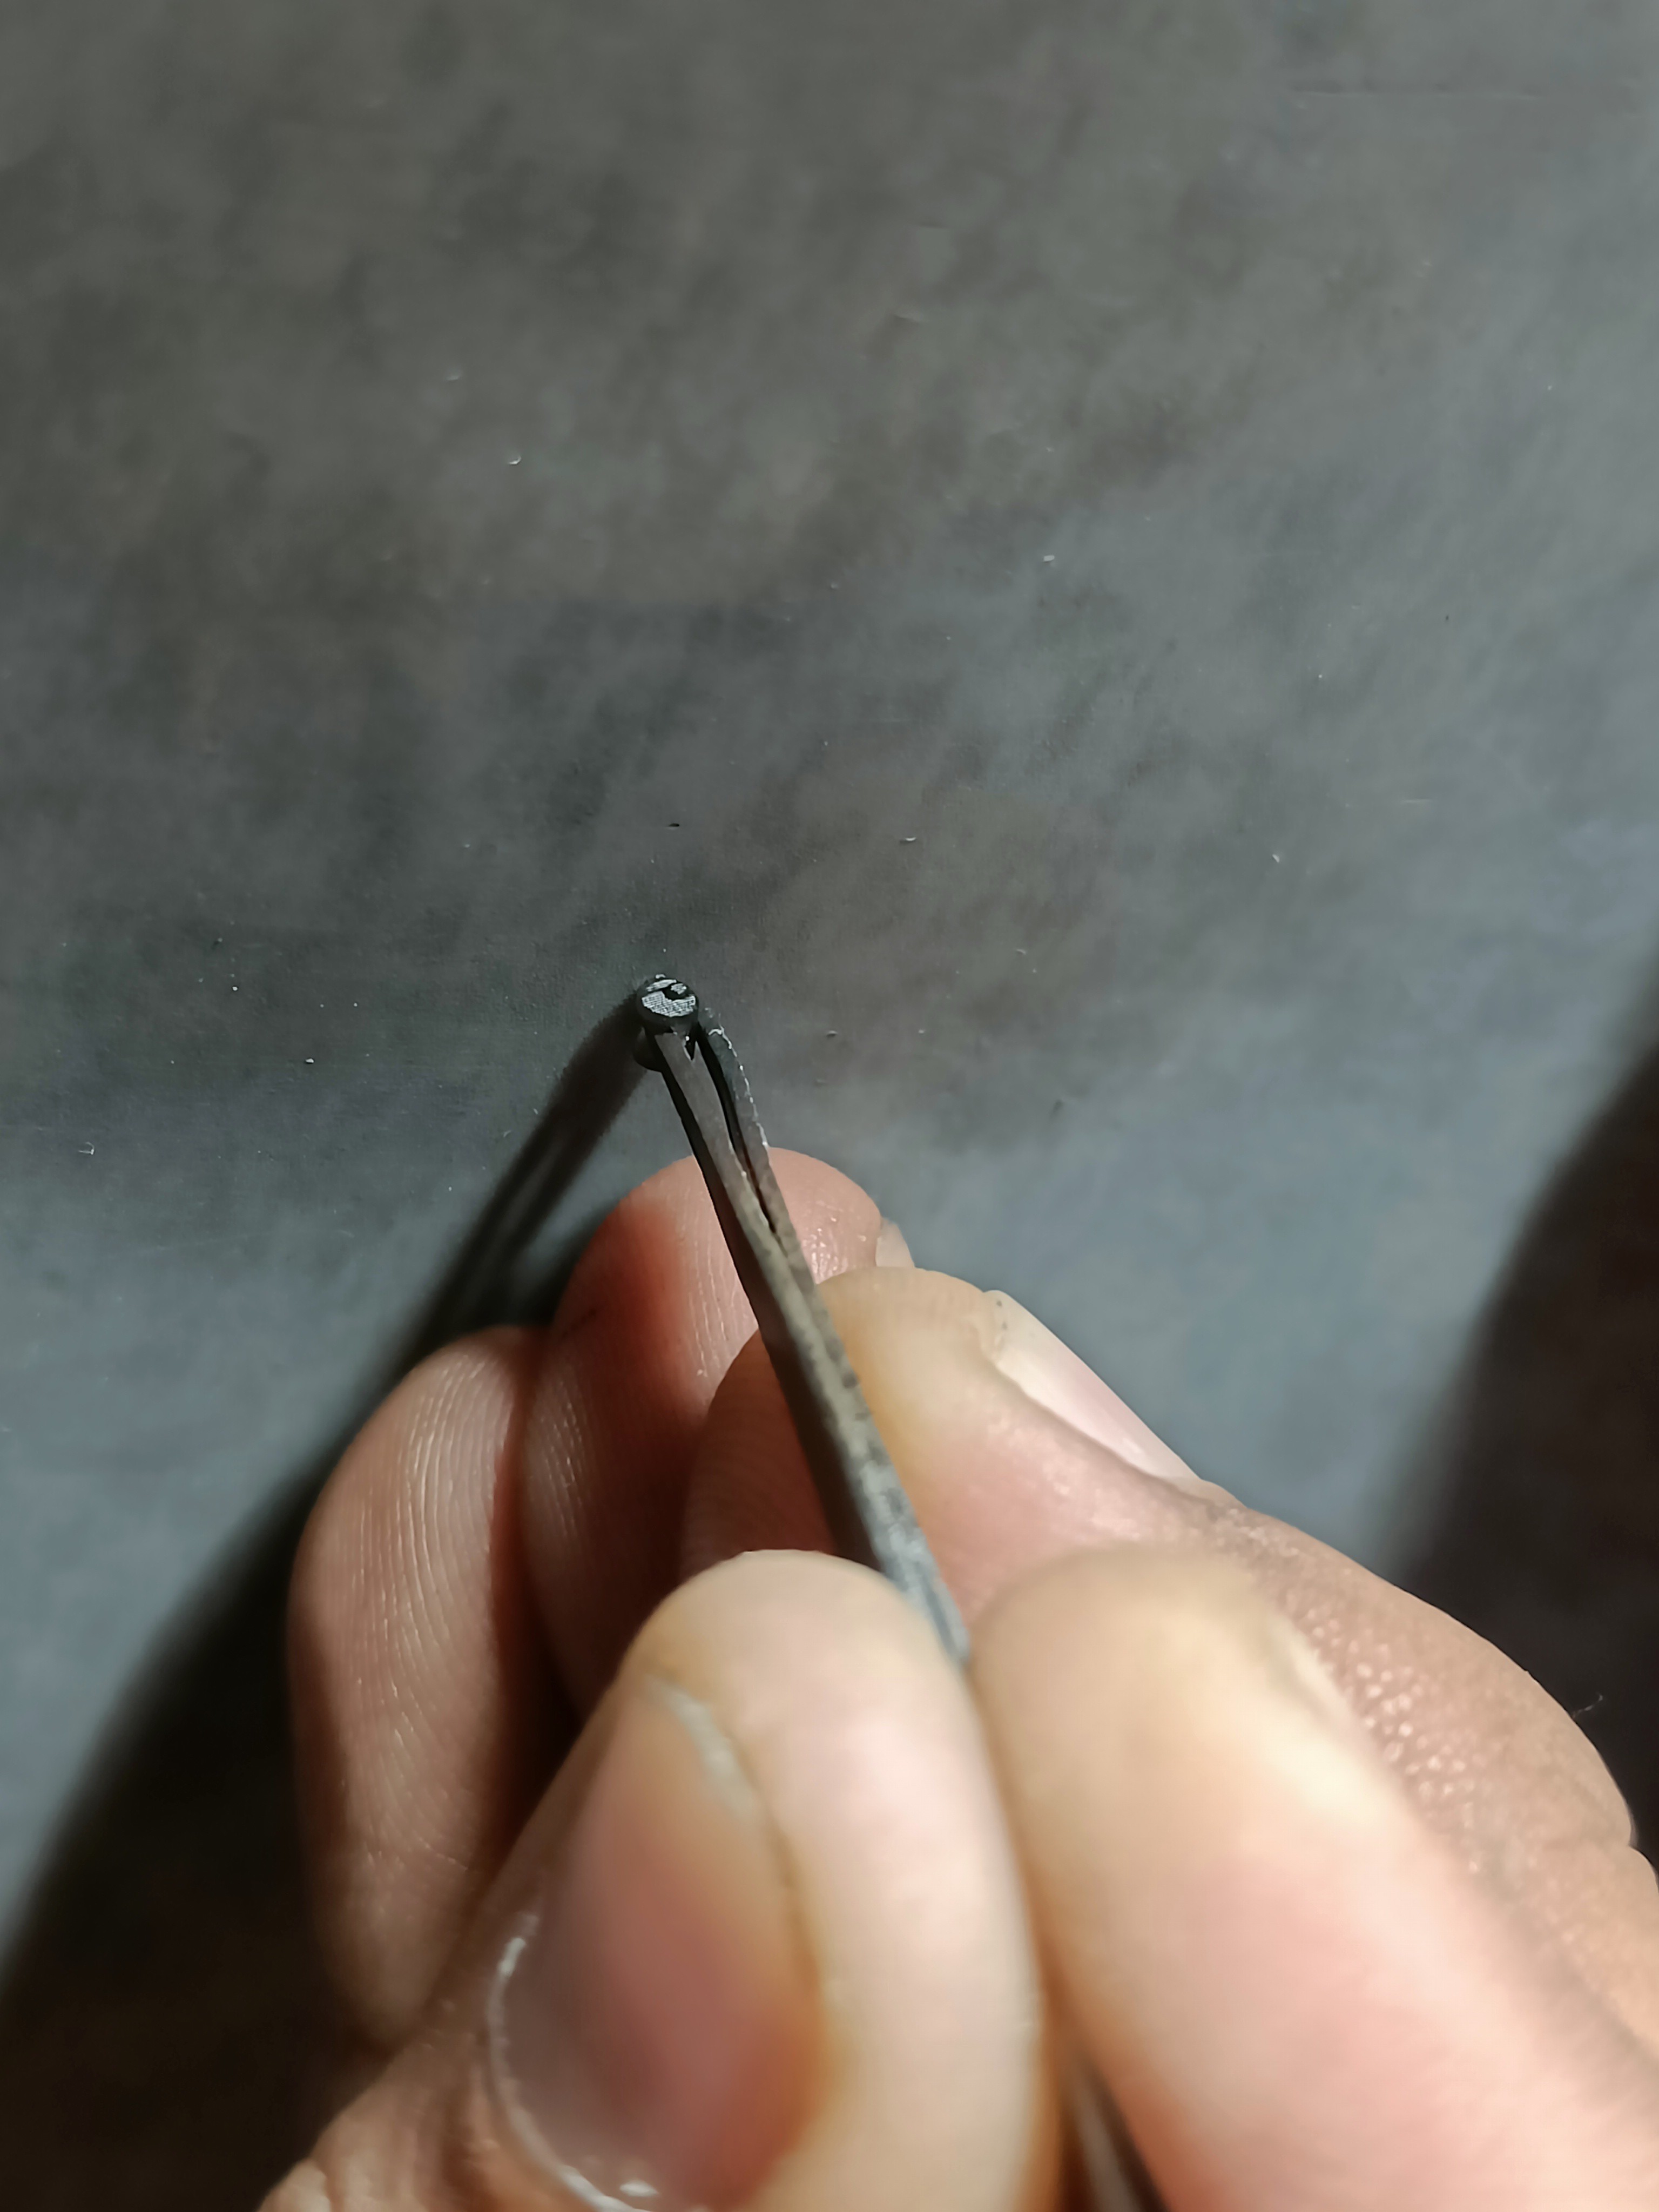
Fig 7. Sanding the surface on 220 grit sandpaper
That was just the story of the iterations I went through with the Cam, and I got fed up waiting in anticipation for 2-3 days for every iteration from the vendor to arrive for the other parts printed in the 3DS Figure 4. It seemed that I had to go through quite a few iterations to get things right and needed a faster solution.
In desperation, I figured I'd give a go at a cheap Anycubic Photon Ultra DLP 3D printer a friend of mine had, just out of curiosity, and I was blown away by the output.
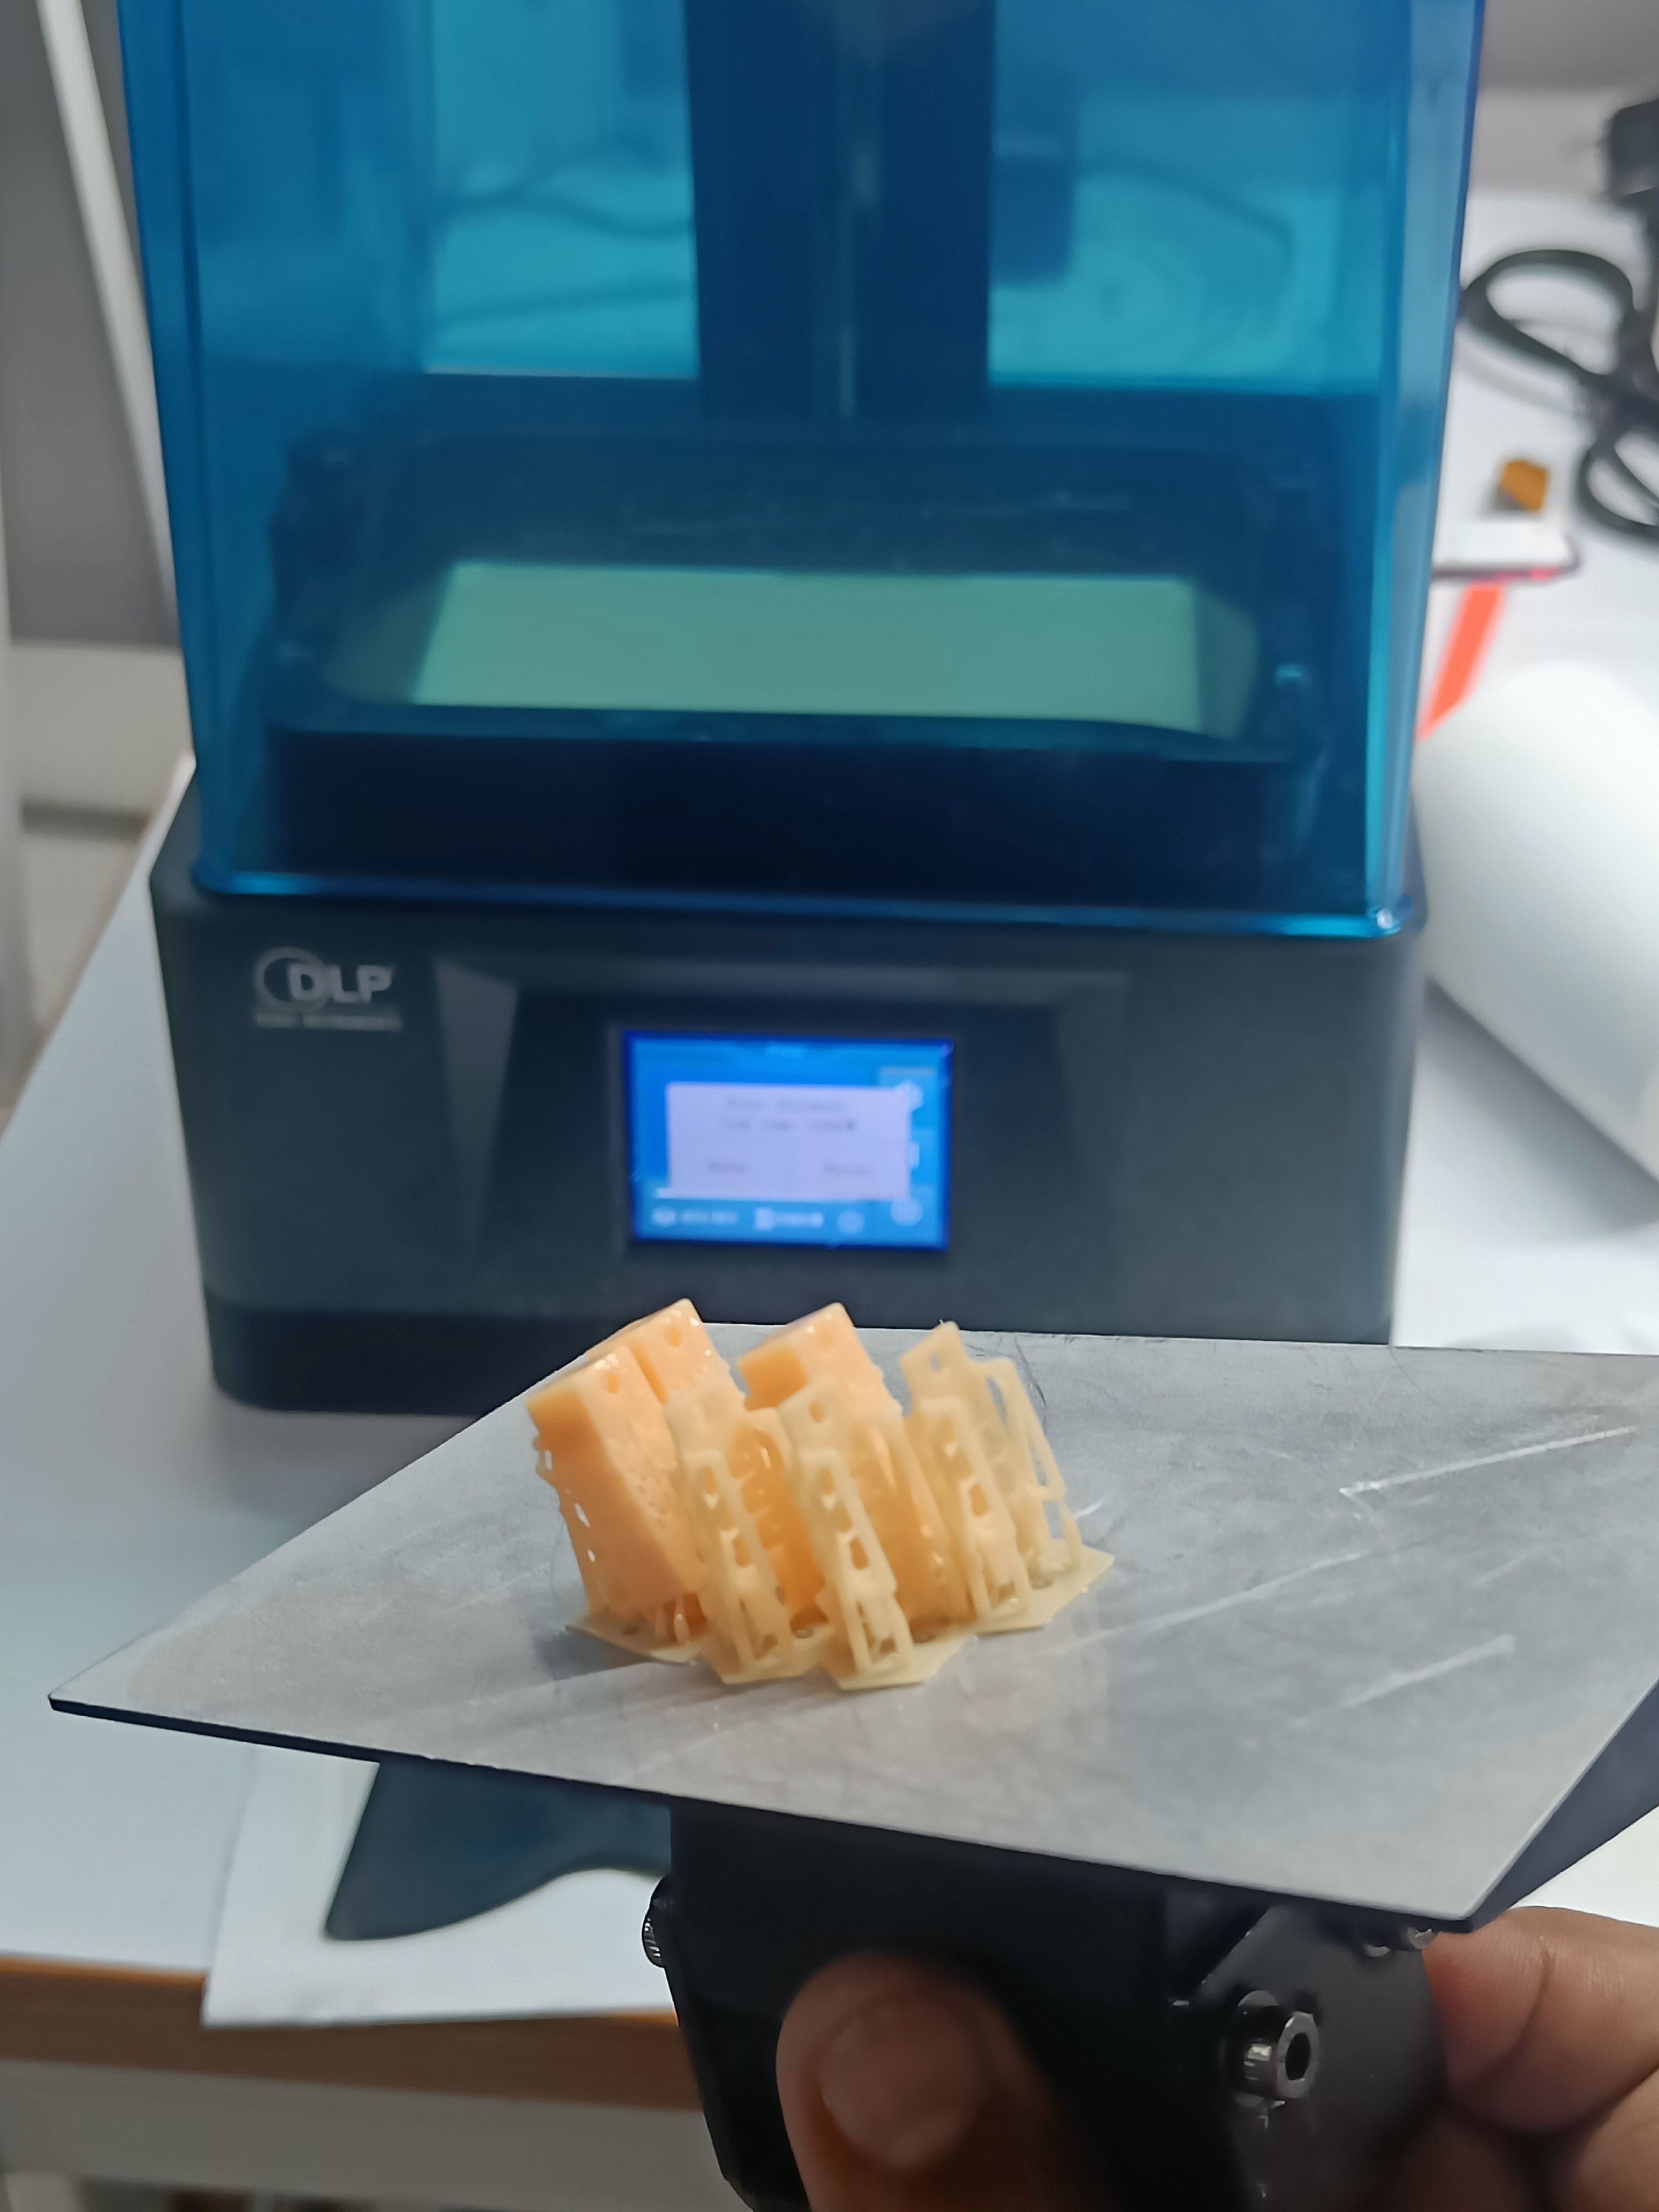
Fig 8. First print from the Anycubic Photon Ultra
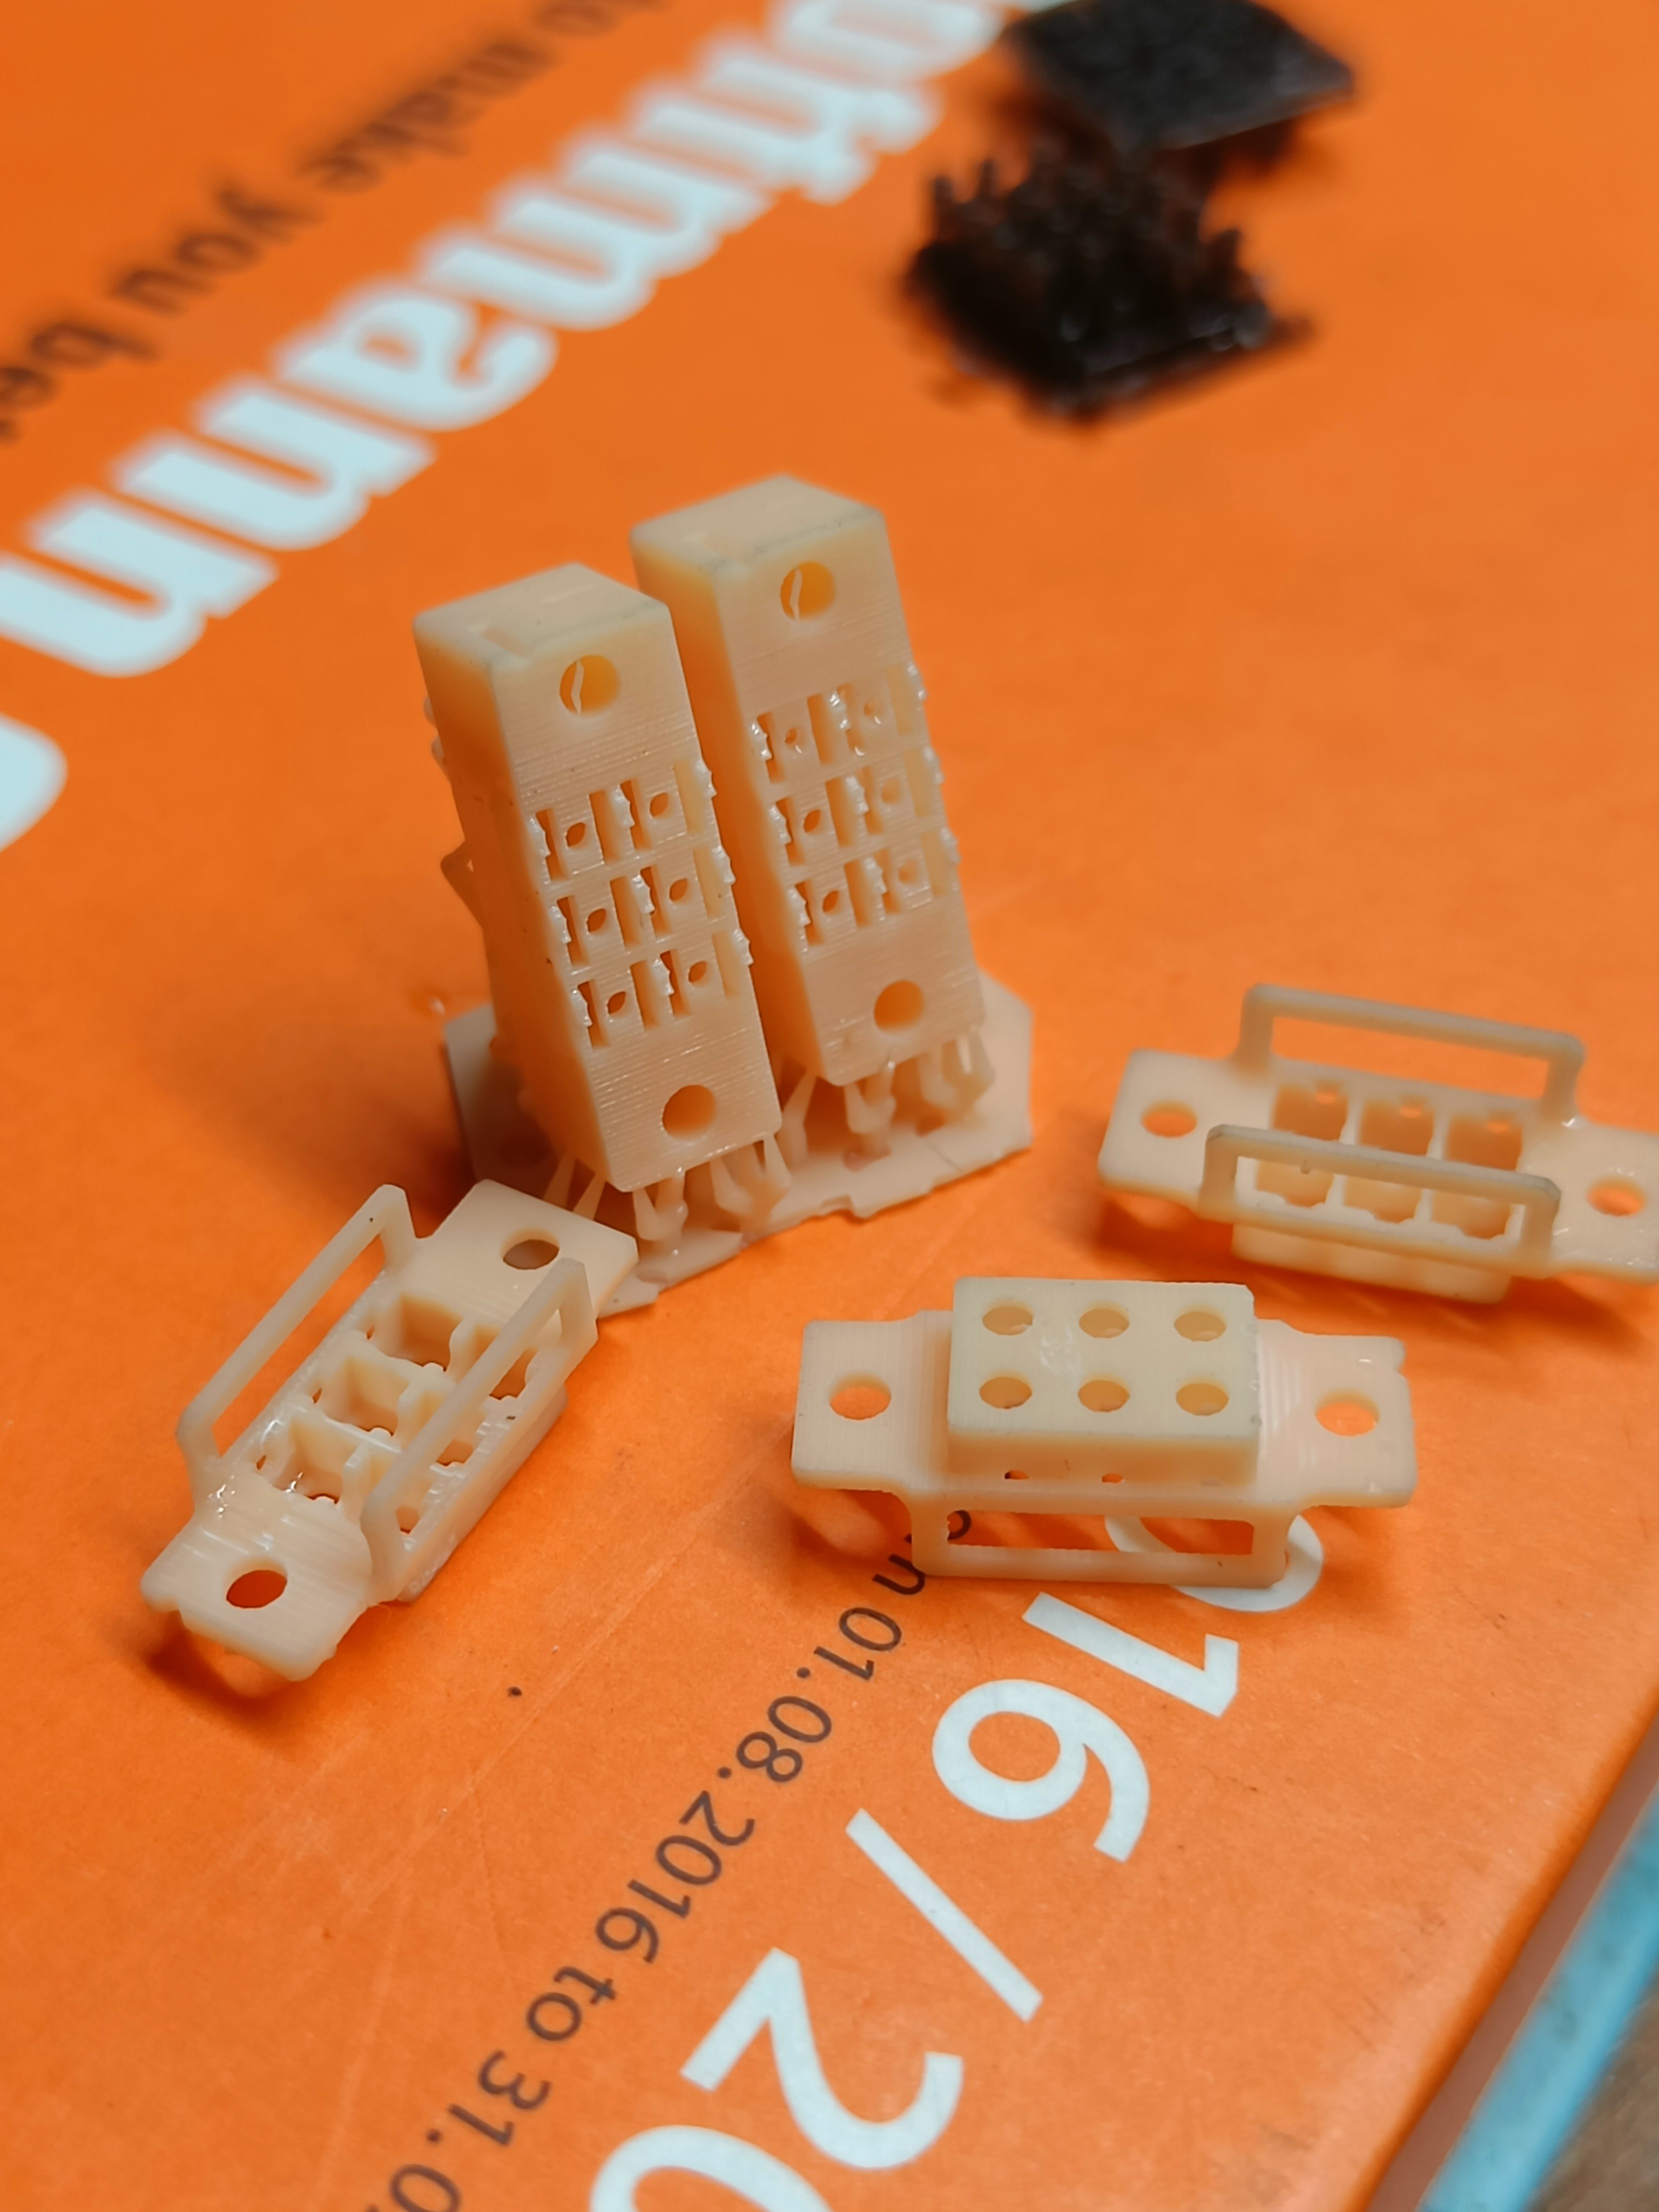
Fig 9. Close-up of parts printed in Anycubic Craftsman Resin
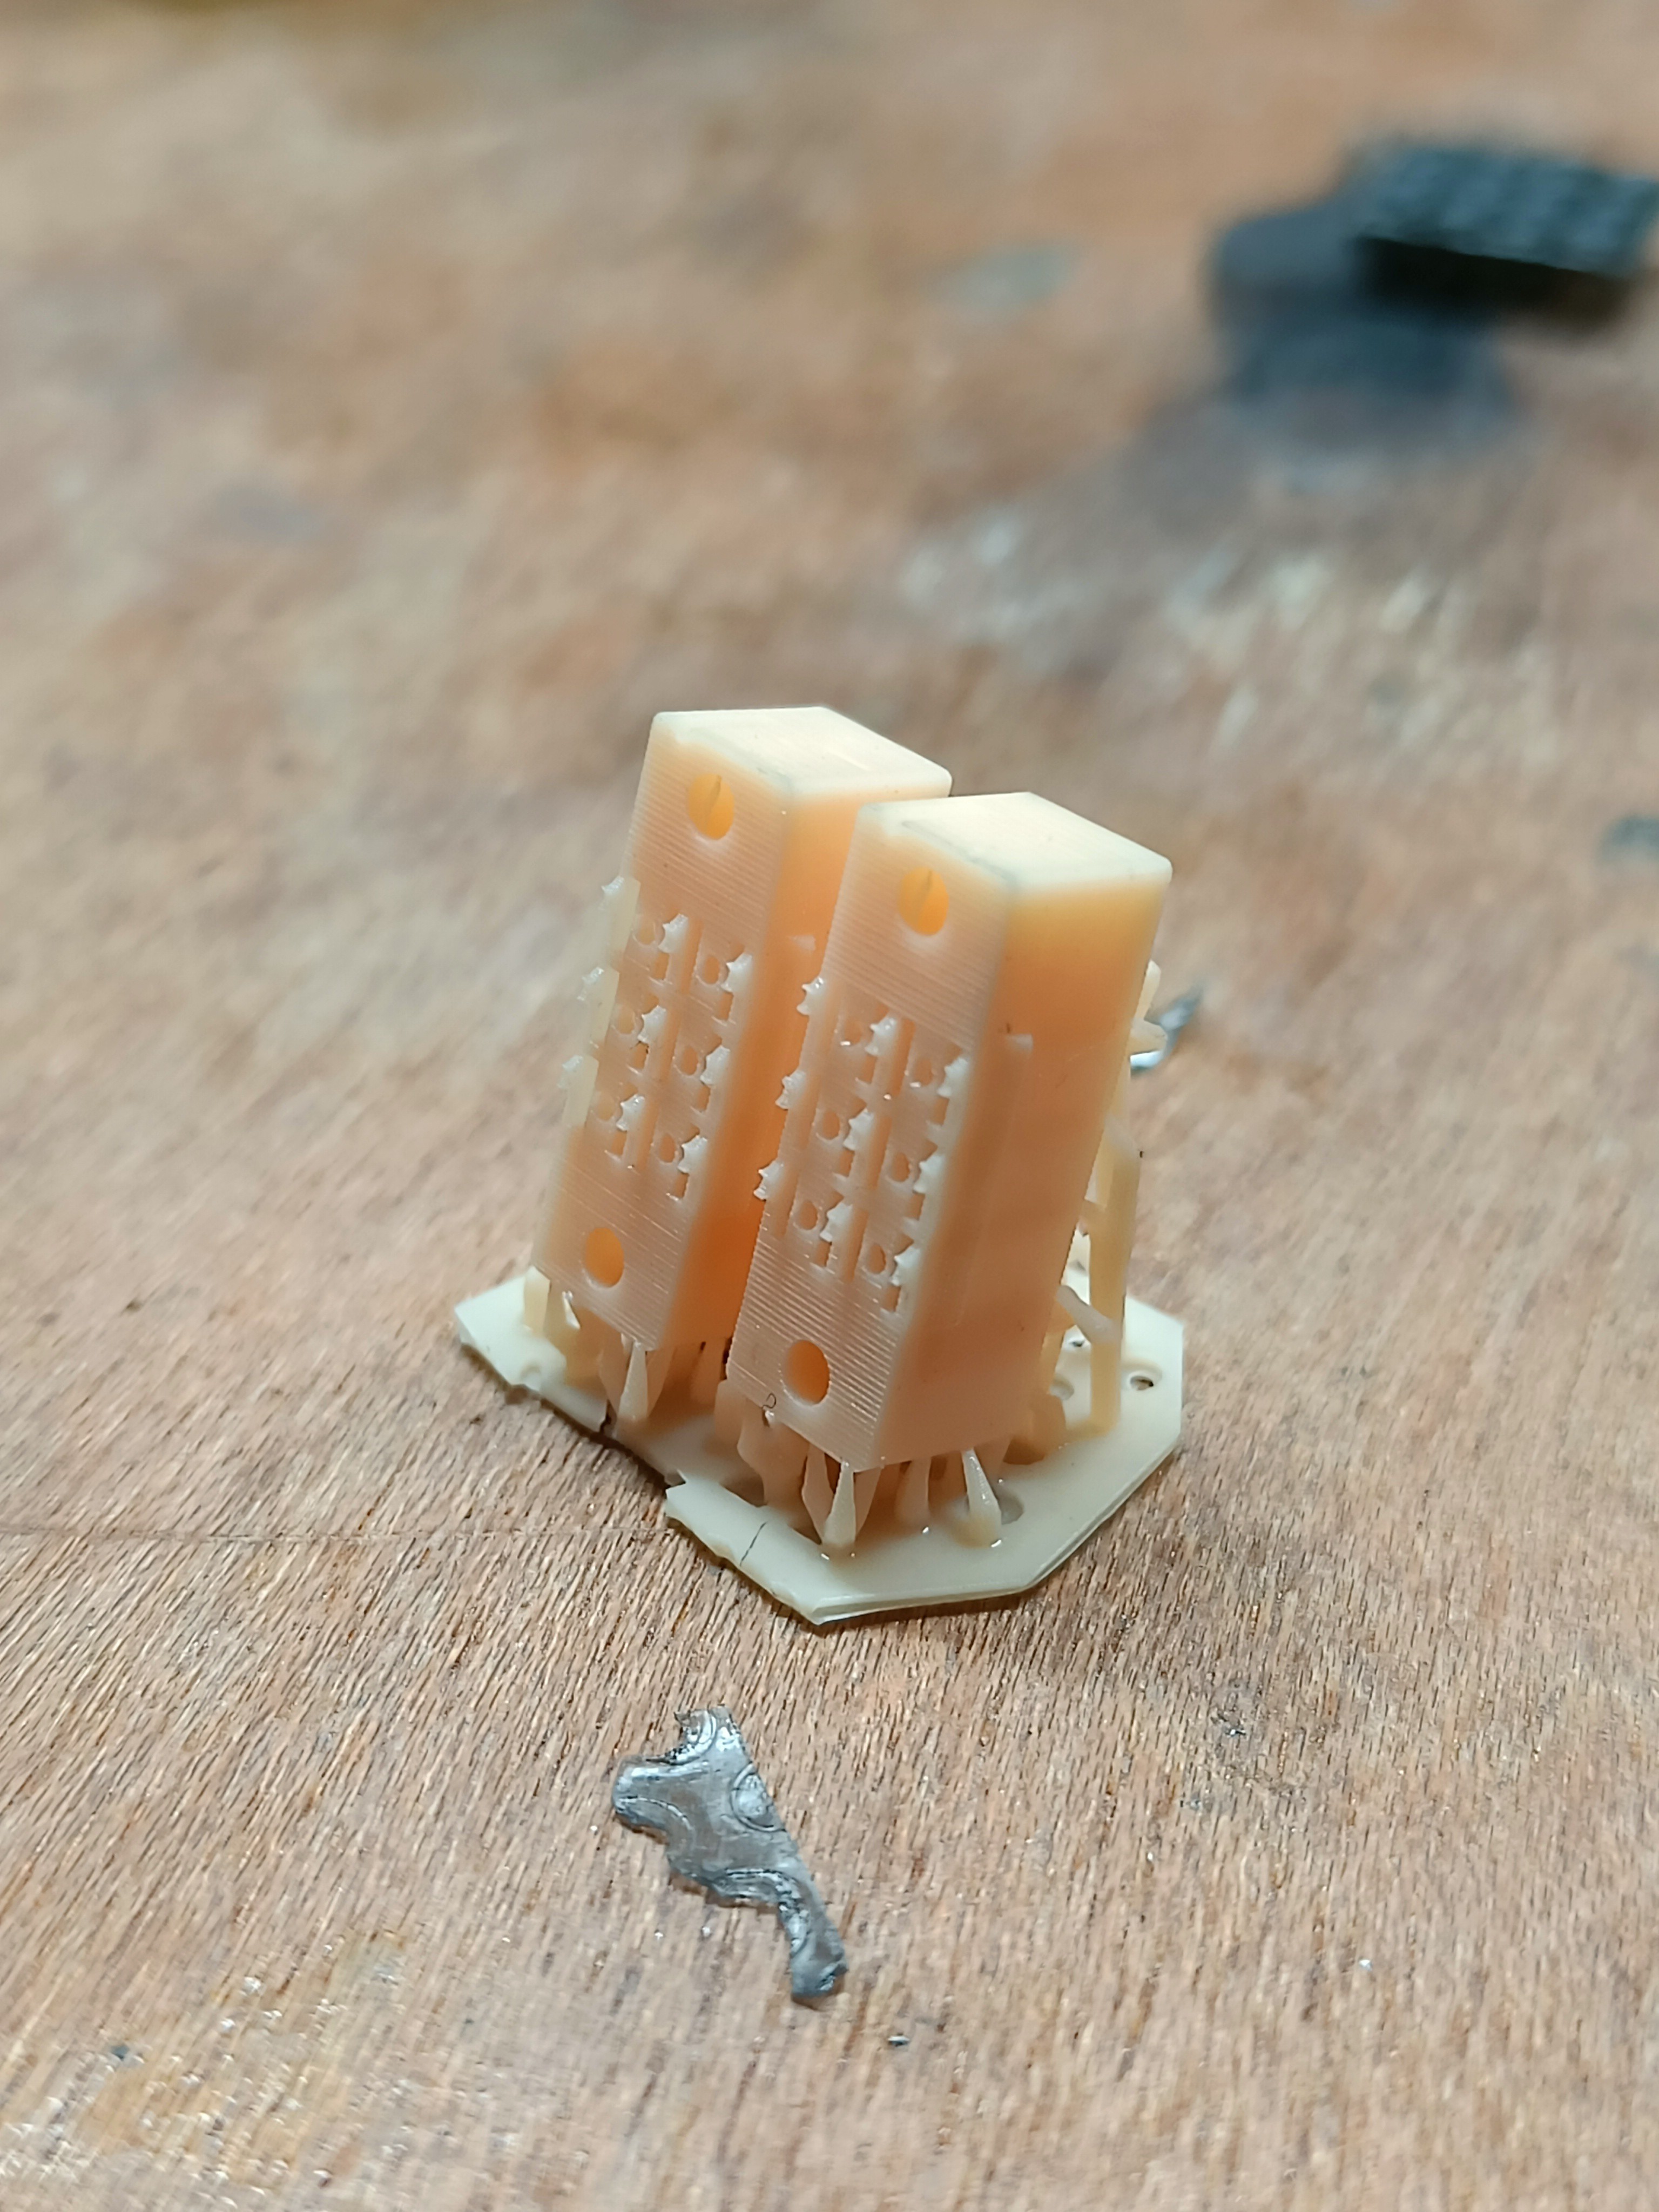 Fig 10. Close-up of some of the fine details
The prints came out as good as if not better than the 3D Systems figure that costs more than 20 times the amount that the Photon ultra costs. I am extremely impressed.
This means that the braille cells can be made at low cost and using affordable DLP 3D printers like the ones from Anycubic. I'm still unsure about the details that an MSLA 3d printer would produce, but the DLP ones are a big A-OK for me.
Discussions
Become a Hackaday.io Member
Create an account to leave a comment. Already have an account? Log In.