Starting my Interak build with the 'Graphics Card' (to use more modern terminology) seems wise. It will allow me to see what the other system cards are doing when I get to them, and it has the bonus of being standalone. A VDU-K card should display a screenful of random characters even with no other cards present in the system.
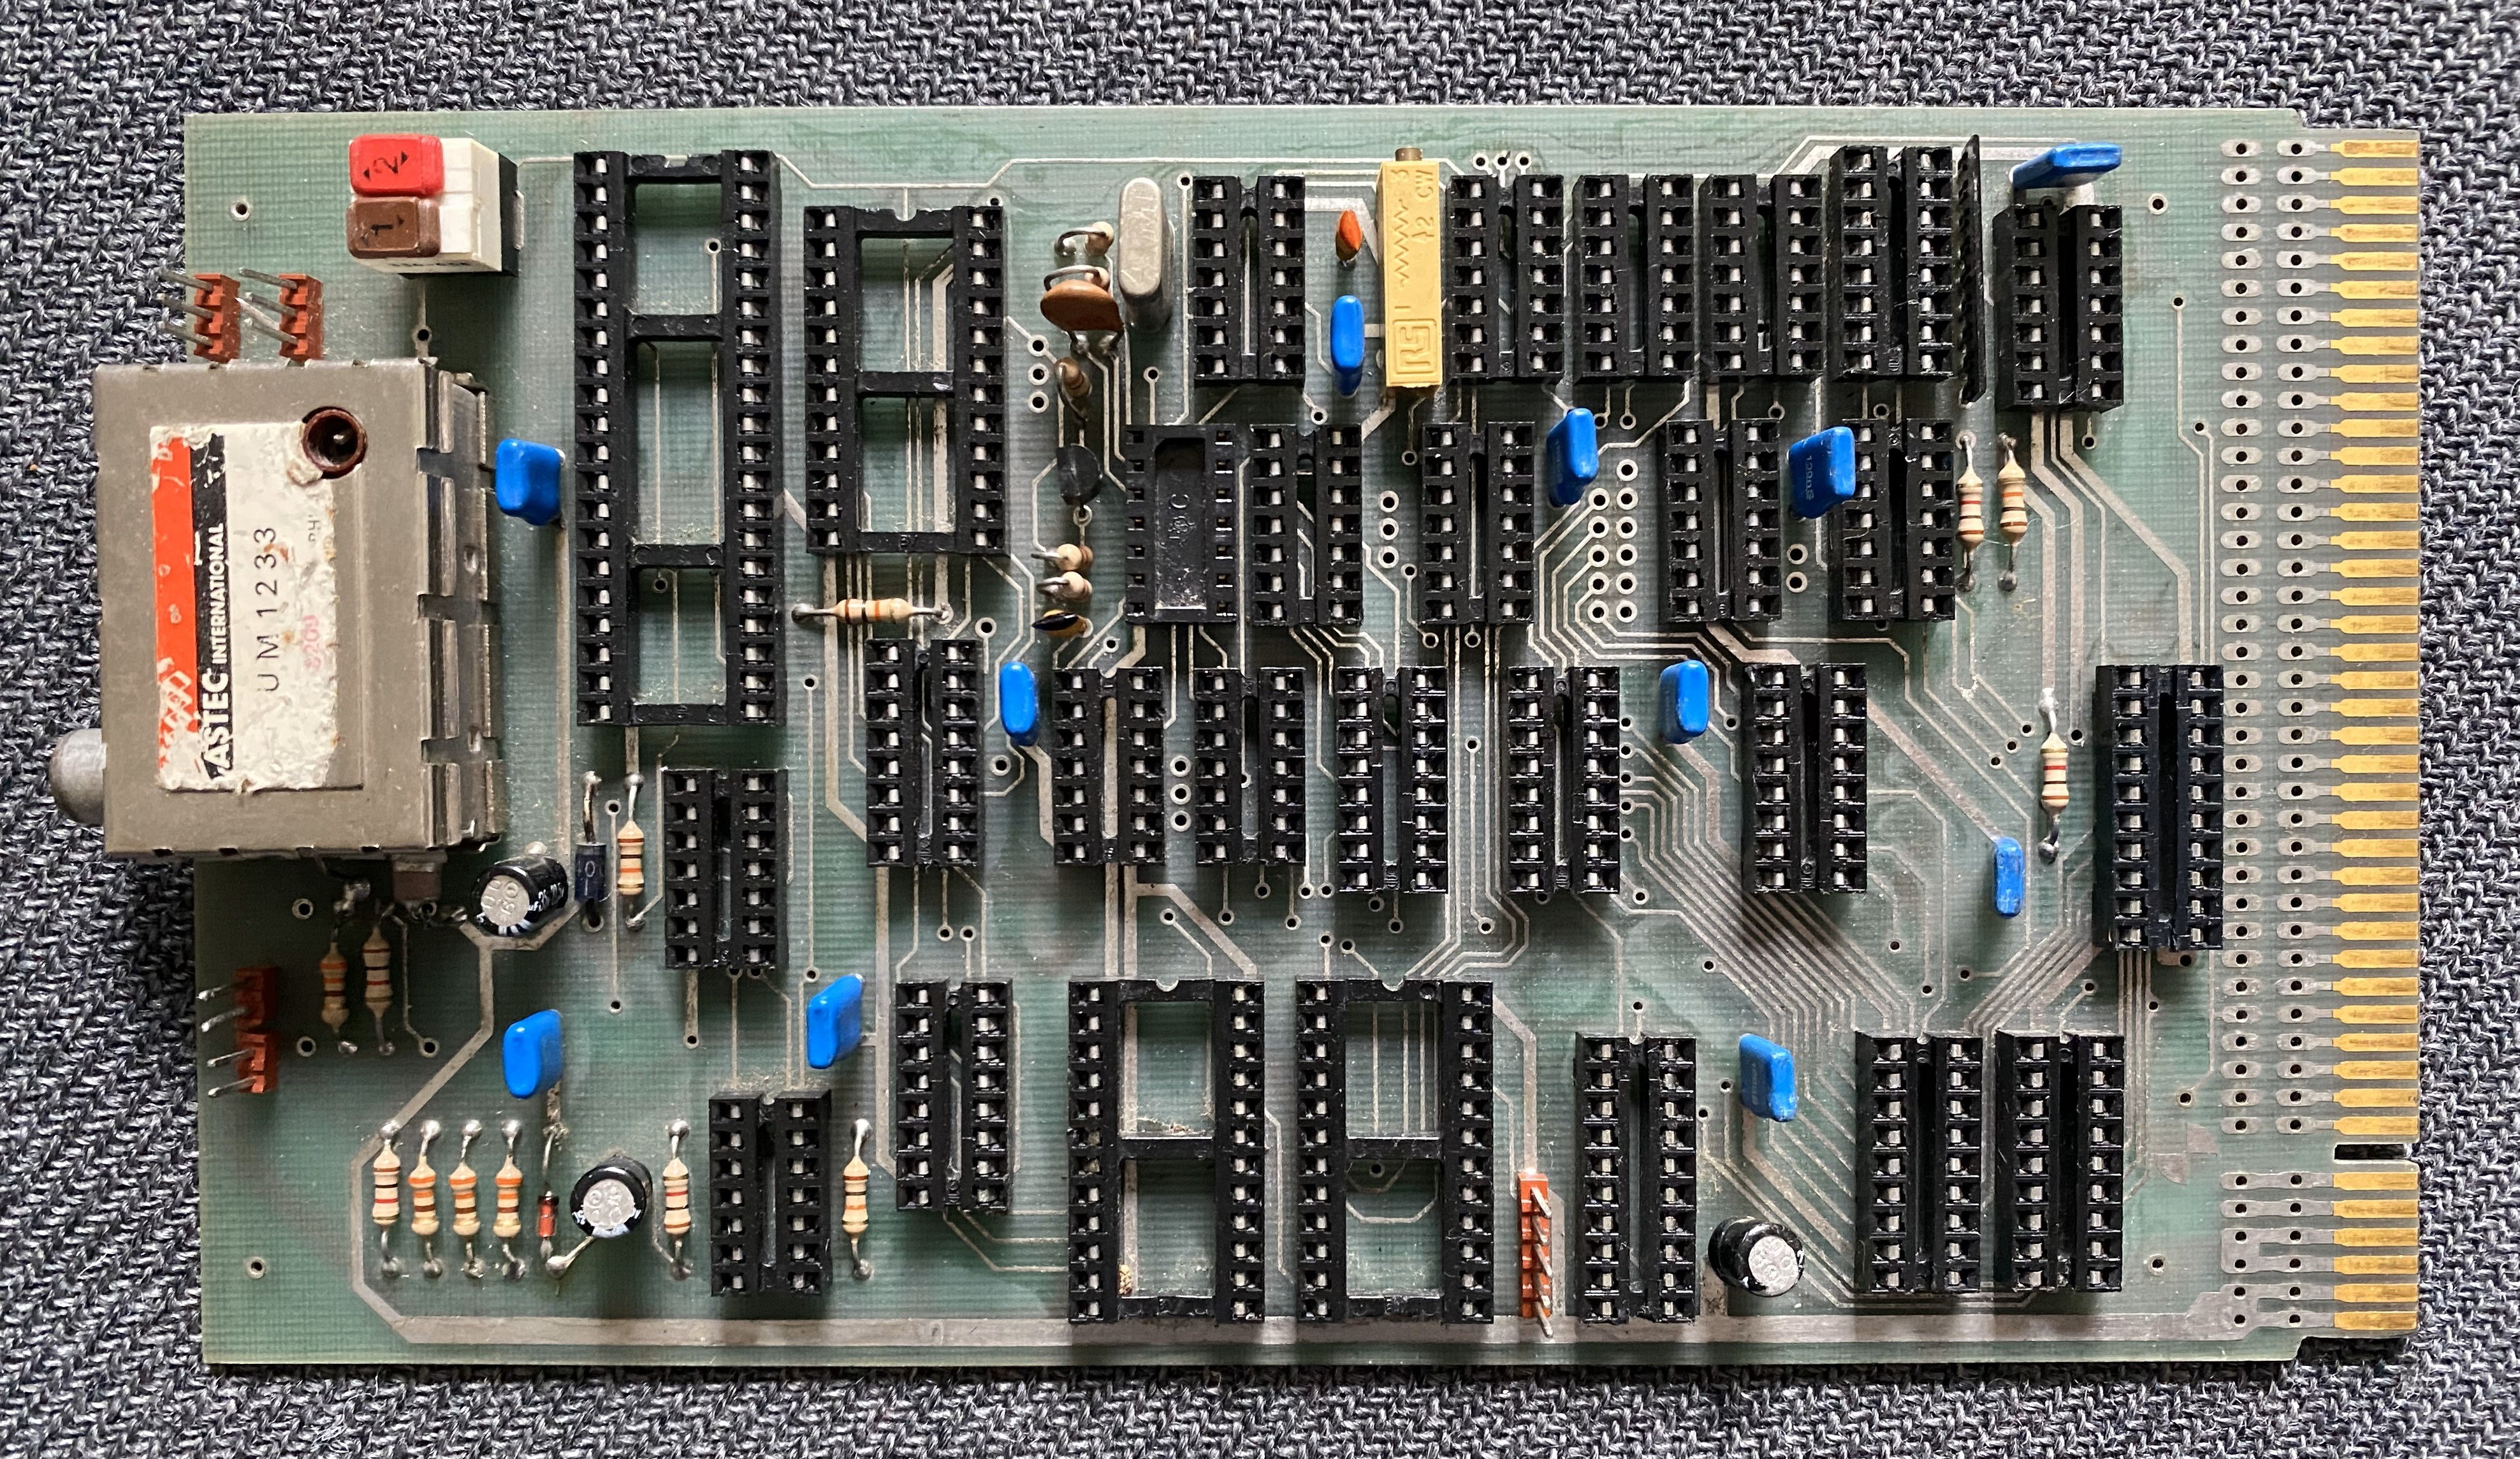
Sadly, my VDU-K had been stripped of all ICs, and they're not as readily available as they once were.
Trawling a few component suppliers (and eBay) turned them all up though. The timing generator and character set EPROMs were going to be the most troublesome - I was expecting to have to program those - but another request into the Interak community revealed someone with spare EPROMs and the ability to program them. They're a helpful crowd!
My first check was just to power up the bare board, check the supplies were ok and that no electrolytics went bang. I'd always recommend replacing vintage electrolytic capacitors, but in this case I've left the originals in place, for now anyway.
Ok, time to populate the board.
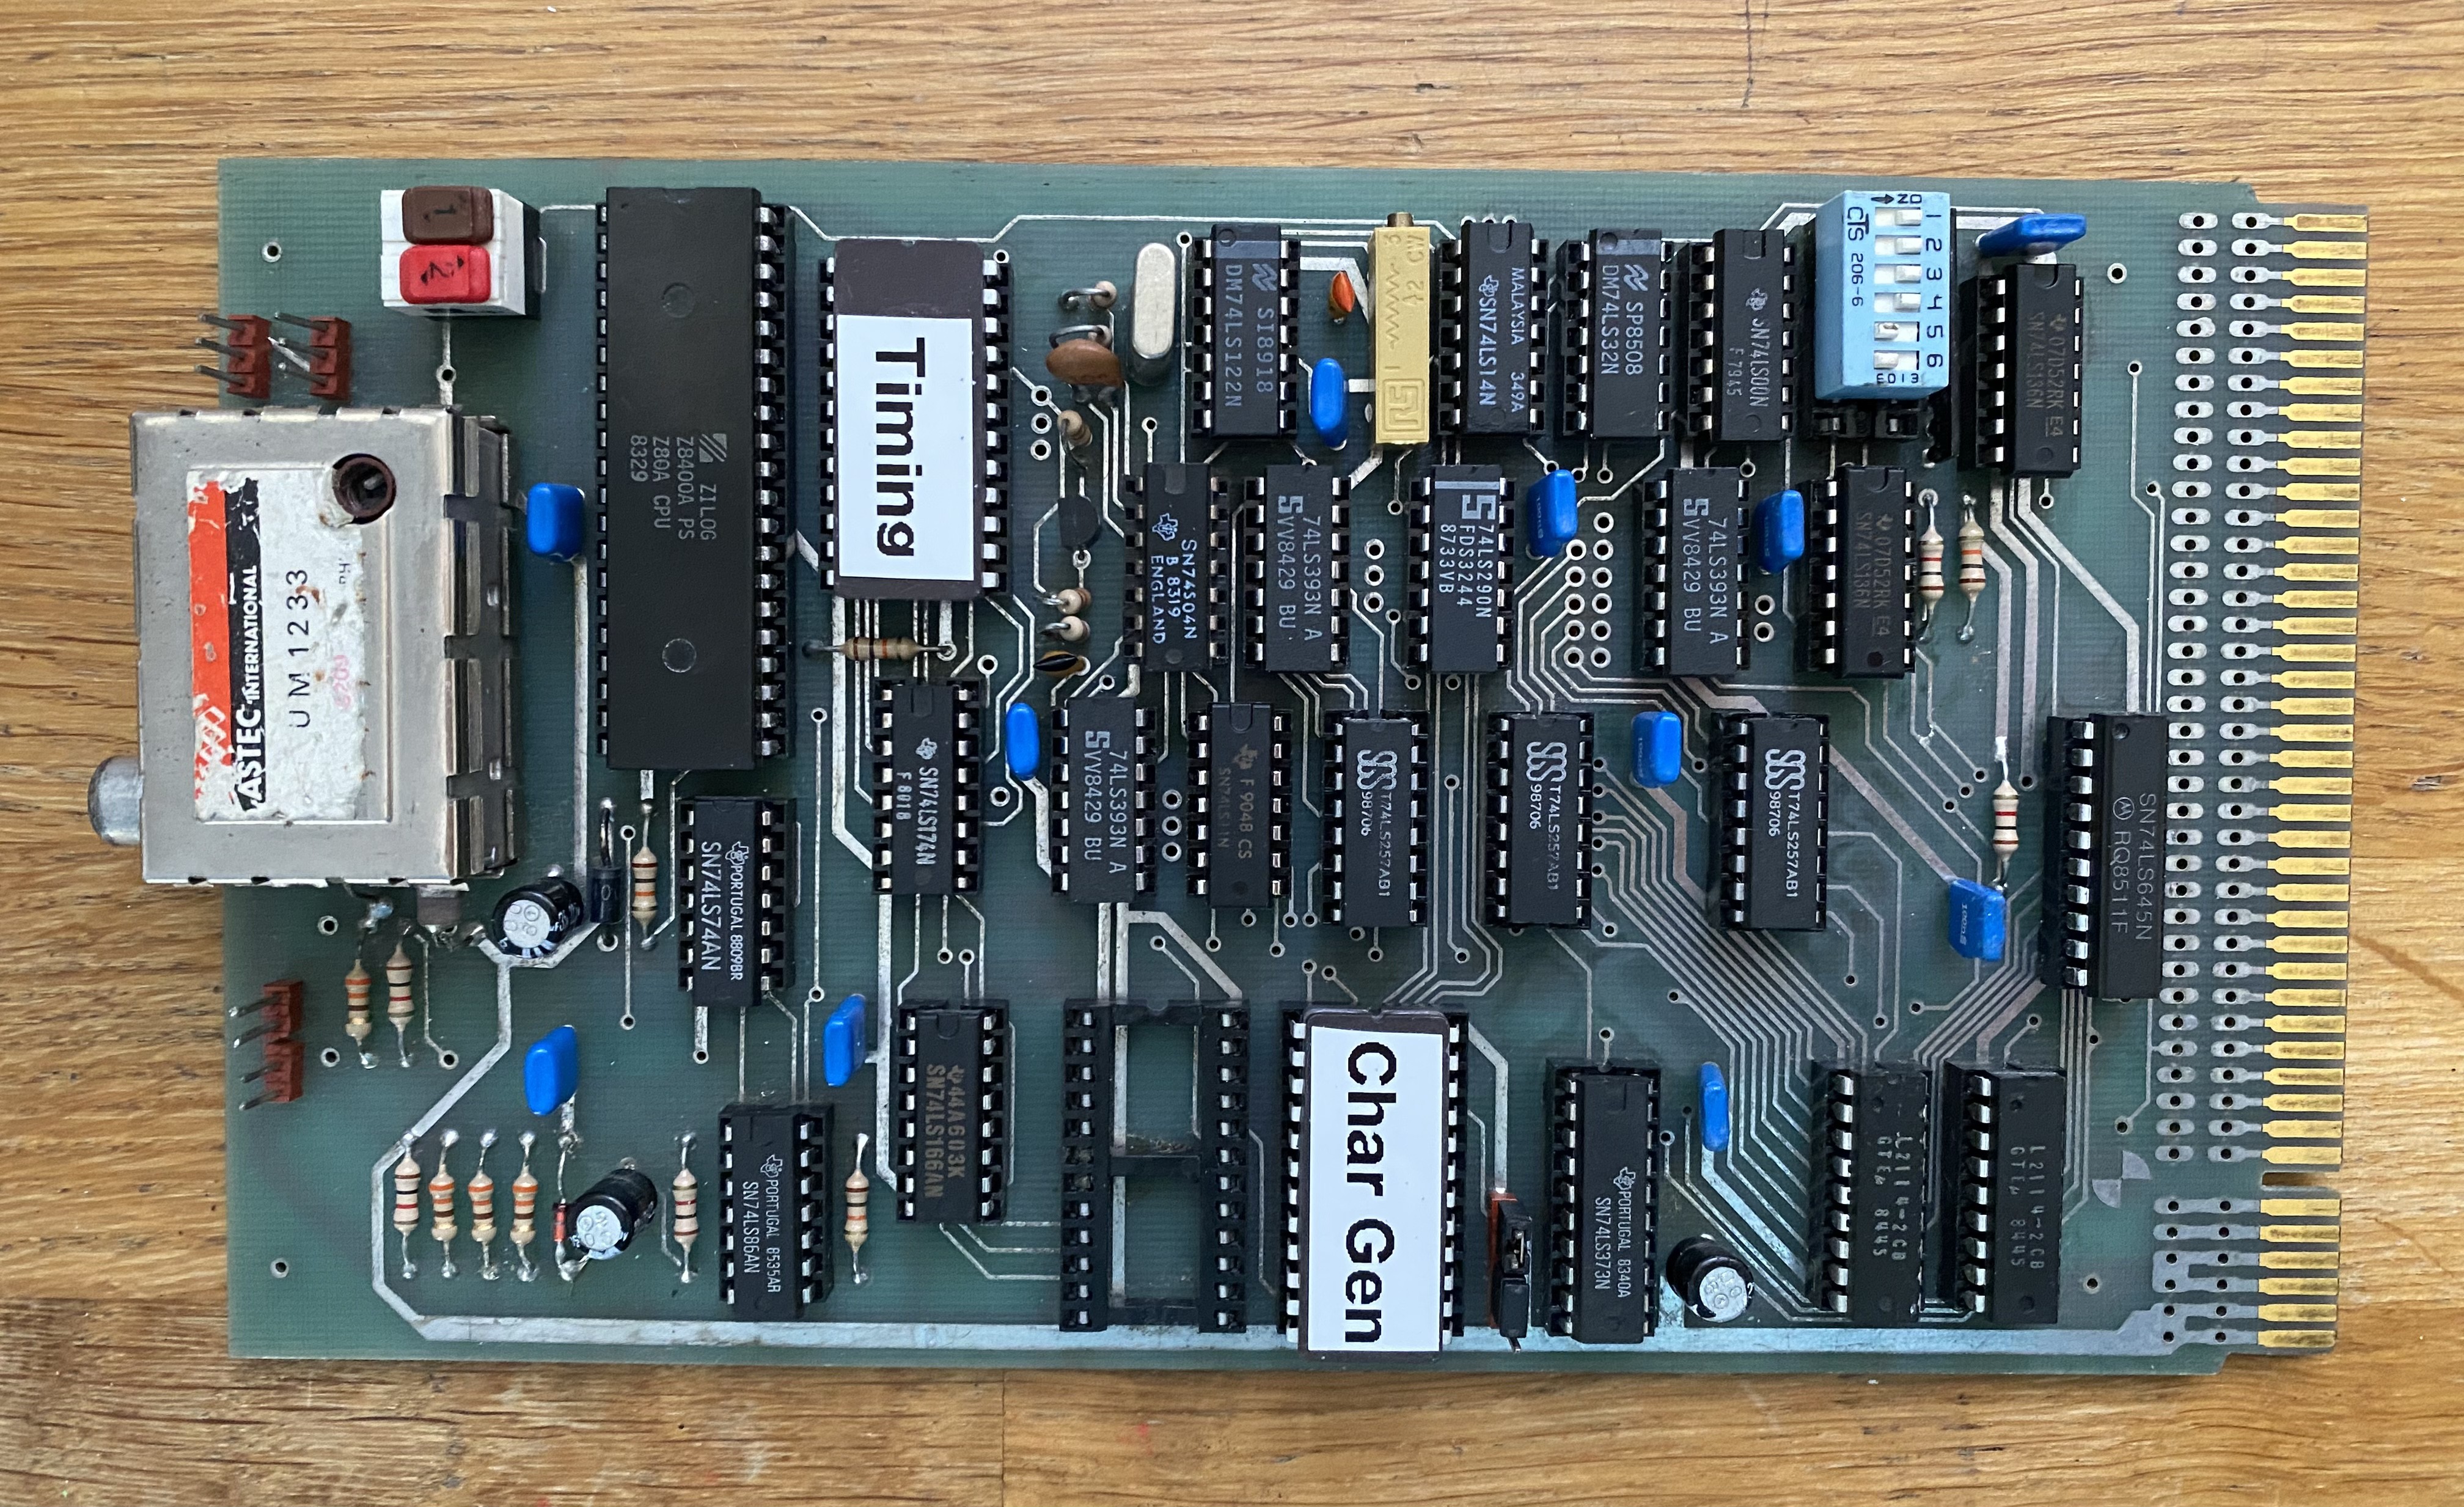
A final check over (the EPROM VPP/CS links threw me for a while) and now for a test...
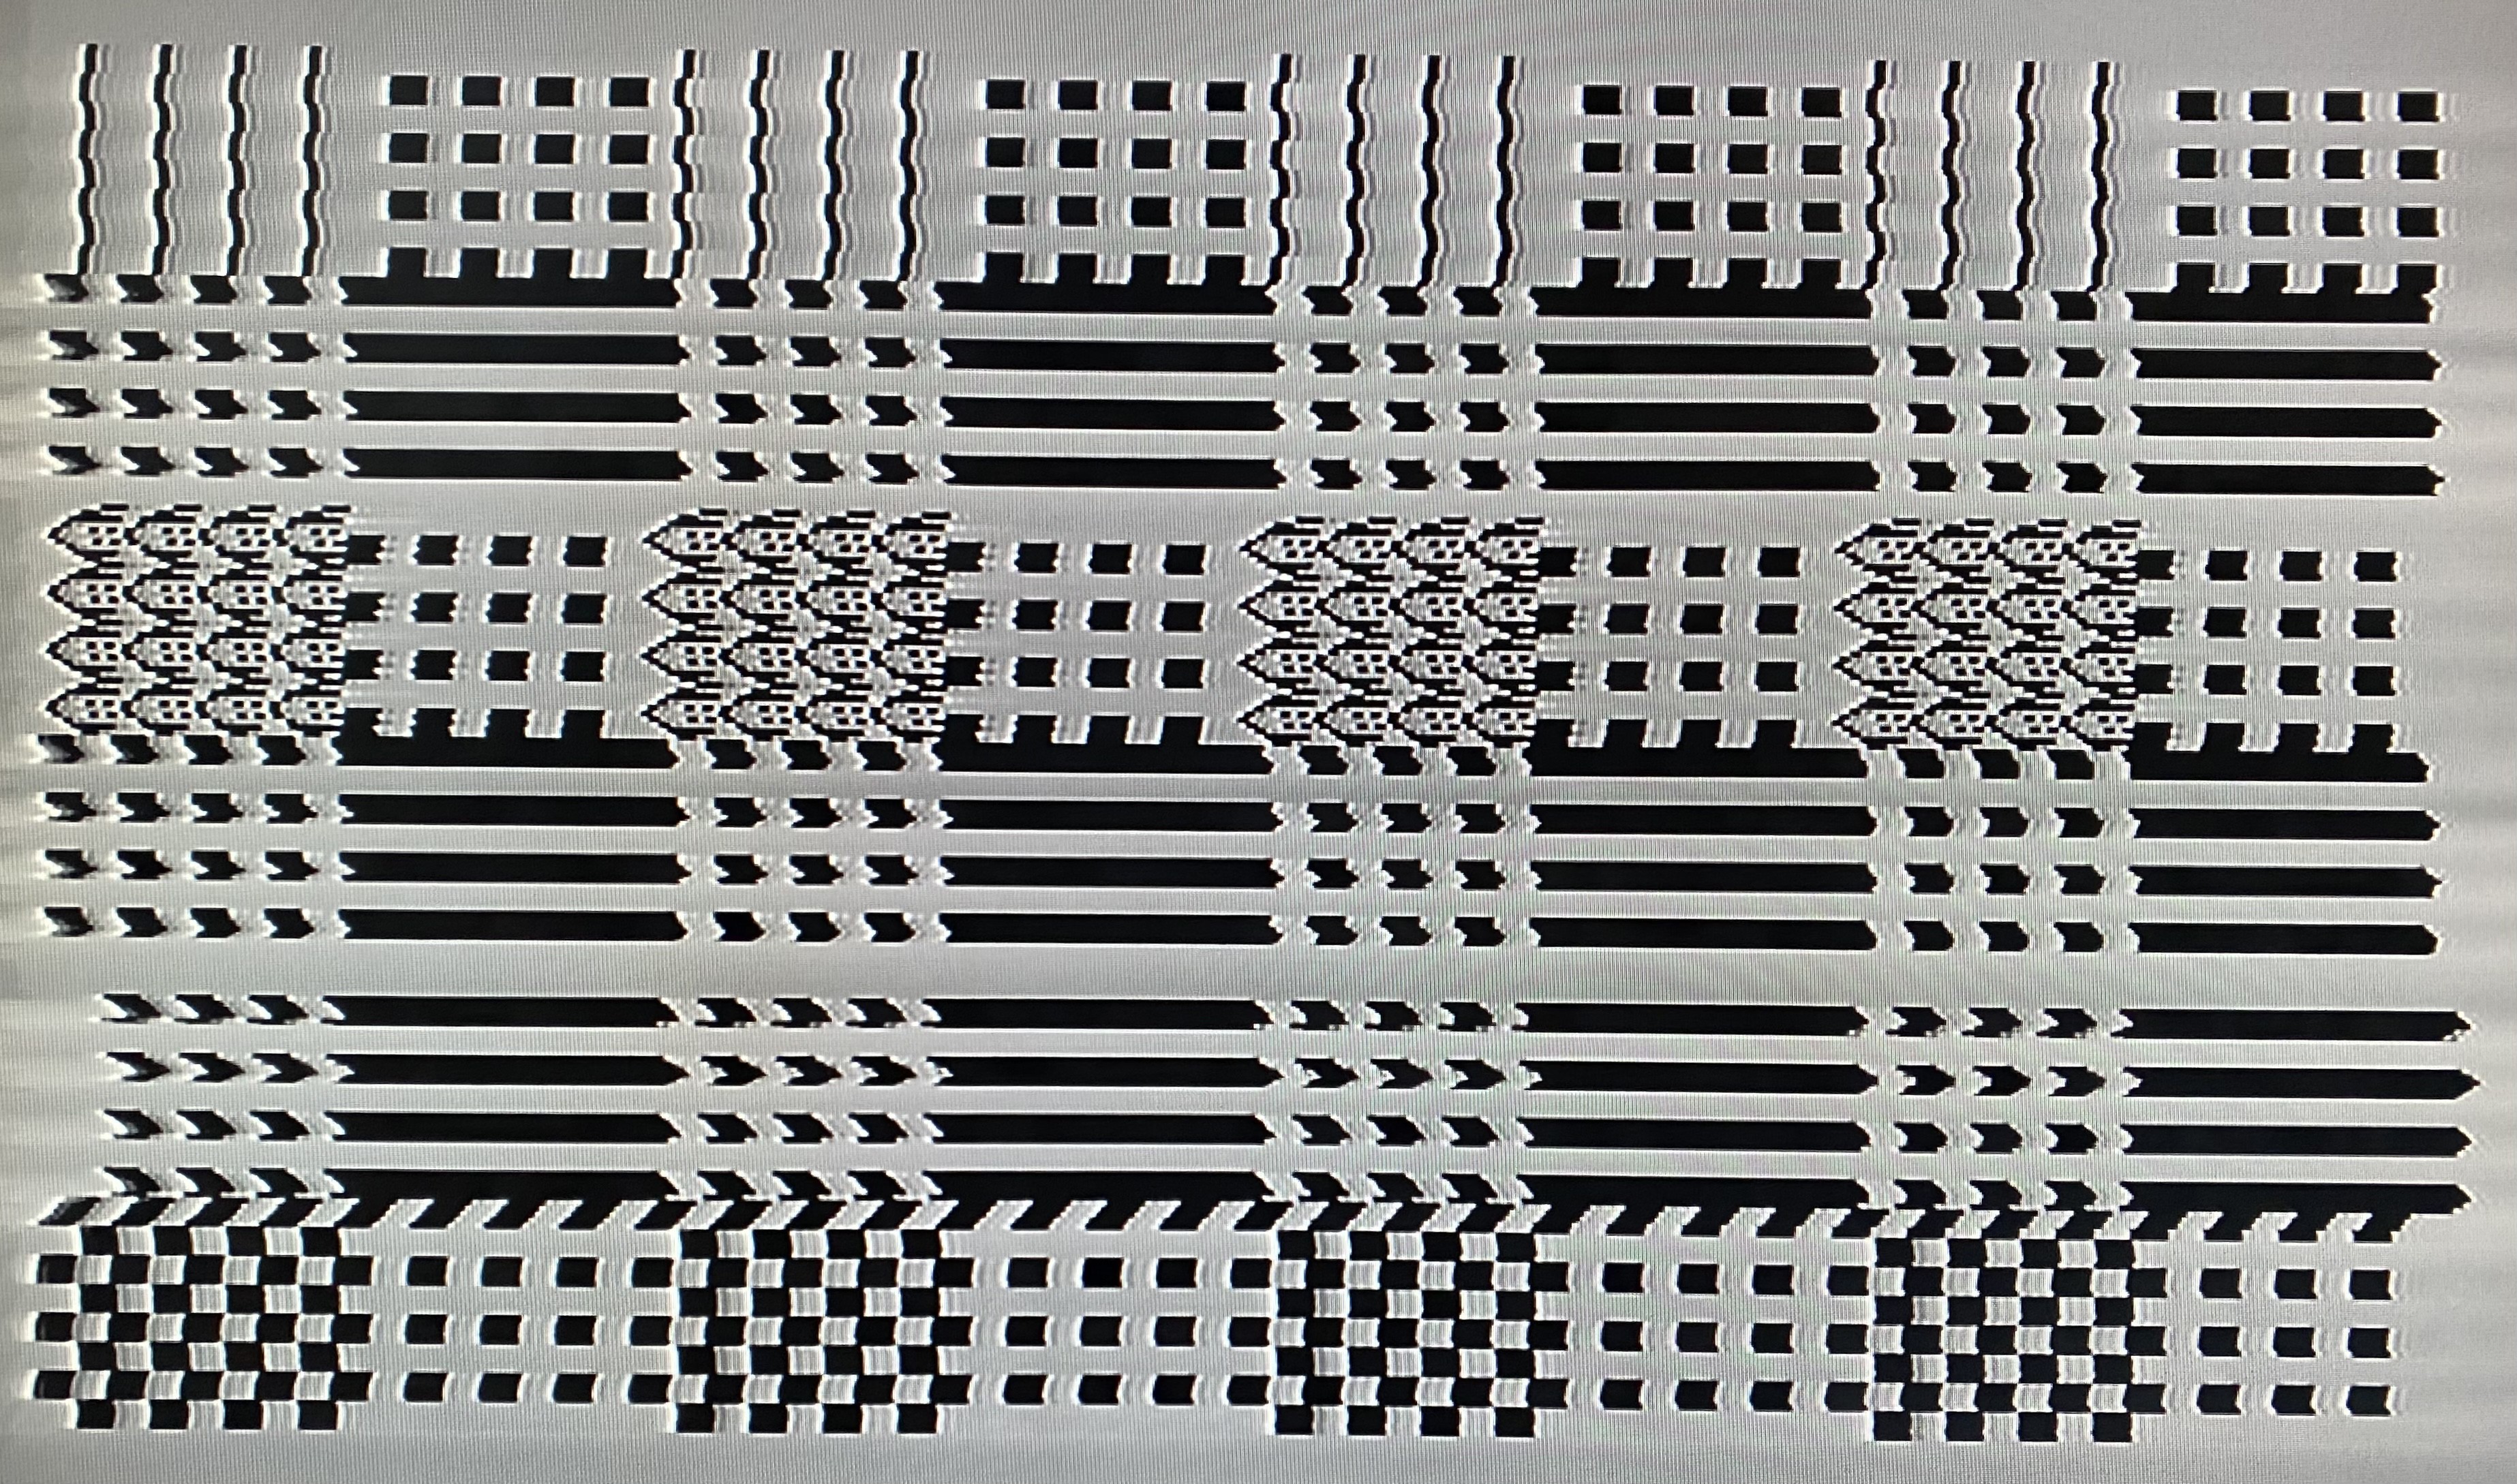
Yay! Those look like random characters to me. I need more time to test the composite video output and to see why the tv video is slowly rolling, but I'm impressed that there's any output from a 40 year old card!
A quick browse of eBay, and I'm now the proud owner of a small compact monitor with a composite video input. Even without a proper cable it's a lot clearer than a TV picture. Still just random characters though.

Time for a proper card front with switches and connectors... and on to my next problem! It seems my cardframe is also deeper than it should be - and with a faceplate fitted the cards don't reach the backplane! I briefly considered trying to relocate the backplane further forward, before deciding a small extension to the faceplate mountings would be easier. Two small strips of aluminium later and my card now fits fine, complete with faceplate.
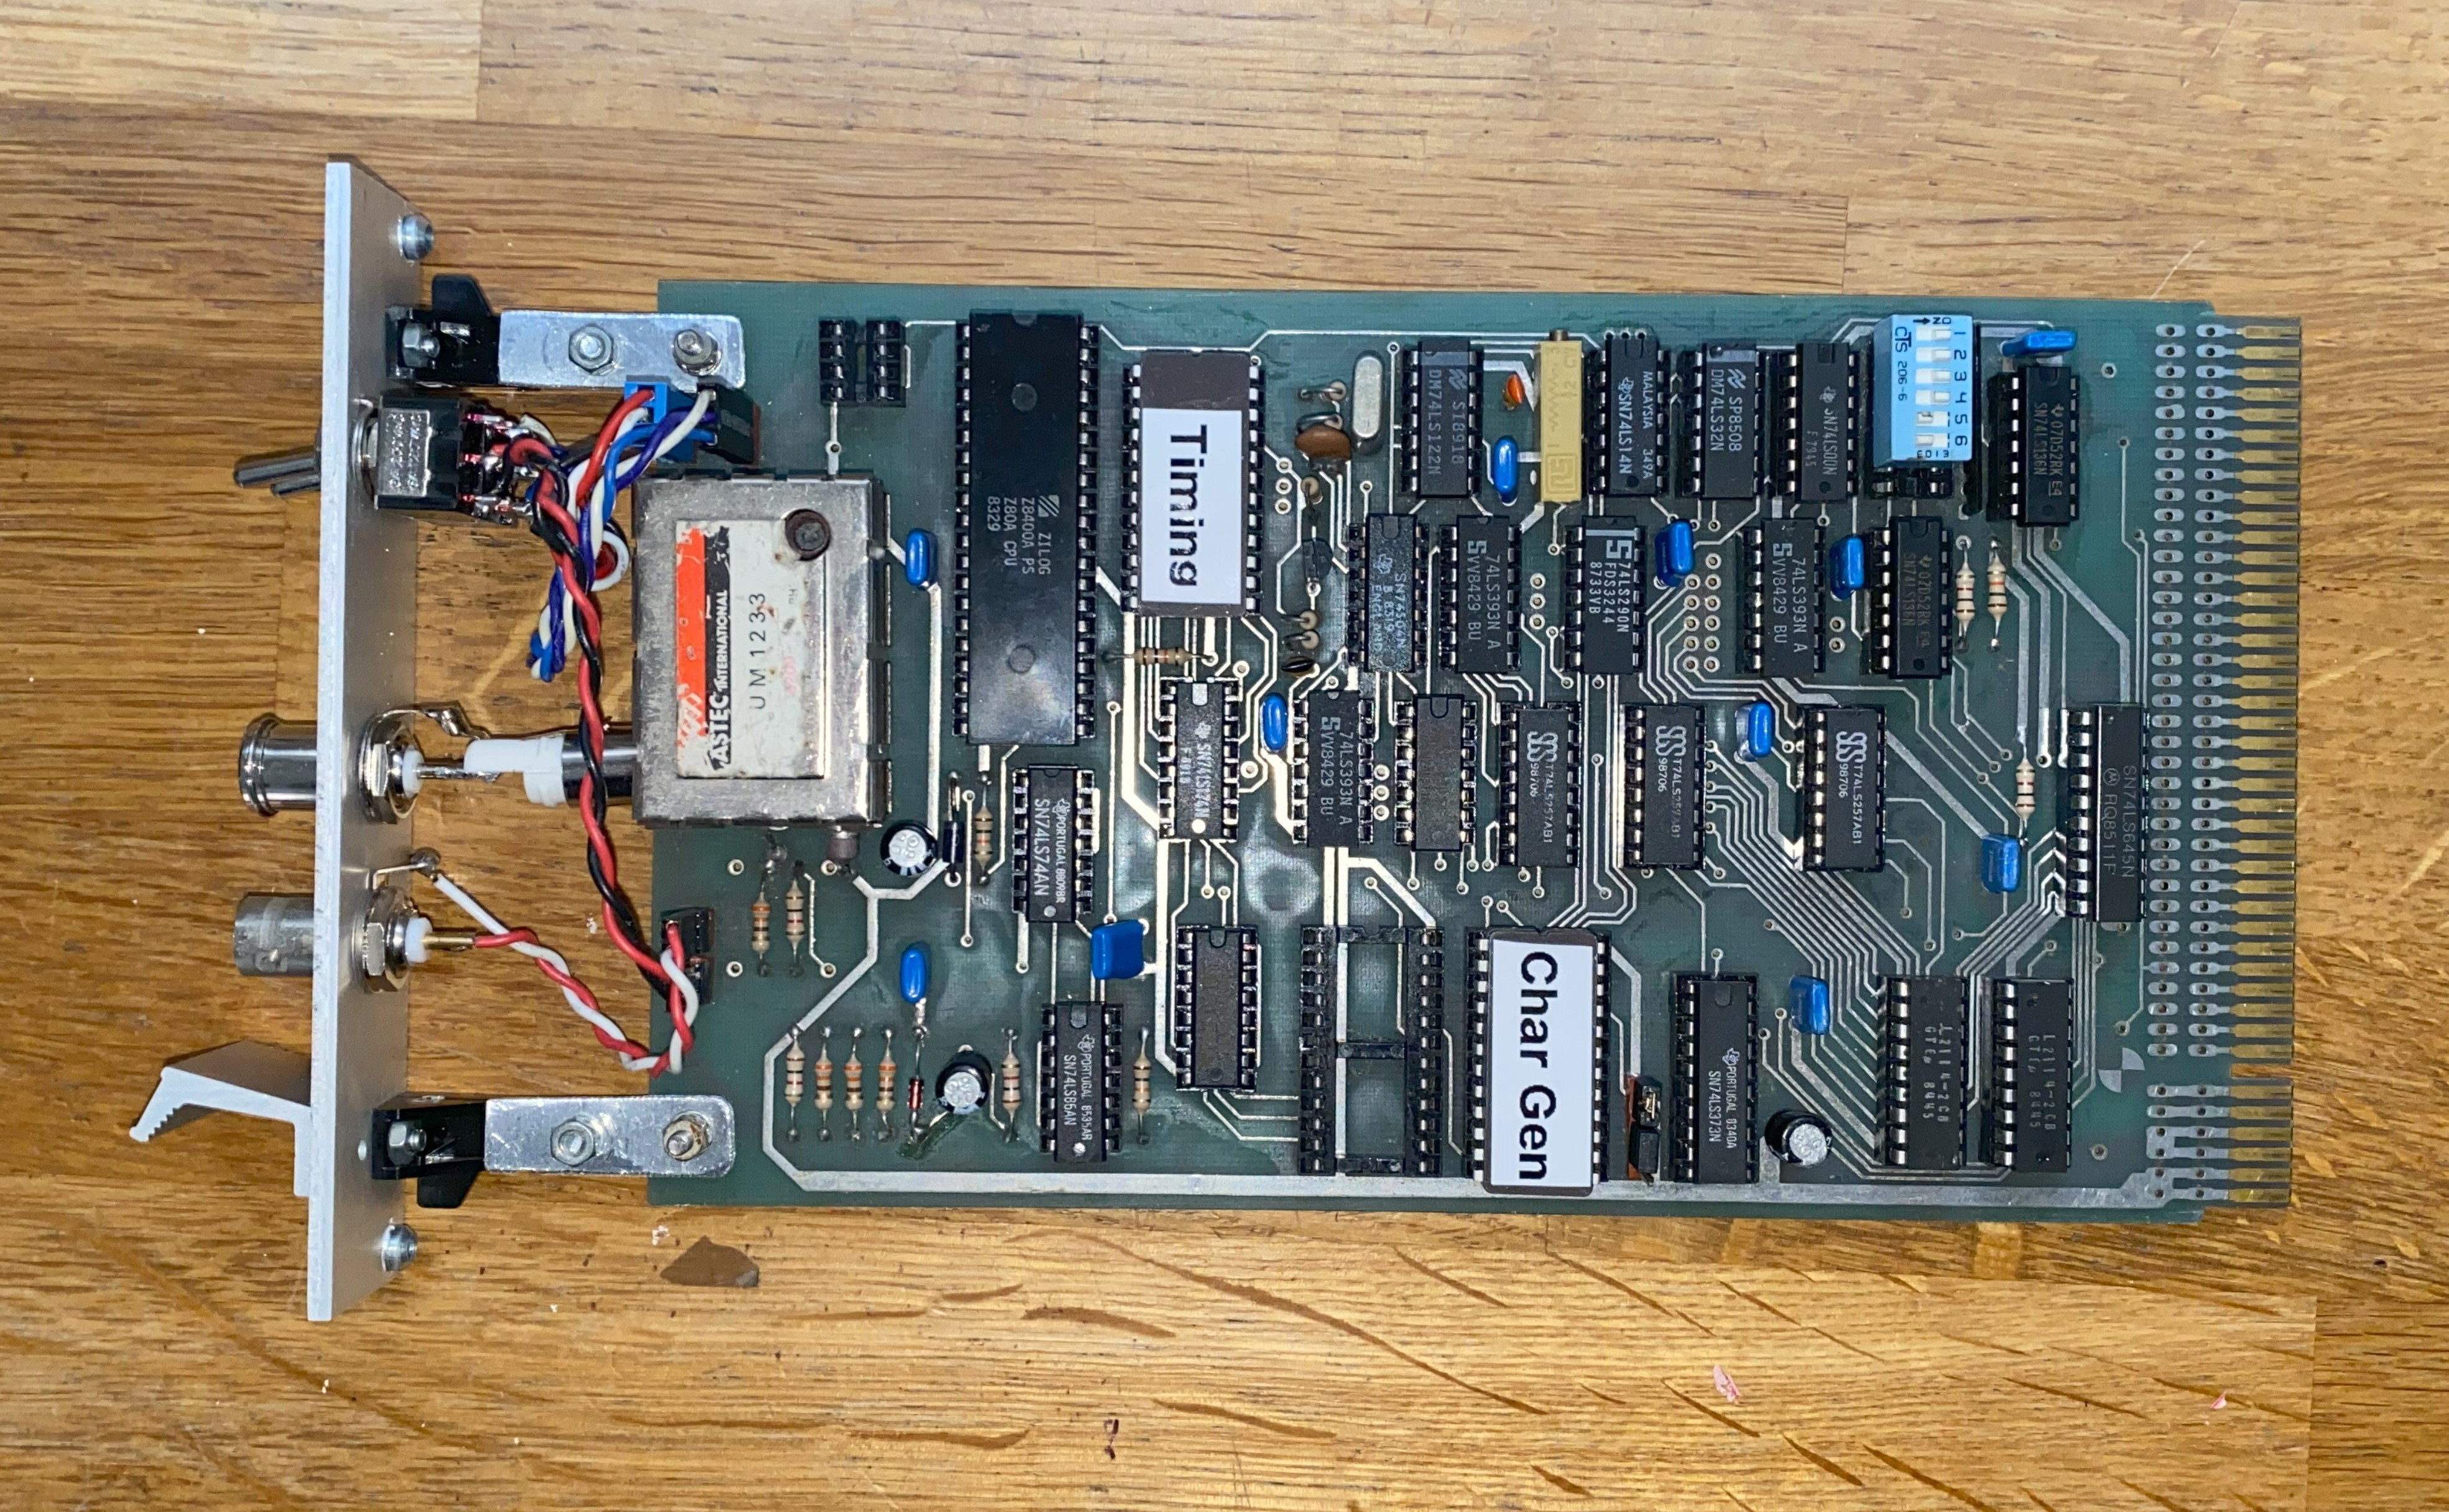
I still only have a screen of random characters, but at least all of the switches and outputs are working, and the card seats nicely in the cardframe. Time to take a look at the MZB-3 CPU card.
Discussions
Become a Hackaday.io Member
Create an account to leave a comment. Already have an account? Log In.