 dariocose
Nowadays, the use of tools like tablets, cell phones and computers is essential. For work, for fun, to get information and to keep in touch with the people we love.
Some physical pathologies prevent many people from an accessible approach to these technologies, creating social, cultural and technological inclusion problems.
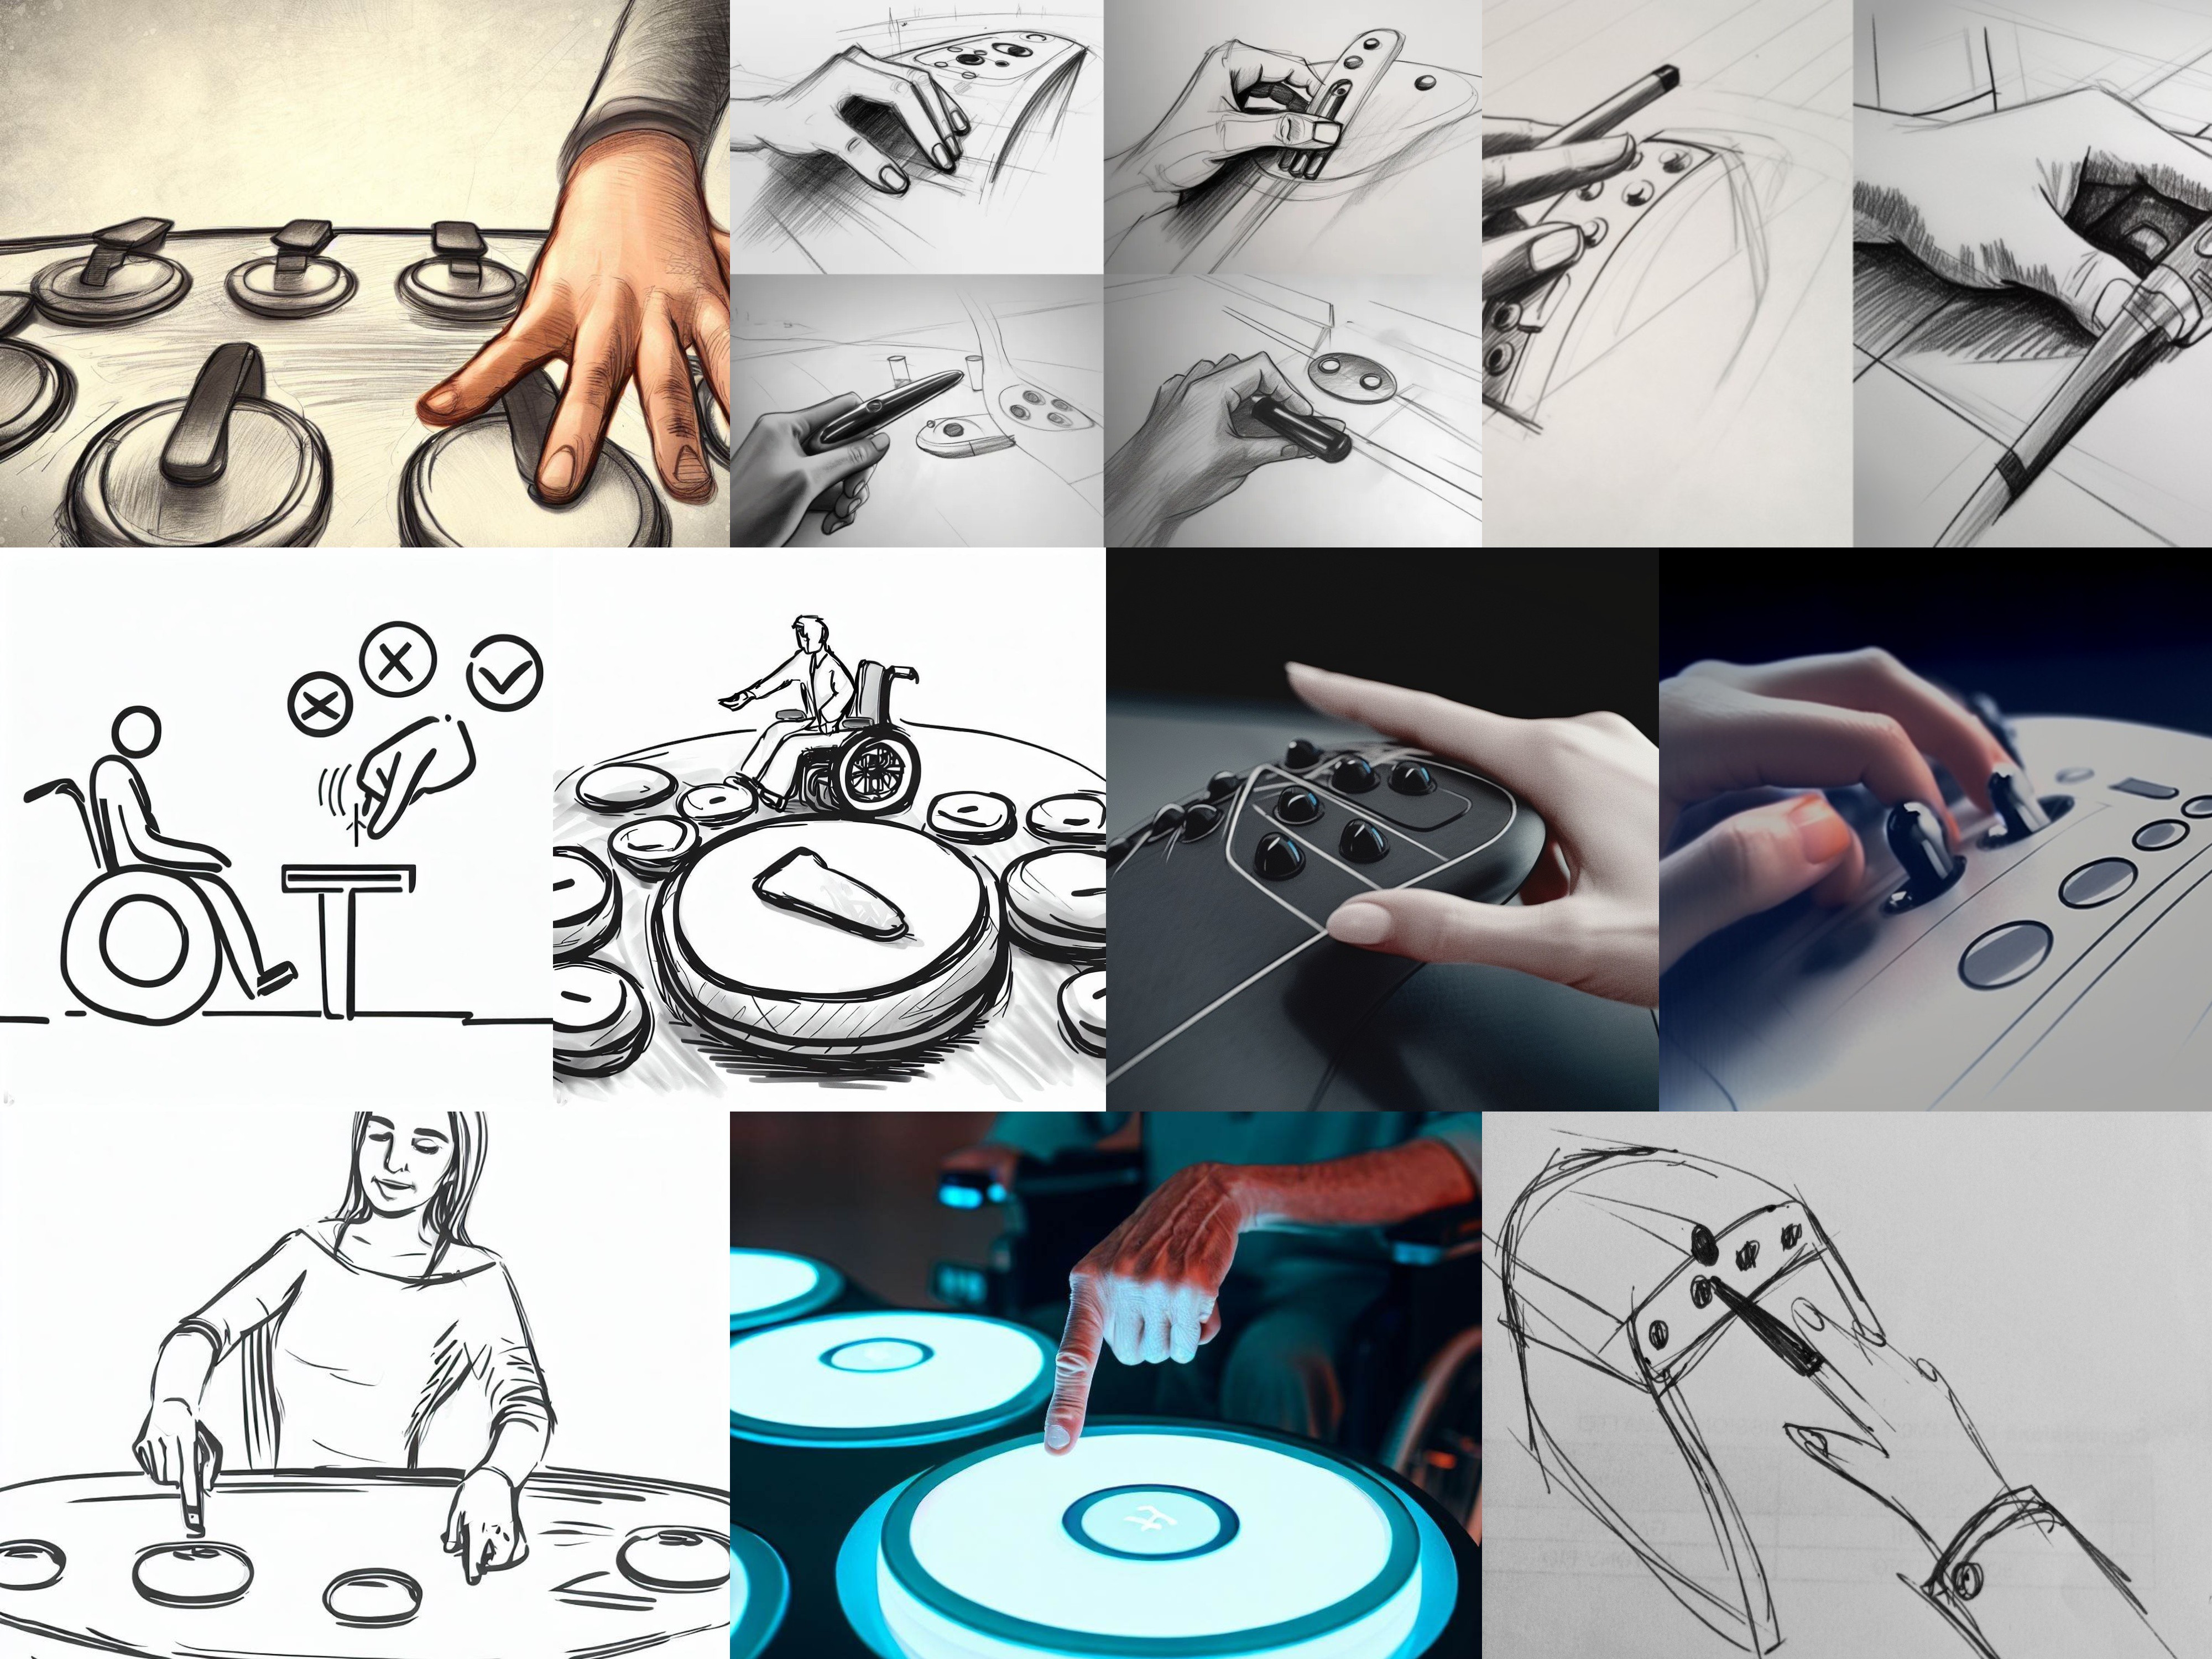
Each disability is different. Each case requires a unique and particular device, which adapts to the specific needs of the person.
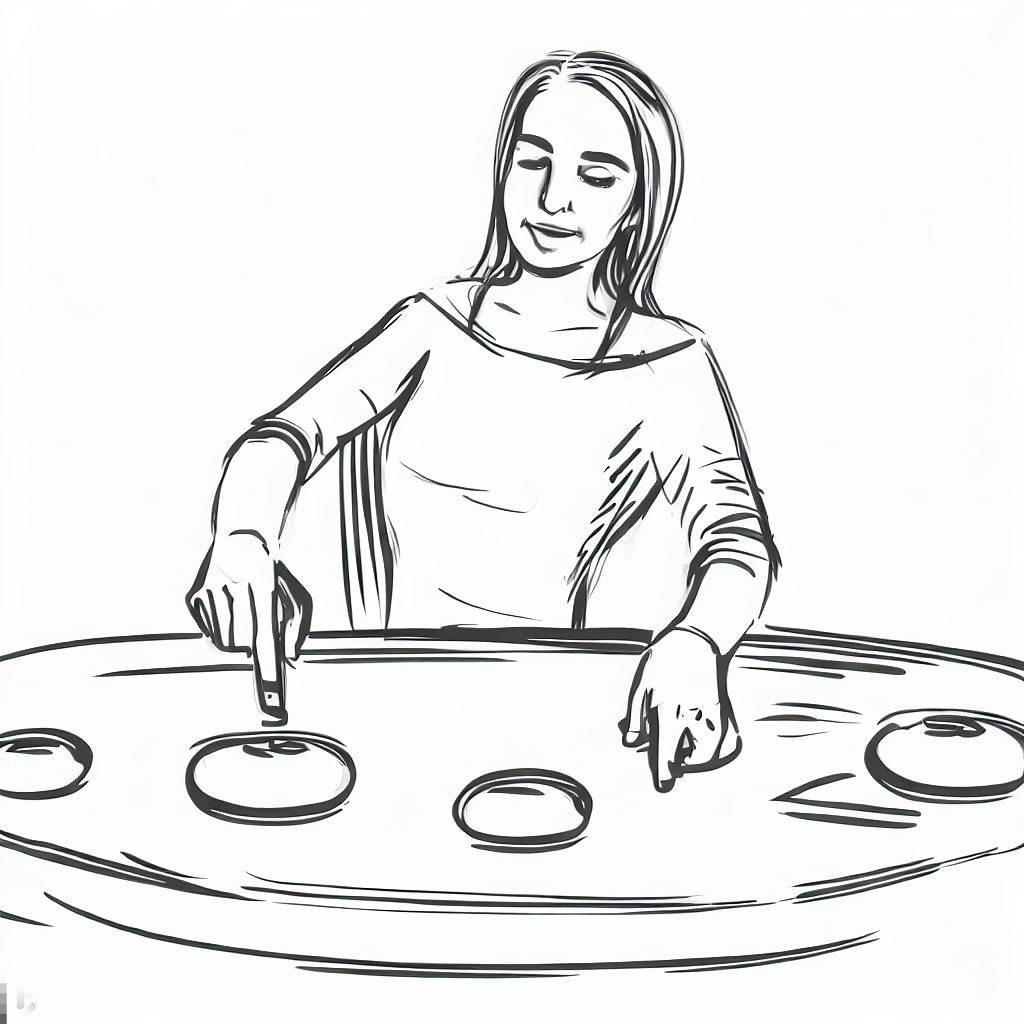
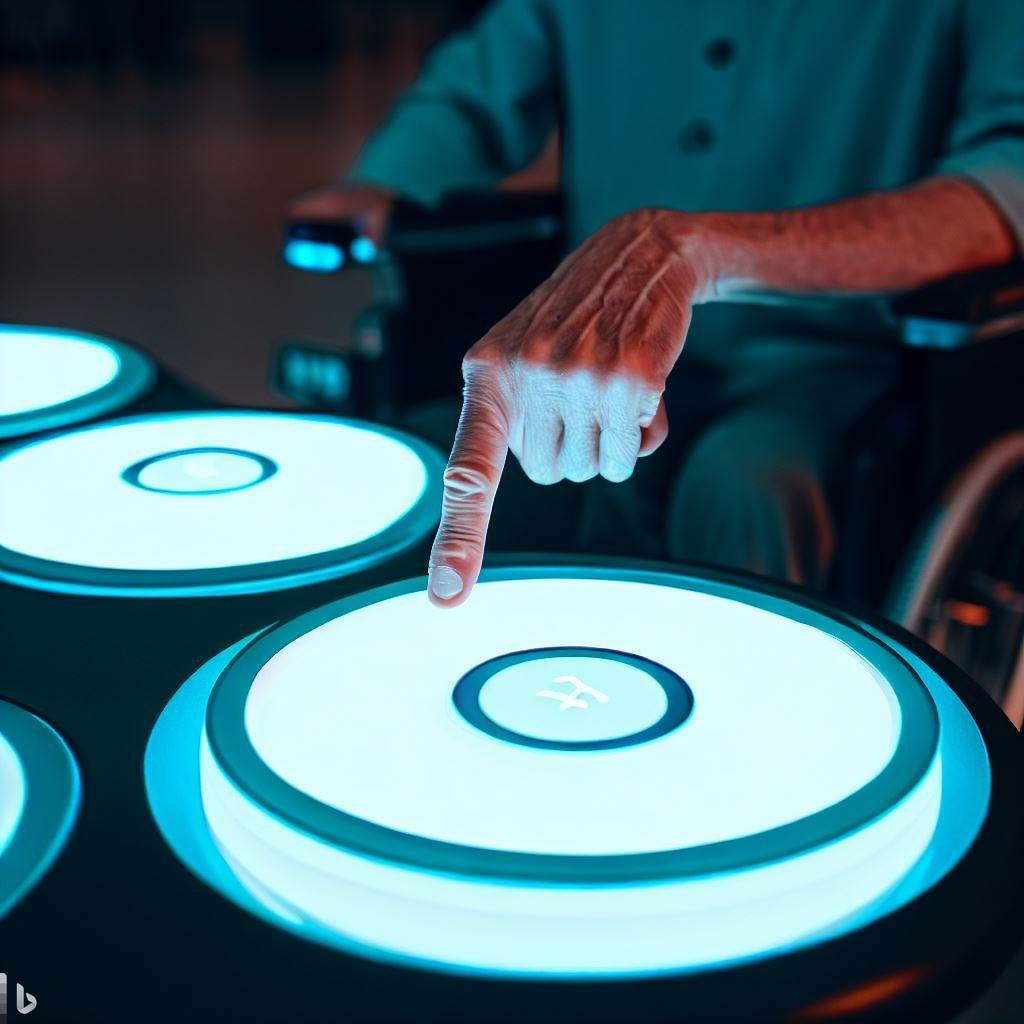
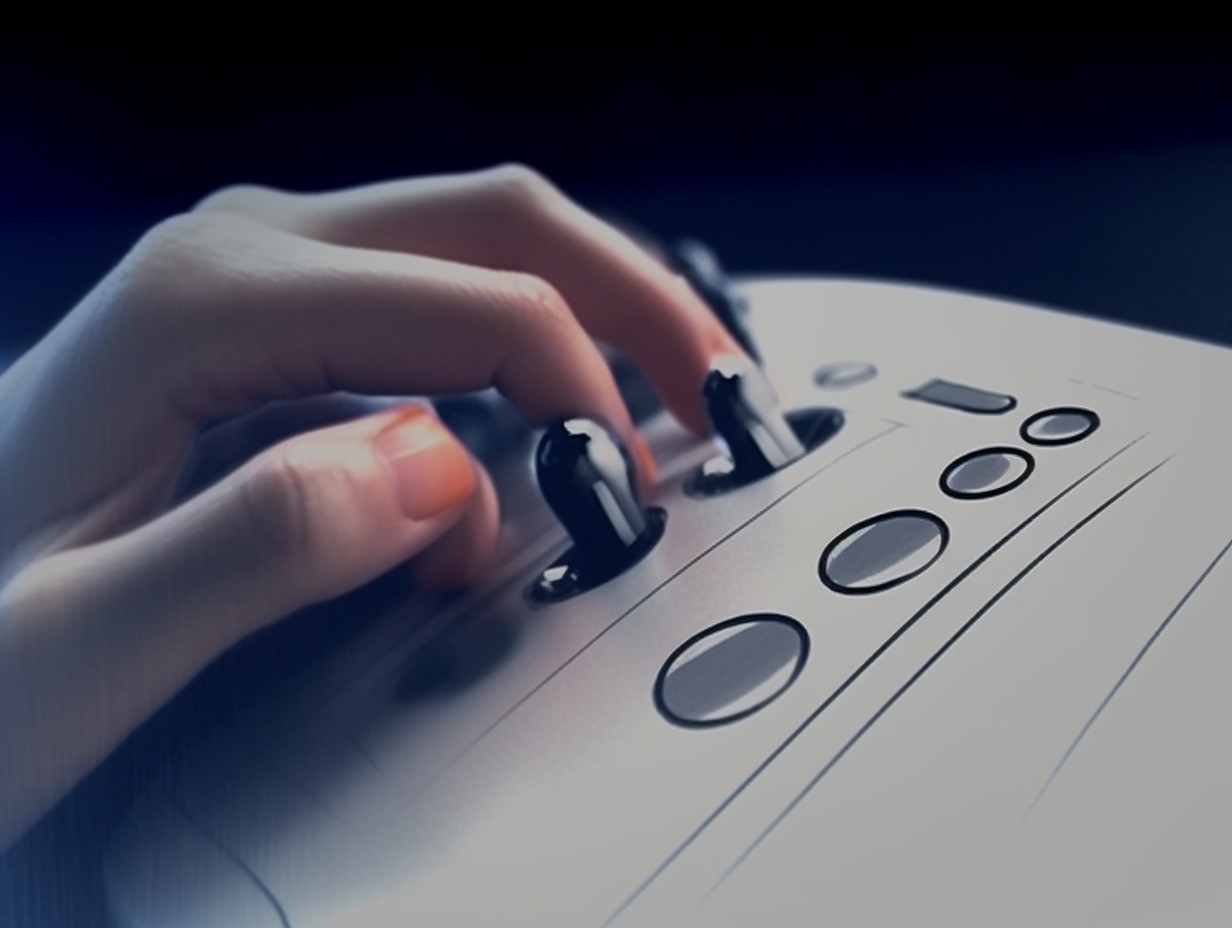
For example, some cases may involve very small devices that can be used with just one finger, other ones can be activated with the mouth and others may need large-sized devices.
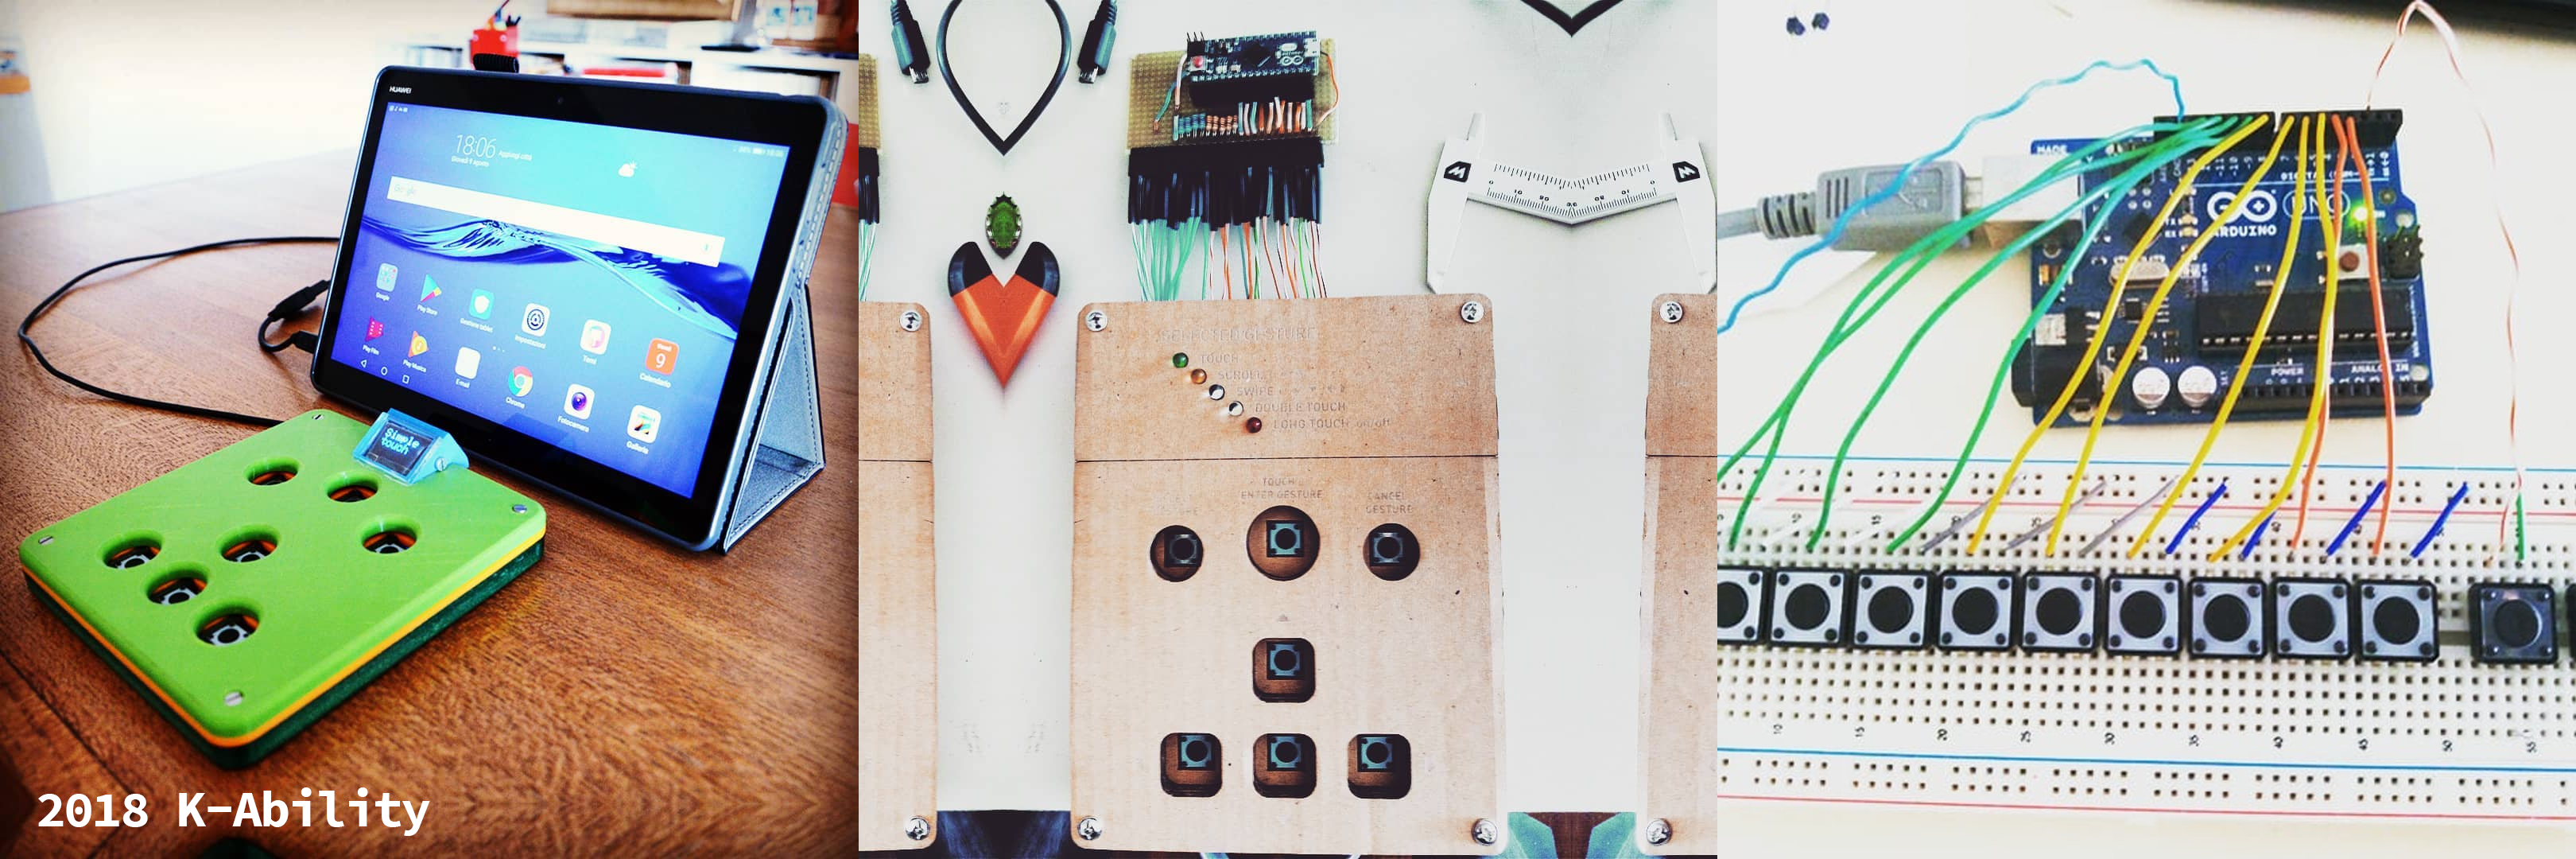
K-Ability Toolkit's goal is to create a repository of ideas, code snippets, hardware, and design approaches that can provide a set of tools to create customized low-cost technological aids with open-source technologies, aimed to companies and makers.
On this page, I will summarize the weekly progress of the work using the hashtags #code, #hardware, and #designs to keep a timeline of the work. All productions will be stored in this Github repository.
The whole community is invited to propose advice, ideas, and comments. Reading project's story, visiting repository, and interacting in any way you prefer is reccomended.
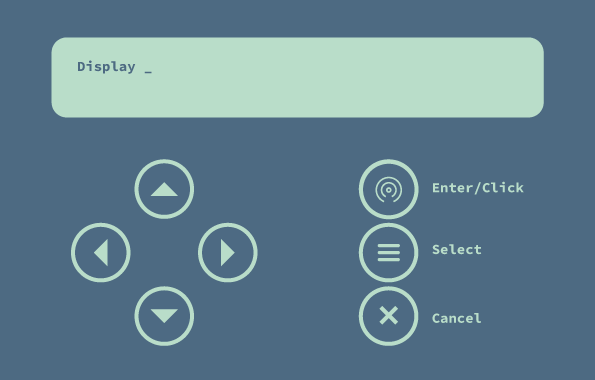
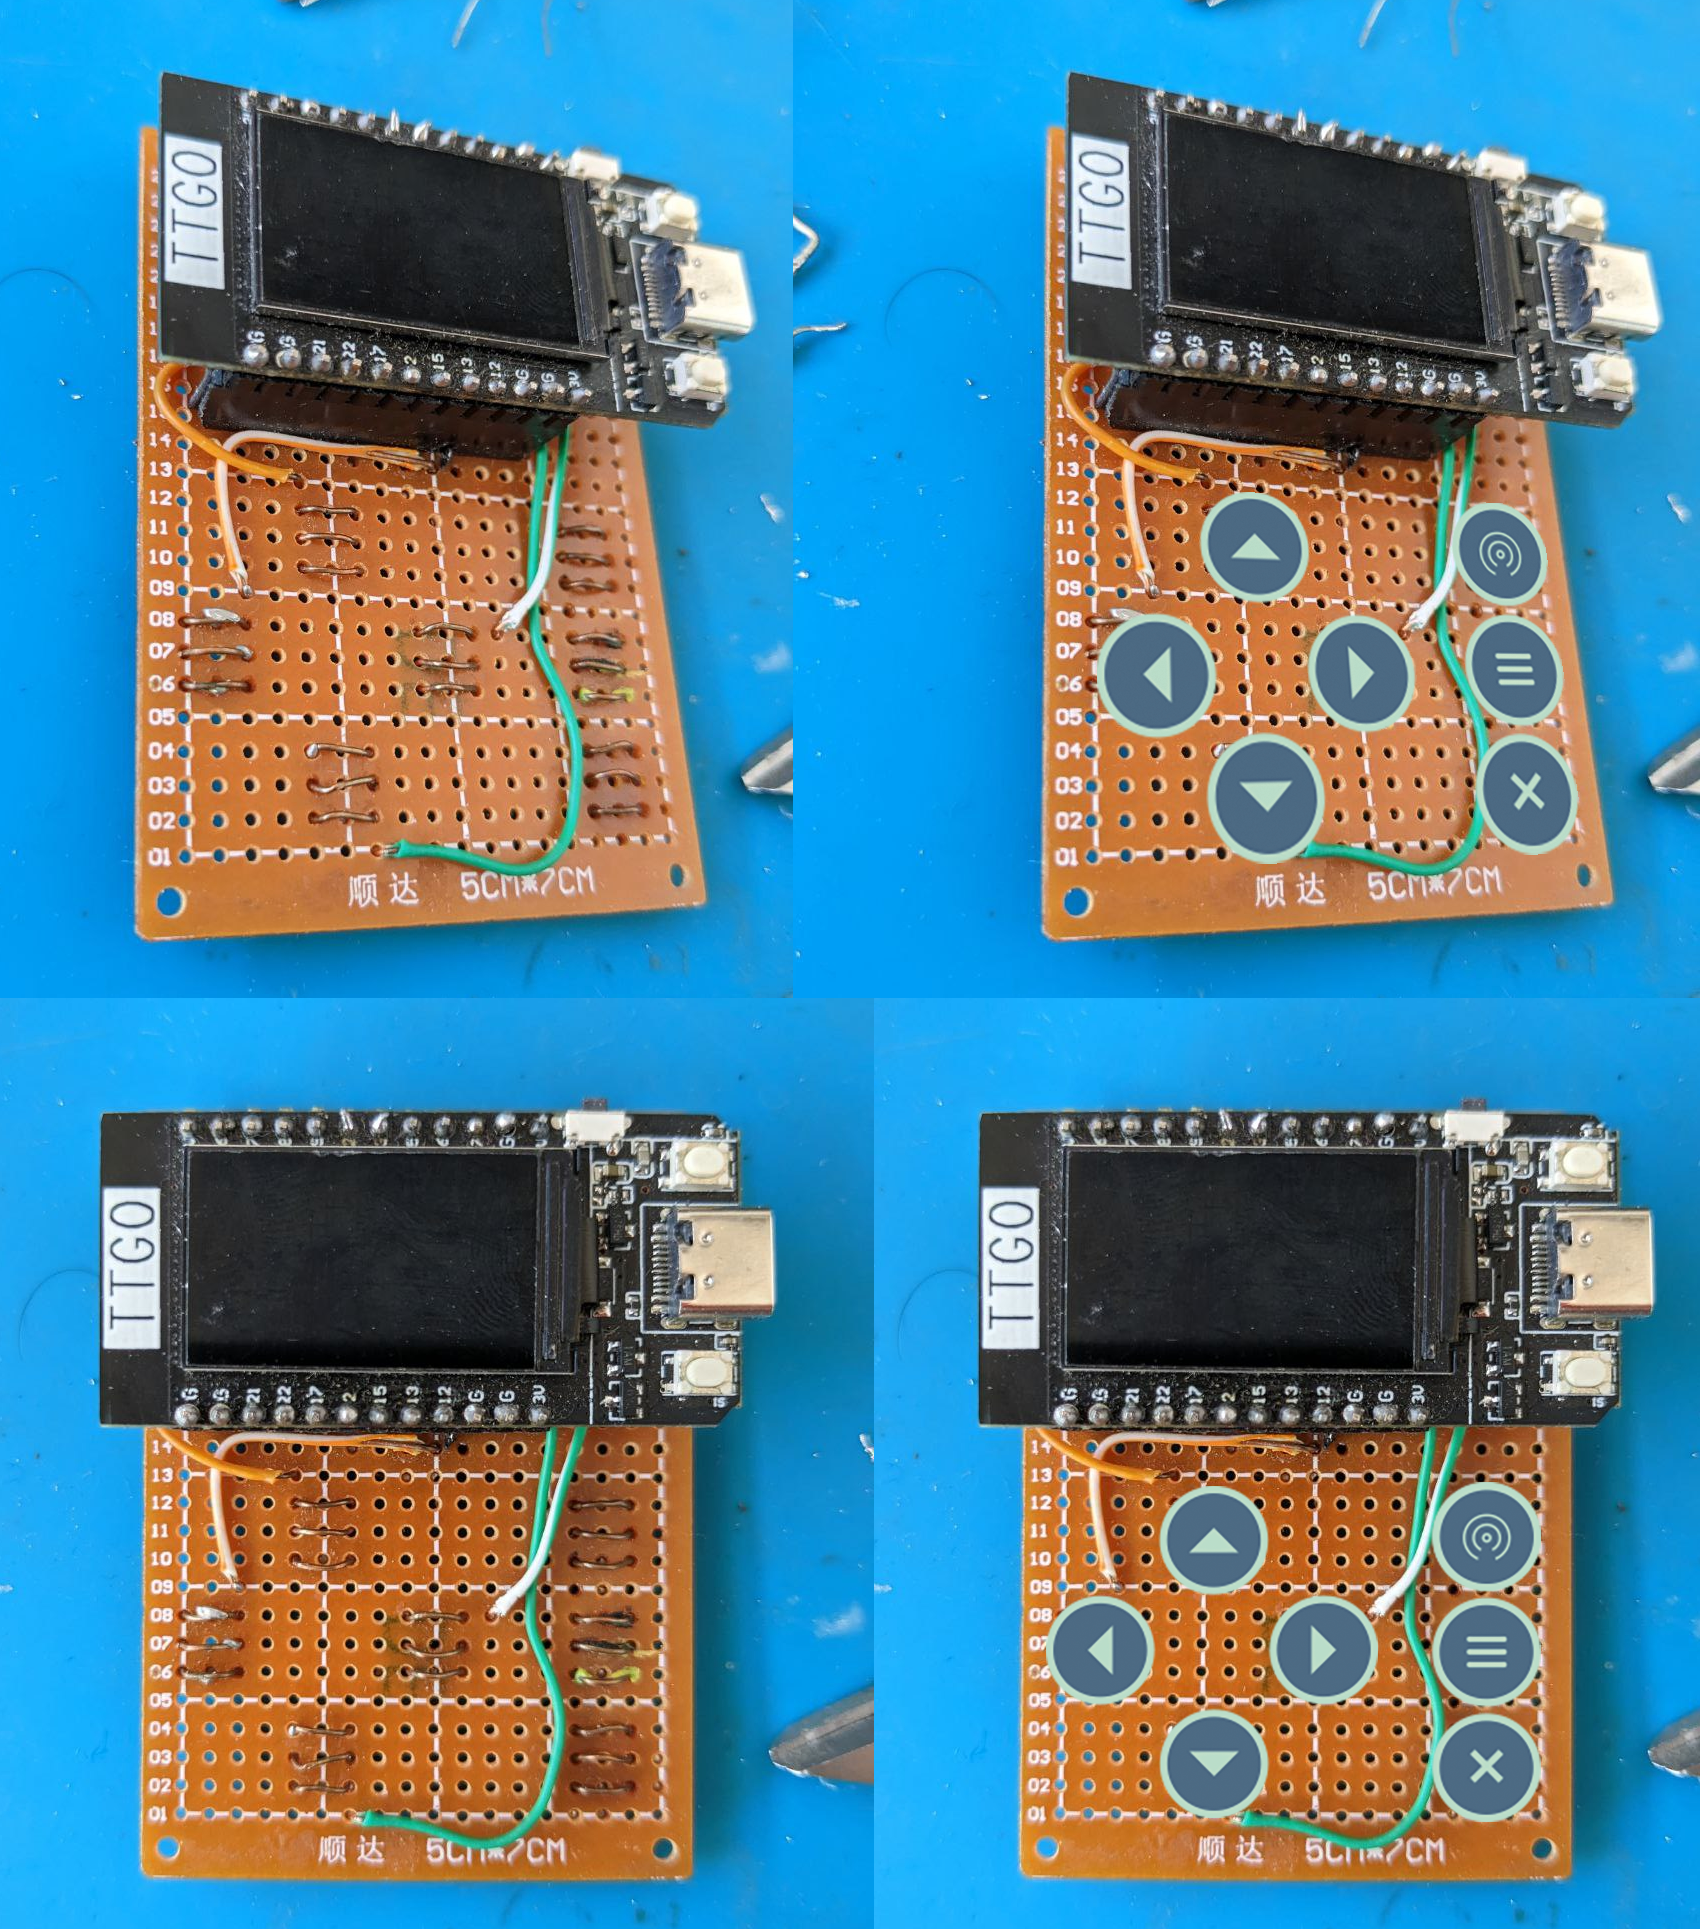
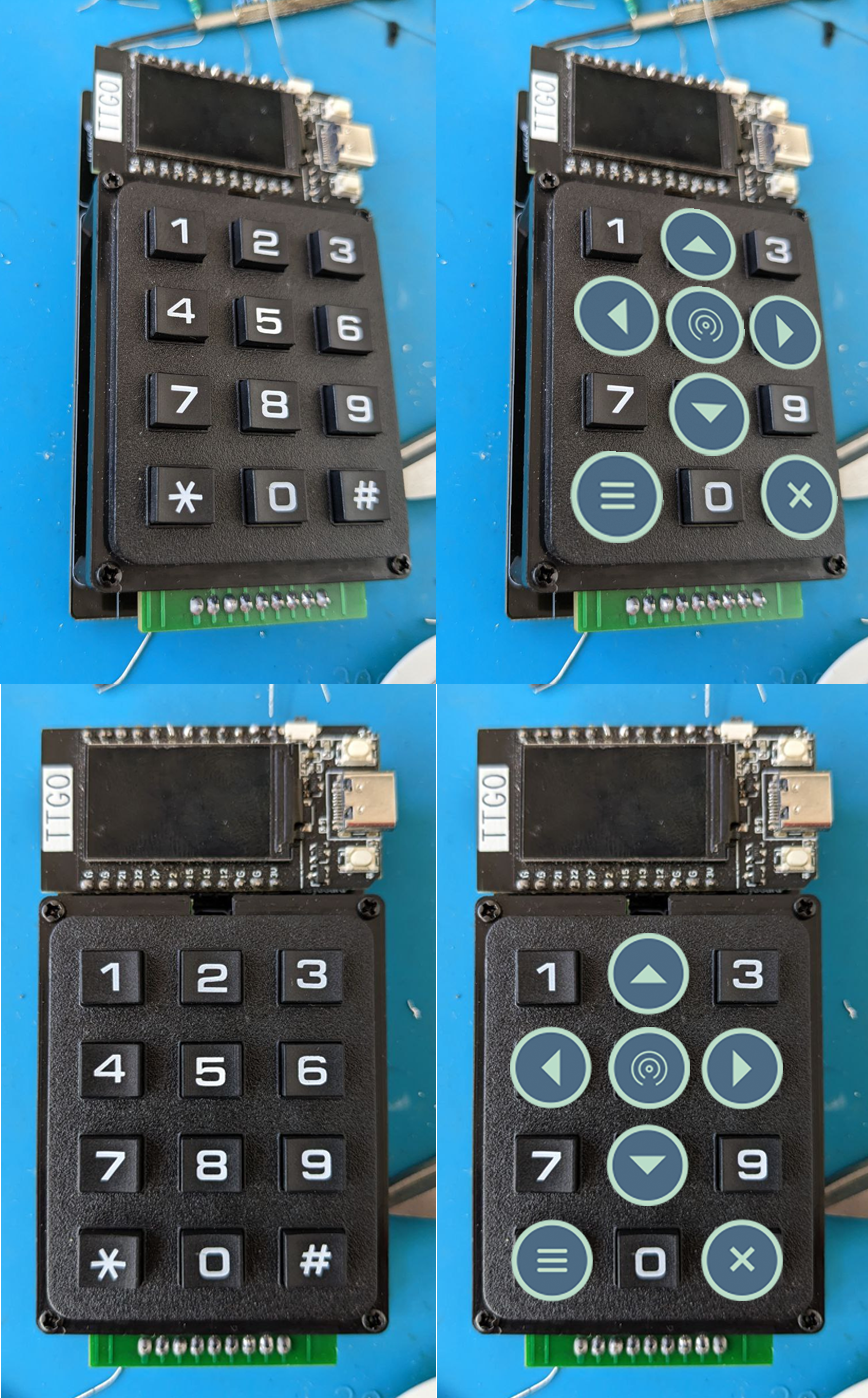
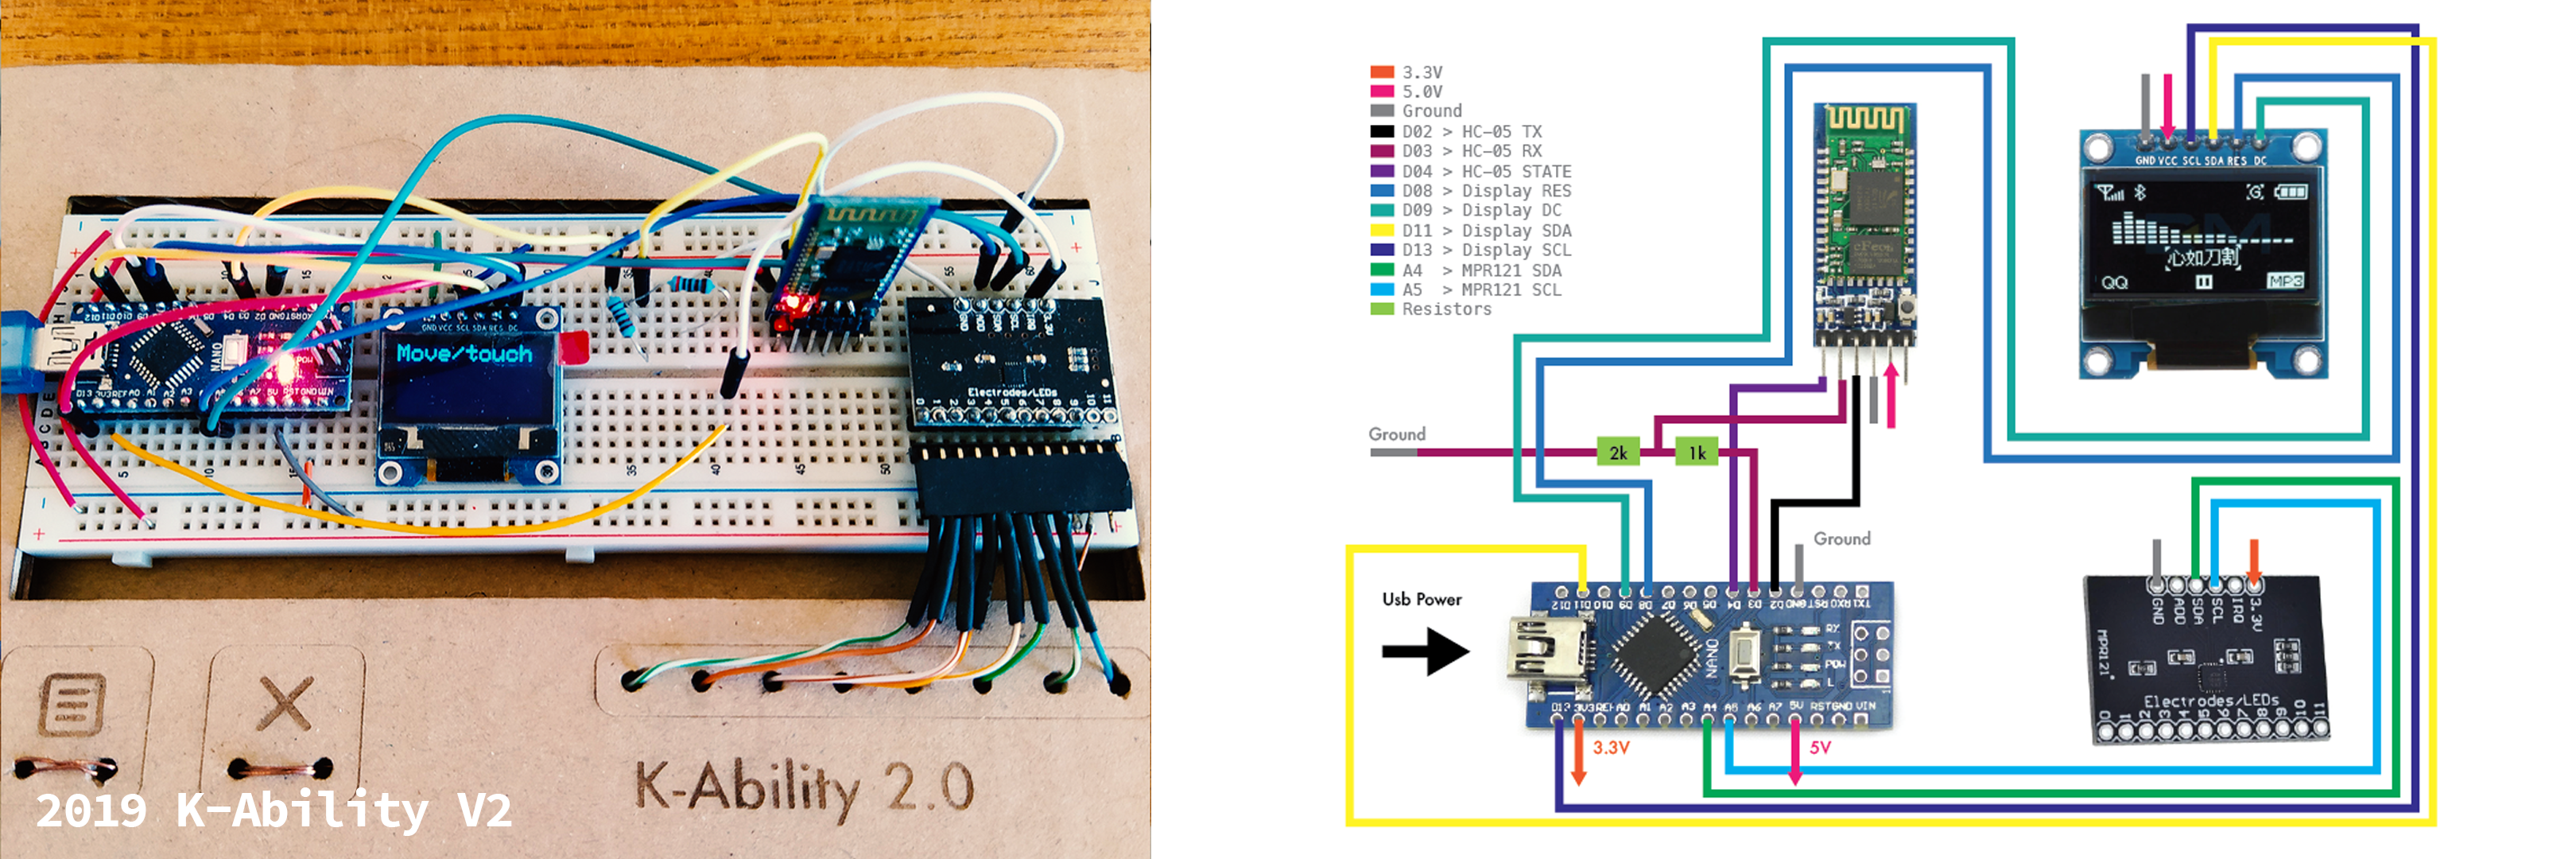
Ep. 3 - Firmware overview #code
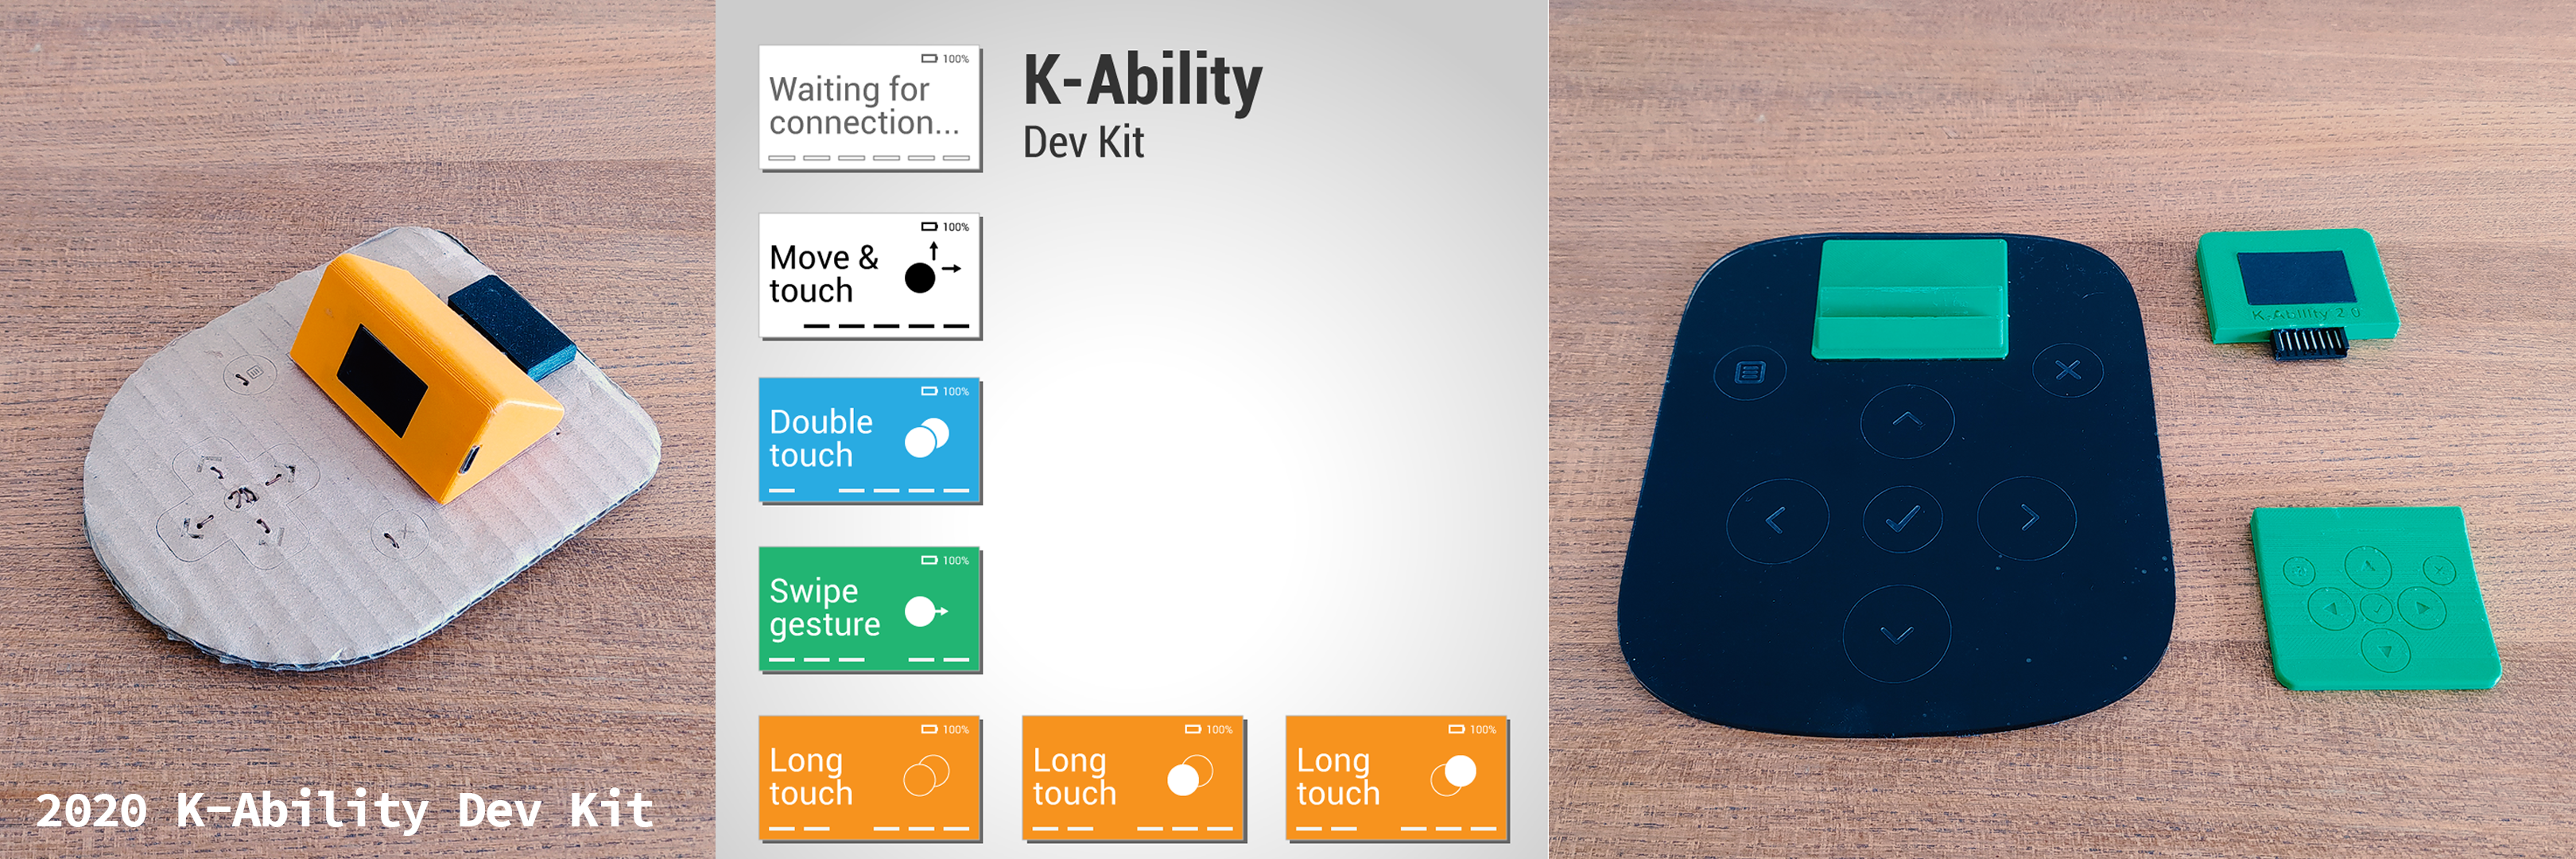
Ep. 4 - A fresh approach? #design
 Supplyframe DesignLab
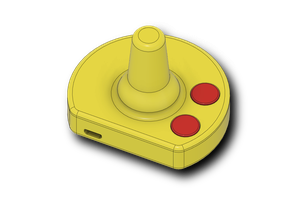
 Julien OUDIN
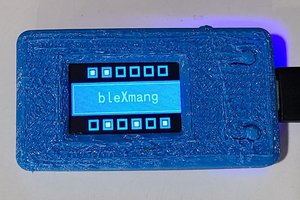
 WJCarpenter
 Sergio Demian Lerner