 schlion
I had solder pasted and populated a whole PCB, and now it was time to cook! Equipped with an infrared thermometer, some playground sand, an old pot and some aluminum foil, I was ready to rumble. Before using the sand, I had sifted out lager particles, washed it and dried it in the oven at max temp, sanitizing it in the process. I added about 0.5 cm of the sand and slowly heated it up. Sand insulates relatively well but also has a decent heat capacity, so it takes some time. Be careful that the bottom of your pot doesn't get too hot, while the top is still cold. My solder paste is supposed to melt at 189 °C, so I waited until the surface of the sand was at about ~200 °C and lifted the PCB in on a bit of aluminum foil.
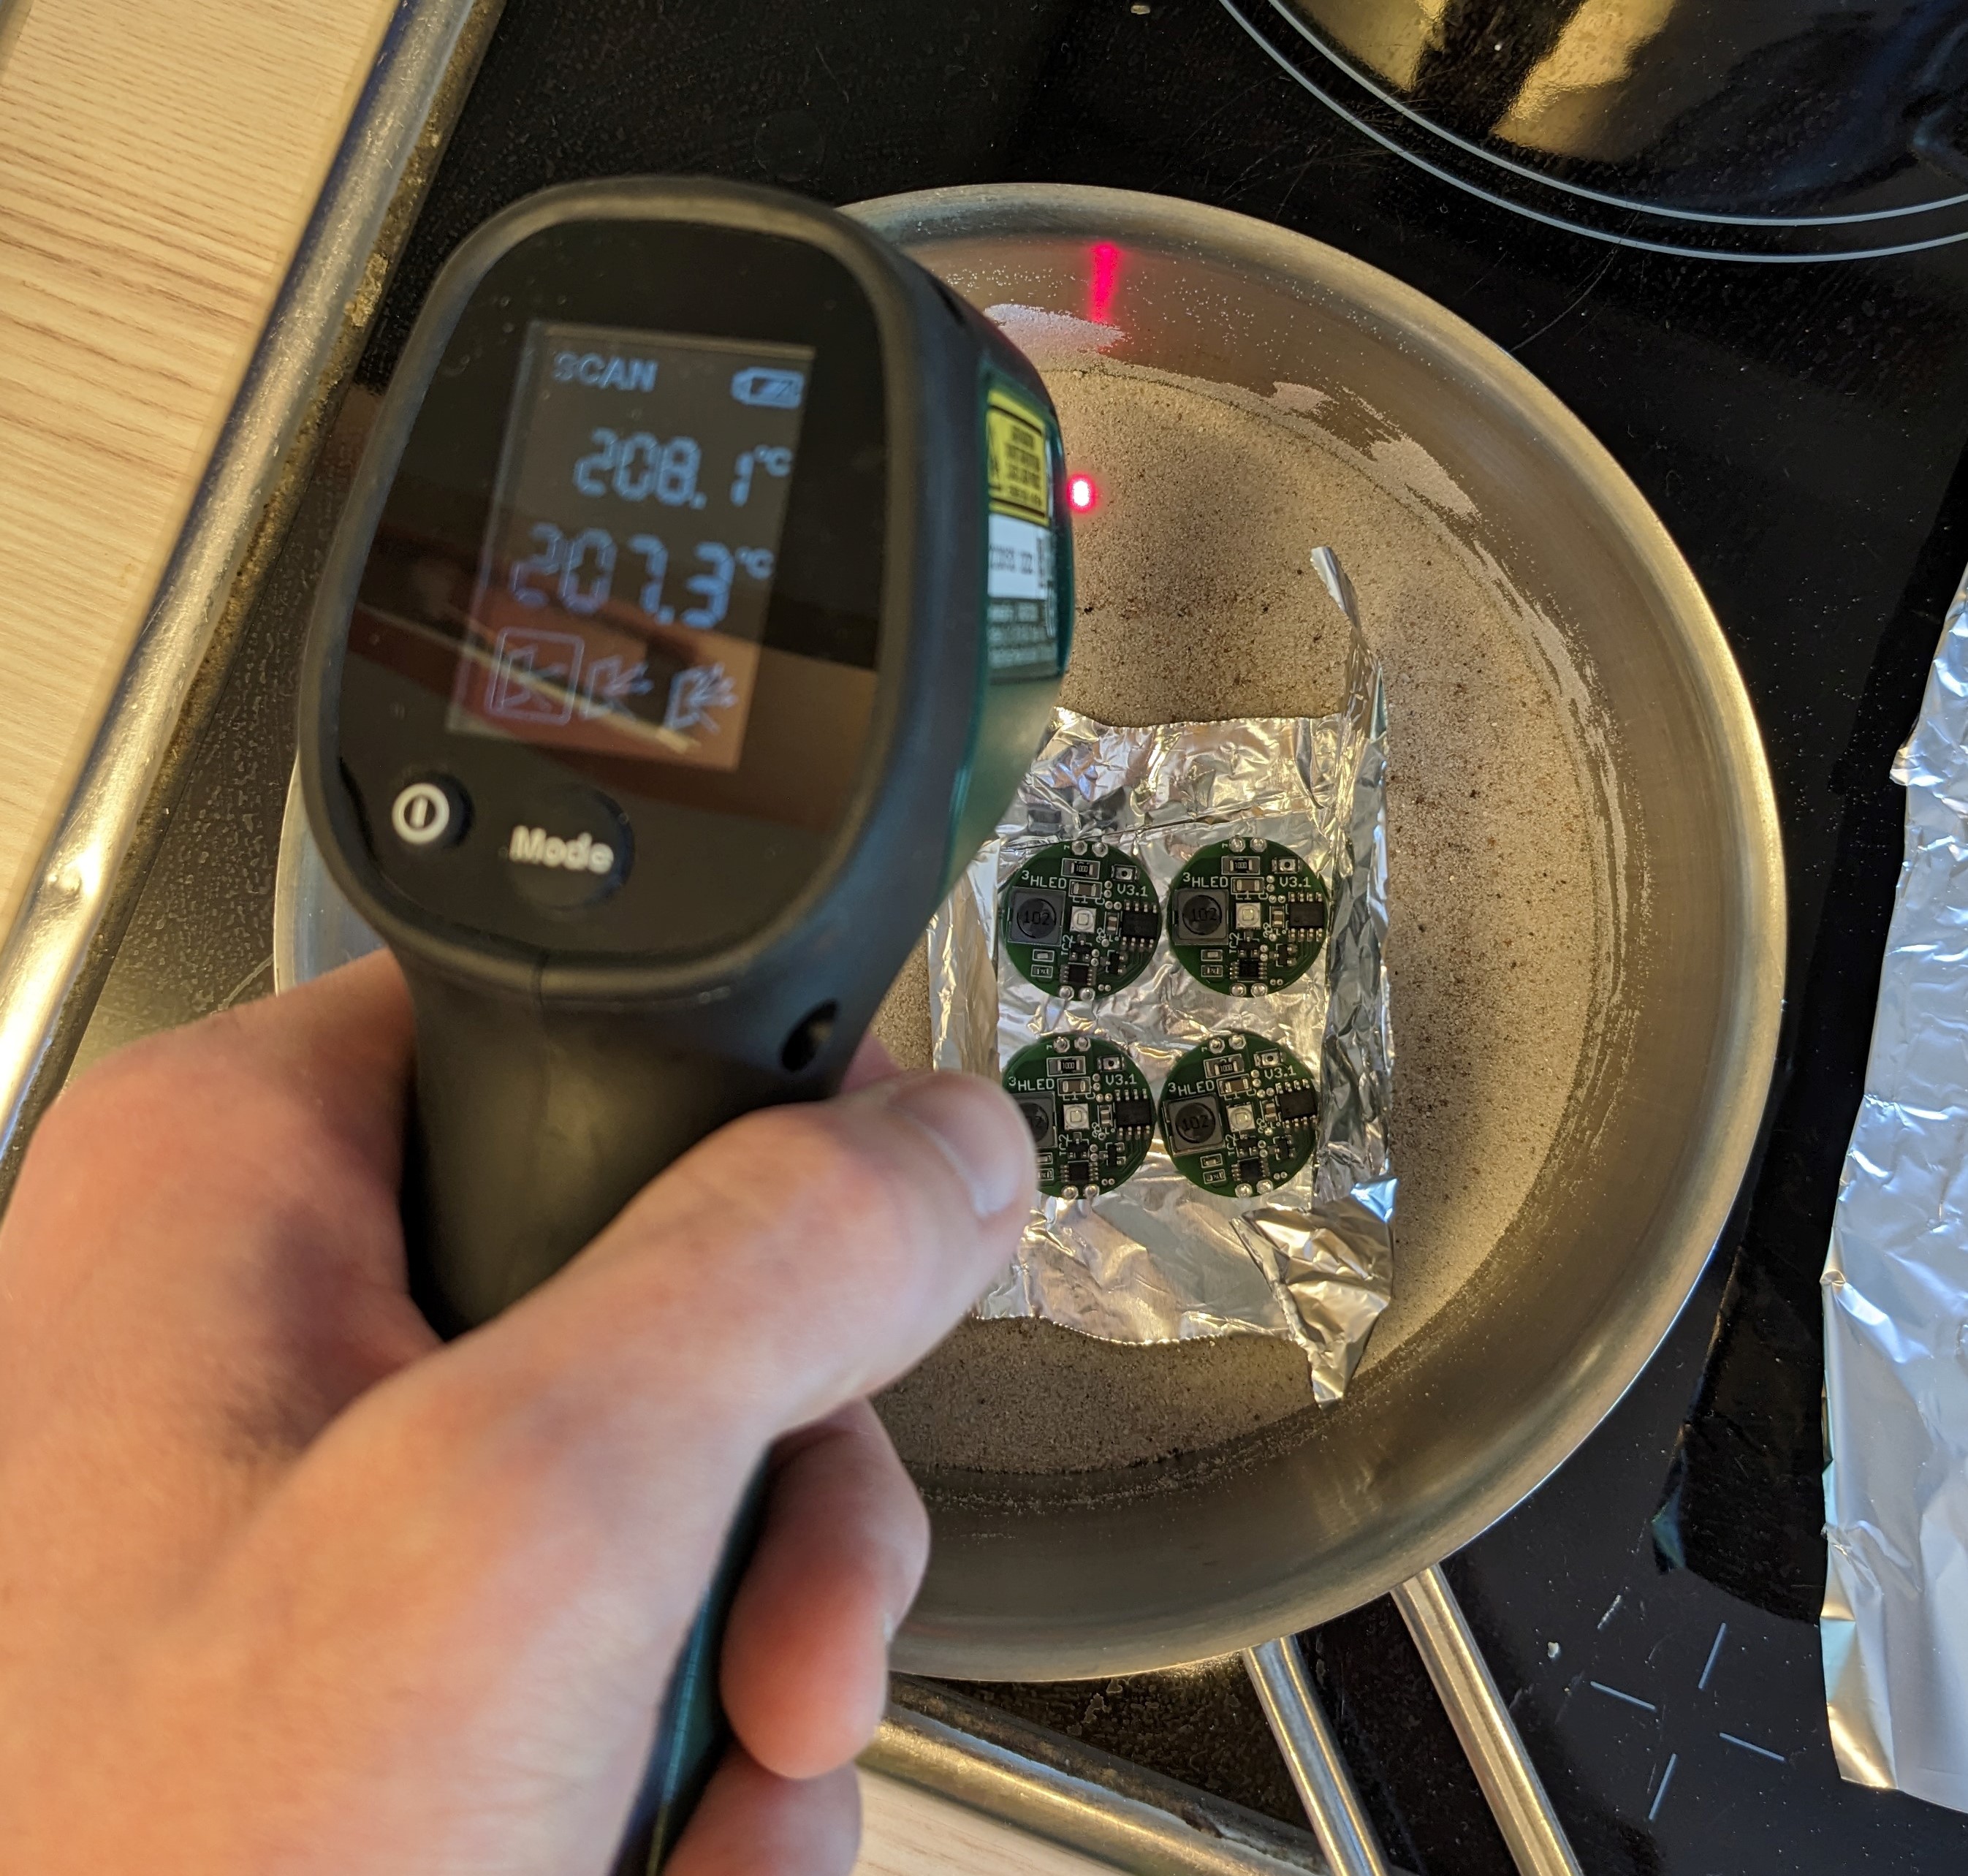
Note: This is a later batch, the 6 original units were all baked while still held together by the surrounding PCB.
With all of these black parts, you can actually get an okaish reading from the PCB itself (if you are unfamiliar with the concept of emissivity, you should check it out, it's quite fascinating. In short: shinier objects reflect more light, so the sensor gets confused because it sees the reflection of e.g. the ceiling. To get the best possible reading you need a non-reflective black surface. Sand actually performs reasonably well). Most importantly, I watched for the solder to become shiny everywhere and then left it in for an extra 20 seconds for good measure. All of this worked surprisingly well.
Discussions
Become a Hackaday.io Member
Create an account to leave a comment. Already have an account? Log In.