 Kacper
There's a 3:51 long video about it if you want to see it, but the text gets into more details.
HOW IT WORKS:
The whole project is based ond piezoelectric sensors. BaThey are cheap, easy to use, and you can change their sensitivity with a tiny bit of soldering. This makes them perfec for this application.
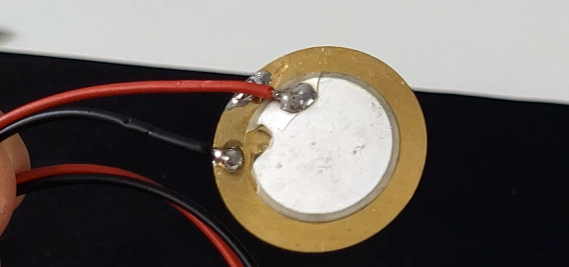
Using piezoelectric sensors on their own can be deadly for microcontrollers. Squeeze them too hard and they are going to create tens of Volts and fry your board. That's why before connecting them to the microcontroller I’ve added a parallel 1M Ohm resistor and a Zener diode.
You can also use an additional resistor connected in series to the whole thing to limit the amount of current that the sensor can create.
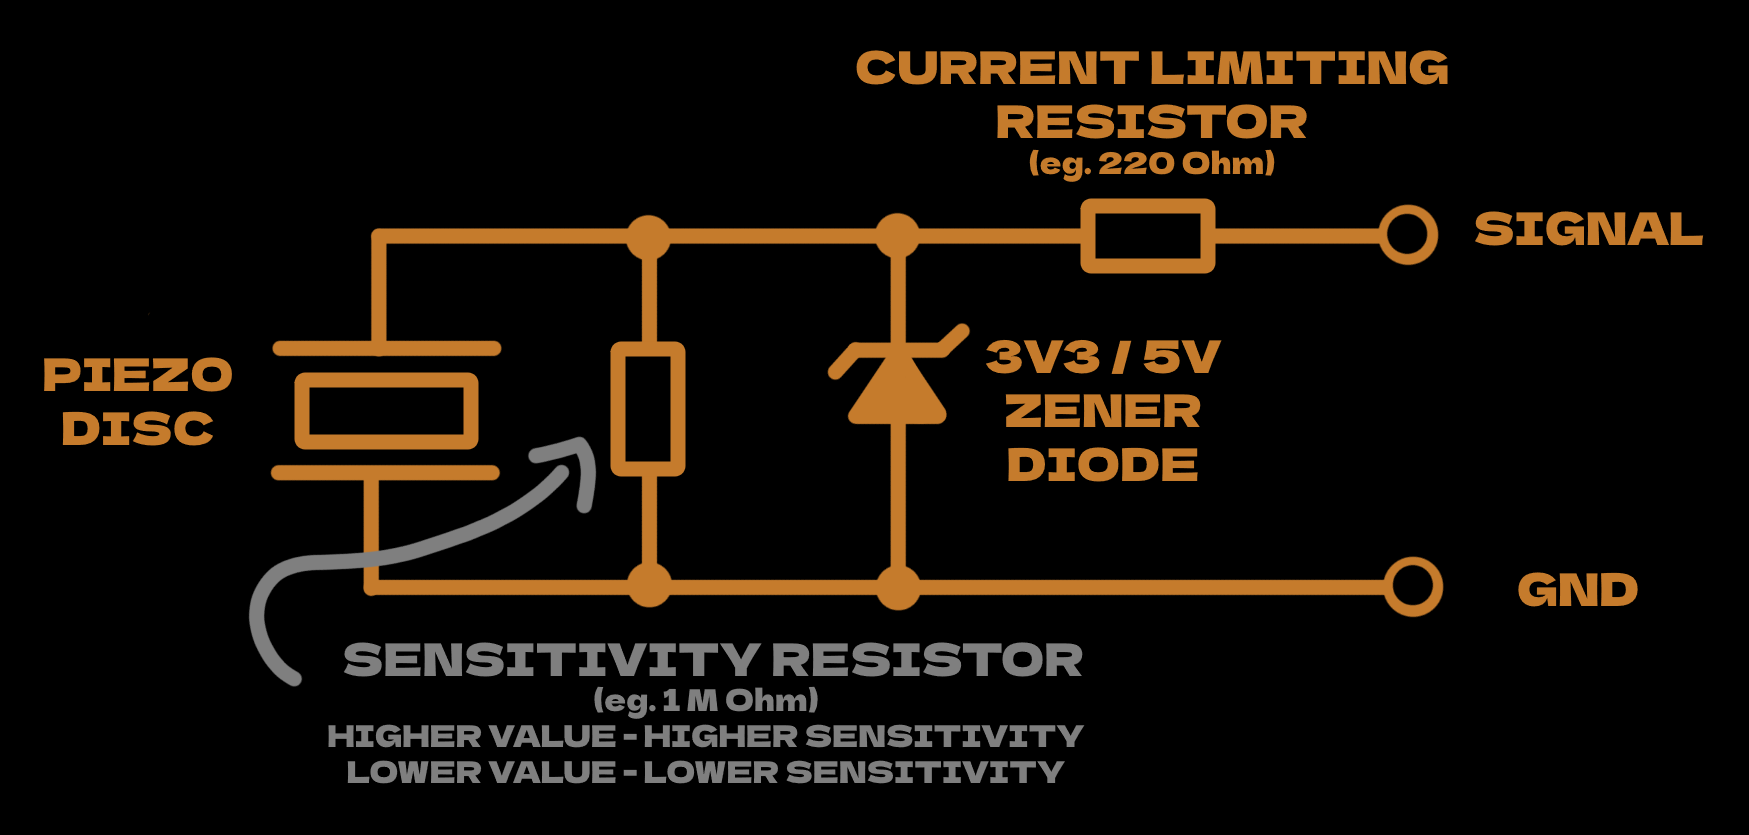
If you decide to make this thing for yourself, try to play around with the value of the parallel resistor – making its resistance higher makes the sensor more sensitive. Alternatively, lowering its resistance makes it less sensitive. In my case 1M Ohm resistor gave me the ability to register hits from the nerf blaster, but the rover is "immune" to low-kicks.
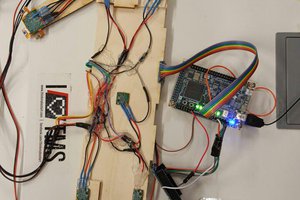
So anyway, I made sure my sensors are sensitive enough for me to easily distinguish fast and hard hits from random vibrations and I’ve placed 4 of them around the rover to register hits from every side.
With all sensor ground wires grounded and signal wires connected to analog pins on the microcontroller, you can start looking for value spikes.
void loop()
{
  //Clear the buffer
  for(int i = 0; i < N_SENSOR; i++){sensor_data[i] = 0;}

  //Get [N_SAMPLE] readings for each sensor
  for(int i = 0; i < N_SAMPLE; i++){
    for(int i = 0; i < N_SENSOR; i++){
    sensor_data[i] += analogRead(Sensor_pins[i]);
    }
  }

  //Average the data
  for(int i = 0; i<N_SENSOR;i++){
    sensor_data[i] = sensor_data[i]/N_SAMPLE;
  }

  //Check if all of the data point fit below chosen threshold
  if(!data_in_bounds(threshold,sensor_data,N_SENSOR)){
    Serial.println("HIT DETECTED");
  }
  delayMicroseconds(2000); // small delay
}
It's super simple, and the comments should explain everything, so I'll skip talking about it.
You can get the rest of the code if you want it here: github
One more thing:
Having multiple sensors close to each other means that sometimes multiple sensors will indicate a hit at the same time. This, in turn, can be used to assume which direction you got shot from/where a possible shooter might be.
Again, you can see the code on my github.
 Simon Trendel
 Mario Frei
 ElectroBoy
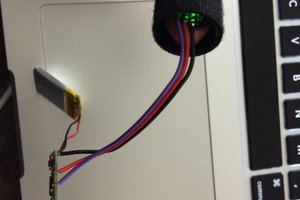
 Laura
Laura