 Kevin Santo Cappuccio
There's not really a lot to this thing, it's pretty simple.
Here's a long, sped-up montage of most of the process, and sort of a preview of the type of footage I intend to capture on the Bolex:
One of the points of this project was to use the Jumperless to prototype a real project. And it did a great job getting the 7 segment display and rotary encoder stuff all worked out. I wasn't about to blow up a Jumperless by running the 12V 1A door actuator circuit on it, so that was a job for a regular breadboard. Here's a video of me just wiring that stuff up:
Cool, now all that stuff works and the Jumperless was actually useful (this project got sidetracked for a day because I found a bug in Jumperless's routing code so I had to fix that and push a new release first.)
Here's the schematic:
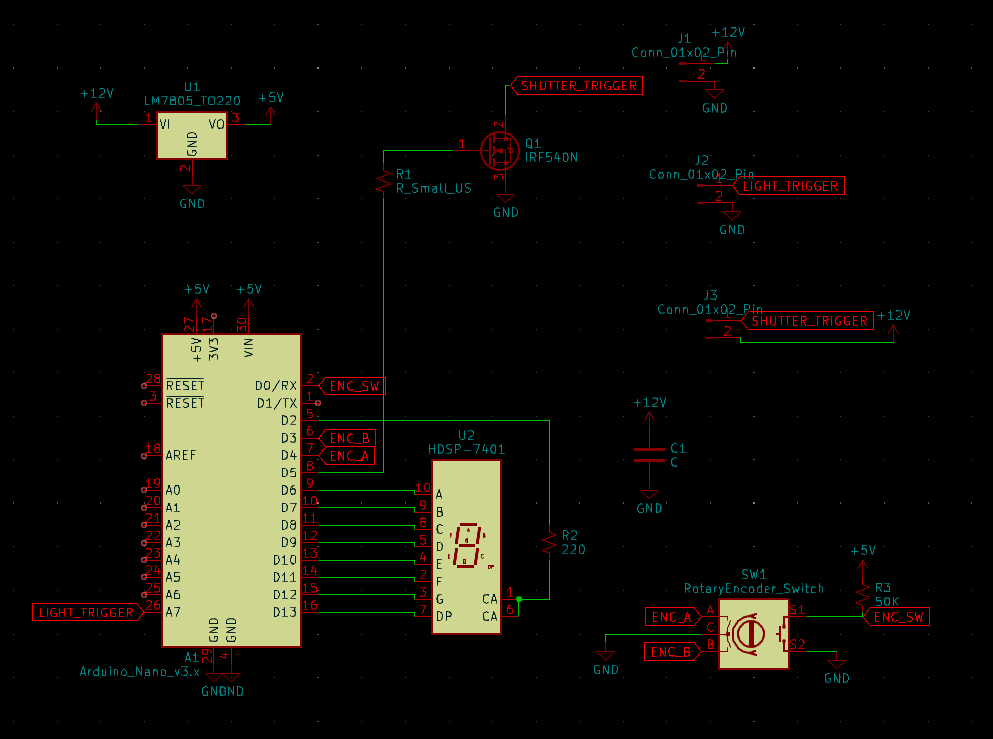
The only change I made on the board was adding a diode between the 5V bus and the regulator. When the door lock actuator fires, it draws like an Amp of current and sagging the supply voltage quite a bit, so the 5V was being pulled back through the LM7805 and browning out the Arduino Nano. Never had to do that before but it worked great.
Here's the PCB layout:
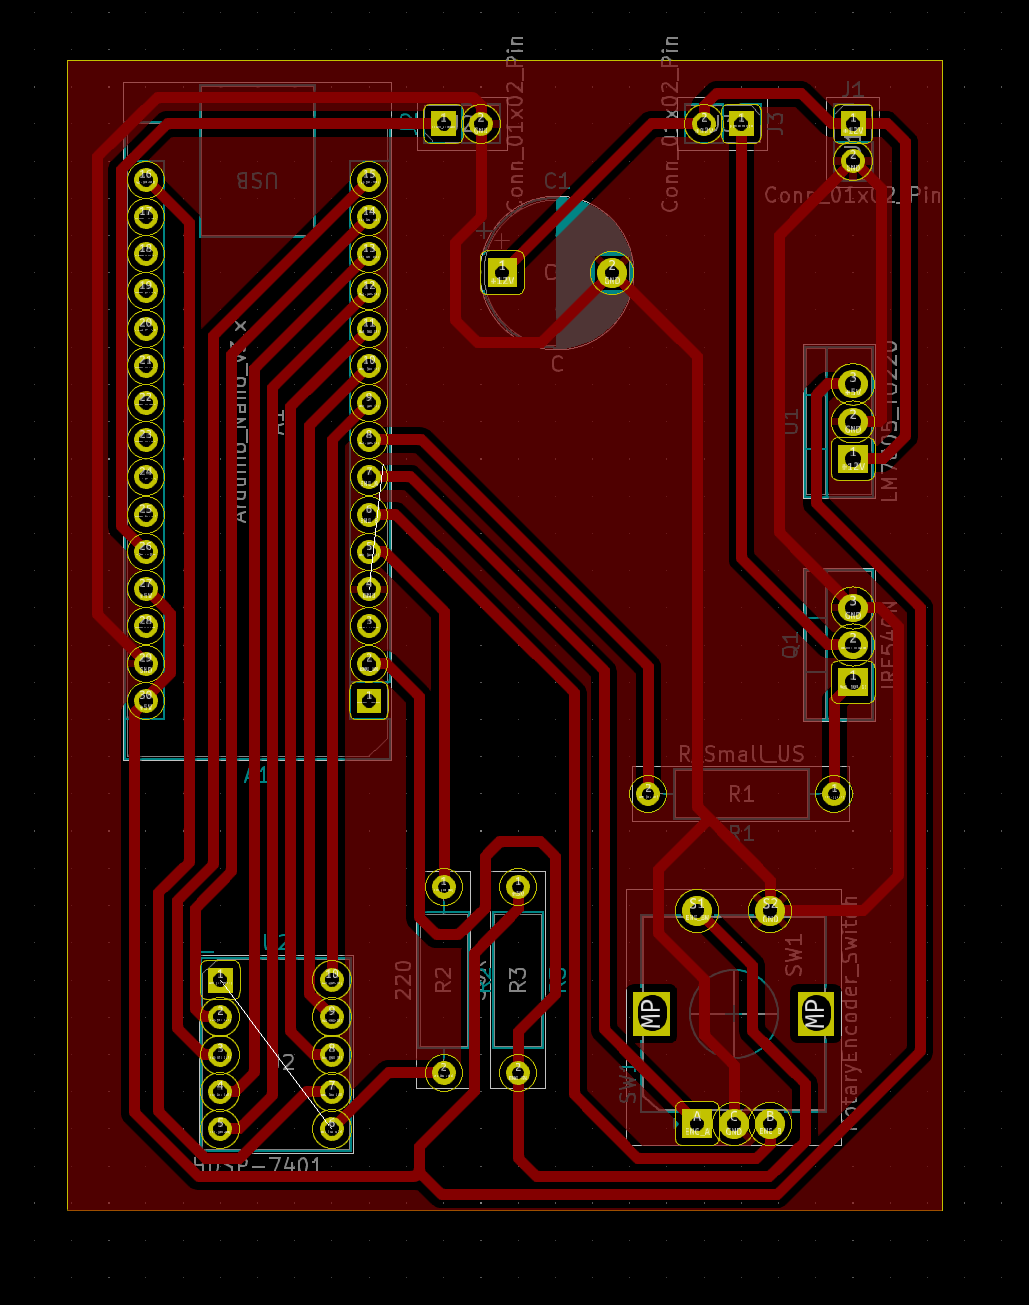
After 12 hours of trying to get FlatCam to install on a Mac, I gave up and dug out a Windows PC to run it. Then took the gerber job file back to my mac and cut it with UGS on my cheapy 3018 CNC mill. It did a surprisingly great job with it on the first try.
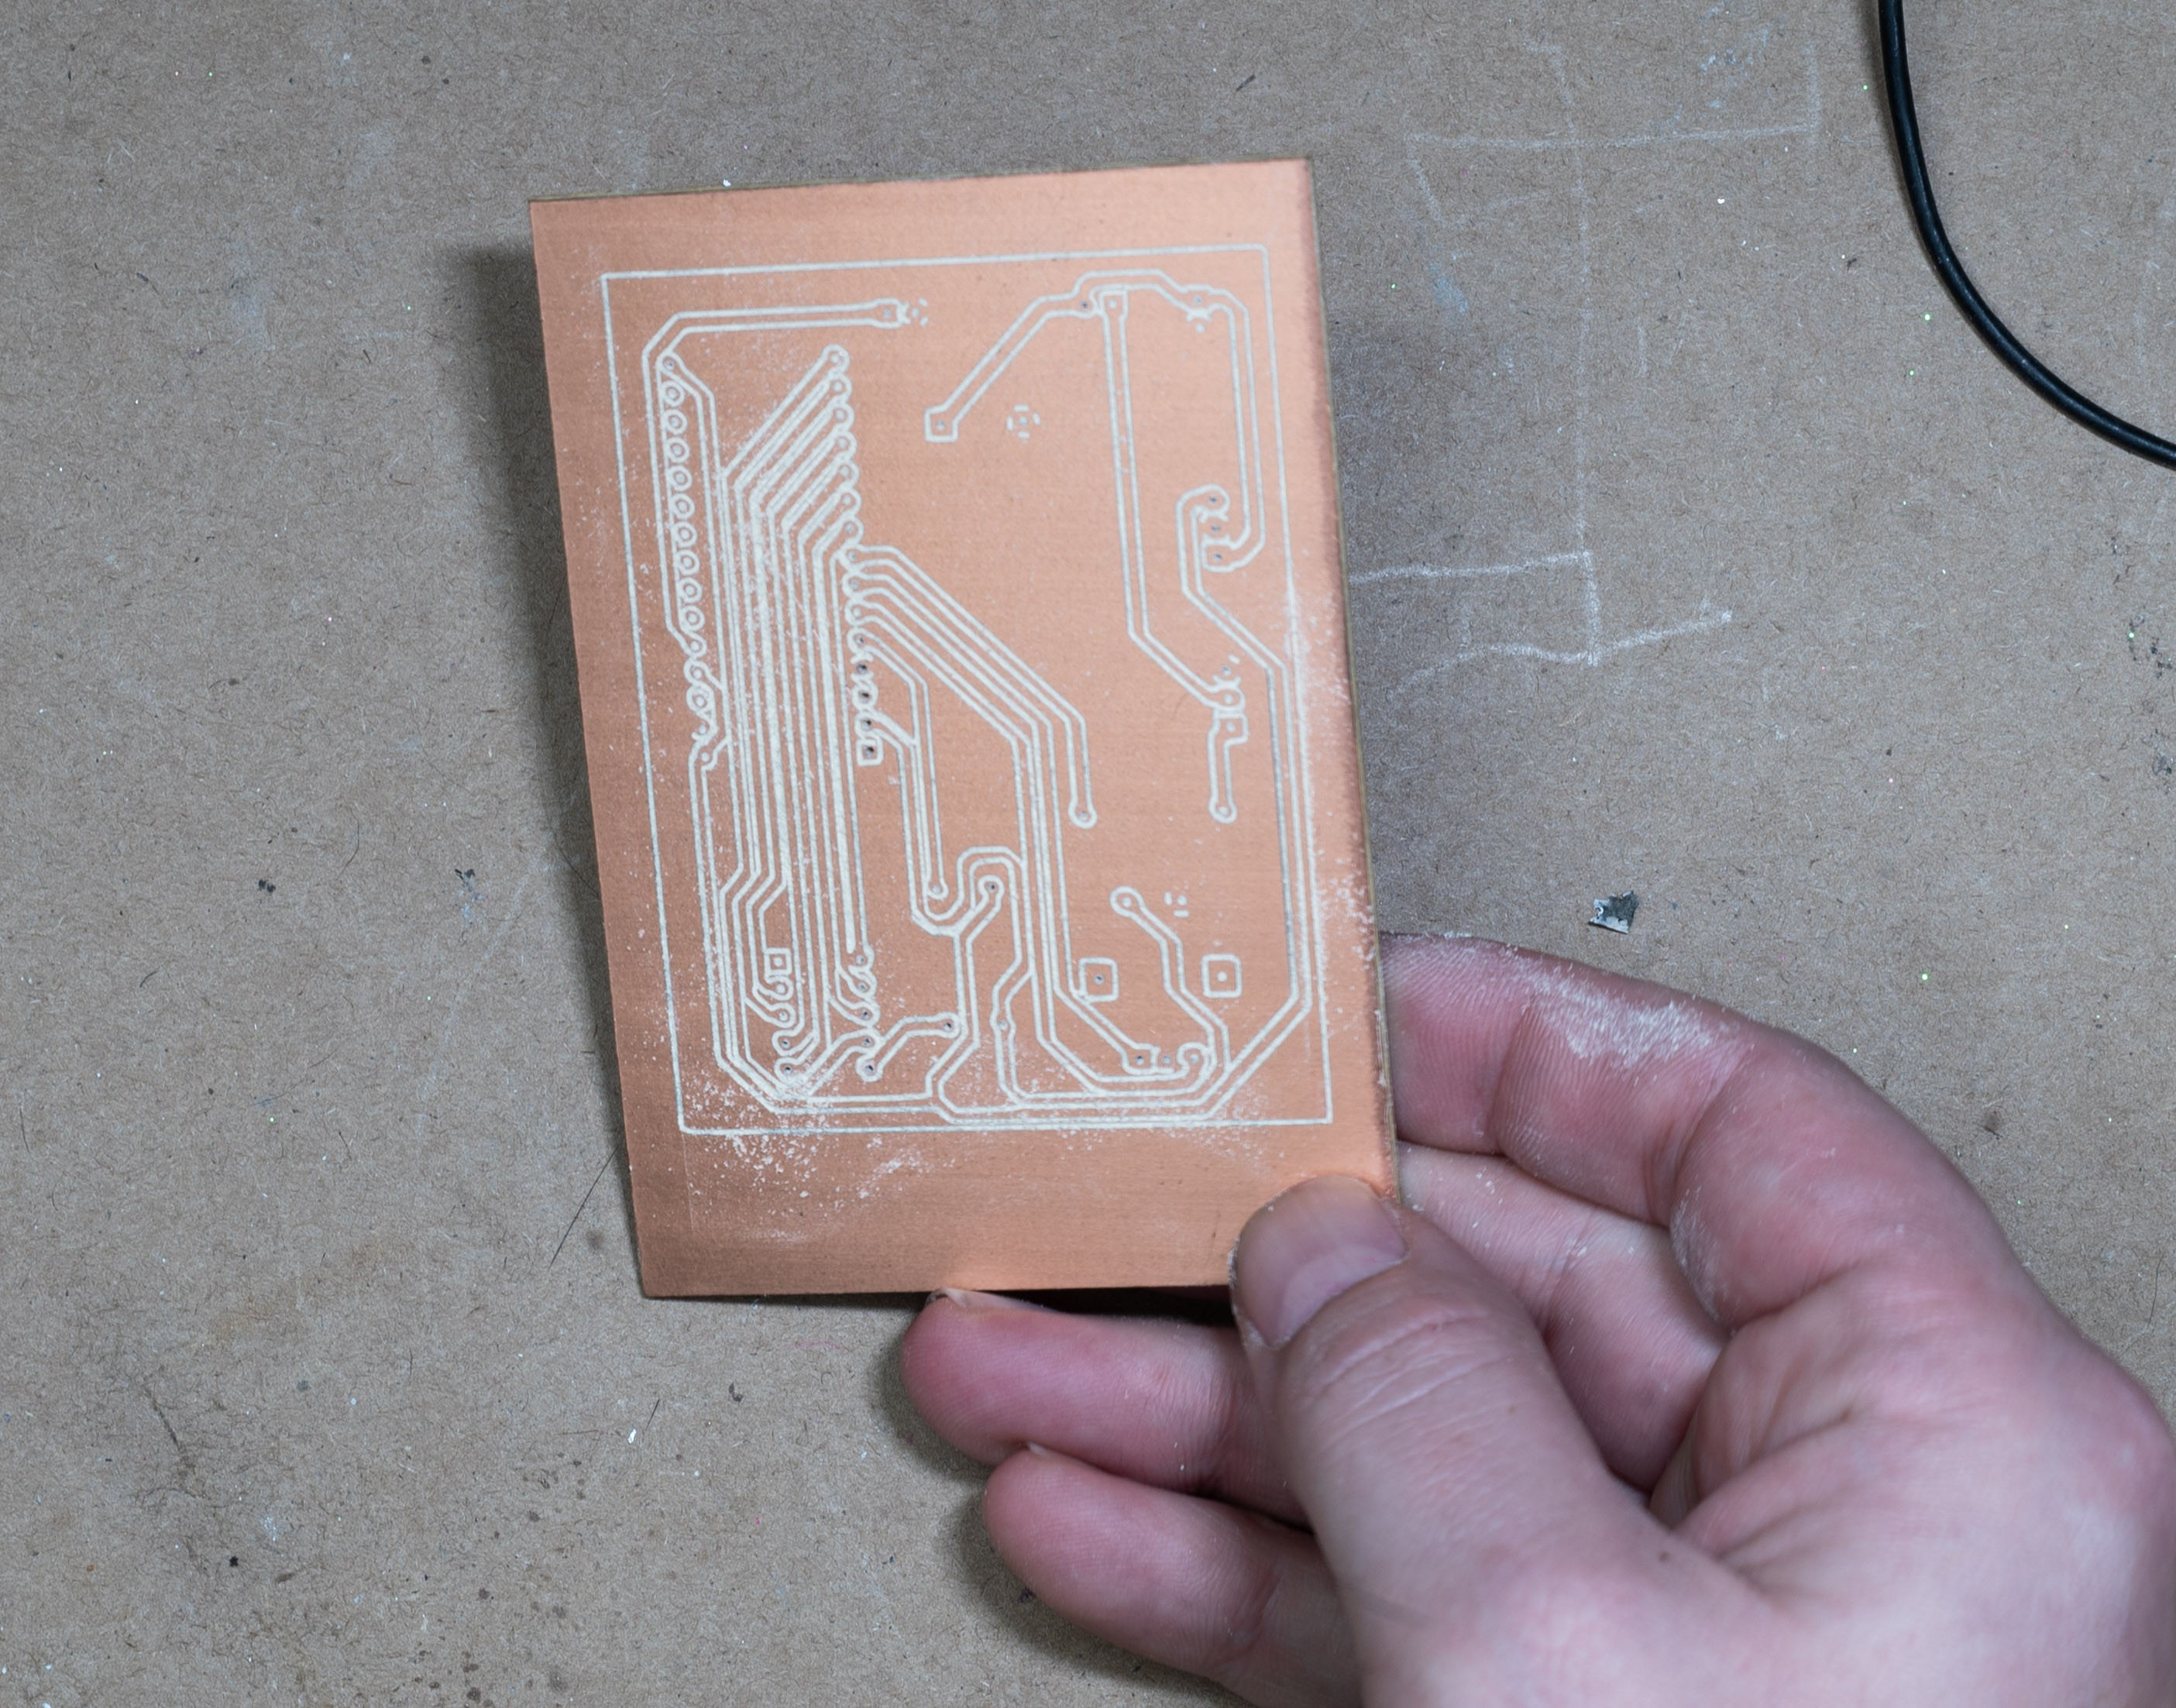
Most of the time spent was fixing the milled PCB traces. This was the first PCB I've milled, and it was surprisingly easy. But if you're considering trying it out, here are some things I learned:
- Get higher quality copper-clad FR4. I have no idea where I bought this stuff but the copper barely sticks to the FR4 and it was an absolute nightmare to deal with.
- (probably related to the point above) Remember to flip your design so the copper is milled as the back layer. I didn't do this and wasted more time soldering to the front of the board than it would have taken to just make another one properly flipped.
I quickly 3D printed a little bracket to fit around the bolex with totally eyeballed measurements. I didn't take any photos of just the 3D print itself, but here are some renders of what it would have looked like if it was made out of Fusion 360's Electroluminescent display (red).
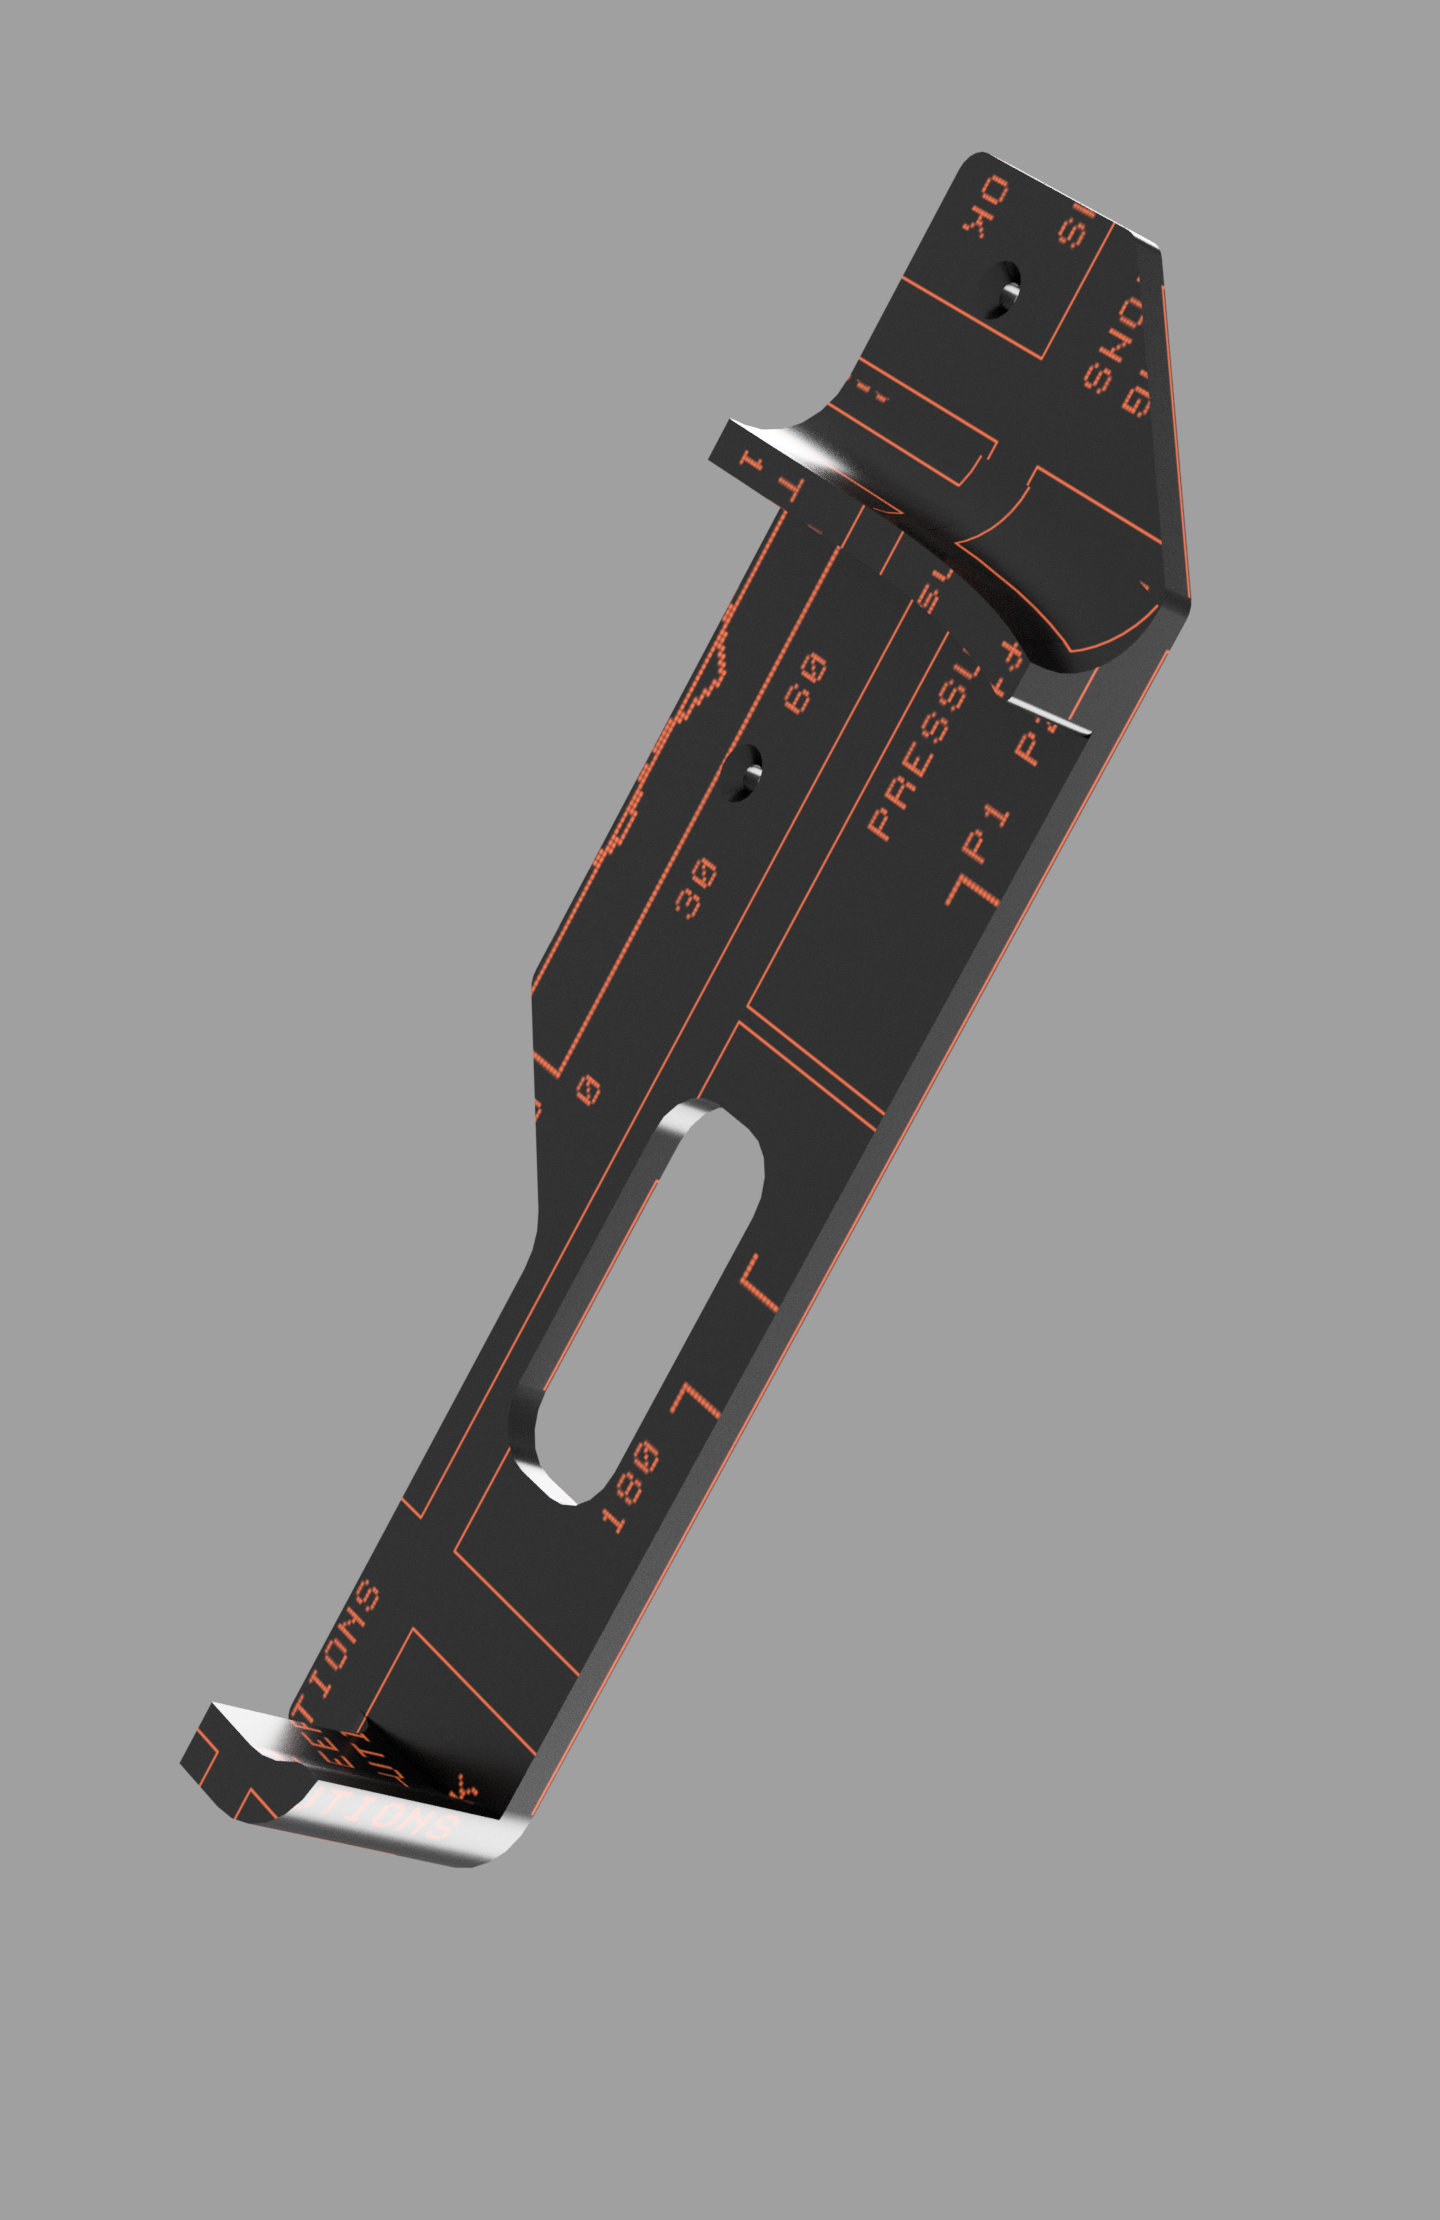
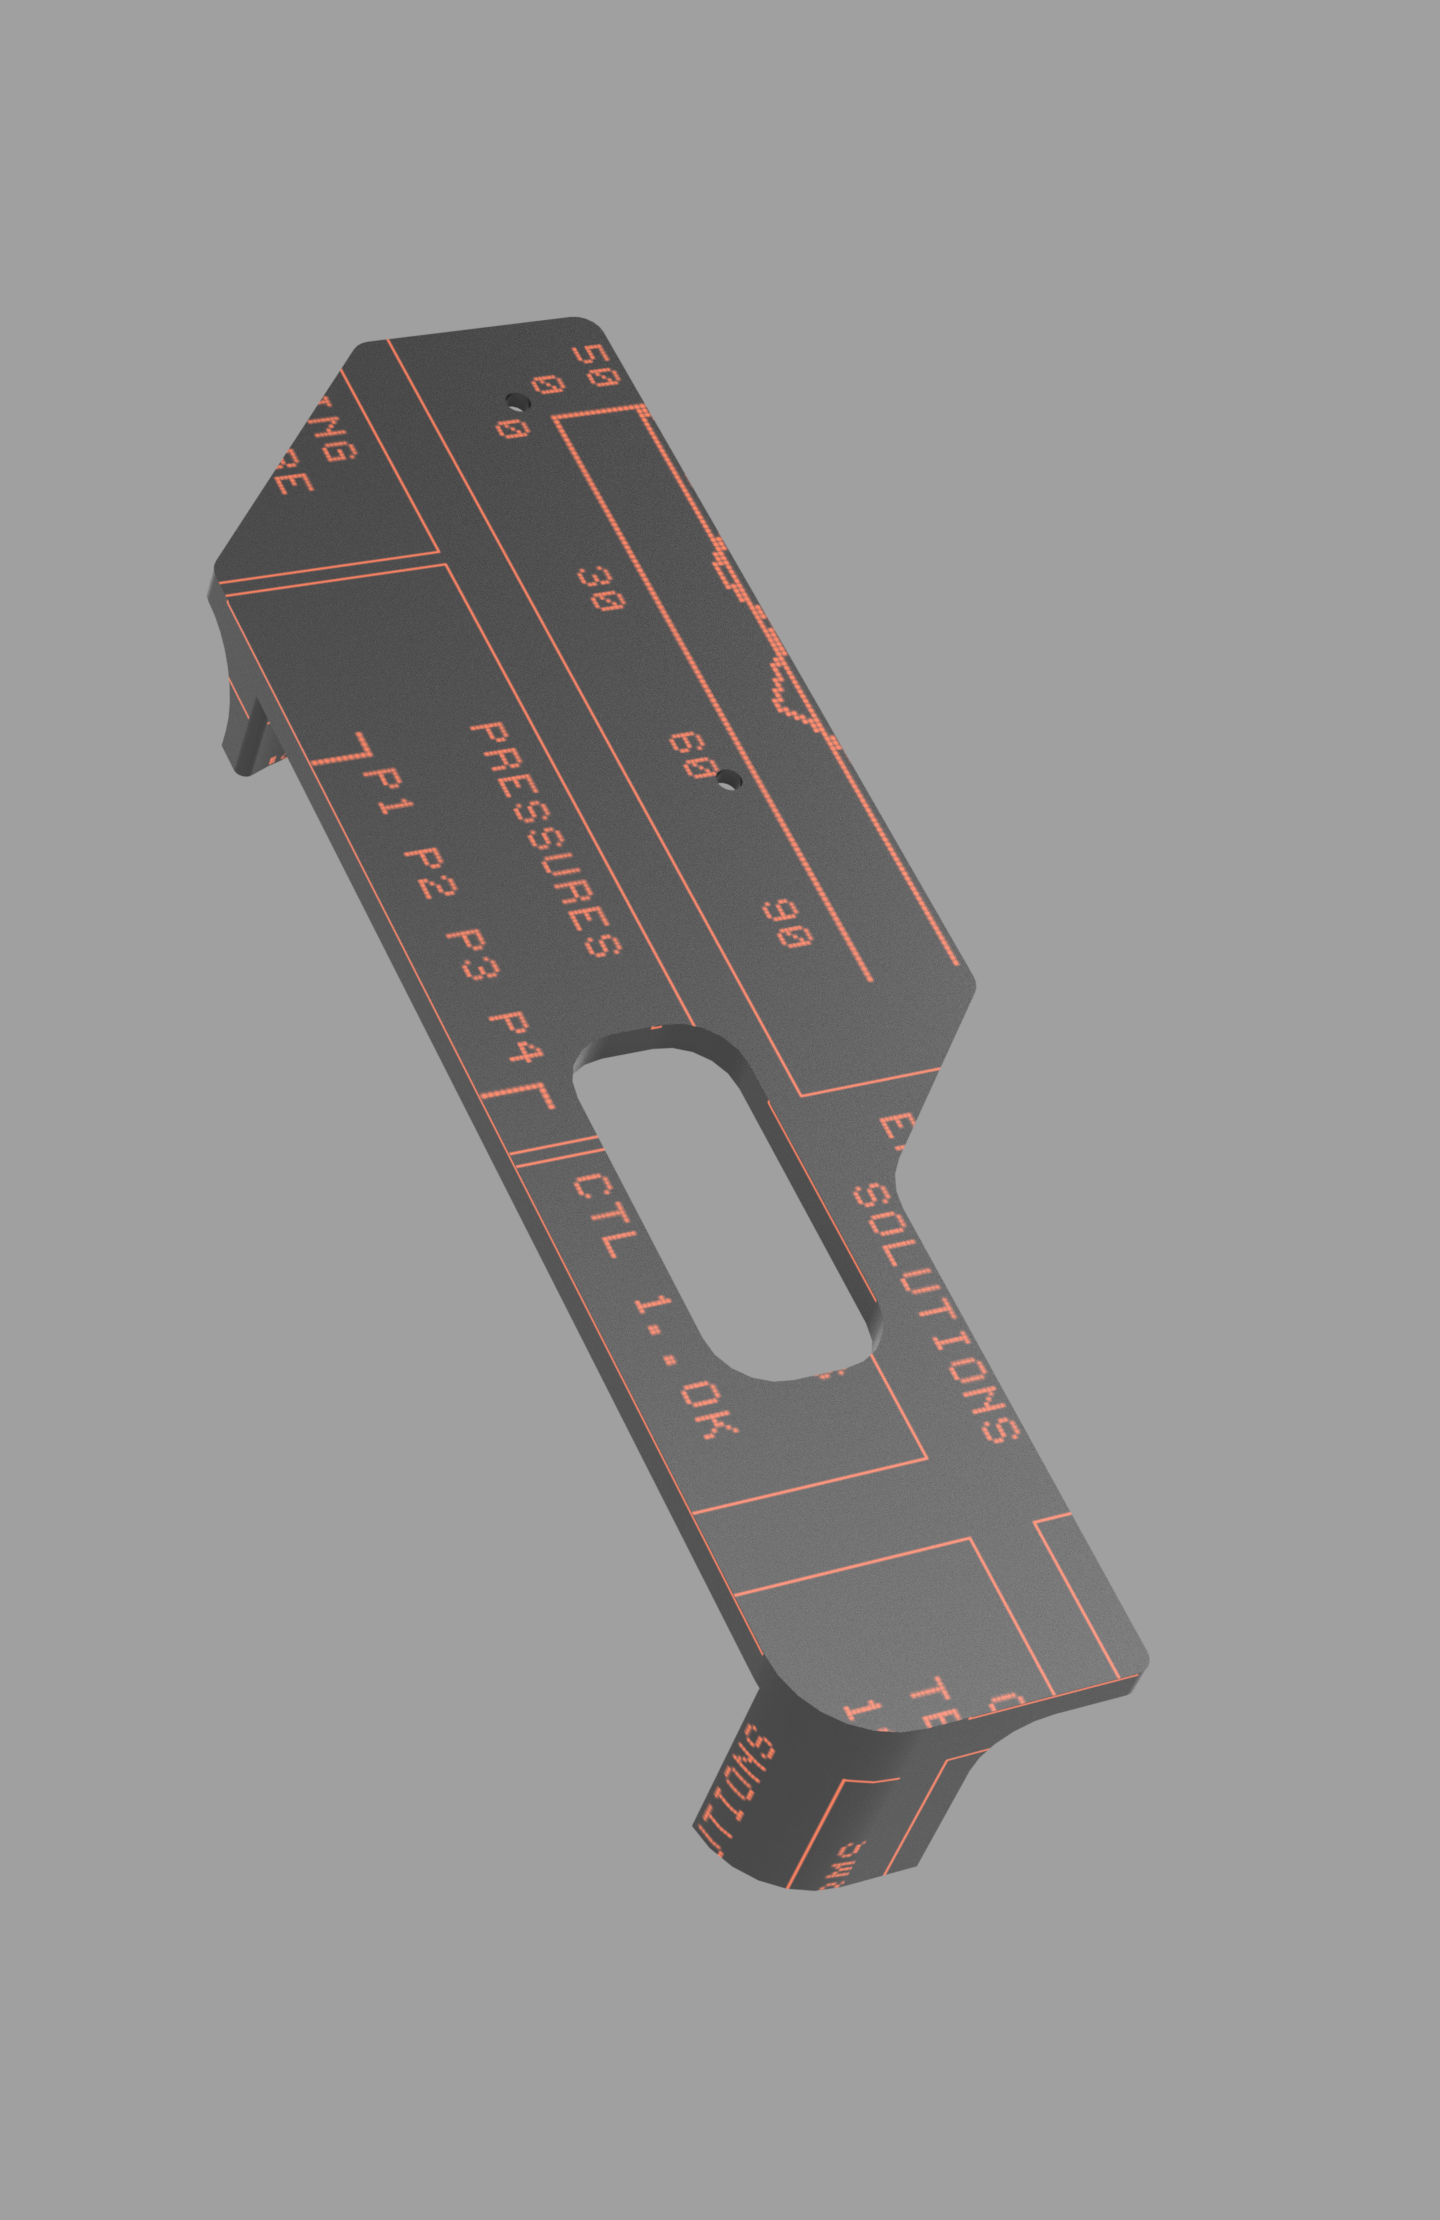
Please tell me where I can buy this filament.
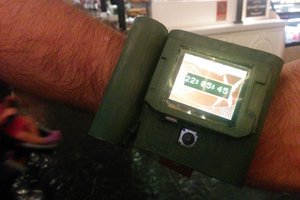
Okay so it's all soldered/hot glued/taped together, here it is in action:
It'll go up to an hour between shots so I can just leave it constantly running and not eat up too much film (16mm is soo expensive) but you wouldn't want to watch an hour long video to see it fire once.
 Christian
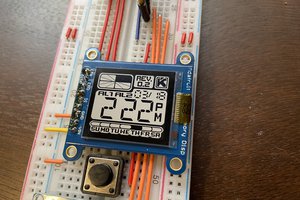
 Kinetic Labs
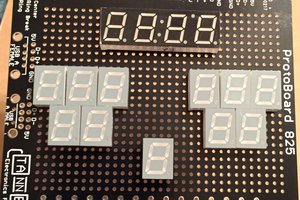
 JessTheBell
 Tim
Tim