 Pamungkas Sumasta
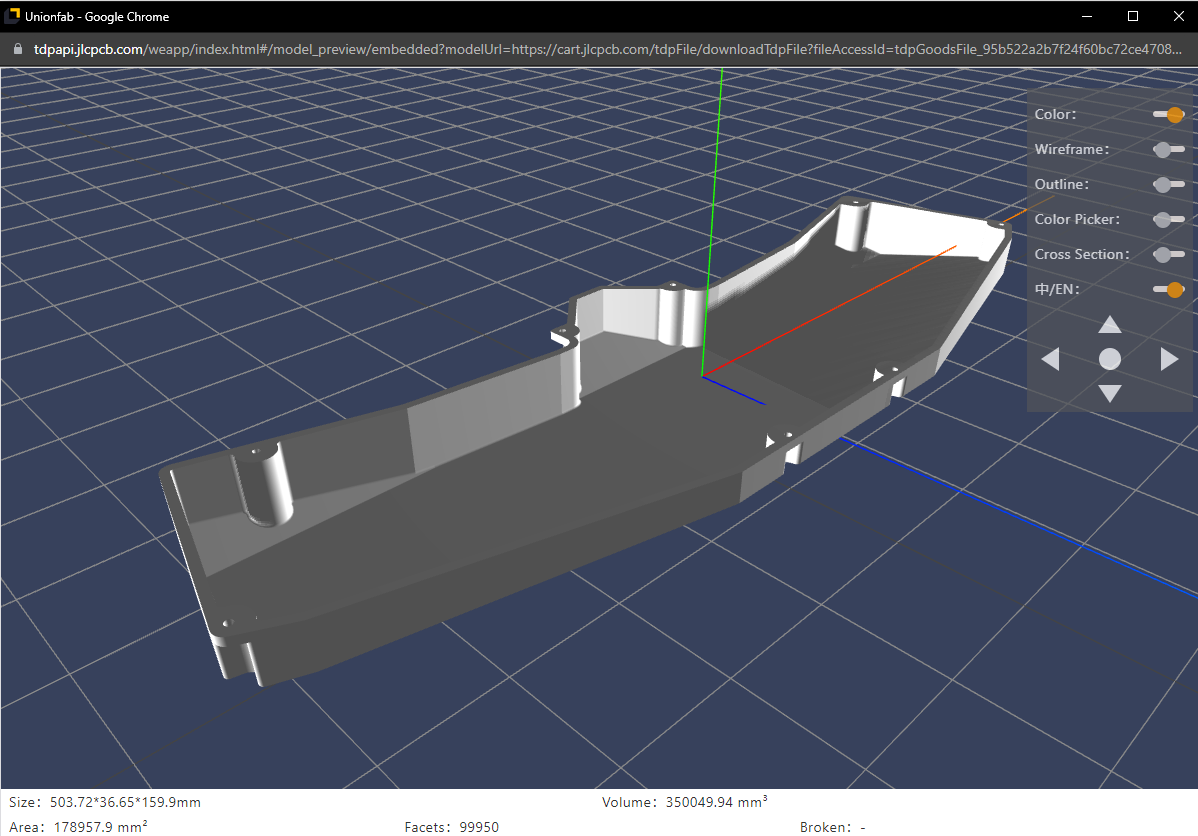
Since the start, I've envisioned to have a translucent 3D printed back-housing in a single piece. Mainly for simplicity and the sturdiness of the whole built by providing all the support of the PCB on the top. The translucent requirement on the other hand is for aesthetics, I always like to be able to see, or peek the PCBs inside while also at the same time providing some sort of through-illumination. I've got a help of a colleague to design a straightforward housing and Siemens NX was used. You can find the master file as well as the exported STEP/STL in my GitHub under mechanical folder.
To hold the whole unit together, an SMT spacer was threaded hole from Wurth was used. I placed those SMT spacer around the corner and edges of the board and have the whole of the housing aligned. This way no nuts is required to clamp the housing and PCB together.
The length of the enclosure is slightly more than half a meter, so it was not that easy to print at home or find an affordable printing house. I had to turn to china, in particular JLPCB for their 3D printing service. It was quite affordable and fast, but the shipping cost is almost the same as the part itself. I opted to use SLA resin printing this time in particular the 8001 translucent material. There was a risk of warping due to the size so we had to increase the wall thickness by almost 2 mm, making it also a bit more expensive afterwards.
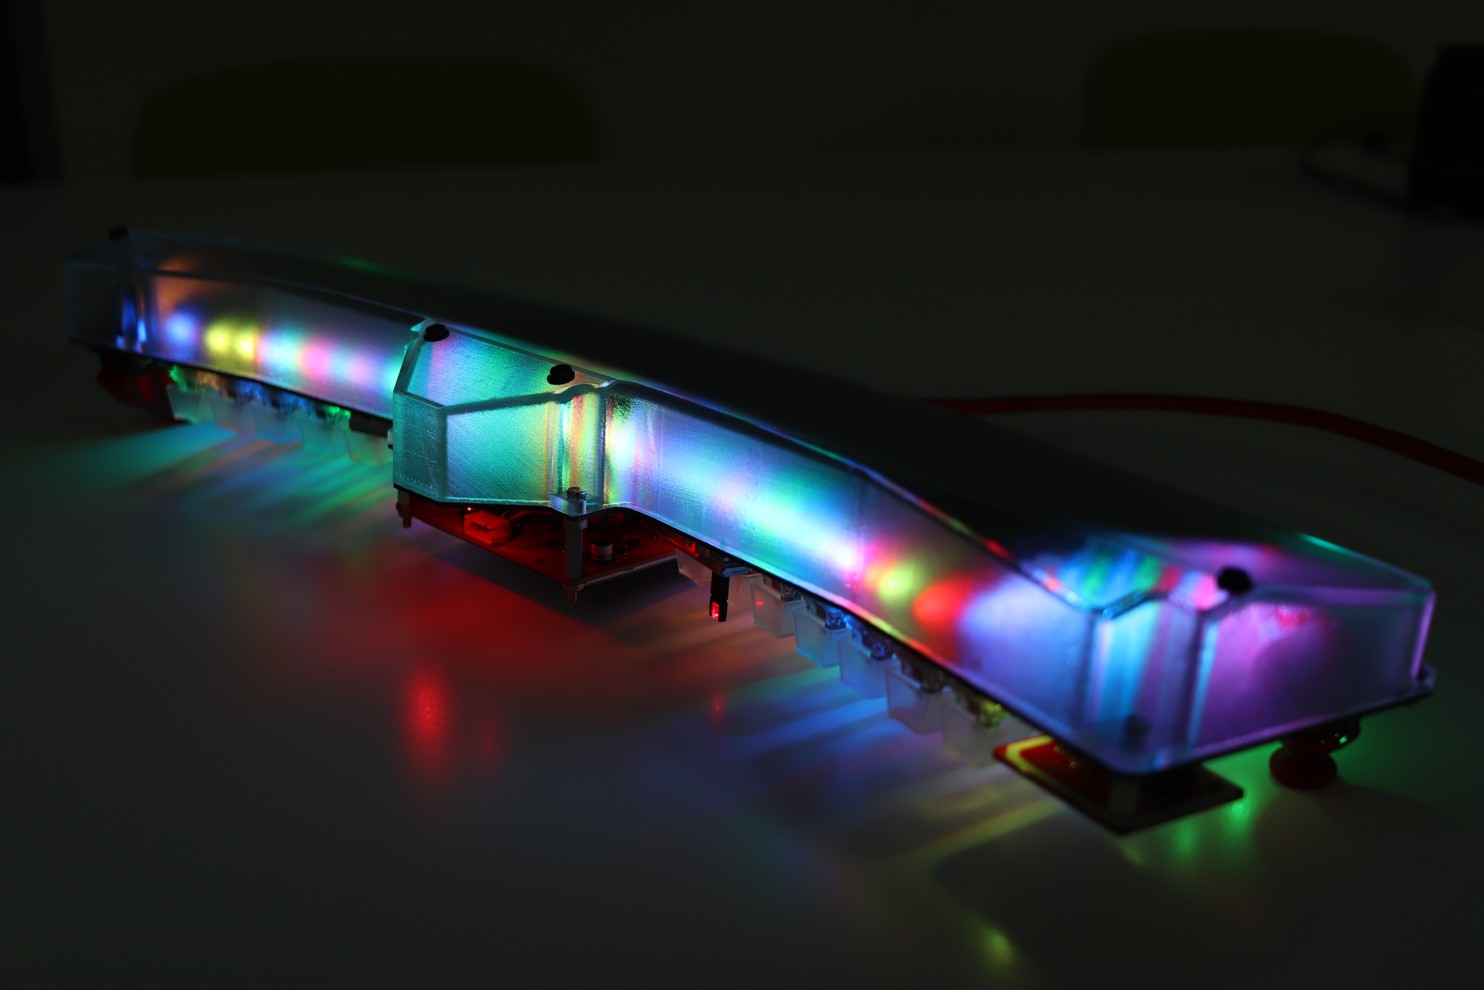
Overall, in the end I'm very happy with the outcome of the 3D printed enclosure. It works great, feels very sturdy and diffuse the light pretty well as well as you can see in the picture below!
Discussions
Become a Hackaday.io Member
Create an account to leave a comment. Already have an account? Log In.