The keyplate is where the key switches snap-fit onto into and provide some support. For the type of key stabilizers I purchased, they also snap fit onto the keyplate. For the 3 key tester, I made one that fit 2x 1U keys (standard) and 1X 2U key that was double in width and required a set of stabilizers.
Keyplate Material
Originally, I had set out to make an all-wood mechanical structure, meaning my first attempt at making a keyplate was using wood veneer. It probably should have been obvious that snap-fit parts onto thin wood was not going to work out. I tried anyway and of course it didn't work. Acrylic's a pretty common choice.
Keyplate Thickness
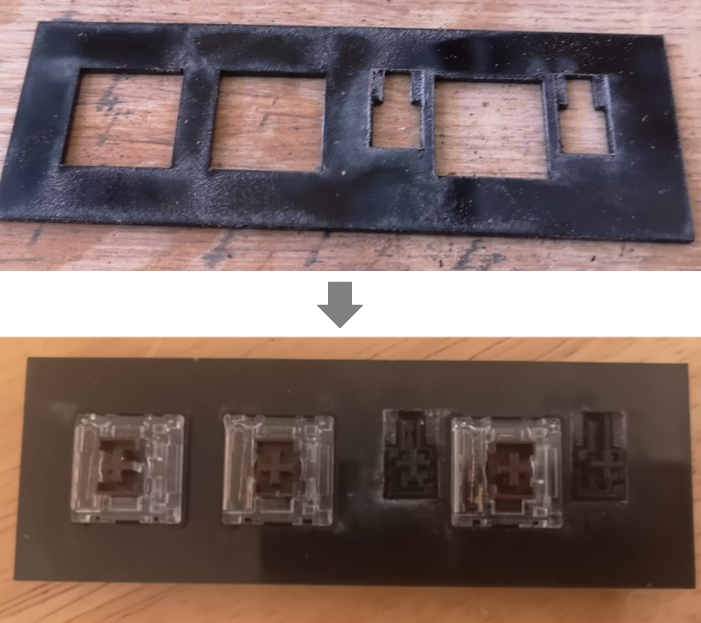
The thickness was 1/16" (or 1.5mm), which is pretty typical for mechanical key switches. For the stabilizers used here, the thickness required as stated here was 1.2mm. In the picture above (and in the DXF file), there is a rectangular etch that is made around the perimeter of the stabilizer cutout. That etch was made so the thickness around the stabilizer was 1.2mm.
Keyswitch Cutout and Spacing
The keys I purchased required a 14mm square cutout. A standard keyboard spacing is defined in units of U (=19.05mm). The cutouts and spacing in the test keyplate are made to these parameters.
Using this sample for tuning laser cutter settings
The dxf files attached work for my laser cutter setup, but might be machine dependent and require kerf adjustments. I used this test to determine my laser cutter parameters to
- snap-fit the key switches
- snap-fit the stabilizers
- find the power settings to etch the plate down to a thickness of 1.2mm around the stabilizers
After a few attempts, the parameters that gave me nice-fitting parts was used and applied to the full-scale keyboard CAD files.
Discussions
Become a Hackaday.io Member
Create an account to leave a comment. Already have an account? Log In.