 Aaron
AaronA few years ago, my wife (who loves Halloween) found these plastic jack-o-lanterns at the store, and we were rapidly approaching Halloween. The pumpkins were being offered at a deep discount because (I assume) the store was concerned about being able to get rid of them. So we bought 6 or 7.
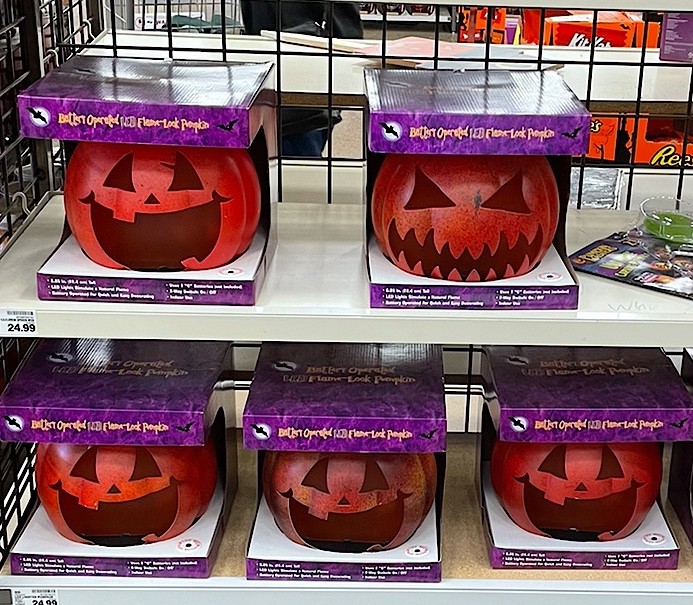
When we got them home, I was curious about how the "Try me" button worked. It turned out that there was a 2-pin 0.1" header on the bottom of the prop that the button was plugged into. The button completed the circuit and had 3 very small coin cell batteries to provide the ~5v to run the electronics inside that would otherwise be powered by batteries.
We placed them outside and hung them from the branches, when it was dry enough. I was sure through that little 2-pin connector that I could remotely manage them, and tried a couple of things before realizing I didn't have enough time to build a sequencing system from scratch.
The following Christmas I learned a lot of light shows utilizing various light control protocols (DDP, Artnet, E1.31) and realized that I could run lights directly off of a Raspberry Pi.
Amazon sells some strips of IP65 addressable LEDs, and with some surgery our pumpkins could be very easily controllable. I applied what I learned to the pumpkins the following year by replacing the internals with those weather-safe LEDs.
The basic concept here is to make a "chainable" pumpkin that will supply power, ground, and signal to the next pumpkin. This is made up of:
- A WS2812b LED strip
I chose the IP65 version that has molded silicone over the top. You could go with the IP67 version that has a sheath, but I think that'd be more work to waterproof
- A male and female 3-signal weather-resistant pigtail
You can buy pigtails with connectors typically from the same manufacturer as the LED strip. - Some appropriately AWG wire
- Hot Glue
- Heat shrink
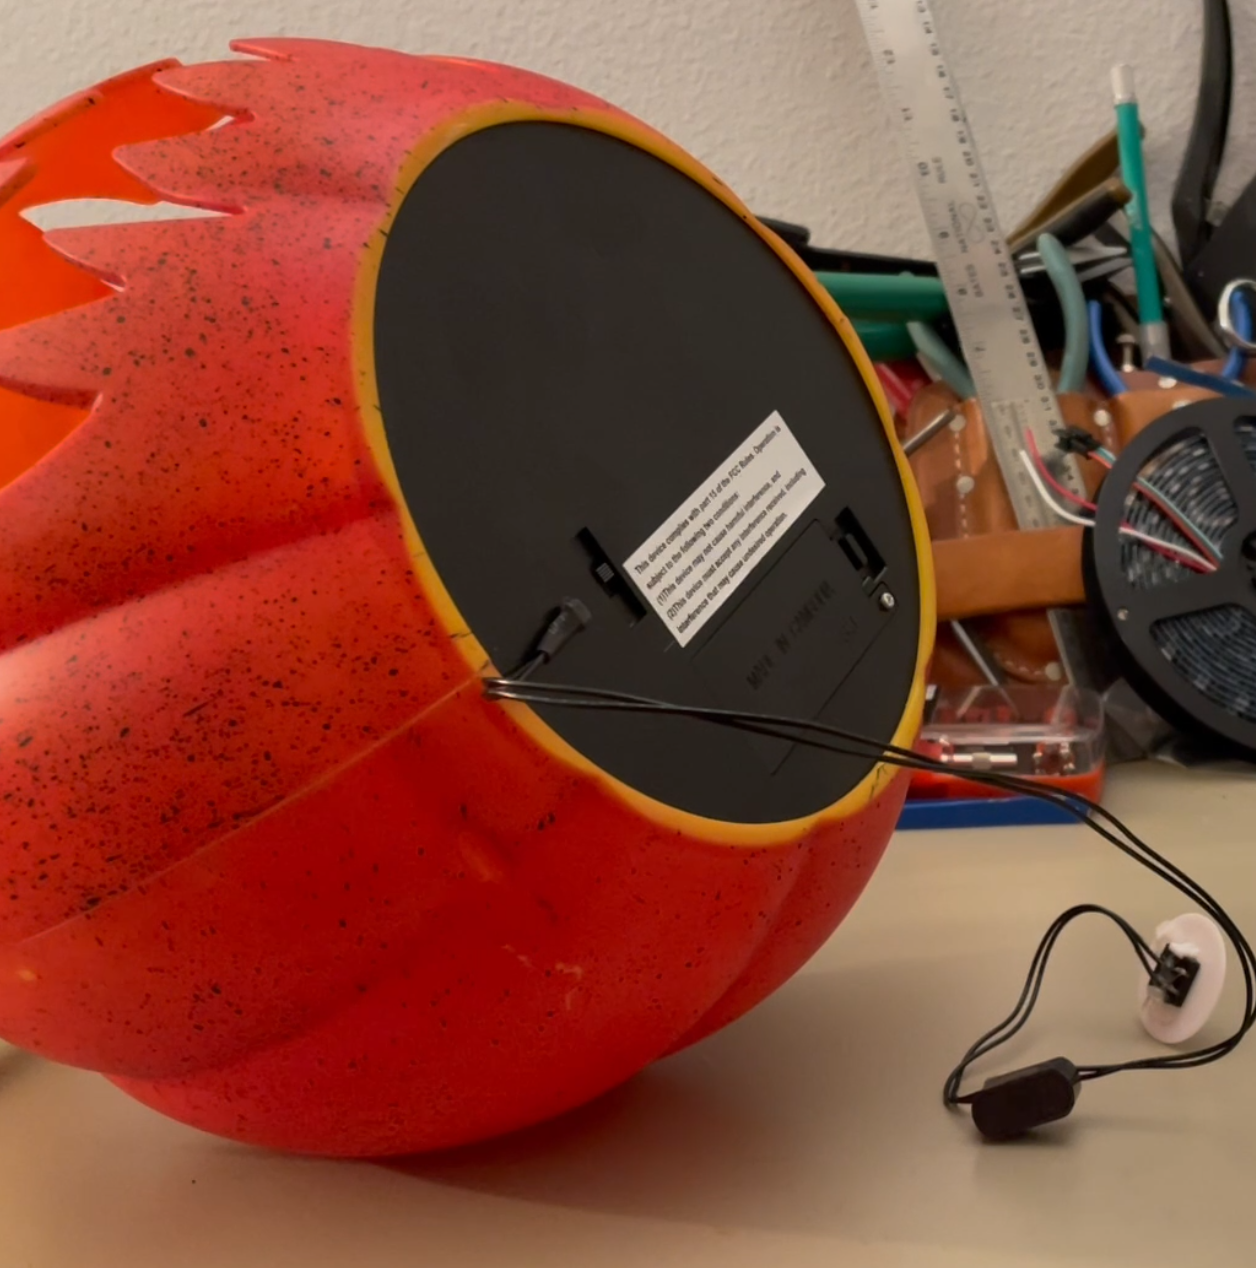
I drilled a hole for each pigtail up through the battery compartment. My theory a the time was that it'd be less conspicuous and get extra protection from weather there. It ended up consuming a bit of the pigtail length which could be useful. I doubt it makes much difference in the rain, and would probably just drill through the floor of the pumpkin.
Here I trimmed the wires, slipped in the heat shrink, and soldered the connections. I'll note here that it's important to test your connections before moving on to weather-proofing. It's a real pain-in-the-neck to remove the hot glue and rebuild the whole thing.
To weather-proof(ish) the setup I coated the the solder joints in hot glue. Then I slid heat shrink over the hot glue and shrunk it, which melts the glue again and it conforms to the shape of the heat shrink - it also ensures that you have a really good insulation around your connectors.
Additionally I put hot glue over the soldered connections to the LED strip.
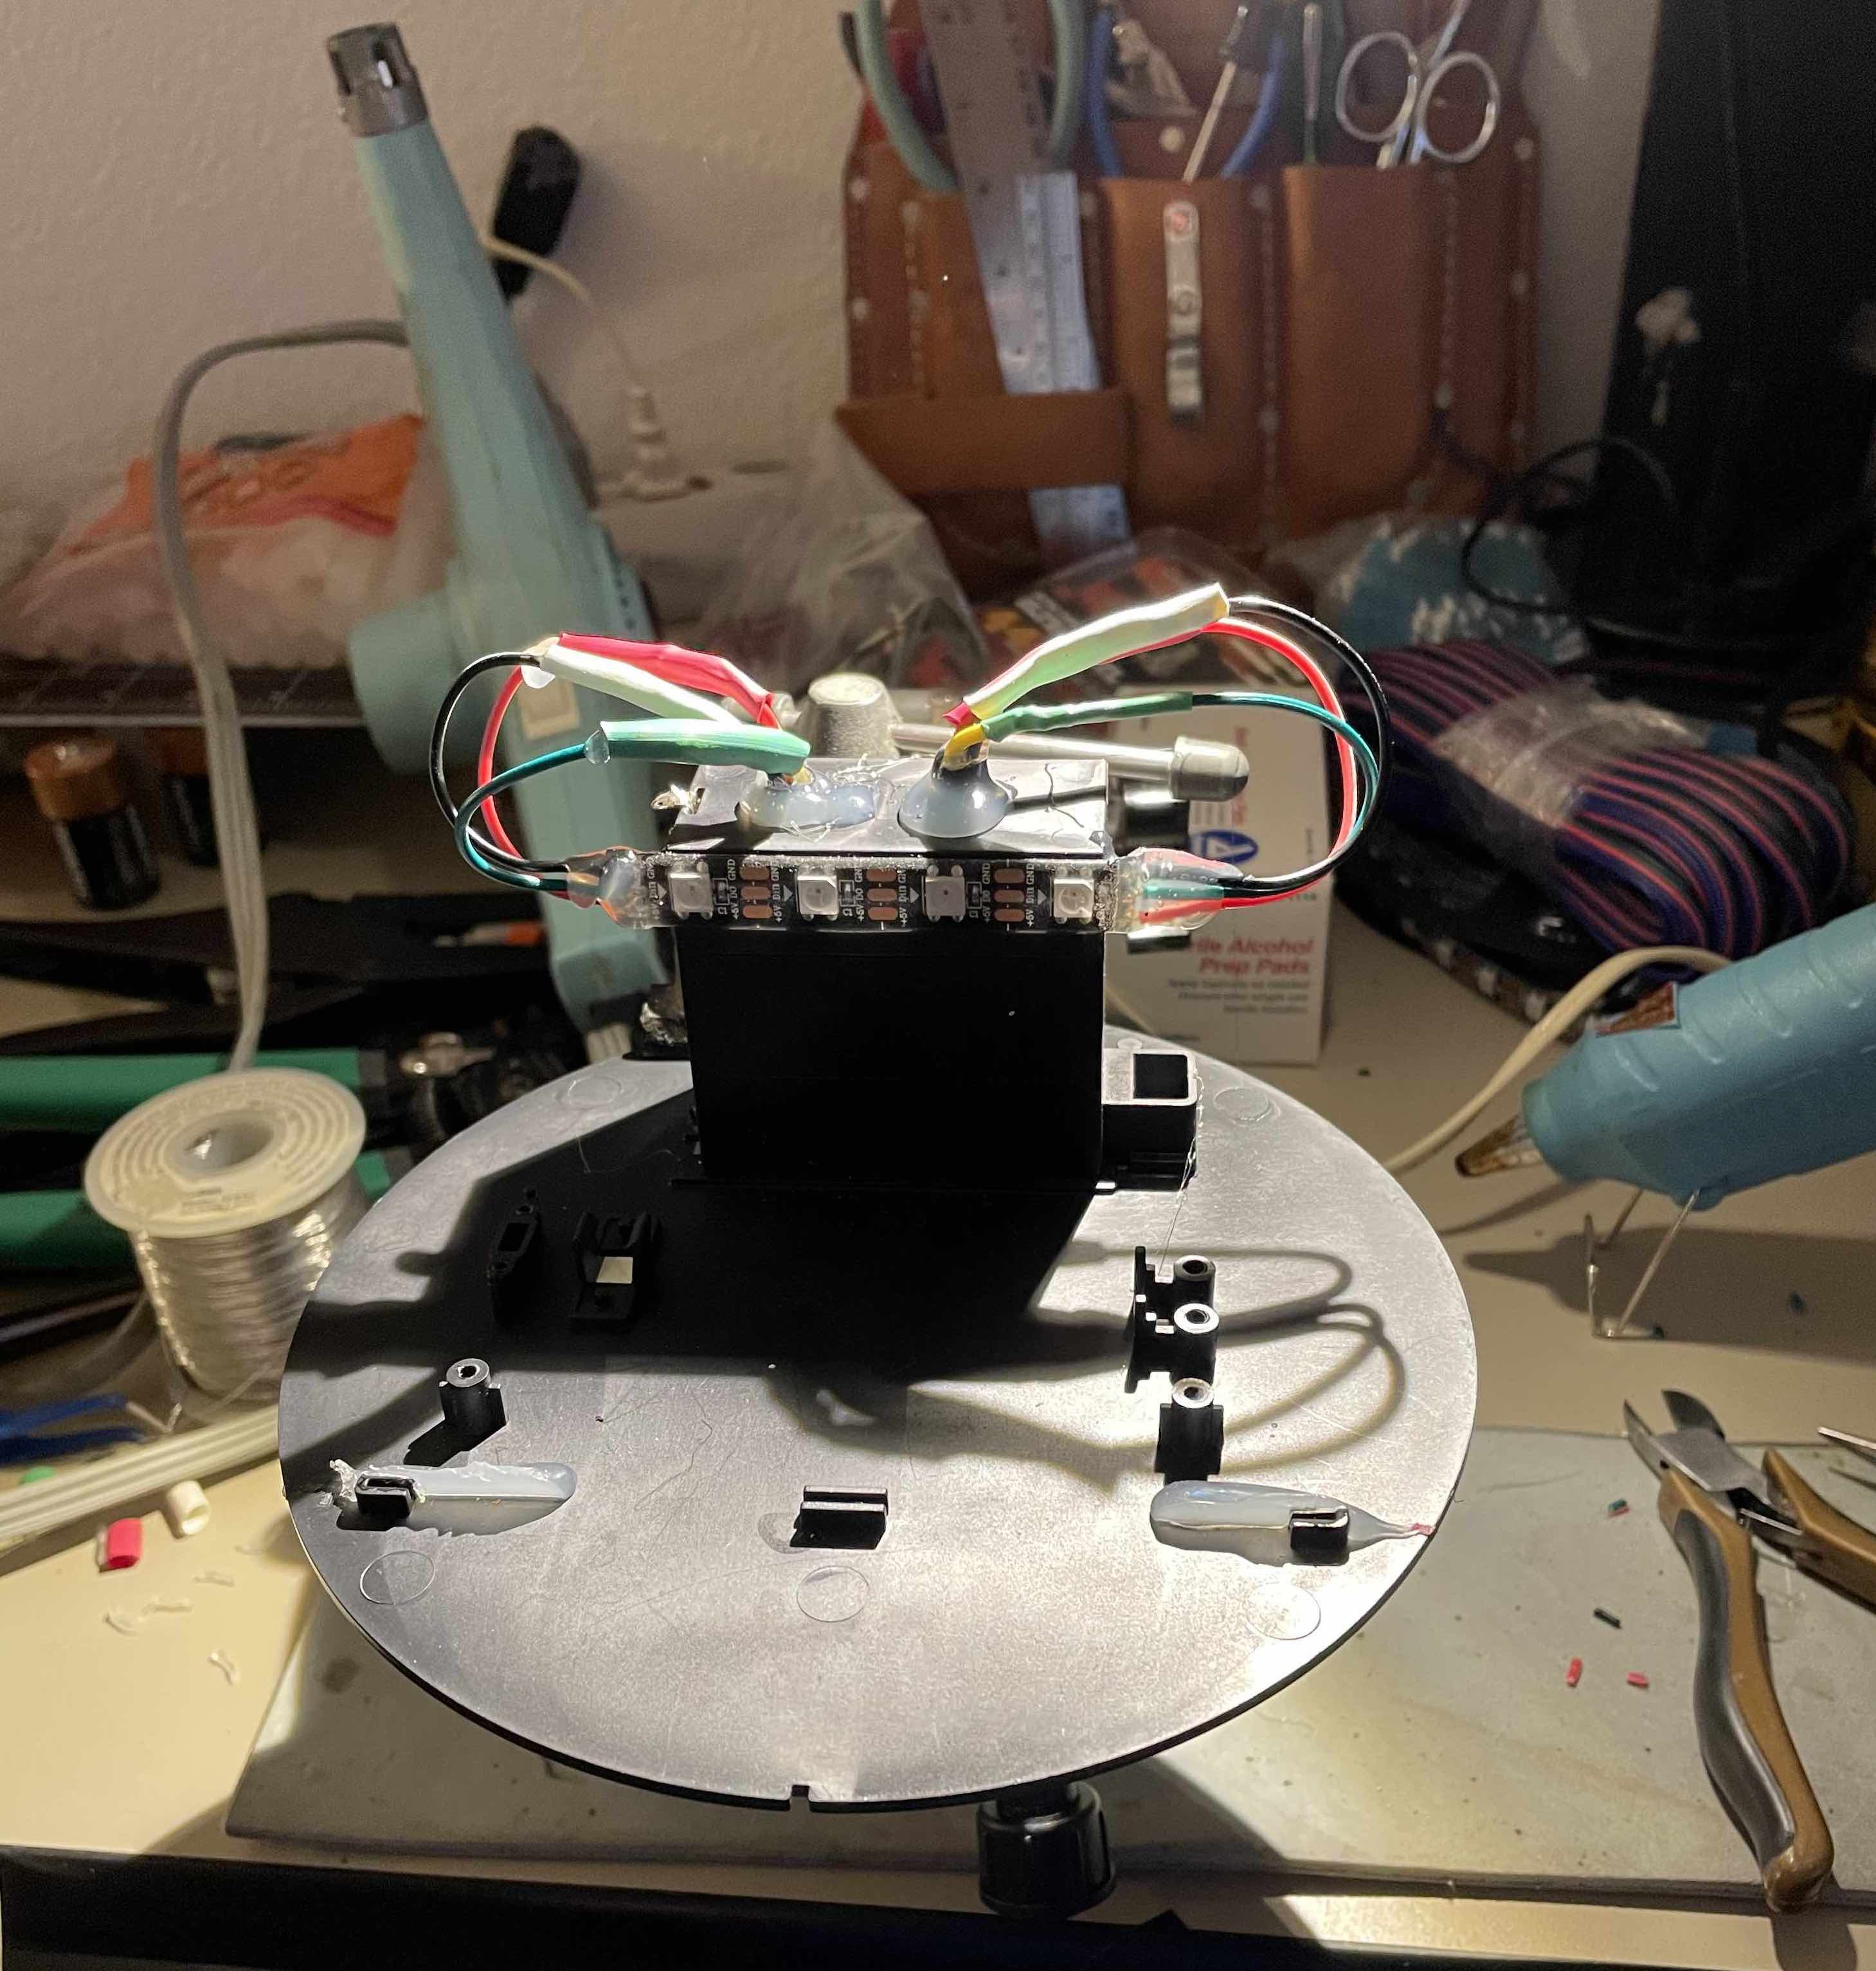
Once everything was done, I'd plug in using a pigtail connected to screw terminals and a microcontroller running the Adafruit LED test. It's a really easy way to make sure your LEDs are working as intended without getting the sequencing software setup.
The whole process of converting a pumpkin is captured in this video:
Discussions
Become a Hackaday.io Member
Create an account to leave a comment. Already have an account? Log In.