 Aaron
AaronOf all of the project, this is probably the most simplistic. I considered building a more permanent speaker enclosure, but at the end of the day I was more interested in getting the project up and working than I was in diving into the specifics of outdoor audio.
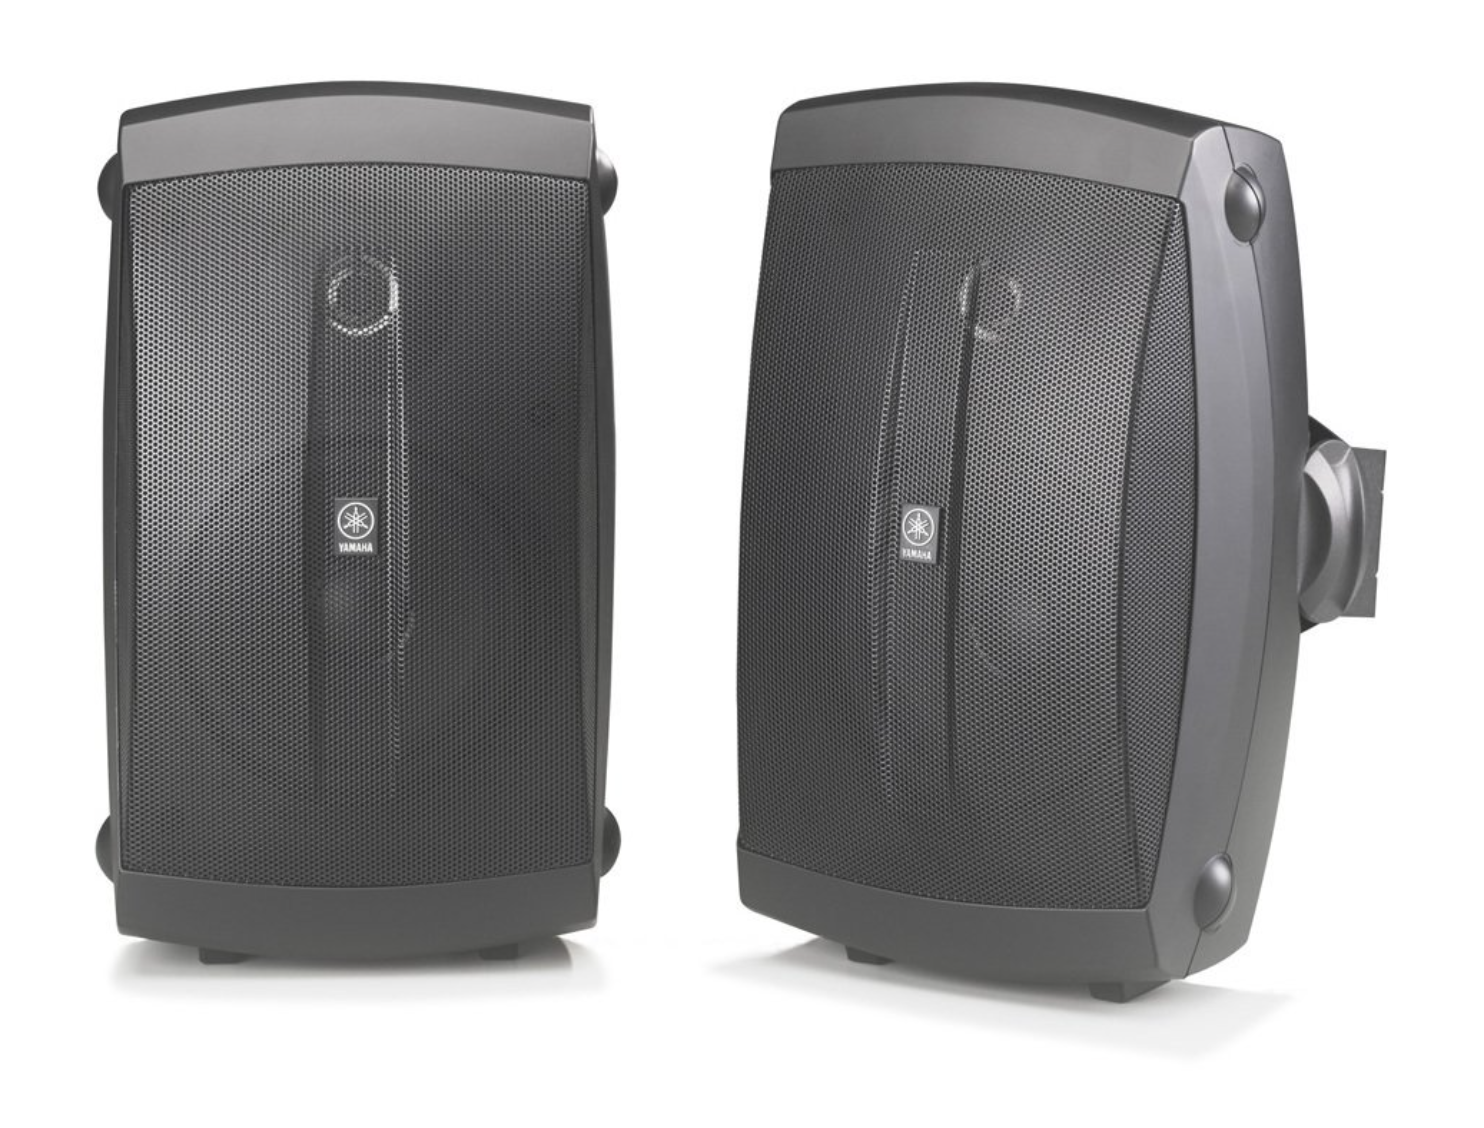
My speakers are refurbished Yamaha NS-AW150BL. I went with black because I figured it'd be easier to hide them in the bushes. Even though these are outdoor speakers, I was surprised to learn when I got them that the recommended usage is to install them under an eave, or otherwise generally protected from the elements. I had really hoped for actual weather-proof speakers, and if I were going to do it again I'd just splurge for the rock-shaped speakers that are really meant to just be out there.
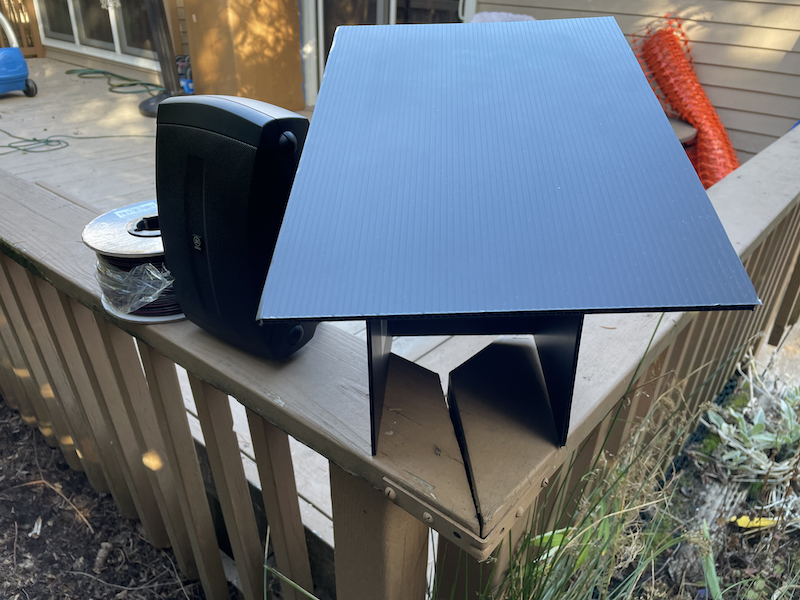
So because my speakers needed to be protected, and I'm not much of a carpenter, I decided to make a simple housing that I could slip over the top. My goal was to just make sure that the top, sides and back were walled away from rain/wind/snow/etc. I still wanted sound to come through and didn't want it impeded.
On the hardware side, the speakers are powered through a cheap amplifier I picked up off of Amazon. The amp is overkill for most of what I need, but it was inexpensive, and powerful enough to drive the speakers, and offered Aux in. This one uses a TPA3116D2 to drive. Mildly annoying is that it assumes you want to use bluetooth and a spoken-language "Bluetooth not paired" message comes up when you power on. Fortunately I run my Pi 24/7 during the season, so that message only comes up once or twice a season.
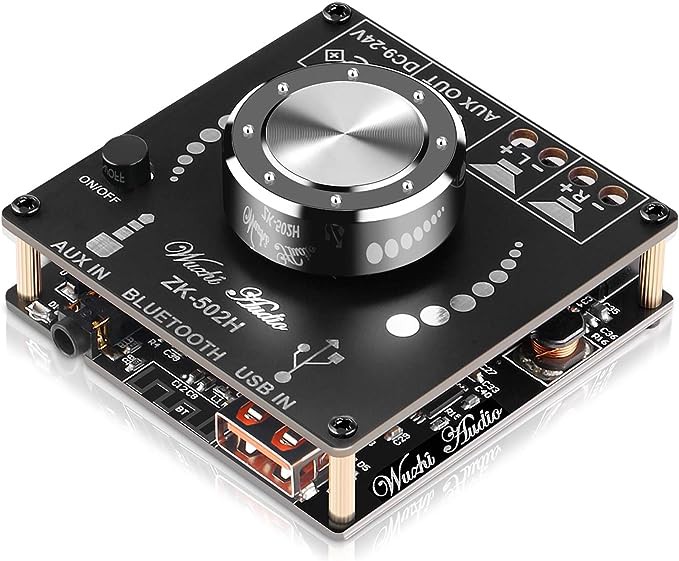
If I were doing this again, I'd see if I couldn't find a cheap amp that didn't have bluetooth. While it's a great technology, it cannot be used reliably for synchronized sound. Also I would love an amp that I could digitally control the volume on. I haven't looked into the USB input on this amp to understand what feature set is available, but would be nice to manage everything from the Pi. Having a volume knob requires going back and forth from the display area to where the box is setup to adjust the sound.
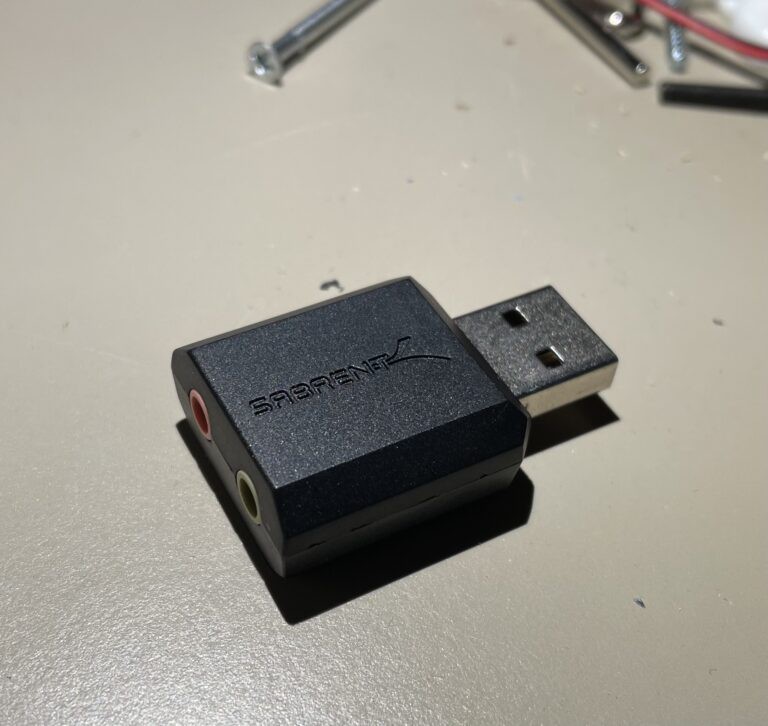
In addition to the amp, I got this little USB "Sound card". I noted in another post that the Raspberry Pi 3 has a PWM it can use to display lights. It turns out that it shares that PWM with the HDMI, where the sound is also managed. So you can either use it for audio, or you can use it for light displays. Fortunately these little sound card devices are inexpensive. Plug it in, and then use a mini stereo cable to send audio to your amplifier.
You do have to make sure you set the sound output in Falcon Player to use the device, but otherwise it's pretty much plug-and-play.
Discussions
Become a Hackaday.io Member
Create an account to leave a comment. Already have an account? Log In.