 cmaierhofer
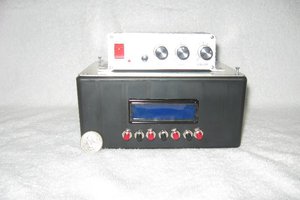
I am interested in many things: electronics, 3d printing, machining and the newest addition: TIG welding. So I bought myself a TIG welder(IPOTOOLS ACDCTIG-200P). Quite a nice unit and after messing around a bit I quickly realized, that I had to change the amp settings on the machine quite often, because of course the material gets hotter over time and to keep the welding consistent you have to either weld quicker or reduce the amps. So I decided I need a pedal.
The problem: This welder doesn't support pedals out of the box. I knew that when I bought it, but I thought I better save some money and can get a better machine later on if I like TIG welding. But then I thought, it could be a nice, little project to try.
My requirements:
- inexpensive
- use stuff I have at home
- no disassembling of the unit (warranty)
- easy to install/remove
The solution:
Using a cheap footpedal (e.g. volume pedals for guitars) with an potentiometer output. The pedal is connected to an analog input of an Arduino Nano. The signal is then transformed to a PWM signal that controls a servo connected to the Amp setting knob of the welder via a simple coupler. The servo is placed in a 3d printed mount and simply stuck onto the welder.


 Bobby Feather
 ukmaker
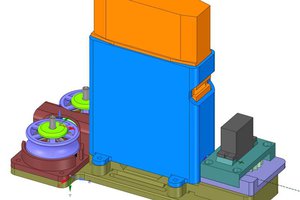
 Cory
Cory
Hey Dan, thx for your comment. There is no current control on the device. The button for the torch is only used for starting/stopping the arc and the connector is only 2-pin (open/closed) . Later, when the warranty is gone, I will perhaps add a dedicated connector for the pedal to the welder, but for now I am pretty happy with this hack.