 schlion
What was still open:
- keep track of the on/standby state in either esphome or Home Assistant
- solder everything up
- make a new RCA/chinch cable
Keeping track of the state is actually fairly simple (if you know where to look). Usually you would need some kind of sensor to know the state. People often use smart plugs with power metering to guess states of e.g. their washing machine. But you can also use the optimistic option:
switch:
  - platform: template
    name: "Receiver"
    id: receiver_on_off
    optimistic: true
    #is actually the switch to AUX/TV command, but also turns the receiver on
    #RC5 Device/Adress 0 (0x00), Command 63 (0x3F)
See the final version of my configuration file here (music-control_v2.yaml), I also started using a secrets.yaml file. The optimistic: true does exactly what I want. It assumes the state is as I set it (although it is not very well documented and took me quite some time to find it). I also made the vol+ and vol- into push buttons.
button:
#### VolUp/VolDown
  - platform: template
    name: "Volume Up"
    #RC5 Device/Adress 16 (0x10), Command 16 (0x10)
    on_press:
      remote_transmitter.transmit_raw:
        code: [+888, -888, +888, -888, +888, -888, +1776, -888, +888, -888, +888, -888, +888, -888, +888, -1776, +1776, -888, +888, -888, +888, -888, +888]
  - platform: template
    name: "Volume Down"
    #RC5 Device/Adress 16 (0x10), Command 17 (0x11)
    on_press:
      remote_transmitter.transmit_raw:
        code: [+889, -889, +889, -889, +889, -889, +1778, -889, +889, -889, +889, -889, +889, -889, +889, -1778, +1778, -889, +889, -889, +889, -1778, +889]
###------------------------------------------
This is what it looks like in homeassitant:

So we got the software working and nice ✅
Hardware time!
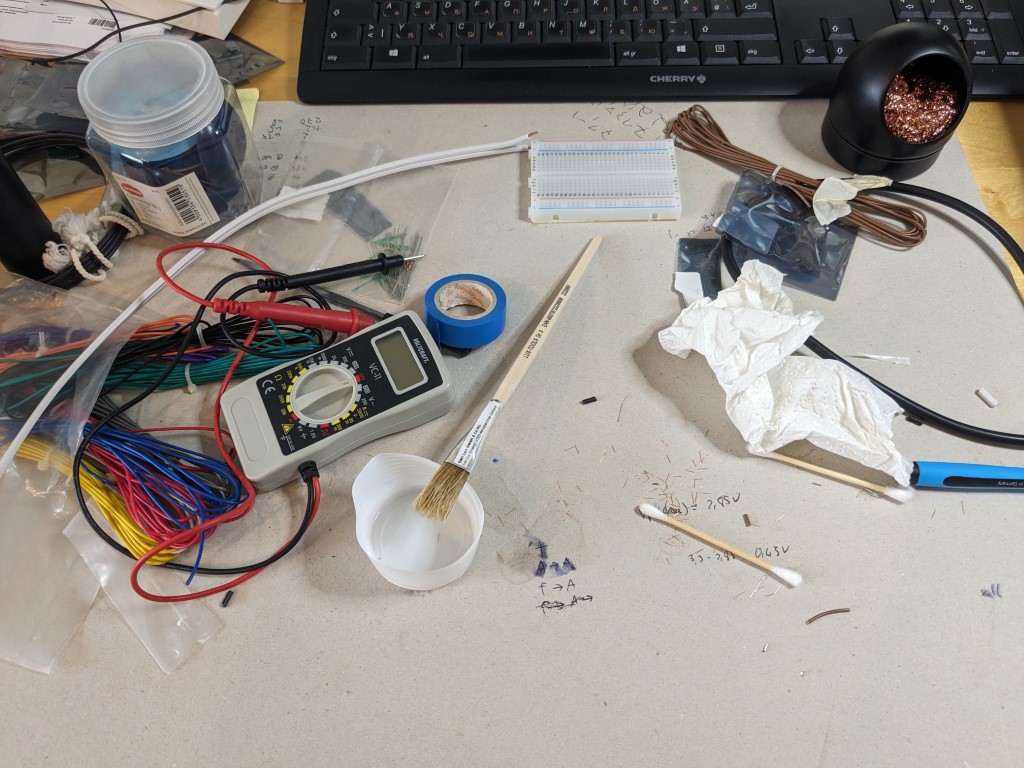
I soldered everything up on some strip board and cleaned off the flux residue with my newly acquired brush.
With the chinch/RCA connector, I also ordered a USB-C breakout board (the future is now!) And this is how everything looks all soldered up:


I used hot glue to support the wires, so that they might last a bit longer. I might print a case in the future, but the project still lives in a project box (and will probably live there forever). So hardware and cable are also finished ✅
Final remarks
I have been running this setup for about two months now and haven't had any problem. Once or twice the switch in homeassistant got out of sync, but since it isn't a toggle, I can just switch it on and off, and it will be correct again. I also made the esp turn off the switch (an initialize the state on startup)
esphome:
  name: musik-control
  on_boot:
    priority: -100
    then:
     switch.turn_off: receiver_on_off
Because sometimes esp8266 gets buggy and reboots. This way the state is well-defined.
All in all, I am very happy how it turned out :) thanks for coming along
Discussions
Become a Hackaday.io Member
Create an account to leave a comment. Already have an account? Log In.