Supplies
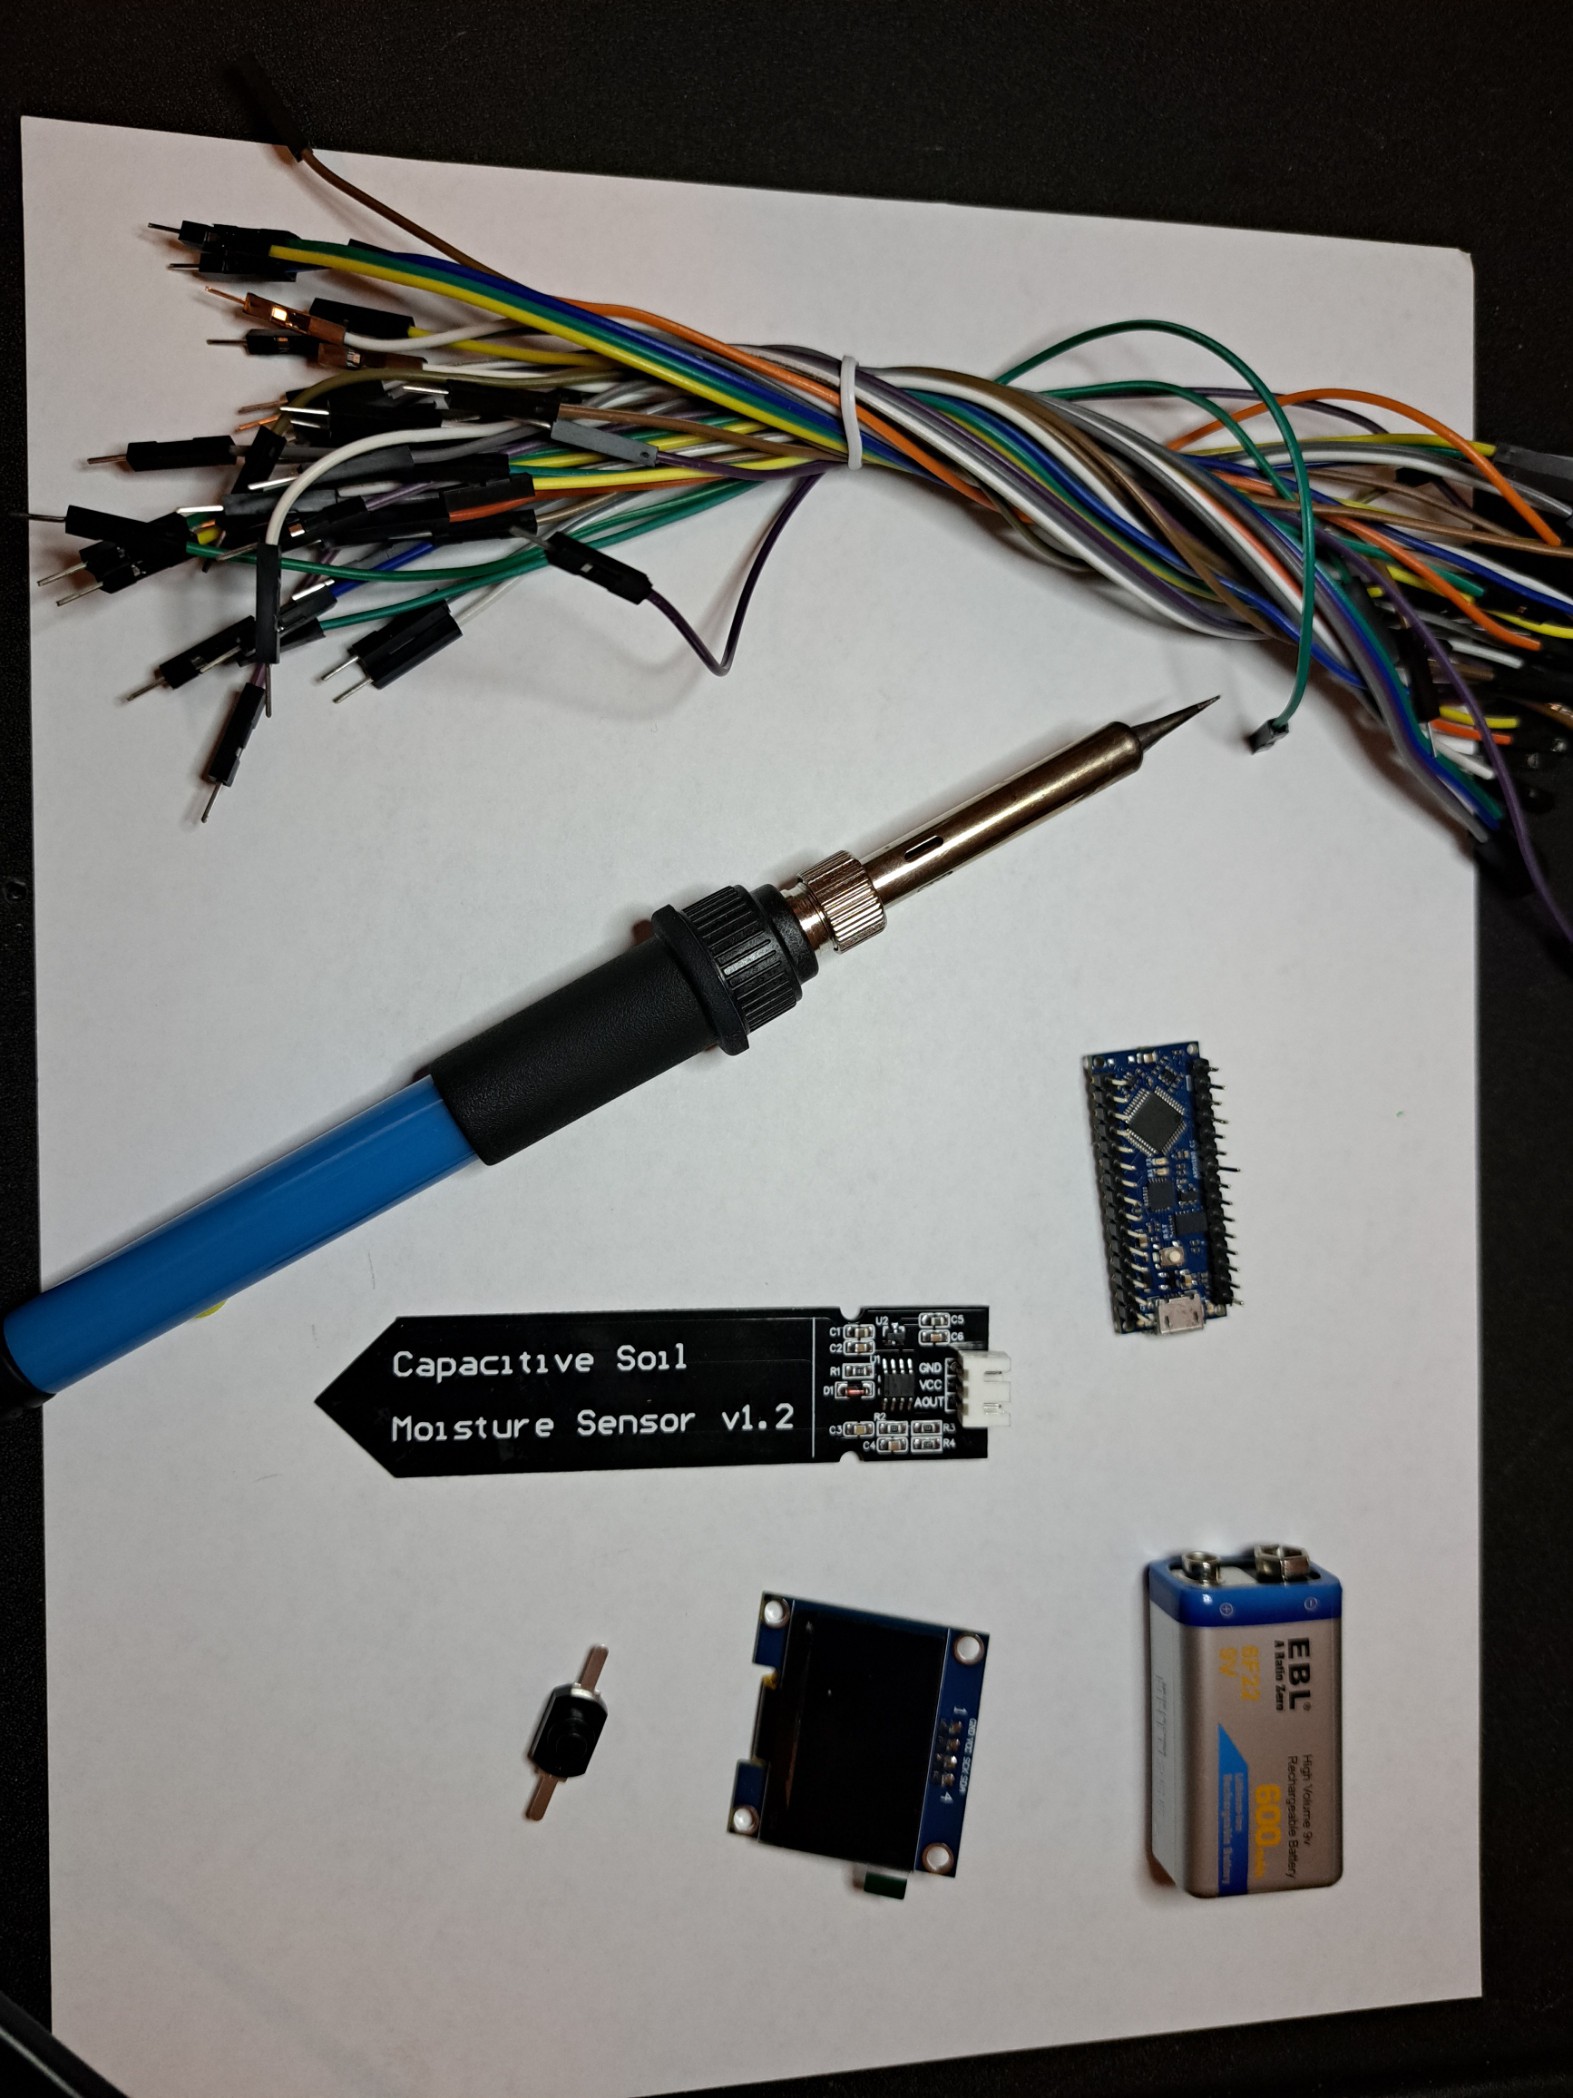
For this project you will need:
- Arduino Nano Every
- Capacitive Soil Moisture Sensor (link)
- OLED 1.3 " I2C. Any OLED 1.3" will do, but the code and case are designed for this one
- On/Off button for at least 9v (link)
- 9V battery and a connector (preferably I-Type)
- Soldering Equipment
- Wires
- Access to a 3D printer
- pliers, tweezers
- Super Glue
- Arduino IDE
All links are for reference only. You may purchase the material from the store of your choice
Step 1: 3D Print the Case
The base and lid are a bit tight. If you need more space you can modify it the models as you wish. I used Blender. I use an Ender Envy 3 V2 and simple PLA, 0.2 mm. If you don't have a 3D printer, you can either order it online or find a local Fabrication Lab (many public libraries have one).
Step 2: Prepare the Arduino Nano
- Install the Arduino IDE (if not already installed) on your computer and connect the Arduino Nano via USB cable.
- Select the appropriate board (Arduino Nano Every) and port in the Arduino IDE
- Install any necessary libraries for the soil moisture sensor and OLED display (if required).
- Wire
- U8g2lib
- Upload the Code to the Arduino Nano
NOTE: The code calibrates the sensor for a 5V input. You may have to change the values, here's a link on how to calibrate the sensor as well as other info you may need
Step 3: Prepare the Capacitive Soil Moisture Sensor
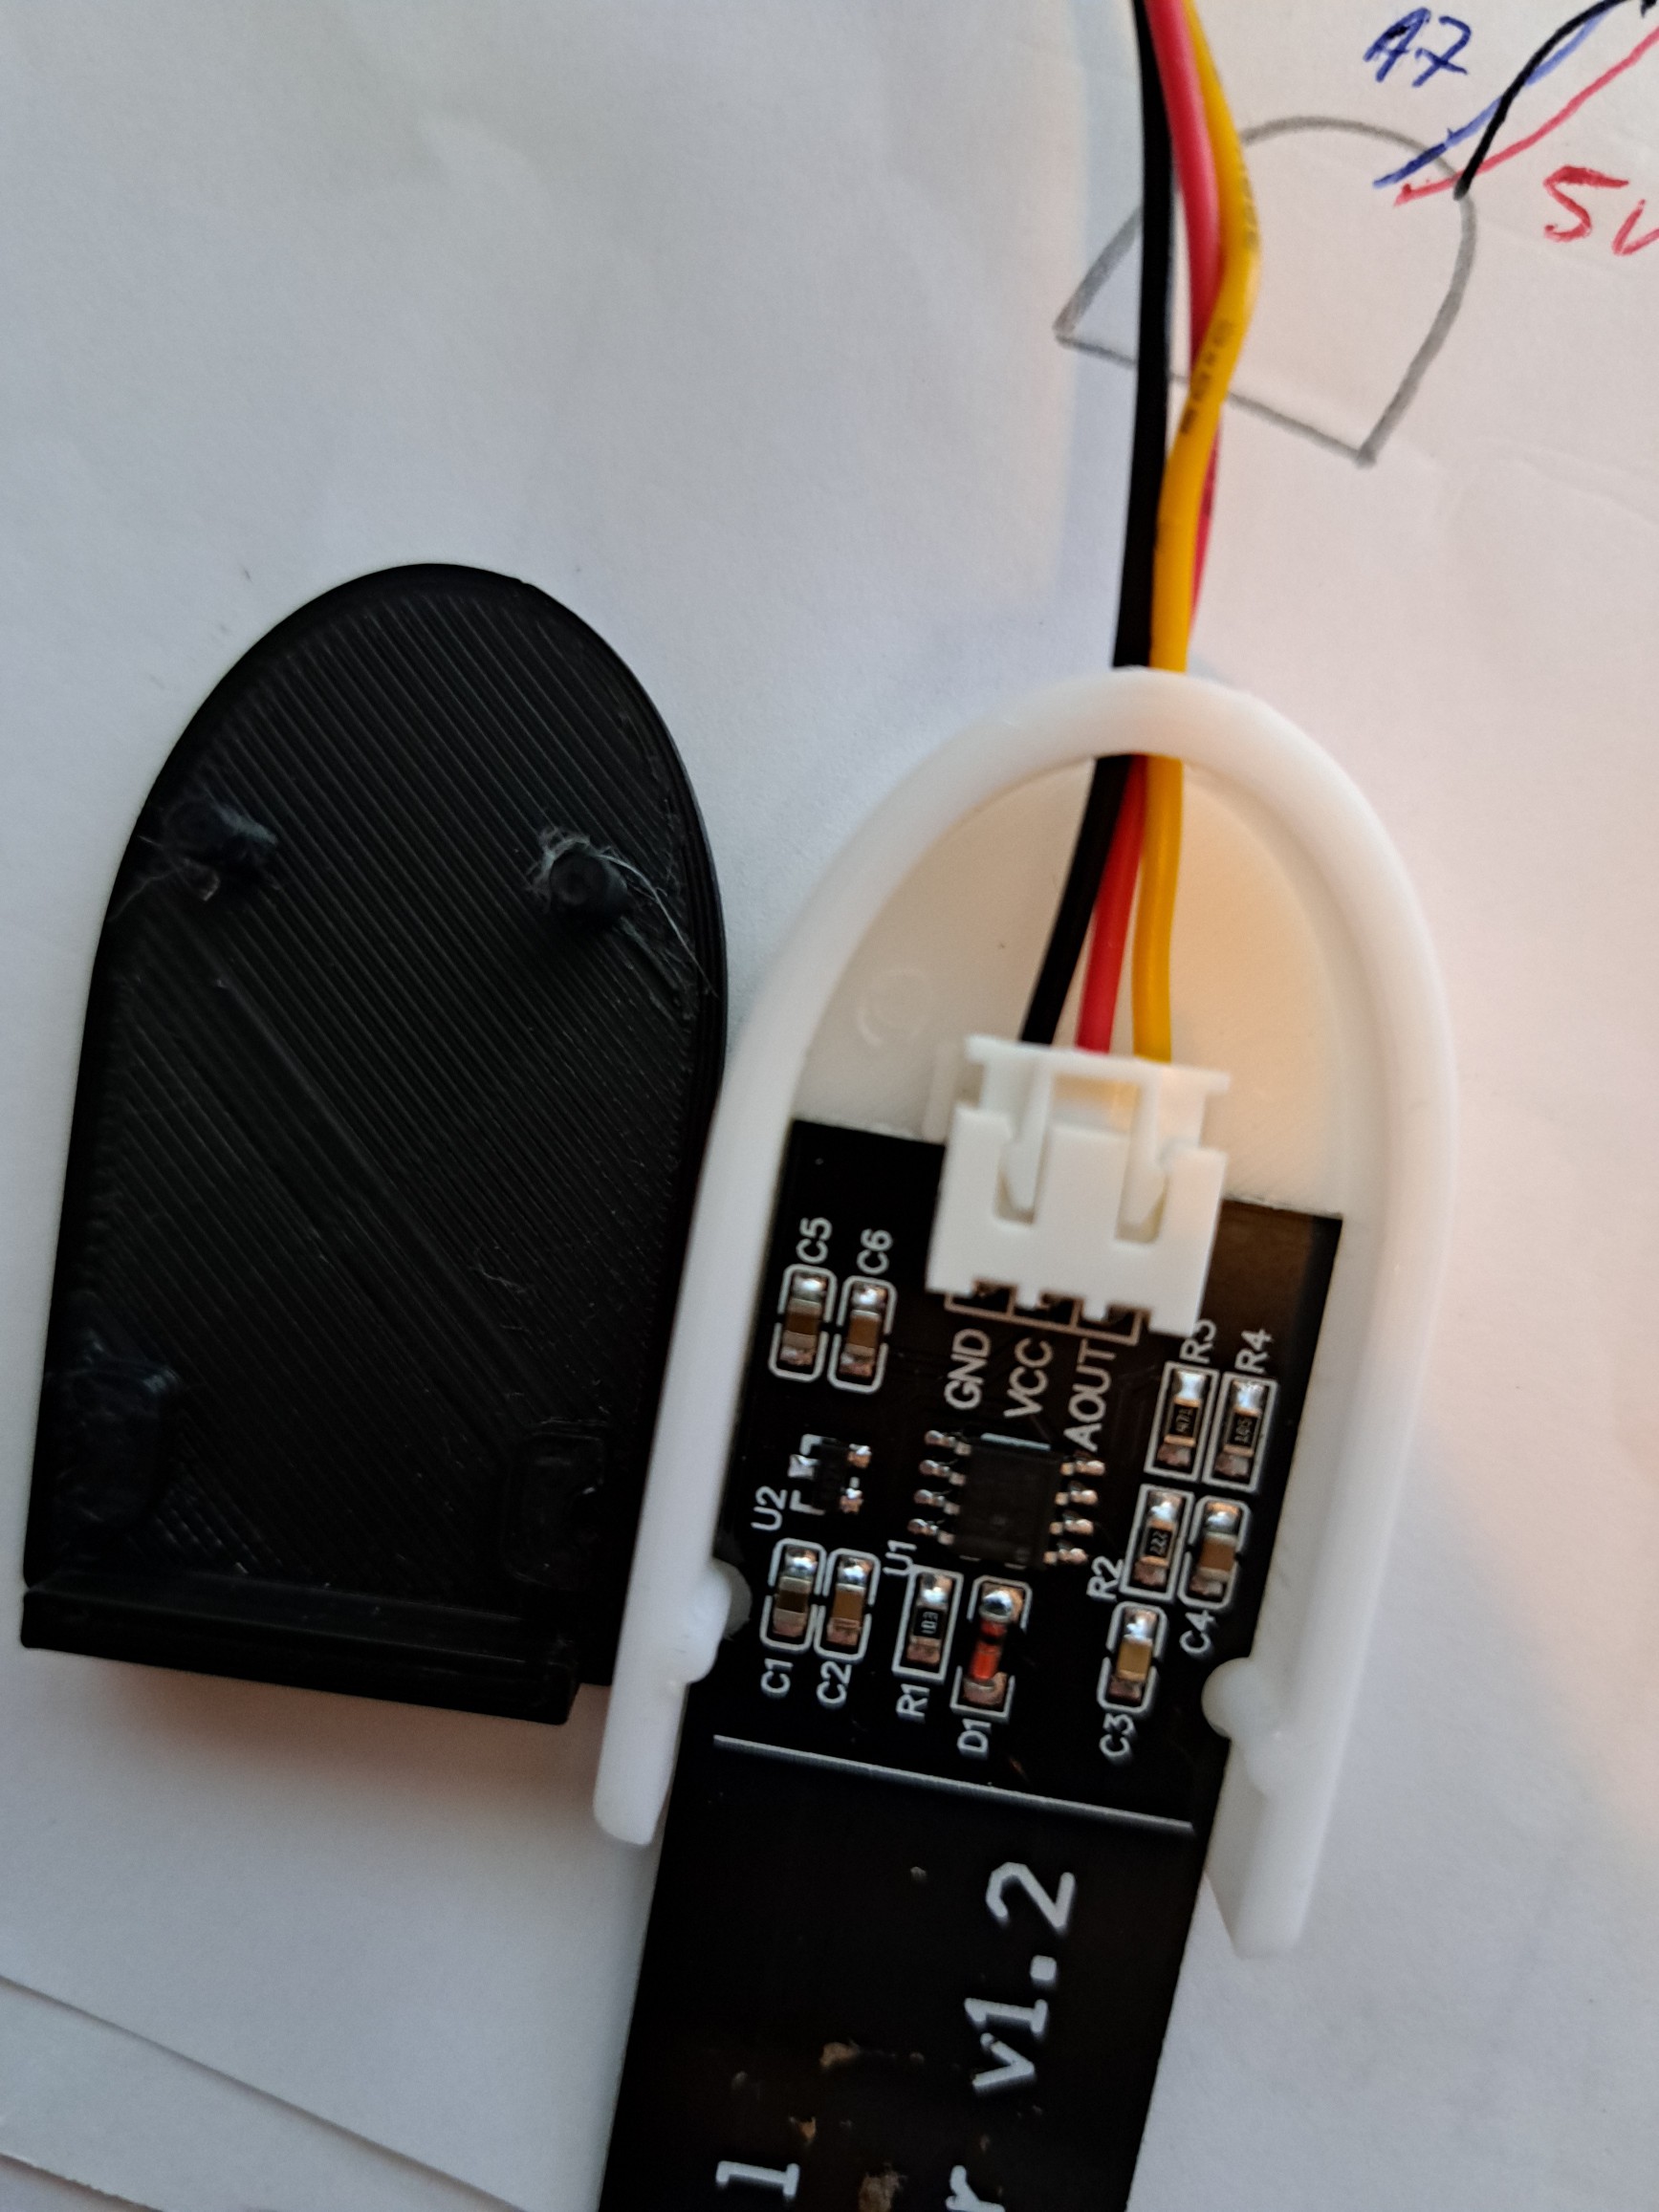
Place the sensor in its case, and connect the wires. You can use 3 individual wires or find a cheap joint online. Also, make the wires as long as you want. Put the other ends through the main case and make sure they are female.
Step 4: Prepare the OLED
Attach four wires to the display put the other ends through the top of the main case and make sure they are female. Carefully place the monitor in its place and attach its lid.
Step 5: Prepare the On/off Button
First place the 9v battery in the case, and the solder the positive end (RED) to one of the button's pins. On the other pin, solder a red wire with a female end.
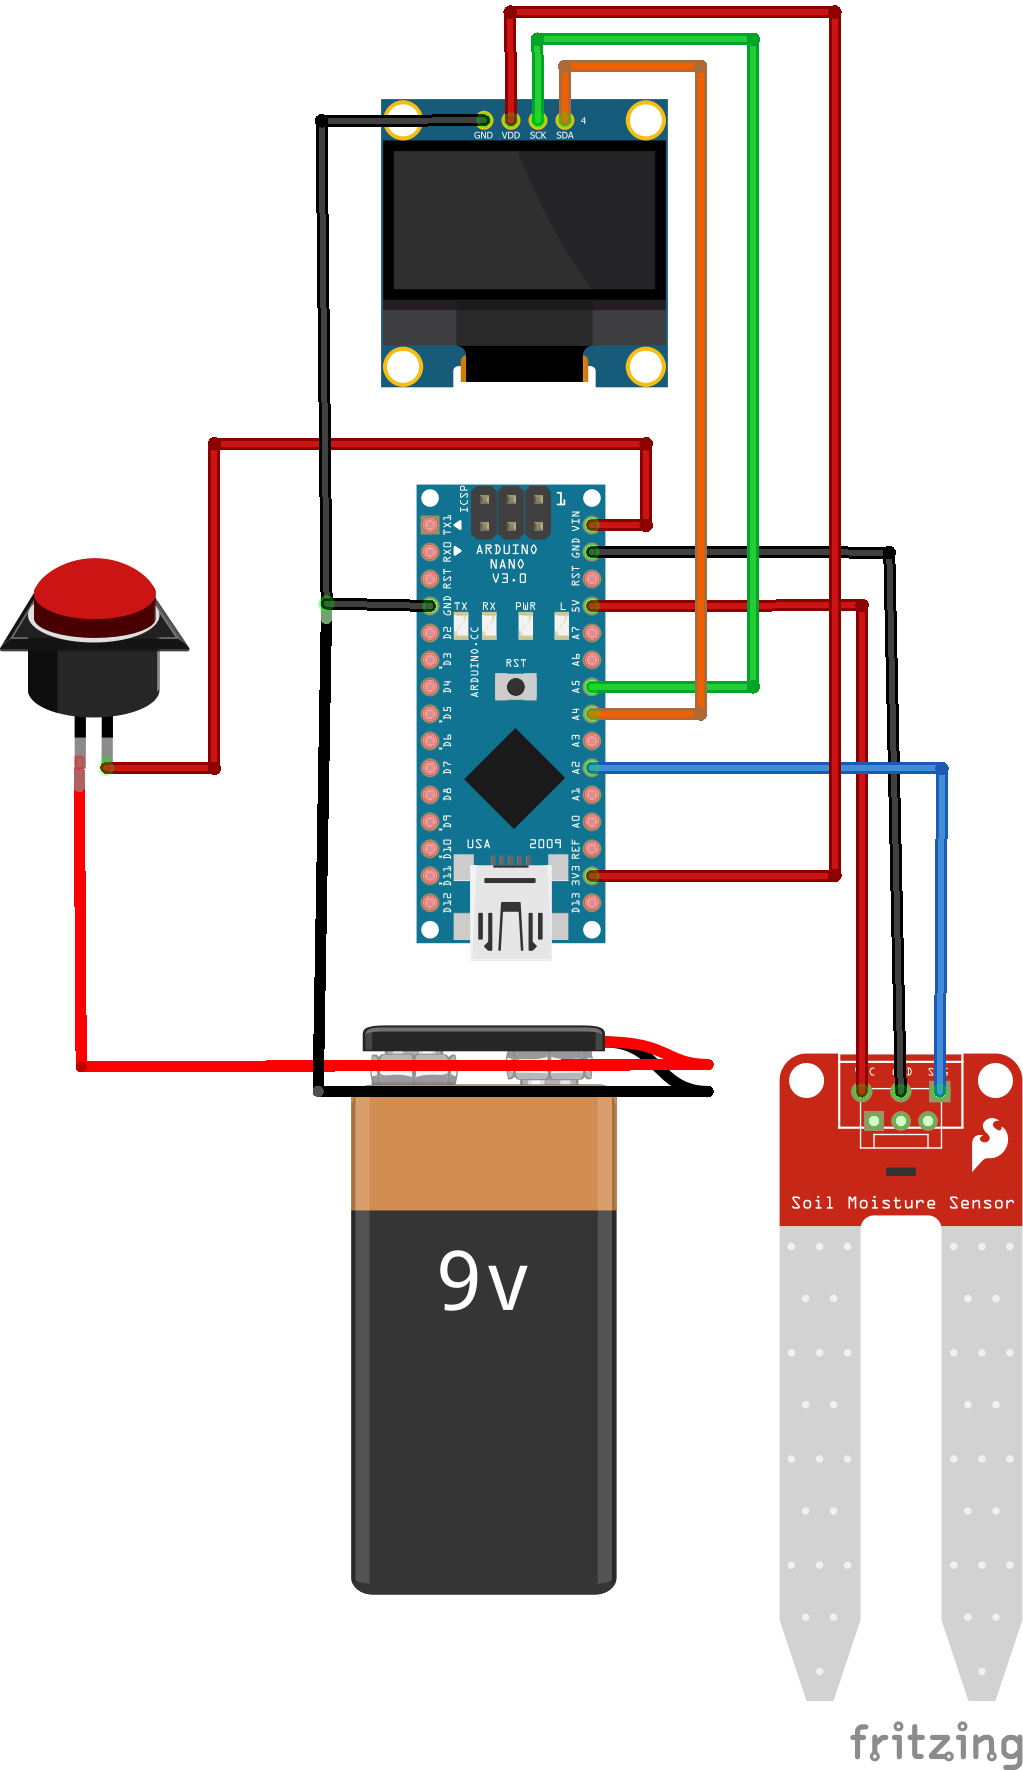
Connect everything according to the diagram.
- Connect the Capacitive Soil Moisture Sensor
- Connect the power pin to the 5V pin on the Arduino Nano.
- Connect the ground pin to the GND pin on the Arduino Nano.
- Connect the signal pin to A2.
- Connect the OLED Display
- Identify the display's pins for power, ground, SDA (Serial Data), and SCL (Serial Clock).
- Connect the power pin to the 3.3V pin on the Arduino Nano.
- Connect the ground pin to the GND coming from the battery.
- Connect the SDA pin to A4 on the Arduino Nano
- Connect the SCL pin to A5 on the Arduino Nano
- Connect 9V Battery and Button
- Place the button in the side opening. Use glue to secure it.
- Connect GND with oled's wire and both to the GND pin on the Arduino Nano.
- Connect RED wire from the button to the VIN pin on the Arduino Nano.
Step 7: Assemble the Components in the Case
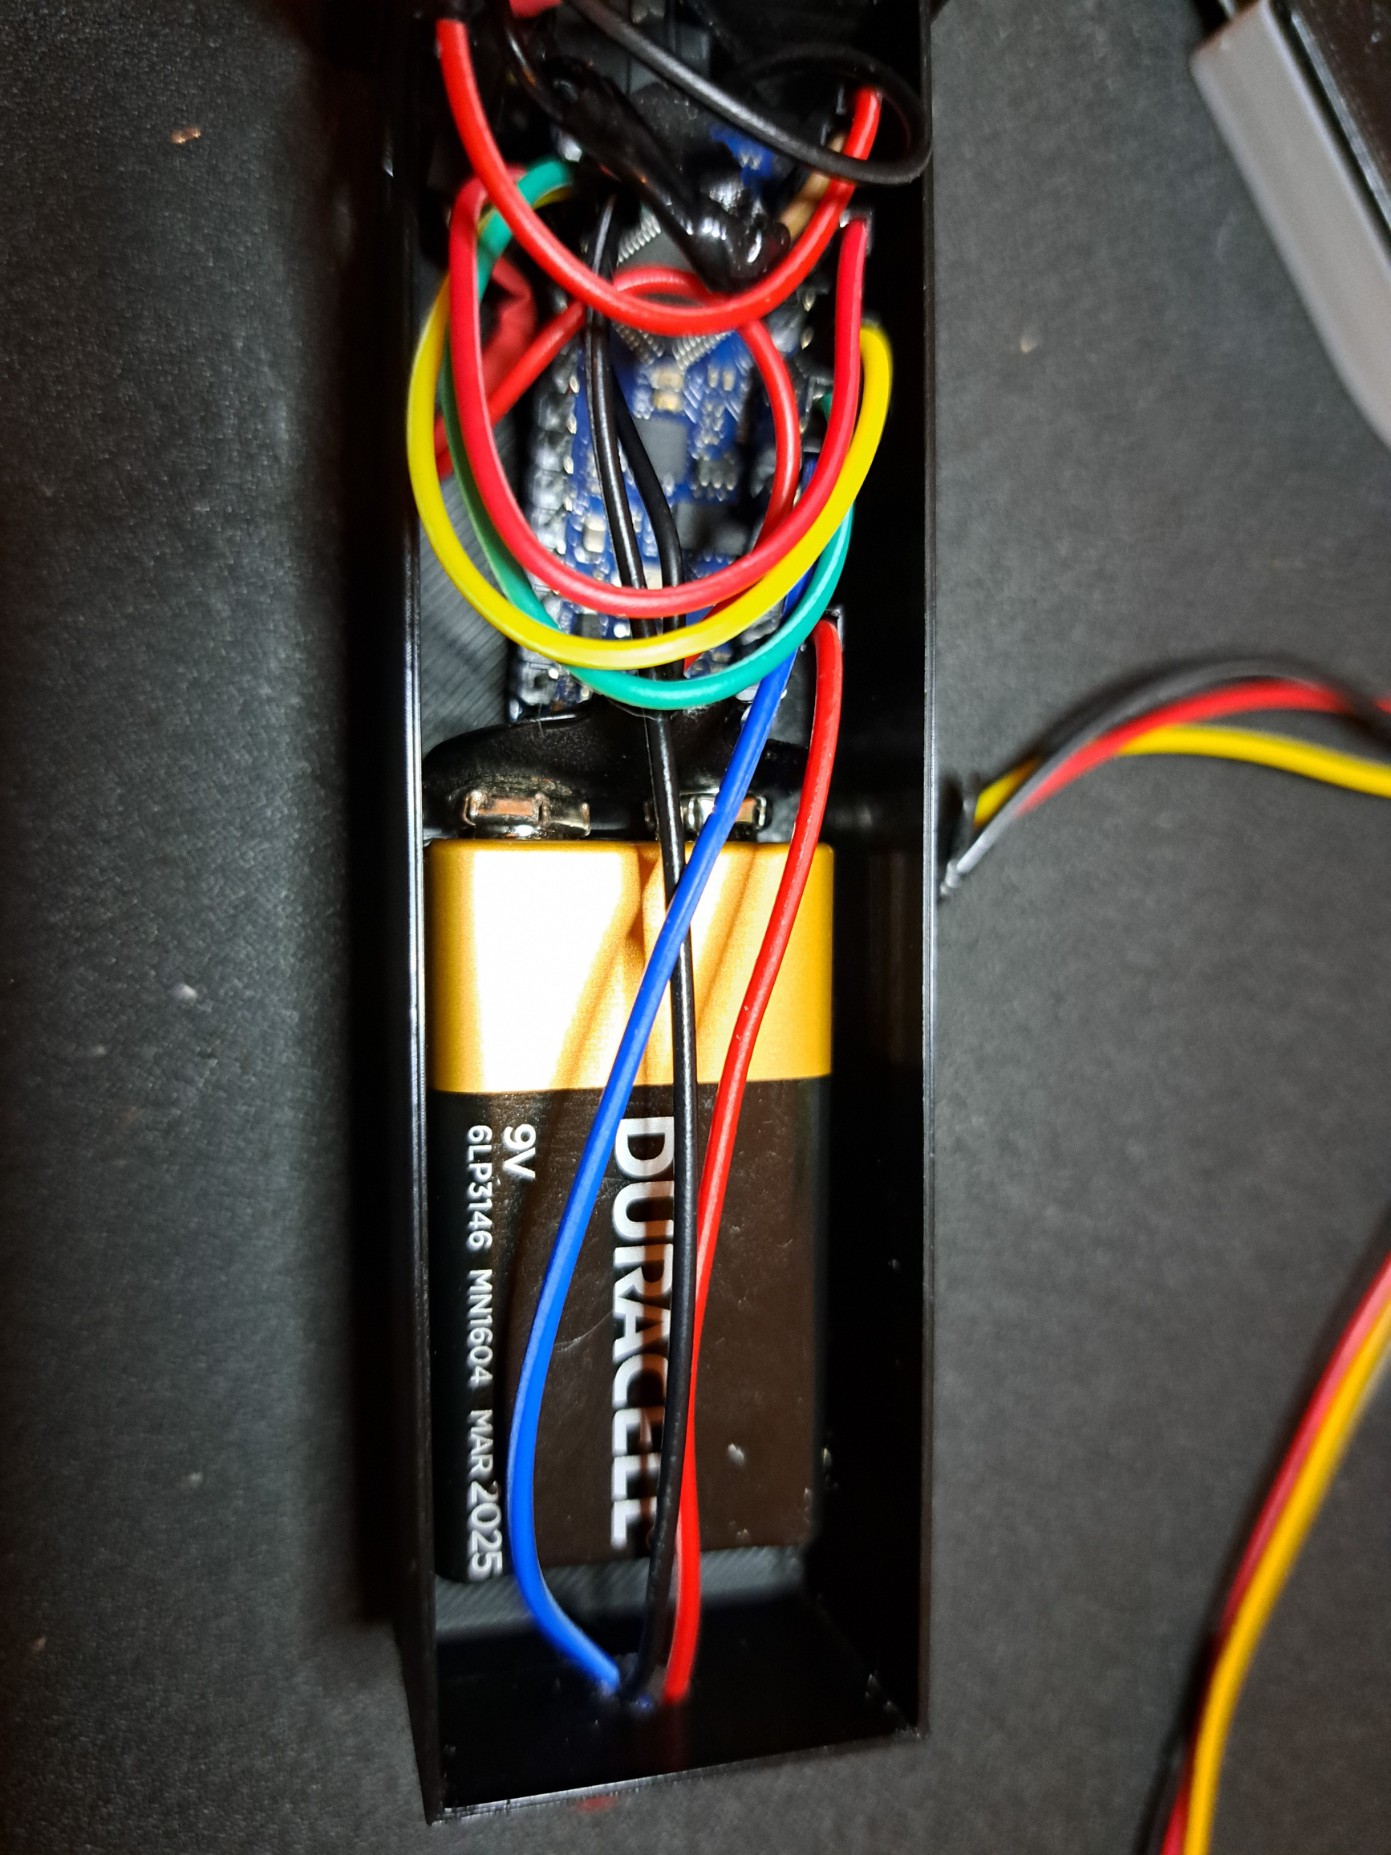
- Carefully place the Arduino Nano inside the 3D-printed case.
- Ensure all components are securely positioned and aligned with the case openings.
- Organize and route the jumper wires neatly to connect the components.
- Close the lid
Step 8: Test the Device
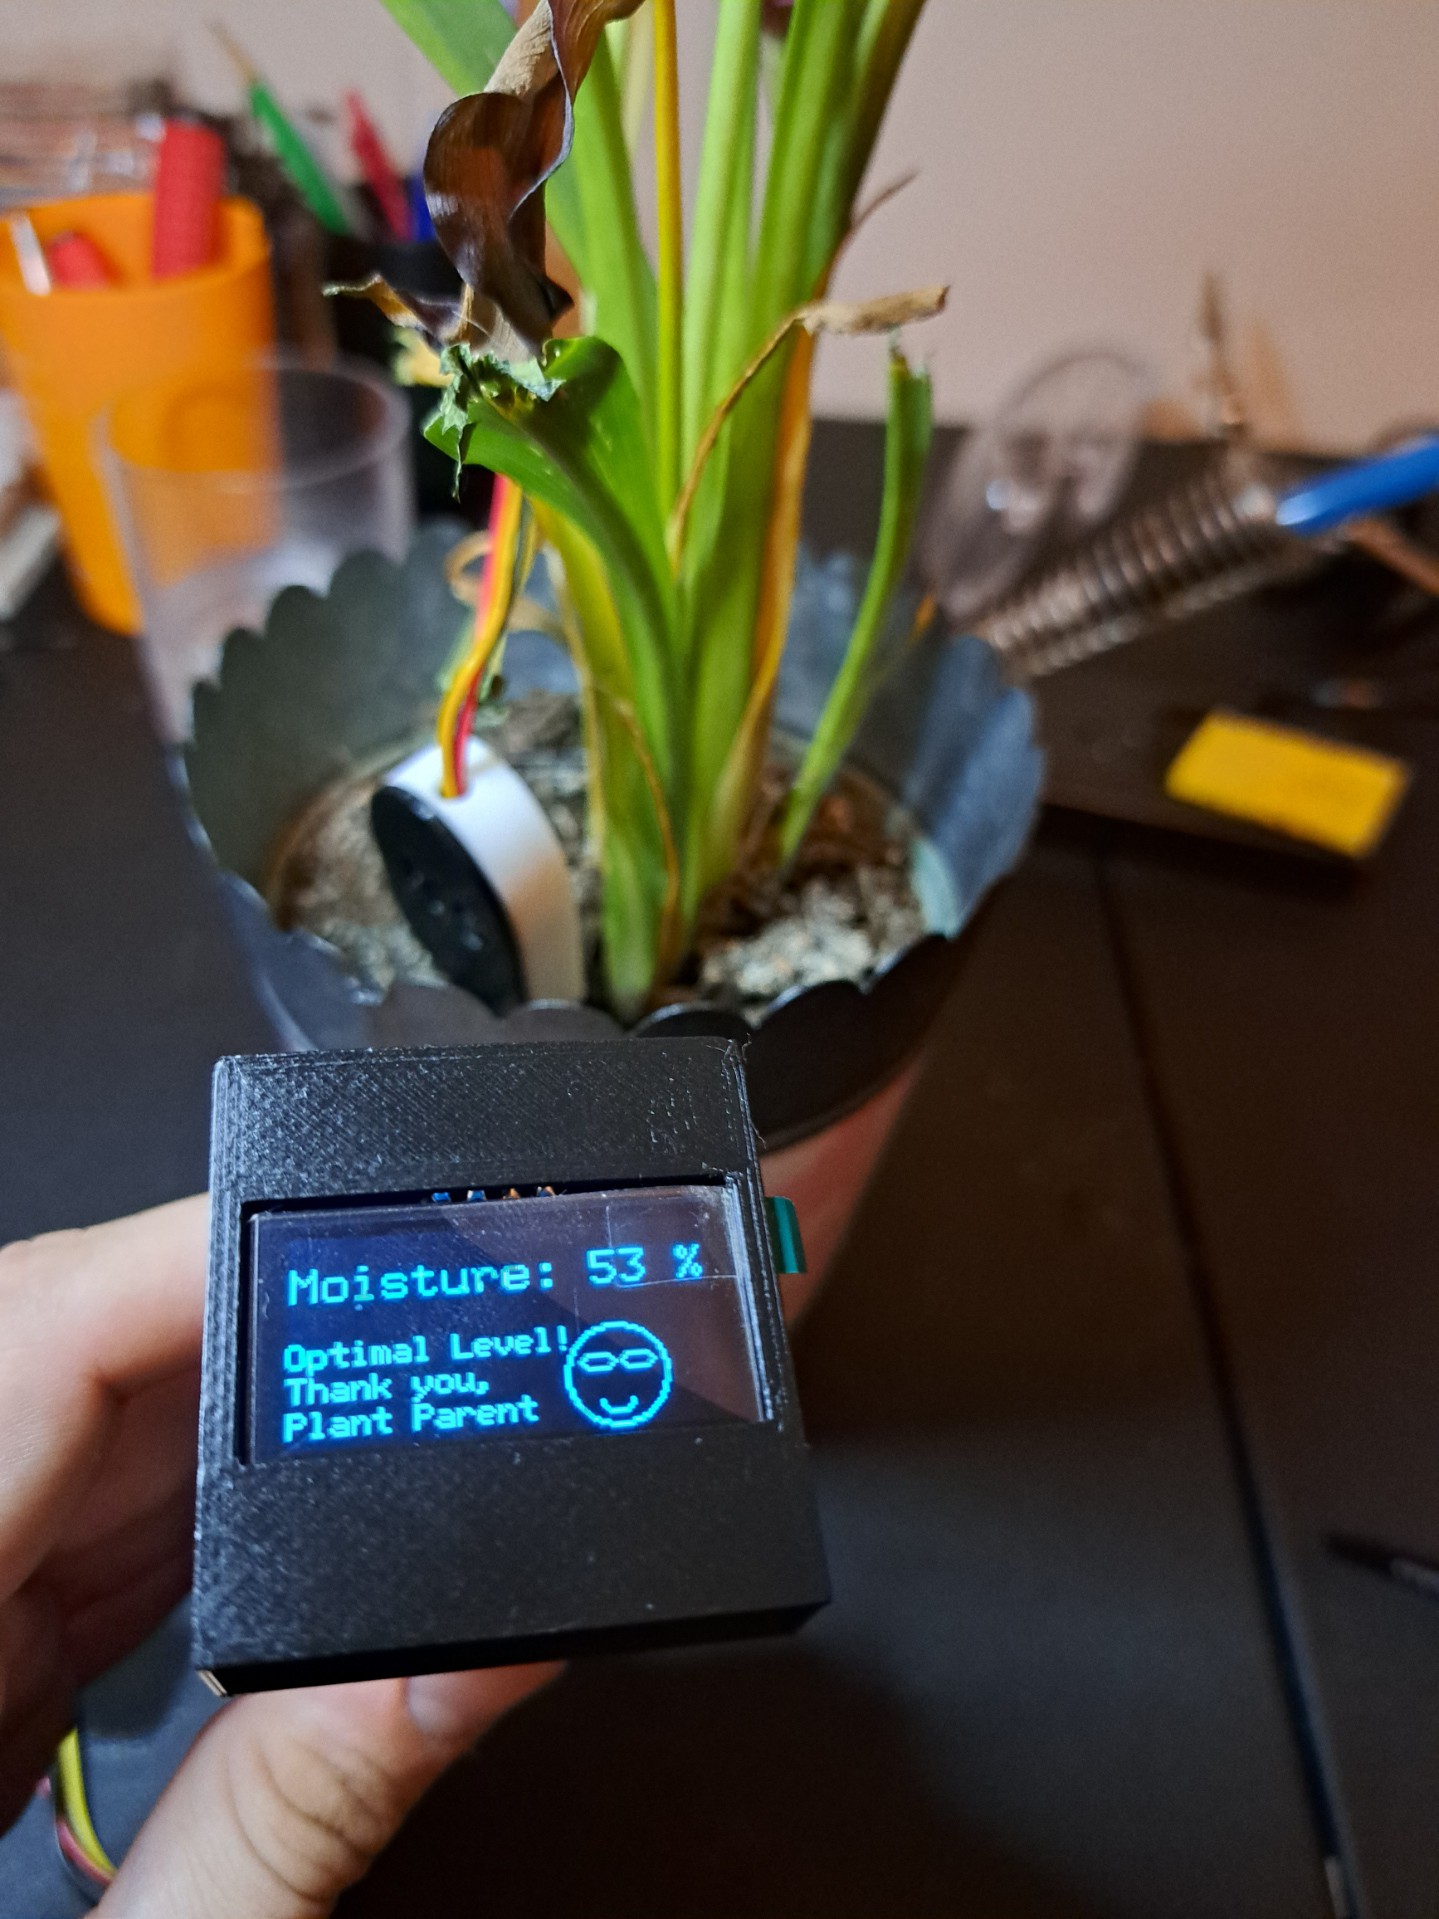
- Power on the device and observe the OLED display.
- Verify that the moisture readings are displayed accurately based on the soil moisture levels.
- Ensure the sensor responds appropriately to changes in soil moisture.
Step 9: Conclusion
I enjoyed designing and building this device. If you have any comments or feedback please share them with me. Also, if you make it yourself, I would love to see how it came out.
Thanks for reading,
Yiannis
 kamalkedin123
 Electroniclovers123
 Mike Hendricks
 Don R-Crenshaw