 Andrey Kalmatskiy
The main ideas I formulated for myself:
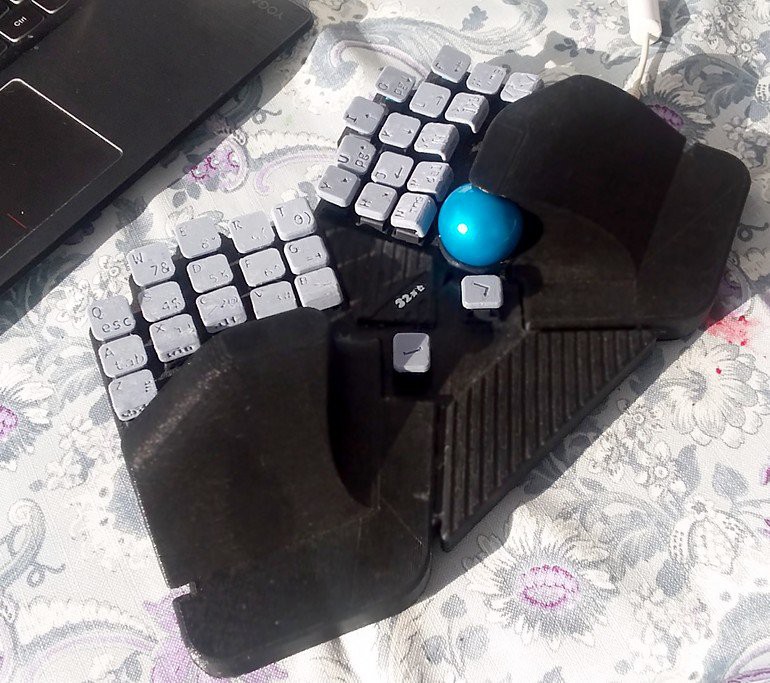
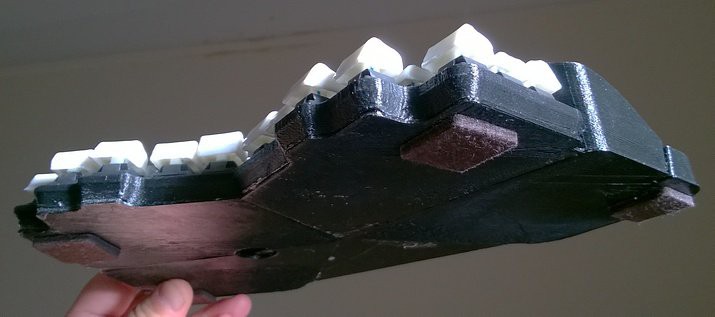
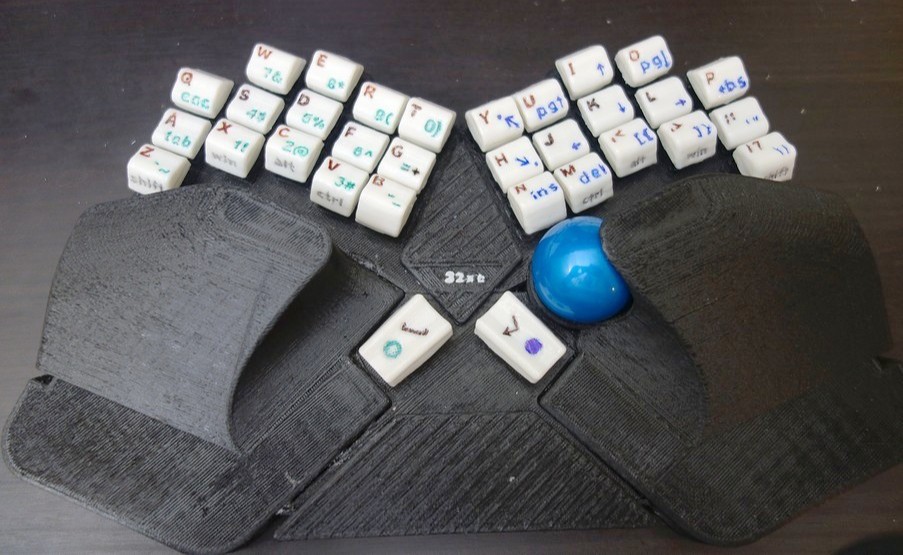
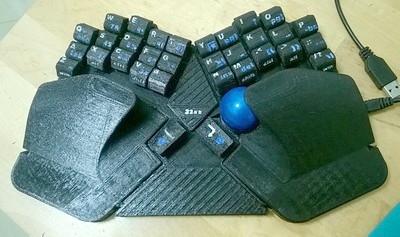
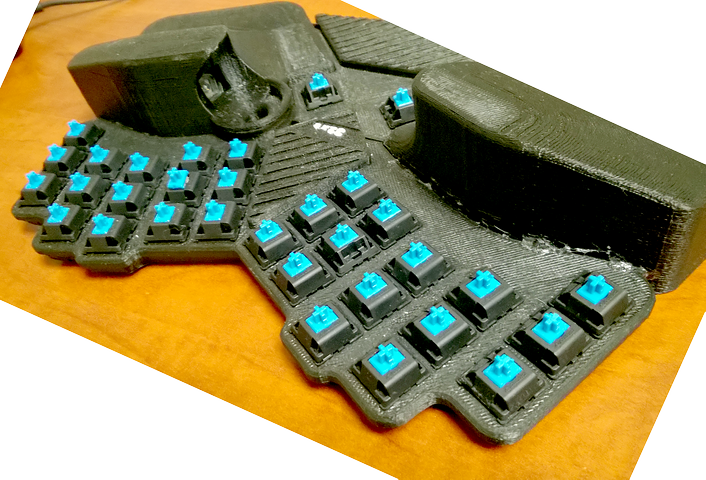
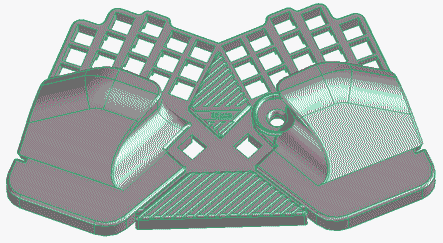
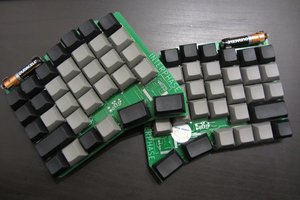
- Key set is divided in two planes - for left and right hands.
- Planes are mounted at angle to address the tunnel syndrome.
- Keys are not inclined, they are pressed straight vertically.
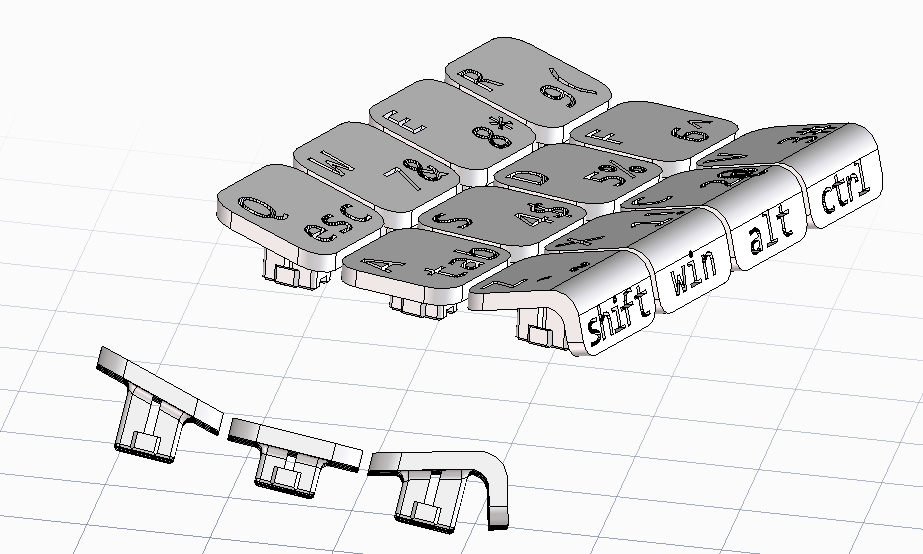
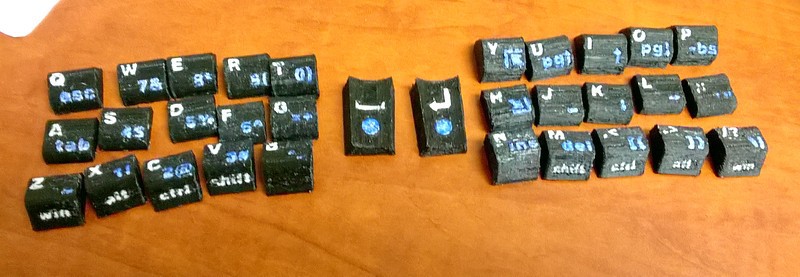
- A Space key cut in two and moved to the position under thumbs.
- All keys are grouped by actuating fingers and moved to match the middle key with each finger relaxed position "asdf" "jkl;".
- Keys are aligned in groups to reduce finger movements. Key caps also tailored to this goal. Finger blocks are not parallel, they aligned in the direction of each finger movement.
- The number of keys is reduced to let finger remain in its basic position all the time.
- Each index finger has one additional 3-key group (as in common qwerty keyboards). These additional groups ("TGB" for left finger and "YHN" for right one) are slightly raised above all other keys.
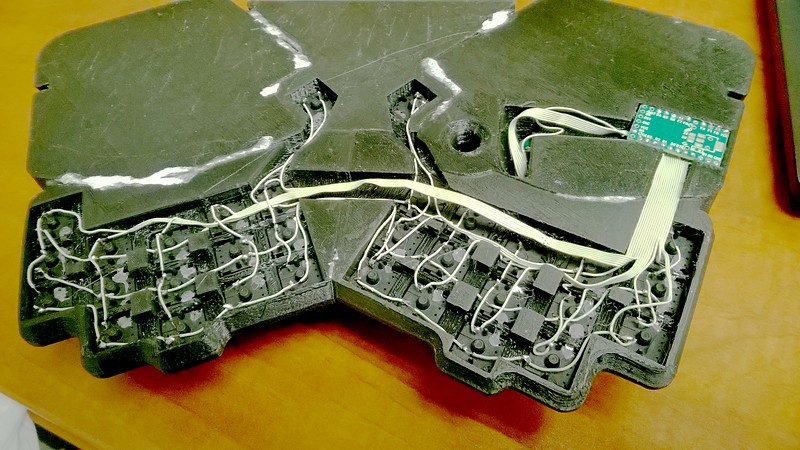
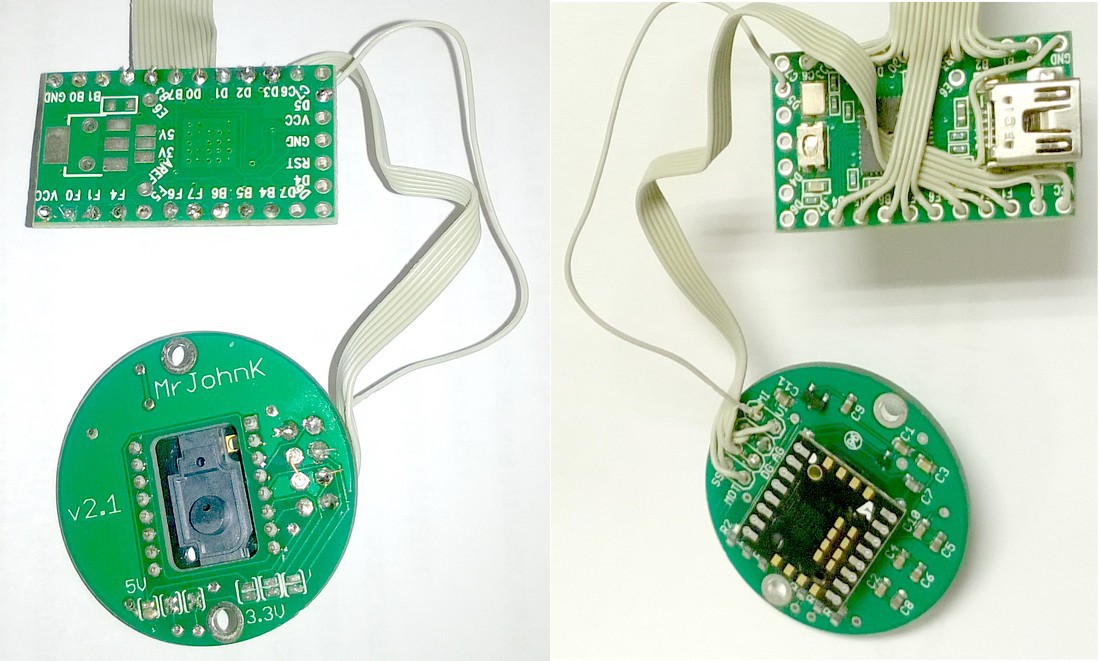
- Trackball is mounted in the right palm rest. It acts as a mouse and as a mouse wheel. This eliminates the necessity of movement between keyboard and mouse.
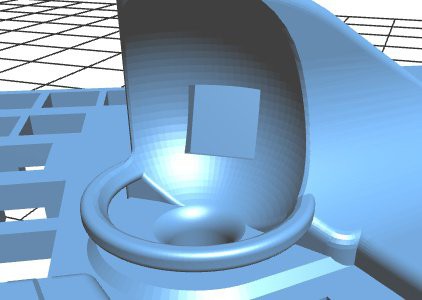
- All removed keys are placed in additional plane, activated by holding the thumb keys.
- Left additional plane contains numeric keys. Right plane holds arrow and navigation keys. Thus there is no hand movement between text typing position and arrows.
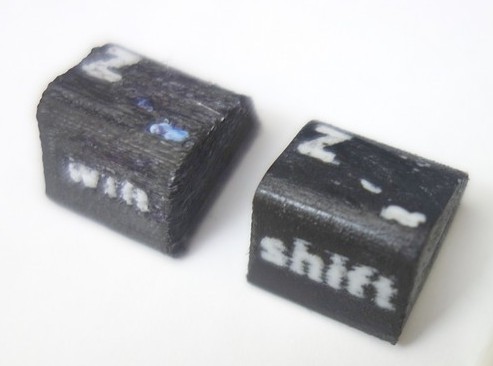
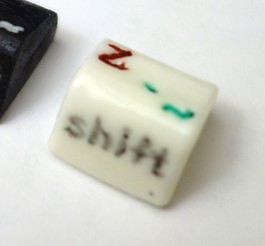
- The group of "shift-alt-gui-ctrl" keys is also eliminated. Holding key "A" acts as shift for right part of the keyboard. And the key ";" do the same for left part.
 to this size
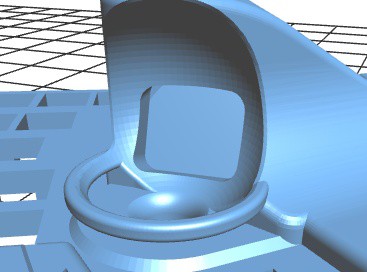


 Joseph DeLazzer
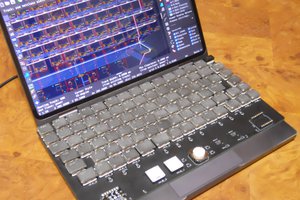
 teru
teru
This project is amazing, well done! I really like where you placed the trackball. I have had similar ideas in the past, I'm glad to see it worked for someone.
Have you considered making the thumb keys vertical (i.e. mounted on the sides of the palm rests)?