Close
0%
0%

D1 Mini X-Pad Shield

Adds some buttons to your ESP8266 board.

Similar projects worth following
Starting from
$2.99
deshipu has 296 orders / 19reviews
Ships from Switzerland

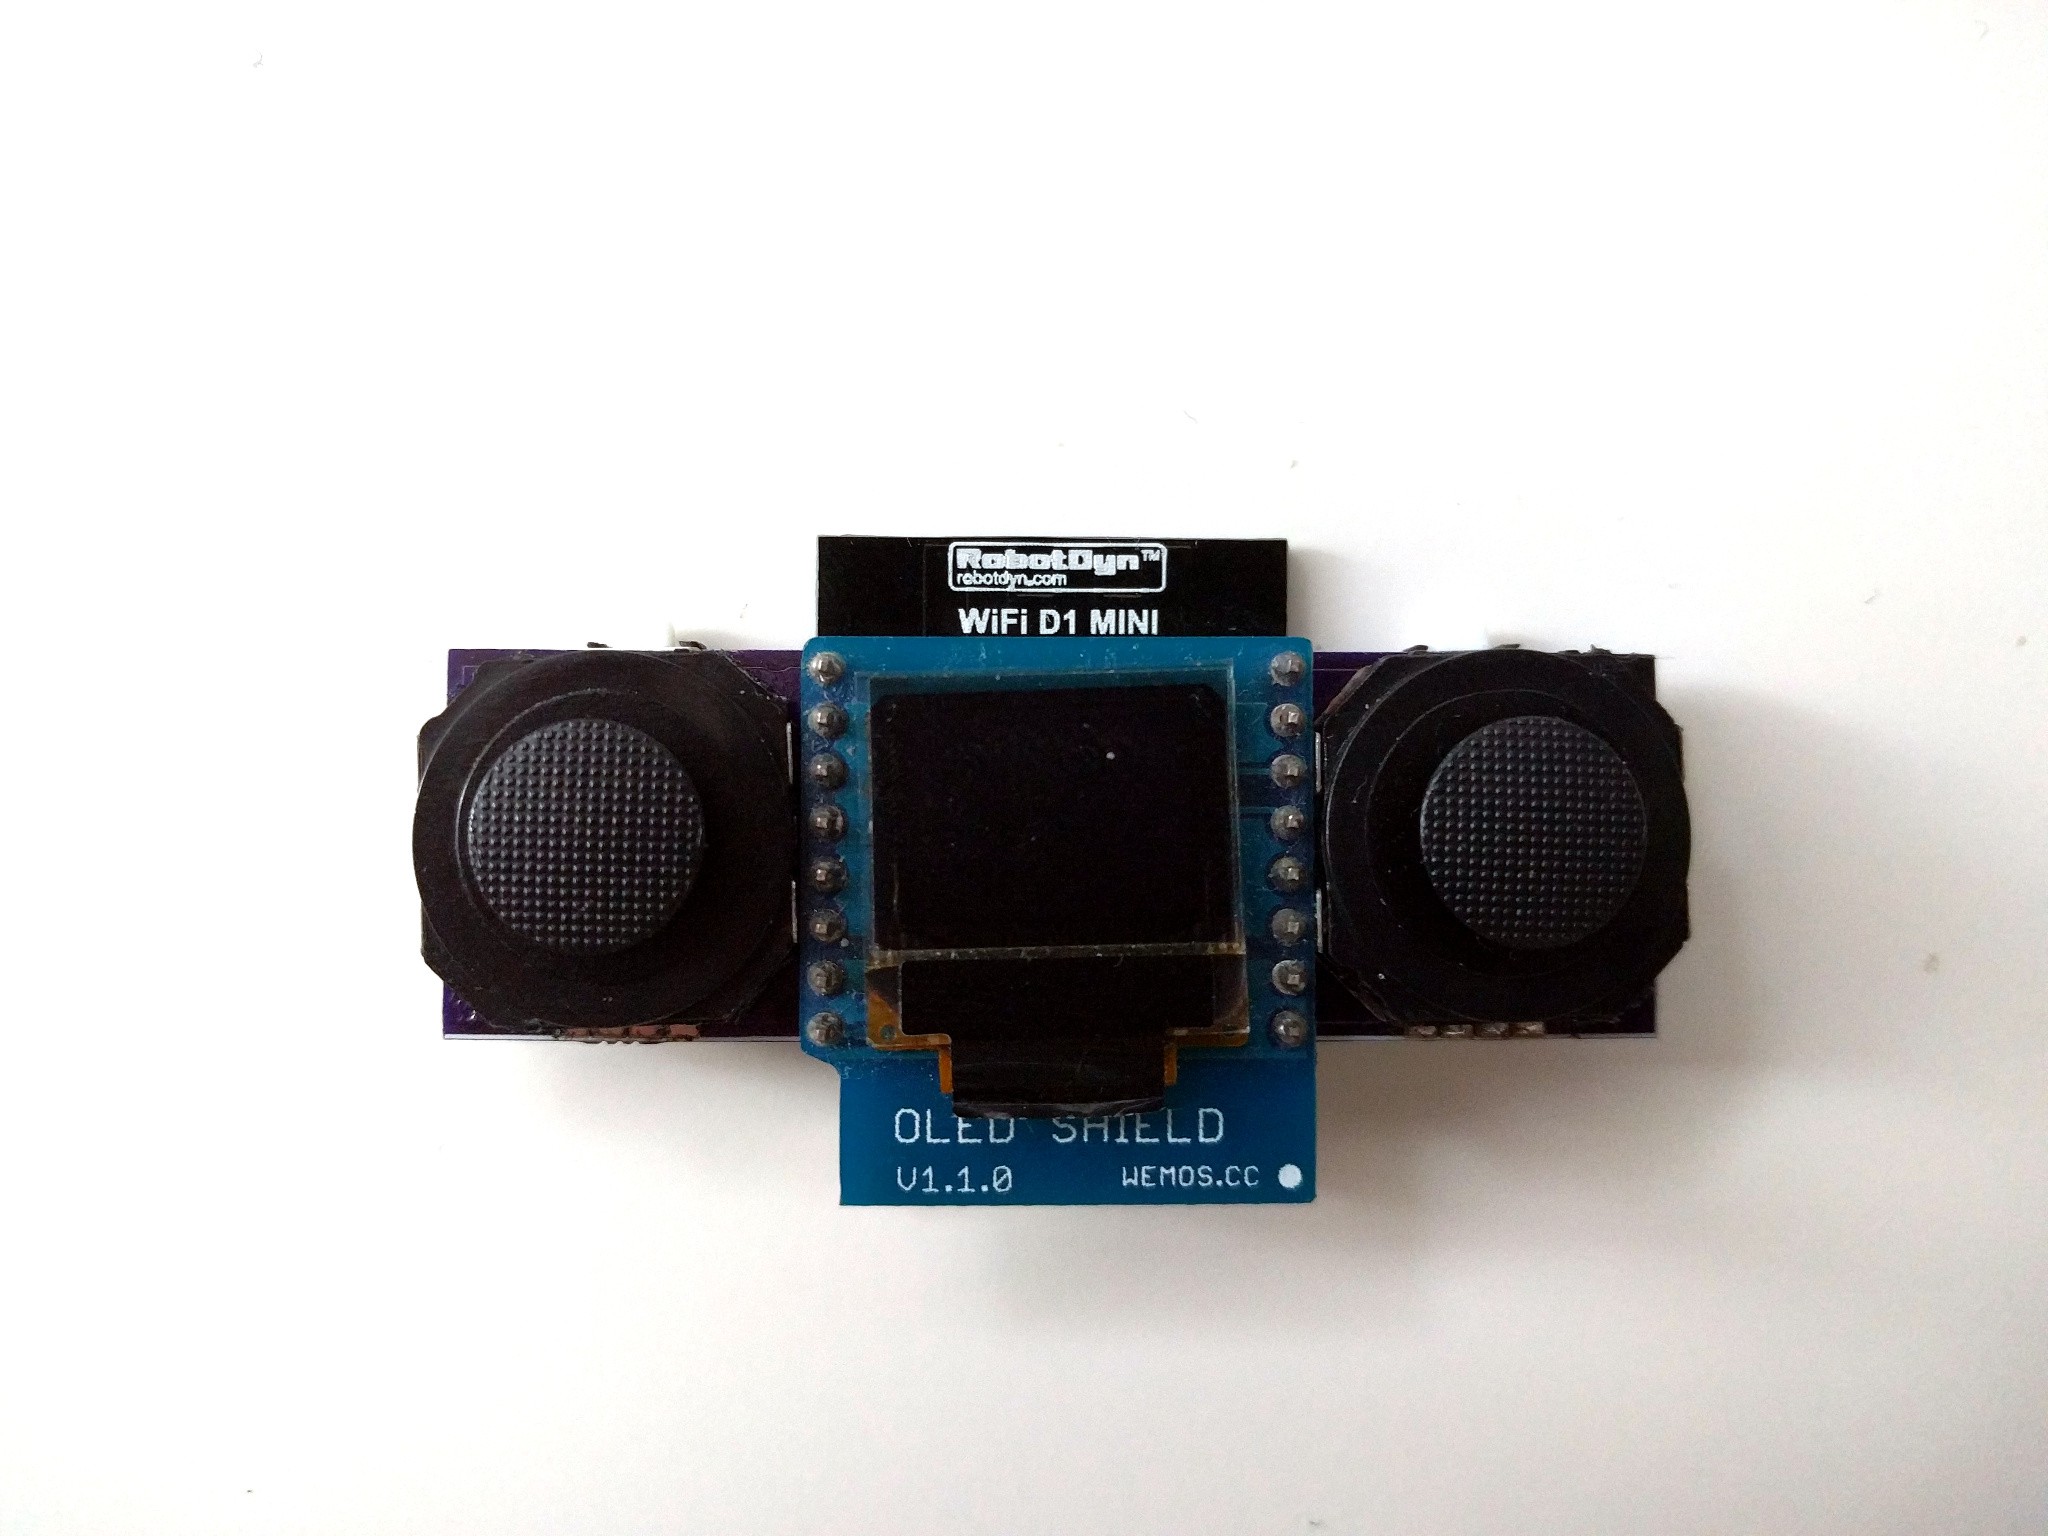
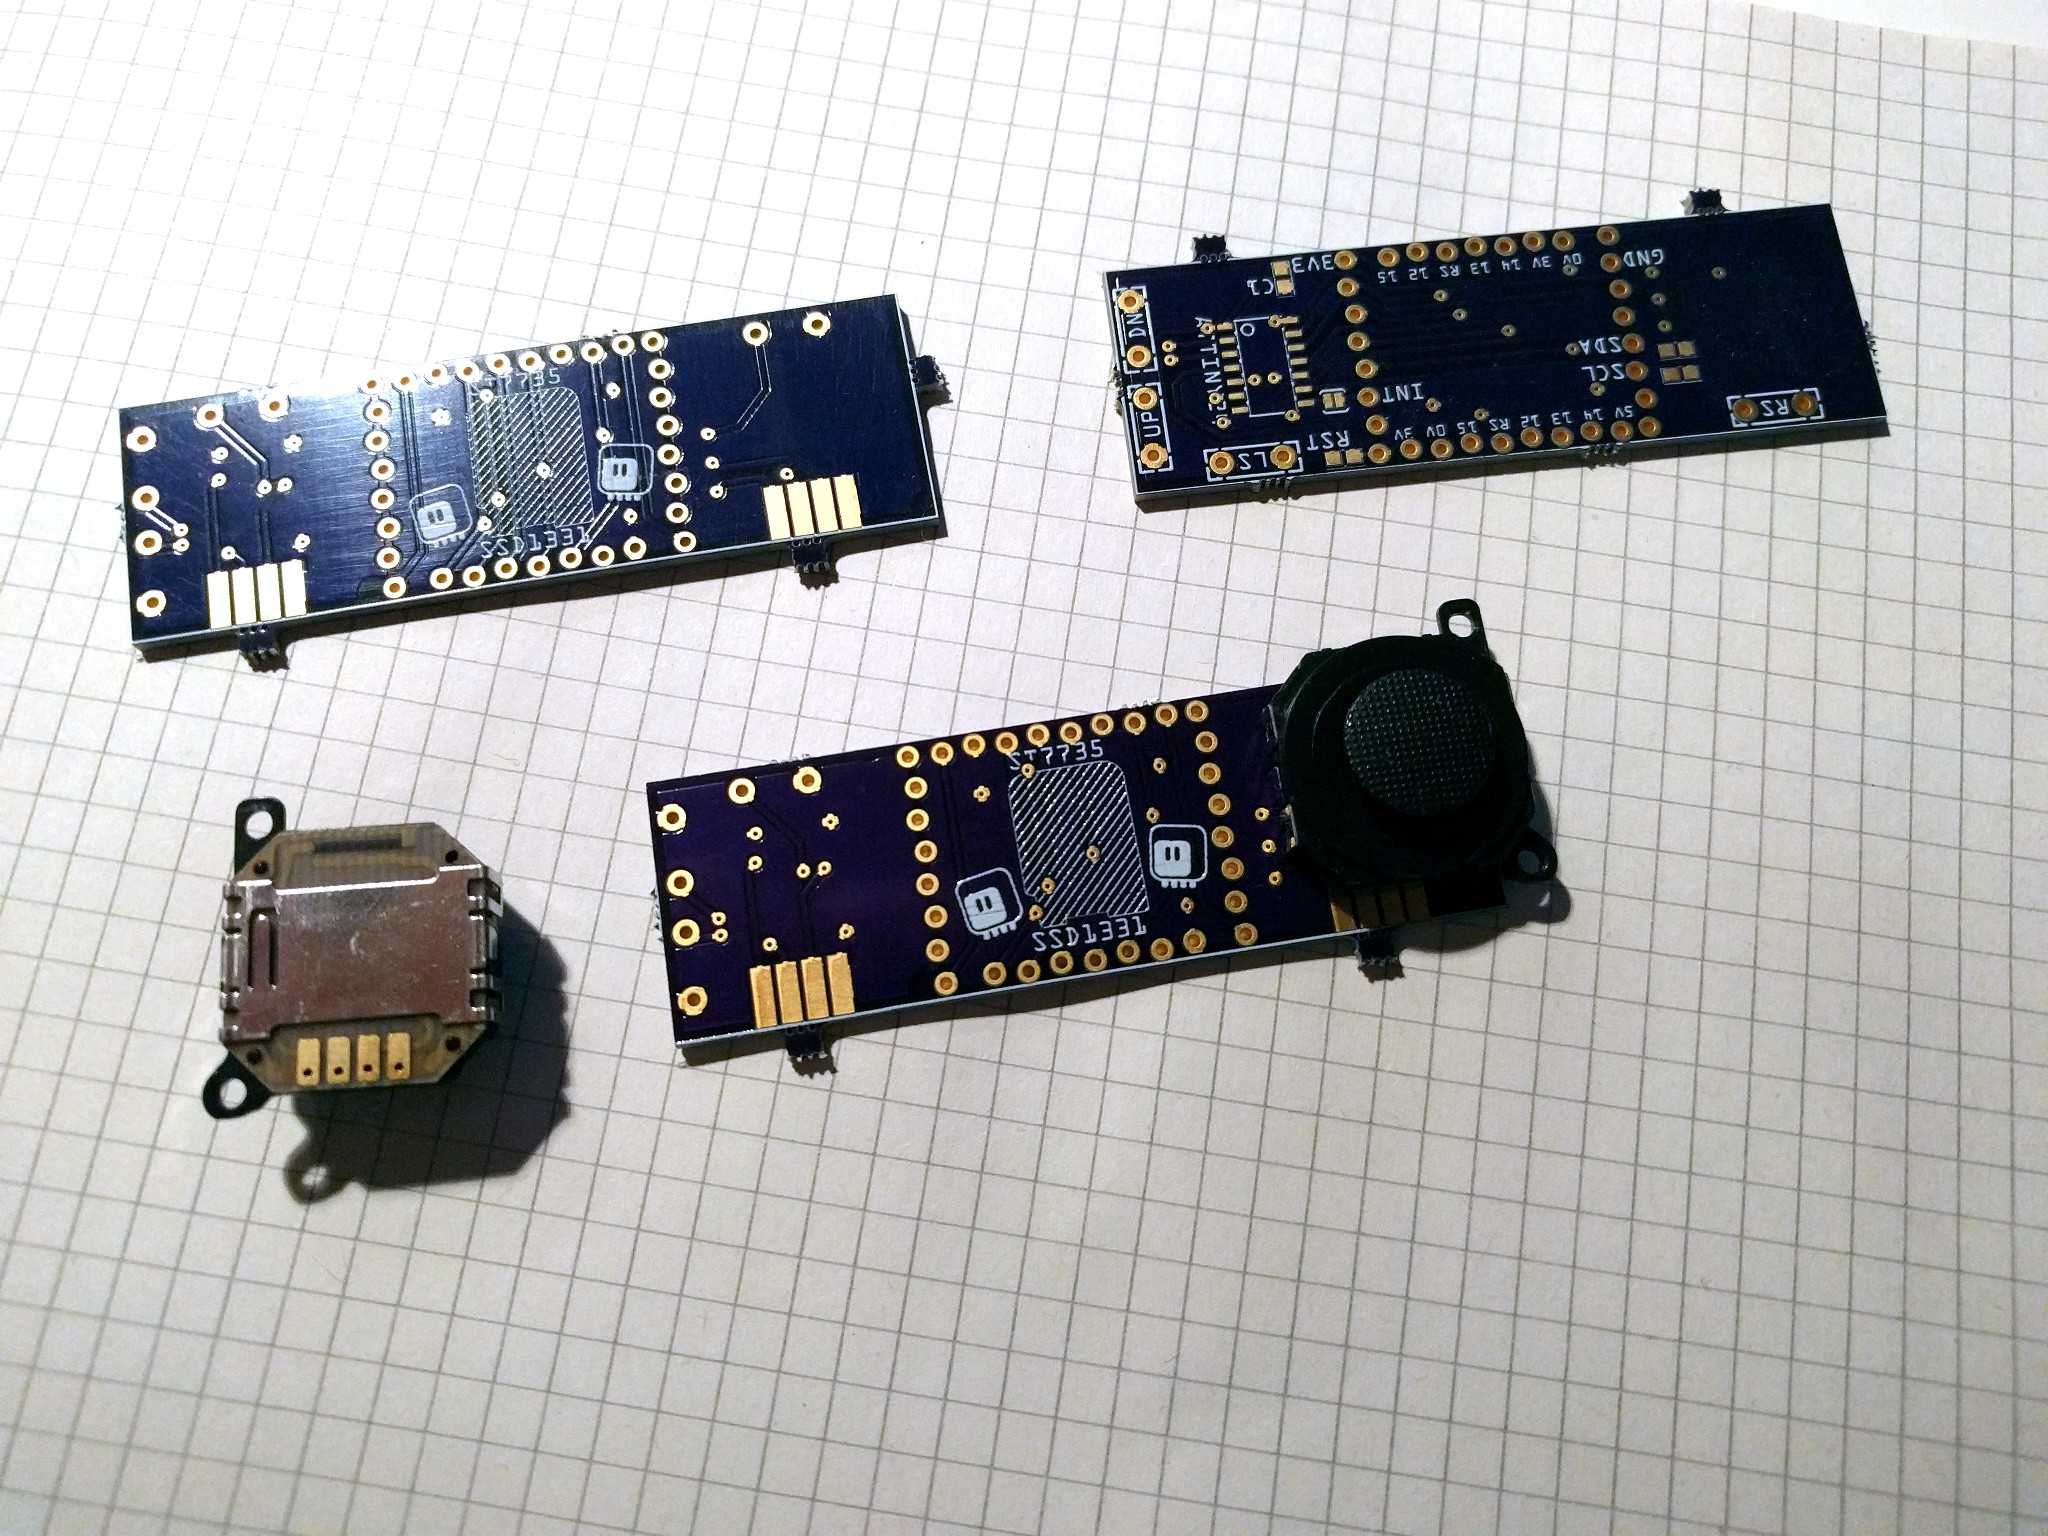
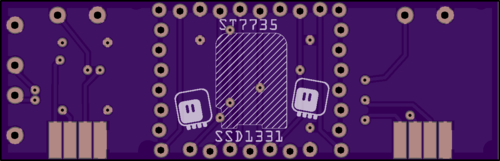
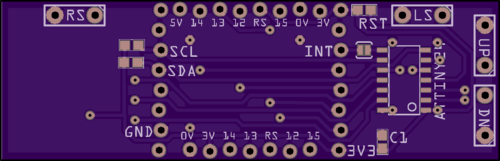
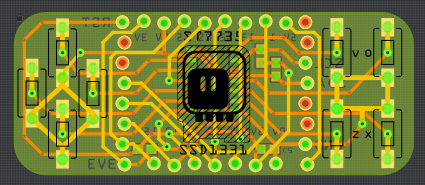
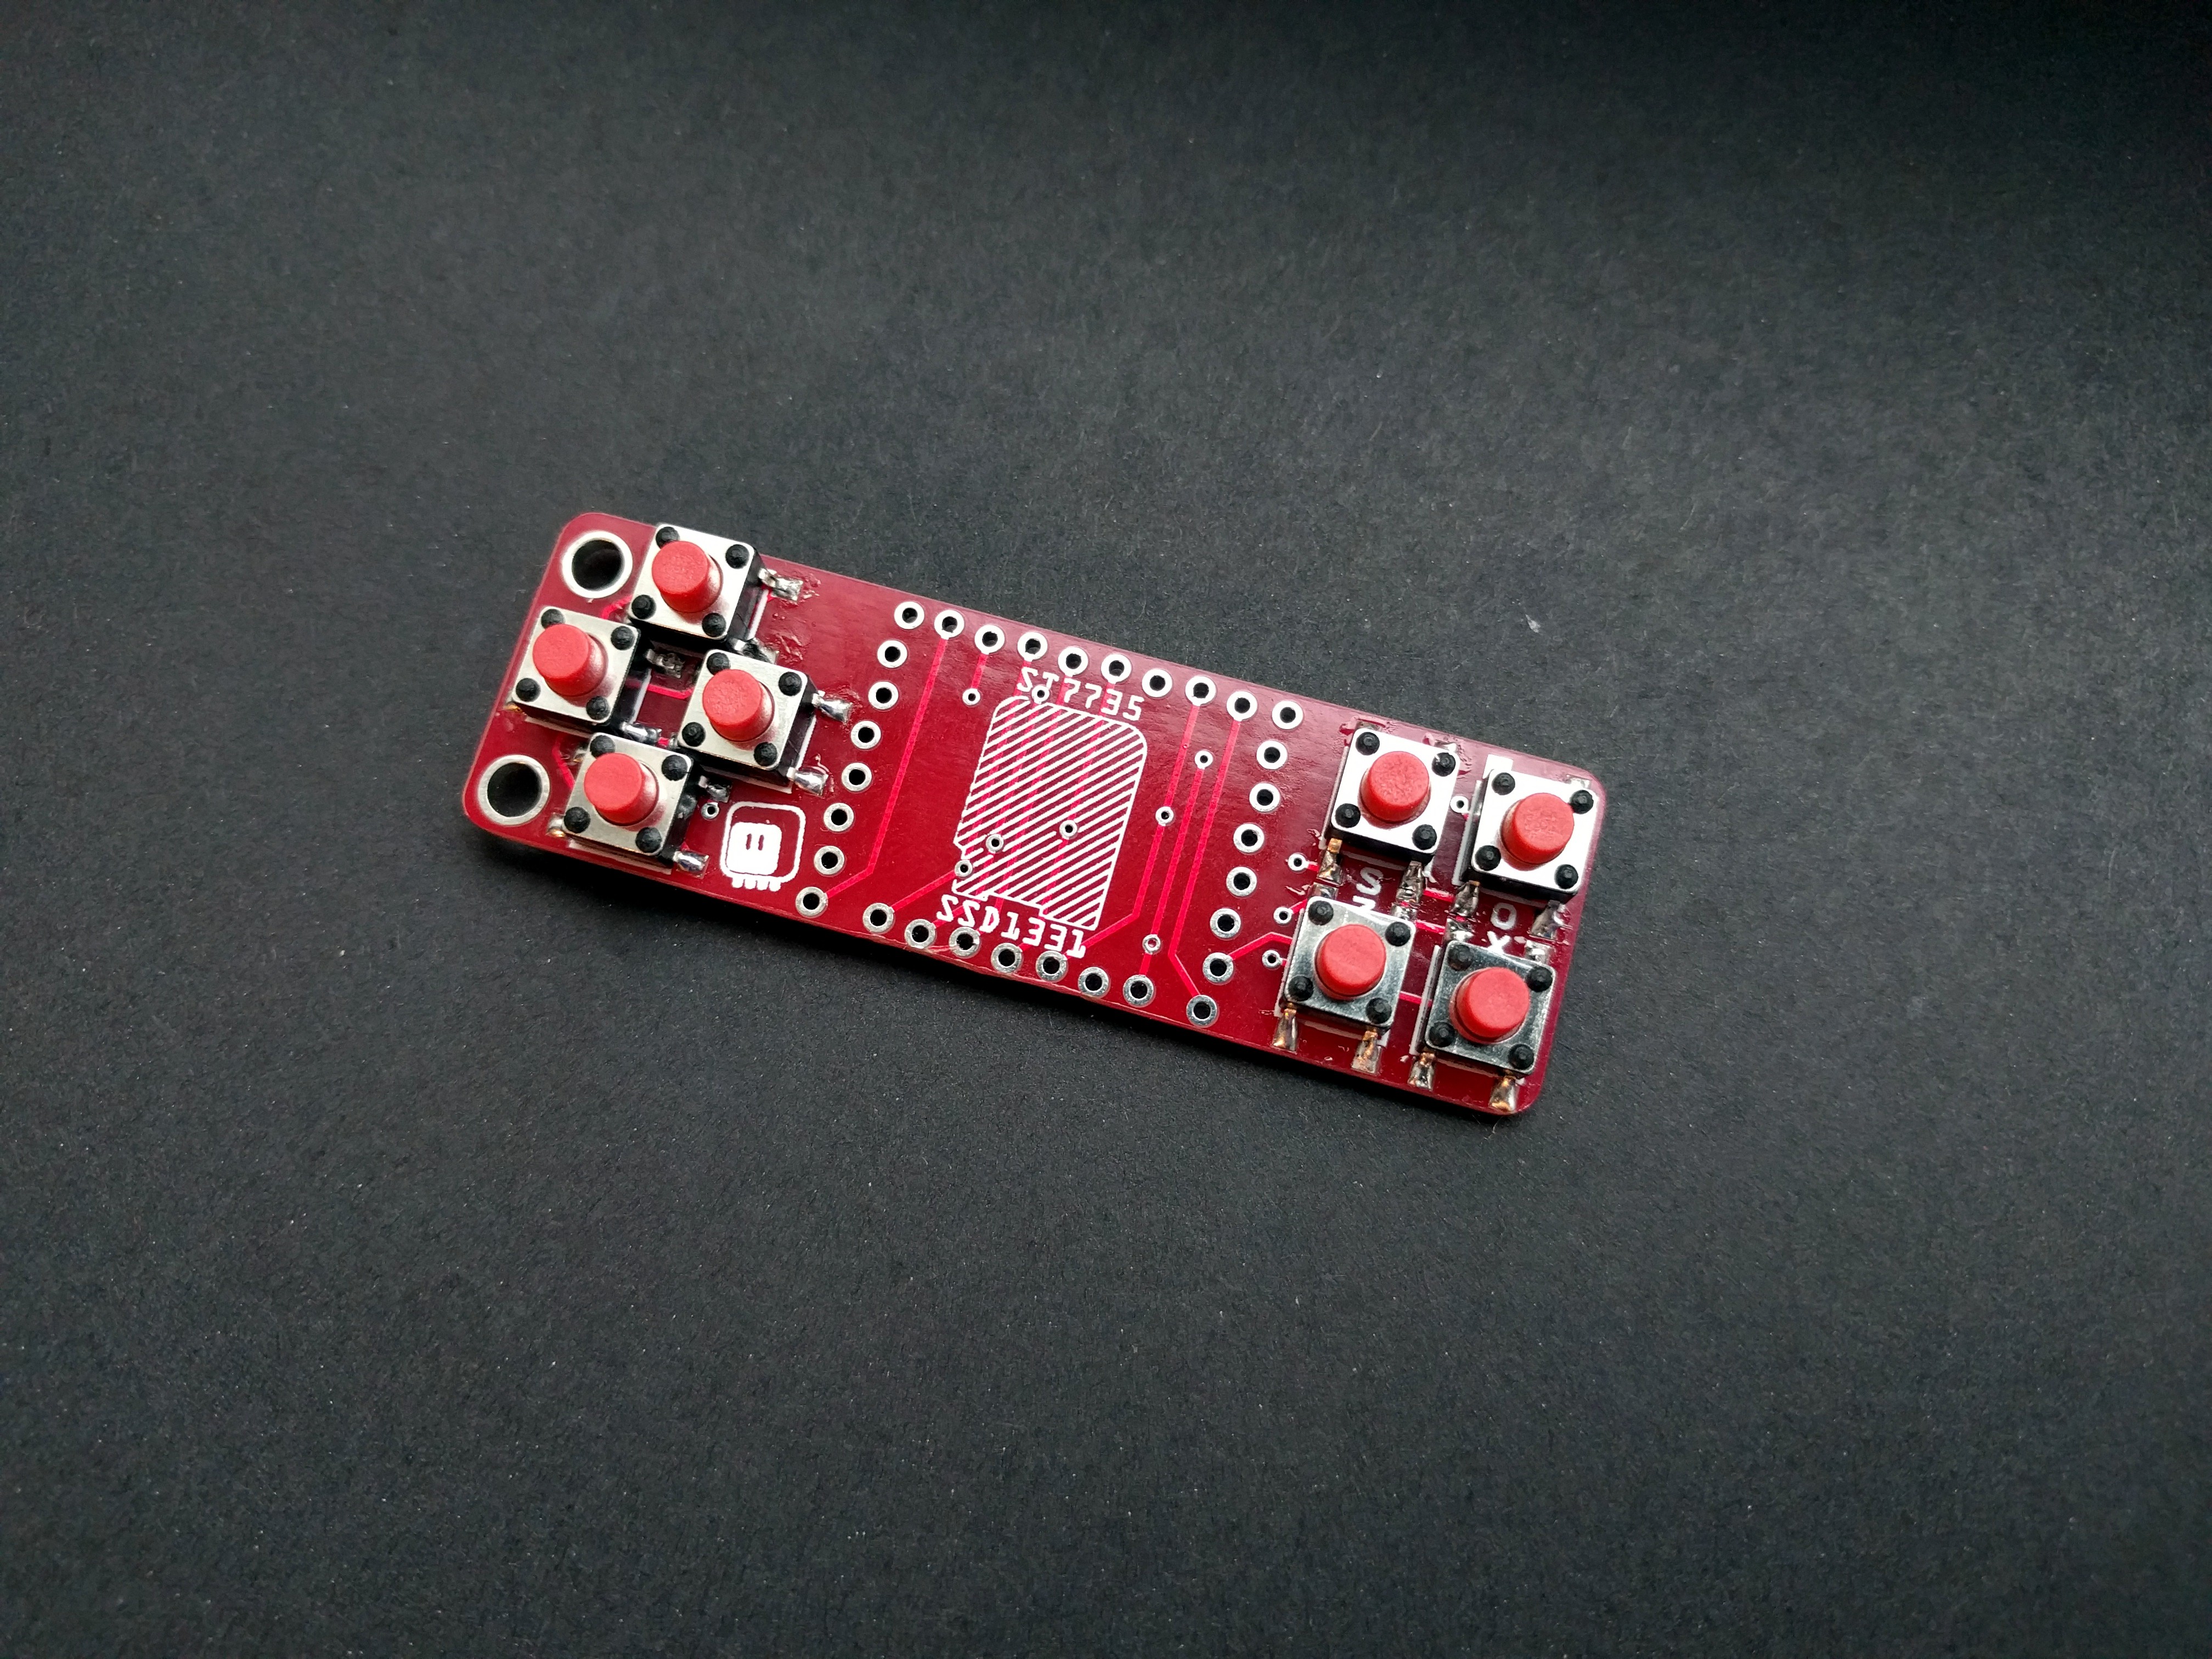
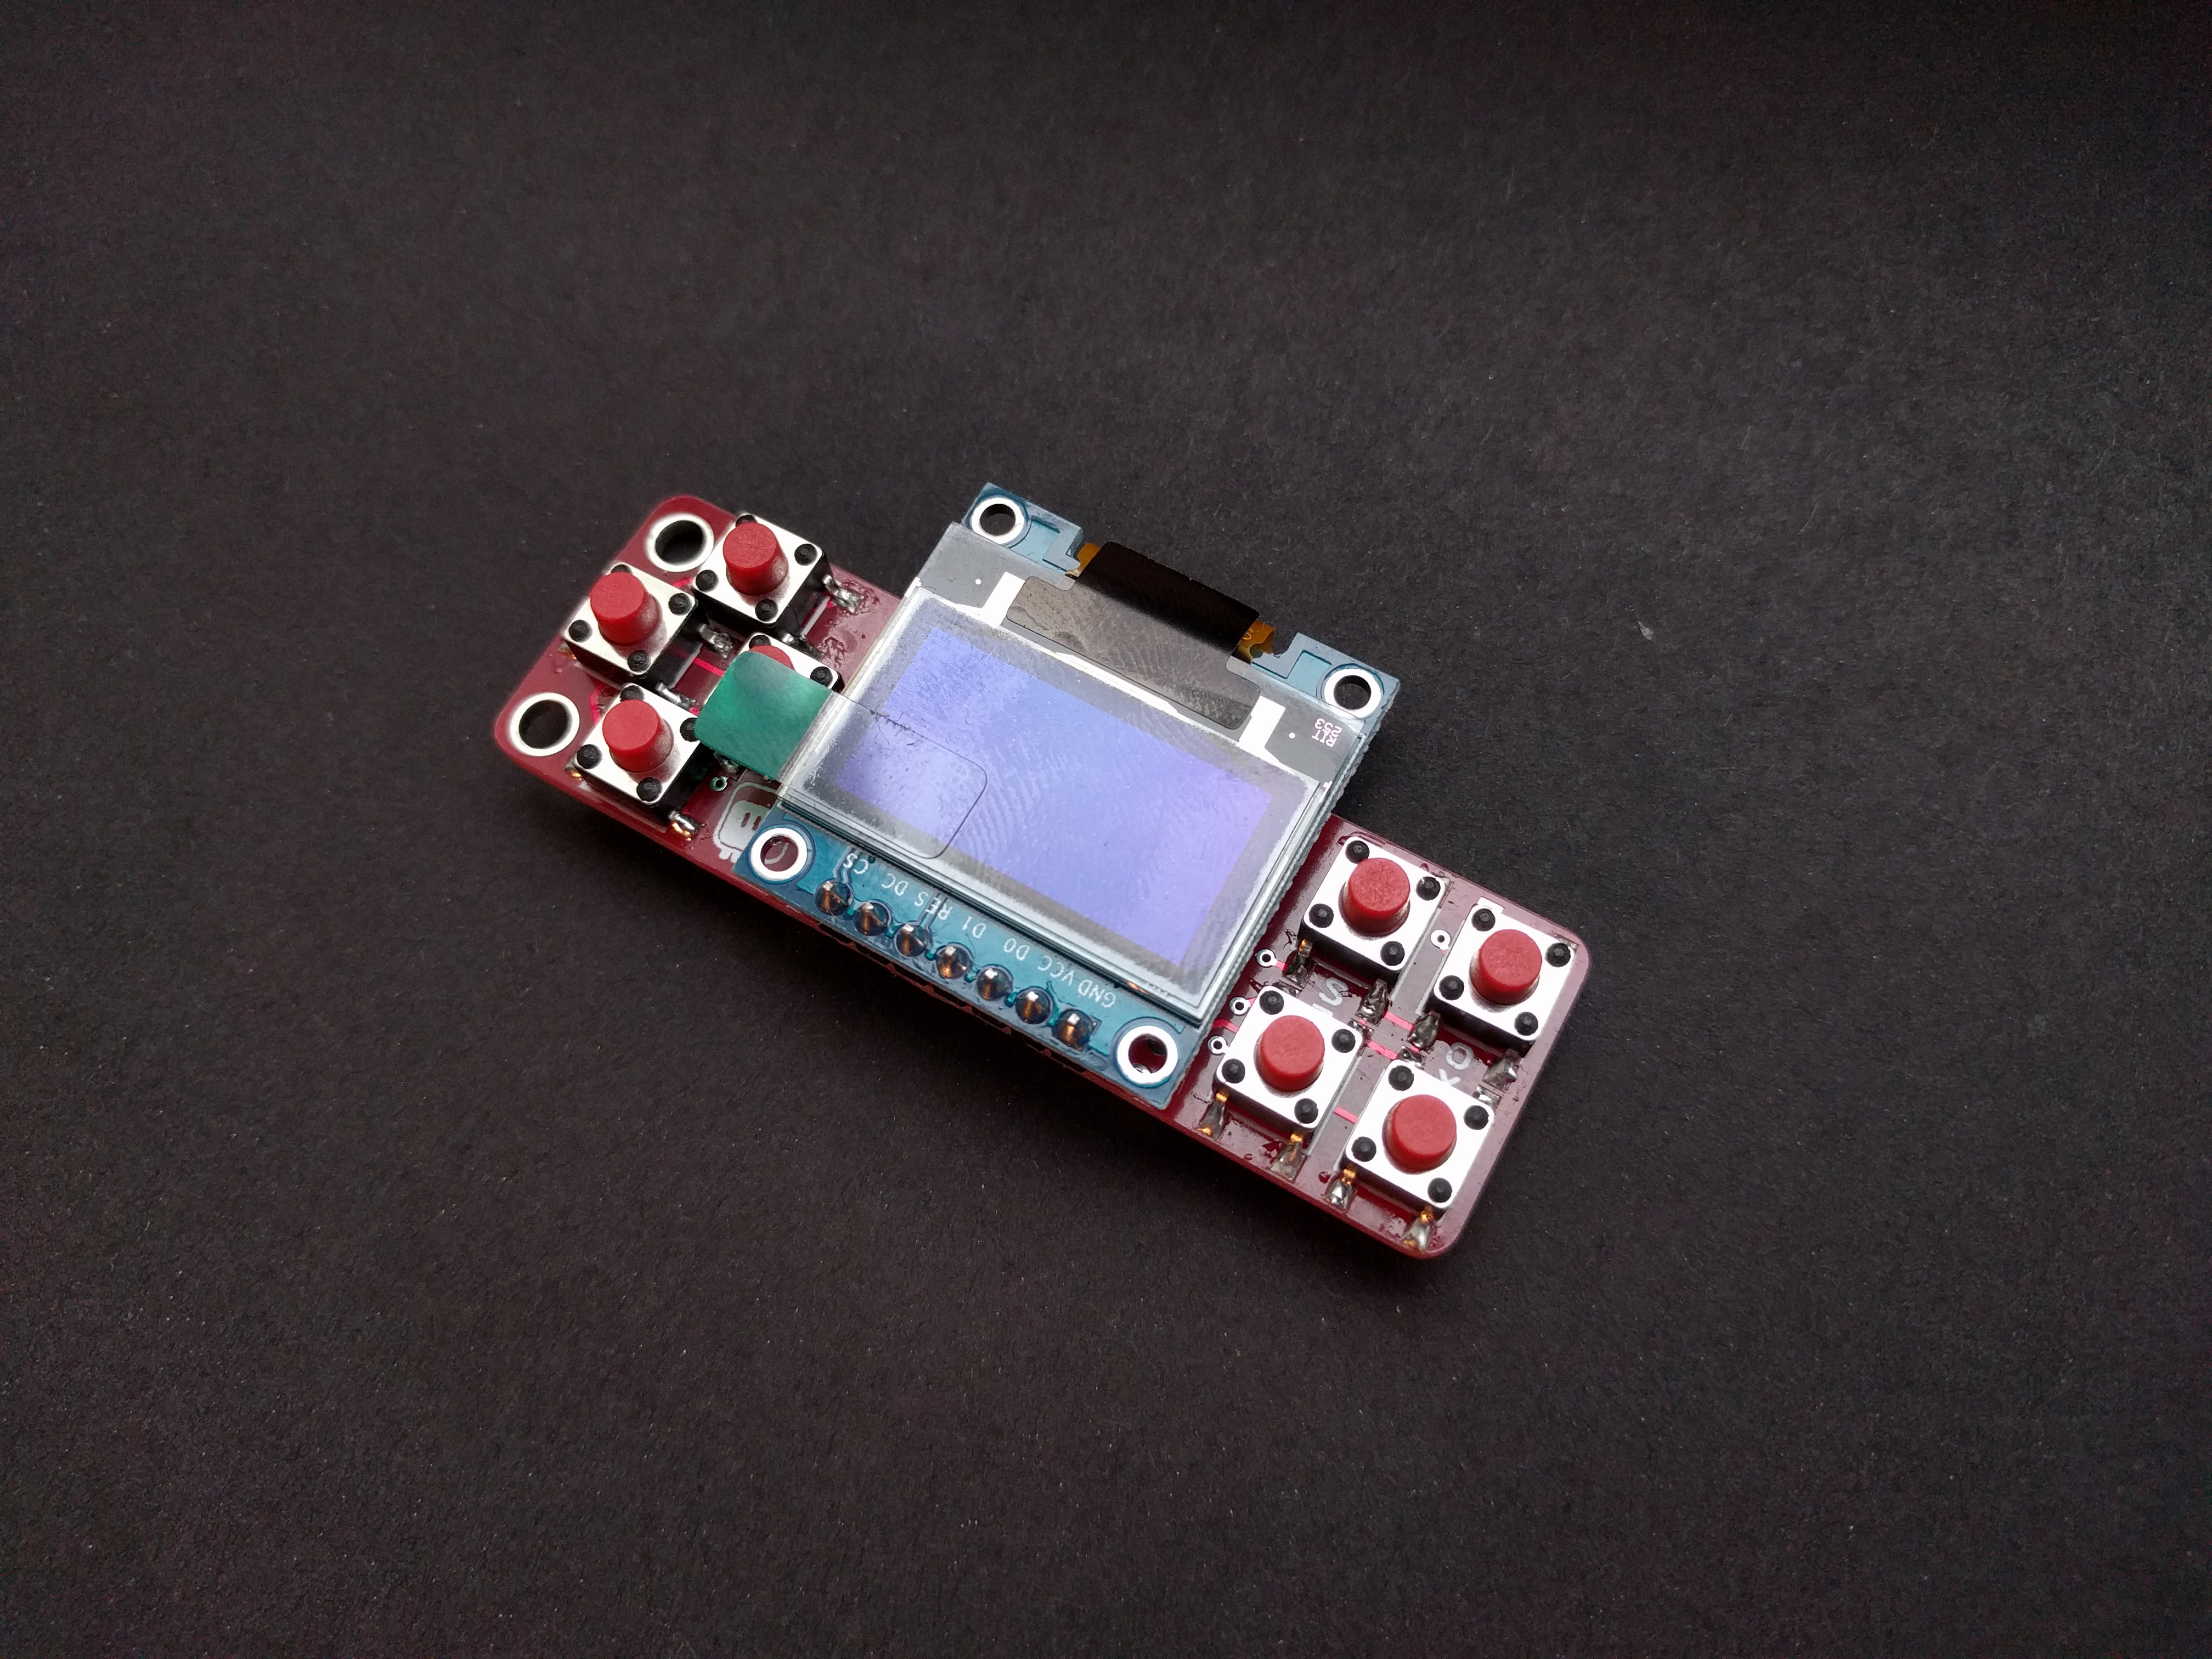
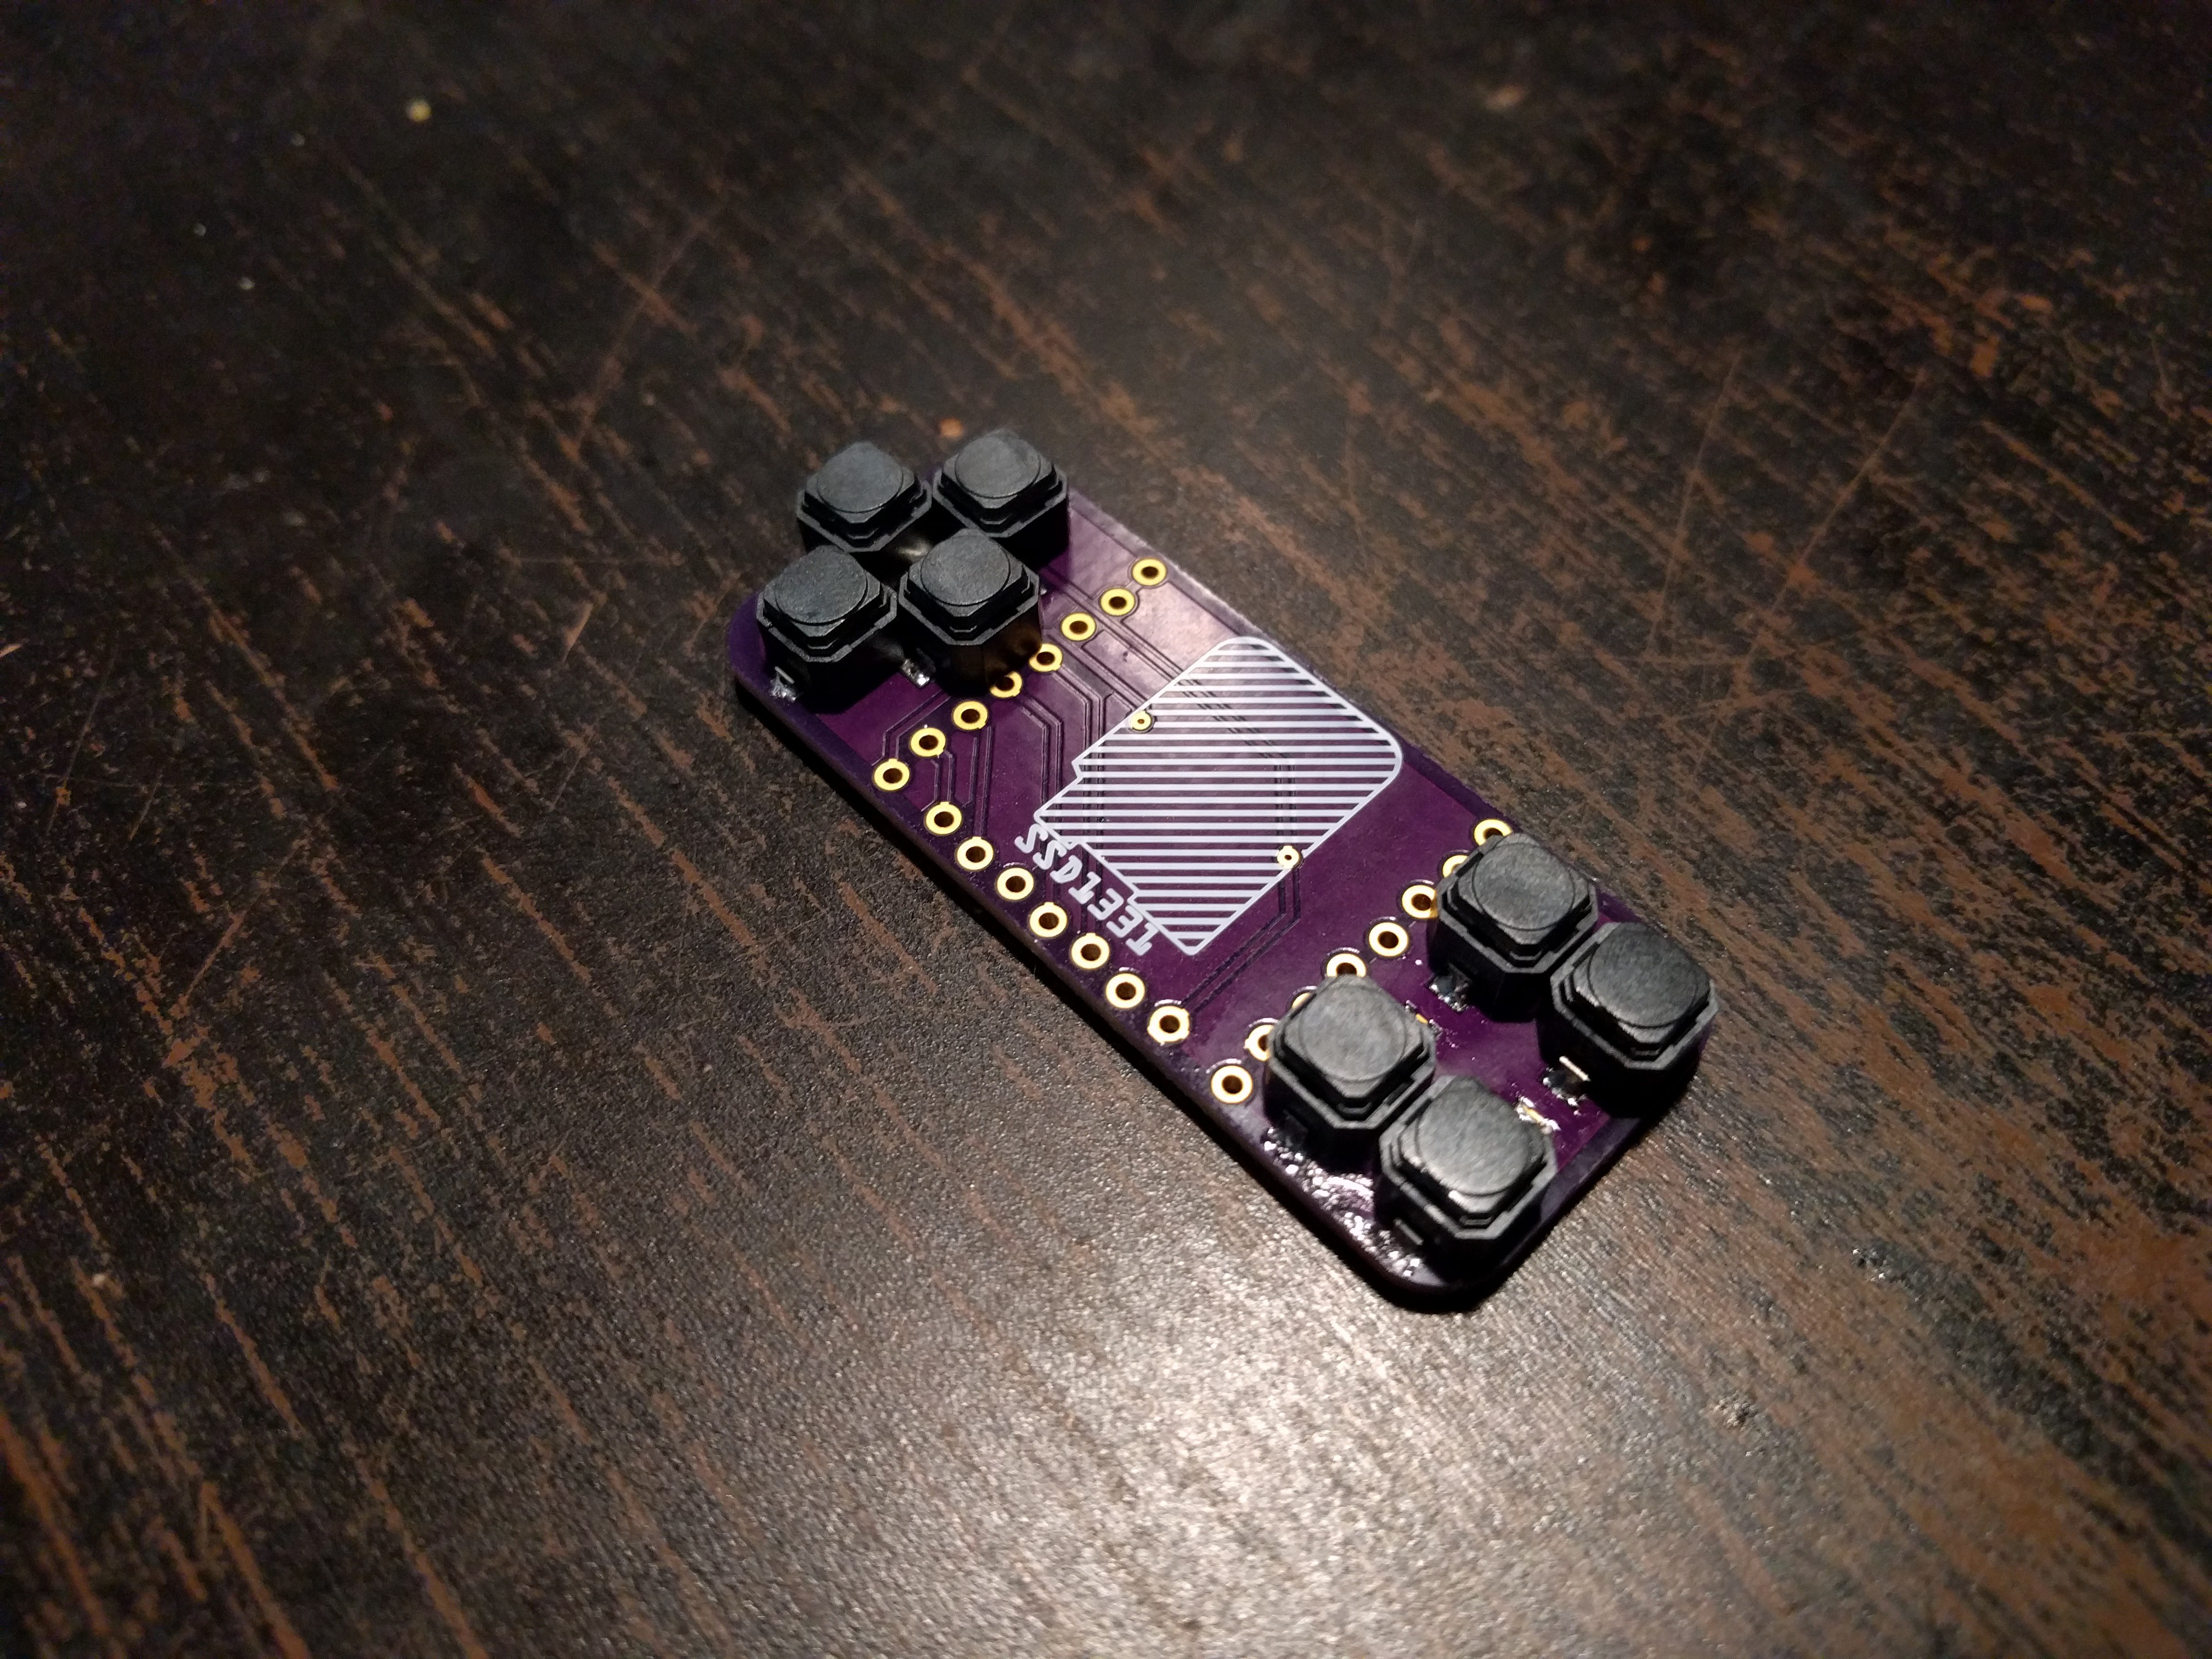
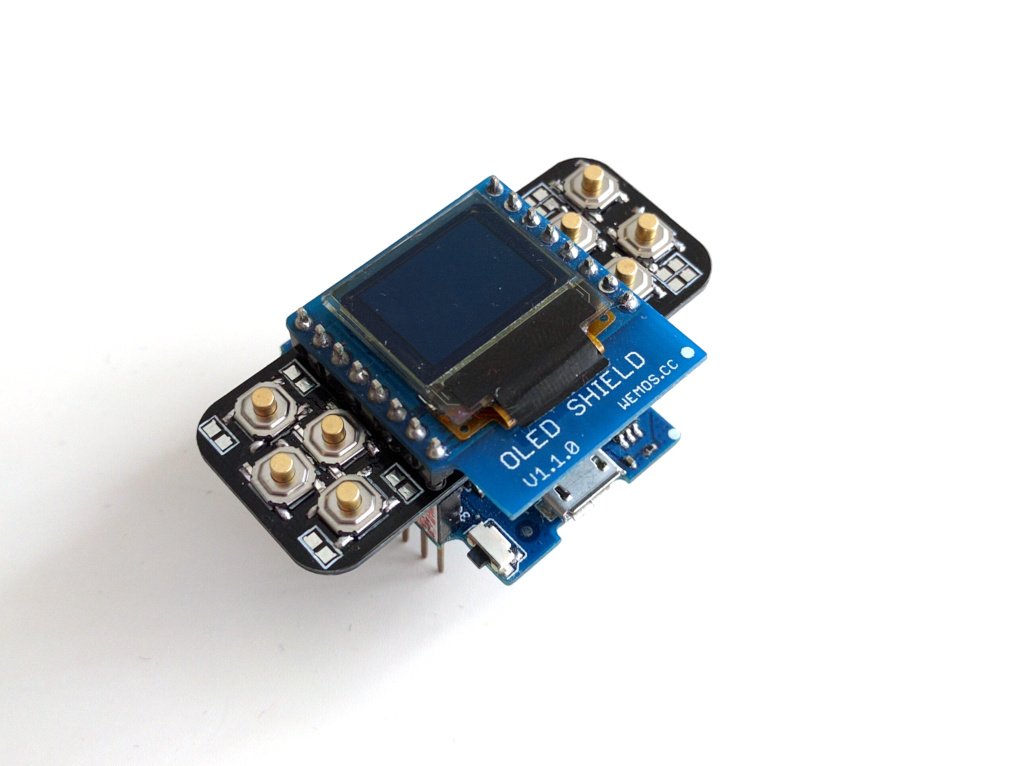
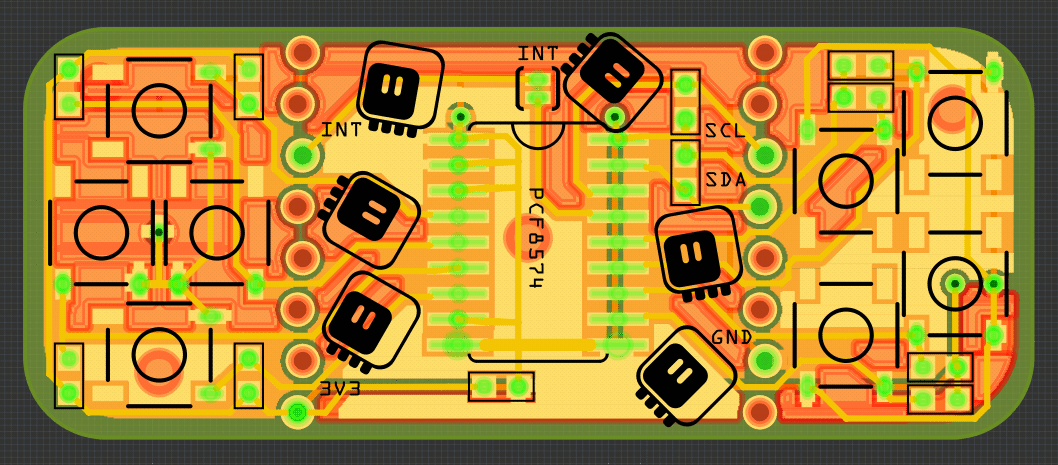
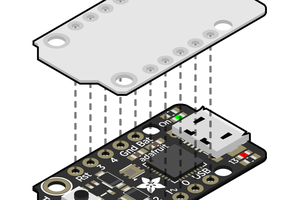
This shield for the D1 Mini ESP8266-based development board adds a joystick and three buttons, so that you can implement menus or games on your device easily.

firmware.zip

Arduino code for the firmware

Zip Archive - 8.07 kB - 01/07/2021 at 14:53

Download

d1-xpad.zip

Gerber files.

Zip Archive - 72.20 kB - 01/25/2017 at 12:06

Download

  • Analog Prototype

    deʃhipu02/09/2019 at 20:45 1 comment

    The prototype of the analog joystick shield is now assembled.

    I also modified the original firmware to return additional four bytes for the positions of the sticks:

    Read more »

  • Analog PCBs

    deʃhipu02/07/2019 at 21:44 0 comments

    The PCBs for the analog joysticks arrived while I was away, and they look good so far:

    I will probably need to add some kapton tape on the metal back of the joysticks, so that they don't short the vias/buttons, but that's just a detail (and I could do tented vias anyways, was just too lazy).

    Next step is assembling this and modifying the firmware for the attiny24.

  • Analog Joysticks

    deʃhipu01/12/2019 at 23:02 4 comments

    I'm very happy with the version 6.0 and don't plan to make any further changes, at least for now. It's perfect both for user interfaces and for games. However, there is one more use case I have in mind, and that is controlling mobile robots. For that analog joysticks would be much better. So I sat down and designed another version, this time with two thumb joysticks, two shoulder buttons, and two buttons on the side for switching modes:

    I kept the size the same, but this time I centered the board (the d-pad version is a bit shifted to make room for the four fire buttons). Also, since the thumb sticks are so big, I had to put the shoulder buttons on the back of the board, where the microcontroller is:

    Four analog pins of the AtTiny24 are enough to handle the joystick, and the remaining four are for the buttons — again I didn't do anything fancy. I kept the interrupt pin and the two footprints for displays — a robot controller could use this for telemetry, menus, or even camera image (but that would probably require an esp32 board).

    Of course the final version will have rounded corners. I should have the boards in a few weeks, then I will adapt the code to send not only the button status, but also the four analog measurements.

  • Version 6.0

    deʃhipu05/17/2018 at 09:22 4 comments

    After using an ATtiny24 for handling buttons in #Micro:Boy I decided that this is also the way to go with the X-Pad shield. I designed version 5.0 which used the same buttons and layout as 4.0, but a different chip, and I tested the firmware with it. Turns out that it works very well, and does de-bouncing and buffering for you, so that you don't have to poll the chip frantically for presses, afraid that you miss any. All button presses now wait nicely in the buffer until you read them. The shield looked like this:

    But then I have some problems with the shields I sold on Tindie (due to poor solder joints on the buttons), and I removed the shield from my store. I decided to work on the design a little bit more and make a version that will really be the best I can make. Behold, version 6.0:

    It's bigger than the original X-Pad shield, and has mounting holes. It also has all the components, except buttons, on the back, and away from the middle part of the board — so it can lie flat against the D1 Mini and other shields. It also has friction-fit headers, so no soldering is necessary and you can add it to another shield easily, like this:

    There are also two headers for popular display modules. One for the 128×128 ST7735R module (you might need to trim that corner):

    And one for the popular SPI-based OLED modules, such as SSD1331 or SSD1306:

    I still need to add some last finishing touches to the firmware and test it all properly, and it's going into my Tindie store.

  • Version 3.0

    deʃhipu01/25/2018 at 20:41 0 comments

    I have been working a little on this project in the recent months, designing a new PCB using different parts and so on, but I didn't really have time to assemble and test it properly. Recently I found the PCBs in a drawer, found the matching parts, and decided to give it a go. Behold, version 3.0:

    and the back side:

    Read more »

  • Example Code

    deʃhipu10/11/2017 at 18:13 0 comments

    There has been some questions as to how to actually handle this shield in the code, so I'm providing some simple examples:

    MicroPython

    from machine import I2C, Pin
    import time
    i2c = I2C(sda=Pin(4), scl=Pin(5))
    while True:
        print(hex(i2c.readfrom(0x20, 1)[0]))
        time.sleep(1)

     NodeMCU

    i2c.setup(0, 1, 2, i2c.SLOW)
    tmr.alarm(0, 1000, 1, function ()
        i2c.start(0)
        i2c.address(0, 30, i2c.RECEIVER)
        print(string.toHex(i2c.read(0, 1)))
        i2c.stop(0)
    end)

     Arduino

    #include <Wire.h>
    void setup() {
        Wire.begin();
        Serial.begin();
    }
    void loop() {
        Wire.requestFrom(0x20, 1);
        Serial.print(Wire.read(), HEX);
        delay(1000);
    }

     All of the above examples scan the buttons once a second and print their state as a hexadecimal number on the serial console.

  • Buy it on Tindie

    deʃhipu10/09/2017 at 15:06 0 comments

    I have added this to my shop at Tindie, so you can now buy it: https://www.tindie.com/products/deshipu/x-pad-20-buttons-shield-for-d1-mini/

    It's the cheapest shield I have made so far. I am not entirely happy with it yet (the buttons are too small and I should have put the chip on the underside), but it's actually very useful, so why not let people get it. It goes well together with the official OLED shield:

  • Pull-ups? We need no @#$@$ pull-ups!

    deʃhipu09/28/2017 at 09:50 3 comments

    Turns out that I have over-engineered this shield a little bit — I wanted to make sure the pins are pulled up when the buttons are not pressed, so I added a pull-up resistor to each button. But looking at the #LAMEBOY - another ESP12 handheld project, I noticed that @davedarko didn't use any pull-ups, and it works reliably for him. We dived into the datasheet a bit and did some experiments, and it turns out you really don't need them. So now I'm leaving the pads for the pull-up resistors un-populated. Perhaps I will design another version of the PCB, with the chip on the bottom side and without any pull-ups whatsoever, but for now this simplified second version works well for me.

  • New Version Assembled

    deʃhipu09/07/2017 at 11:41 1 comment

    It took me a while to assemble this, because by mistake I used 4x4mm button footprints instead of the 5x5mm, so I had to order matching switches. But it's there, and it's working. Here's a comparison photo with the old version:


    The friction-fit alternating pins work really well, and make the whole thing much smaller. The chip, even though SMD, is still pretty huge — I'd love to find a small, preferably QFN, chip that can handle buttons over I²C, but I'm too lazy to look for it specially. The buttons are much more convenient than the old "joystick", even though they are still not very friendly to your fingertips.

  • Upgrade

    deʃhipu08/03/2017 at 10:40 0 comments

    I went ahead and upgraded the design of this shield a little bit. It now uses all SMD components (including the PCA8574 chip), has all parts on one side, and uses buttons in place of that tiny joystick thing. Oh, and I dropped the address selection jumpers, since you are not going to have more than one of this on a single dev board anyways.

    The pin headers now are staggered for a pressure fit, so that you should be able to put this between your dev board and a display shield without additional headers increasing the height.

View all 13 project logs

Enjoy this project?

Share

Discussions

Hendra Kusumah wrote 06/25/2018 at 08:44 point

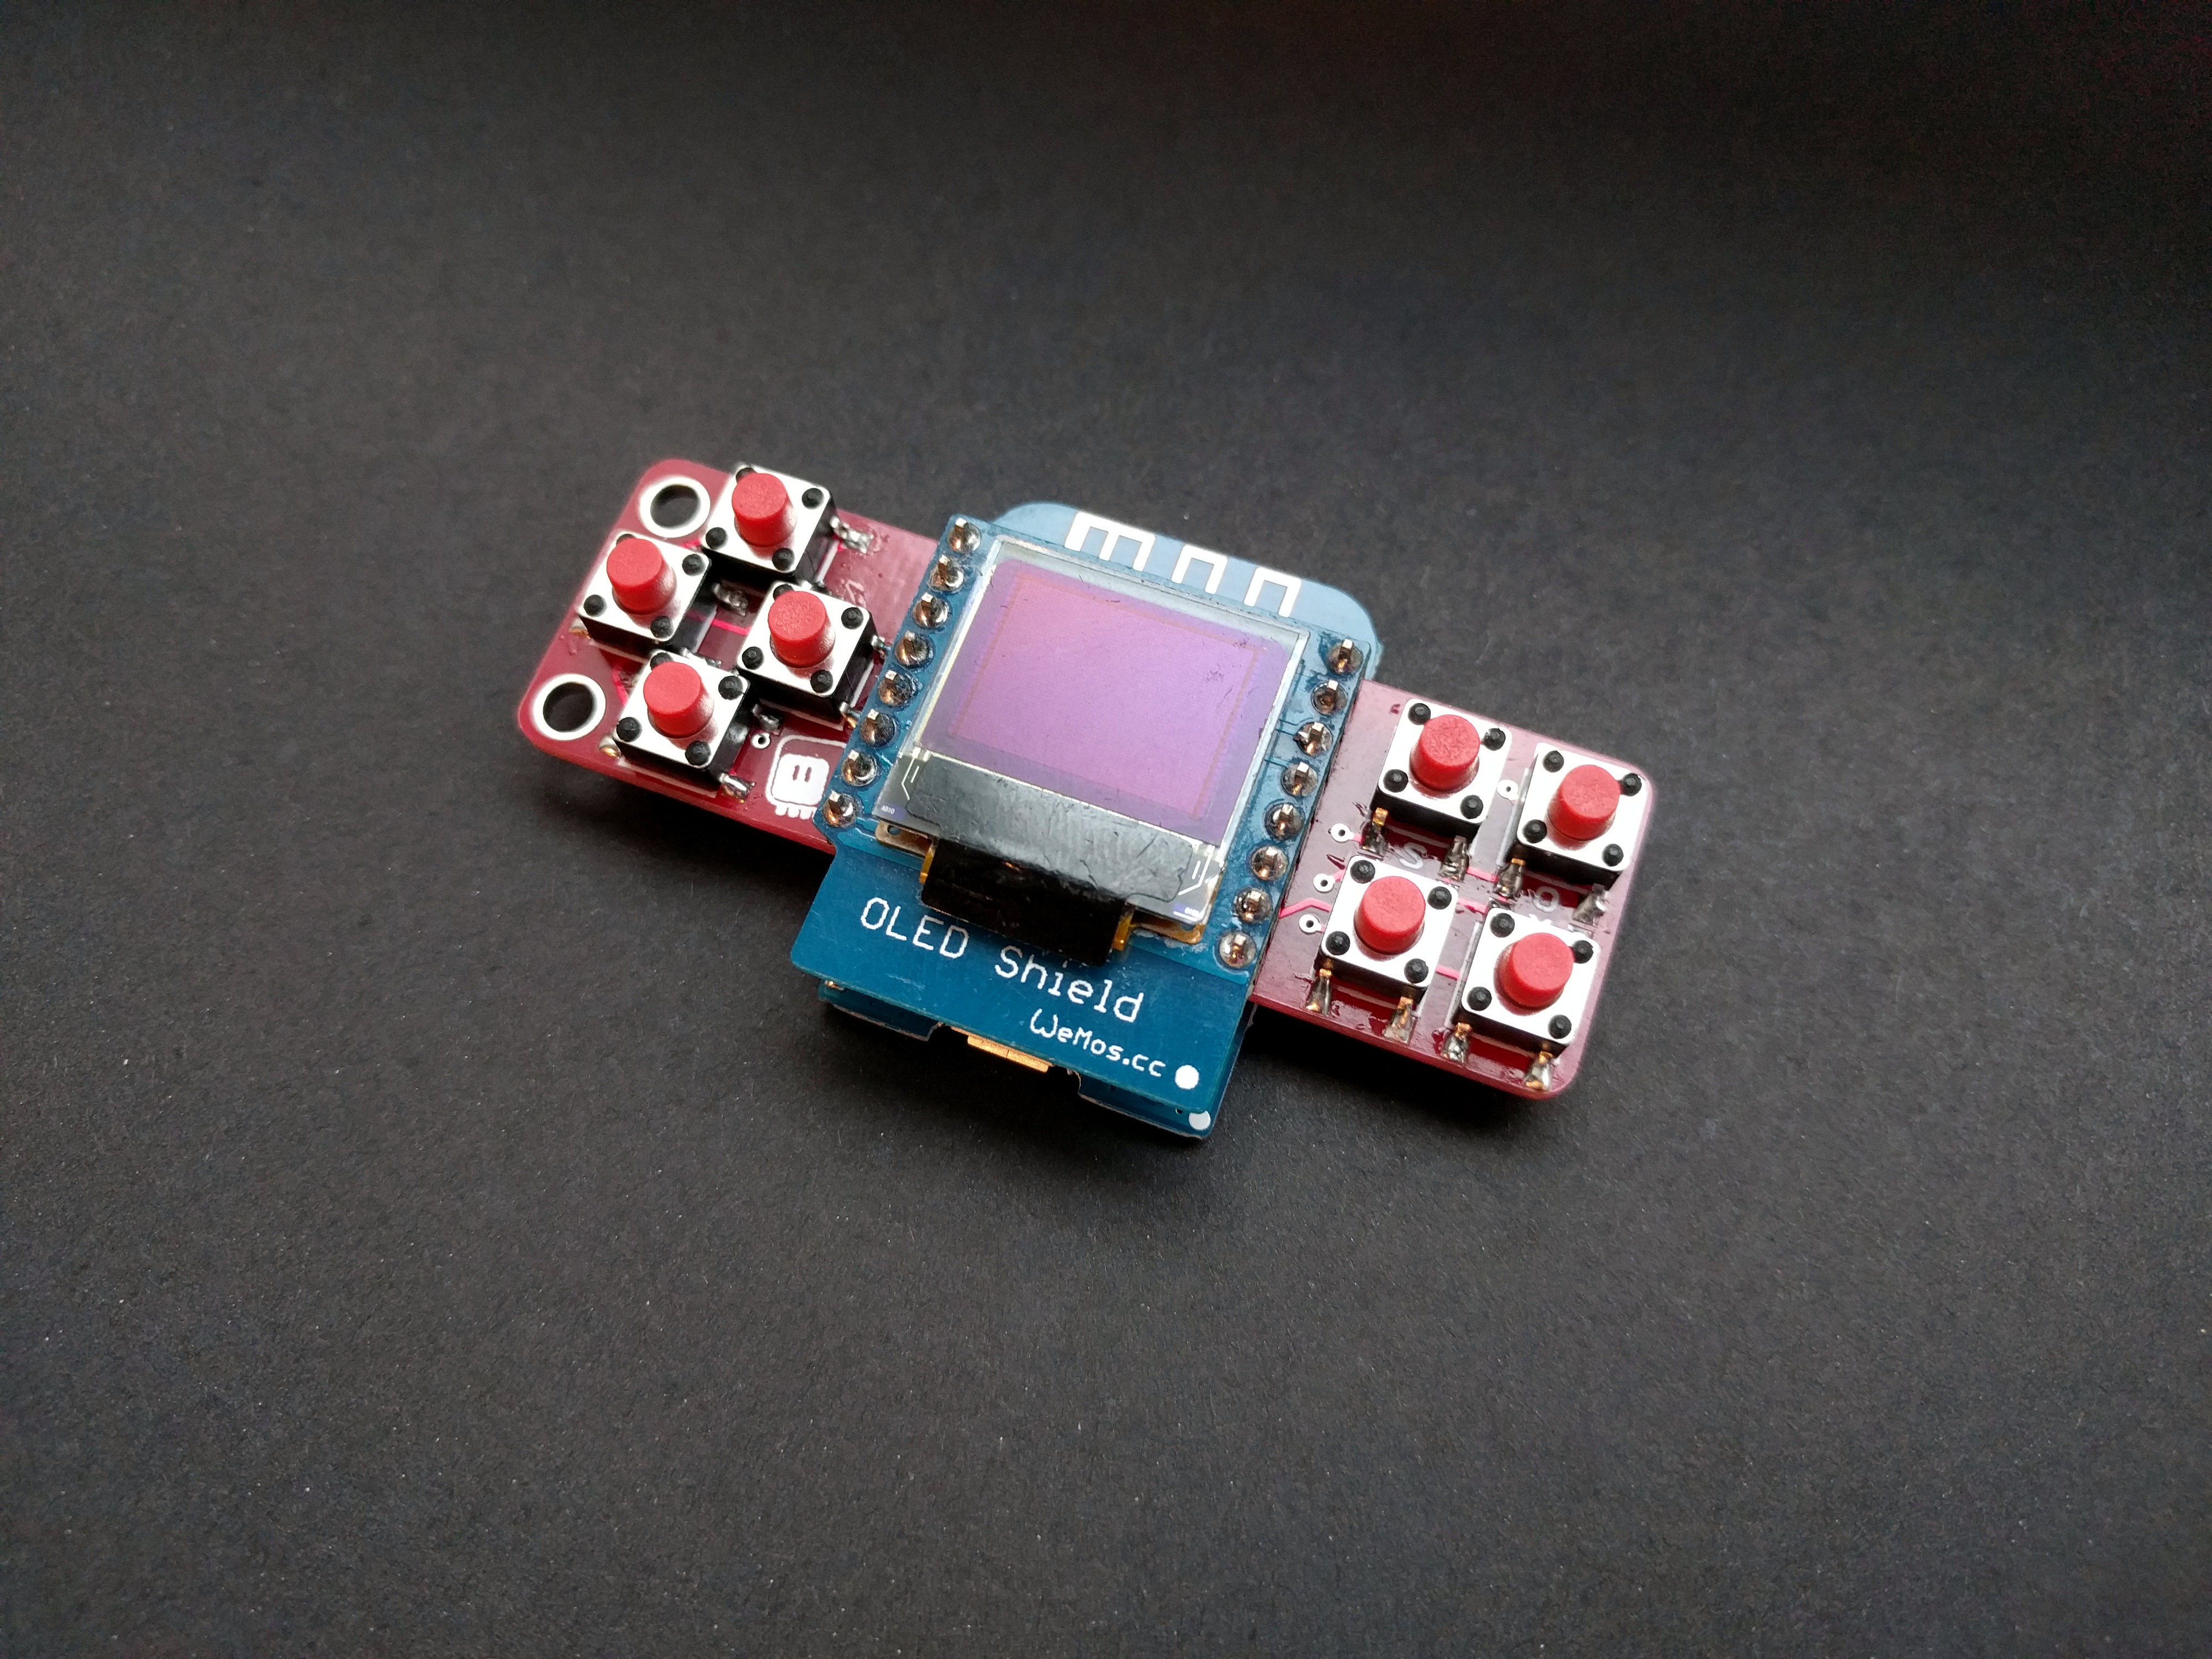
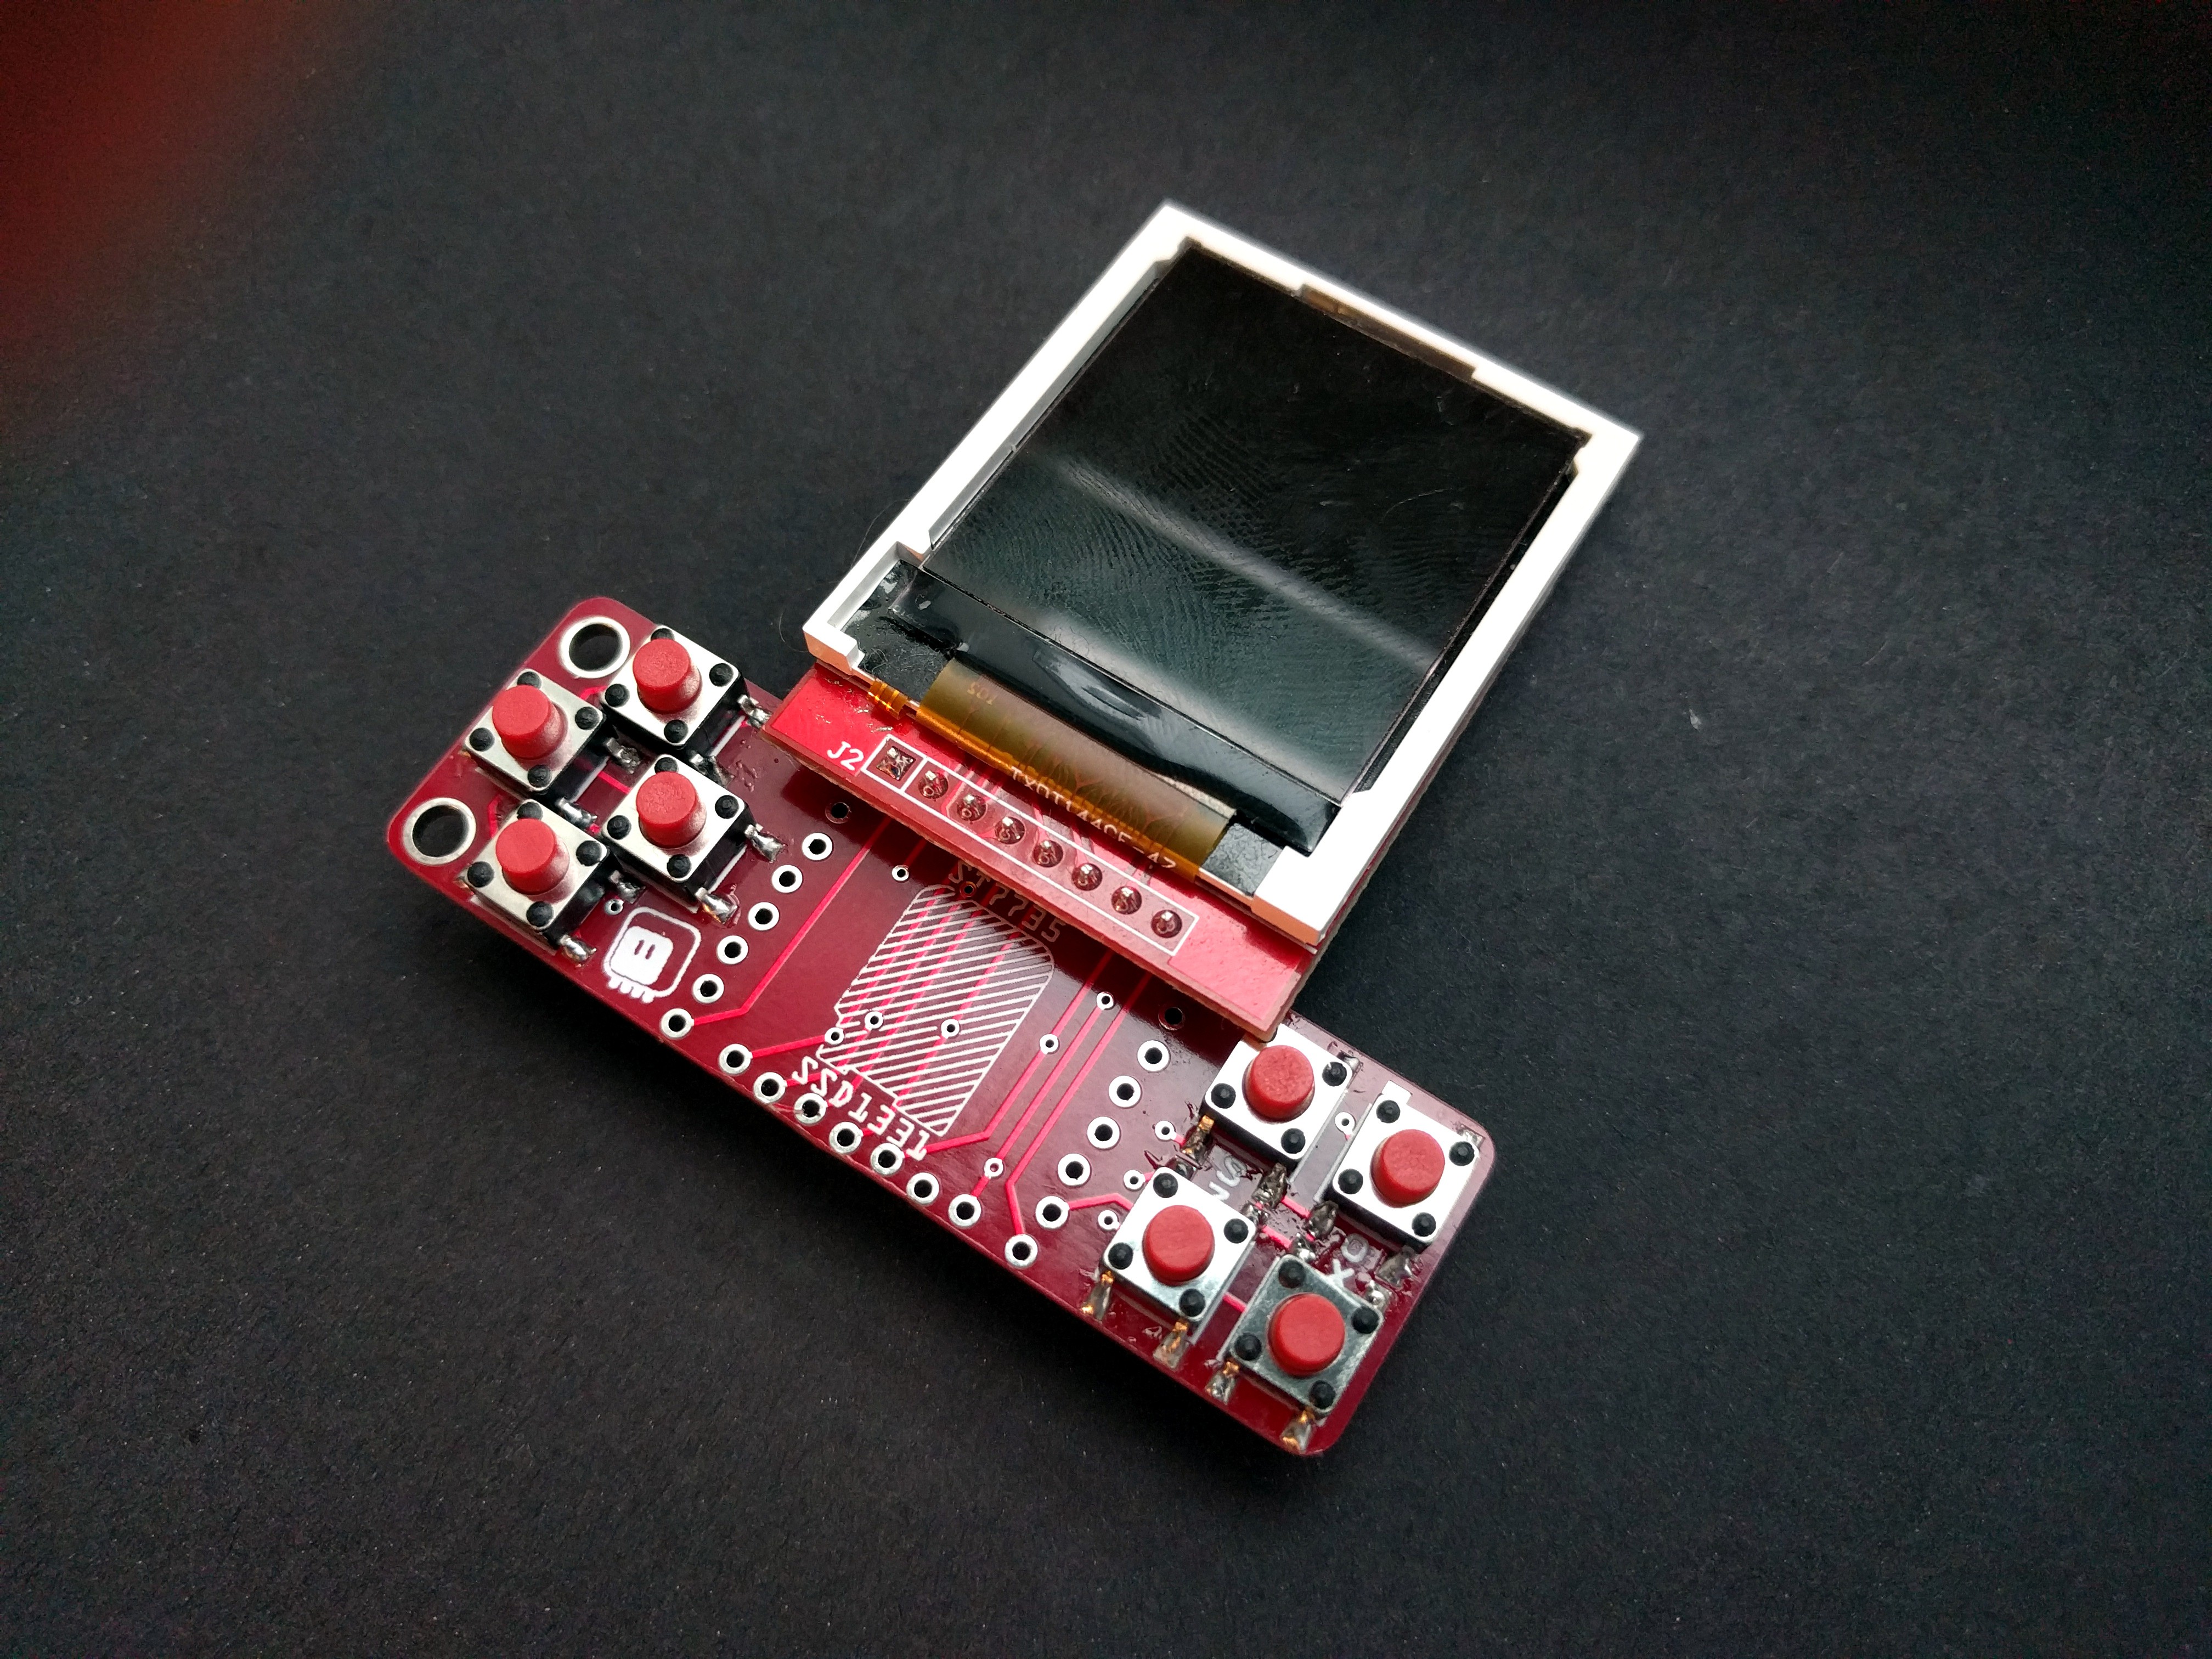
just received mine and the buttons working out flawlessly with micropython. I try connecting my ssd1306 spi oled with micropython, and got confused on where the RST pin on the oled connected to the wemos d1 mini. Do you have any micropython sample code for oled spi connected with this board?

Btw the shipping is quite fast, I thought it will took a month. And it is smaller than I expected. Great job for this

  Are you sure? yes | no

deʃhipu wrote 06/25/2018 at 10:31 point

The ssd1306 driver is included in the MicroPython repository: https://github.com/micropython/micropython/blob/master/drivers/display/ssd1306.py

There is an example for using it in my workshop at https://micropython-on-wemos-d1-mini.readthedocs.io/en/latest/shields.html#oled but that's the i2c version. The SPI version should be very similar, though.

  Are you sure? yes | no

Jon Raymond wrote 10/11/2017 at 17:12 point

Picked up one of these on Tindie, cool little board. Any demo code available for it?

  Are you sure? yes | no

deʃhipu wrote 10/11/2017 at 17:50 point

Hi, thanks for your order. You literally just read a single byte over I²C. I will post some example code here for the most popular platforms.

  Are you sure? yes | no

Starhawk wrote 01/10/2017 at 23:37 point

I spy with my little eye... a typo. Google helped me on this one.

PCF8574, not PCF874. Proof --> http://www.nxp.com/products/interfaces/ic-bus-portfolio/ic-general-purpose-i-o/remote-8-bit-i-o-expander-for-icbus-with-interrupt:PCF8574AP

  Are you sure? yes | no

deʃhipu wrote 01/11/2017 at 02:51 point

Good catch, thanks, fixed. What is more important, though, I noticed that one of the traces is going too close to the joystick's mounting hole. I fixed that too, however, the PCB is already ordered. I guess I will fix it with some wire if it doesn't work.

  Are you sure? yes | no

davedarko wrote 01/25/2017 at 13:03 point

there's still one in the log "Button Layout" ;)

  Are you sure? yes | no

deʃhipu wrote 01/25/2017 at 16:45 point

Thanks, fixed.

  Are you sure? yes | no

Similar Projects

Does this project spark your interest?

Become a member to follow this project and never miss any updates