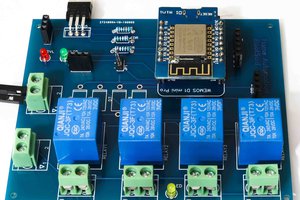
In this article I am going to introduce my newly designed 30amp home-automation PCB.
I have also designed lot other home-automation PCBs, like 2 node , 4 node and 8 node home-automation PCBs.

These PCBs are fully tested and works very well These PCBs are best for home-automation system, But these PCBs could handle only Up-to 10 amp load, So we can only use this PCBs for small load appliances like light bulb, televisions which consume less power,
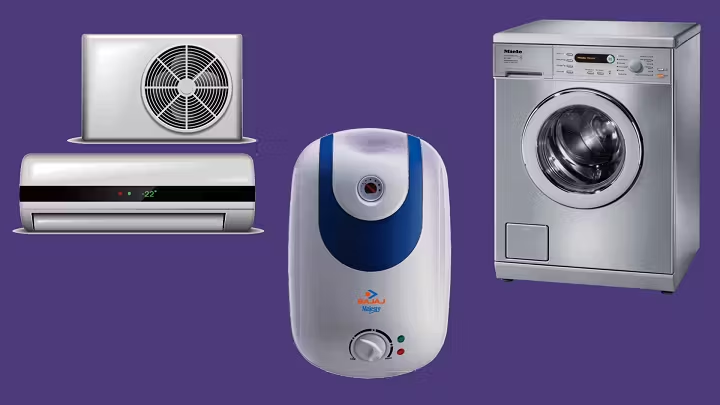
But if we want to automate heavy load appliances like air conditioners, washing machines, geyser then in that case , we couldn’t connect to these PCBs.
These PCBs will not handle such heavy load and eventually the relay will burn out.
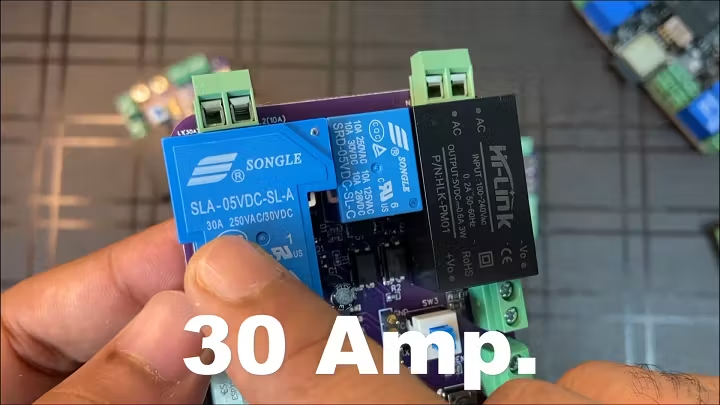
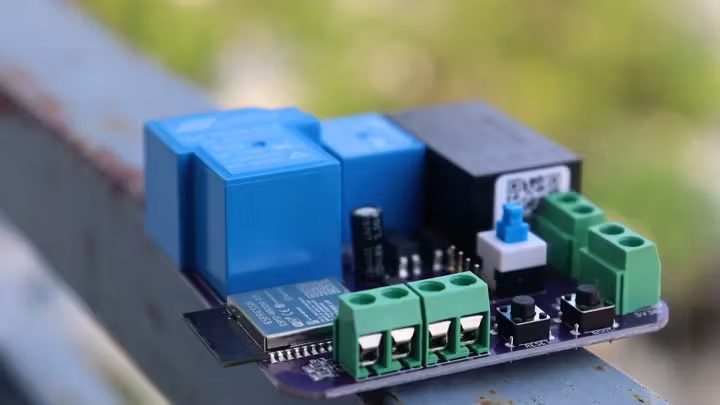
So to solve this problem, I have design brand new home-automation PCB which can easily handle Up-to 30amp load.
And most of the heavy load appliances that we used in our homes consumes current under 30 amp, So this PCBs is perfect for those appliances.

This PCB is compatible with all the popular IOT platform like BLYNK, ESP-RAINMAKER.
In this way we can easily integrate this PCB with Alexa and google assistant.
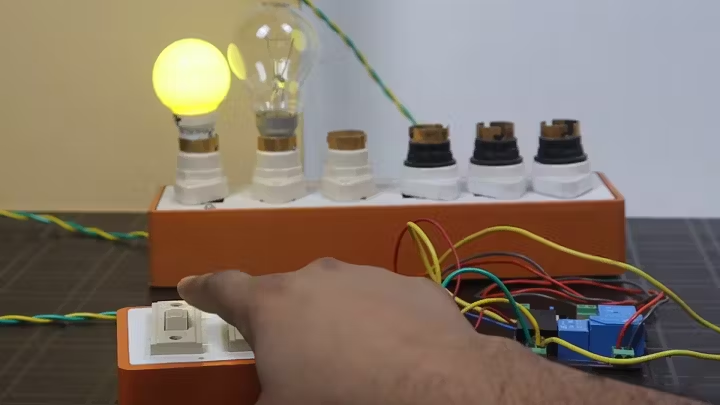
And apart from this , we can also give manual input to this PCB and also we can connect via Bluetooth to control the appliances from smartphone application in local area network.
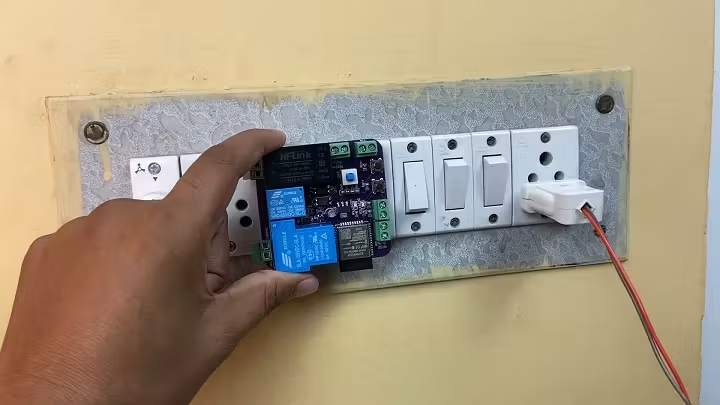
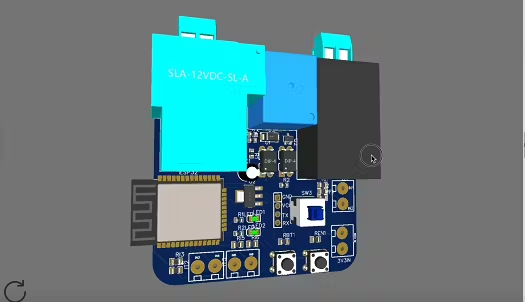
And the size of this PCB is very small. and can easily fits inside the electrical switch board.
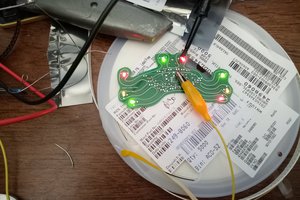
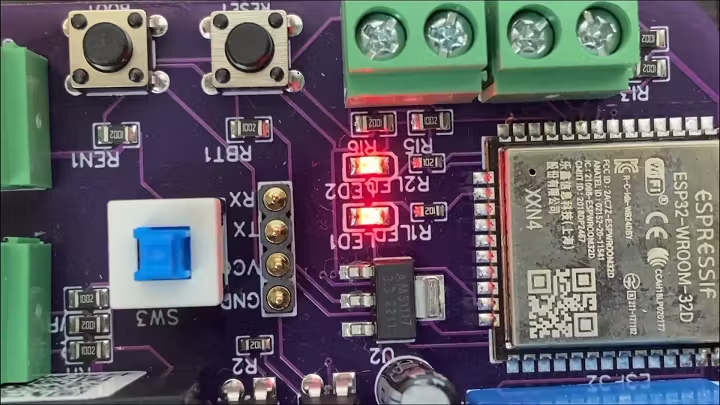
And there is two onboards LEDs , which we can use in many ways, like for testing code, WIFI indicator.
PCB Design.
This is the Schematic of PCBs. If you want Your own custom designed PCBs, Then you can download this schematic.
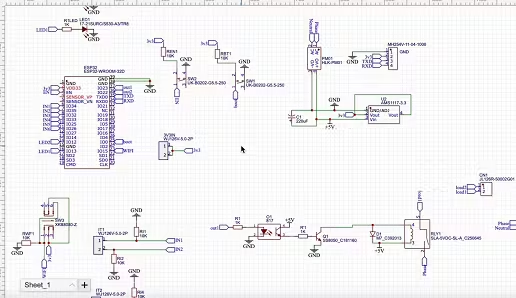
After making the Schematic, Convert it into PCB, Arrange and place all the components in desirable places, Once the layout is ready route the wiring and complete the design of PCB.
After The completion of PCB design, You need to download three files which will required during PCB order. These files are BOM, Gerber and CPL that is pick and place file.
NextPCB: Your One-Stop Solution for PCB Manufacturing and Assembly.
This project is successfully completed because of the help and support from NextPCB -Reliable Multilayer PCB Manufacturer. NextPCB is one of the most experienced PCB manufacturers in Global, has specialized in the PCB and assembly industry for over 15 years.
- Sign up/login to get exclusive $30 coupon:
- Enjoy free PCB assembly for 5 boards:
- HQDFM free online PCB Gerber viewer:
Unmatched Reliability and Quality
NextPCB prides itself on offering high-reliability PCB solutions. With over 15 years of in-house fabrication expertise, they guarantee 100% quality on their products, promising to remake them free of charge if any issues arise. Their commitment to quality is reflected in their impressive 99.6% on-time delivery rate, ensuring that your projects adhere to the stipulated timelines without any hitches.
Free PCB Assembly Services
In a bid to support engineers and enthusiasts in their endeavors, NextPCB offers free PCB assembly services, allowing individuals and businesses to experience reliable PCB assembly from NextPCB without any cost. This initiative stands as a testament to NextPCB's commitment to fostering innovation and supporting the PCB community.
Code.
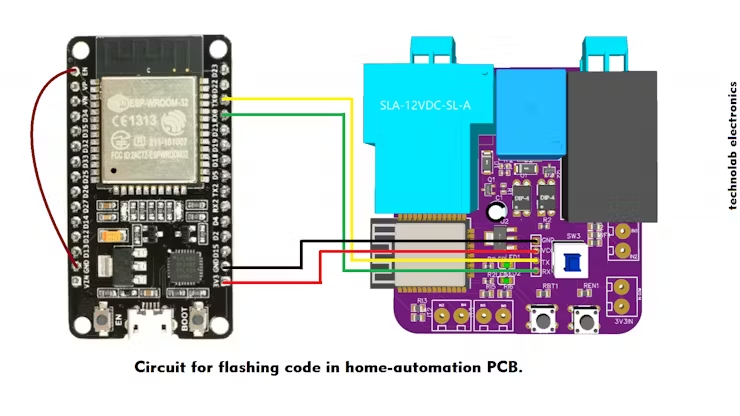
To upload the code into ESP32 chip I will use ESP32 development board , Connect the PCB to ESP32 board as per this Circuit diagram.
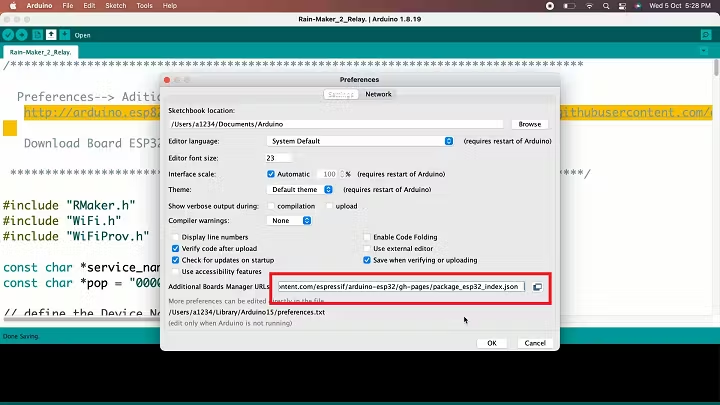
This is the code for our today's home automation project, before you upload the code first you need to update the ESP32 boards library in your Arduino IDE.
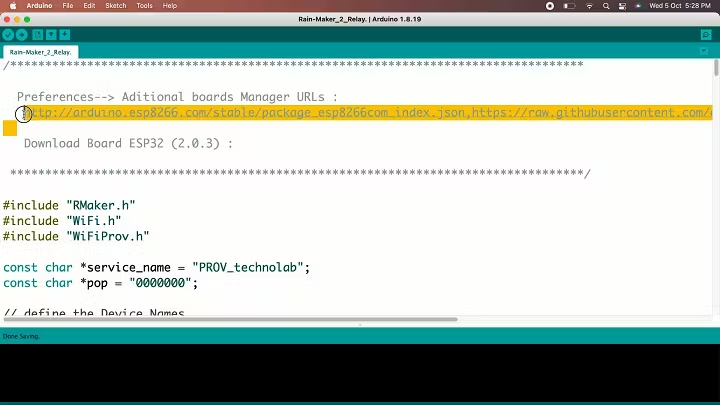
Open Arduino preference and paste the copied link.
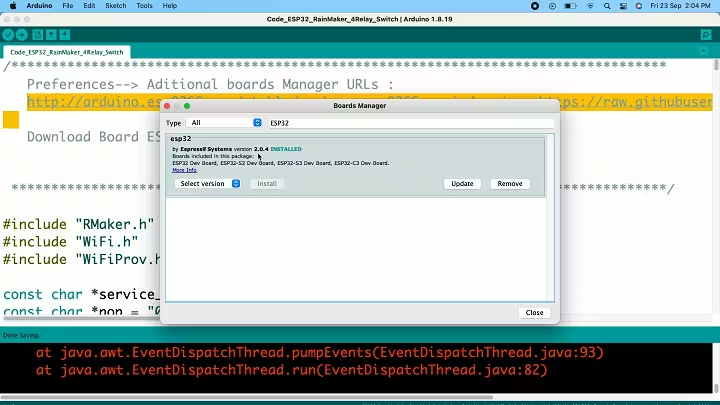
Now go-to tools and then click on board manager,
Search for ESP32, here you have to install this latest ESP32 boards in your Arduino IDE, Close this window after Installation.
Now in the code, I have define the names of devices….light 1, light 2 like that…..you can give any name you want.
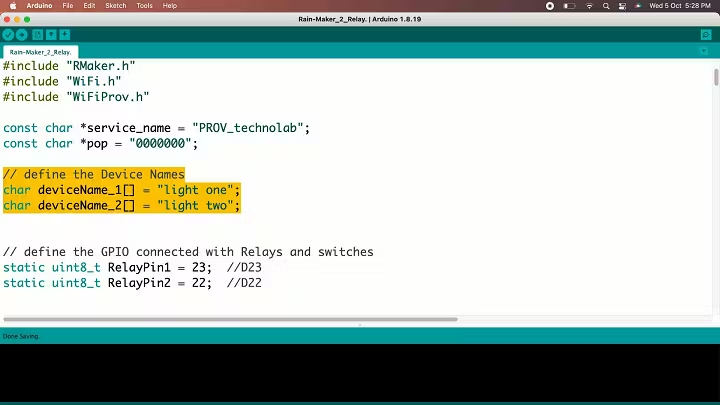
I have define the pins for relays and switches, If you are using my PCB then no need to change anything....
 Jithin Sanal
 mbsg99