 HardwareNomad
The project itself wasn't particularly challenging, given the abundance of tutorials available on YouTube. However, I would rate its difficulty at around 3 out of 10 on the scale.
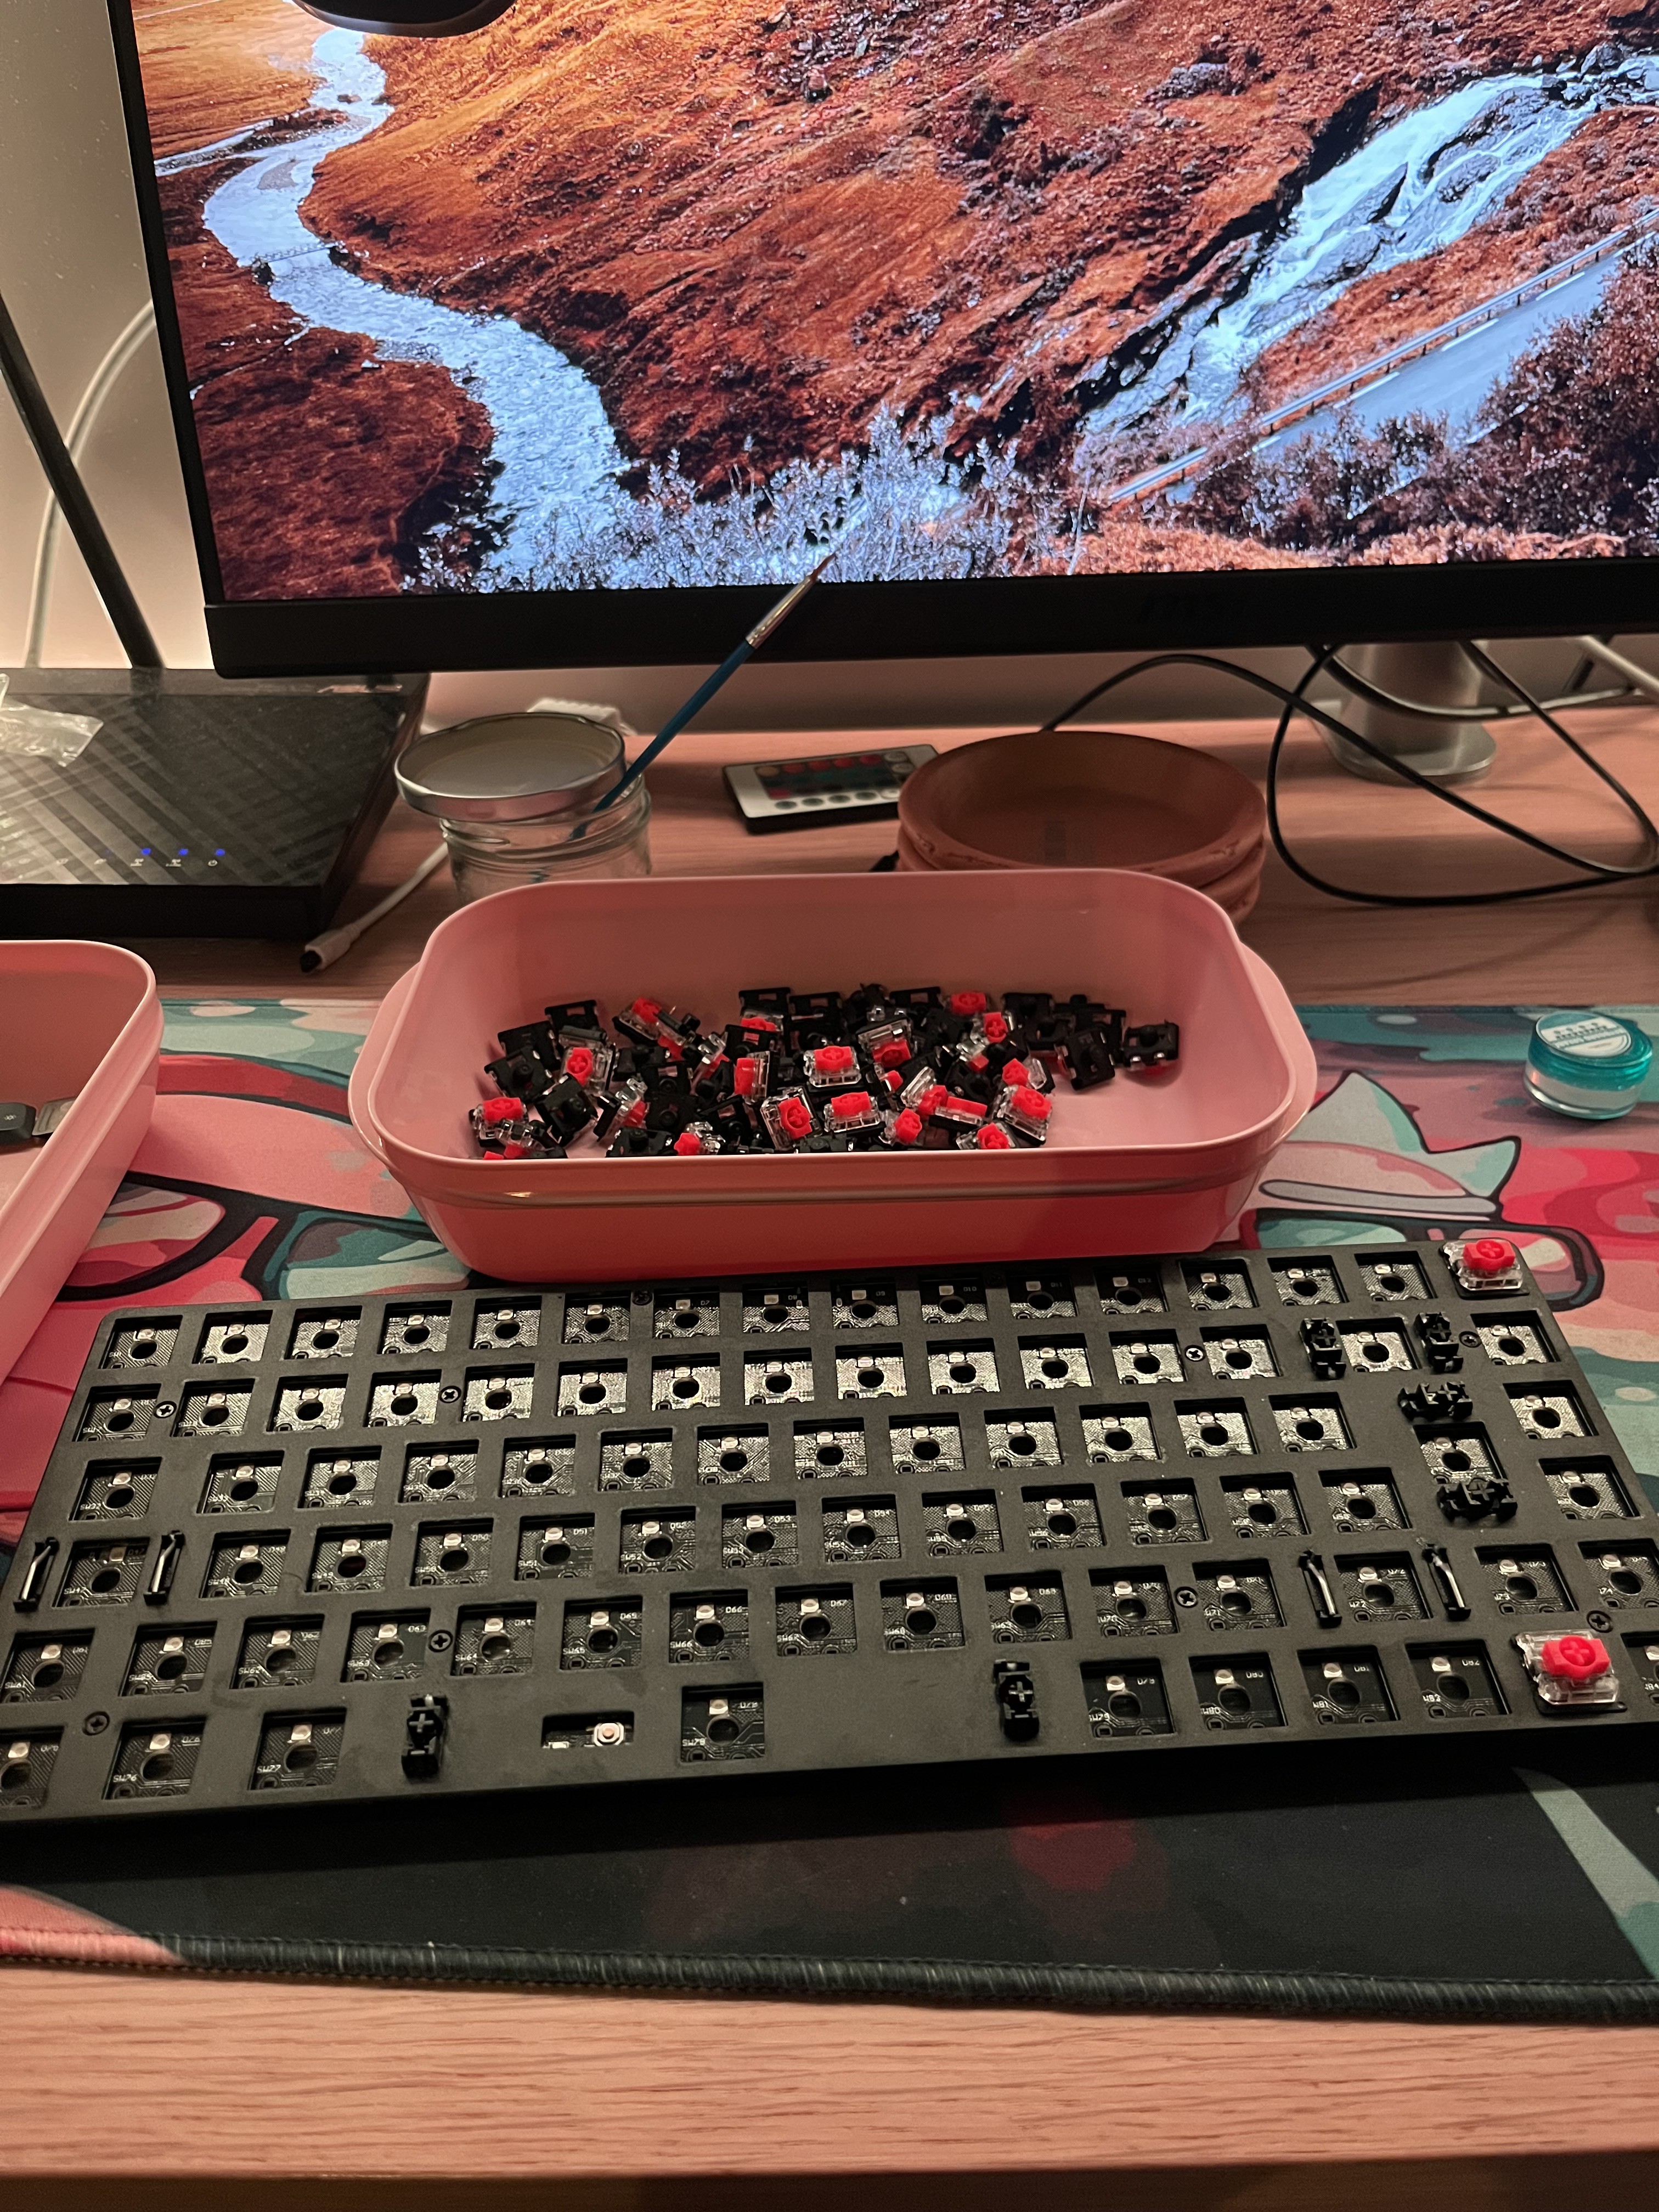
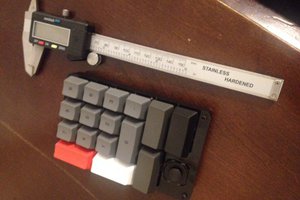
Despite its moderate complexity, it turned out to be intricately detailed and time-consuming, requiring approximately 5 hours for completion. Below, you will discover a detailed parts list, a sound test, along with comprehensive instructions and accompanying images.
0%
0%
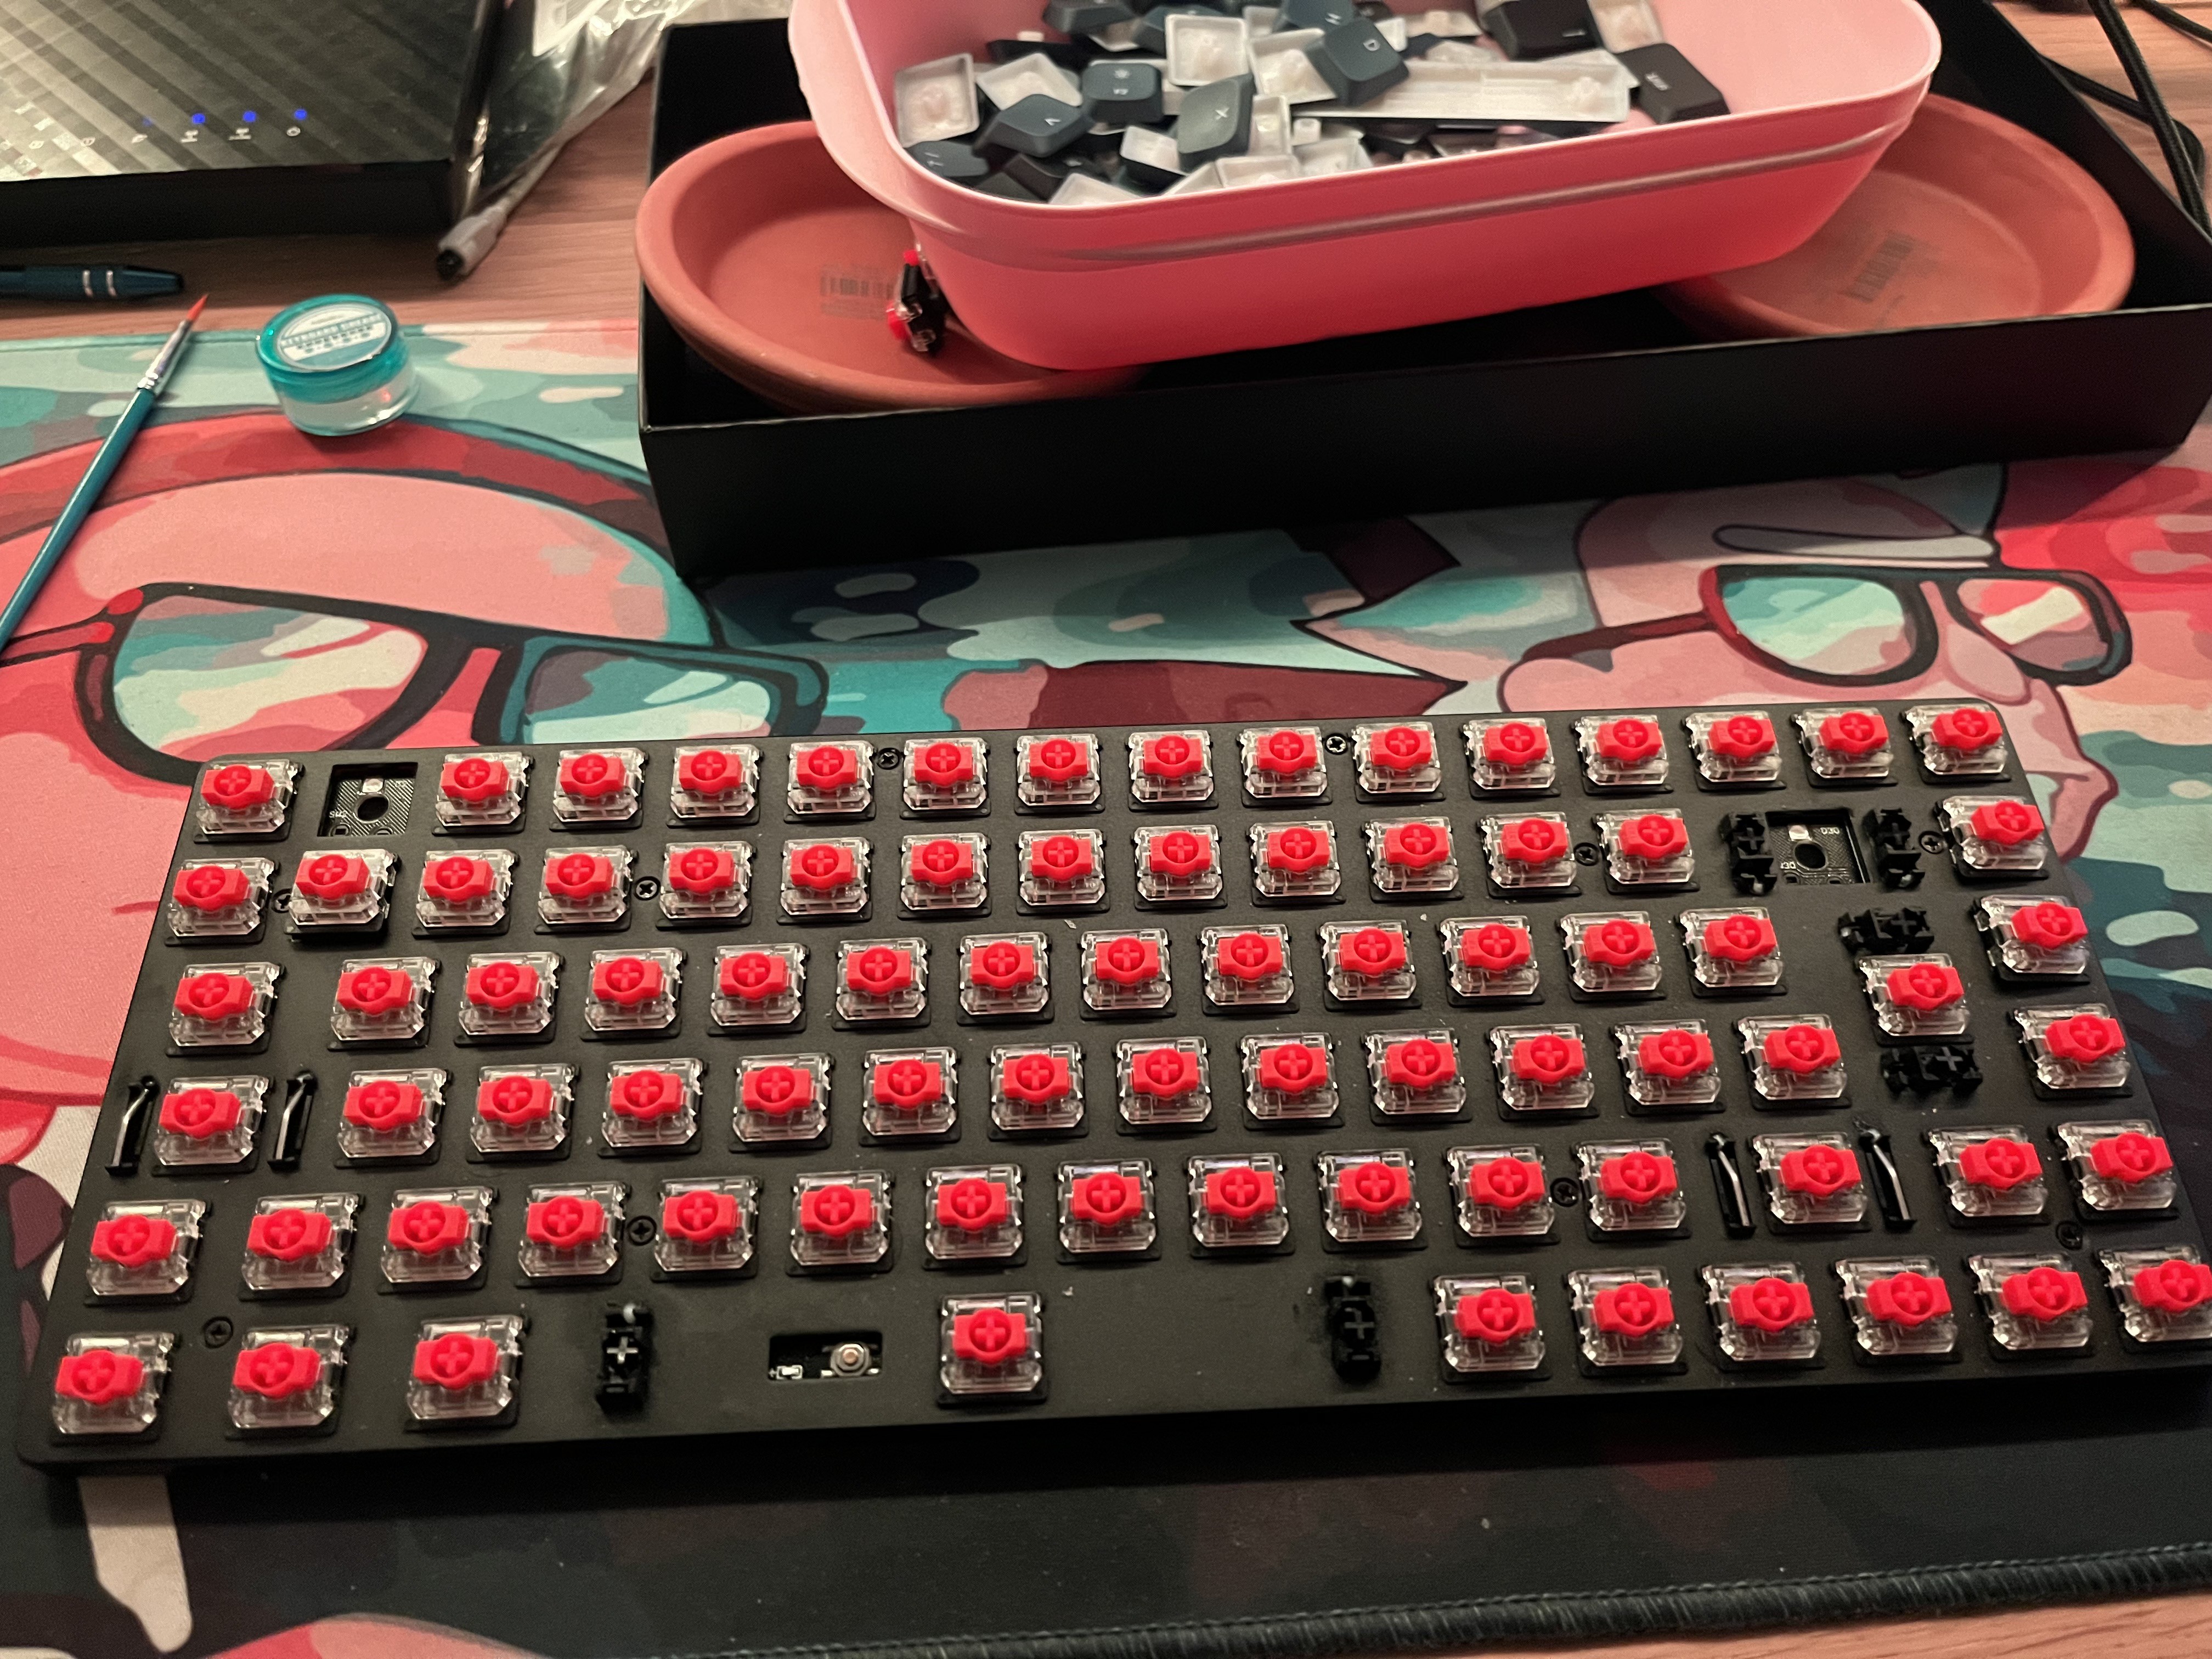
Keychron K3 Pro Project KC 6H "Thockyy"
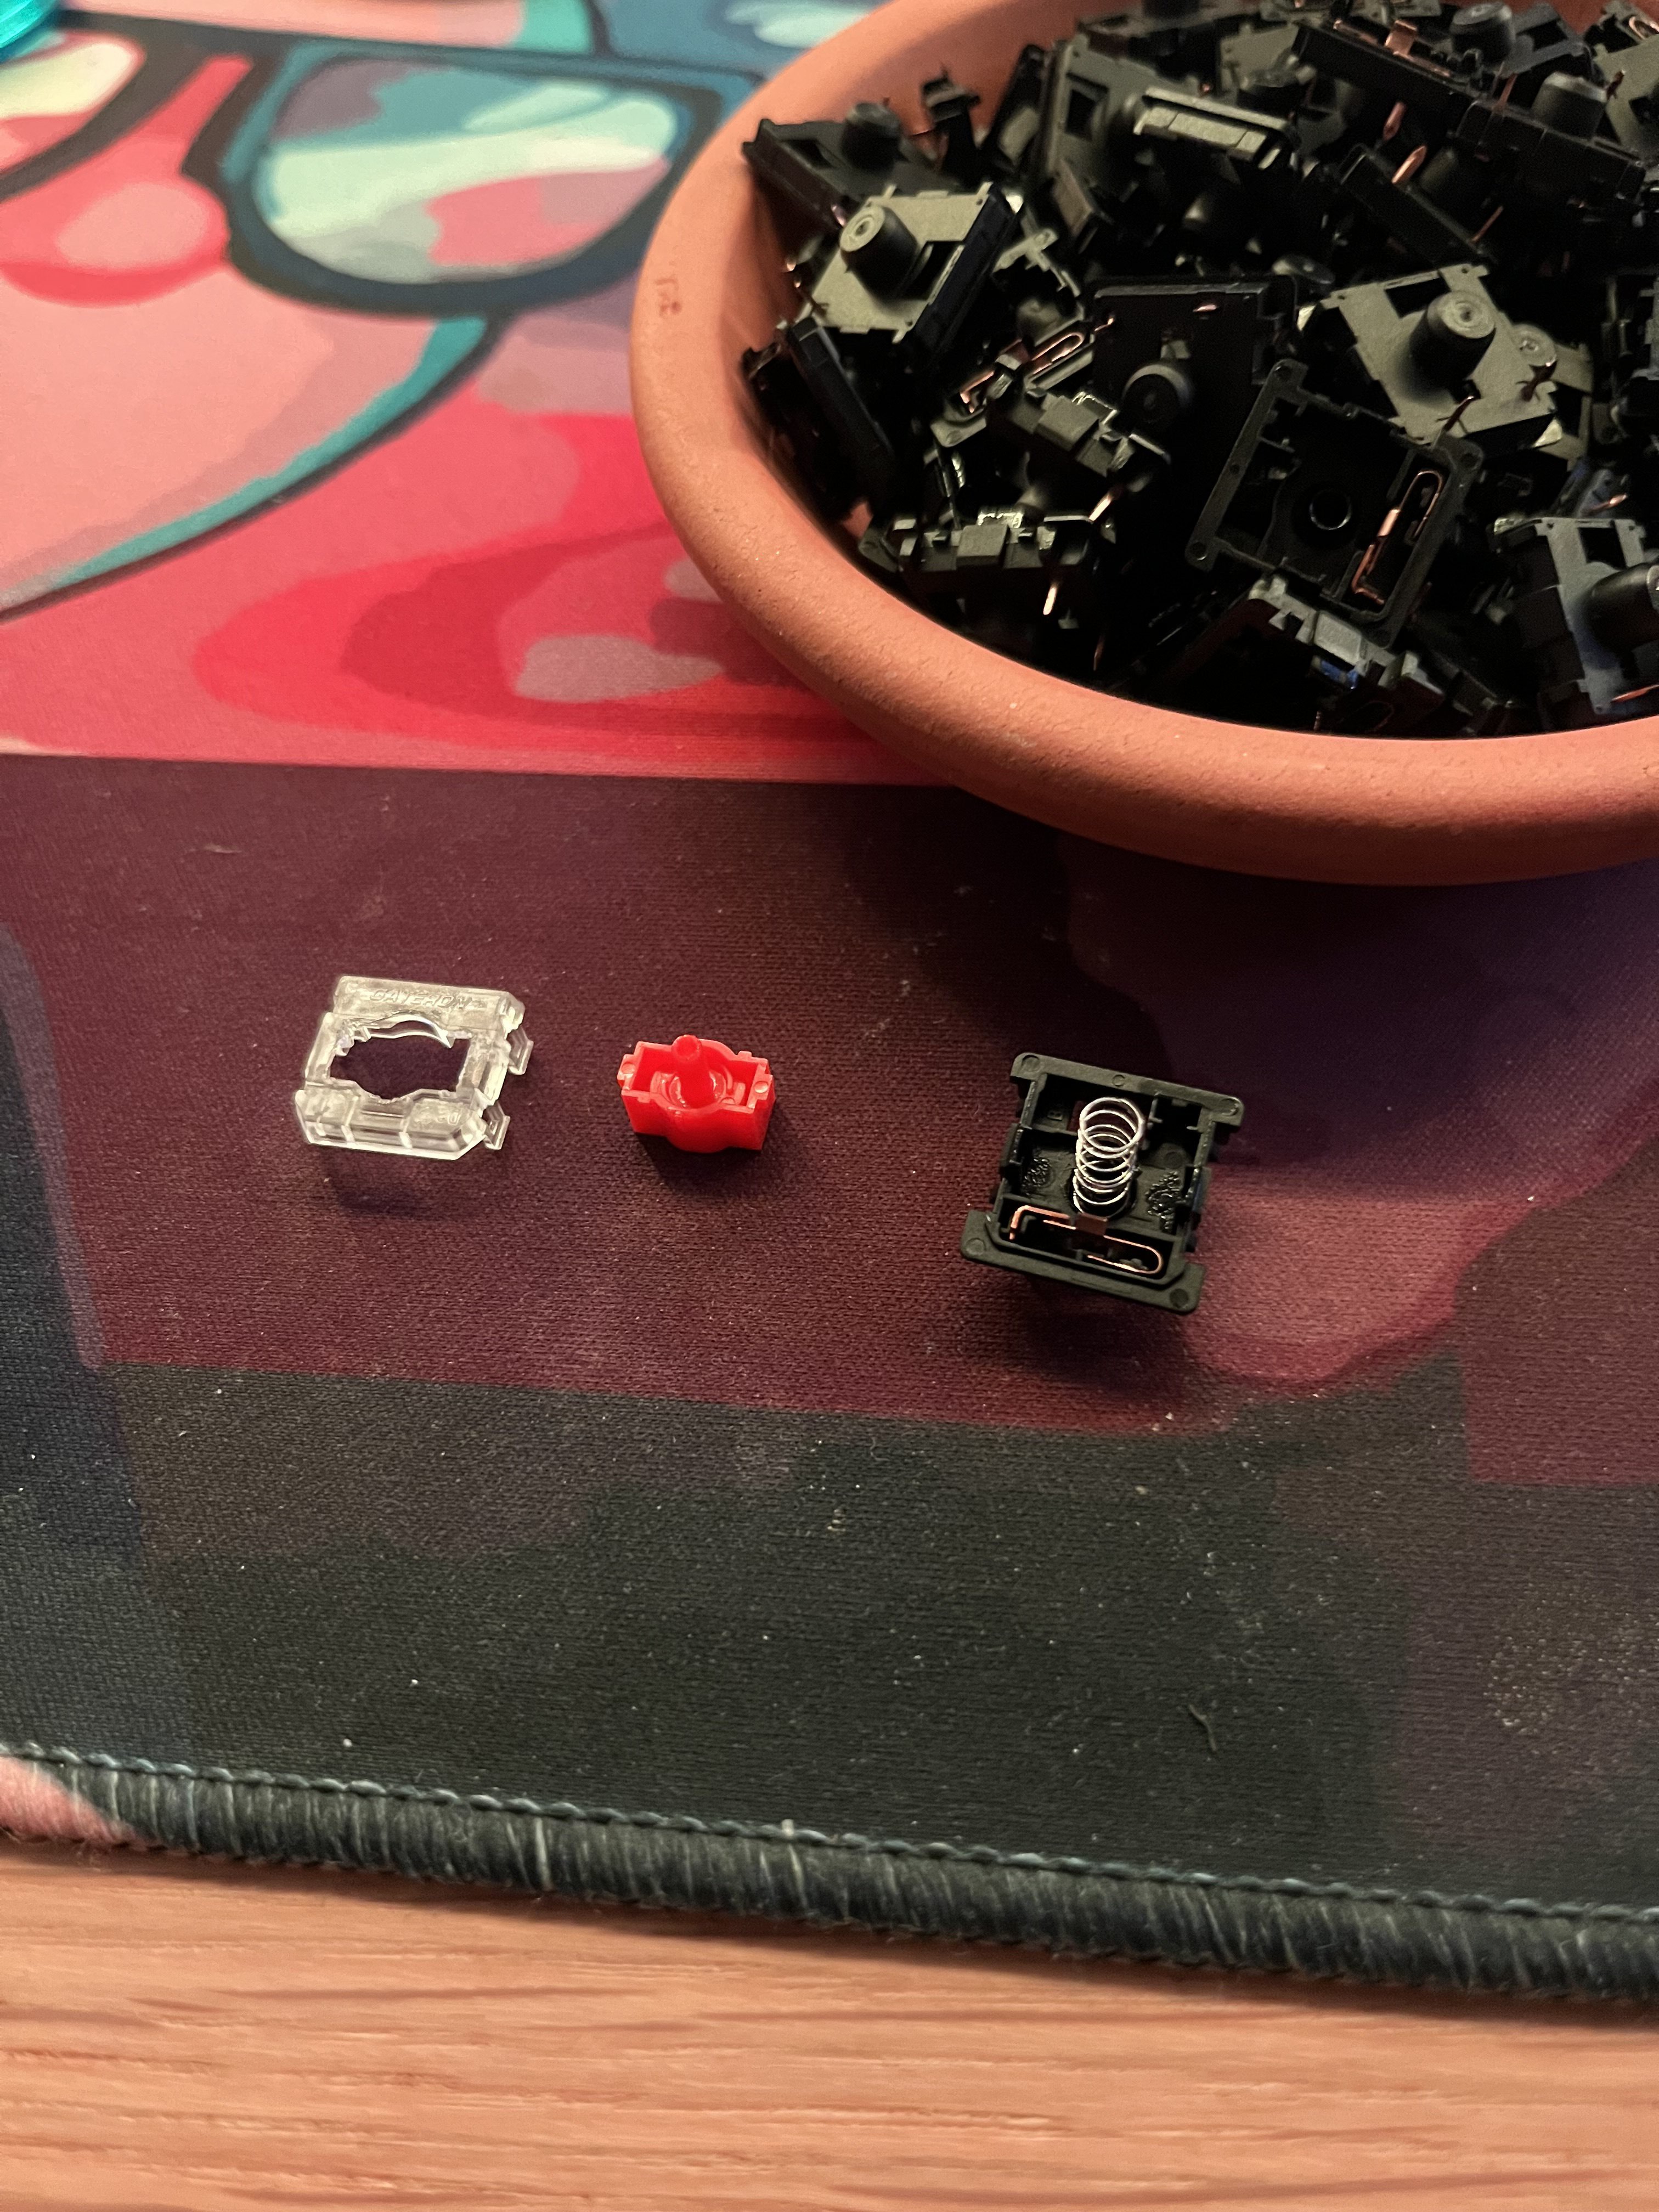
Keychron K3 Pro ISO with lubed Gateron KS-33 Low Profile 2.0 and Rubber rings for keycaps.
Become a Hackaday.io member
Already have an account? Log in.
Just one more thing
To make the experience fit your profile, pick a username and tell us what interests you.
Pick an awesome username
hackaday.io/
Your profile's URL: hackaday.io/username. Max 25 alphanumeric characters.
Pick a few interests
Projects that share your interests
People that share your interests


 Dave's Dev Lab
 Nick Poole