 gokux
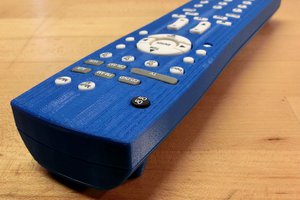
gokuxin this project, we are going to make a digital bicycle horn with customizable sounds, we can produce up to 4 different sounds, and each track is saved on a micro-SD card in .mp3/wav format, we have 4 button inputs for playing sounds, each button is assigned to each track in the micro-SD card. also, it has a rechargeable battery, you can charge the battery with USB C, I also include a battery recharge indicator LED on the back side, and there is a small switch for ON/OFF. it is made from readily available components and completely 3d printable body parts.

Supplies
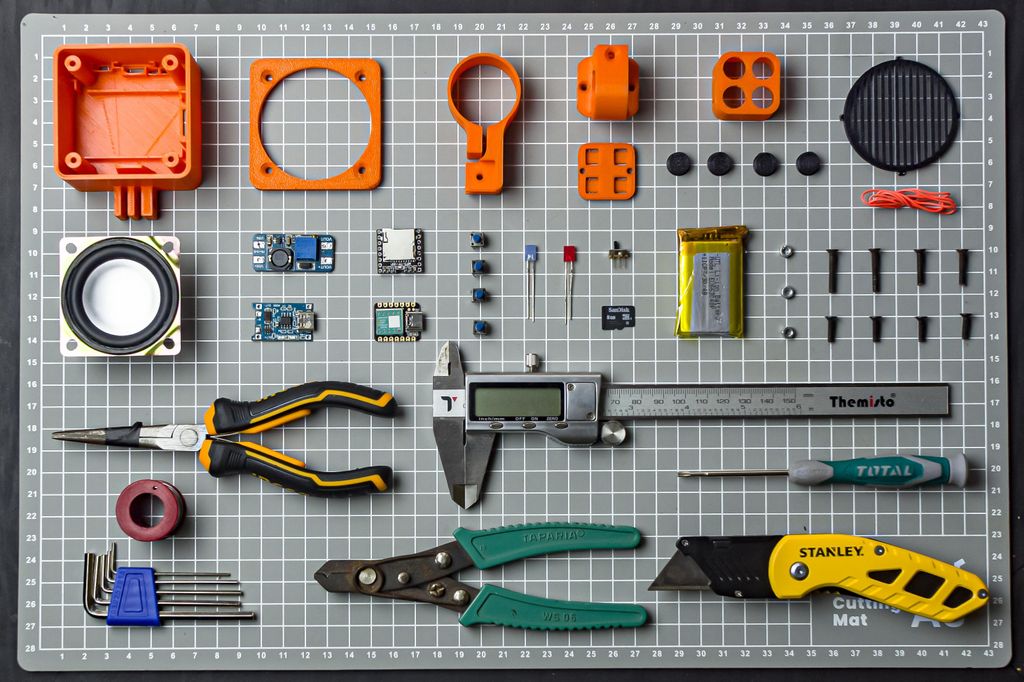
components
- 1*2 inch 4 ohm 3w speaker
- 1*Mini slide switch.
- 1*3.7v 1200mah battery (all batteries blow 30mm*48mm is supported in this design)
- 1*Red Rectangle flat LED 5*2mm (find the diffused LED on the drop-down menu)
- 1*Blue Rectangle flat LED 5*2mm(find the diffused LED on the drop-down menu)
- 1*TP 4056 battery charger USB C
- 1*DC-DC Step-Up Converter MT3608
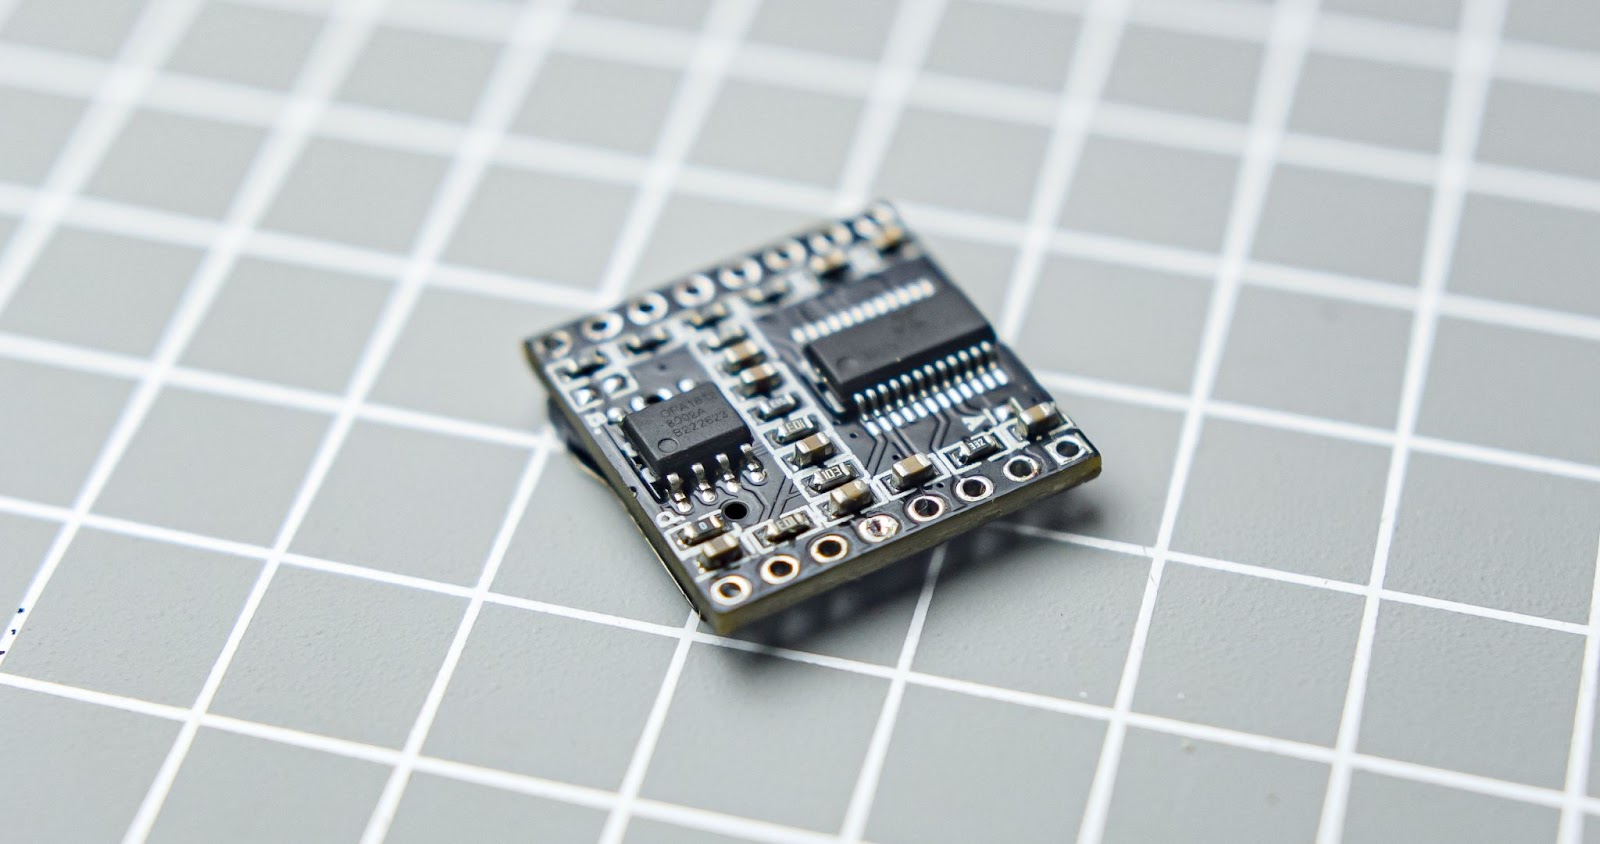
- 1*MP3-TF-16P(DFPlayer Mini)(always comes with header pin pre-soldered so remove header pins)
- 1*Seeed Studio XIAO SAMD21
- 1*Micro-SD card(Here I am using an 8GB Micro-SD it is overkill, you can go with the lower capacity)
- 4*6mm x 6mm x 9mm Micro switch push button ( select the height of 9mm)
- 3*M3 20mm CSK screw ( select length from the dropdown)
- 4*M3 12mm CSK screw( select length from the dropdown)
- 2*M3 16mmCSK screw( select length from the dropdown)
- 3*M3 Nuts(select length from the dropdown)
- 5-core wire 4mm OD x 500mm length (I am repurposing my old USB cable for this it is a fast-charging cable with 6 cores )
Tools
- Soldering iron
- Allen key set
- Nose plier
- Glue gun
- Wire cutter/wire stripper
- Heat shrink tube
- Multimeter
- Zip Ties (black)
- 3d printer ( 3d printing service )
3d Printing
 I 3D printed all of this in PLA+ from Numakers . I used black and orange filament. which is a great combination. 0.2mm layer height and 100% infill, if you don't have a 3d printer you can find online 3d printing services
Voltage Setting on MT3608
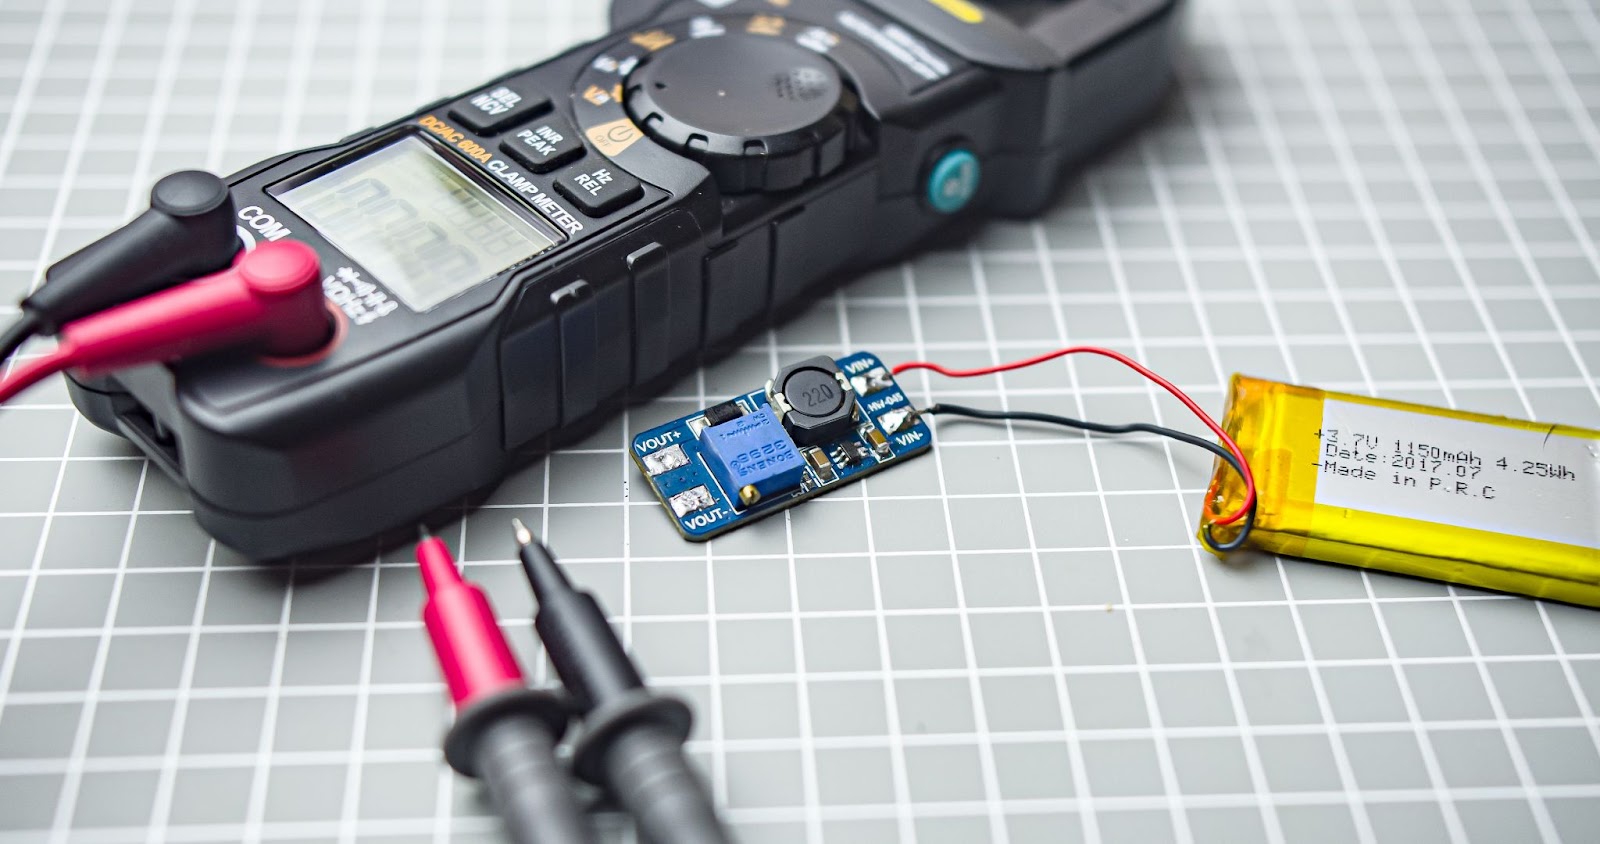
Before assembling we need to preset the voltage on MT3608, if you buy a new module you need to turn the potentiometer around 20 times or more in a counterclockwise position and then once you get the regulated voltage at the output you can use the module. Connect your battery to VIN+ and VIN- and set the voltage to 5v. measure it from the OUT+ and OUT- using a multimeter after that remove the battery input
Removing Header Pins From MP3-TF-16P
Uploading Code to XIAO
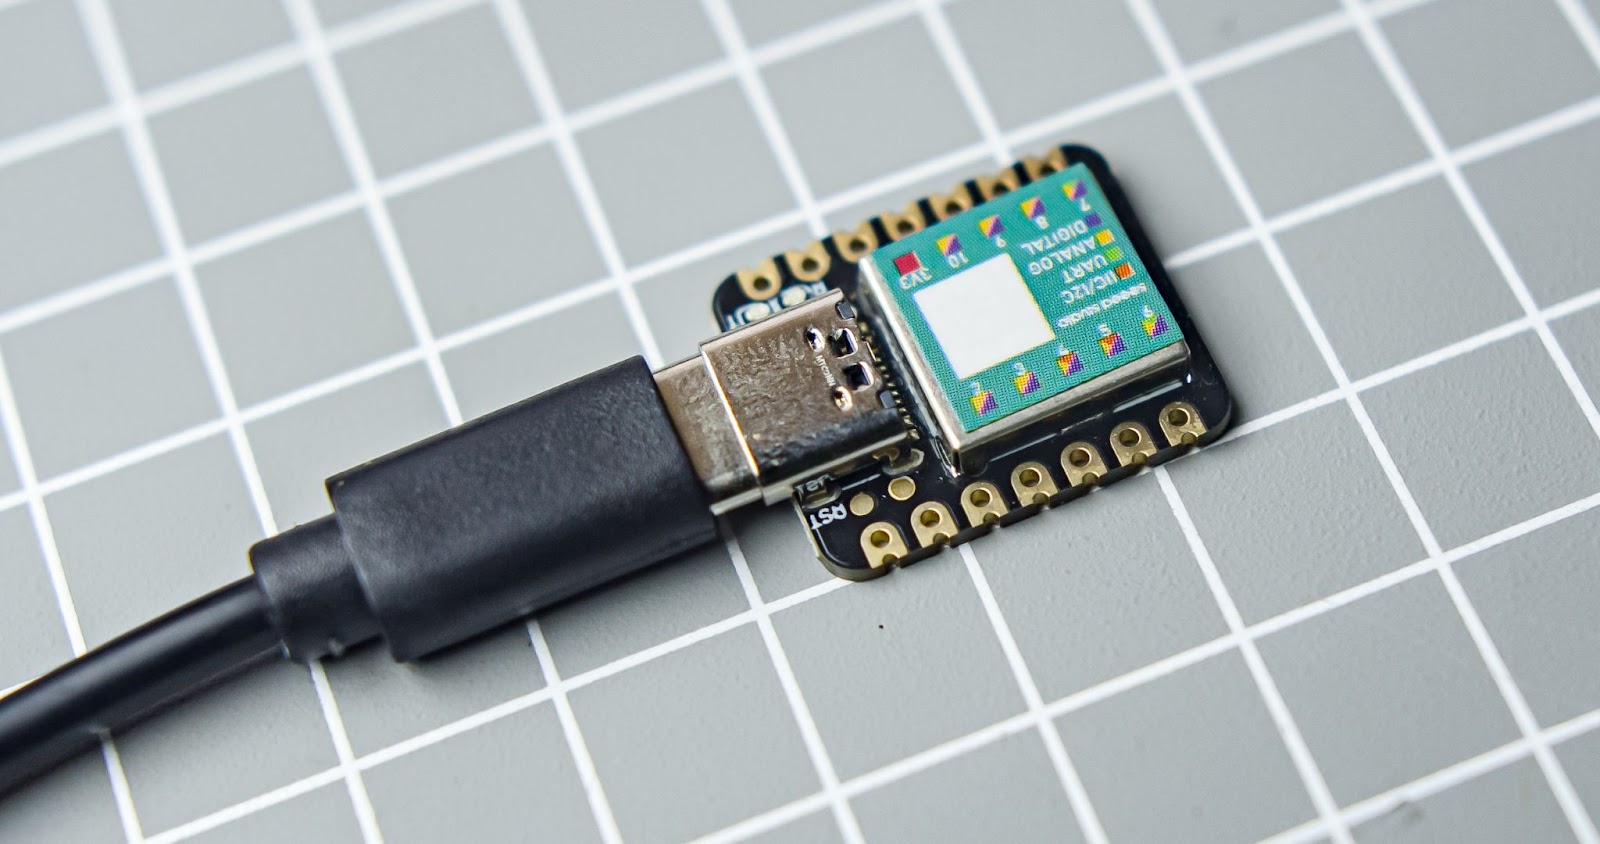
I always like to upload the code to the microcontroller before assembly. Here we are using a tiny Xiao SAMD21 from the Seeed studio, It carries the powerful ATSAMD21G18A-MU which is a low-power microcontroller.
Use full tutorials
After adding Xiao board to IDE we need to install the library for MP3-TF16P, a useful tutorial for installing the library link
Here is the code for our project. upload it to Xiao
#include "Arduino.h"
#include "SoftwareSerial.h"
#include "DFRobotDFPlayerMini.h"


#define RX D6 // RX pin of DFPlayer Mini connected to  digital pin 6
#define TX D7 // TX pin of DFPlayer Mini connected to  digital pin 7


#define BUTTON_1 D0 // Digital pin for button 1
#define BUTTON_2 D1 // Digital pin for button 2
#define BUTTON_3 D2 // Digital pin for button 3
#define BUTTON_4 D3// Digital pin for button 4


SoftwareSerial mySoftwareSerial(RX, TX); // Create a SoftwareSerial object
DFRobotDFPlayerMini myDFPlayer; // Create a DFPlayerMini object


void setup() {
  mySoftwareSerial.begin(9600); // Start the software serial communication
  Serial.begin(9600); // Start the serial monitor for debugging


  if (!myDFPlayer.begin(mySoftwareSerial))...
Read more »
 Alex Rich
 Steph
Steph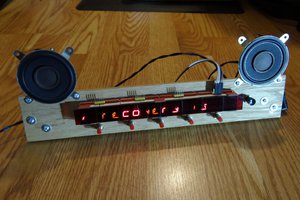
 Michael Wessel
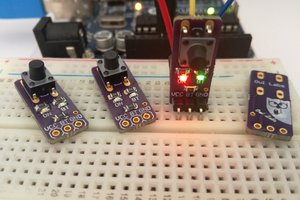
 Owl Labs