 Menkveld
It's been a while.
I'll cut right to the chase by announcing that I'll be trimming the wii. Opposed to what I said in my previous post.
The 2 main factors for this decision have been size and power. By trimming the board we can get rid of some of the LDO's the wii uses and replace them with switching regulators. Whilst also creating more room to work and place parts.
The Wii itself needs 3.3v, 1V and 1.15V (and 5V for USB). All between 1-2 amps. I'll come back to this later!
The display
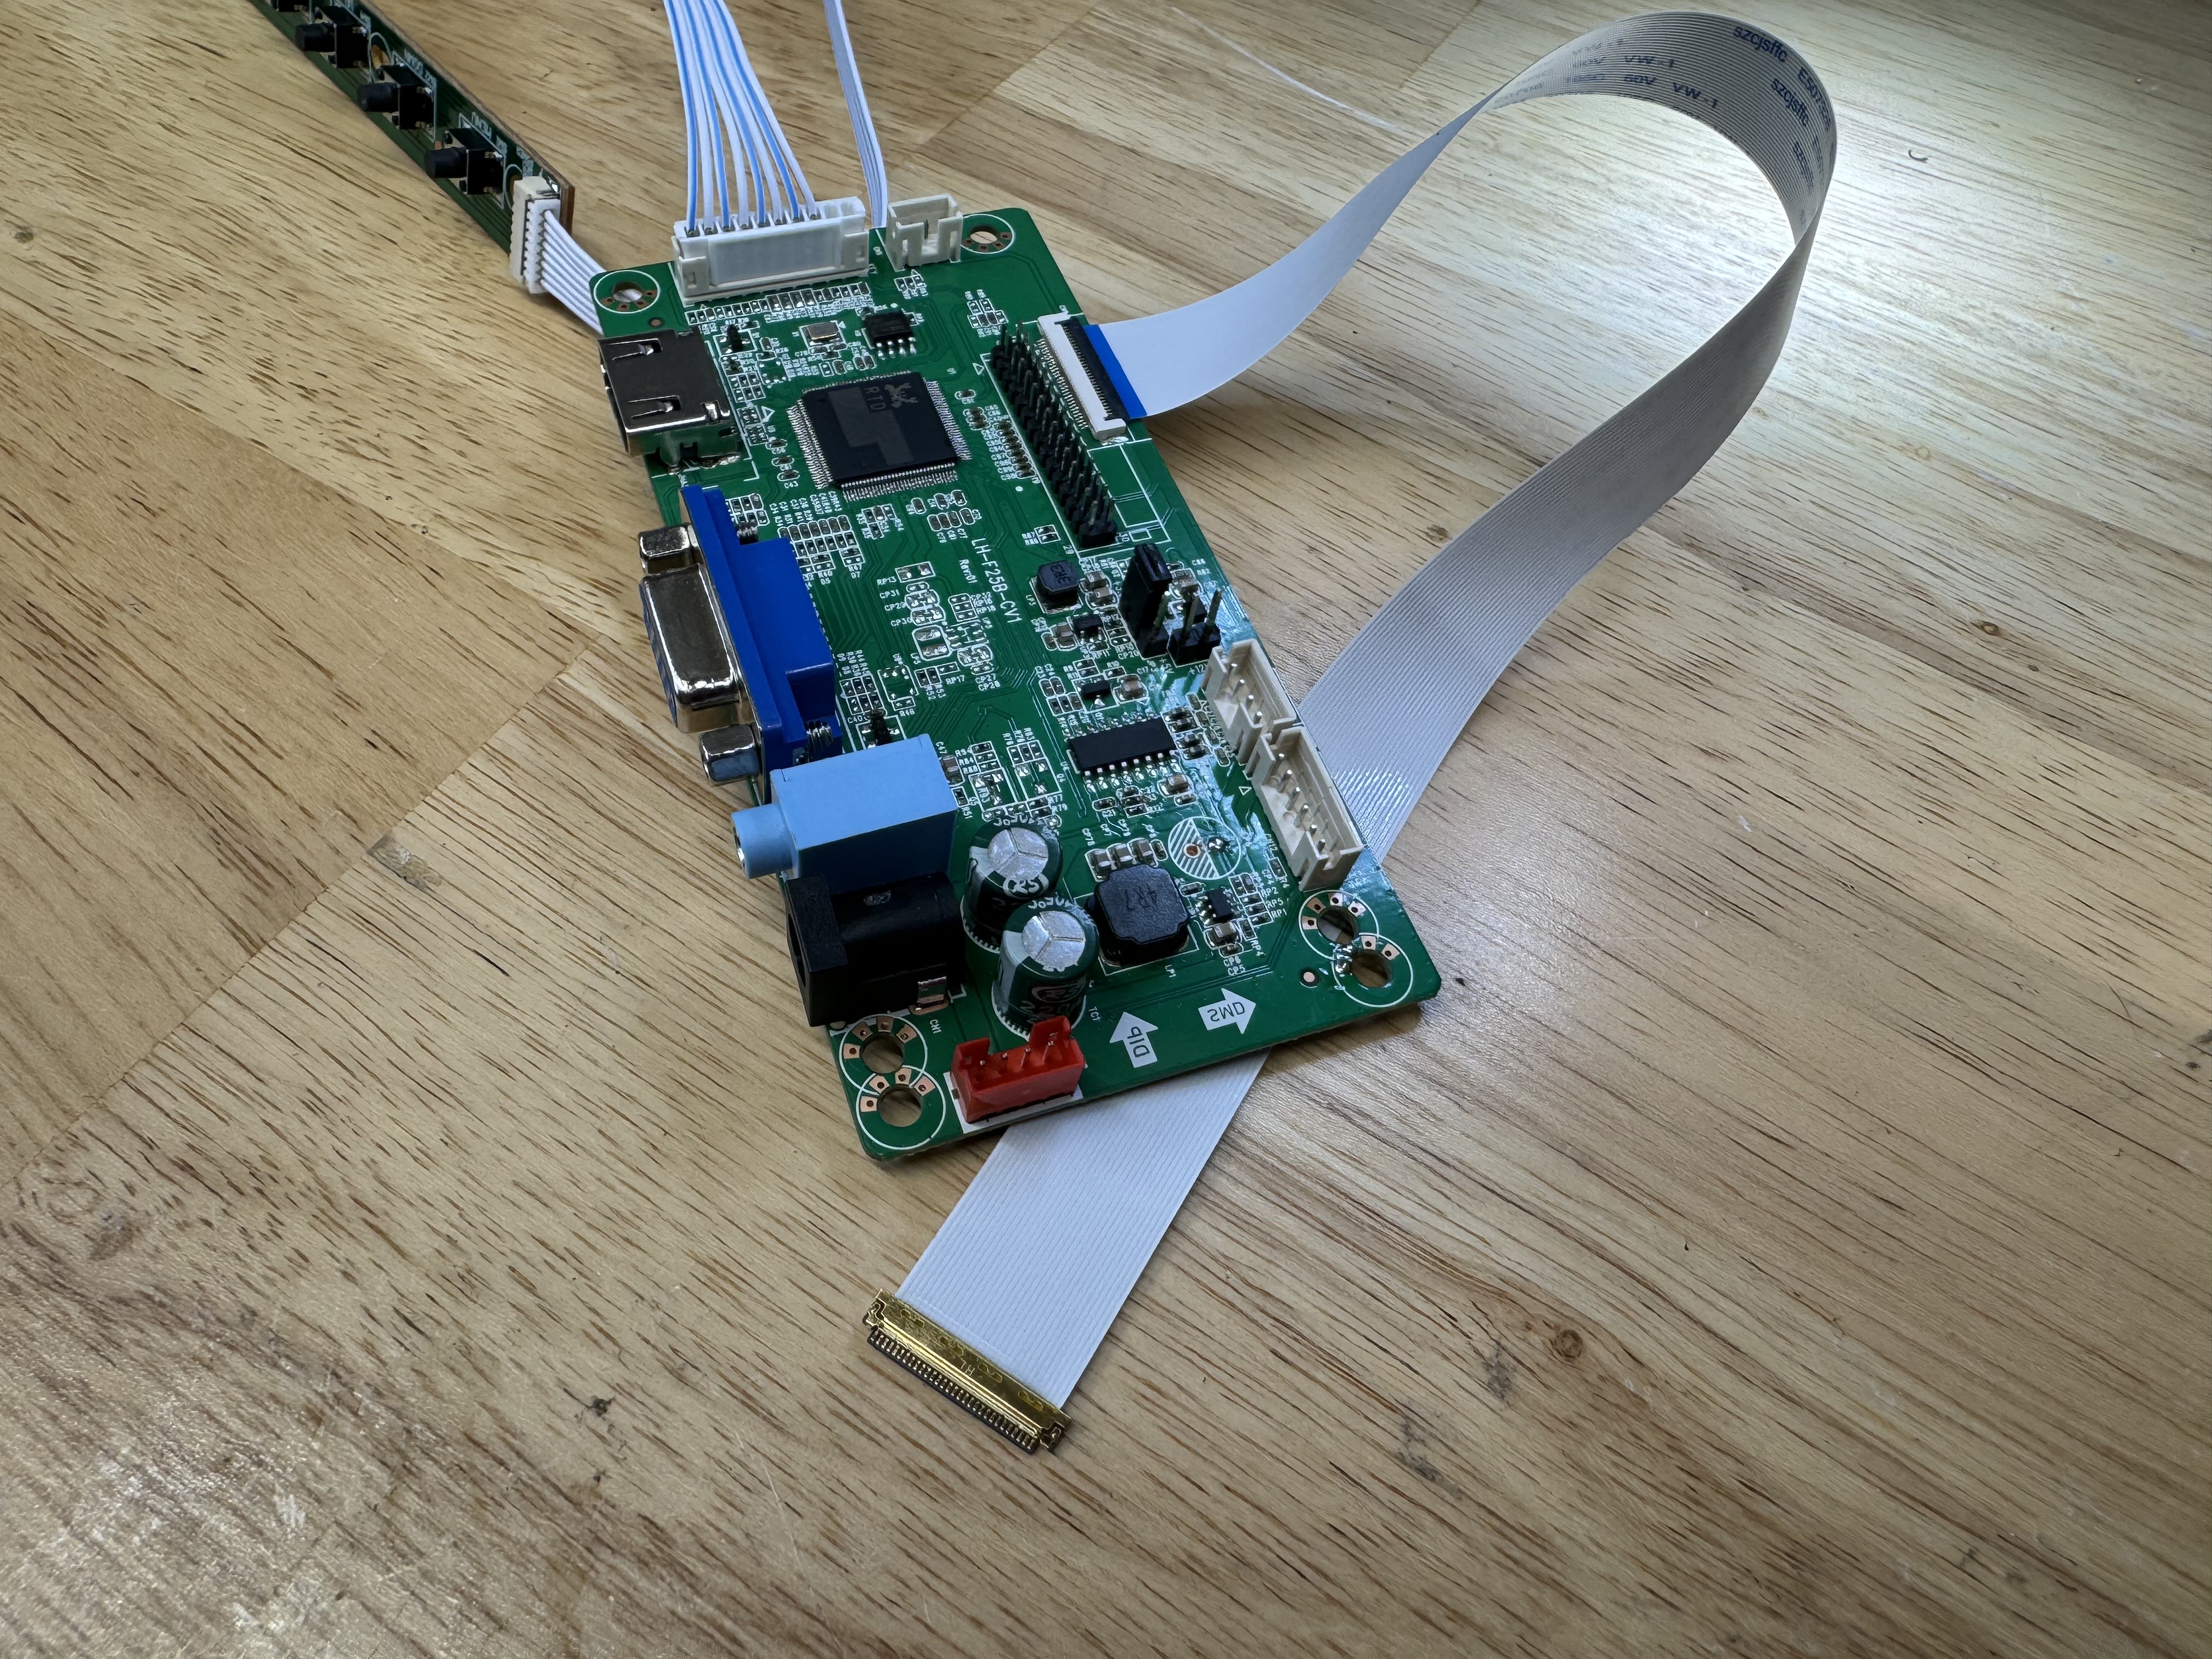
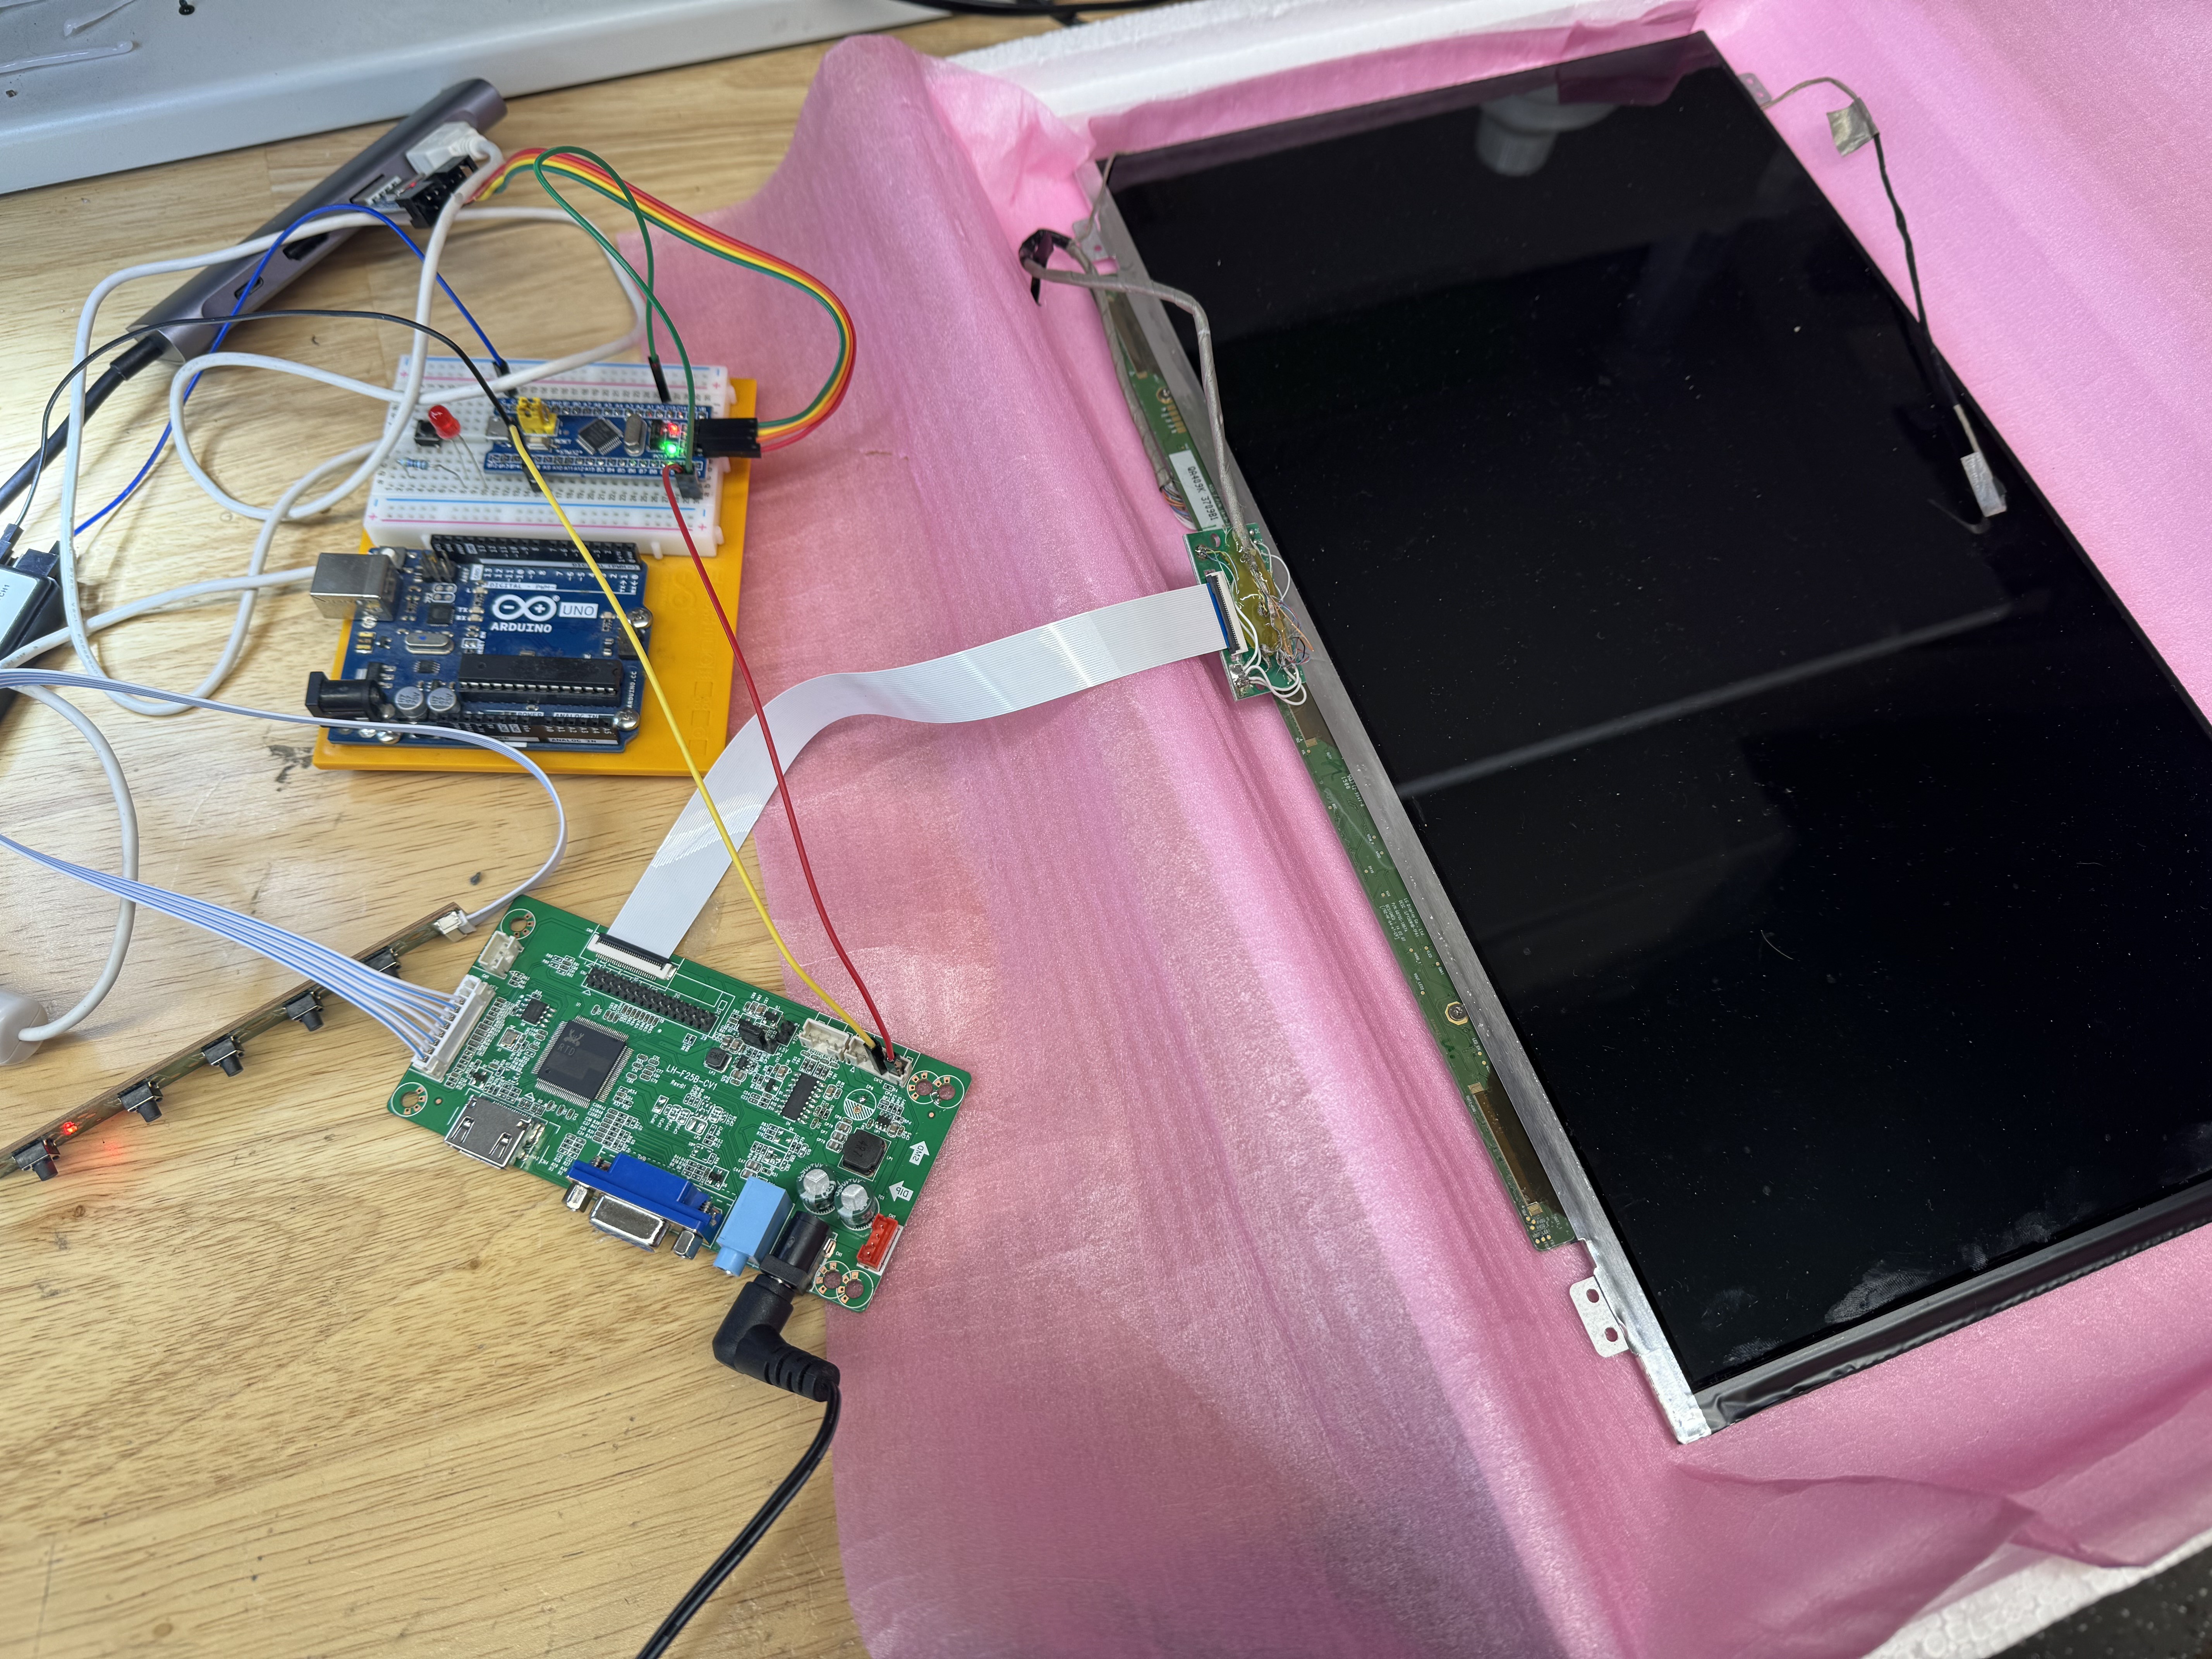
I've received the display driver (which supposedly uses the RTD2556 chip, but the labeling is lasered off) and got it to work with my display. Unfortunately it wouldn't take the YbPbR through the VGA port. I quickly stopped experimenting with this as I came to realize that it is better to use all HDMI. HDMI already includes audio (so I don't have to route that separately), meaning it's plug and play to use the onboard audio amp too. Another advantage of this is that I already wanted to have an HDMI out regardless. So now I can do the conversion from Wii -> HDMI once and then split the HDMI. One goes to the display driver and one to the external output. Simplifying the entire video part too.
One obstacle though, is that the display driver uses a flat ribbon cable which I can't route through the hinge. Meaning that you'd see a fragile ribbon cable from the bottom shell to the display. For this I've re-used the original display's cable and remapped that to a 30 pin FPC breakout board using the datasheet (don't mind the ugly hotglue as its there to keep the cable firm). So I can nicely route the display cable through the hinge and place the driver board somewhere inside.
The daughterboard
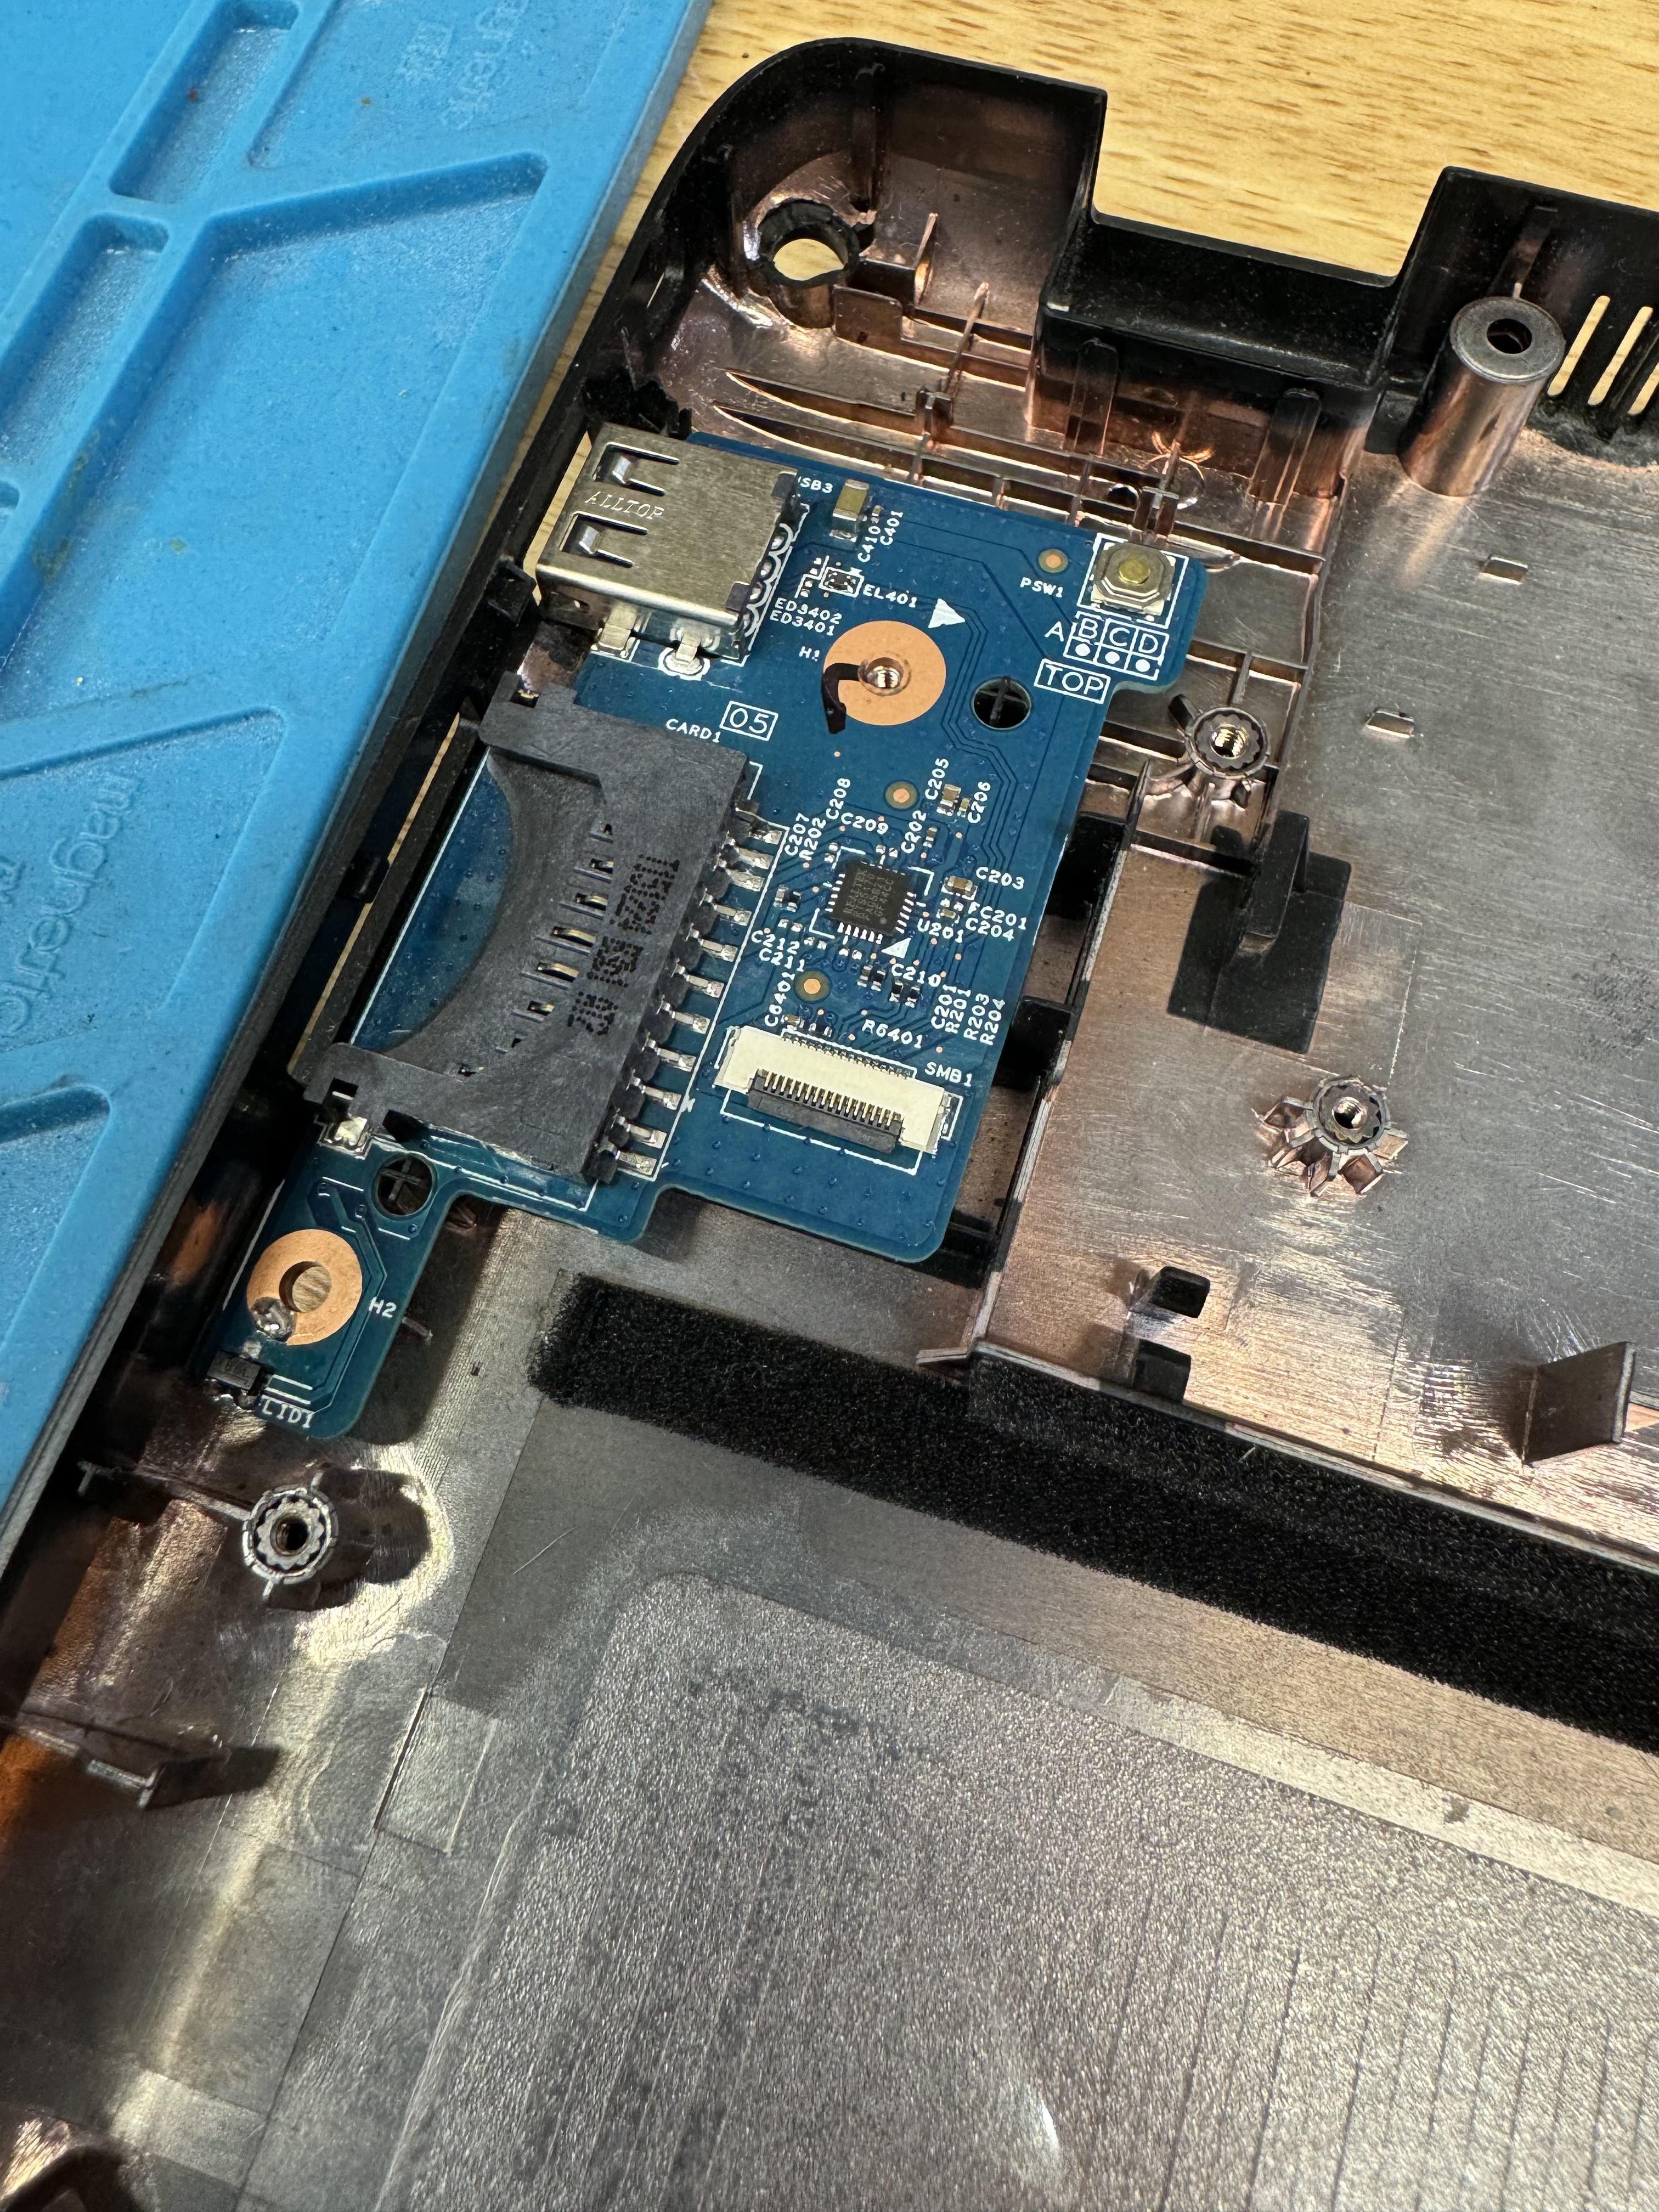
The laptop itself came with a daughterboard. Conveniently housing the power switch, display hall sensor and an sd card slot + USB.
All things that are especially useful here. The SD slot and USB port can be rewired into the original Wii. In case I need to use bootmii the SD slot is ready. The USB slot can be used to house games on one of those mini usb sticks. This way I can easily add or remove games from the USB. The hall sensor is a simple 3.3V sensor that outputs HIGH when the display is open and LOW when it's closed (magnet nearby). Later I'll explain the usage for this and the power button.
The Keyboard
The keyboard of the laptop would ideally be used to control the brightness and volume of the system.
This keyboard itself has 26 pins, of which 18 columns and 8 rows. For this the best solution would be to use the classic 74HC595 shift registers to extend the output.
The sensorbar
The sensorbar of the wii is made of some 940nm infrared leds spaced out from each other according to my google skills. My current plan was to get some ledstrip and swap out the leds for similarly packaged 940nm IR smd leds. This could then be hidden in the top or bottom side of the bezel depending on what works best.
However, I'm adding an external HDMI port so that you can easily use the system on a larger screen elsewhere. This wouldn't be convenient with the built-in sensor bar. Therefore I had the idea to somewhere add the original sensor bar's port so that you can plug in the original sensor bar. Making it more convenient to play elsewhere without having to find the perfect spot of laptop to get the wiimotes to work.
Discussions
Become a Hackaday.io Member
Create an account to leave a comment. Already have an account? Log In.