 WJCarpenter
I am not planning to install grab bars, but I want to prepare things so that they can easily be added in the future. I got some good ideas about this from the video Blocking Walls for Grab Bars. She also has some other pretty good videos related to grab bars. The idea is that you install blocking while the walls are open in locations that are potential grab bar anchor points. They'll be easier to find than studs after the wall is closed up, especially if the locations are clearly documented.
The ADA guidelines for horizontal tub grab bars is 33-36 inches from the floor. (I found this 3rd party web page more readable.)
I'll use 2x6 horizontal blocking that spans those 33-36 inch measurements. I'll put those between all studs on the back wall and the right-hand end wall. I may also put additional blocking for a vertical grab bar on the right-hand end wall, though it's a bit tricky due to the way the current studs are placed. For the left-hand end wall, there is plumbing in the way, but I might be able to put in blocking for a vertical grab bar.
These marked up photos show the idea conceptually, though obviously the little purple blobs are not to scale or accurately placed. You might wonder why I don't just use that outside stud on the right-hand end wall as the blocking. It turns out to be overlapped with the location of the frame for the sliding door. I don't want someone to have to deal with that tight squeeze to install a vertical grab bar.
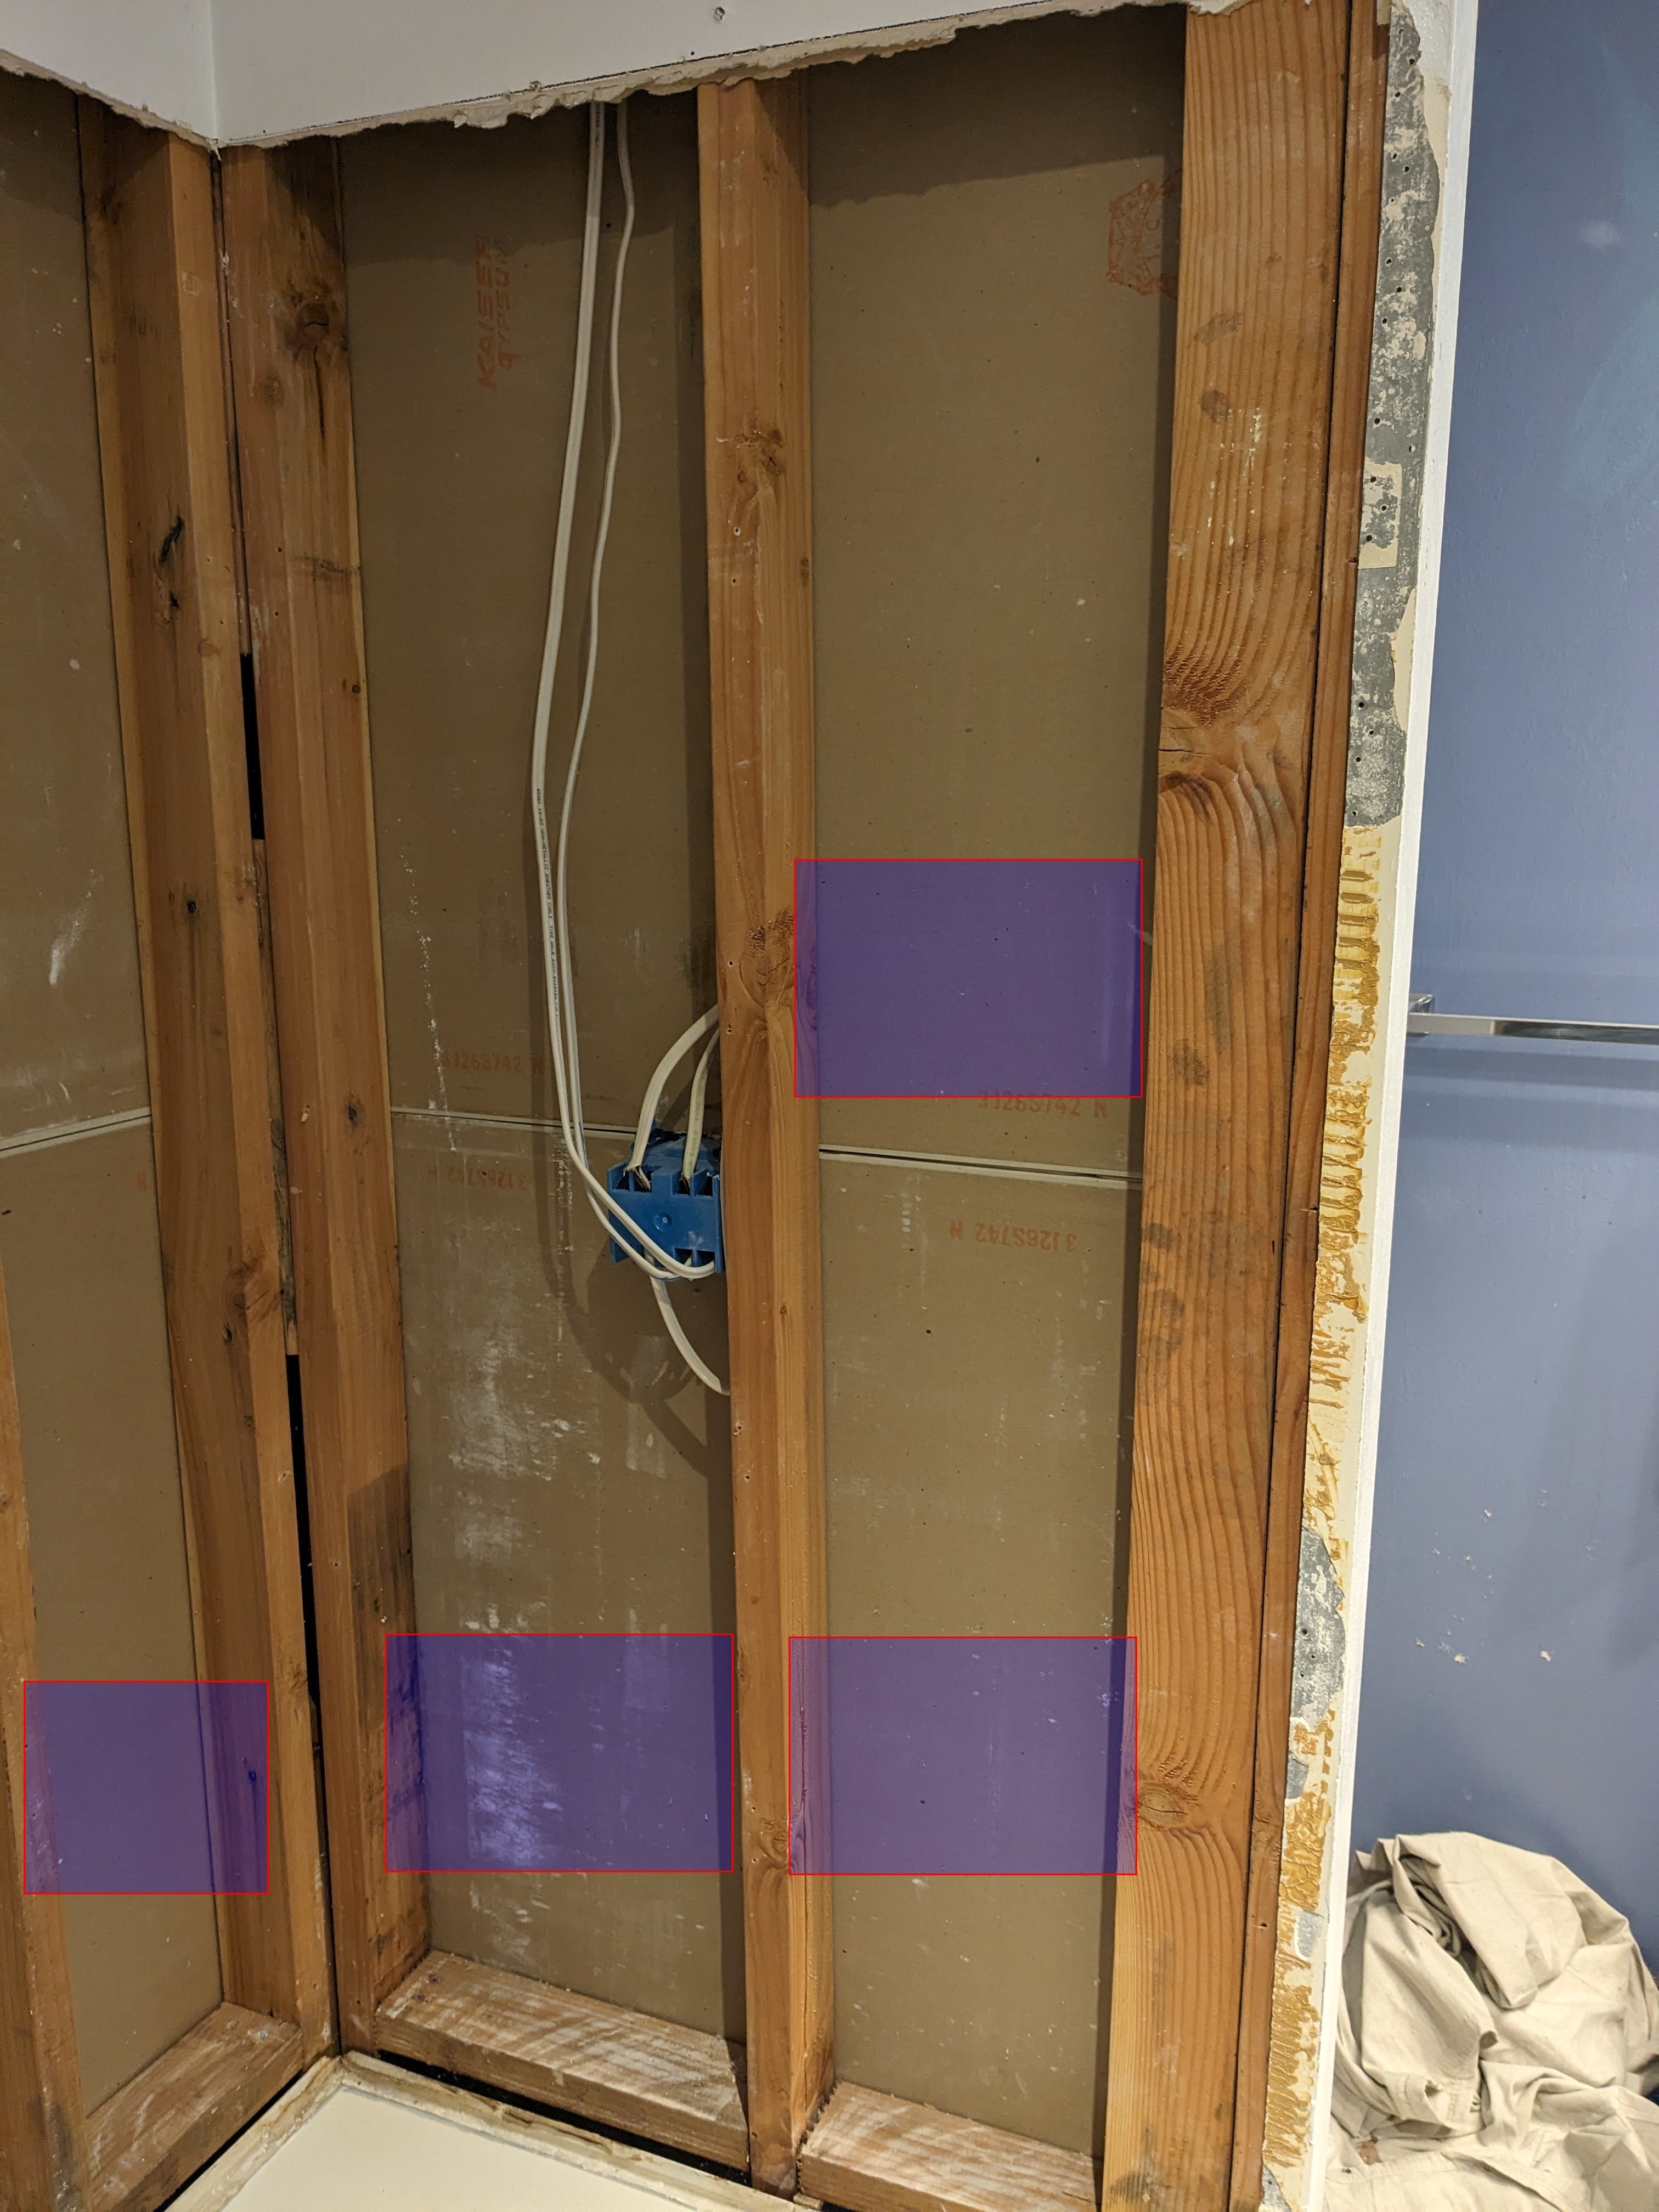
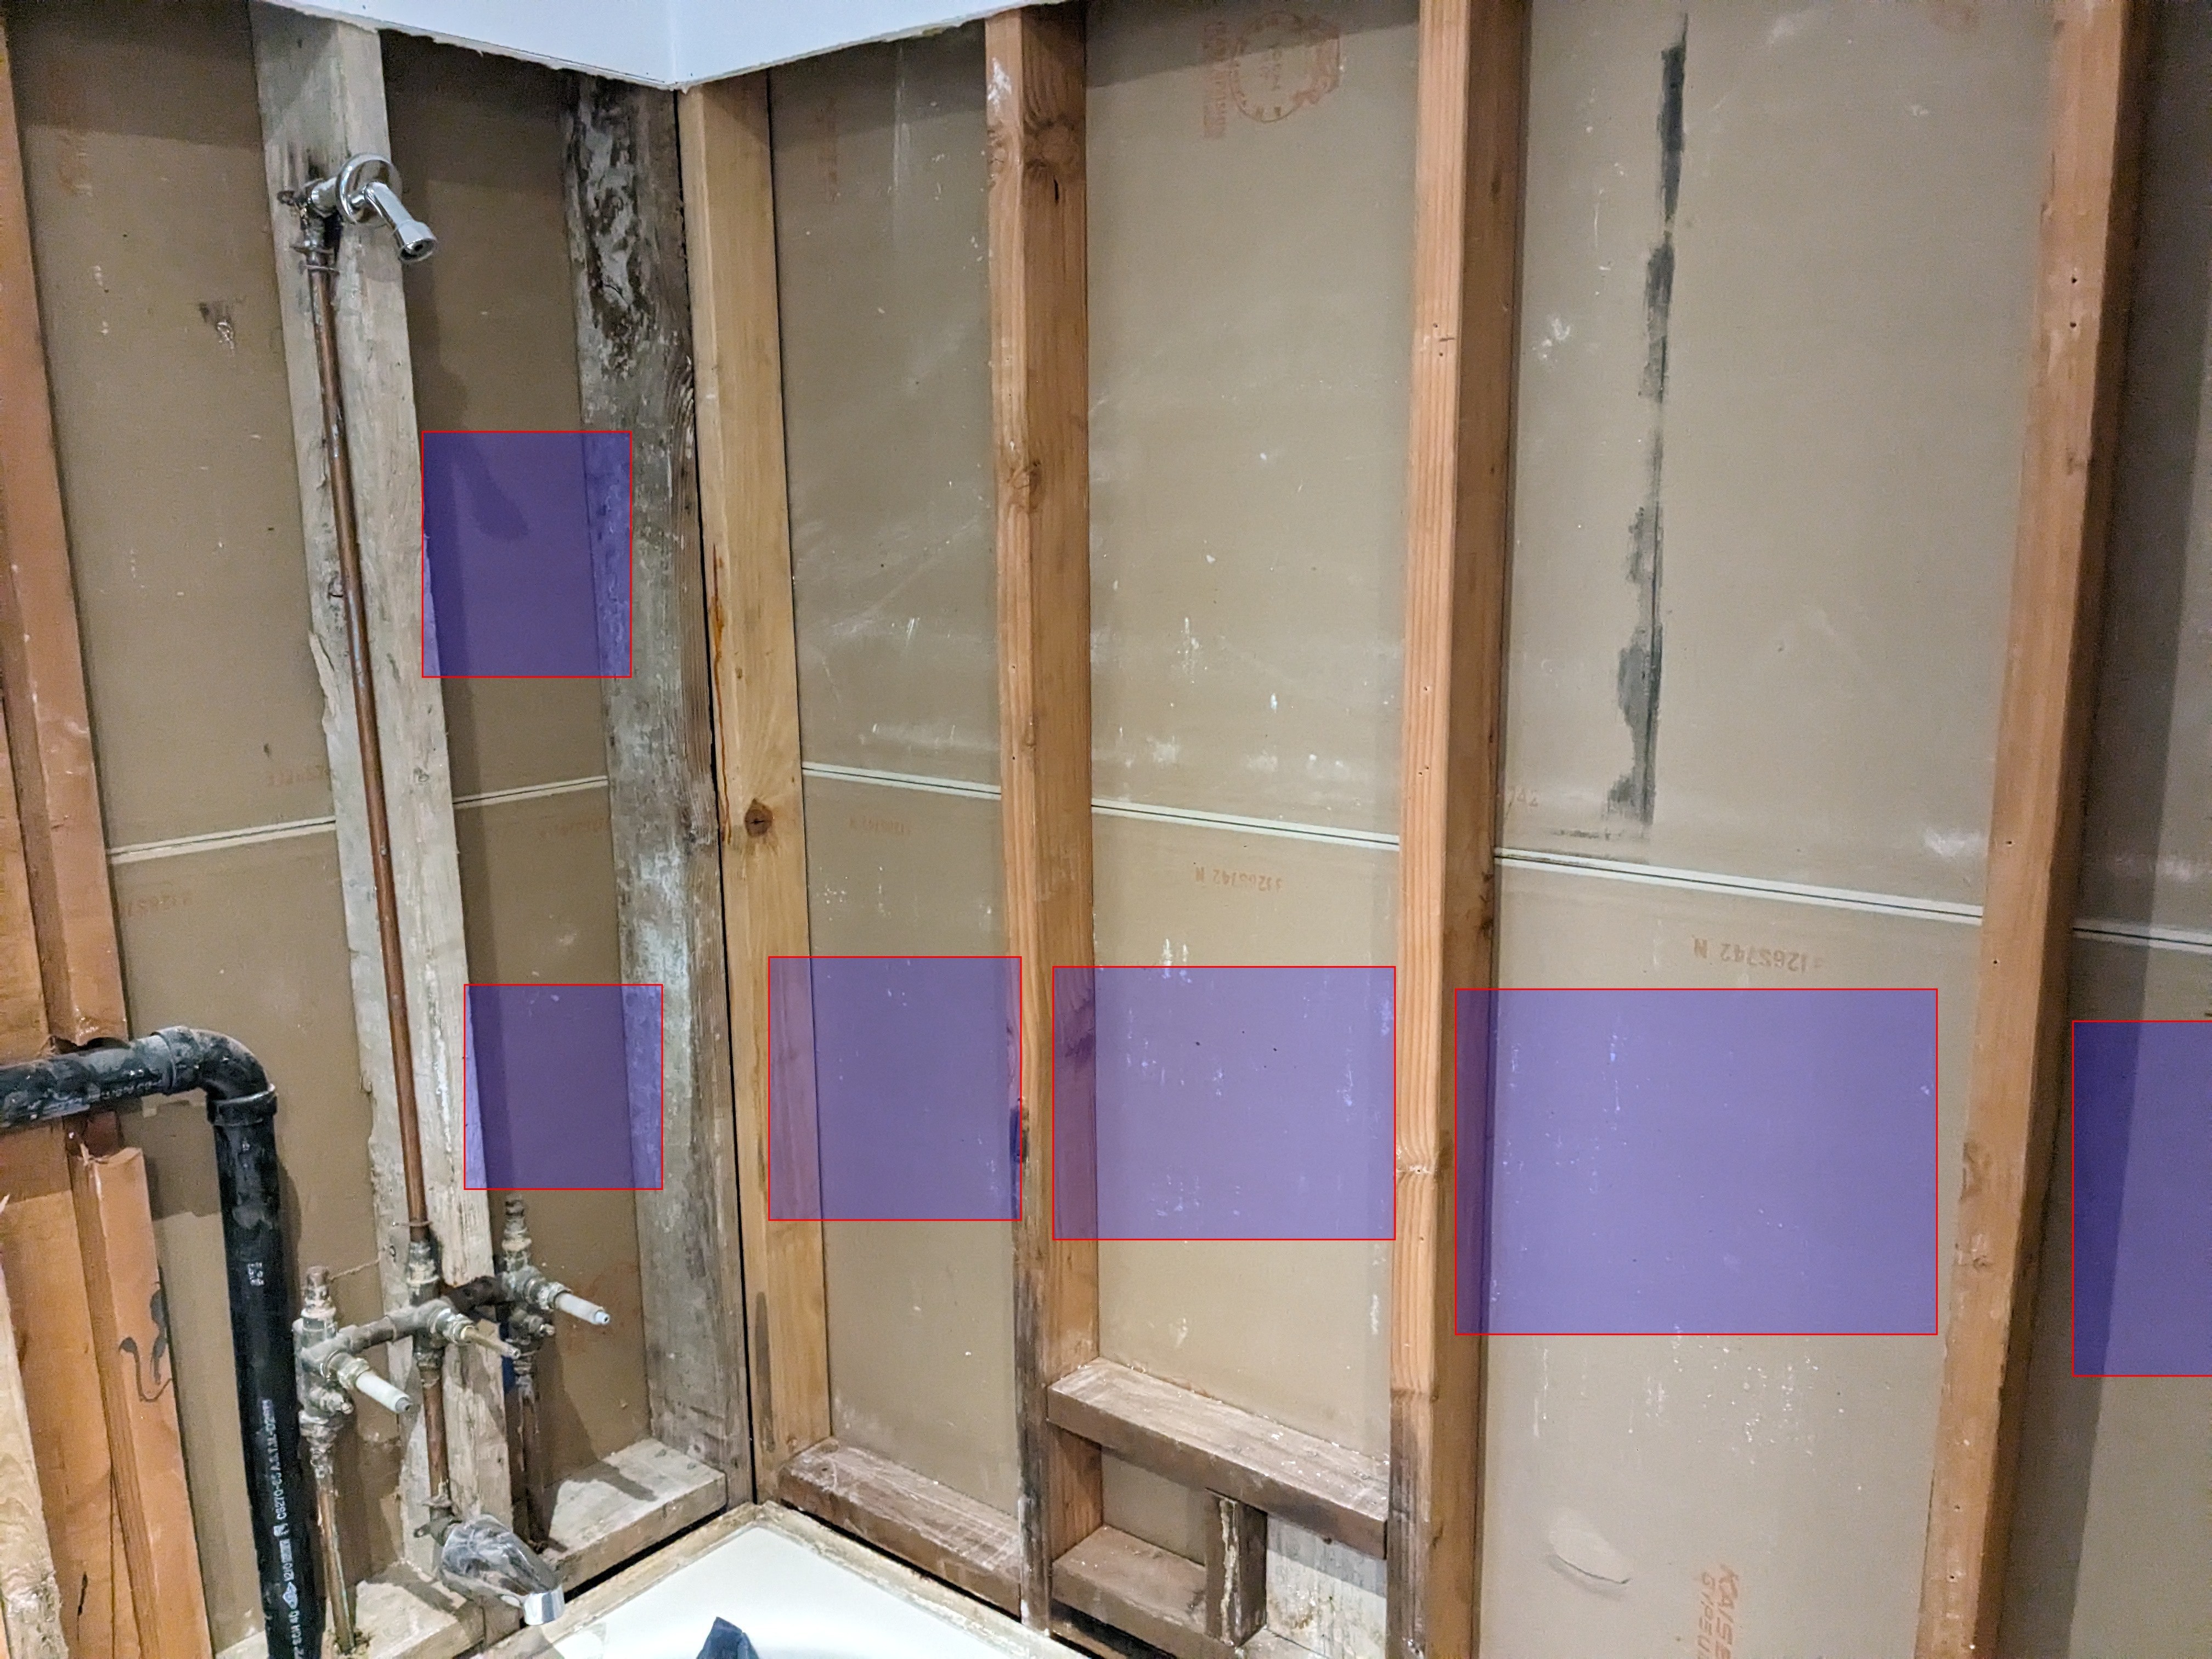
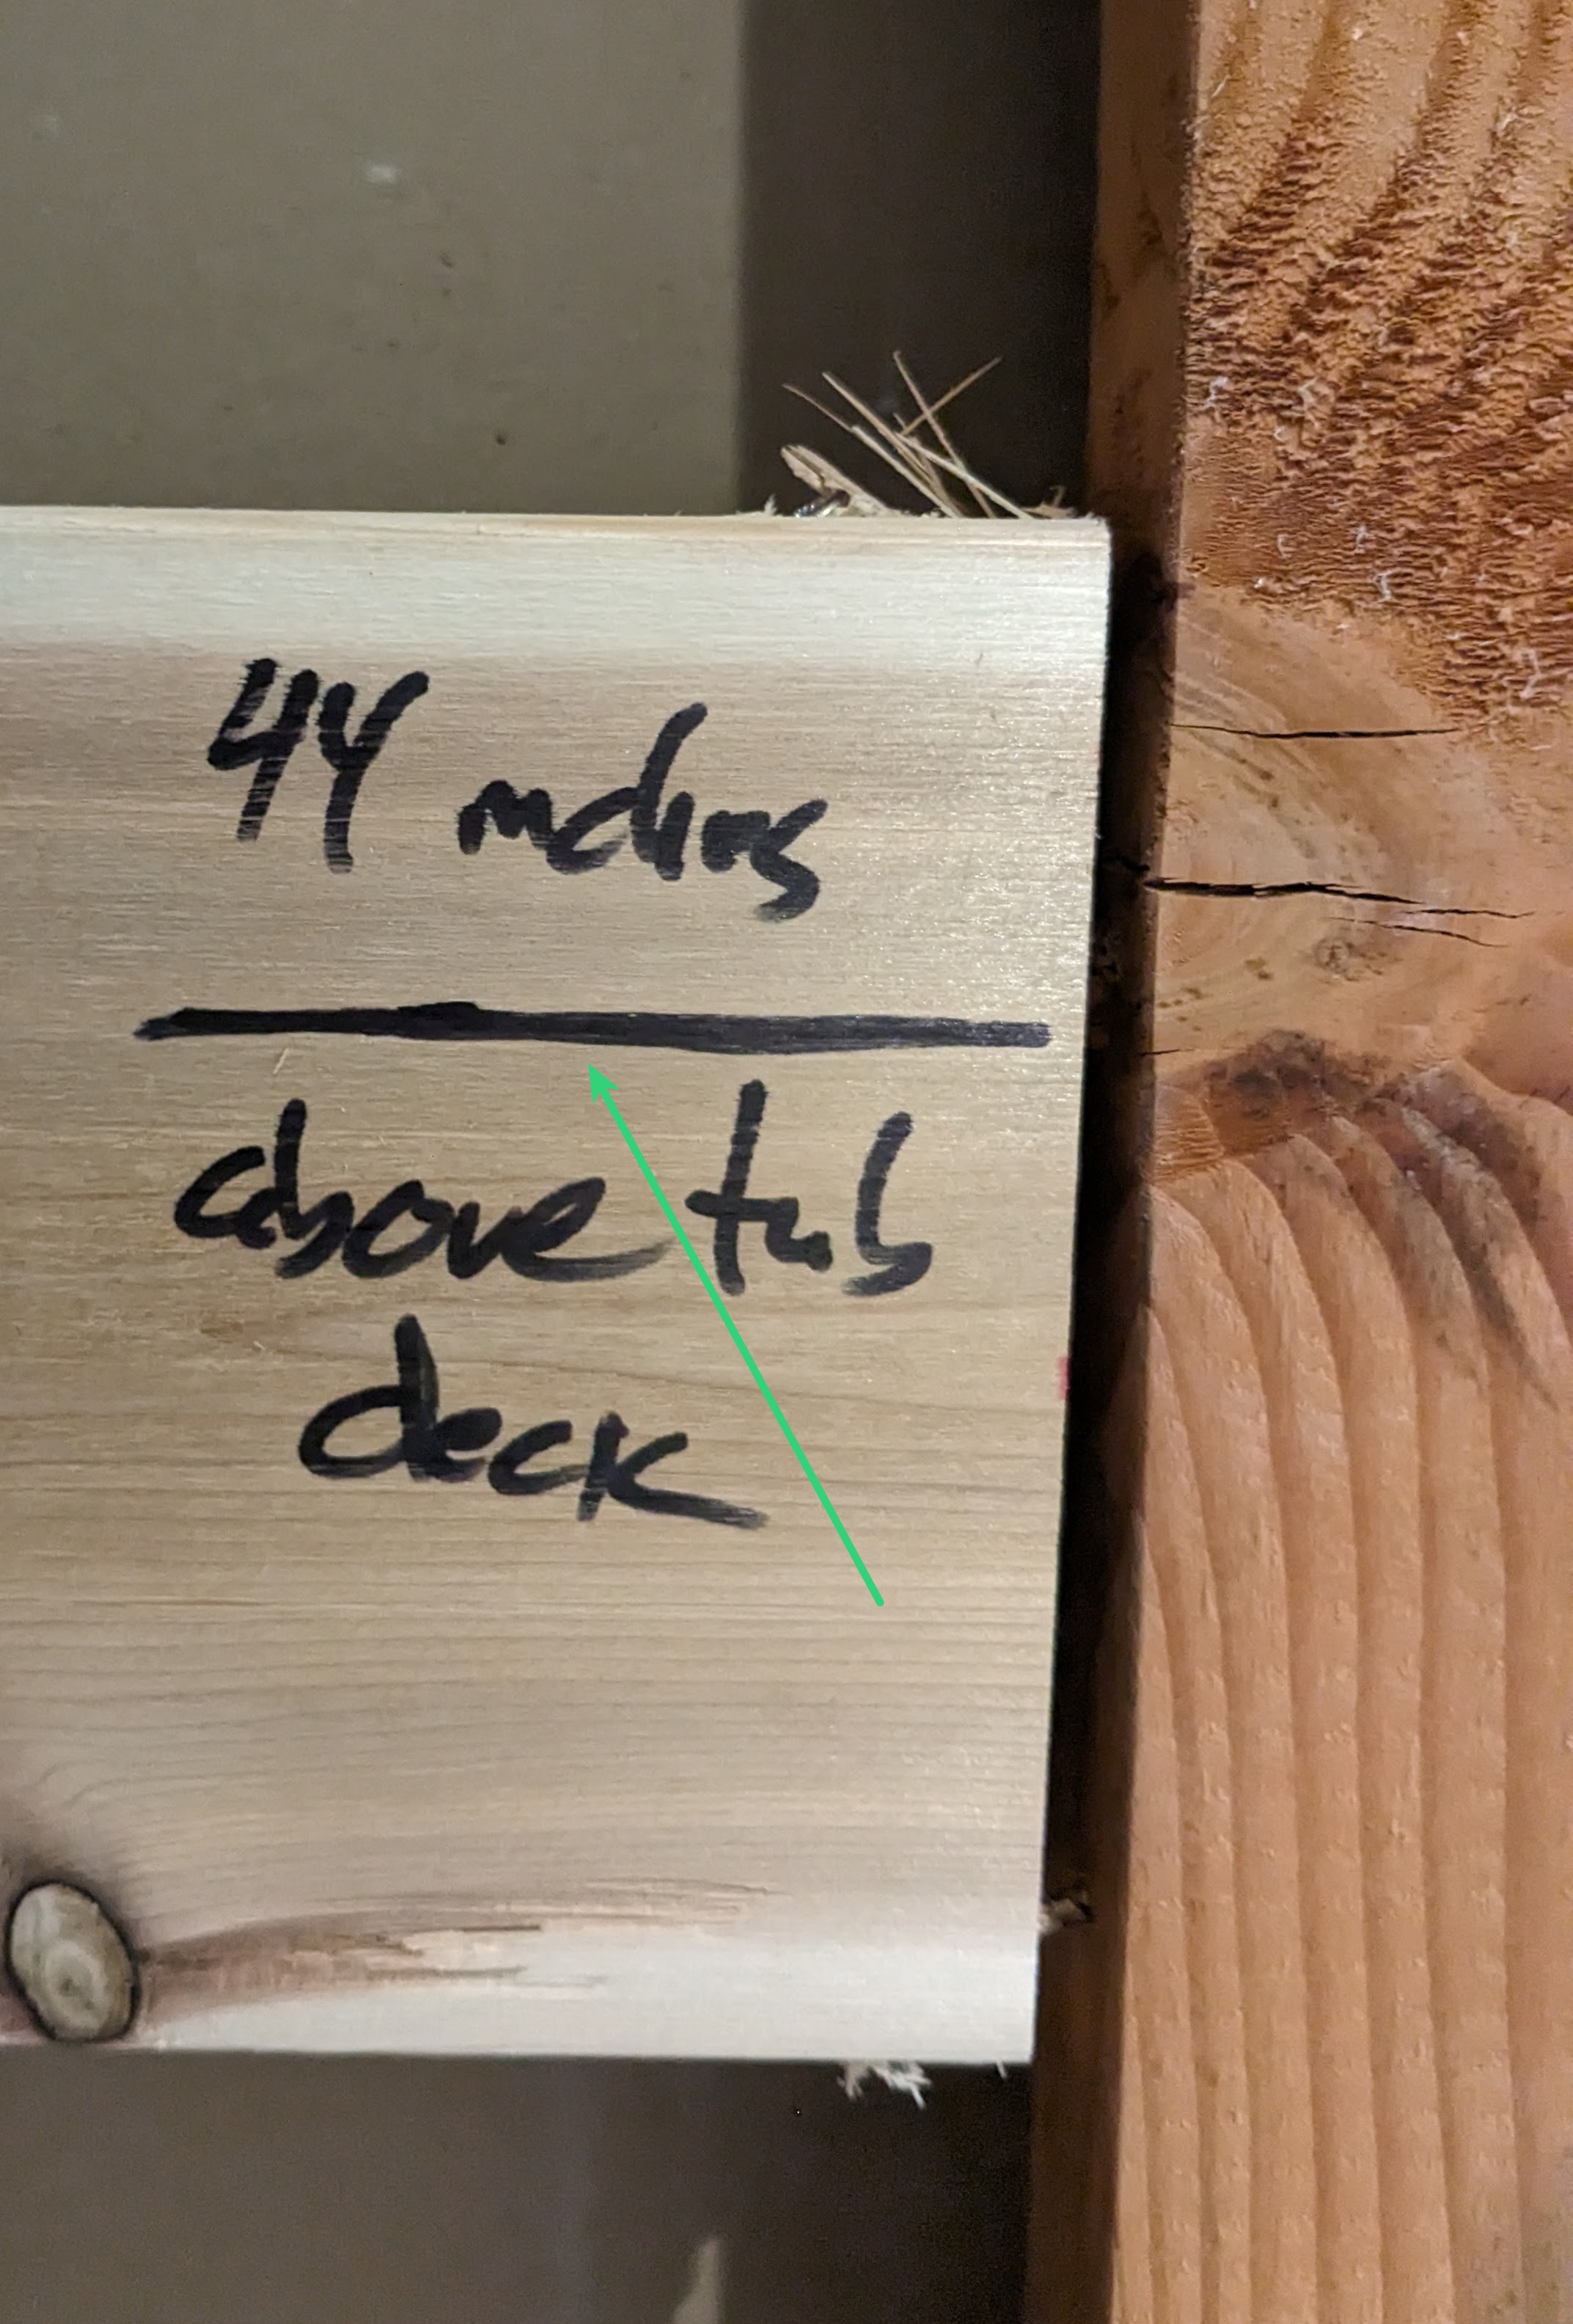
In practice, the placement of the blocking was also not as precise as it could have been. I measured and marked a line from the tub deck on each piece of blocking. The reference lines are at either 44 inches or 20 inches above the tub deck. (The tub deck is the flat top of the tub, not including the vertical nailing flange.) With a picture of it, each piece can be precisely located.

I added pictures showing all of the blocking to the project log that consolidates all of the measurements.
Update: Based on user feedback, I decided to go ahead with installing the grab bars now instead of some nebulous future.
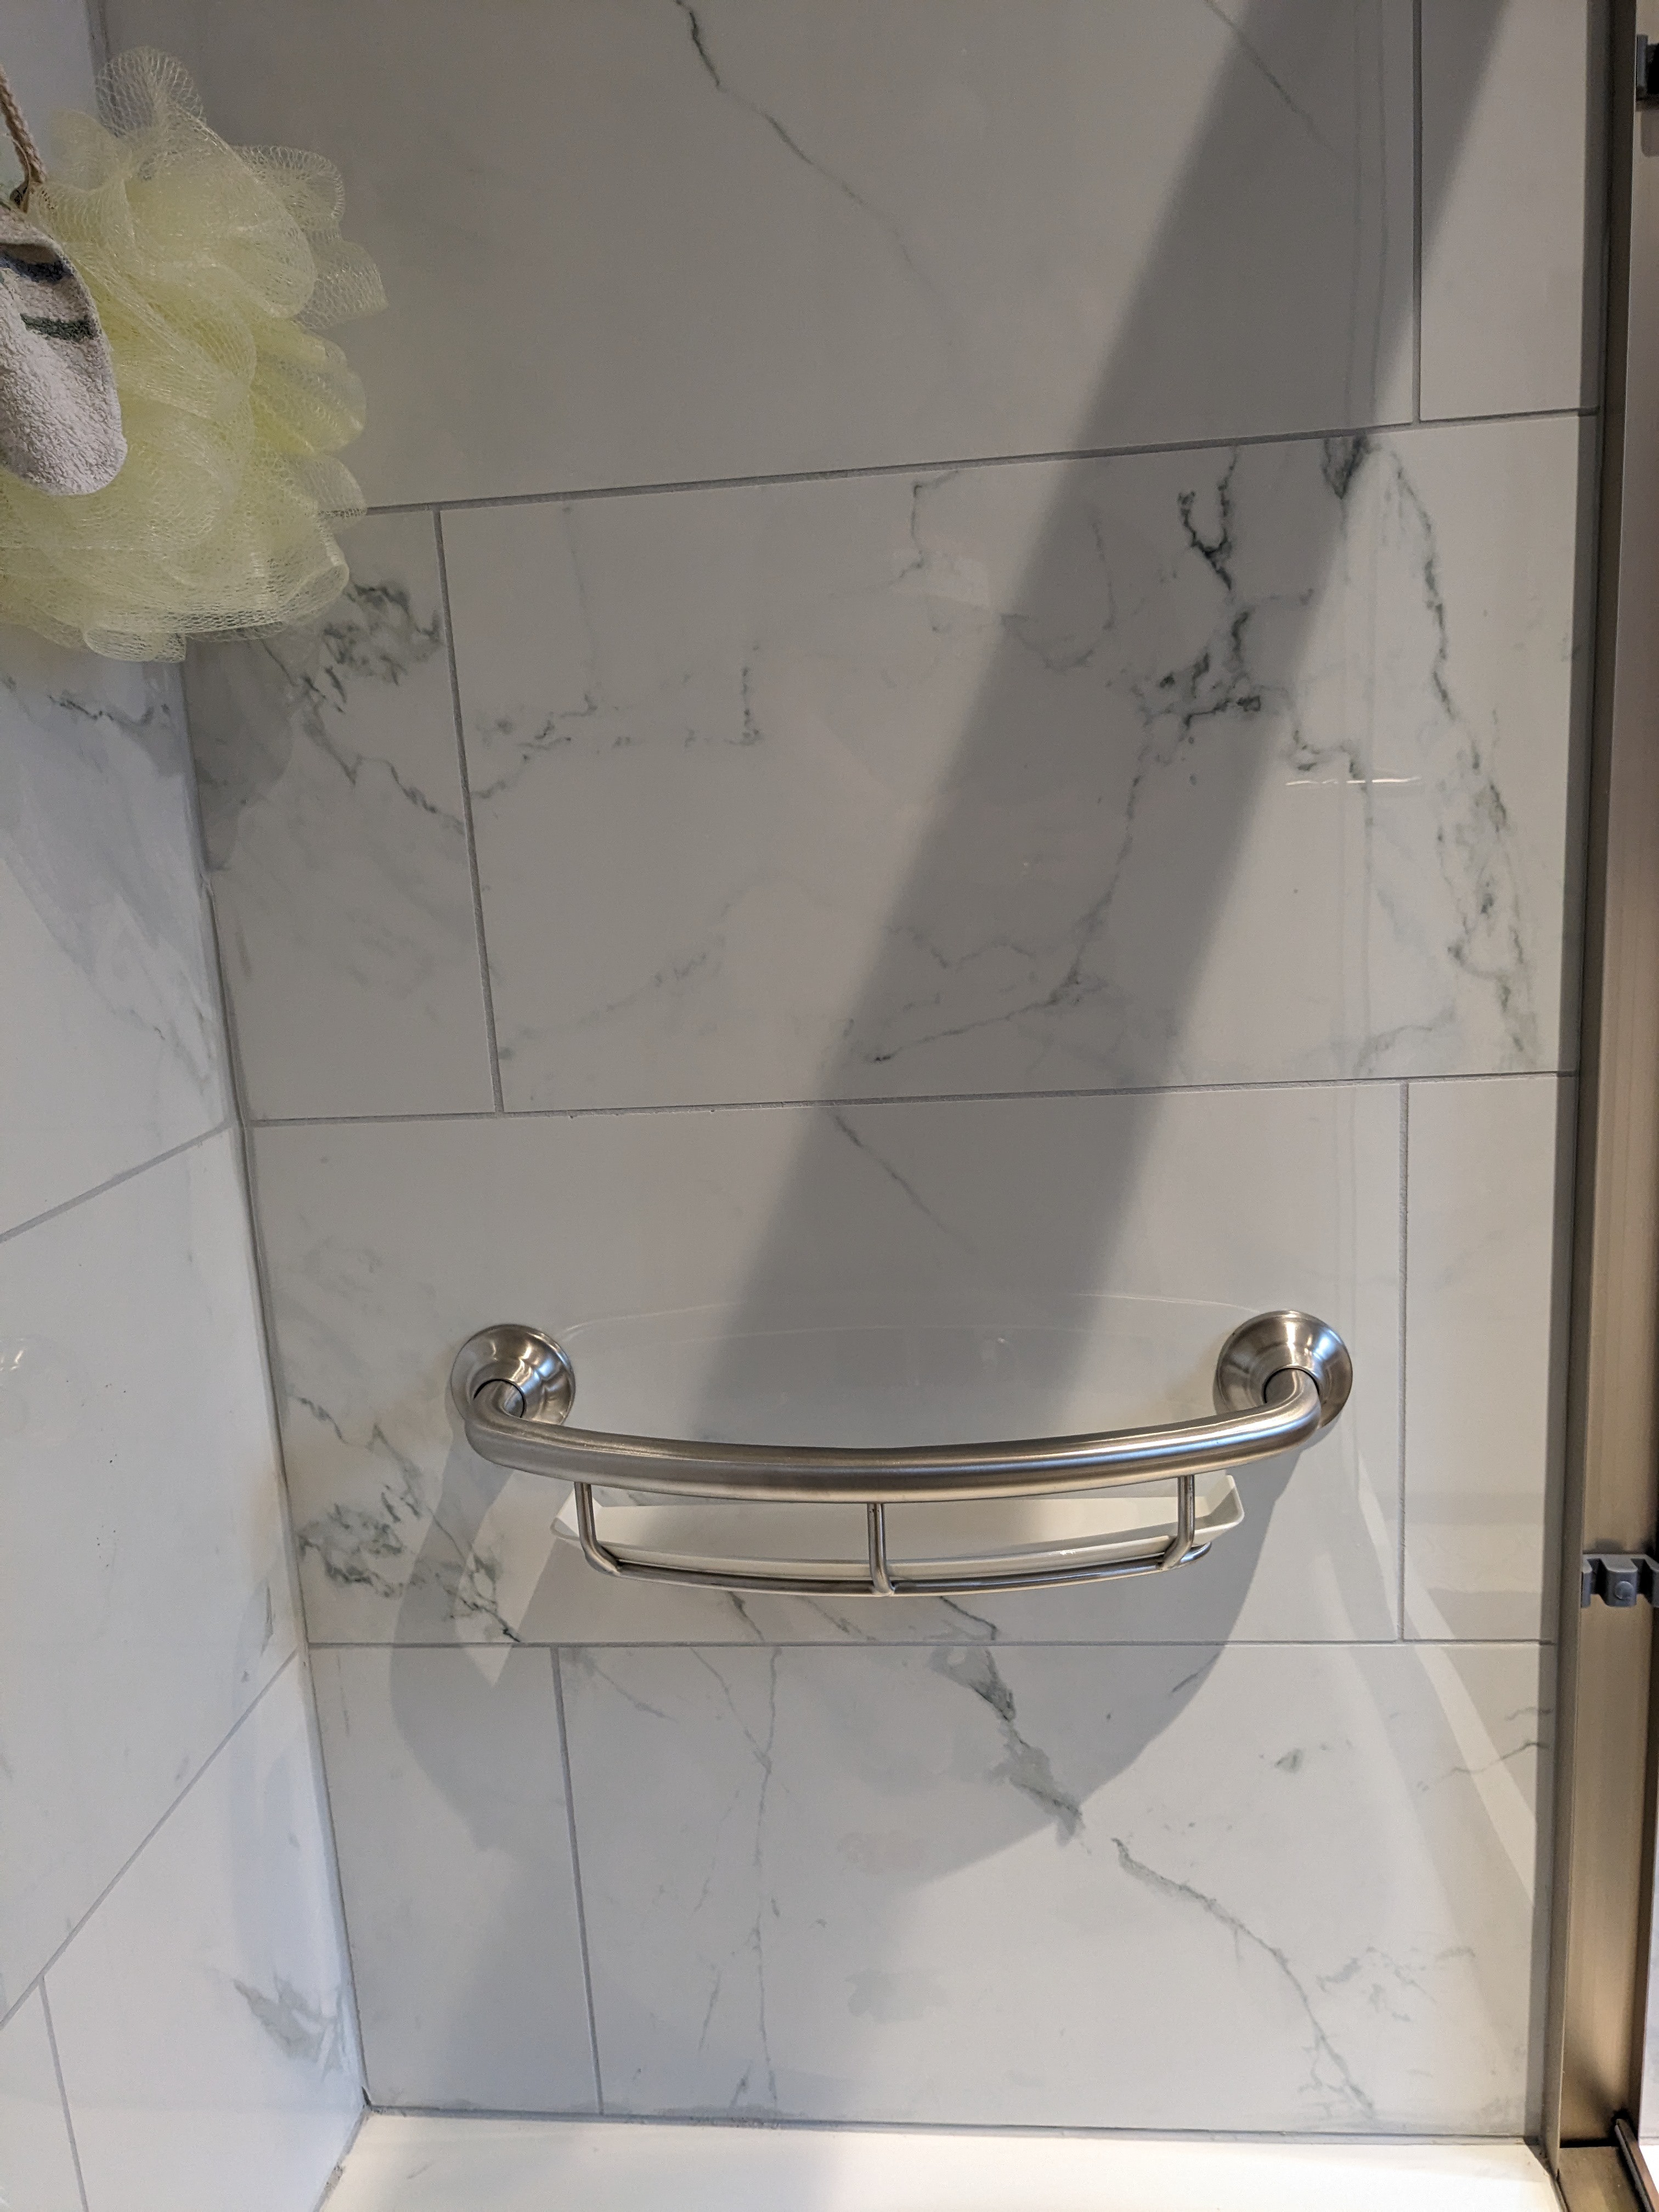
For the right end wall, I found this interesting Brushed Nickel 16" Grab Bar With Shelf by Moen. It was a little pricey, but I really liked the idea and look of it. If I had known about this at the beginning, I might have skipped one or the other of the niches I put in the wall. It's rated at 250 pounds.
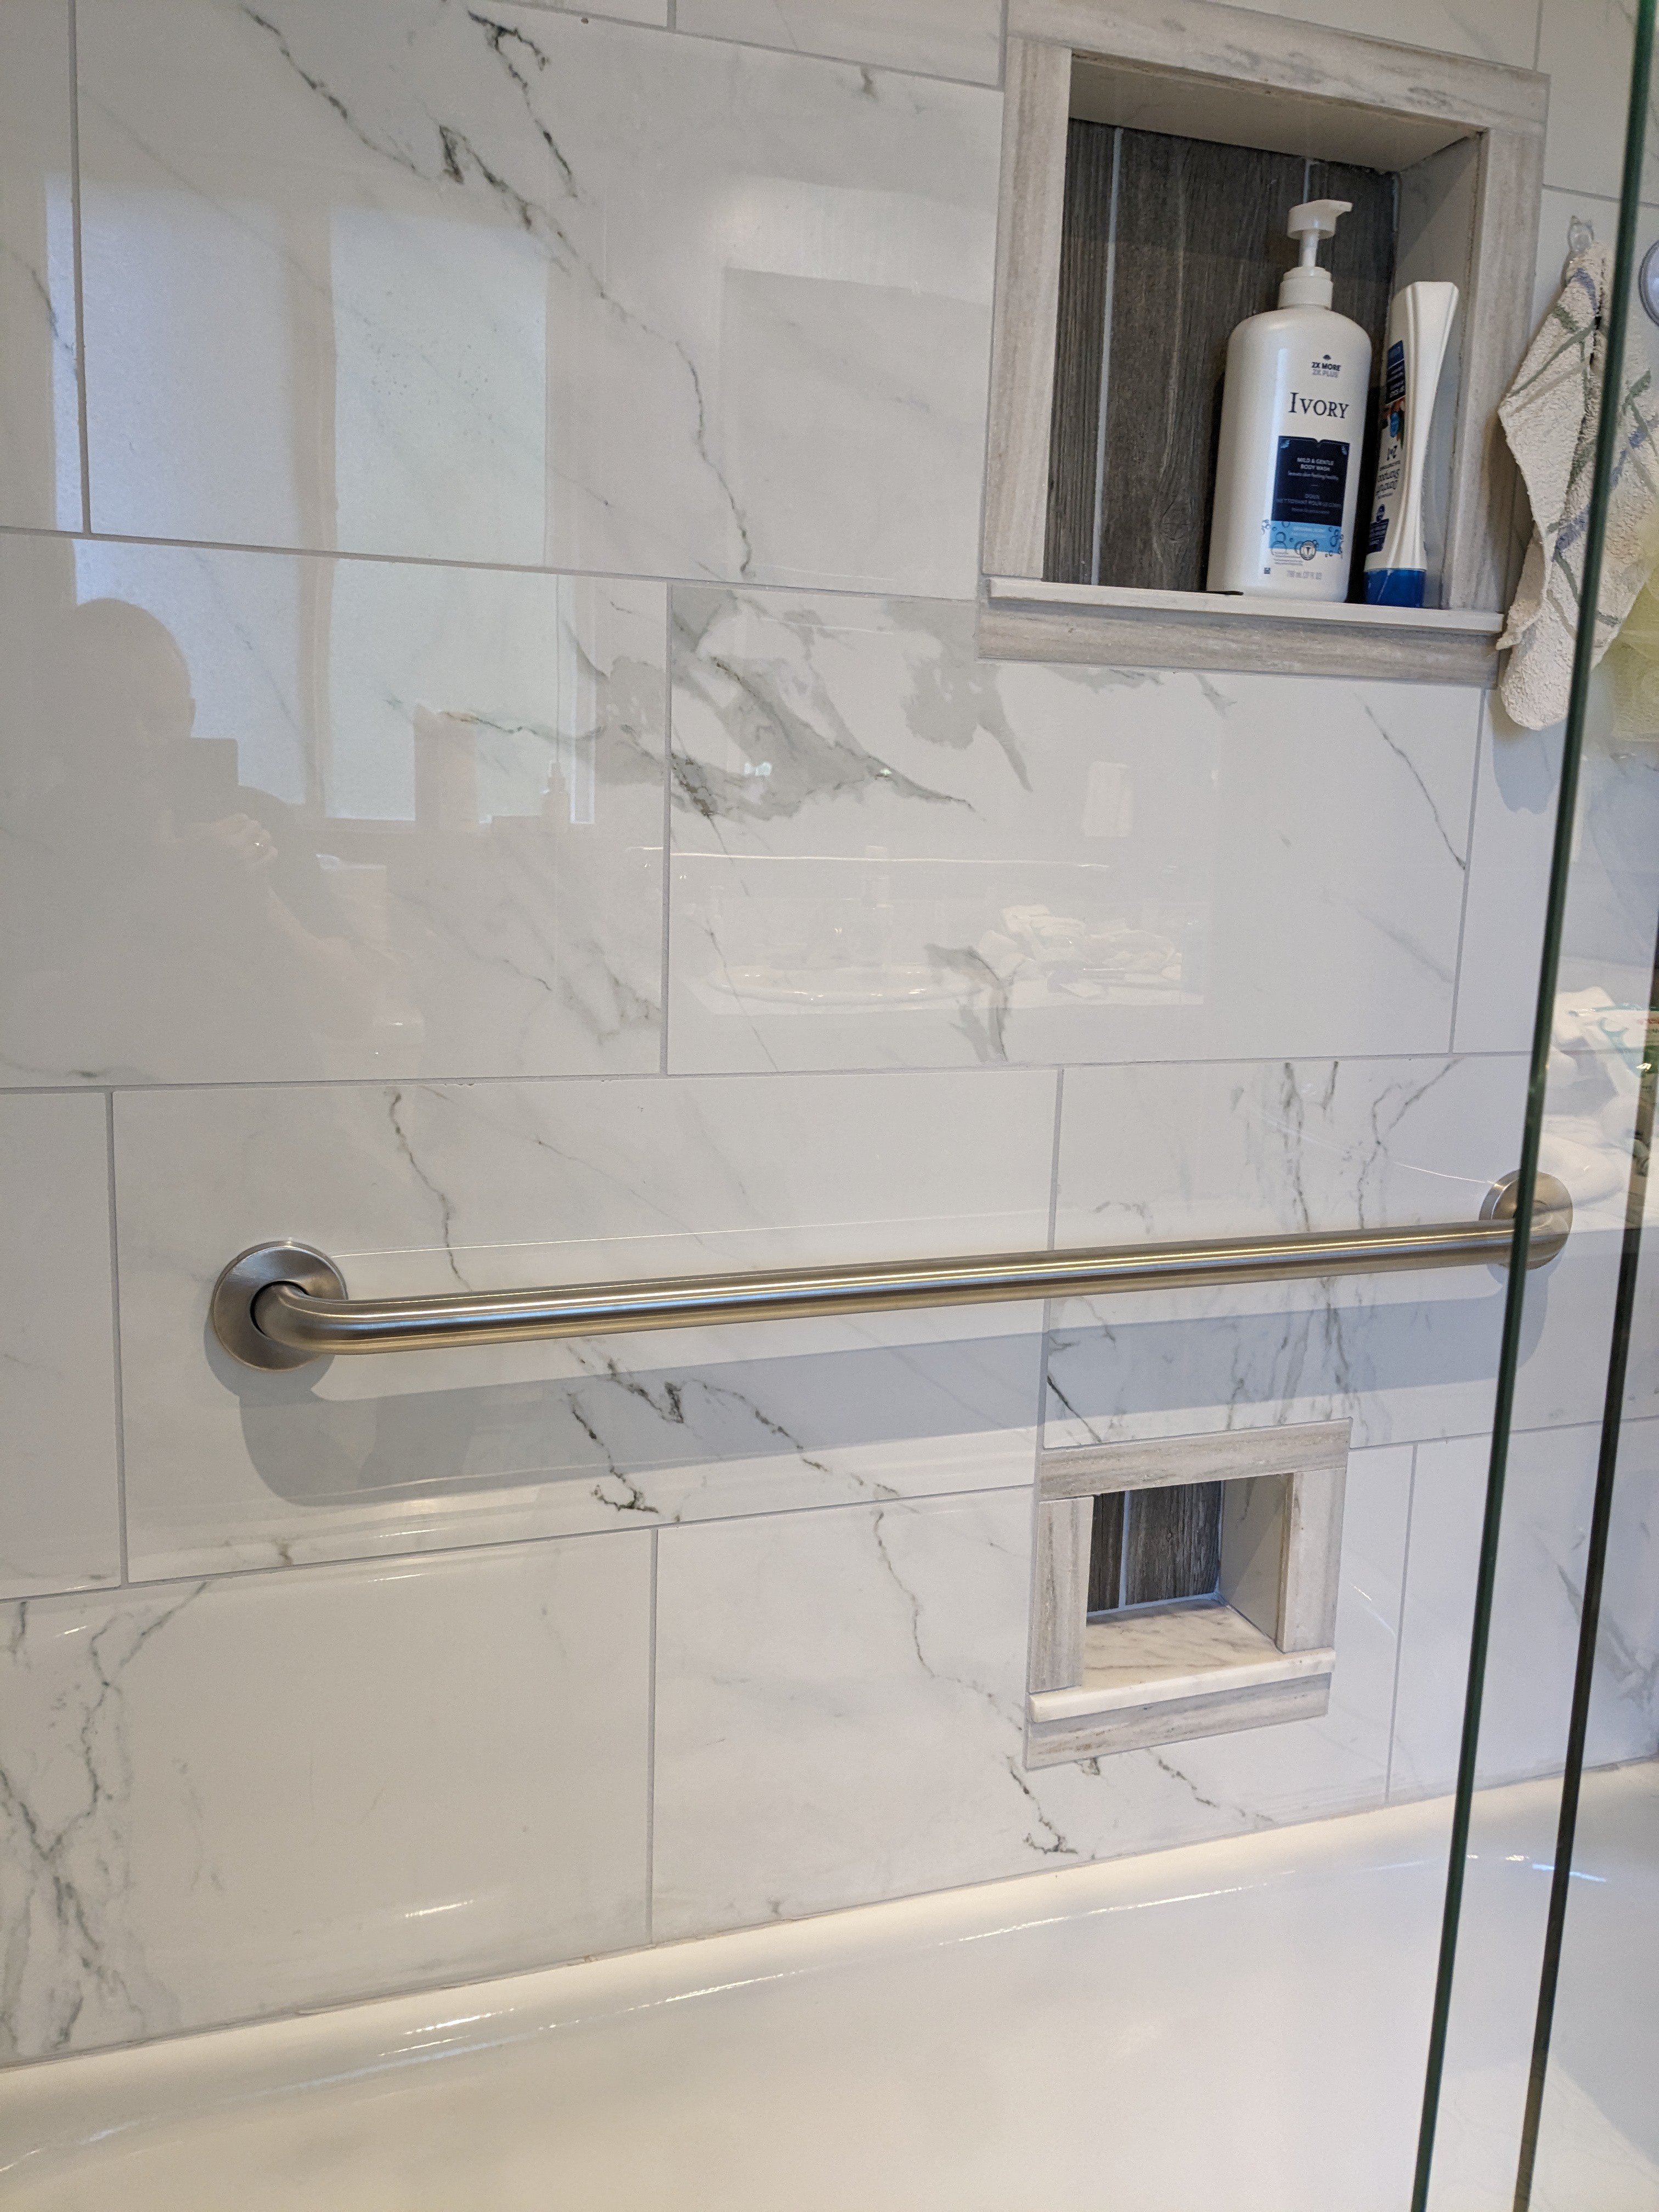
Along the back wall, I put a 36 inch Glacier Bay grab bar. It's stainless steel instead of brushed nickel, but I think it's close enough. It so happened that when I was shopping, Home Depot had some kind of "special buy" pricing for 3 or 5 of them. I bought the 3-pack and will use the other two as towel bars. It's rated at 500 pounds.
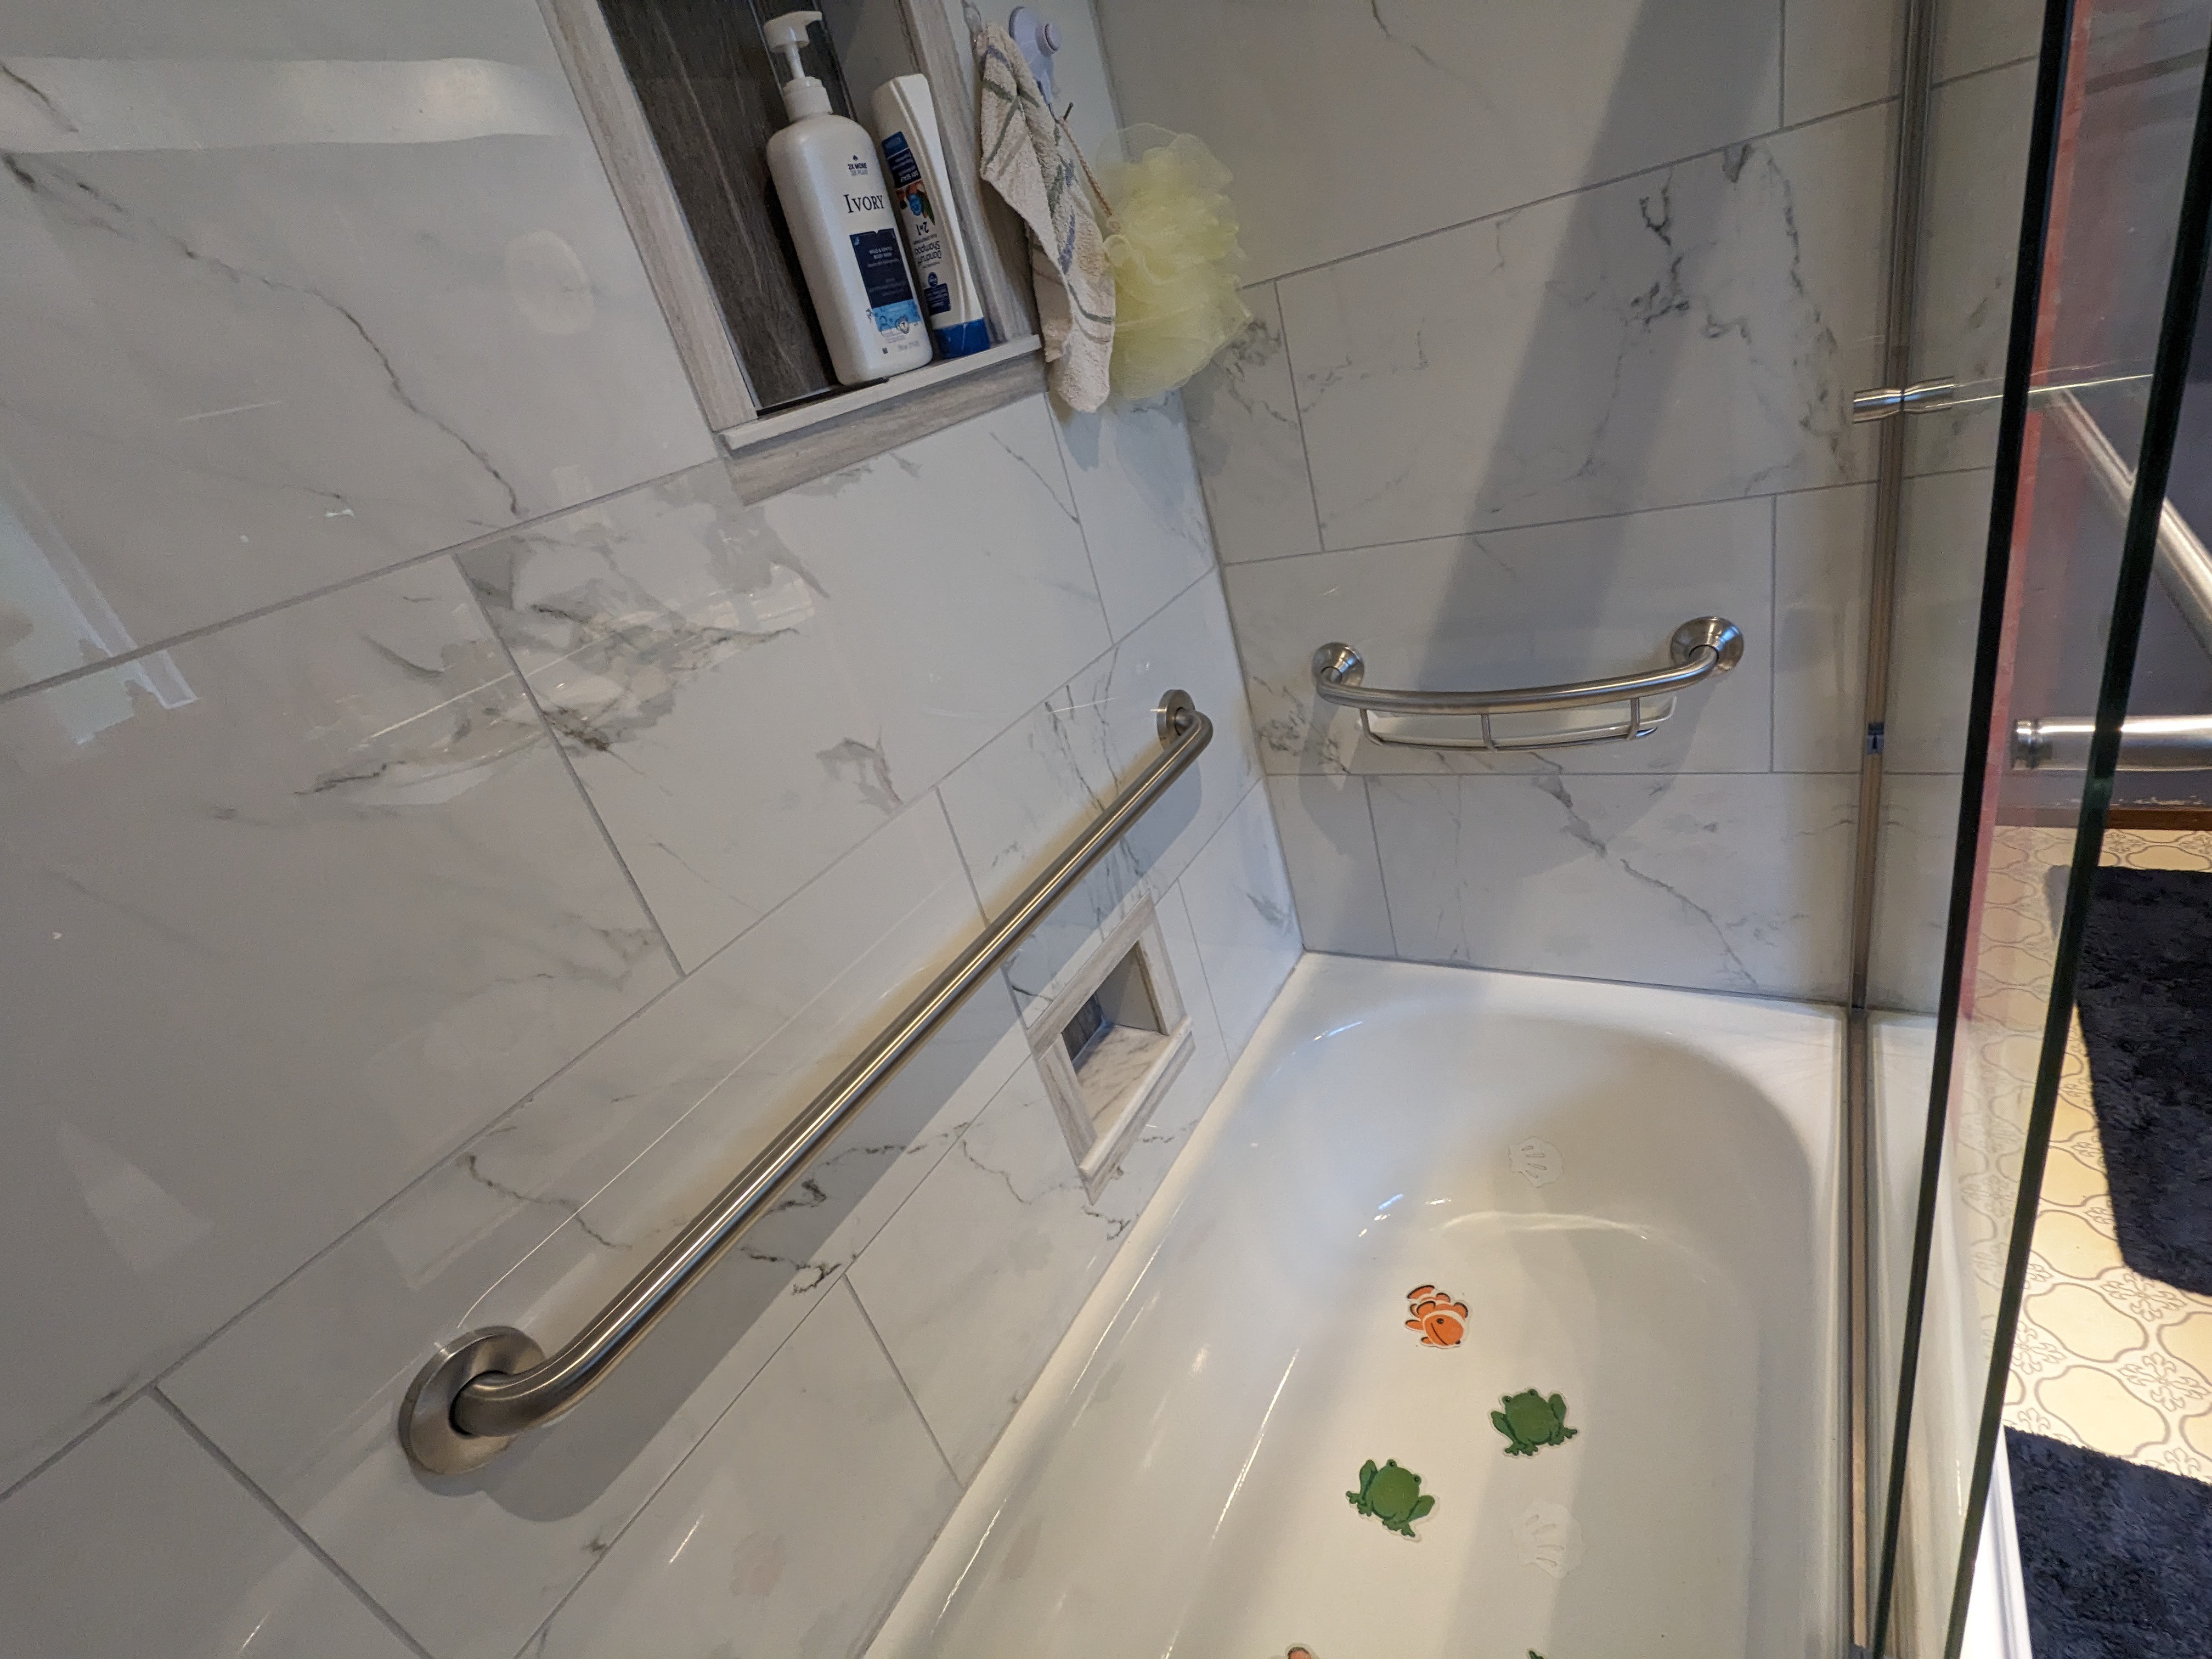
Here's a wider shot showing the two of them together.
Once again, I got to experience how tough porcelain tile is to drill through. While I was drilling, I had plenty of time to think, and one of the things I thought about was how it would be bad if one of the screw locations happened to be on top of one of the screws for the GoBoard. It was pretty unlikely, except that I had also used those metal washers around those screws. Of the 12 holes, I think I hit one of those washers.
Discussions
Become a Hackaday.io Member
Create an account to leave a comment. Already have an account? Log In.