Close
0%
0%

Low-Cost Microscope Boom

Love your microscope - from afar

Similar projects worth following
I love having a microscope, but I don't always need it front and center on the bench. So I modified a cheap monitor arm to act like a boom, and now I can position it wherever I like, or swing it out of the way when I don't need it.

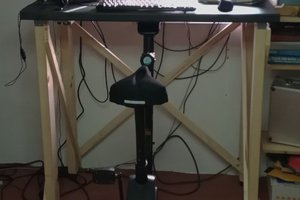
I've had a microscope for a while now, and I find it an invaluable tool. But I have to be honest -- most of the time, it's in the way. That's mostly because the cheap stand I bought with it is -- well, cheap. The base is awkward and precludes using the bench for anything else, and I found myself just pushing the whole thing aside to gain back my bench space for most projects.

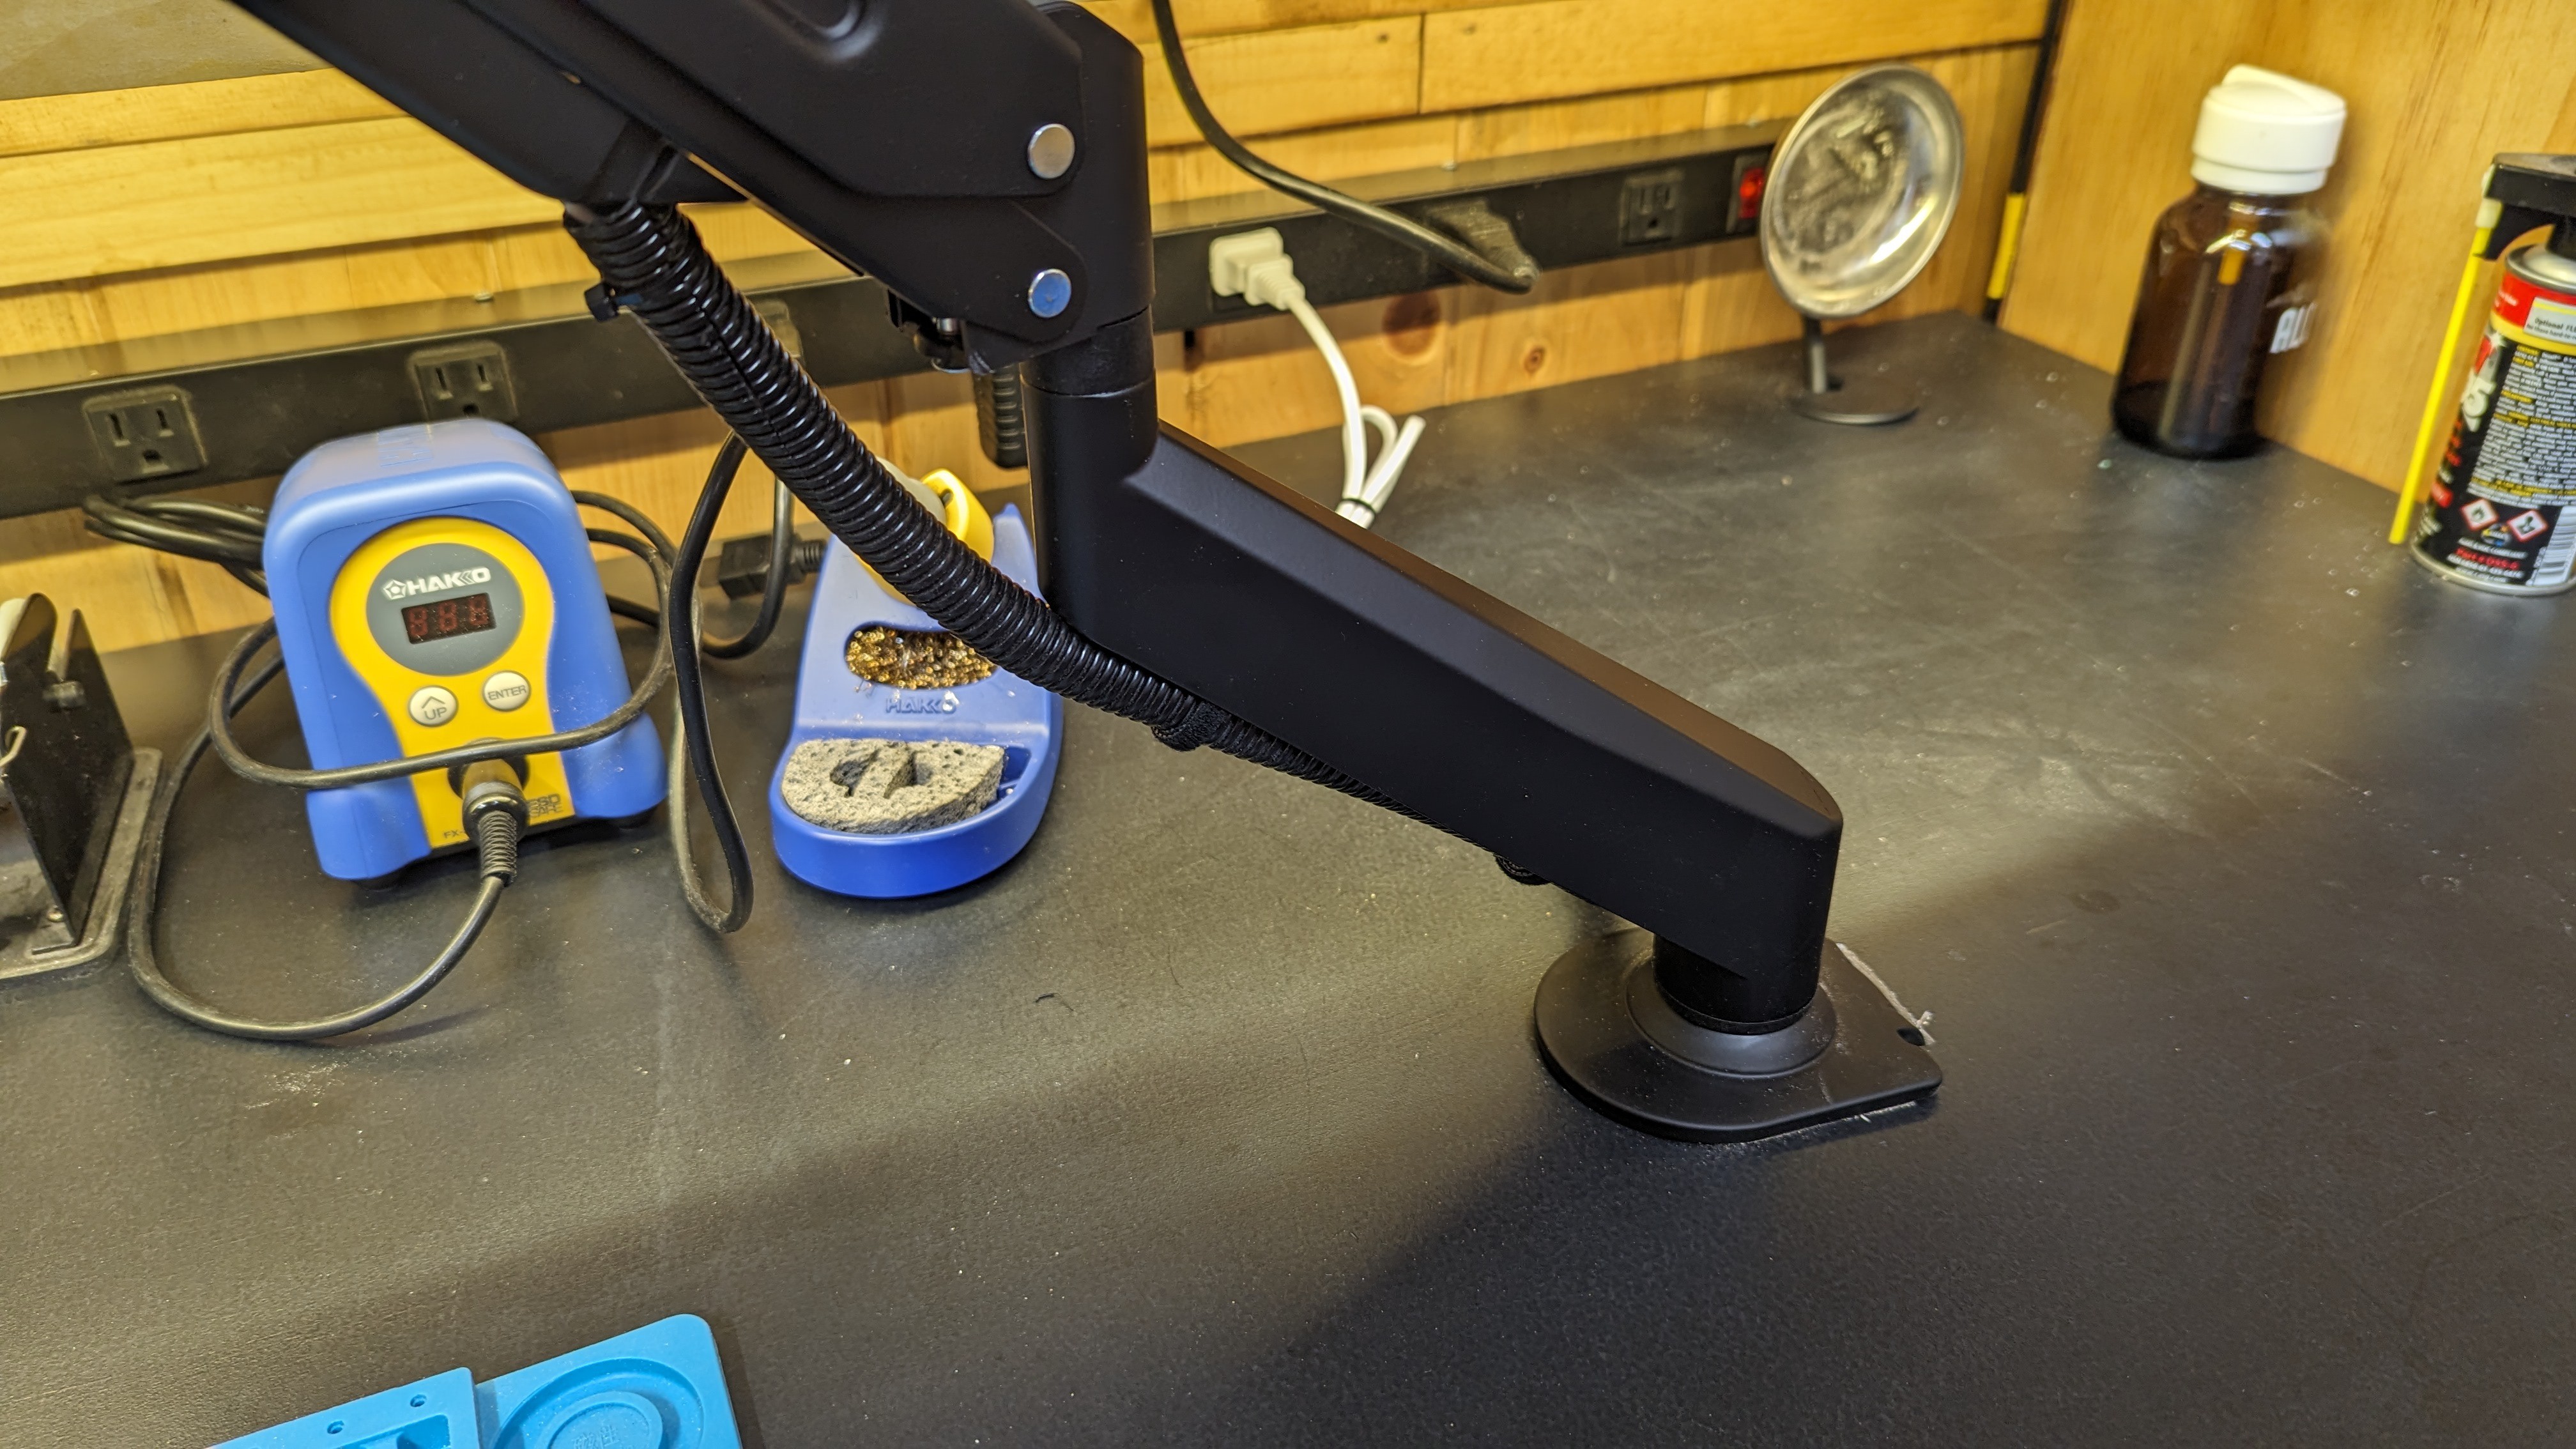
What I really wanted was one of those cool booms with a hefty weighted base, the kind that floats the microscope over the bench and swings away when it's not needed. I priced one of those out, but it cost as much as I spent on the whole scope! No thanks. Then on the podcast a couple of weeks ago, I mentioned a project where someone had mounted an oscilloscope to an off-the-shelf monitor arm to gain back a little bench space -- who knew DSOs now have VESA mounts? And I thought, "What's good for the o-scope might just work for an m-scope too."

  • Frankenscope

    Dan Maloney03/07/2024 at 04:07 0 comments

    There's not much to this build:

    1. Mount the monitor arms to your bench. Follow the manufacturer's instructions, or wing it like I did. 
      1. I figured out where I wanted the scope to end up when in use and marked the location on my bench.
      2. Used a 1.5" hole saw to make a hole in the bench. The arm I chose has a two-piece clamp that either goes on the edge of a bench or through a grommet hole. I also used a jigsaw to make the hole D-shaped to better fit the clamp.
    2. Drill a hole in the swivel bracket on the end of the monitor arm. I needed to bend the little tab that is supposed to hold the screw that secures the VESA bracket to the monitor arm swivel -- just a bit so the screw head would clear:
    3. Remove the microscope from the stand by unscrewing the knob that clamps down on the vertical support. That leaves an M8 threaded hole in the microscope bracket.
    4. Screw the microscope bracket to the monitor arm using an M8 button head screw.
    5. Adjust the monitor arm torque to balance out the weight of the microscope. The arm I bought is rated for loads as light as 2 kg; my scope is a little more than 3 kg with the camera and the ring light, so on the low end but well within spec.
    6. Make a nice wiring harness. Tidy wires don't get pinched as easily, so I used plastic looming and wire ties to bundle everything together nicely. Just leave enough slack for the monitor arm joints to rotate freely.

    This setup seems to work a lot better than I thought it would. The microscope stays right where I put it, and I love that I can fly it over whatever I want to look at without much trouble. It's also great to be able to swing it out of the way and free up space for through-hole or breadboard work. It's also a lot less wobbly than I thought it would be -- or rather, it doesn't seem to matter too much that it wobbles. The compliance of the monitor arm does cause the microscope head to jiggle a bit, but it's not a big deal optically. At least I haven't had any problem with it yet.

    Next steps: Add an HDMI-USB capture card so I can send the microscope camera output to my computer for recording. I'll also probably need to revisit the placement of test equipment on the end of the shelf where the scope goes when it's swung out of the way -- that power supply is a pretty important piece of kit and needs to not be blocked off.

View project log

Enjoy this project?

Share

Discussions

Similar Projects

Does this project spark your interest?

Become a member to follow this project and never miss any updates