In today's session, we embarked on the search for a suitable 3D printing base for our camera enclosure. We did extensive research into the workings of 3D printing and potential challenges that might arise during the design phase. Following thorough investigation, we identified a model that best aligned with our project requirements. Additionally, we initiated the process by downloading the necessary files and meticulously measured the key components of our servo motor to ensure proper fitting, making necessary adjustments as needed. Once we confirmed the compatibility of the servo motor with our design files, we proceeded to install PursaSlicer, an open-source slicing software utilized for preparing 3D models for printing on Pursa Research's 3D printers. This software facilitated customization of settings such as layer thickness, enabling us to enhance the durability of our components. Finally, we modified the orientation of certain file surfaces to optimize printing outcomes. From this point onward, we will proceed with printing the CAD and conducting thorough testing. Any required redesigns or modifications will be implemented as needed to ensure the optimal functionality and fit of the components within the enclosure.
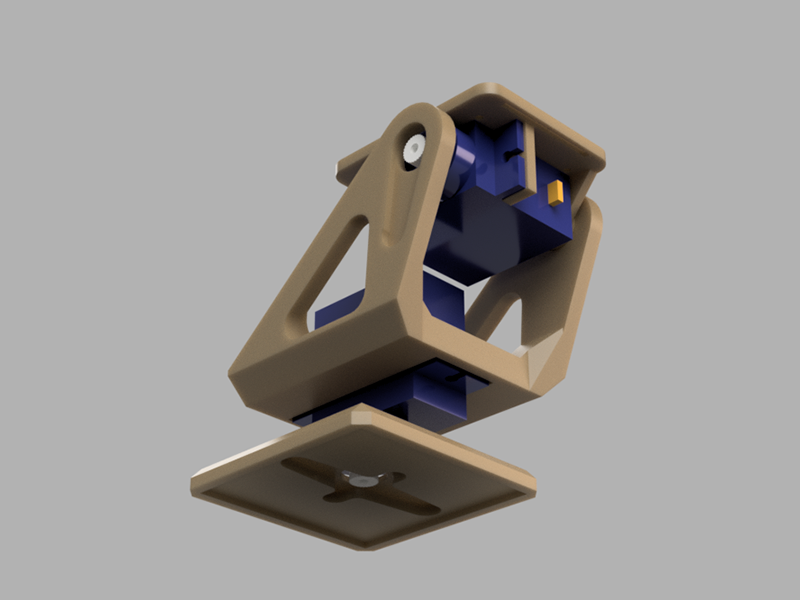
This previous image is a render simulating how the different pieces would be assembled. The blue parts simulate the two servo motors.
Discussions
Become a Hackaday.io Member
Create an account to leave a comment. Already have an account? Log In.