MATERIALS
- TRANSPARENT WHITE PLA FILAMENT - 1.75MM, 1KG SPOOL Transparent Filament (For Bambu P1P/ P1S)
- SILVER PLA SILK FILAMENT - 1.75MM, 1KG SPOOL (For Bambu P1P/ P1S) (Can use any color filament you want the handle to be for this we just used the Silver.)
- Raspberry Pi Pico or Seeed RP 2040 - Getting Started with Seeed
- Wire
- Solder
- Shrink Wrap
- Small Speaker
- MP3 Sound Chip - Sound Chip
- Battery Charging Board
- NeoPixel LED Strip - 7 ft Adafruit NeoPixel LEDs
- Push Button
- Latching Button
SKILLS
SOFTWARE
- Fusion 360
- Bambu Studio
- Thonny
EQUIPMENT
- Bambu P1P/P1S Printer
- A computer
- Soldering Iron
- Solder Sucker
- Helping Hands
- Steel Wool
- Wire Strippers
Alternatives
- Ultimaker or any printer with a 1x1 foot bed.
- Cura or any other software.
Note: We only Printed the project on the Bambu P1P/P1S and while any other printers with a 1'x1' print bed should work, no promises.


 Tom_Neverwinter
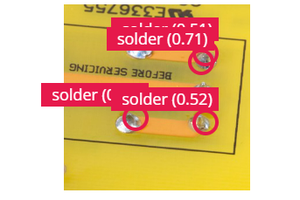
 John
John
 Mark Gaffney
 Romeo hackster