0%
0%
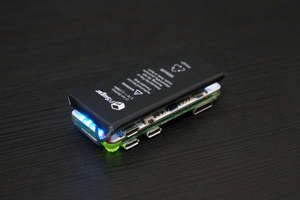
Raspberry PiPhone: a DIY Android Smartphone
A simple smartphone that you can build yourself! Can do everything a normal smartphone can!
 PiCreate
Become a Hackaday.io member
Already have an account? Log in.
Just one more thing
To make the experience fit your profile, pick a username and tell us what interests you.
Pick an awesome username
hackaday.io/
Your profile's URL: hackaday.io/username. Max 25 alphanumeric characters.
Pick a few interests
Projects that share your interests
People that share your interests


 Jdaie
Jdaie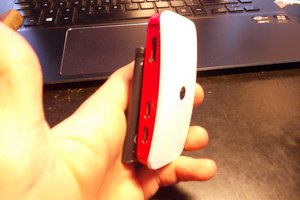
 Arya
Arya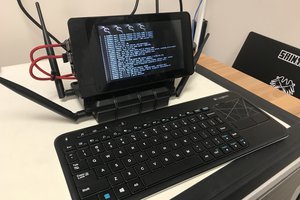
Big thanks to Kongstakang.com for making the lineage os download. Thank you so much for reading and building this instructable! I hope you enjoyed it!