I was blown away when I saw this display at Liverpool maker festival a couple of years ago.
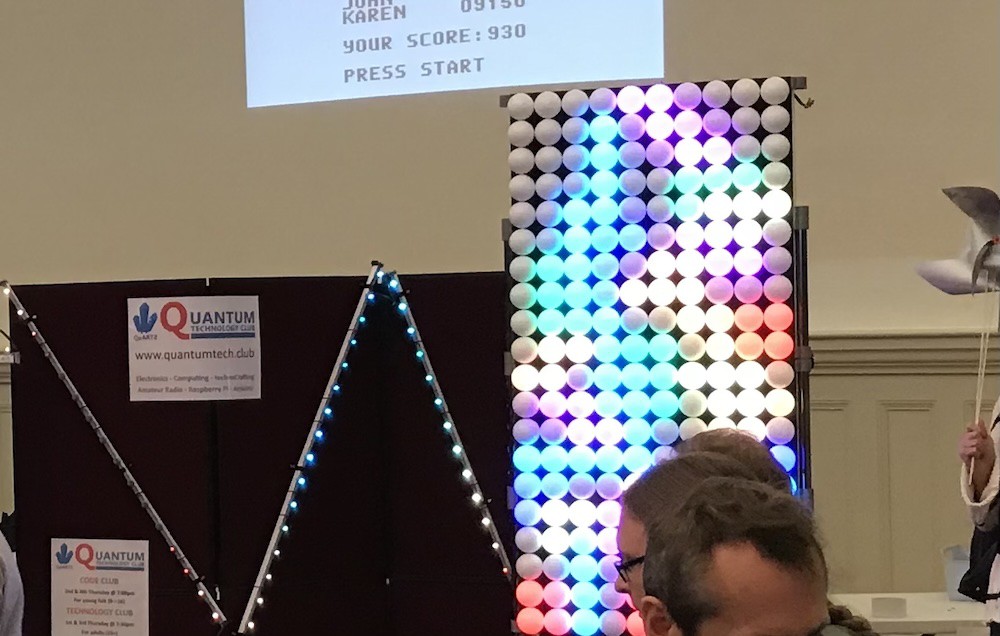
It was made of ping-pong balls, I can't remember whether they were whole or halved, but the actual construction is one of the barriers that has kept this project from getting off the ground.
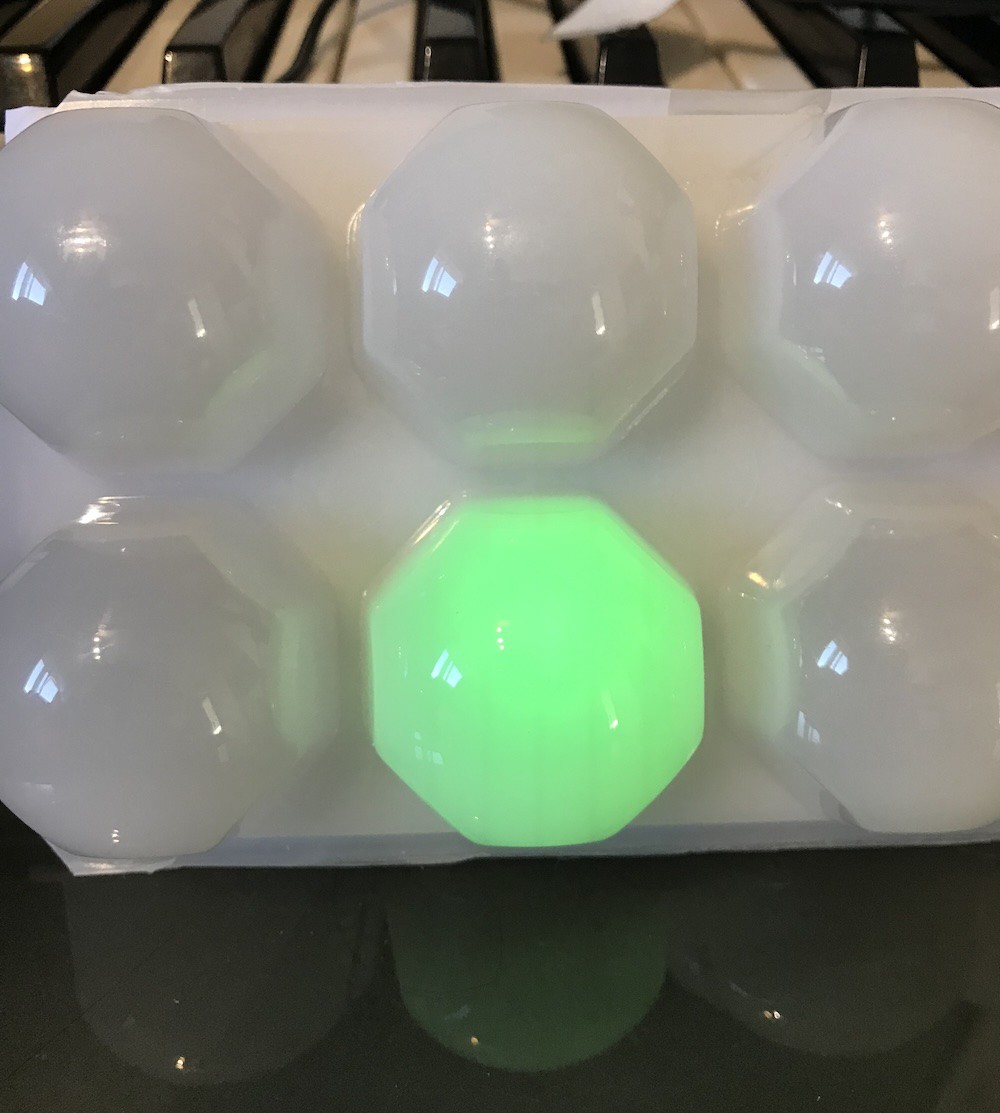
However, in my supermarket this week I found these ice-cube trays.

They were on sale at £2.50 for two. I think they'd be terrible for their intended use because they're made of a rigid plastic, so I can't see how you'd pop out the 'cubes' (more like hemispheres). But they do seem absolutely perfect for my purposes! I love the shape of each bubble, they're spherical but with facets. They're a tiny bit smaller than a ping-pong ball and each tray of 12 is perfectly-spaced. The translucency seems just about perfect.
These trays led to the idea of making this modular. I could make a 12 x 12 display, for example, but later add more to make a landscape or portrait display.
This first part isn't so much difficult as tedious. I toyed around with using strips of stripboard, three tracks wide, to construct sticks of 6 neopixels. Designing a custom pcb also crossed my mind.
But for this first test I simply used ribbon cable.
I marked out the layout on a piece of paper and blu-tacked the pixels into place before wiring them. Each 'stick' of 6 has header pins at each end.

(Apologies for the total lack of colour-coding.)
I then cut a piece of card to size, wrapped in white paper. I used foam pads to stick each pixel to this backplate and used white tape, more to disguise the coloured wires than anything else.

Note that I've zig-zagged the connection between these rows. This will make coding just a bit easier but I'm not sure about the final configuration yet.
I trimmed the lip off the tray, so that modules will butt together with the bubbles at roughly the right spacing.
And wow! If these were designed for this purpose, they couldn't have been designed better.
Here's a quick video of a simple animation.
It took quite a while to make this first module. I'm sure the rest will be a little quicker, but I've still got a lot of work to do to complete 11 more. (I've also got my fingers crossed that the store will have 6 more the next time I visit because I only picked up half a dozen initially.)
Discussions
Become a Hackaday.io Member
Create an account to leave a comment. Already have an account? Log In.