 gokux
gokuxIntro
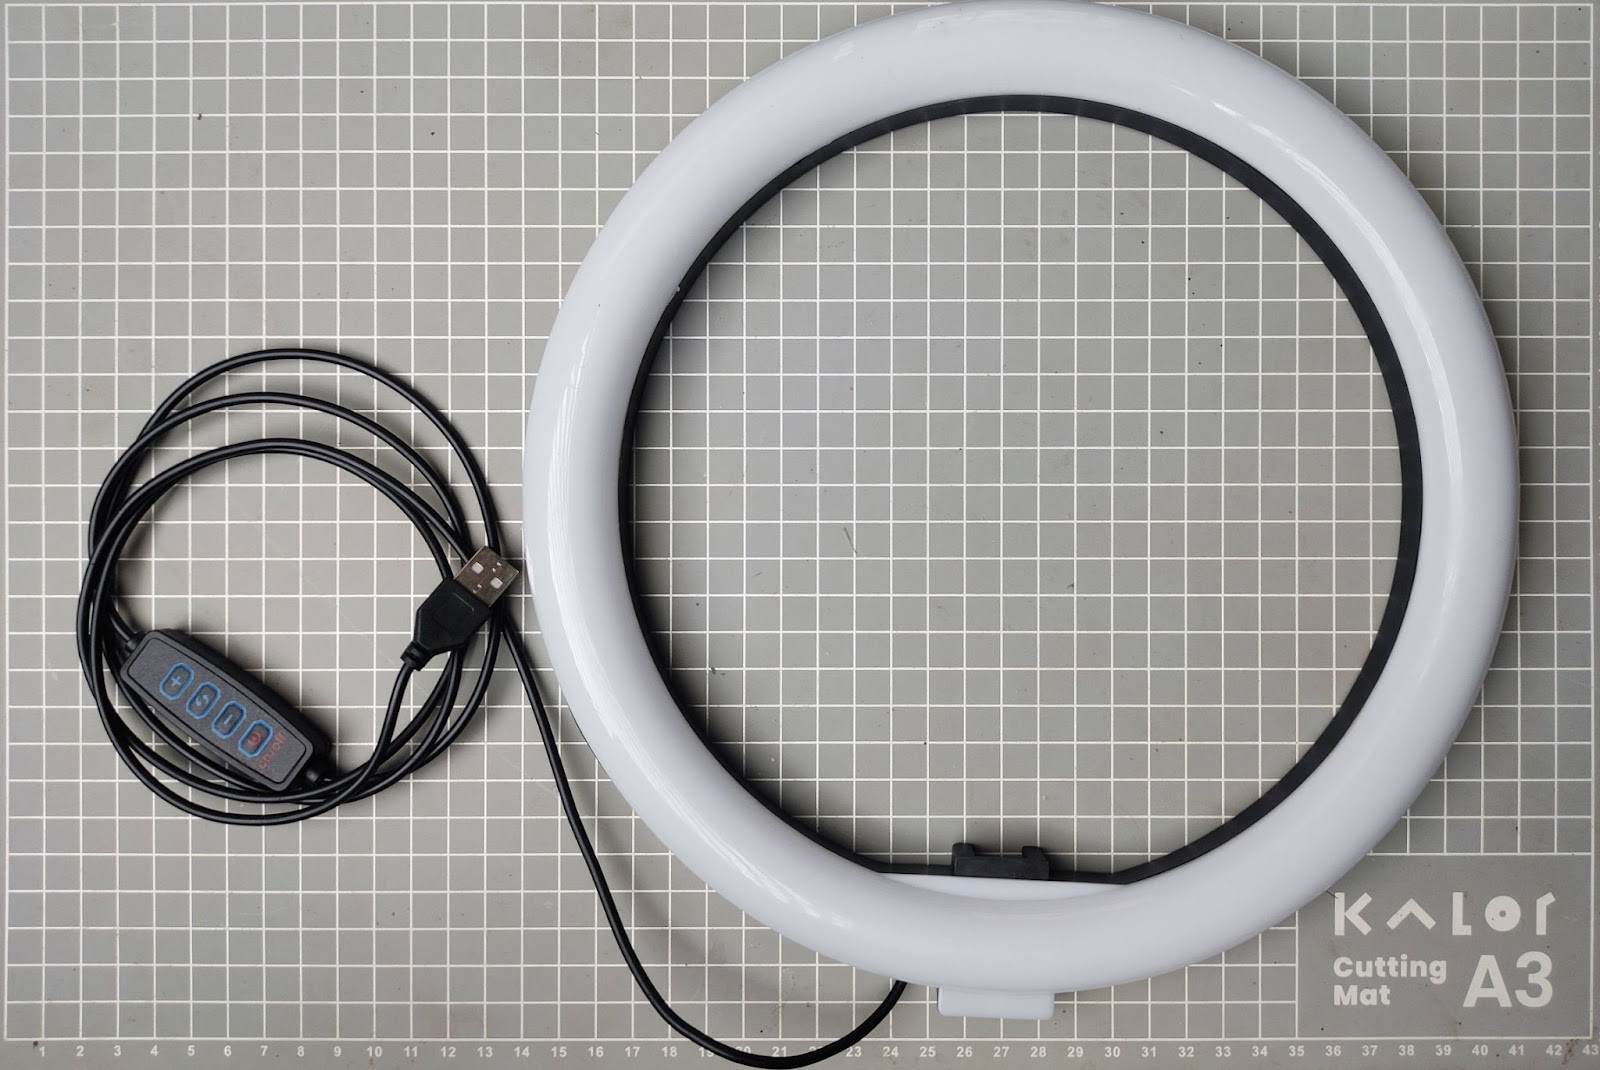
I bought a ring light to take photos of my Instructables projects, but later on, I decided to purchase a professional video light. I have been using this light as a working light, but one day, while it was on, I noticed smoke coming from its control circuit. The light is malfunctioning, so I will fix it and add a wireless control function. This way, I won't have to reach for the controller whenever I want to adjust the brightness. I will guide you through fixing the light and adding the wireless control function. Let's get started!
Supplies
Parts used for modification
- Seeed Studio XIAO ESP32C3
- 2*IRLZ44N
- 2*10 resisters
- Double Sided Protoboard Breadboard 3x7 cm
- Replacement LED
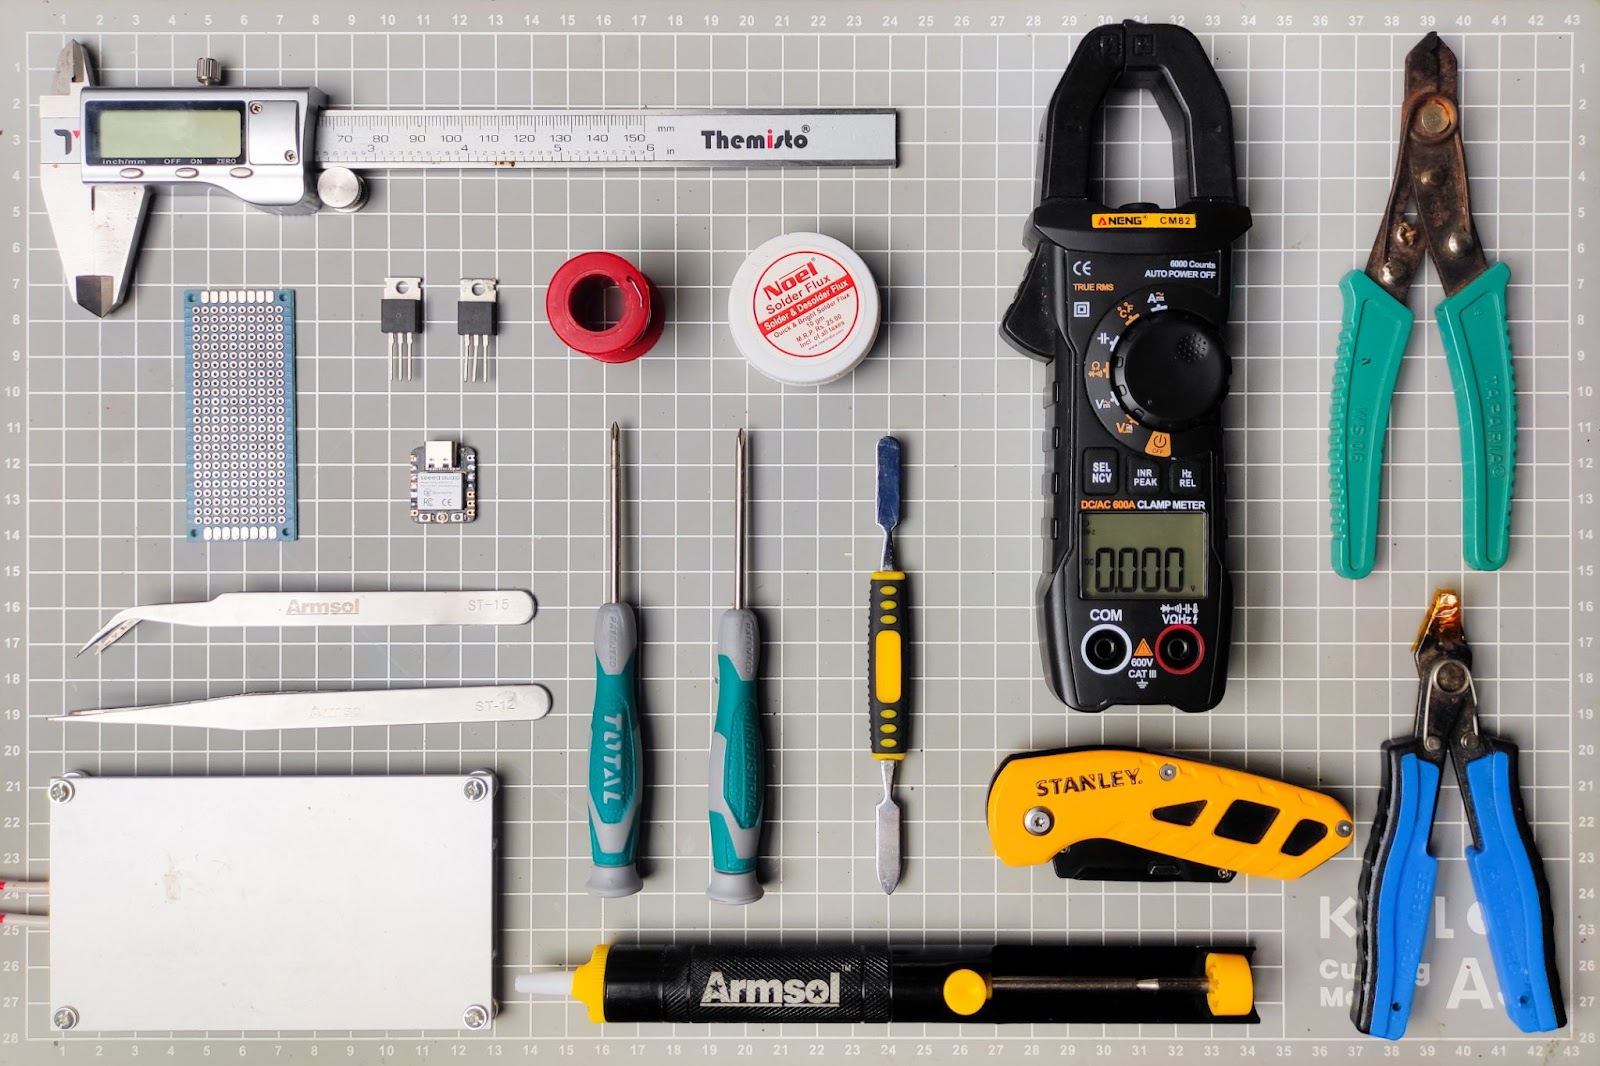
Tools
- Dual Ends Metal Pry Bar Crowbar Kit
- Soldering iron kit
- Kapton tape
- PTC Heating Plate
- Adjustable DC Power Supply
- Tweezers
- Screwdriver set
Step 1: diagnostics of the control circuit
First of all, we need to know what happened here, also it is good to understand why it is damaged. We can take precautions to prevent it from happening again.
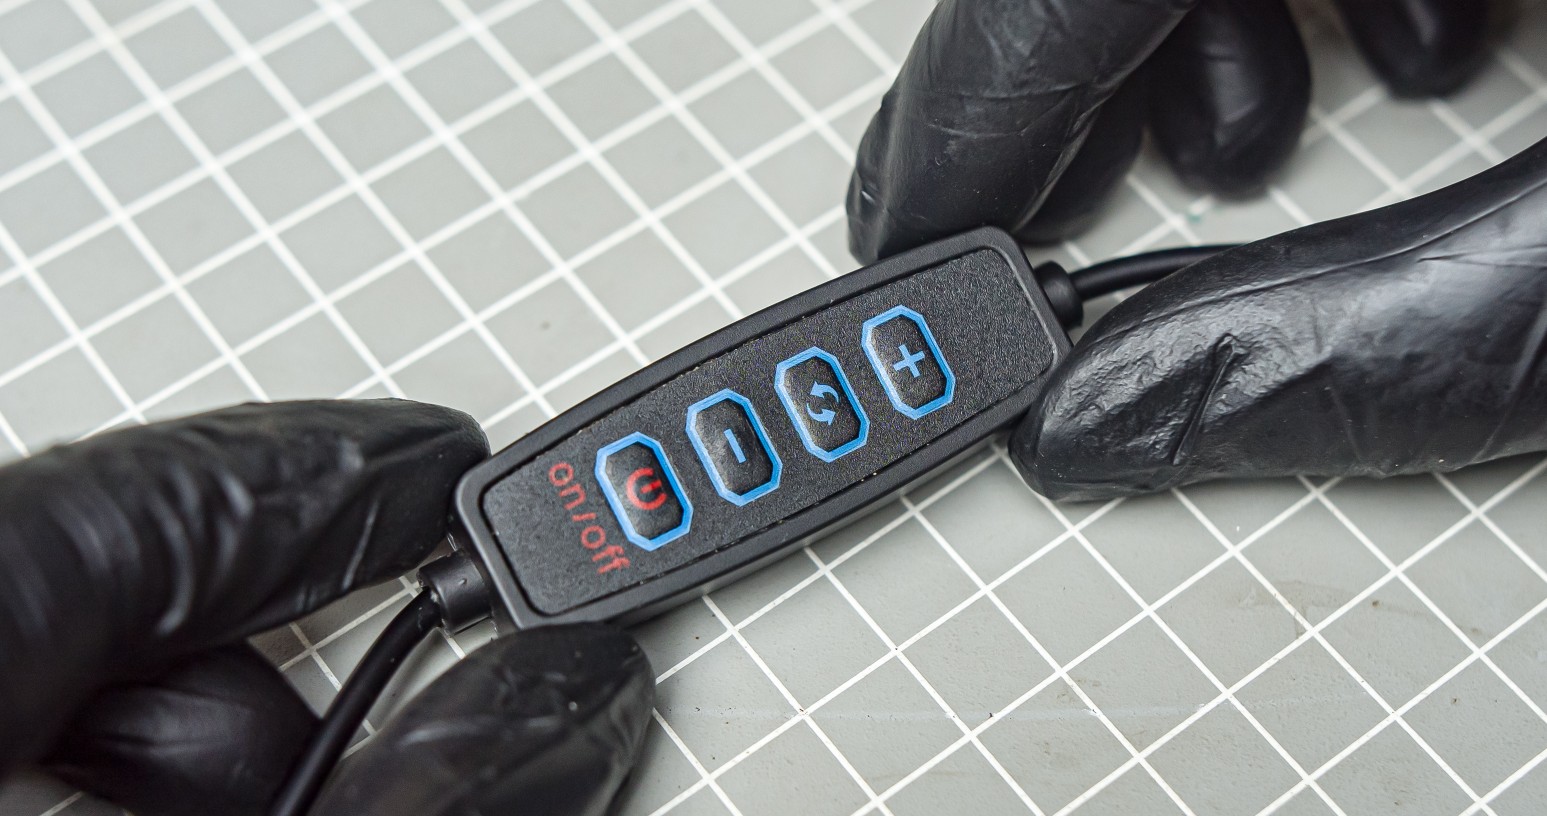
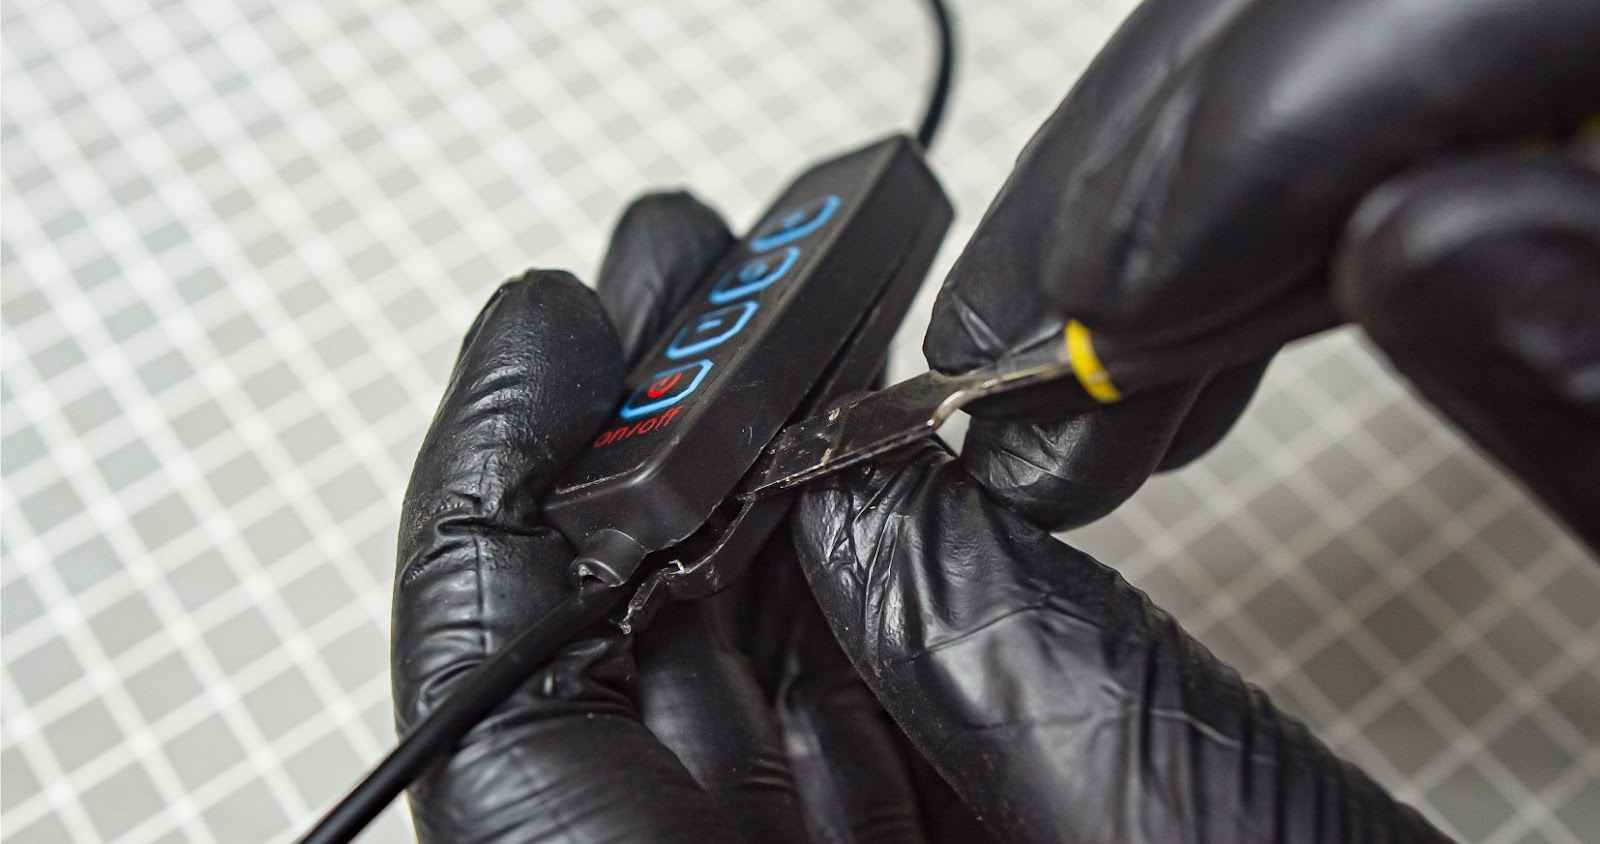
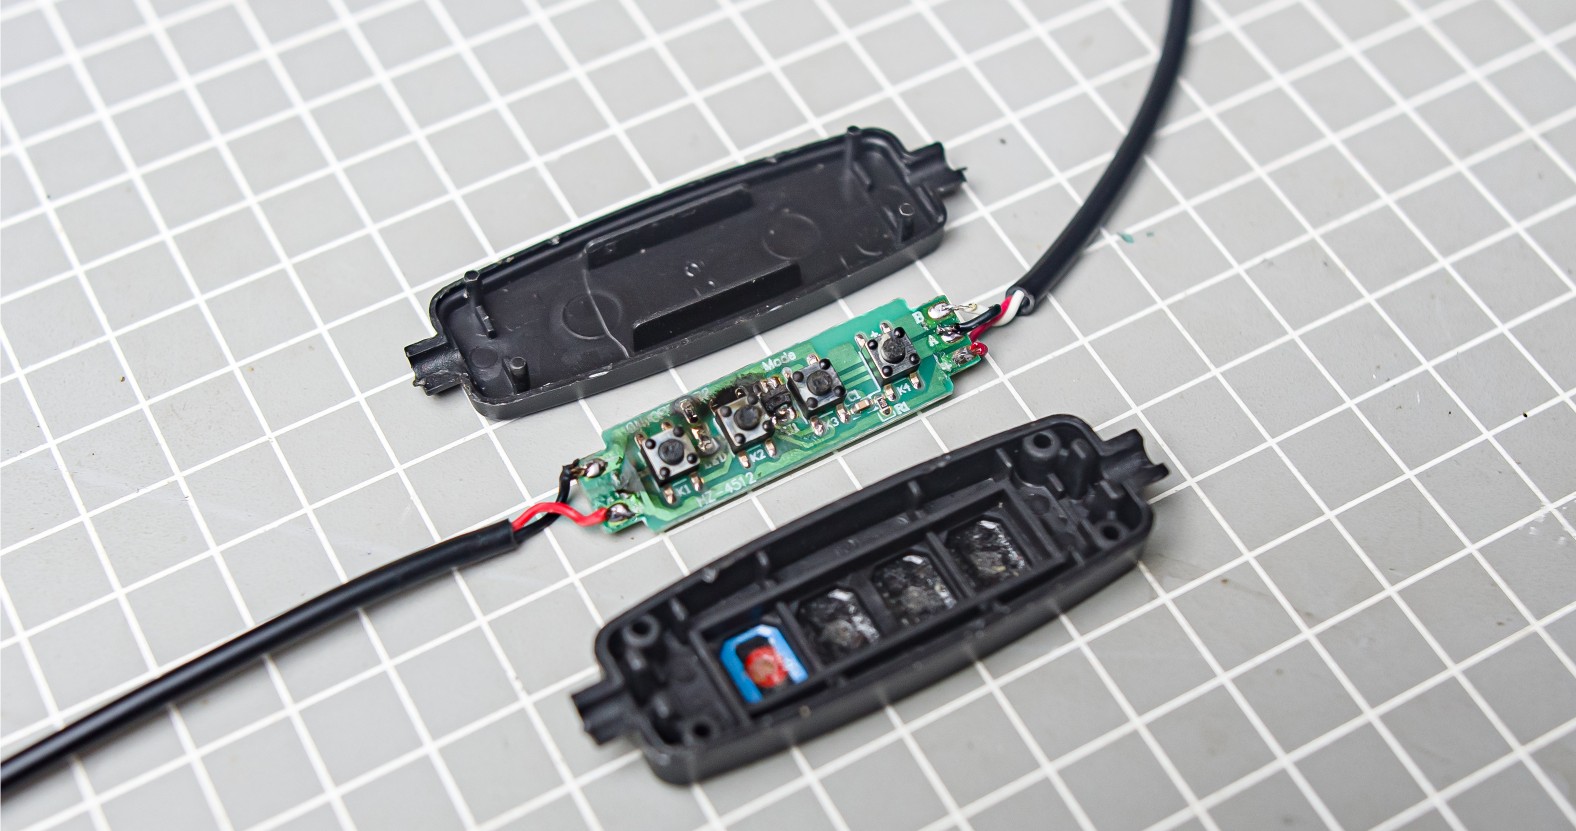
Let’s start the process by opening it
Step 1:1
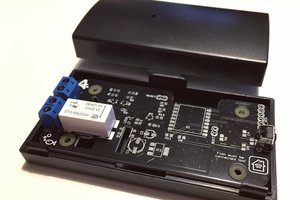
First, open its control circuit. it doesn’t use any screws so we can open it with a flat screwdriver or par bar tool
Step 1:2
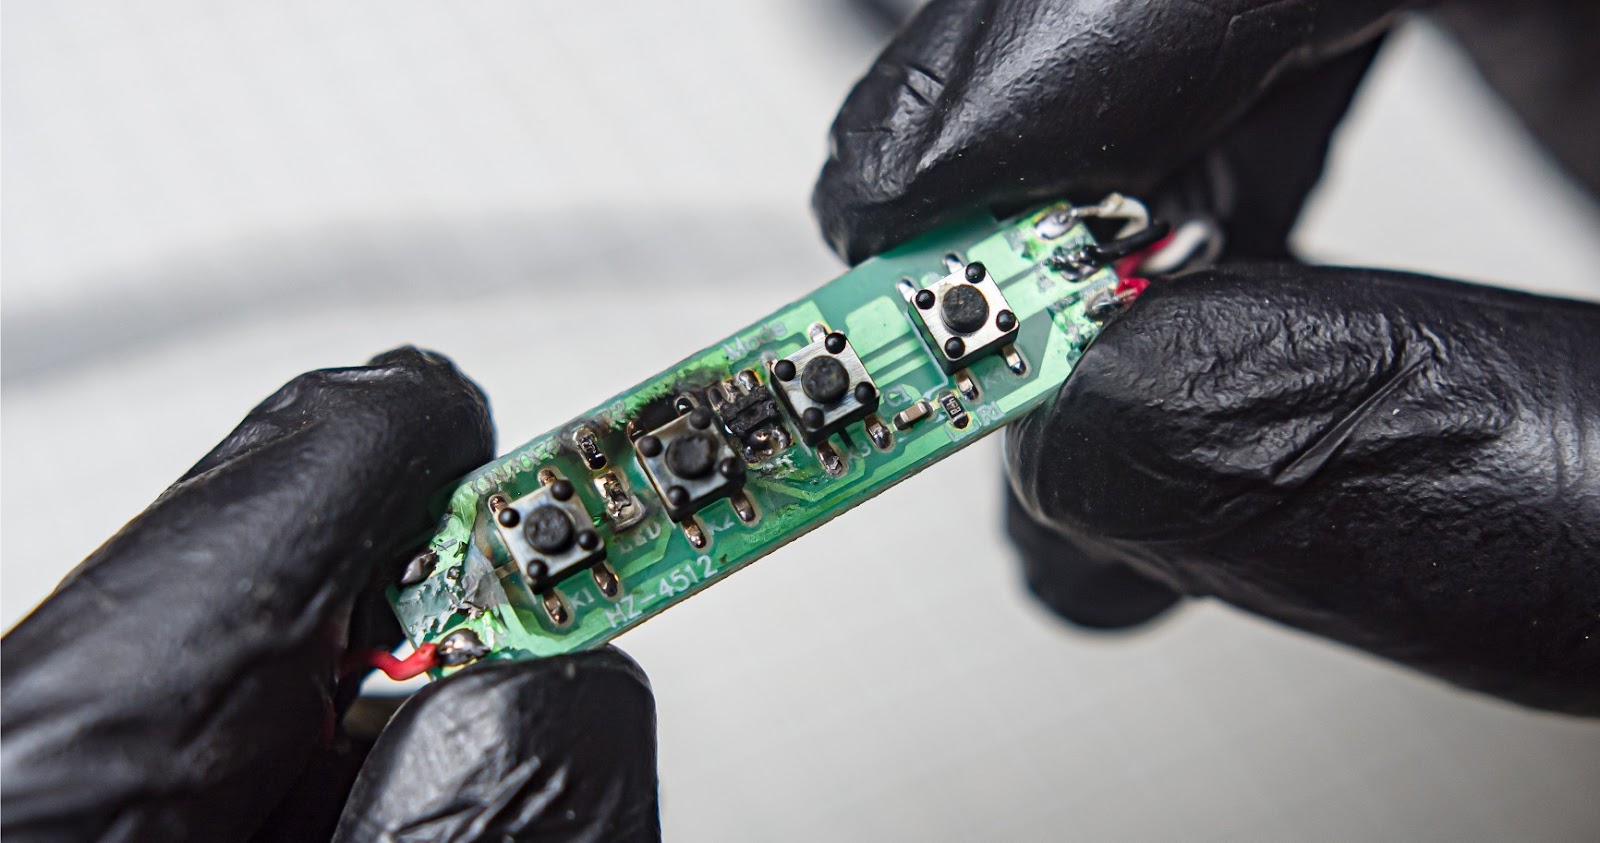
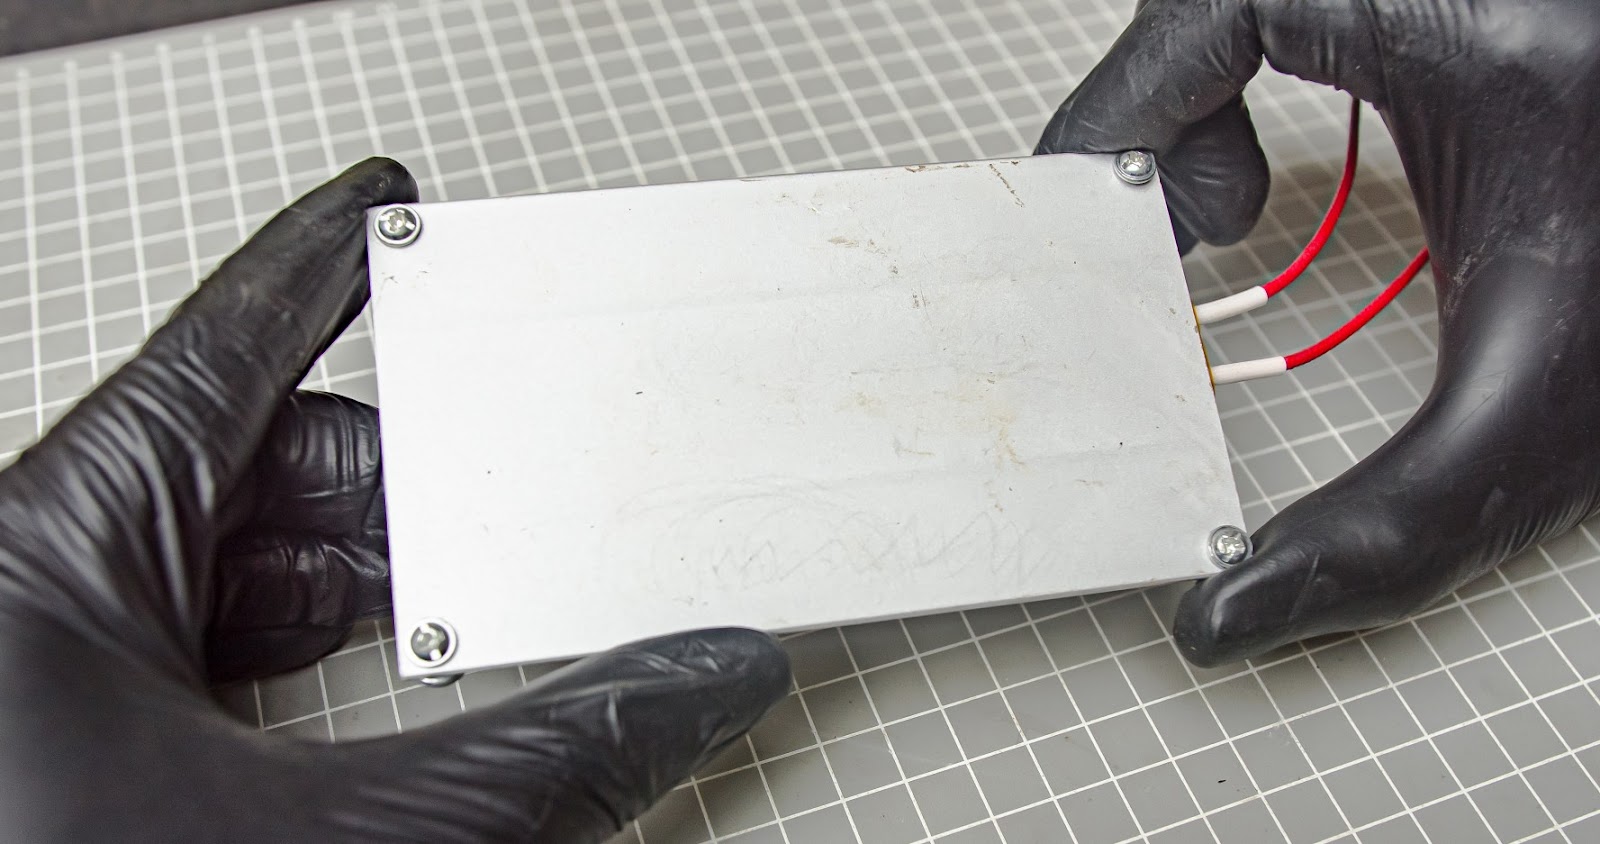
Let's examine the circuit board more closely. It seems like there was some kind of fireworks display happening here 😂. The circuit contains only one main chip, which has burnt out, along with the resistors. I tried searching online for some PCB photos and teardowns, but I couldn't find anything about replacement parts. Regardless, we are going to rebuild the entire LED control circuit.
Step 1:3
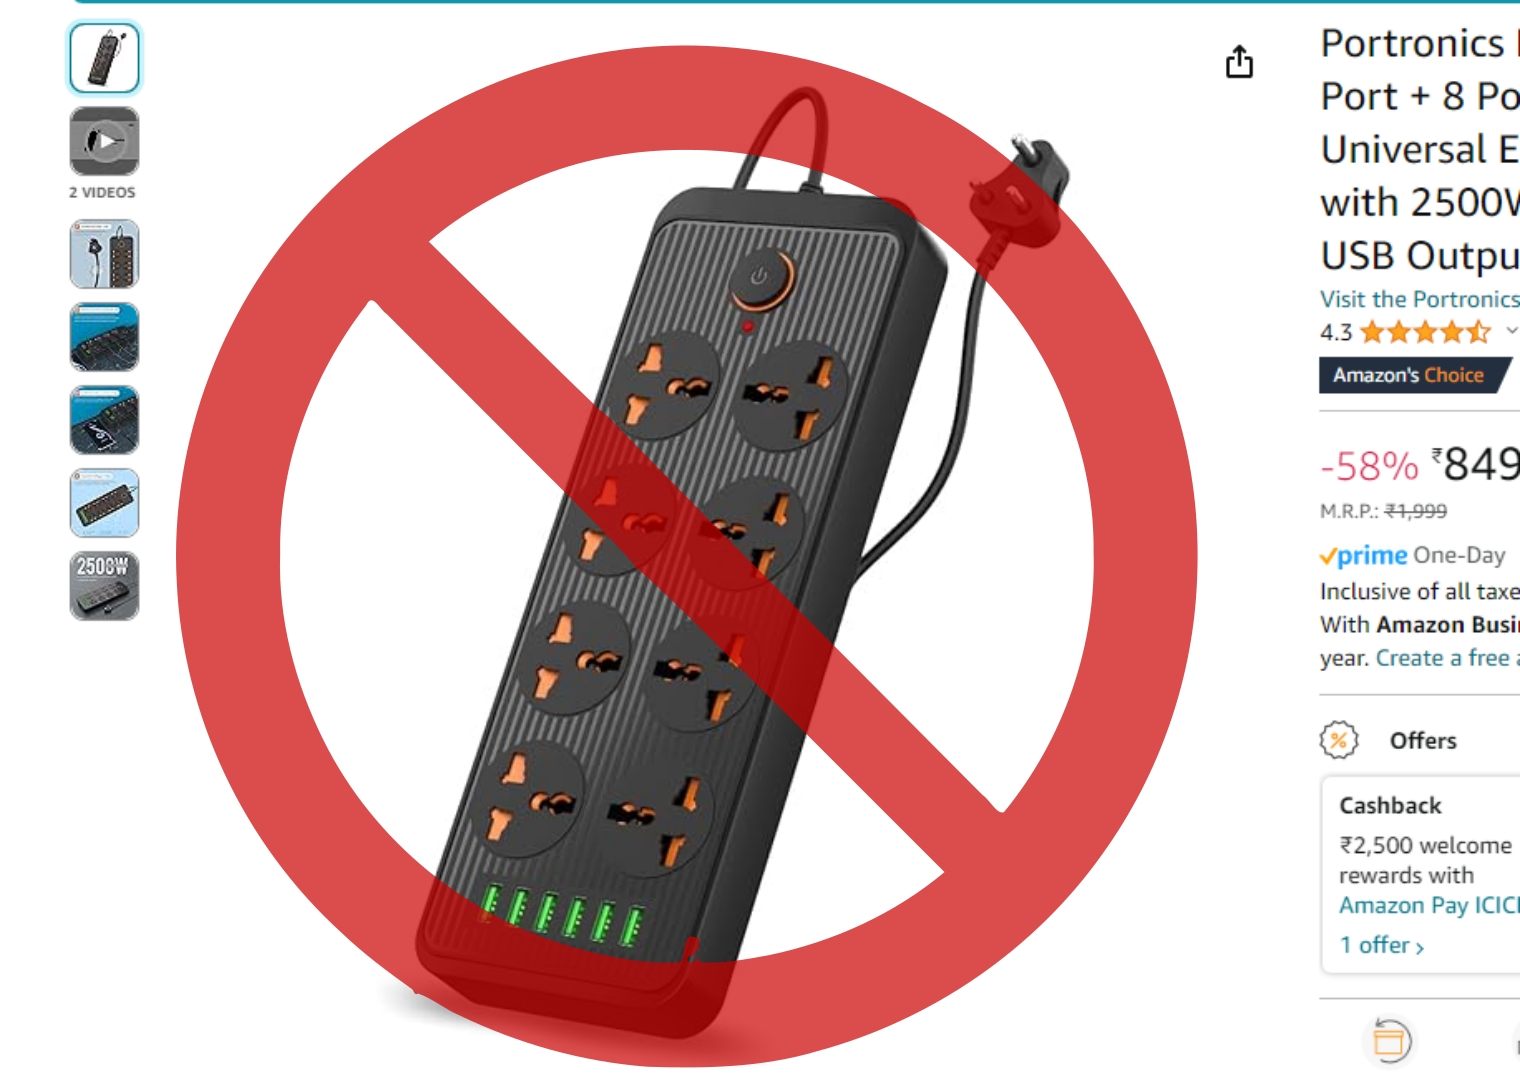
I think we should analyze why the issue occurred. In my opinion, the main reason is the poor quality USB power supply that I used. It came with the extension board I used, and it can cause high voltage peaks that may damage the connected electronics. Therefore, the best precautionary measure is to avoid using untrusted power supplies.
Step 2: diagnostics LED panel
We need to ensure our LEDs are functioning properly, in addition to fixing the issue with our control circuit.
Step 2:1
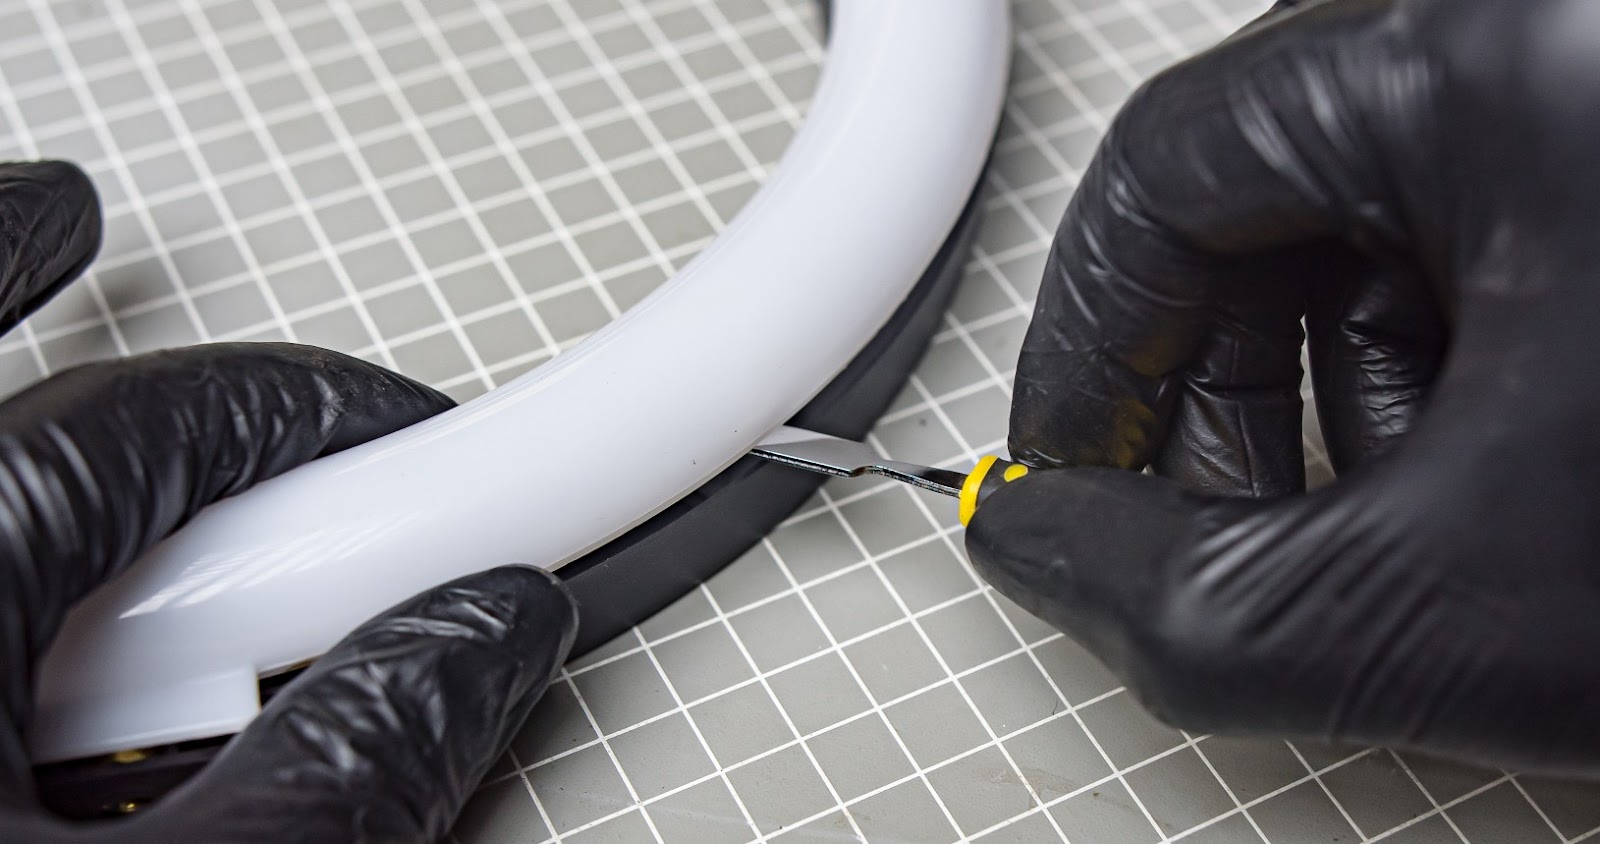
To open the front diffuser of the ring light, use a pry bar tool.
Step 2:2
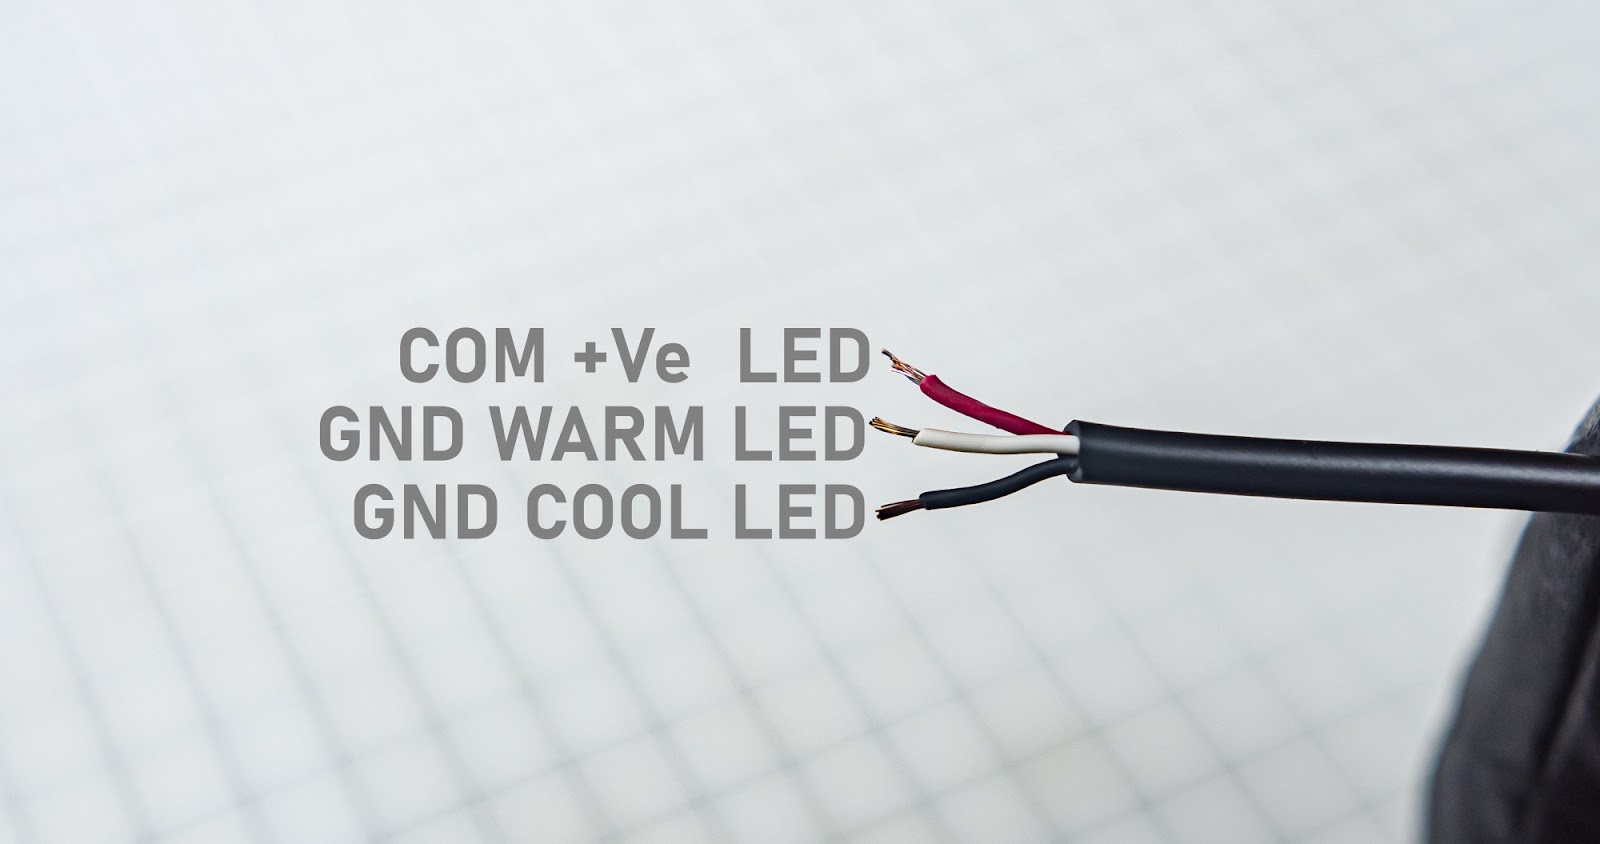
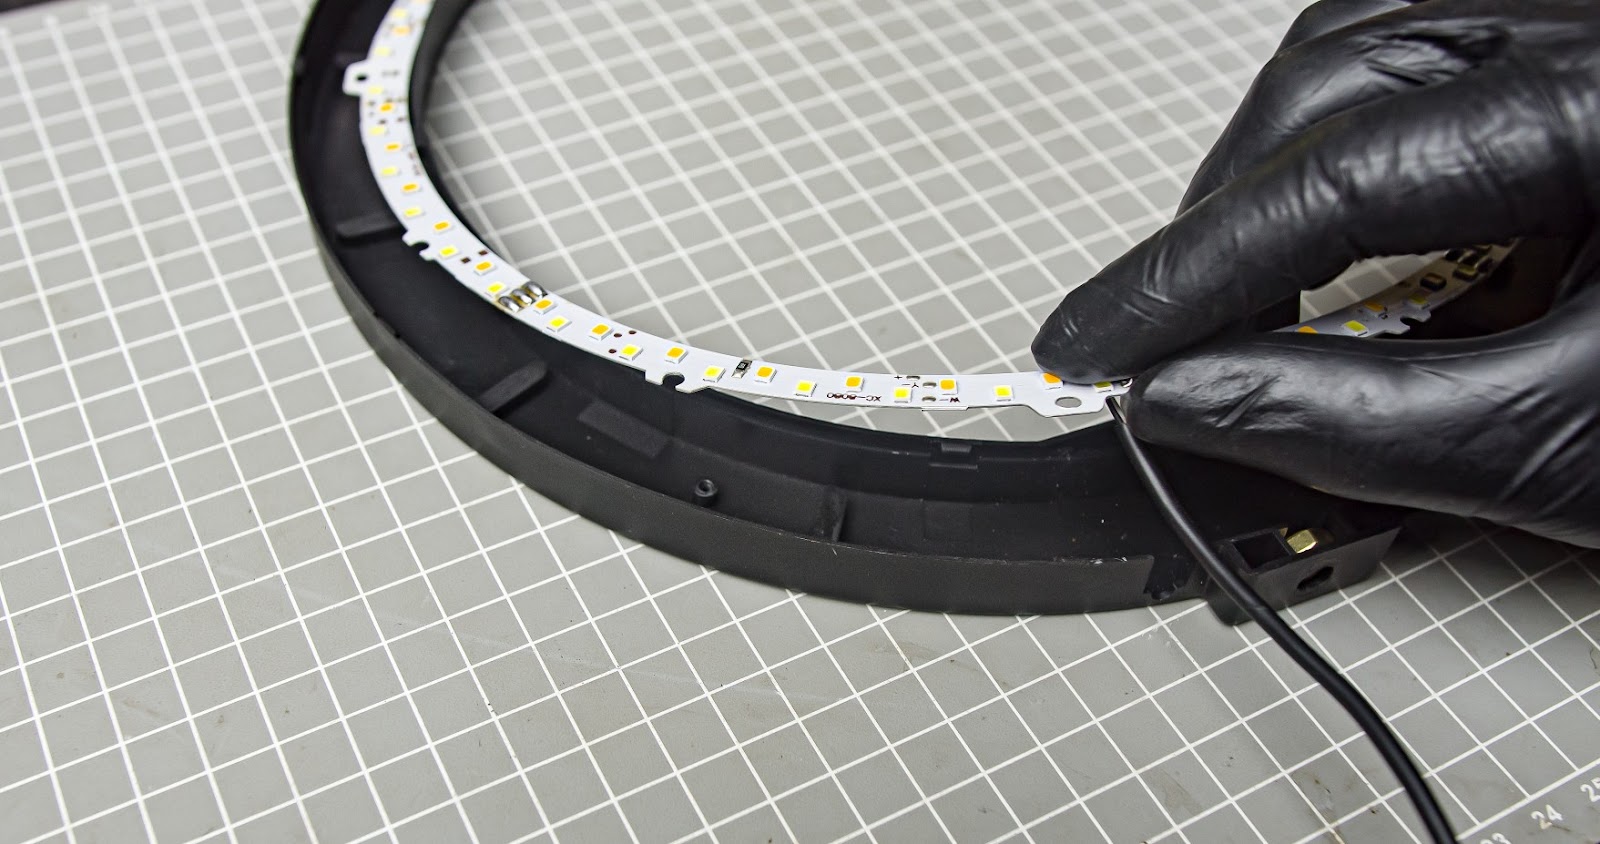
Now, we need to power up the LEDs and check if all of them work. We have 3 wires going into the LED.
- Common ground
- Warm LED
- Cool LED
Desolder the wires from the PCB
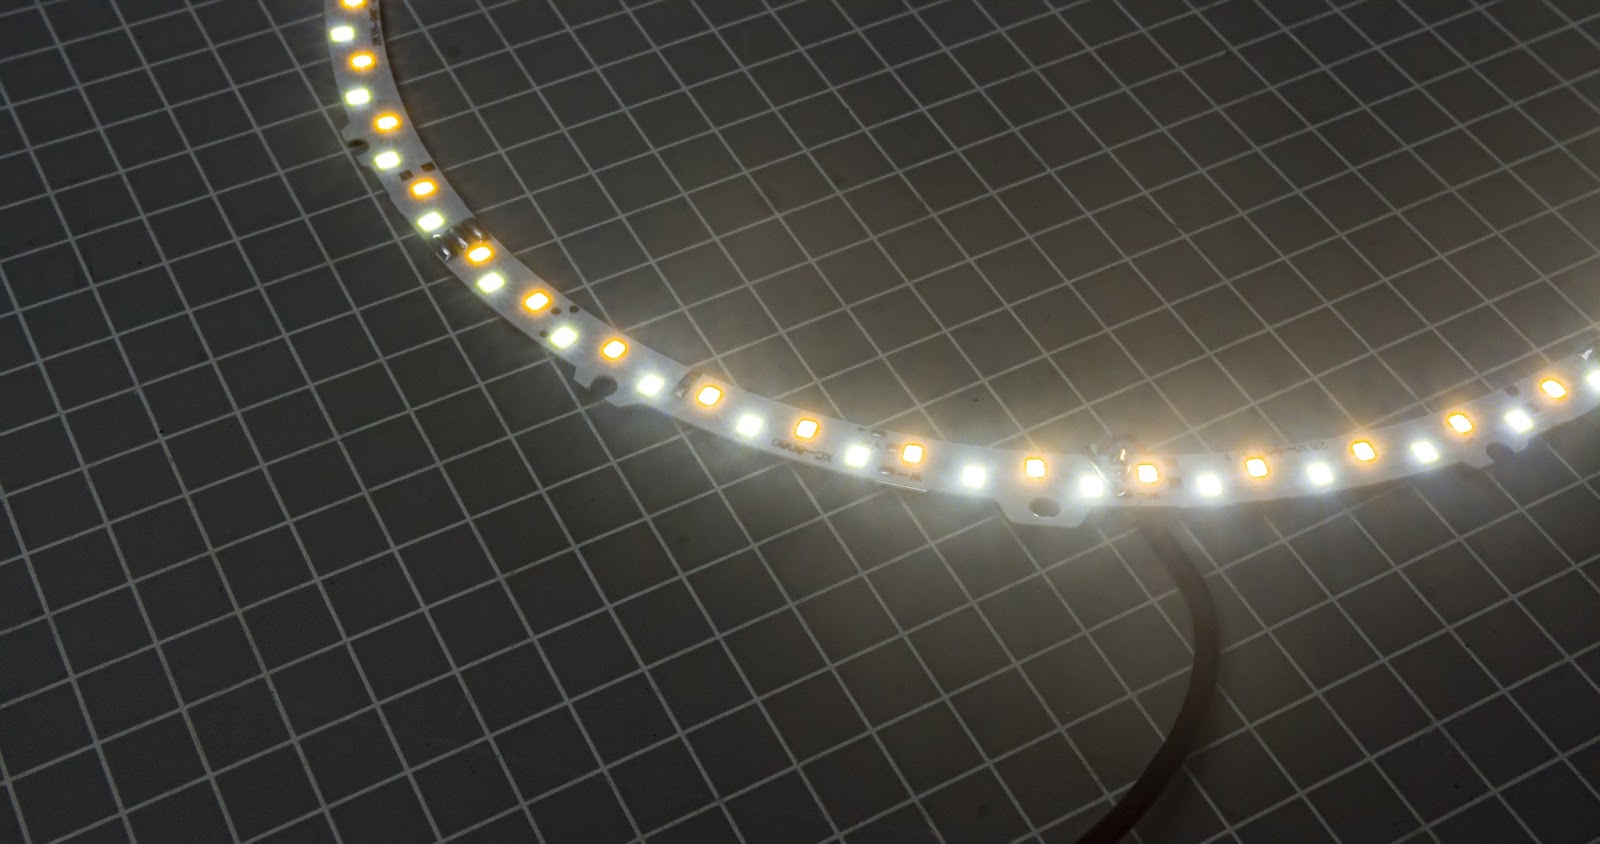
We need to power it up with a 3.3V source and check that all LEDs are lit.
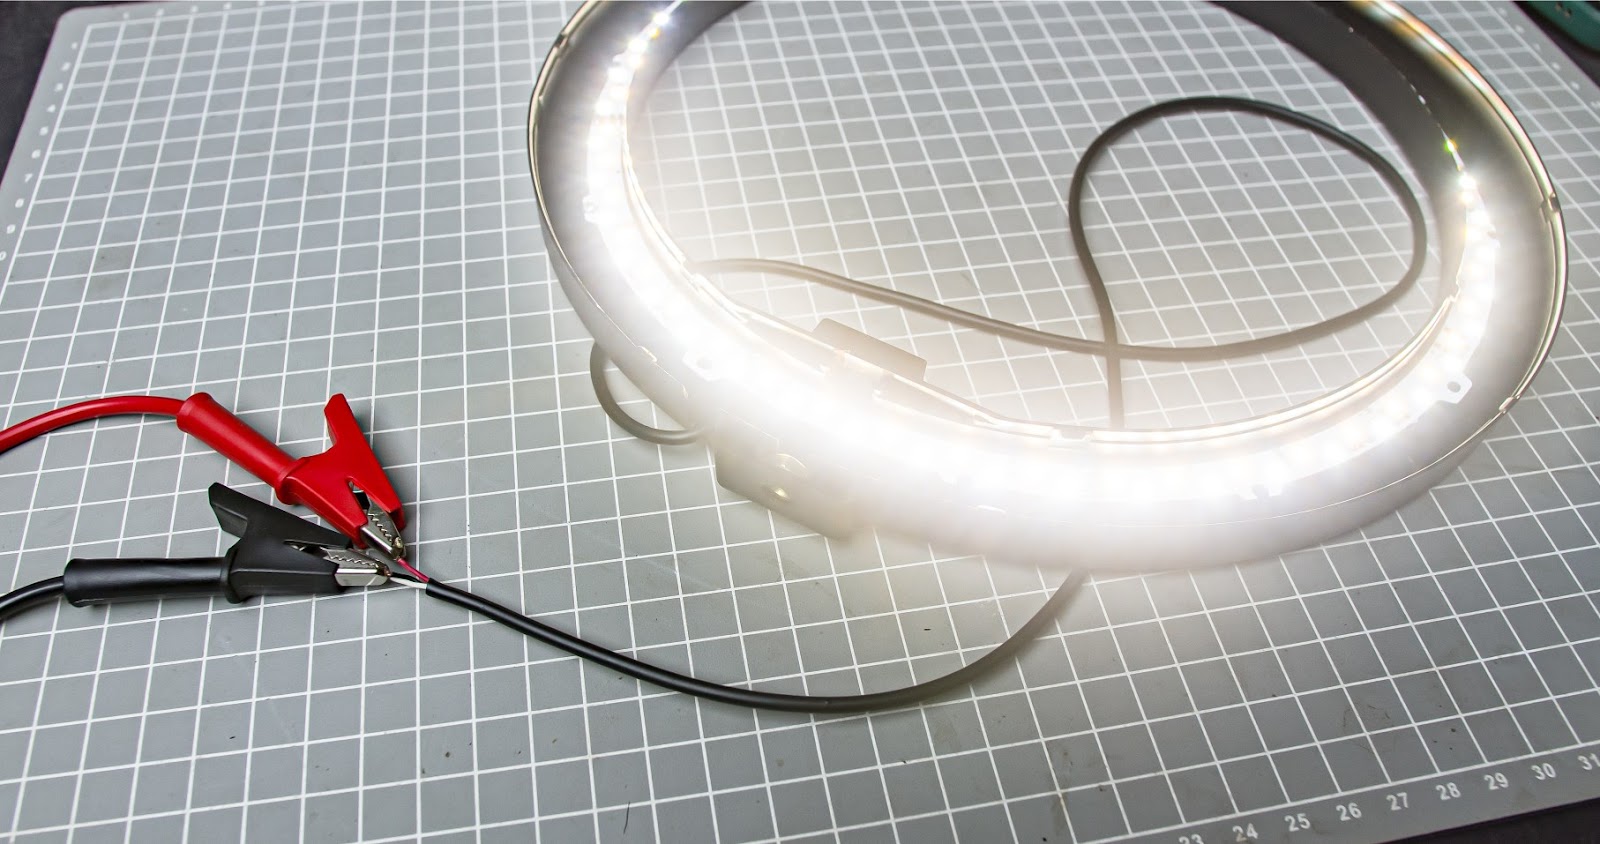
For me all LEDs are fine. what if you have any problem with your LEDs, how to replace it? I will show you in the next step
Step 3: How to do the LED replacement
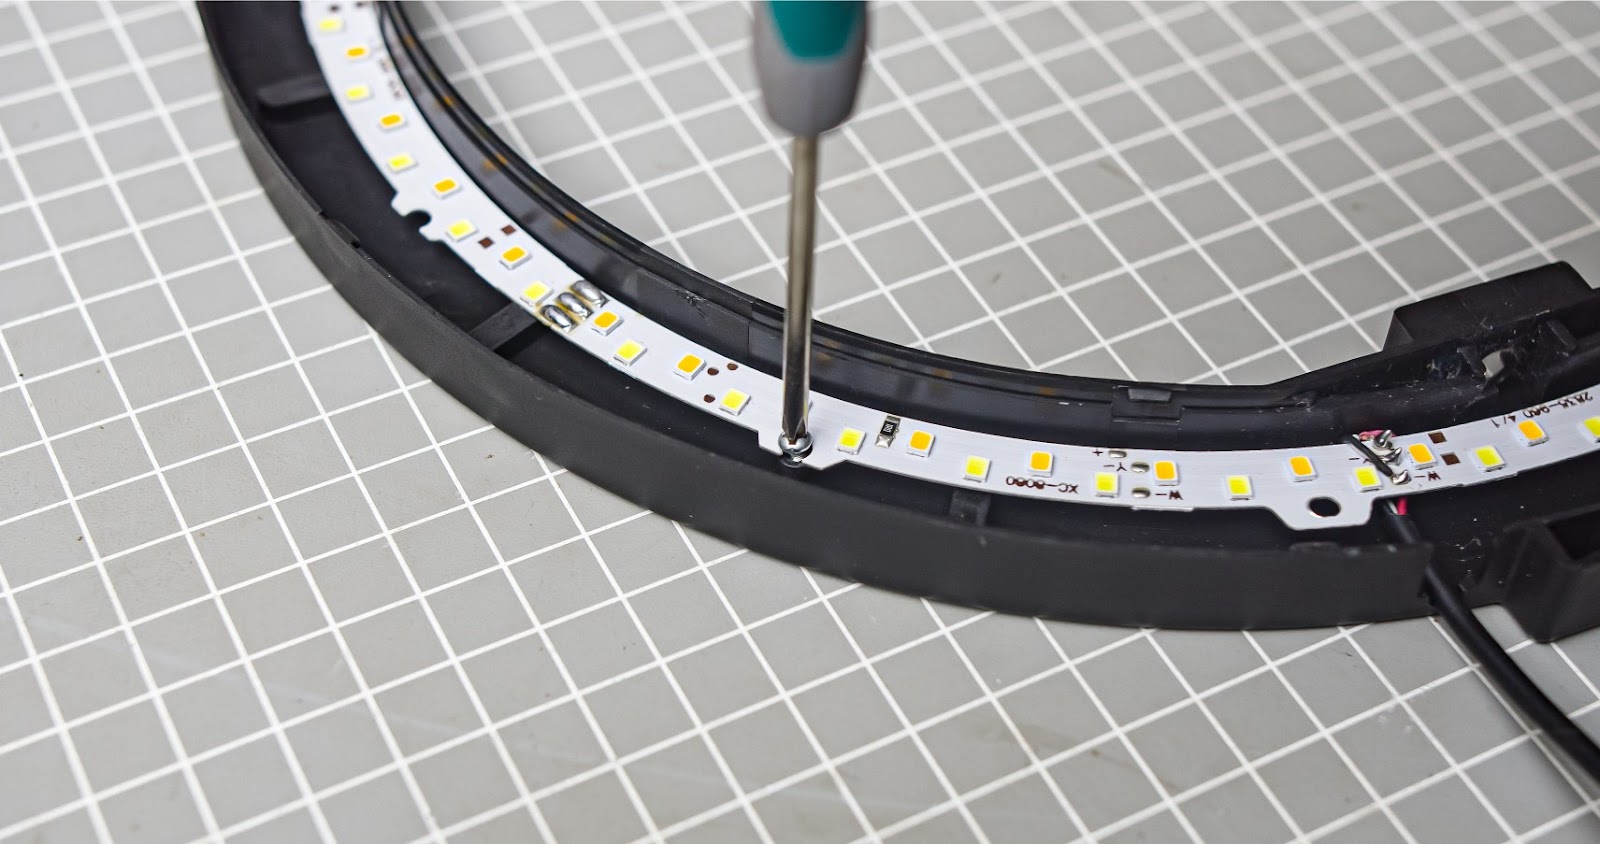
Step 3.1
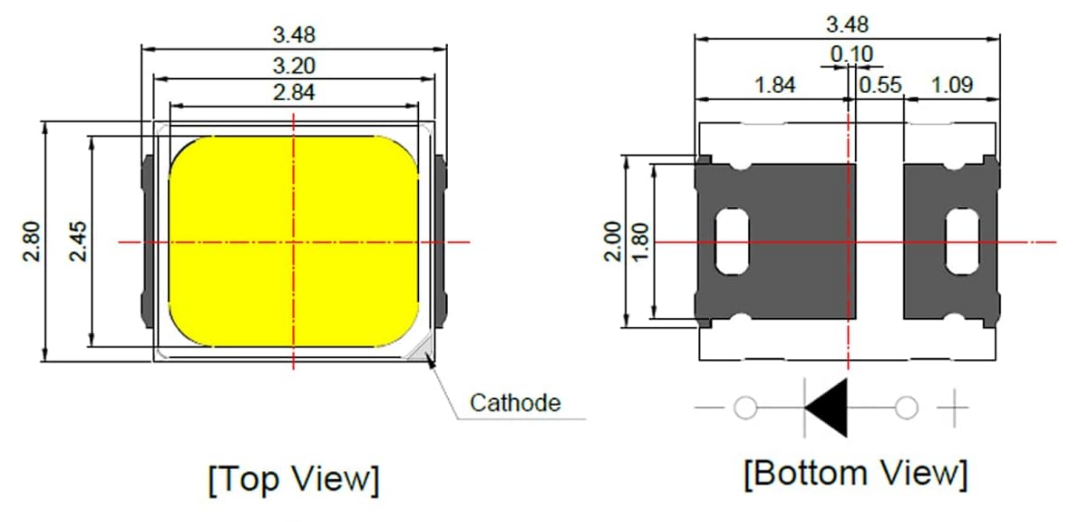
Remove the screws that hold the LED panel in place, and then carefully take out the LED PCB. If you need replacement LEDs,2835 SMD LEDs are used here and have two temperature types.
link to buy this
https://www.ebay.com/itm/334388611835
Step 3.2
There are two ways to replace the LEDs
- With PTC Heating Plate
- With soldering iron
It is not recommended for inexperienced users to use a hot air rework station as it can damage the LEDs. The other two methods mentioned are easier to perform compared to hot air.
Method 1: PTC Heating Plate
Connect your heating plate to the mains voltage, wait for it to heat up and place the PCB on top of it. Use something to hold the PCB in place. and use a tweezer to remove defective LEDs
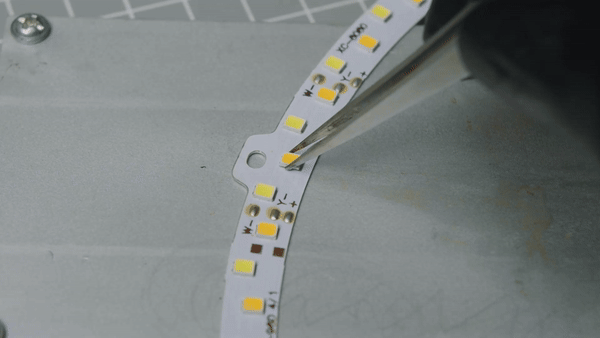
Now take one working LED and plate it on top of the soldering pad
[pcb on the hot plate placing a new LED]
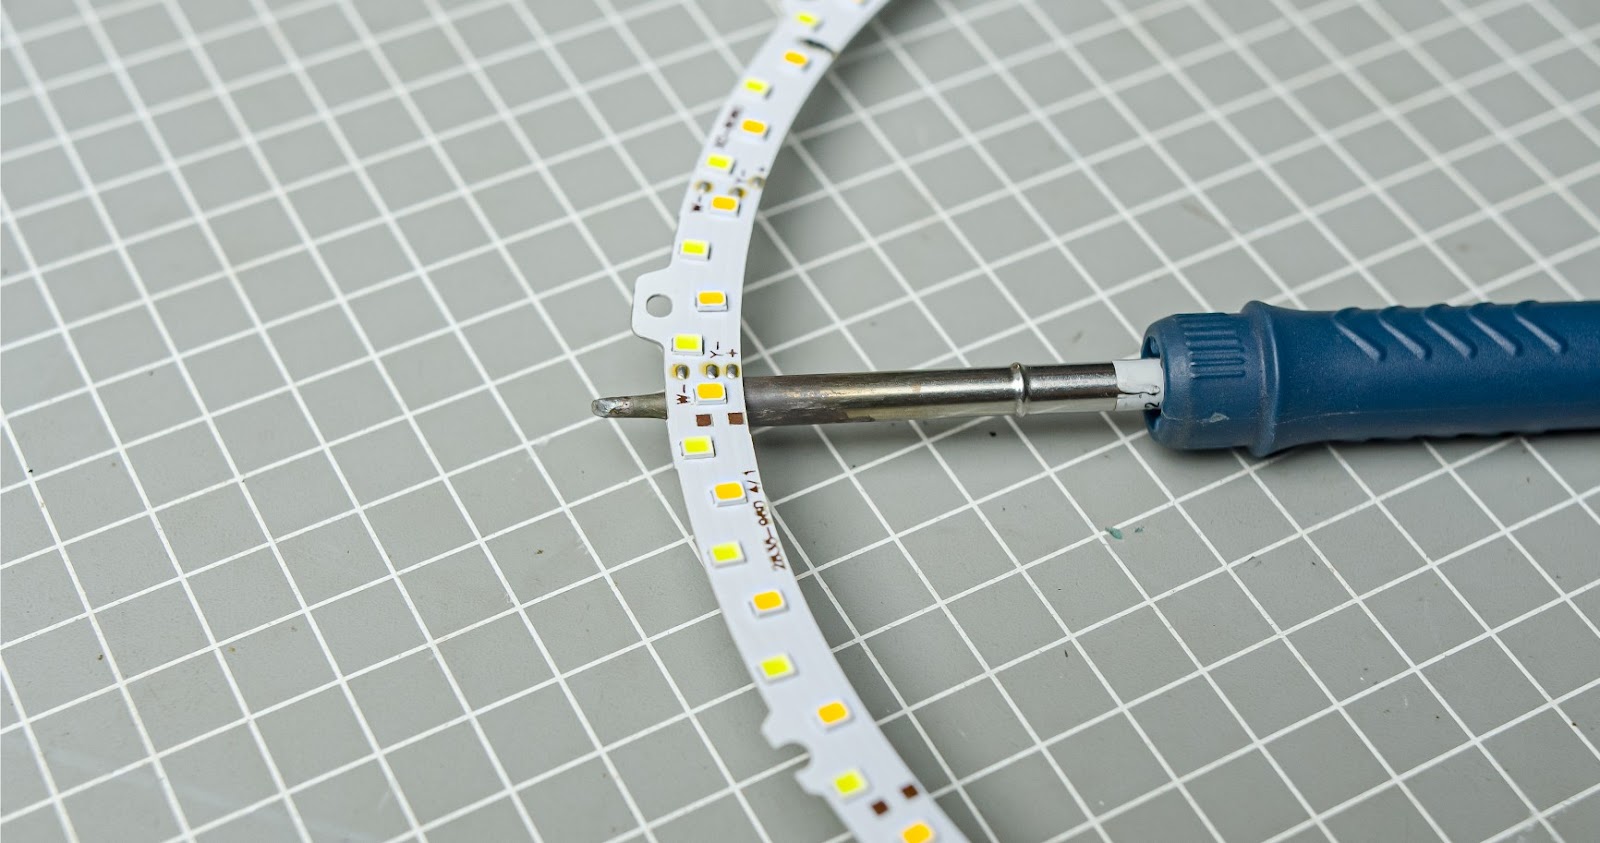
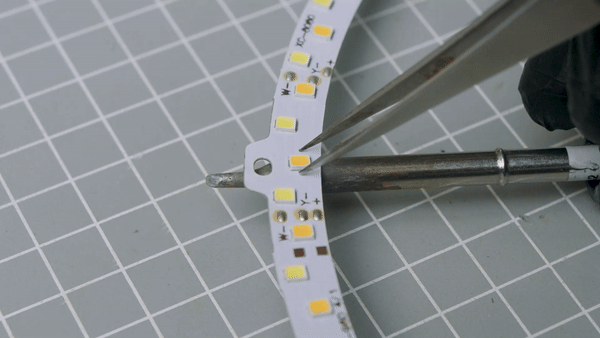
Method 2: Soldering Iron
If you don't have a heating plate, a soldering iron should be enough. We can heat the PCB by placing it on top of the soldering iron. Place something in the tip of the soldering iron for support.
Step 3.3
After this replacement power the LEDs and check if all the LEDs are working fine
Step 3.4
Now screw the led pcb back into the enclosure and put...
Read more »
 Arkadi
 DIY GUY Chris
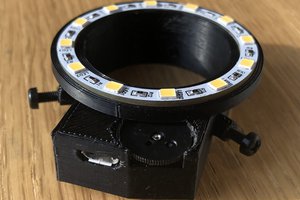
 Arno Moonen