 E/S Pronk
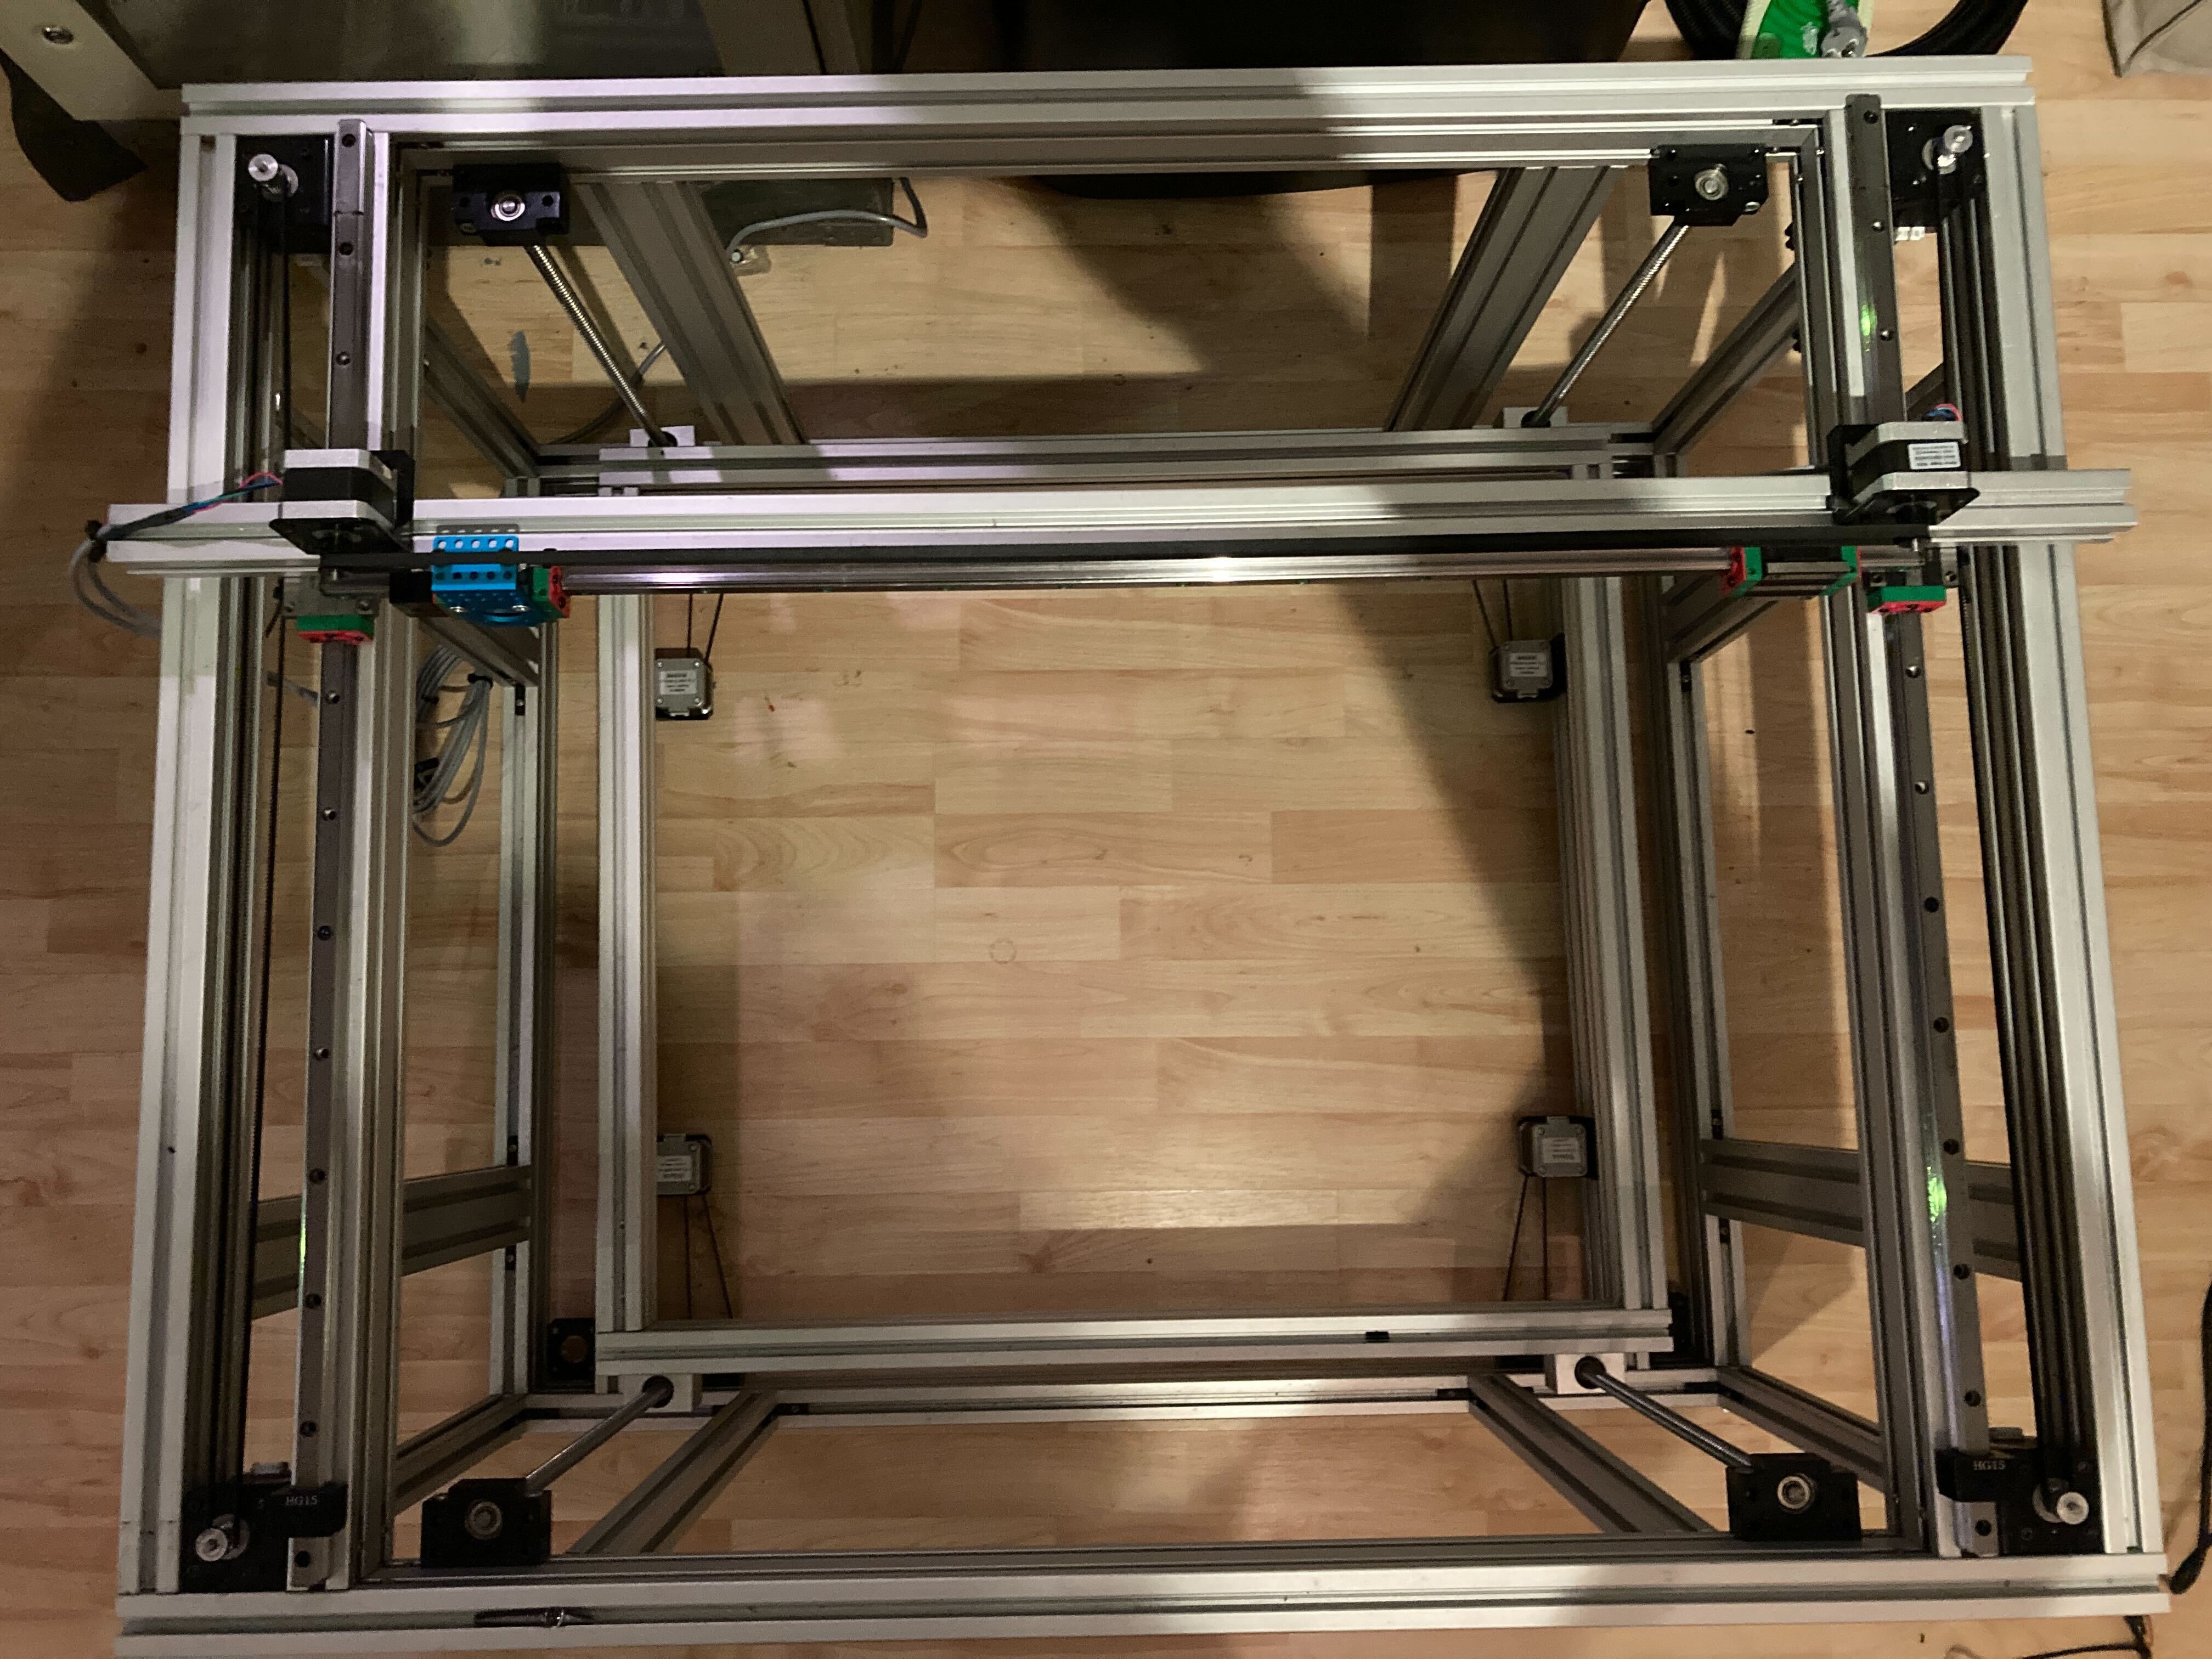
I improvised a frame out of leftover 3030 / 3060 aluminium extrusion profiles. It measures about 1000 x 800 x 800, and the print volume should be about 600^3.

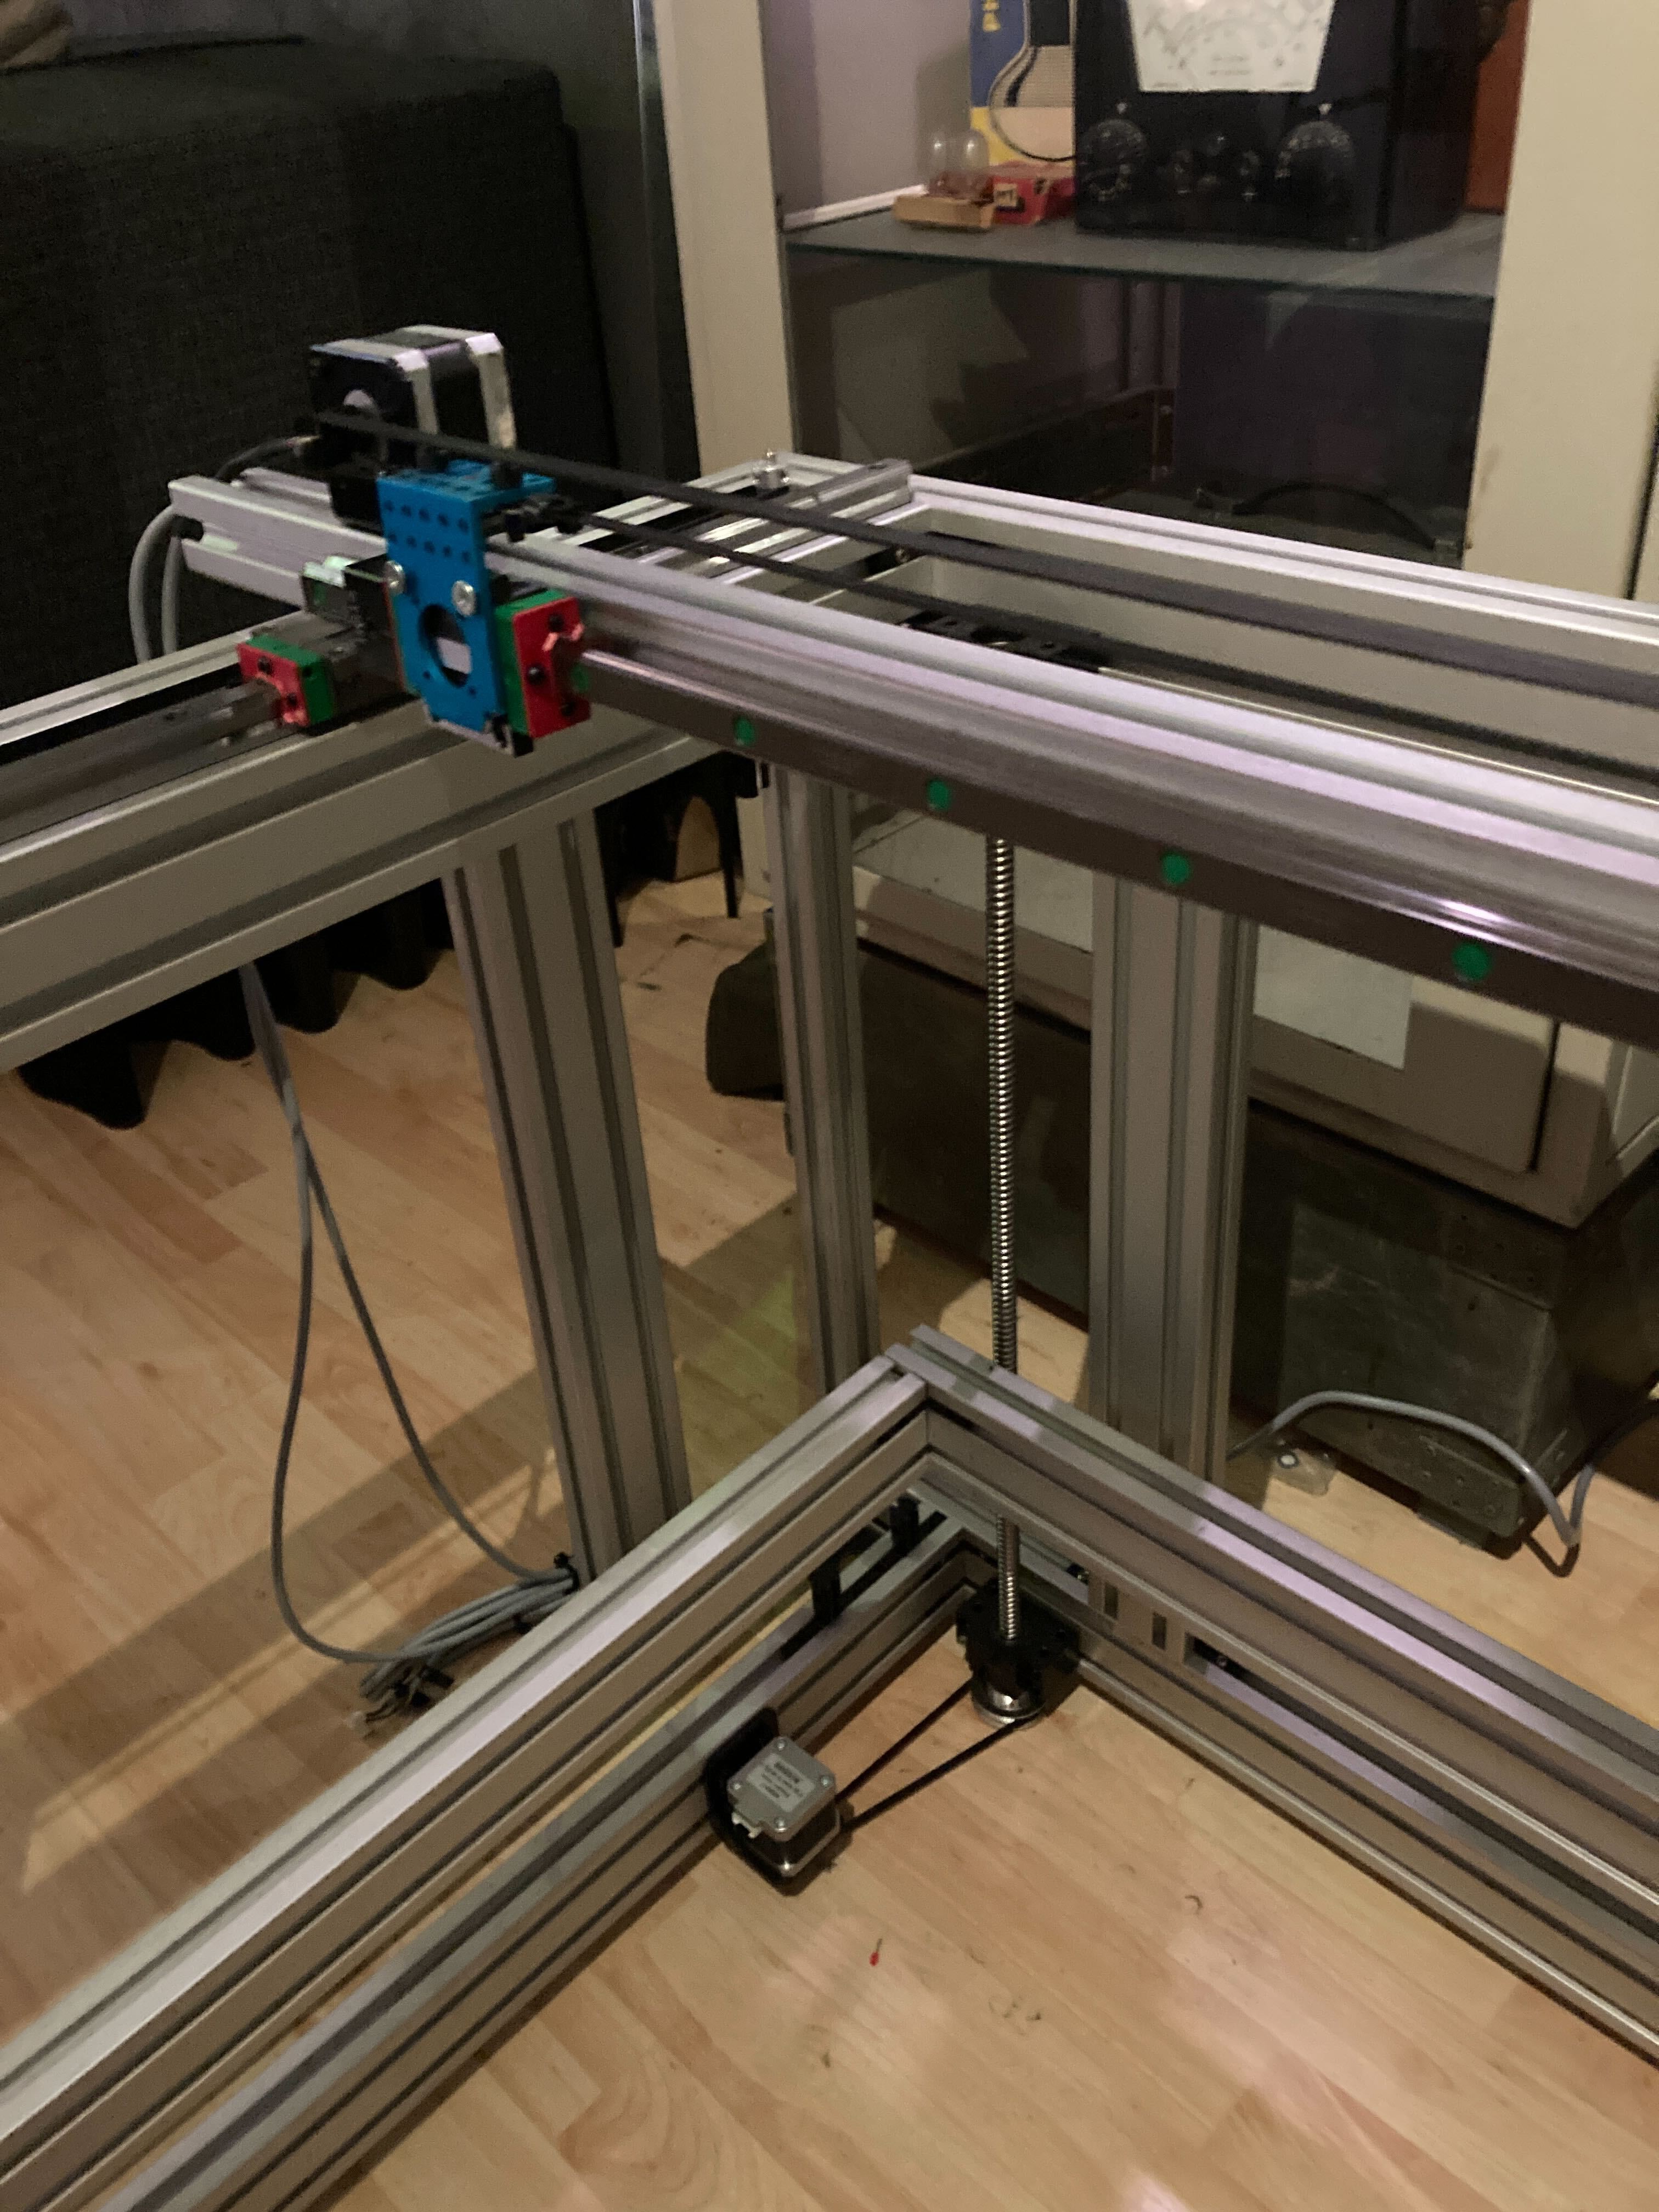
I've put 4 motors on the Z axis, which connect to ball screws. They don't have any linear guidance and I'm kind of hoping that for the initial couple of prints (which will have a limited height) it doesn't really matter and the rigidity of the screws near the top to be enough to keep the print bed in place. Each motor is driven by its own controller so that I can do "Z-Tilt" bed calibration in Klipper.
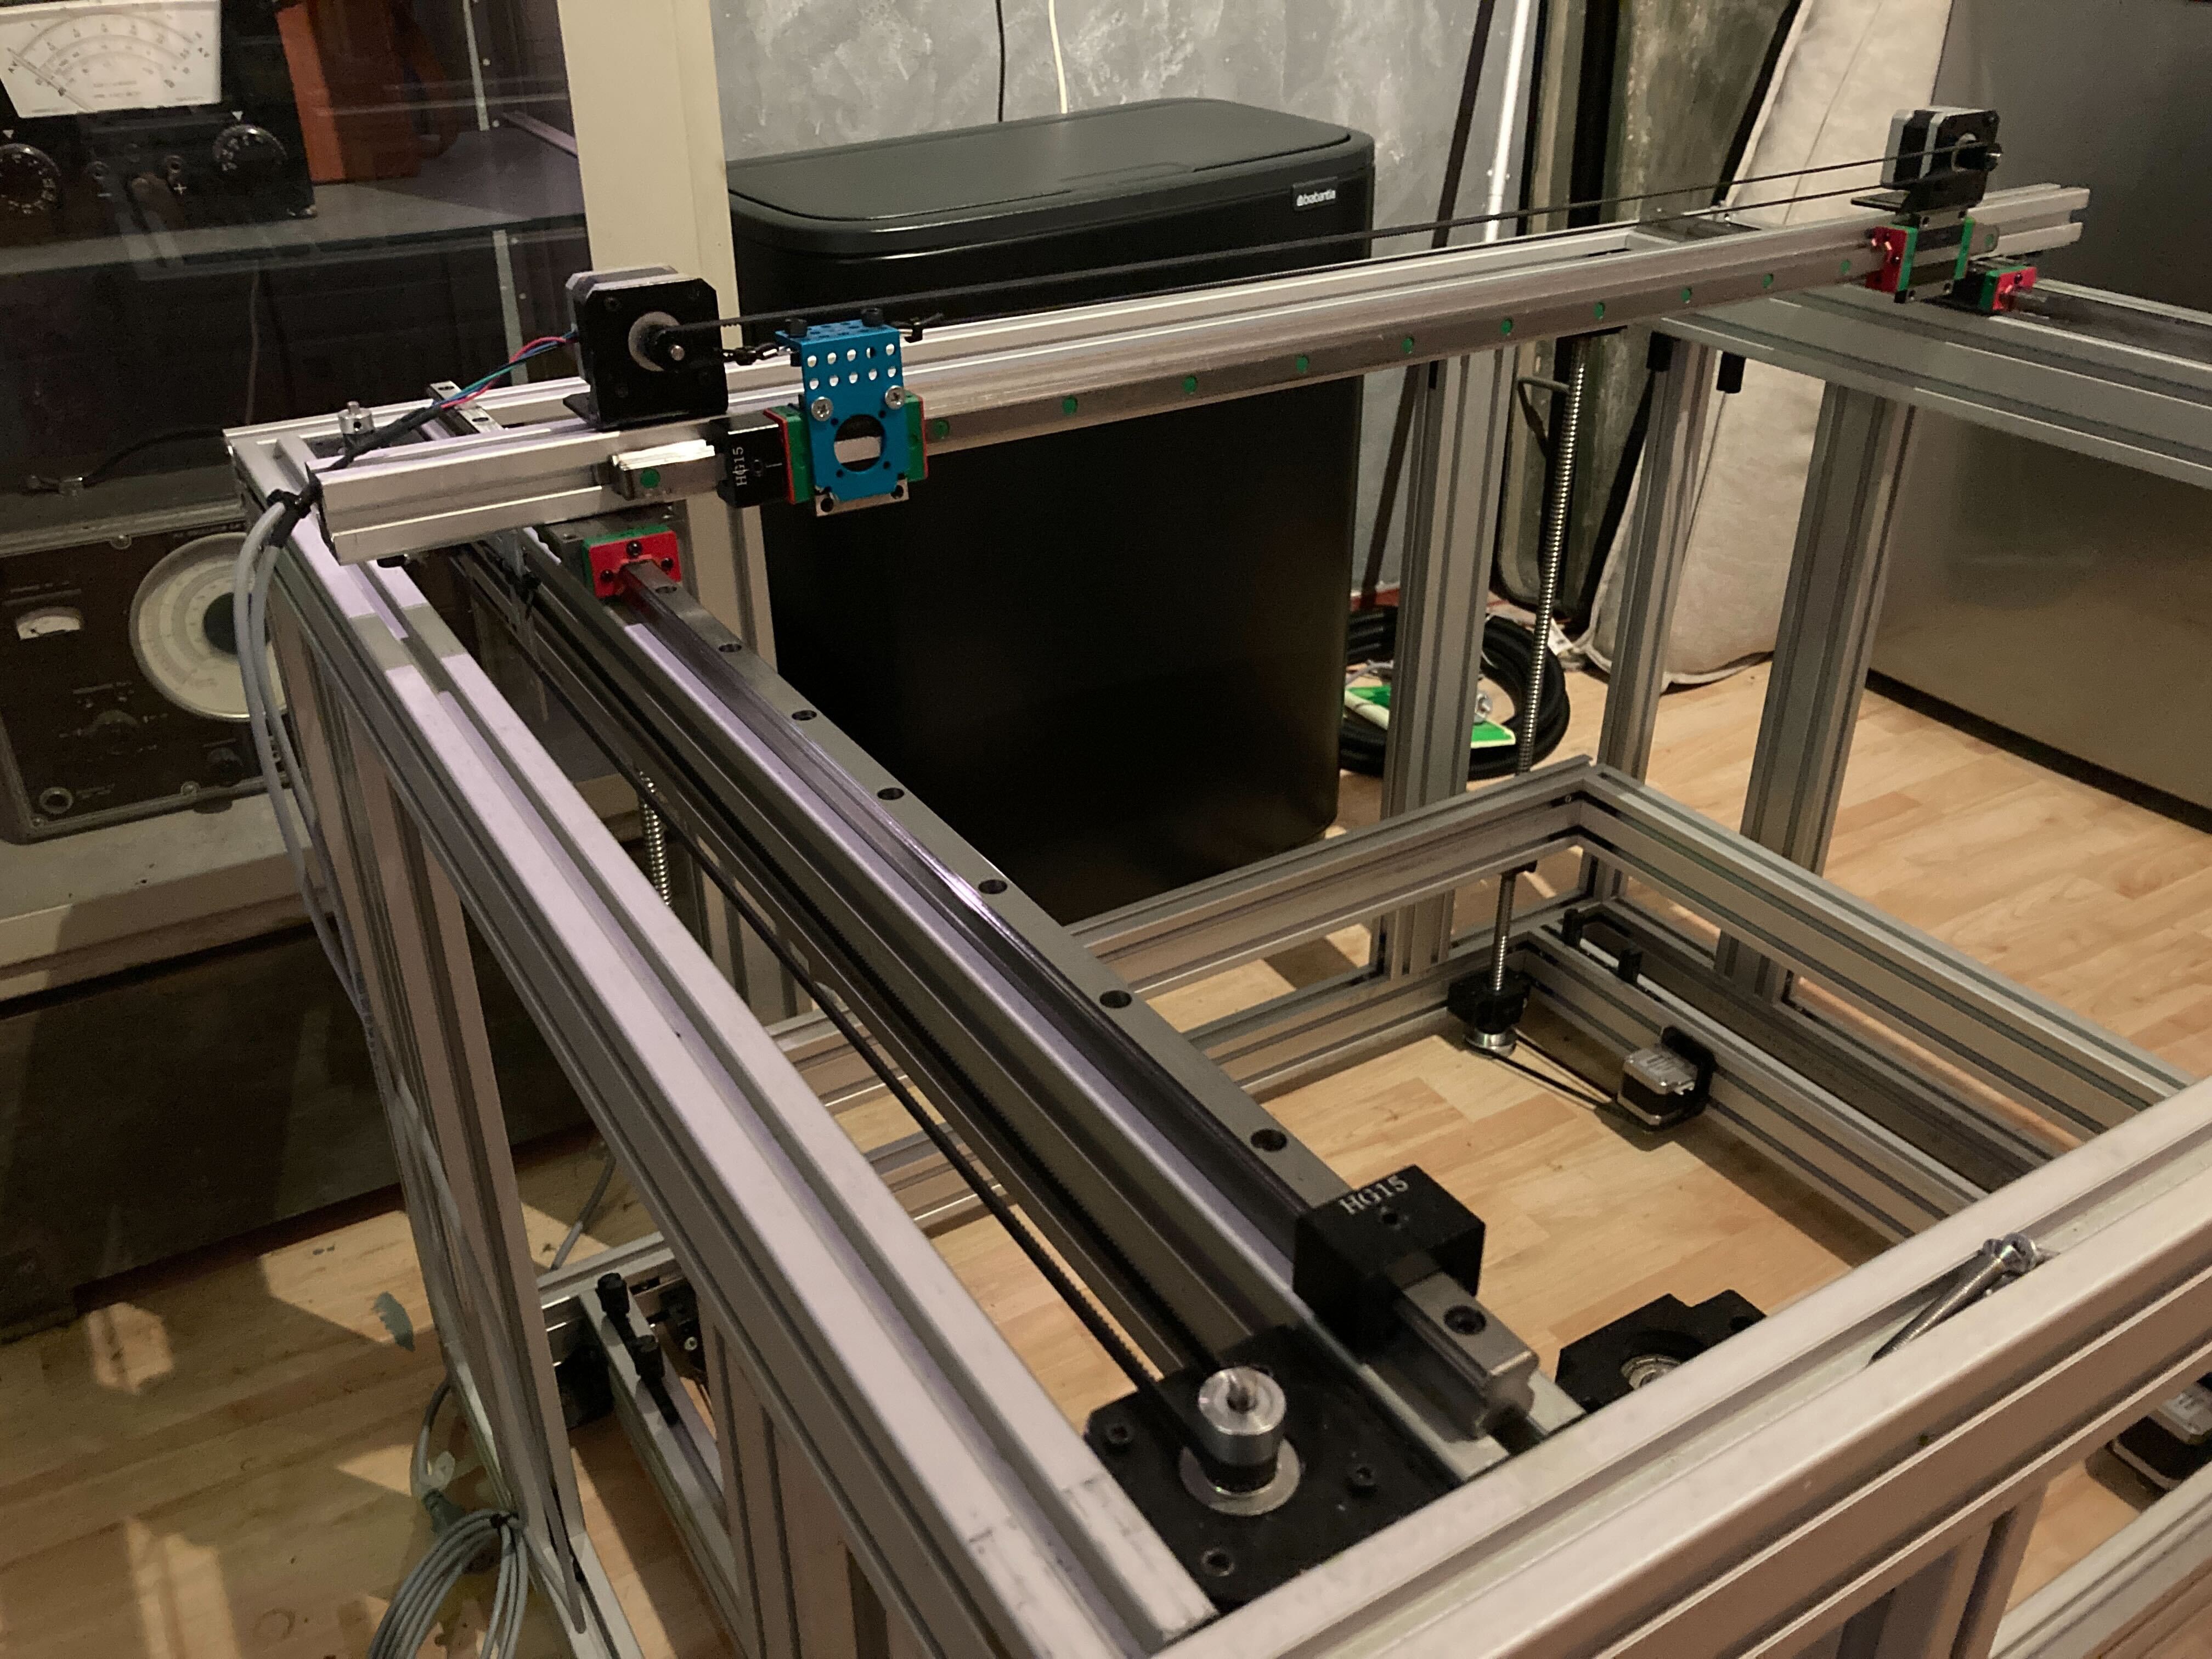
There are 4 motors on the Y axis, driving 2 QHW15 carriages. They are divided over 2 motor controllers, one for the left side, the other for the right. Each motor controller drives 2 motors connected in parallel. The high amp output of the TMC5160s should be enough to drive 2 motors at a time I hope. Both axes have an end block which will be used for sensorless homing. I'm thinking that I could home both Y axes independently, and use software skew correction for any discrepancies between the locations of the end blocks. If homing the axes independently proves problematic, I will move one of the axis a few mm forward, then home both axes based based on one end block. I will then put the motors in a low amp setting and do a mechanical homing procedure, intentionally stalling for a second while the carriages hit the block (without sensorless homing enabled)
The 4 Y motors provide enough torque for a slightly heavier X axis, which has 2 motors for the X axis, both connected to a single controller in parallel. The reason I double all my motors is because aligning 2 identical motors is easier than trying to fashion a pulley out of hardware store parts. Usually the pulley constructions need custom 3d or machined parts, which I'm trying to avoid. Also, the axis is balanced, and we spread the load over 2 motors which can both be driven at high amps because of the headroom we have due to using the TMC5160s.
Technically I can do dual extruders, either mirrored or duplicated, based on whether the carriage is attached to the top of the belt or the bottom of the belt.
All axes have HIWIN HGR15R rails with QHW15 carriages. They are quite a bit larger and heavier than MGNs... They are also only about 1/3 of the price and meant to be used at this scale. The problem is that they are not really used at this time for printers, so there are no default carriage to NEMA17 mounts or something. Large scale printers at this time are blown up versions of small printers where the MGN makes sense. But I'm not happy paying 250ish per axis at this build volume, when I can get the HGR at 70ish per axis. The carriage is quite cool, it uses ball chains instead of individual balls. I always lose half the balls in an MGN carriage every time I have to replace one, hehe, with the ball chain this is a thing of the past. Finally they are faster and more quiet. We'll have to see how they perform in a 3d printer.
Discussions
Become a Hackaday.io Member
Create an account to leave a comment. Already have an account? Log In.