 Evan Juras
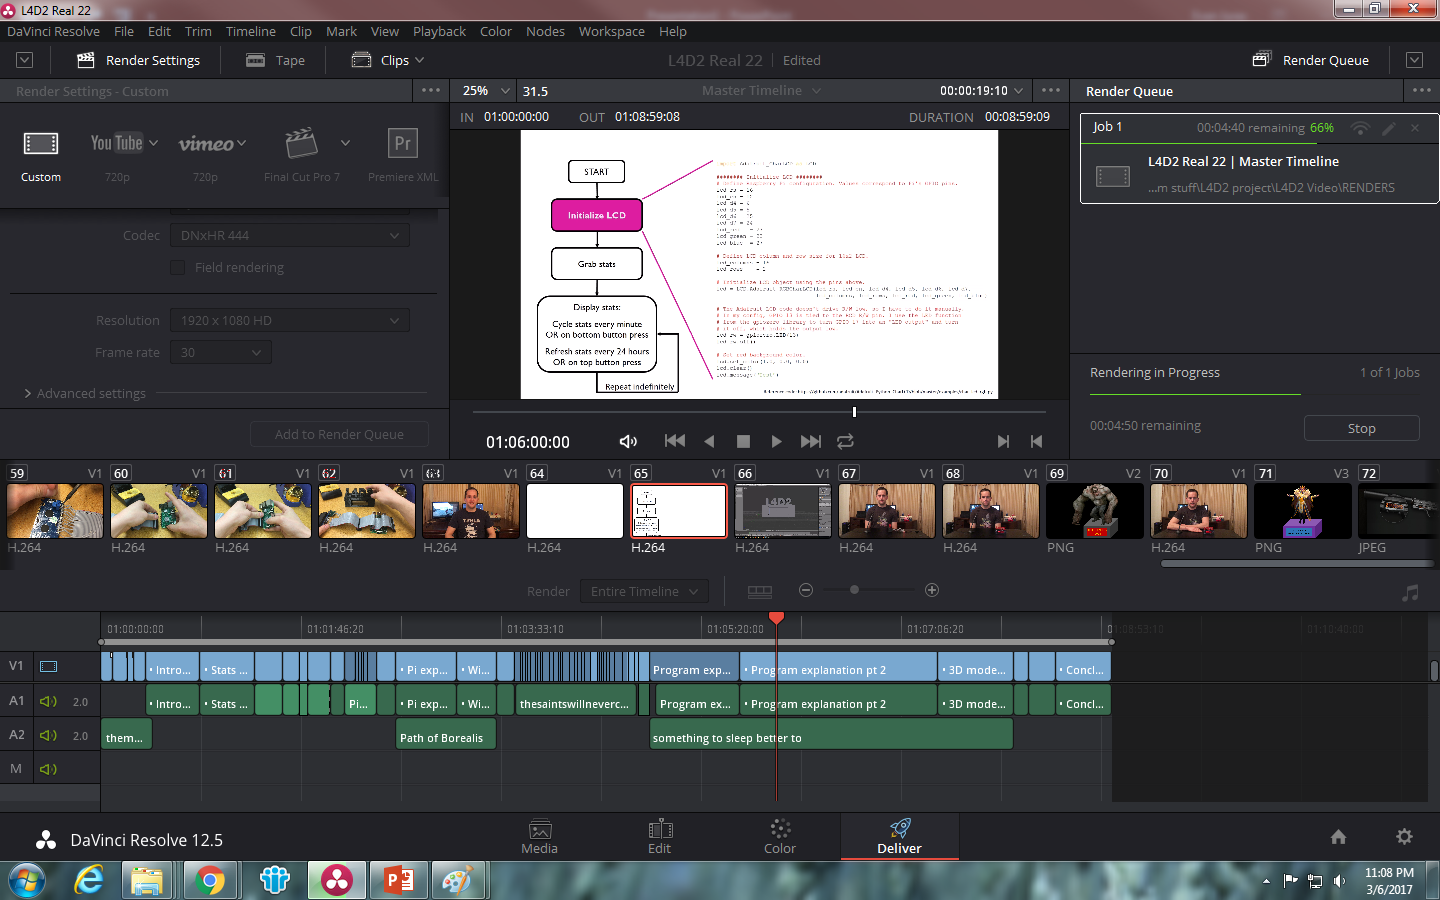
Here is a video summarizing what the Stat Tracker is, how it works, and how I made it.
The Stat Tracker rotates between displaying the following stats, which are refreshed every 24 hours or when a button is pushed:
- Infected Killed
- Average Kills Per Hour
- Games Played
- Finales Survived
- Whatever else I can think of to add!
It consists of a 3D-printed "L4D2" trophy that houses an LCD. The LCD connects directly to a Raspberry Pi's GPIO header via a 40-pin ribbon cable, so a bulky breadboard doesn't have to be used to wire it all up. The Pi runs a Python script that accesses the user's Steam Profile L4D2 stats page to pull the stats listed above.
I've noticed that video game collectibles and other nerd culture items have been becoming more and more popular over the past few years. With video game companies increasingly adding features to keep track of player stats, I think there is a good market opportunity for a stat tracker that people can buy and have their personal stats from their favorite video game displayed with their other collectibles. I am exploring this market space and gauging the amount of interest there is in such a product.
Hardware:
A Raspberry Pi 3 powers the Stat Tracker. I'm using the Pi 3 because it has built-in WiFi capability, can easily run Python, and is inexpensive. The LCD is an Adafruit 16x2 RGB character LCD. The two connect over a 10" 40-pin ribbon cable that I got from the scrap bin at work. I cut off one end of the ribbon cable, stripped the individual wires, and soldered them up to the pins of the LCD.
There are also two general-purpose buttons connected to the Pi. Pushing the top one refreshes the stats, and pushing the bottom one rotates the display to the next stat.
The L4D2 "trophy" that houses the LCD is 3D printed from a model file created in Blender. I used www.shapeways.com to 3D print the trophy.
Software:
A Python script drives the Stat Tracker. It uses Python's built-in urllib library to load the Steam Profile L4D2 page, and then parses it with Beautiful Soup 4. The Infected Killed, Kills Per Hour, Games Played, and Finales Survived stats are all stored in similar tags in the HTML structure, so BS4 makes it easy to find them. It also uses the Adafruit Character LCD library to display stats to the LCD. An infinite loop runs to scroll through the displayed stats once a minute, refresh the stats every 24 hours, and watch for button presses.
The Pi is configured to connect to my WiFi network and run the Python script upon initialization, so the Stat Tracker just needs to be plugged into power and it will begin displaying stats.
My Github repository with the Python script is located here:
https://github.com/EdjeElectronics/L4D2-Stat-Trak-Driver
BOM:
Raspberry Pi 3 Model B - $35.00
16x2 RGB character LCD - $13.95 (https://www.adafruit.com/products/399)
6 - 10" 40-pin ribbon cable - $2.95 (https://www.adafruit.com/products/1988)
2x pushbuttons - $0.53 each (http://www.digikey.com/product-detail/en/e-switch/KS-01Q-01/EG4791-ND/2116270)
3D-printed housing - $44.09
Total cost - $97.05


 Brian
Brian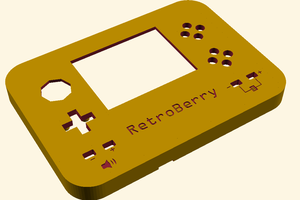
 CompuCat
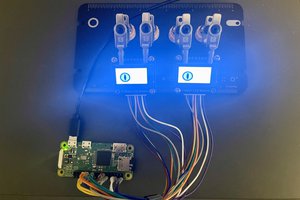
 Smalls
 Guy Dupont
Hi, Cool project!
Can you upload the Python script?
I would like to build it!