 Keith Elliott
I've finally finished the 3D printed Facehugger and Chestburster!
The Chestburster was a simple print that used a file sourced from Thingiverse. I'm pretty happy with the way it turned out. I printed it with PLA at a 0.2mm layer height to get a good balance between speed and resolution. One issue I did notice was a striping along the Z axis. After some investigation, I attributed this to a slight bend in the Z-axis screw on my Printrbot. The striping is pretty faint, however, so I'm hoping that a layer of paint will cover it up. Additionally, there's already a hole in the base of the Chestburster design which will make mounting it to the cuckoo mechanism trivial.
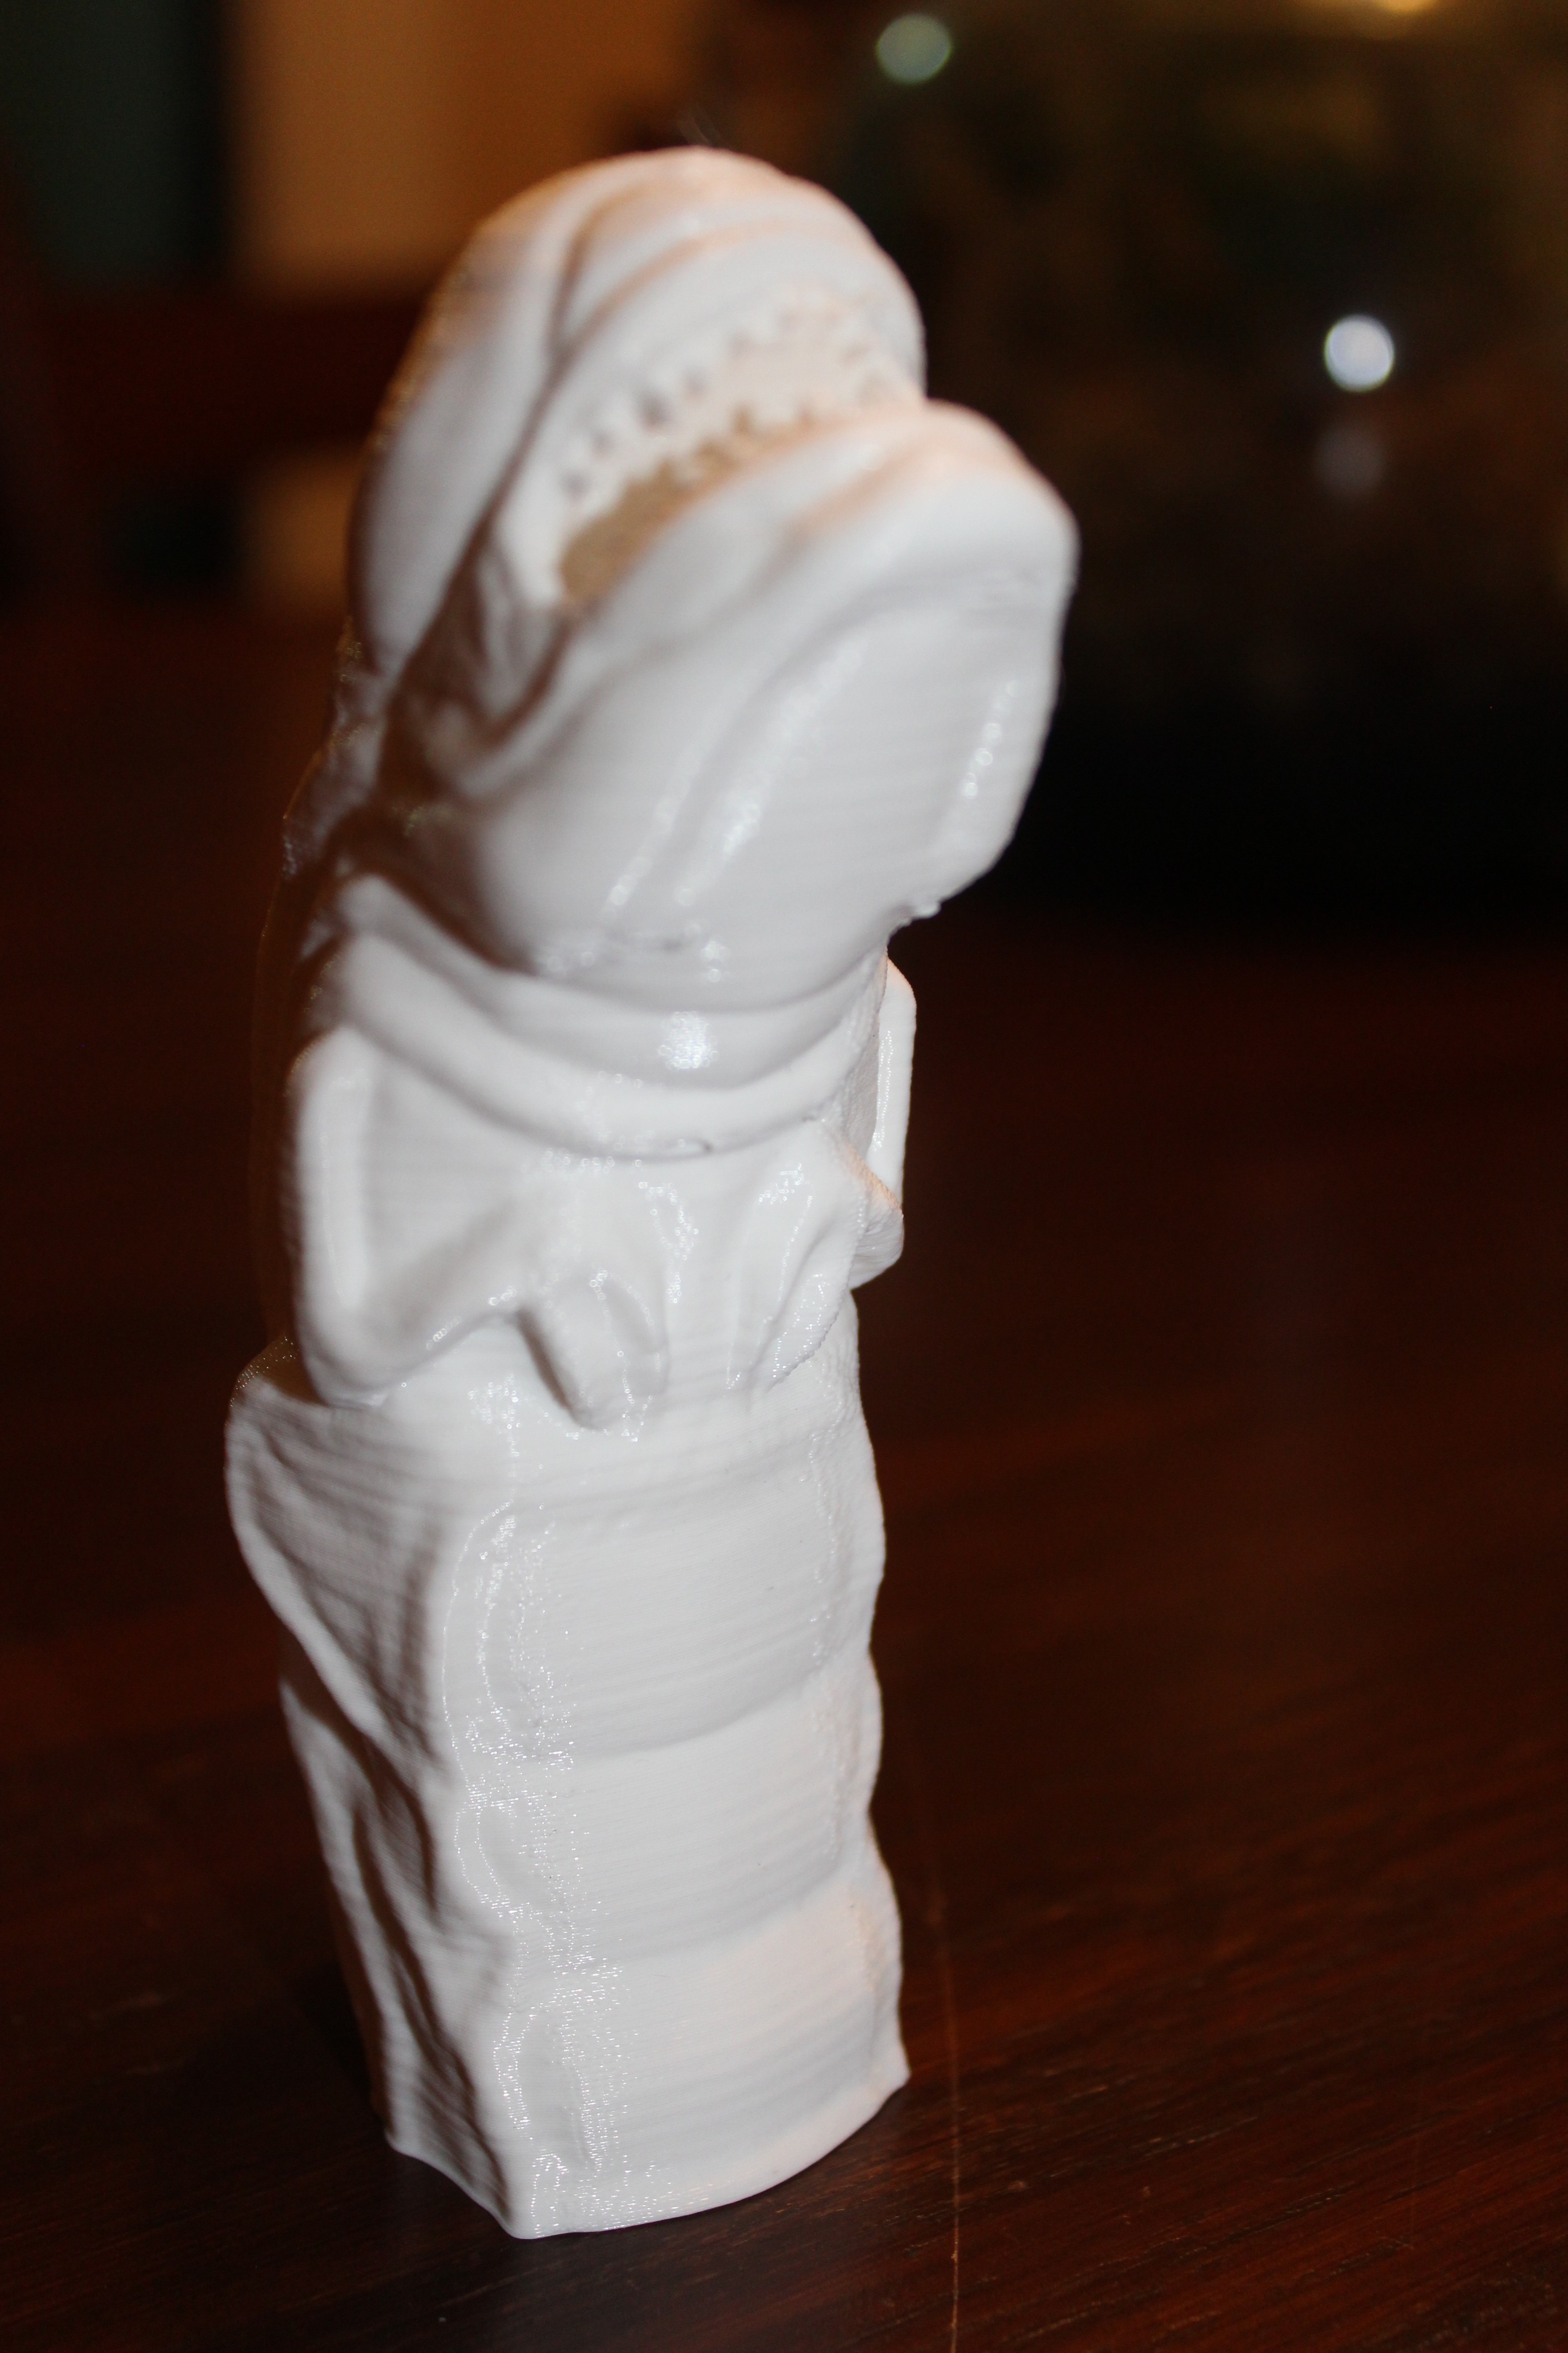
The Facehugger was a little more difficult. I also sourced this from Thingiverse. This is an amazing piece of work by user Agisis that's perfectly split up for 3D printing. It's also divided into opposable pieces which will make attaching it to the victim's face much easier.
However, because the Facehugger will be making up the clock face, I wanted to modify the body so the clock mechanism can be easily inserted. I also wanted to provide a hole in the front for the main shaft to protrude through. Unfortunately, after importing the STLs into OpenSCAD to modify, I found out the file had a bunch of errors and OpenSCAD couldn't render it properly. After running the complex body through several STL-cleanup programs (e.g. MeshLab, Netfabb, etc.) I still couldn't get OpenSCAD to render. About to give up and resort to drilling a hole through the completed body, I decided to read through the 150+ comments to see if someone else had encountered the same problem (Side Note: If you read through the comments, you'll see that Agisis is one of the most helpful authors on Thingiverse. He provides a bunch of assistance to people having issues with printing, and provides a lot of advice for painting the finished product.). Lo and behold, user rodrifra had already fixed the STL files. With the repaired STL files, modifying the body was simple and all that was left was printing!
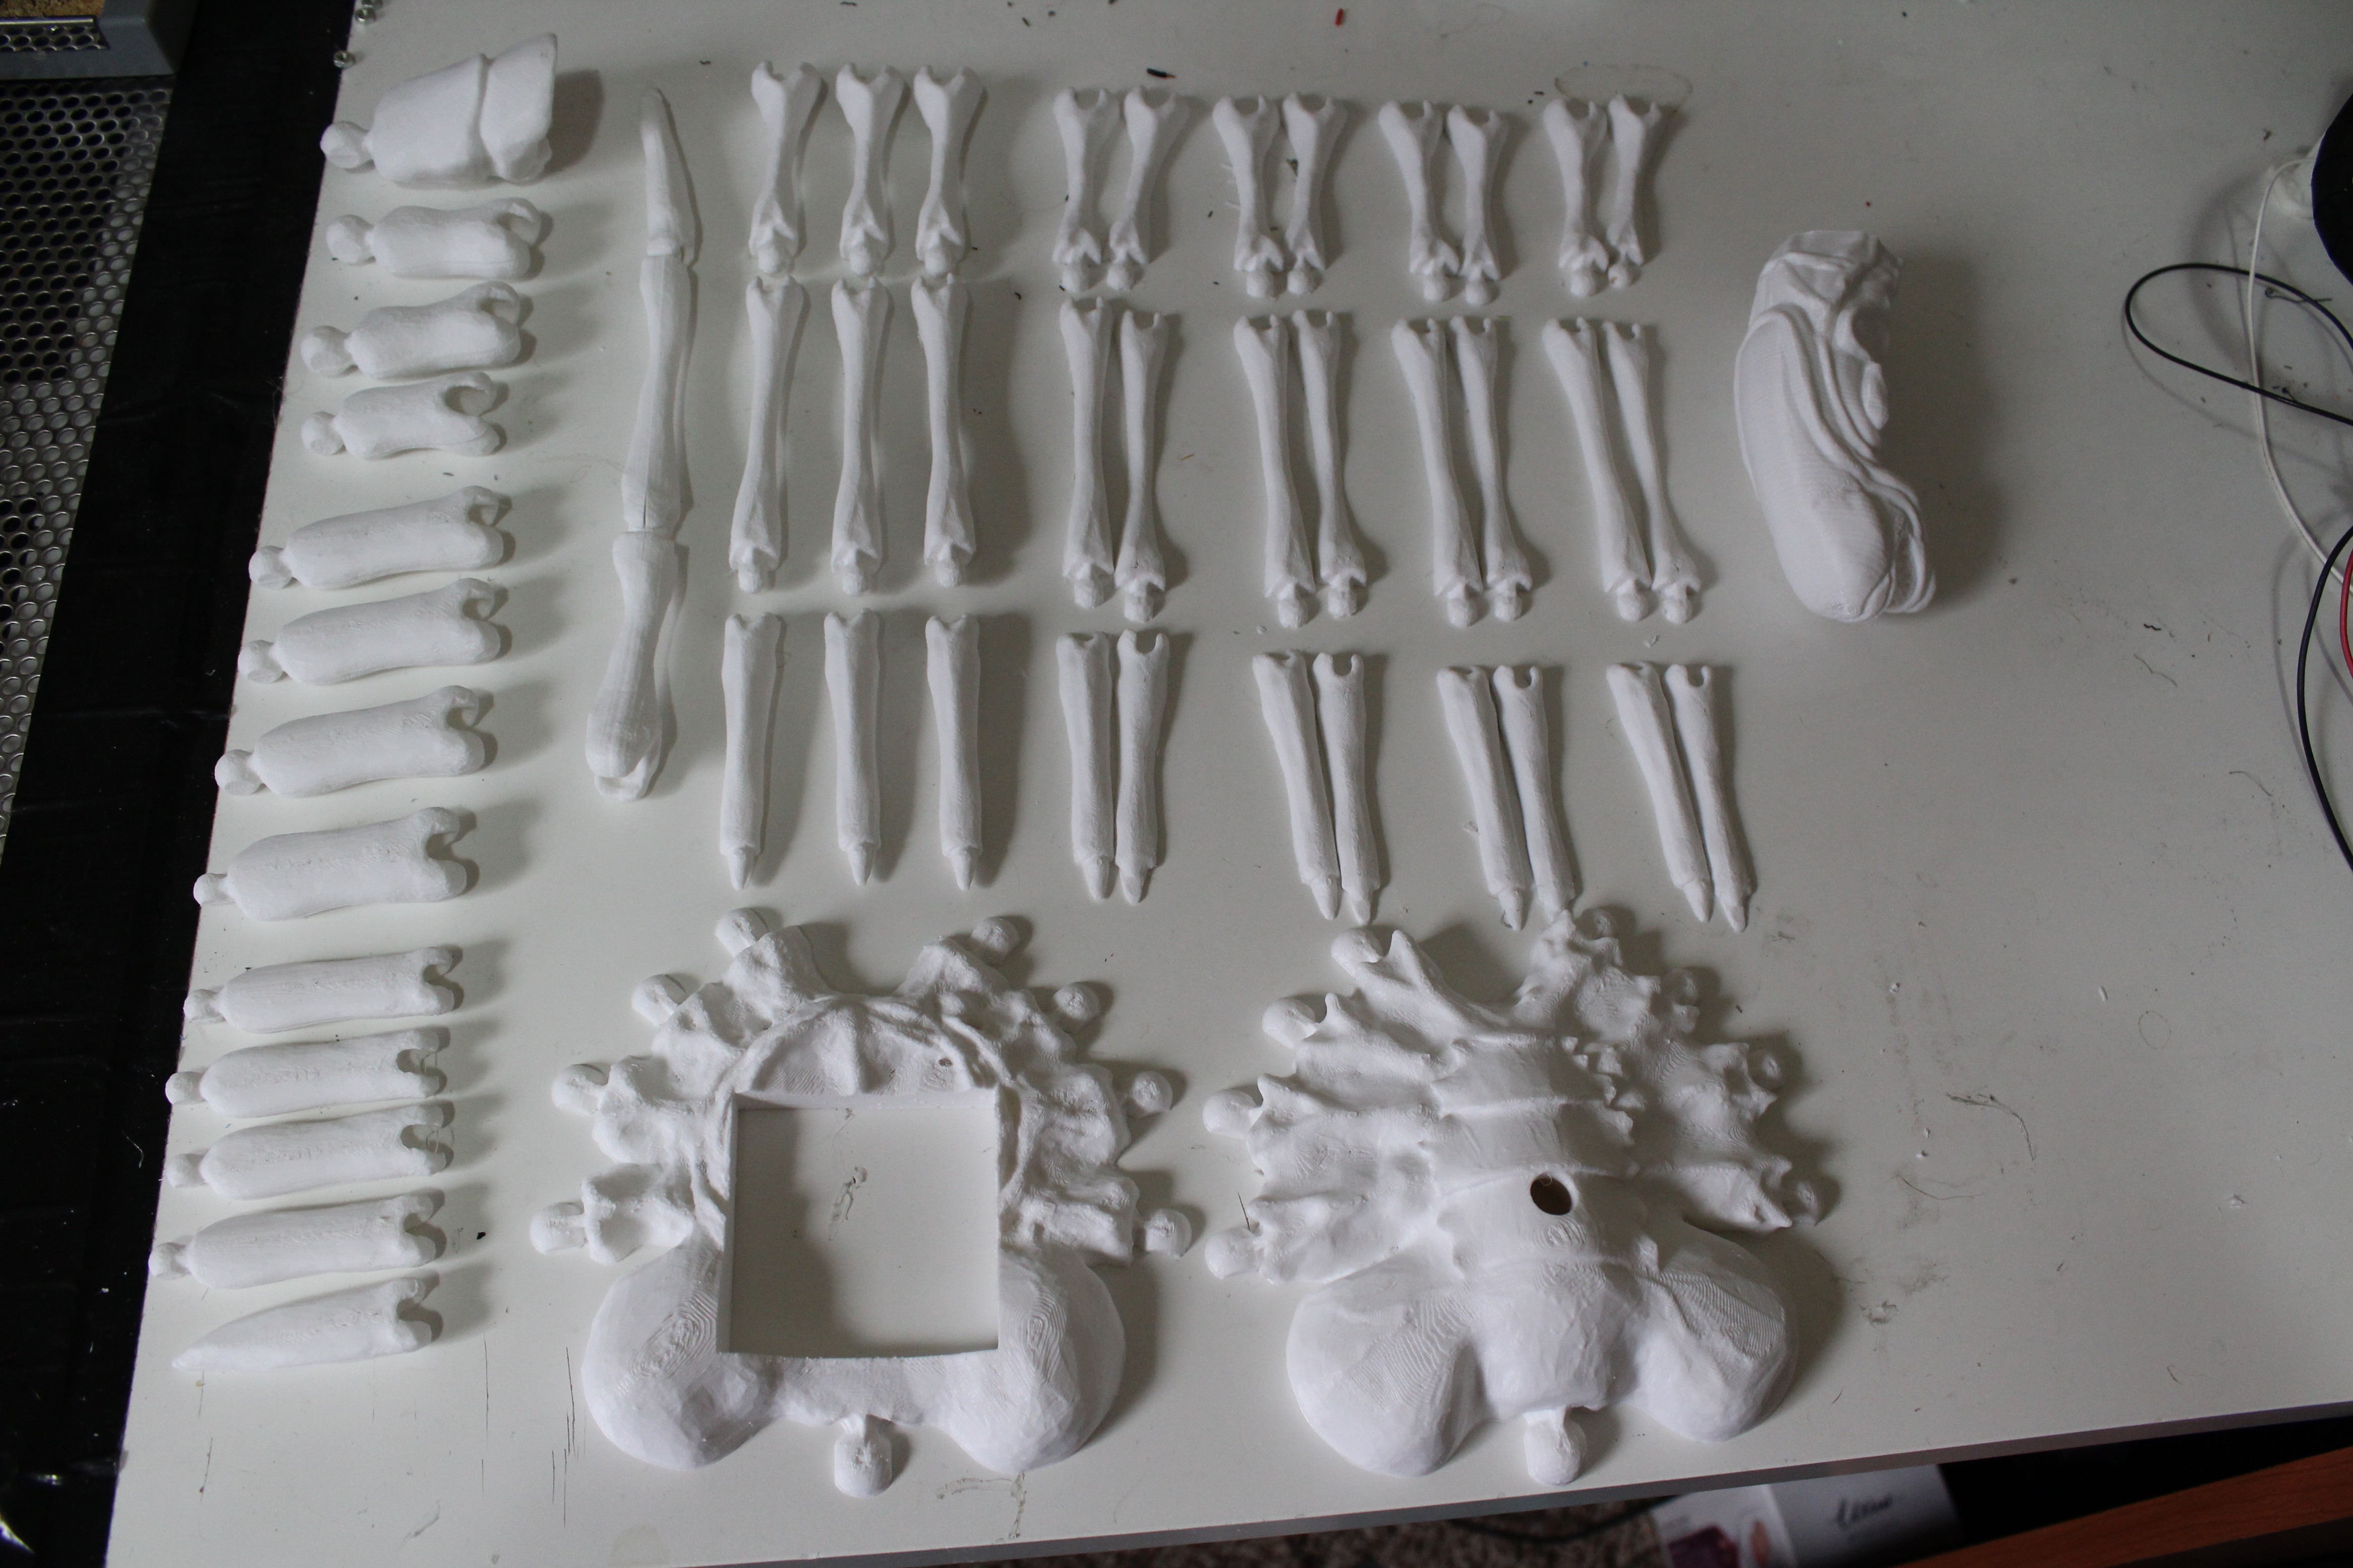
I printed one leg at a time in PLA at a 0.1mm layer height, for maximum resolution. At an hour and a half a leg, it took a while! Next was the tail, which I printed in three parts with the same settings for a total time of five hours. Last were the body files. I printed both pieces at a 0.2mm layer height to speed things along, and am happy with the results! The bottom took a total of an hour and a half to print and the top took two and a half.
Next up for these parts is gluing everything together and then painting!
Discussions
Become a Hackaday.io Member
Create an account to leave a comment. Already have an account? Log In.