 terrag
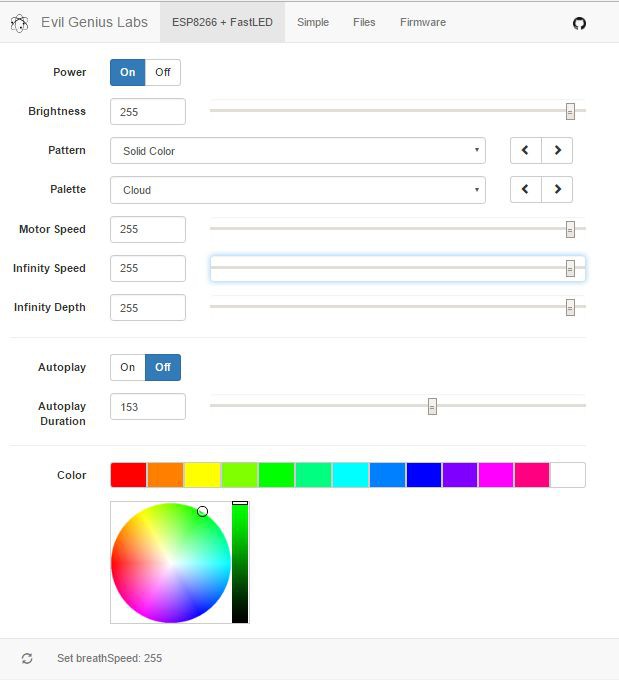
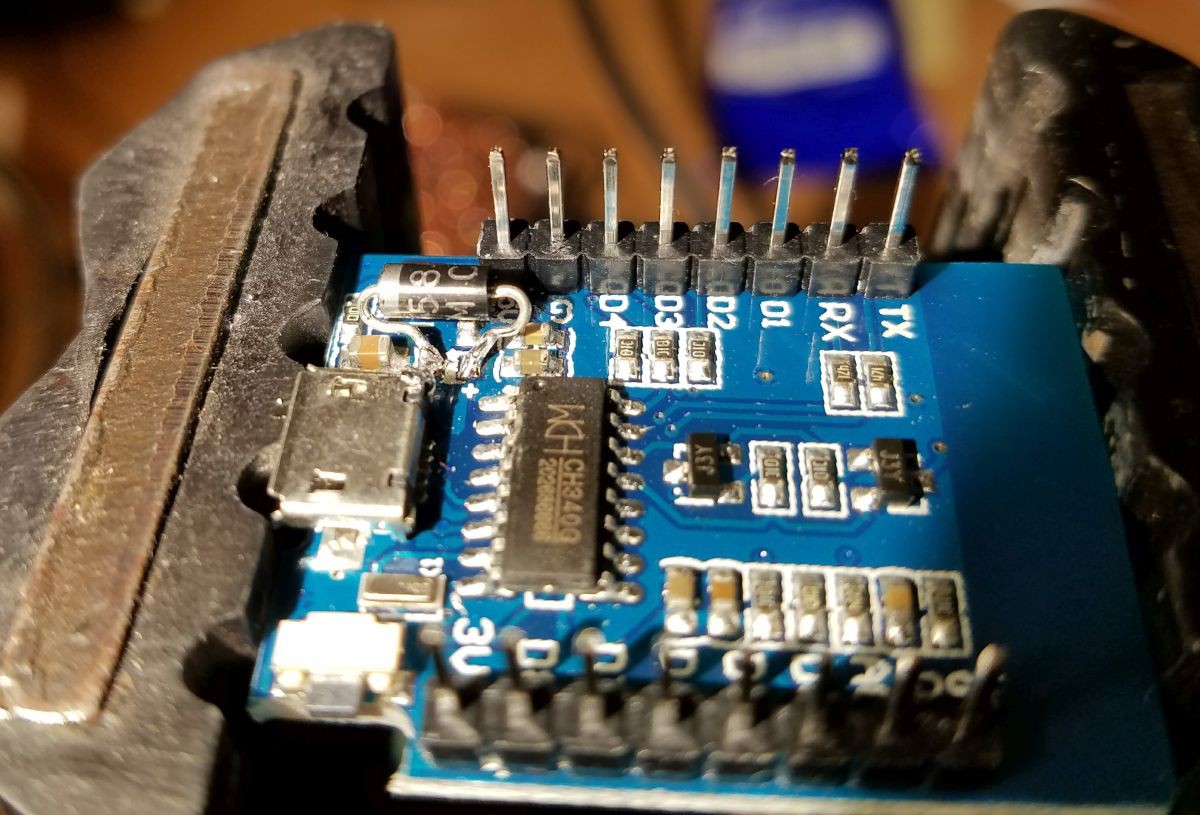
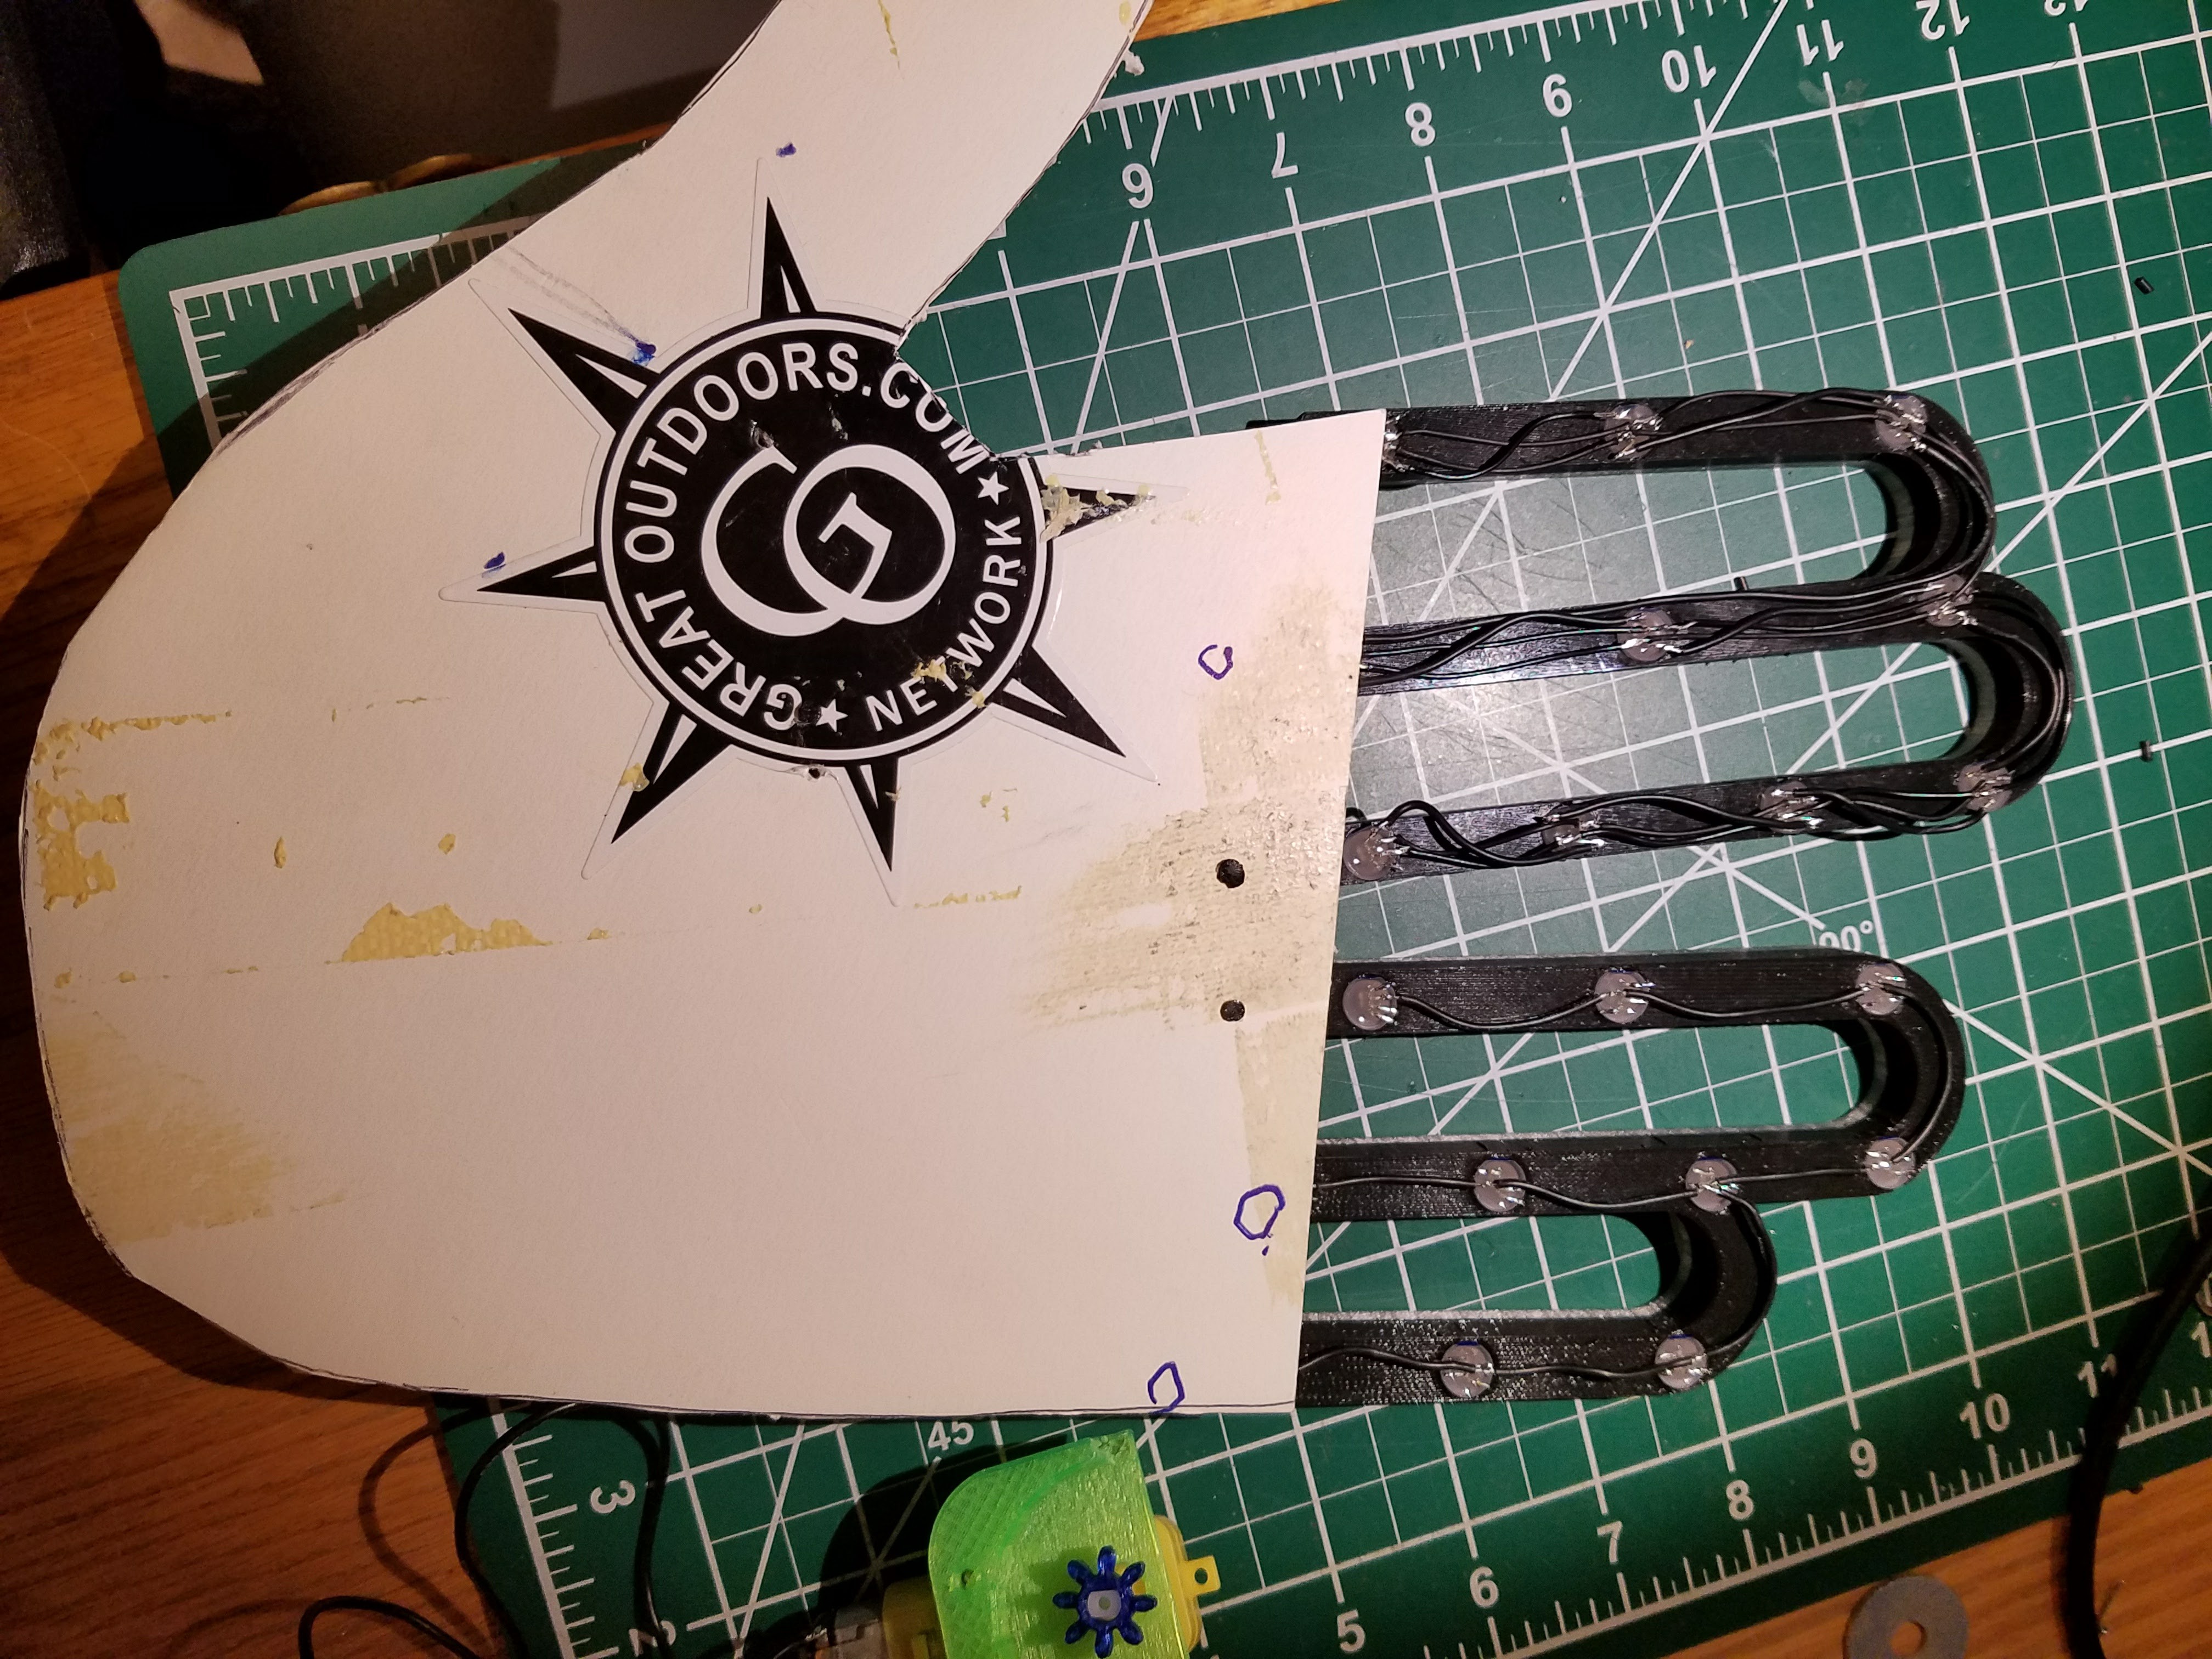
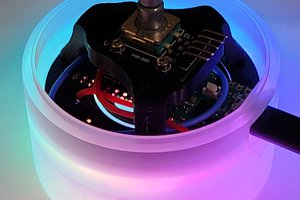
I'm learning about creating gears and linkages in this project. If it goes as planned, it will also be my first infinity mirror project. The 3D models are currently being made in TinkerCad, but I would like to learn and use the features available in 123D Design and Fusion 360 as well. The speed of the motor and the LED pattern will be controlled by any device that can connect to the local network and has a web browser. The webserver on the ESP8266 has data stored in SPIFFS flash memory.
Link to Bill of Materials (Google Sheets)
Link to BIG VERSION of 3D Models


 Maximiliano Palay
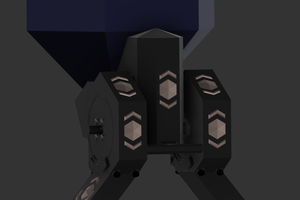
 Joseph Marlin
This thing remember me some "installations" I've seen in an art museum at Amsterdam. Really I like it! (and Amsterdam too...)