 Stephen Holdaway
I've been meaning to upload this project to Hackaday since I started planning it a little before Christmas 2016. Now that I've left it sitting on a shelf for a month waiting for components to arrive (read: being lazy), here's an update on what you've missed so far.
As soon as I had this idea, I went and ordered a bunch of components I knew I'd need. In retrospect it was possibly a poor decision to do this before designing anything, but we'll see how that turns out later on. The important bits I grabbed were:
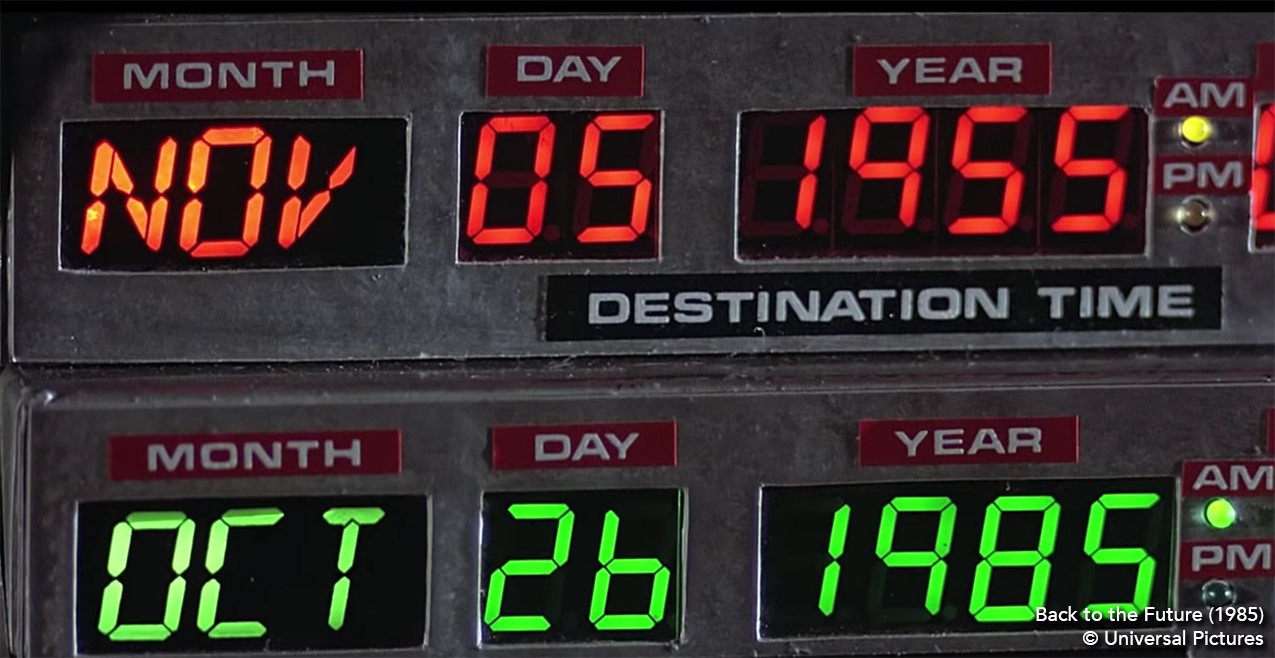
- 13x 0.8" green 16 segment displays (replicating the green "present time" row in the time circuits). The movies use 3x 14 segment displays for the month and 10x 7 segment ones for the numbers, but I couldn't source green 14 segment displays, and it was far cheaper to buy only 16 segment displays instead of mixed 16 and 7 segment. A little different from the movie, but the spirit is there.
- A bunch of MAX7219 LED segment display driver chips. Four of these will need to be daisy-chained together to drive the 208 segments (excluding decimal points) in the displays.
Element 14 ships quickly to New Zealand, so after a few days we have this:

These were bigger than expected as I mistook 0.8" as a component height when it was really digit height (read the datasheet, silly). The chunkier size works quite nicely though, even if unplanned.
Building an enclosure
Excited by the possibilities of my newly acquired tube of metal, I took a ruler, Autodesk Fusion and roughed out how this could work. First rookie mistake: not enough tolerance around the digits, but more on this later. Apologies for the photo-based screenshot:
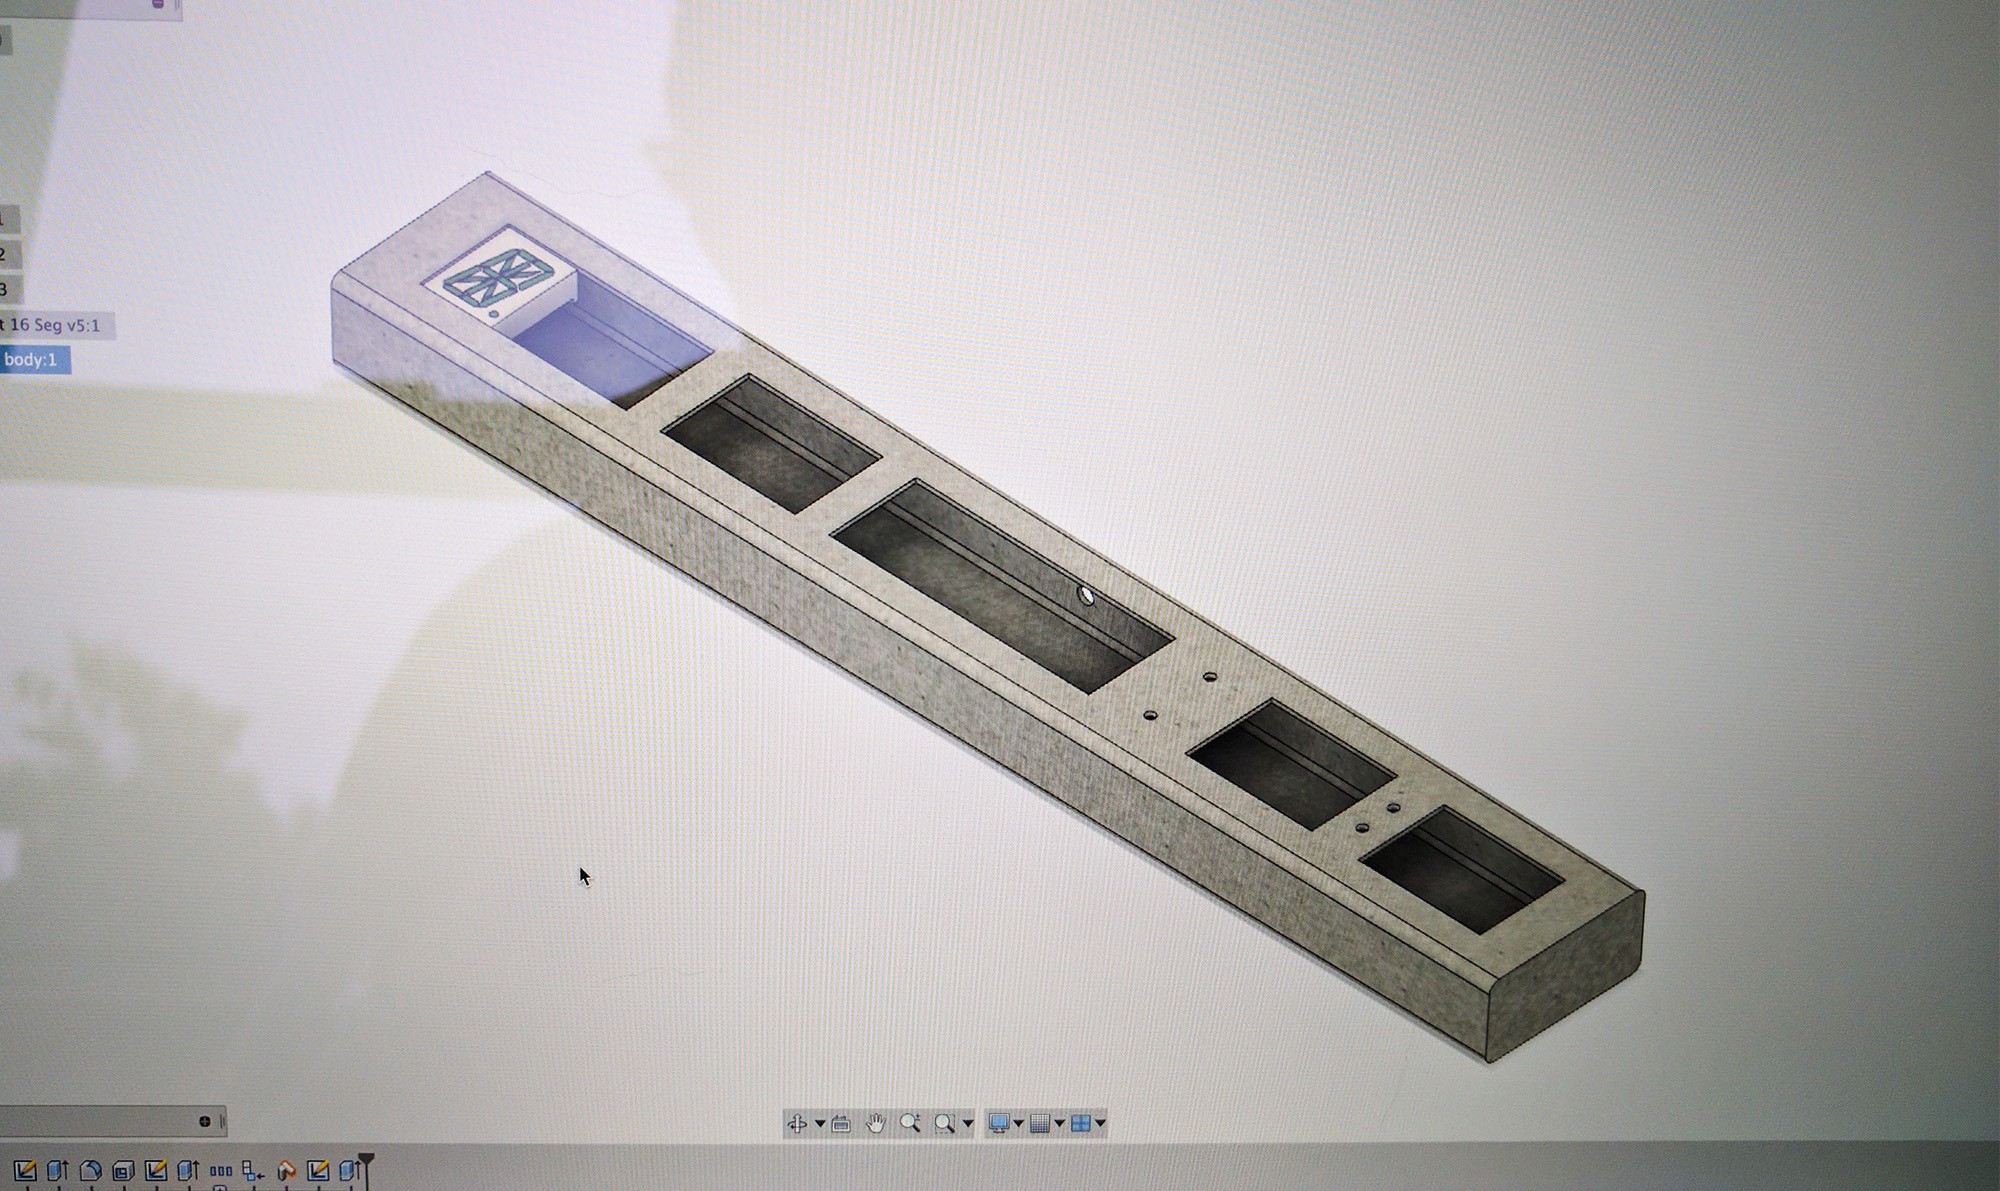
The AM/PM indicator is more spaced out than the film version as I have a ye olde' embossing label maker with relatively large tape. Another small deviation from the film version, but this is just a tribute. The hole in the top is for a light sensor (LDR) so the display brightness can be optimised for the ambient light level.
Milling the Metal
Having never really worked with metal, I figured I'd be at high risk of completely destroying my material if I tried to cut these precise holes myself. Fortunately, one of my uncles owns a Bridgeport mill, and he was happy to help.
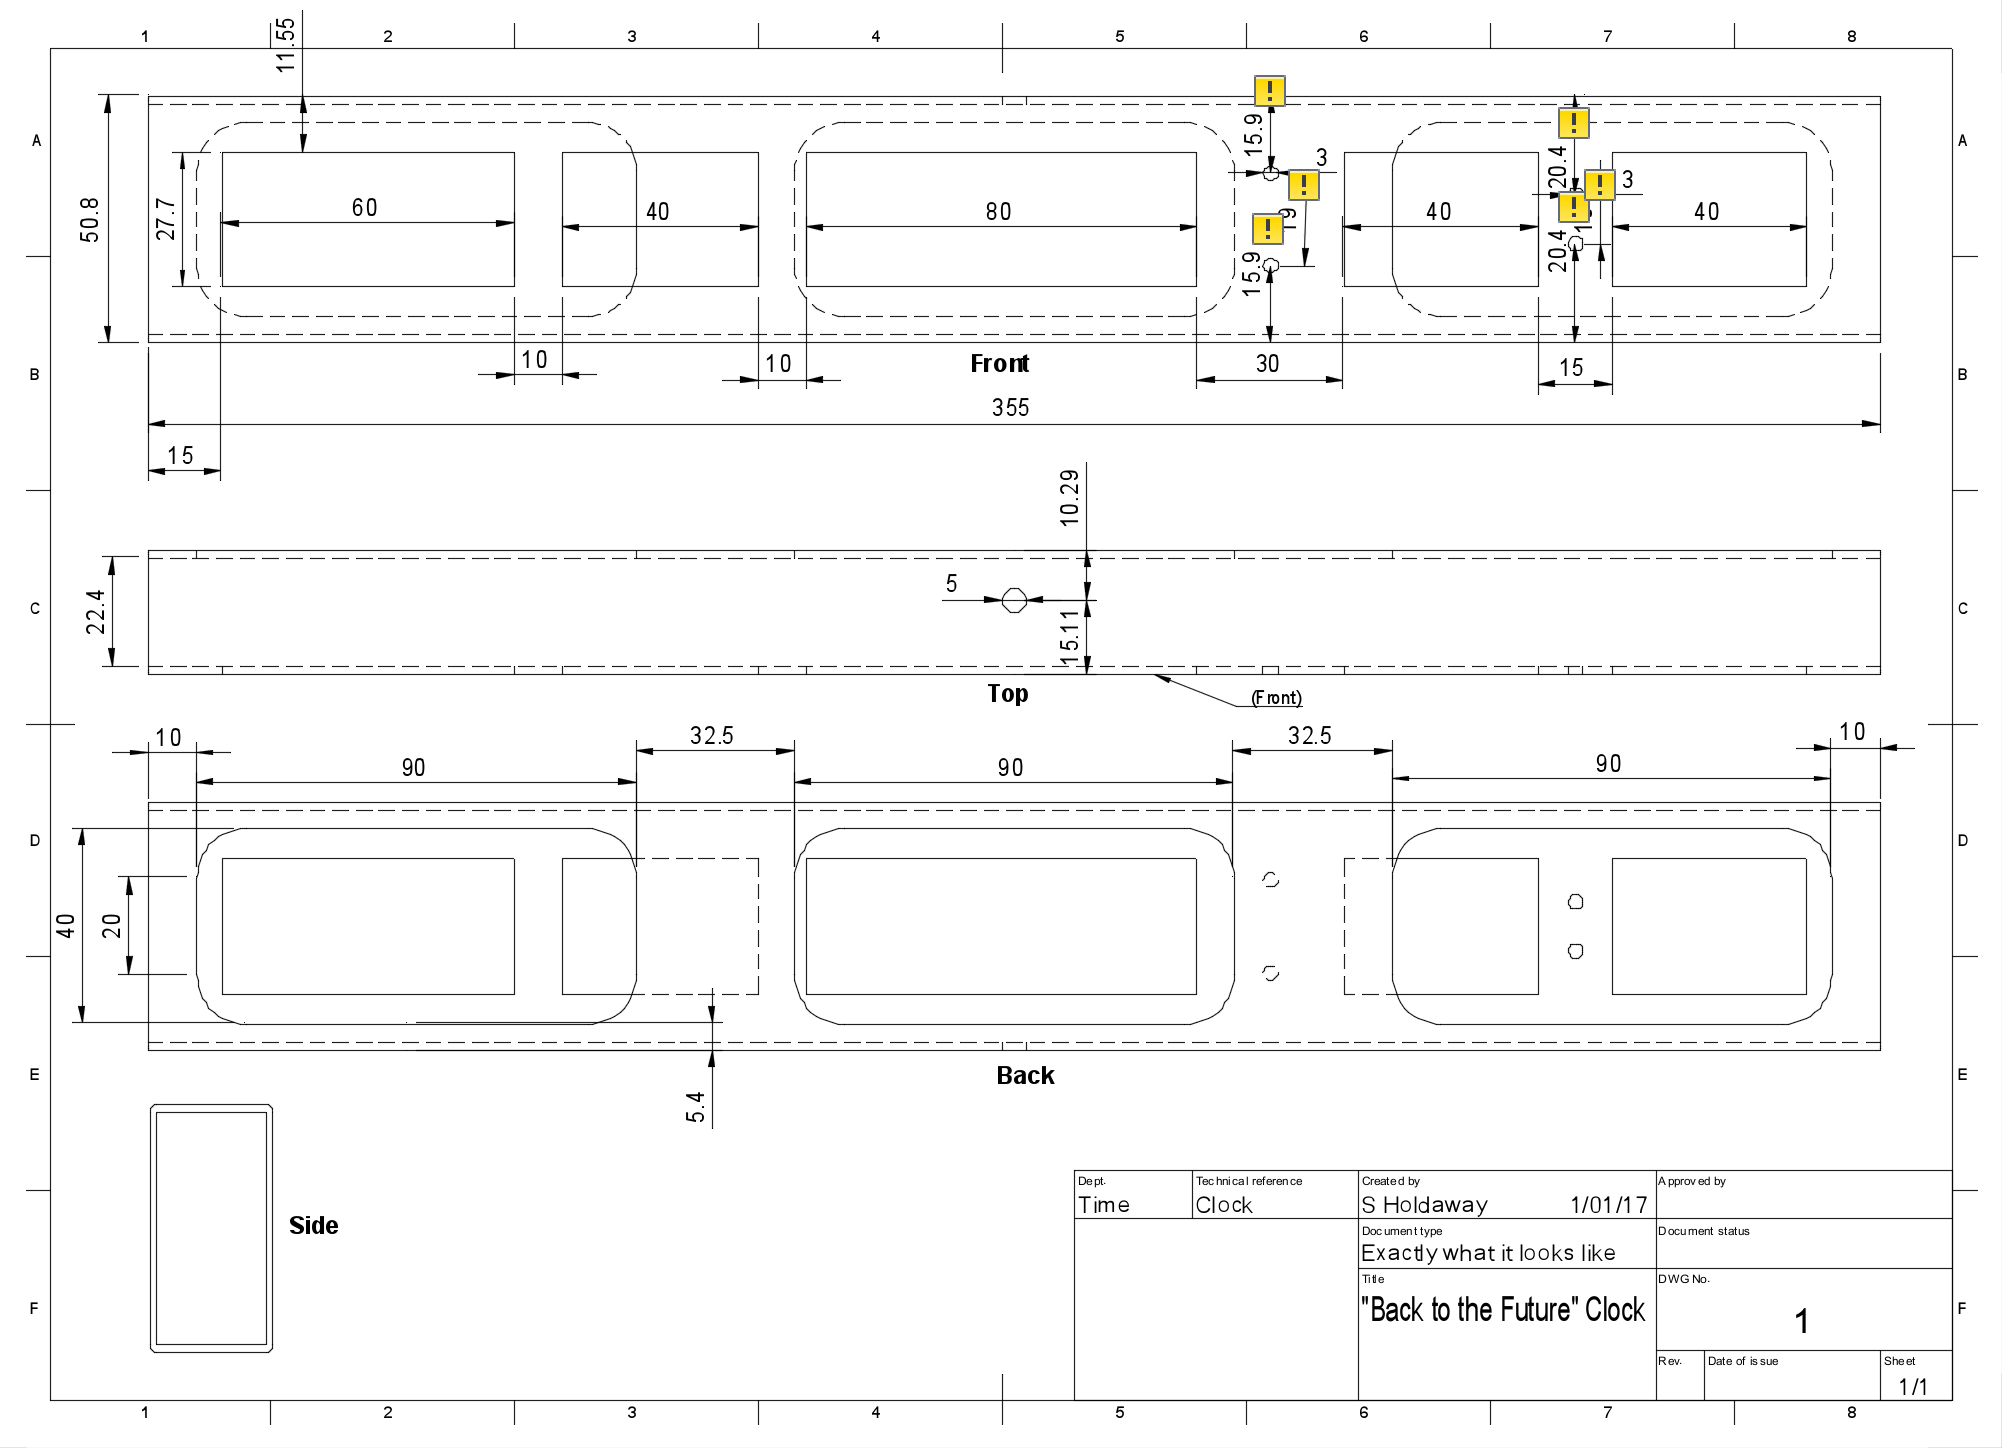
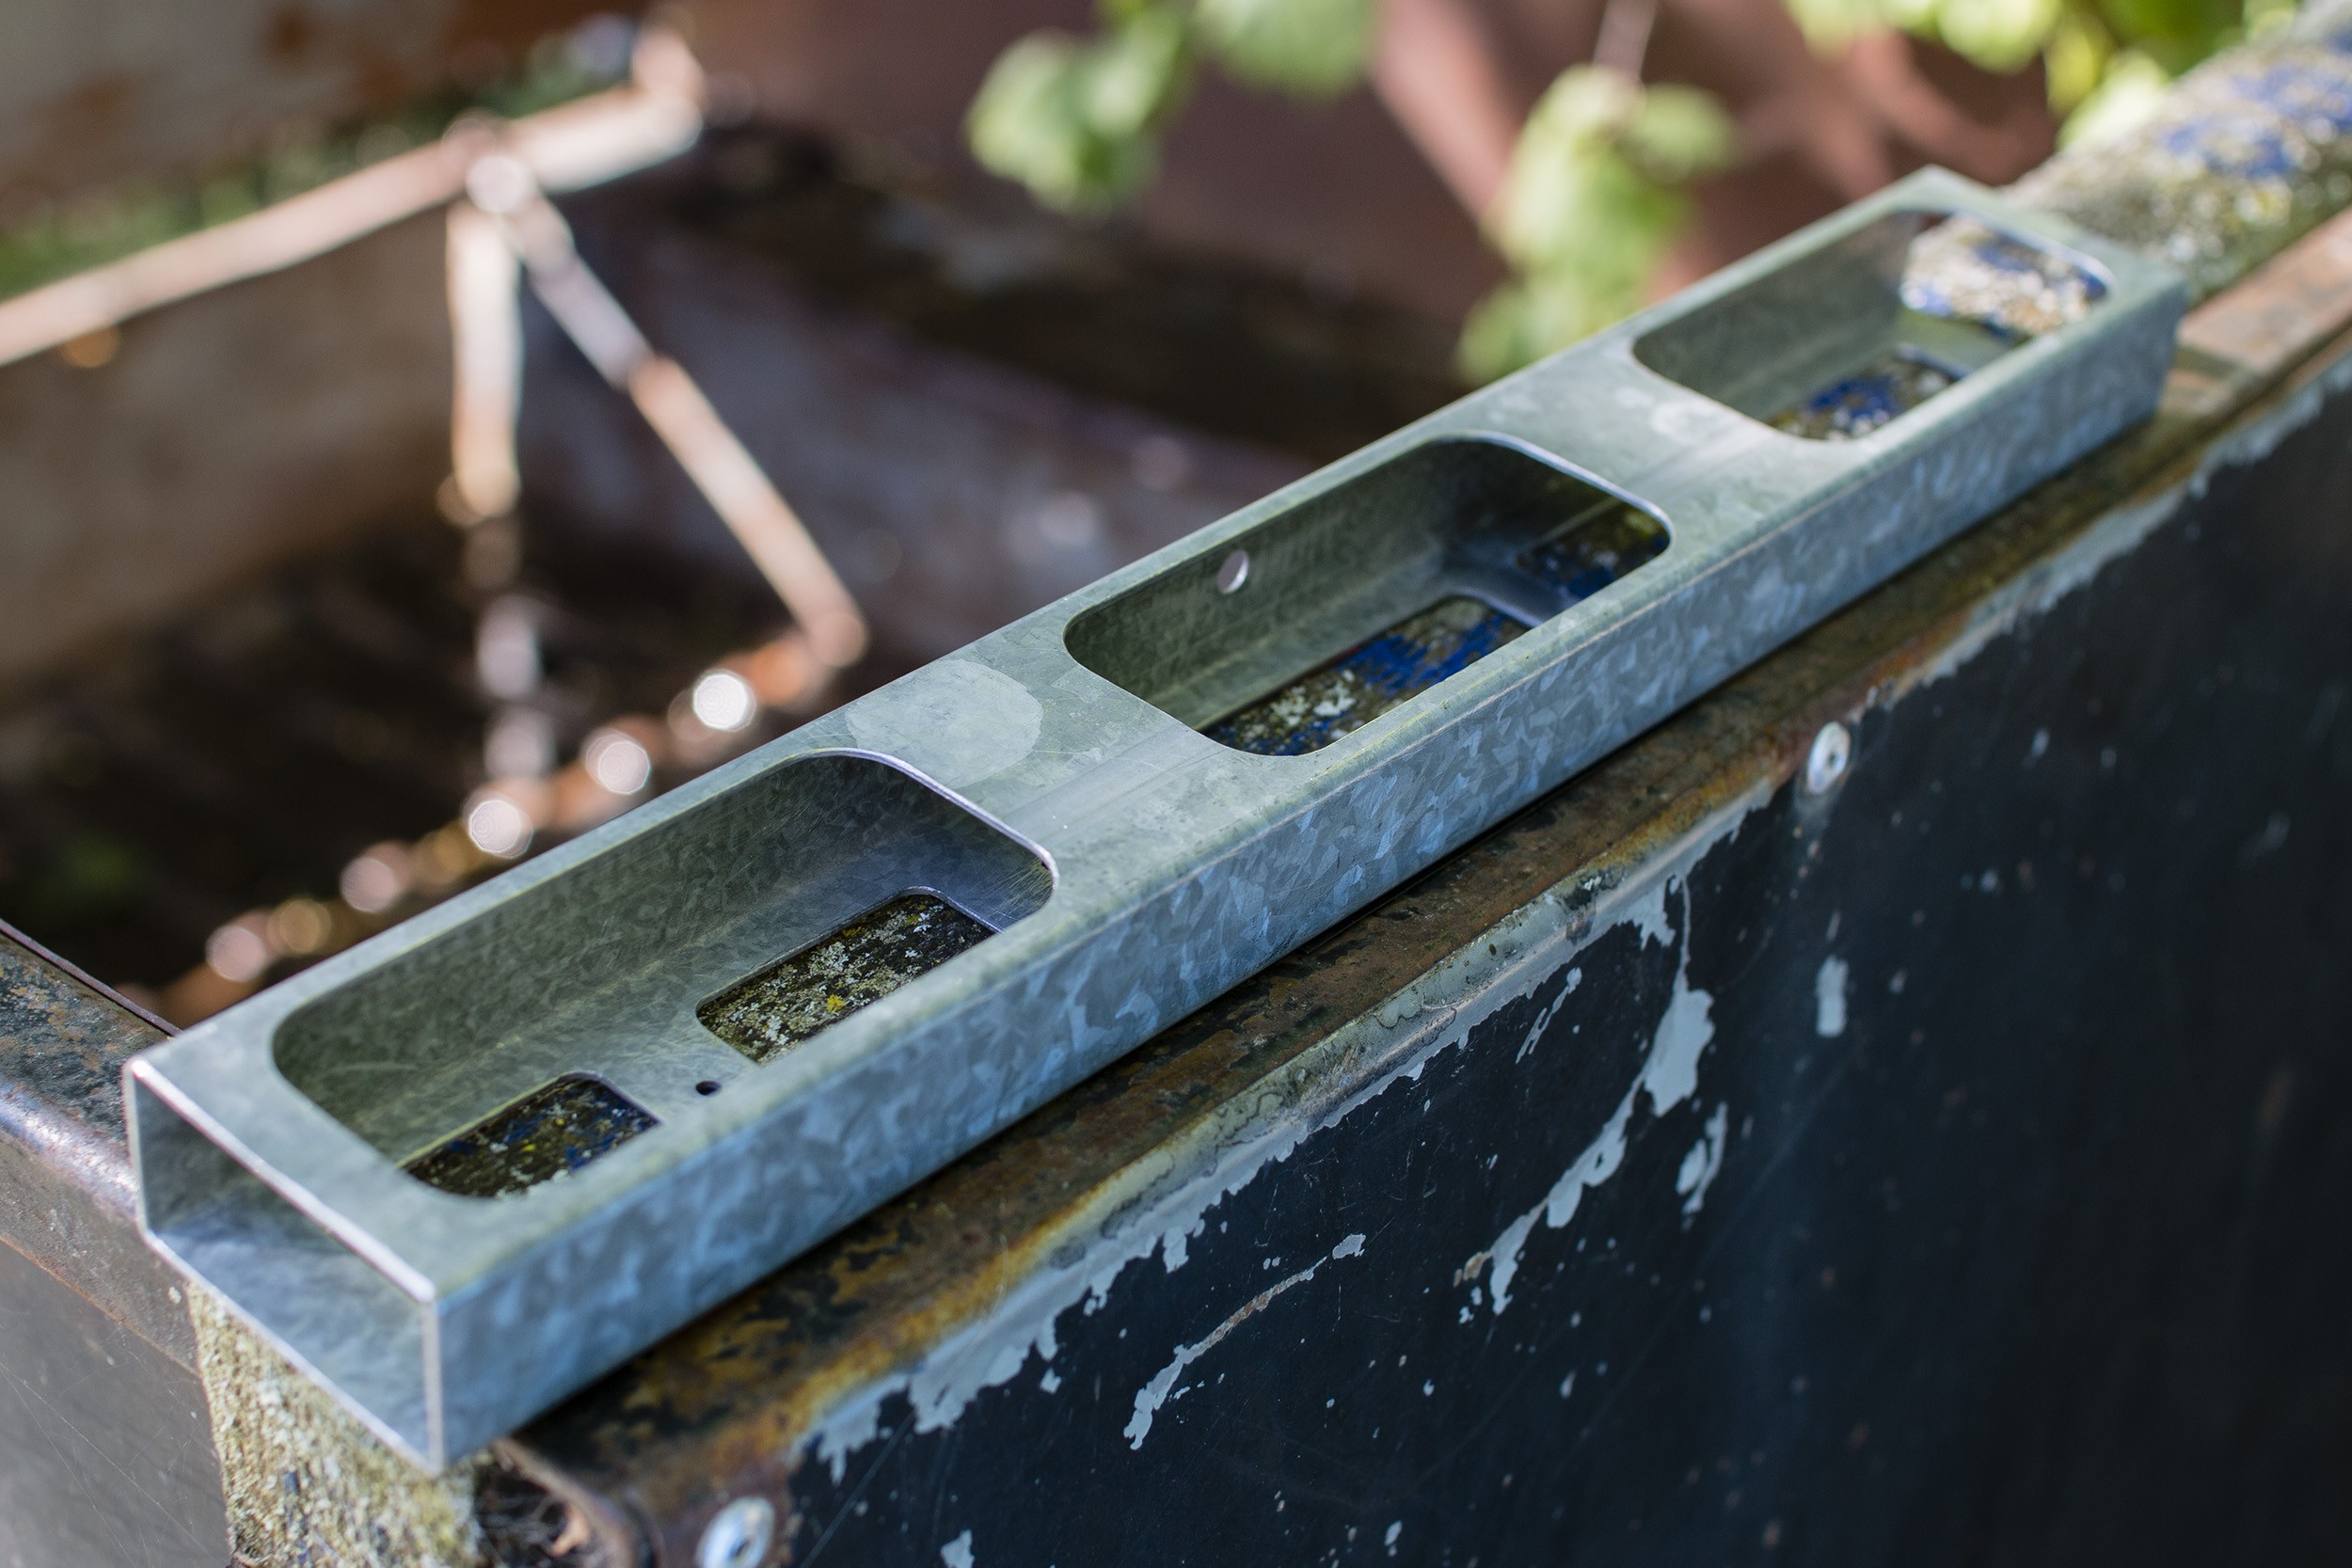
I hadn't decided how the PCB(s) would fit into the enclosure at this point, but figured a few good sized ports in the back would help with assembly. Converting the model to a drawing ended up with this:
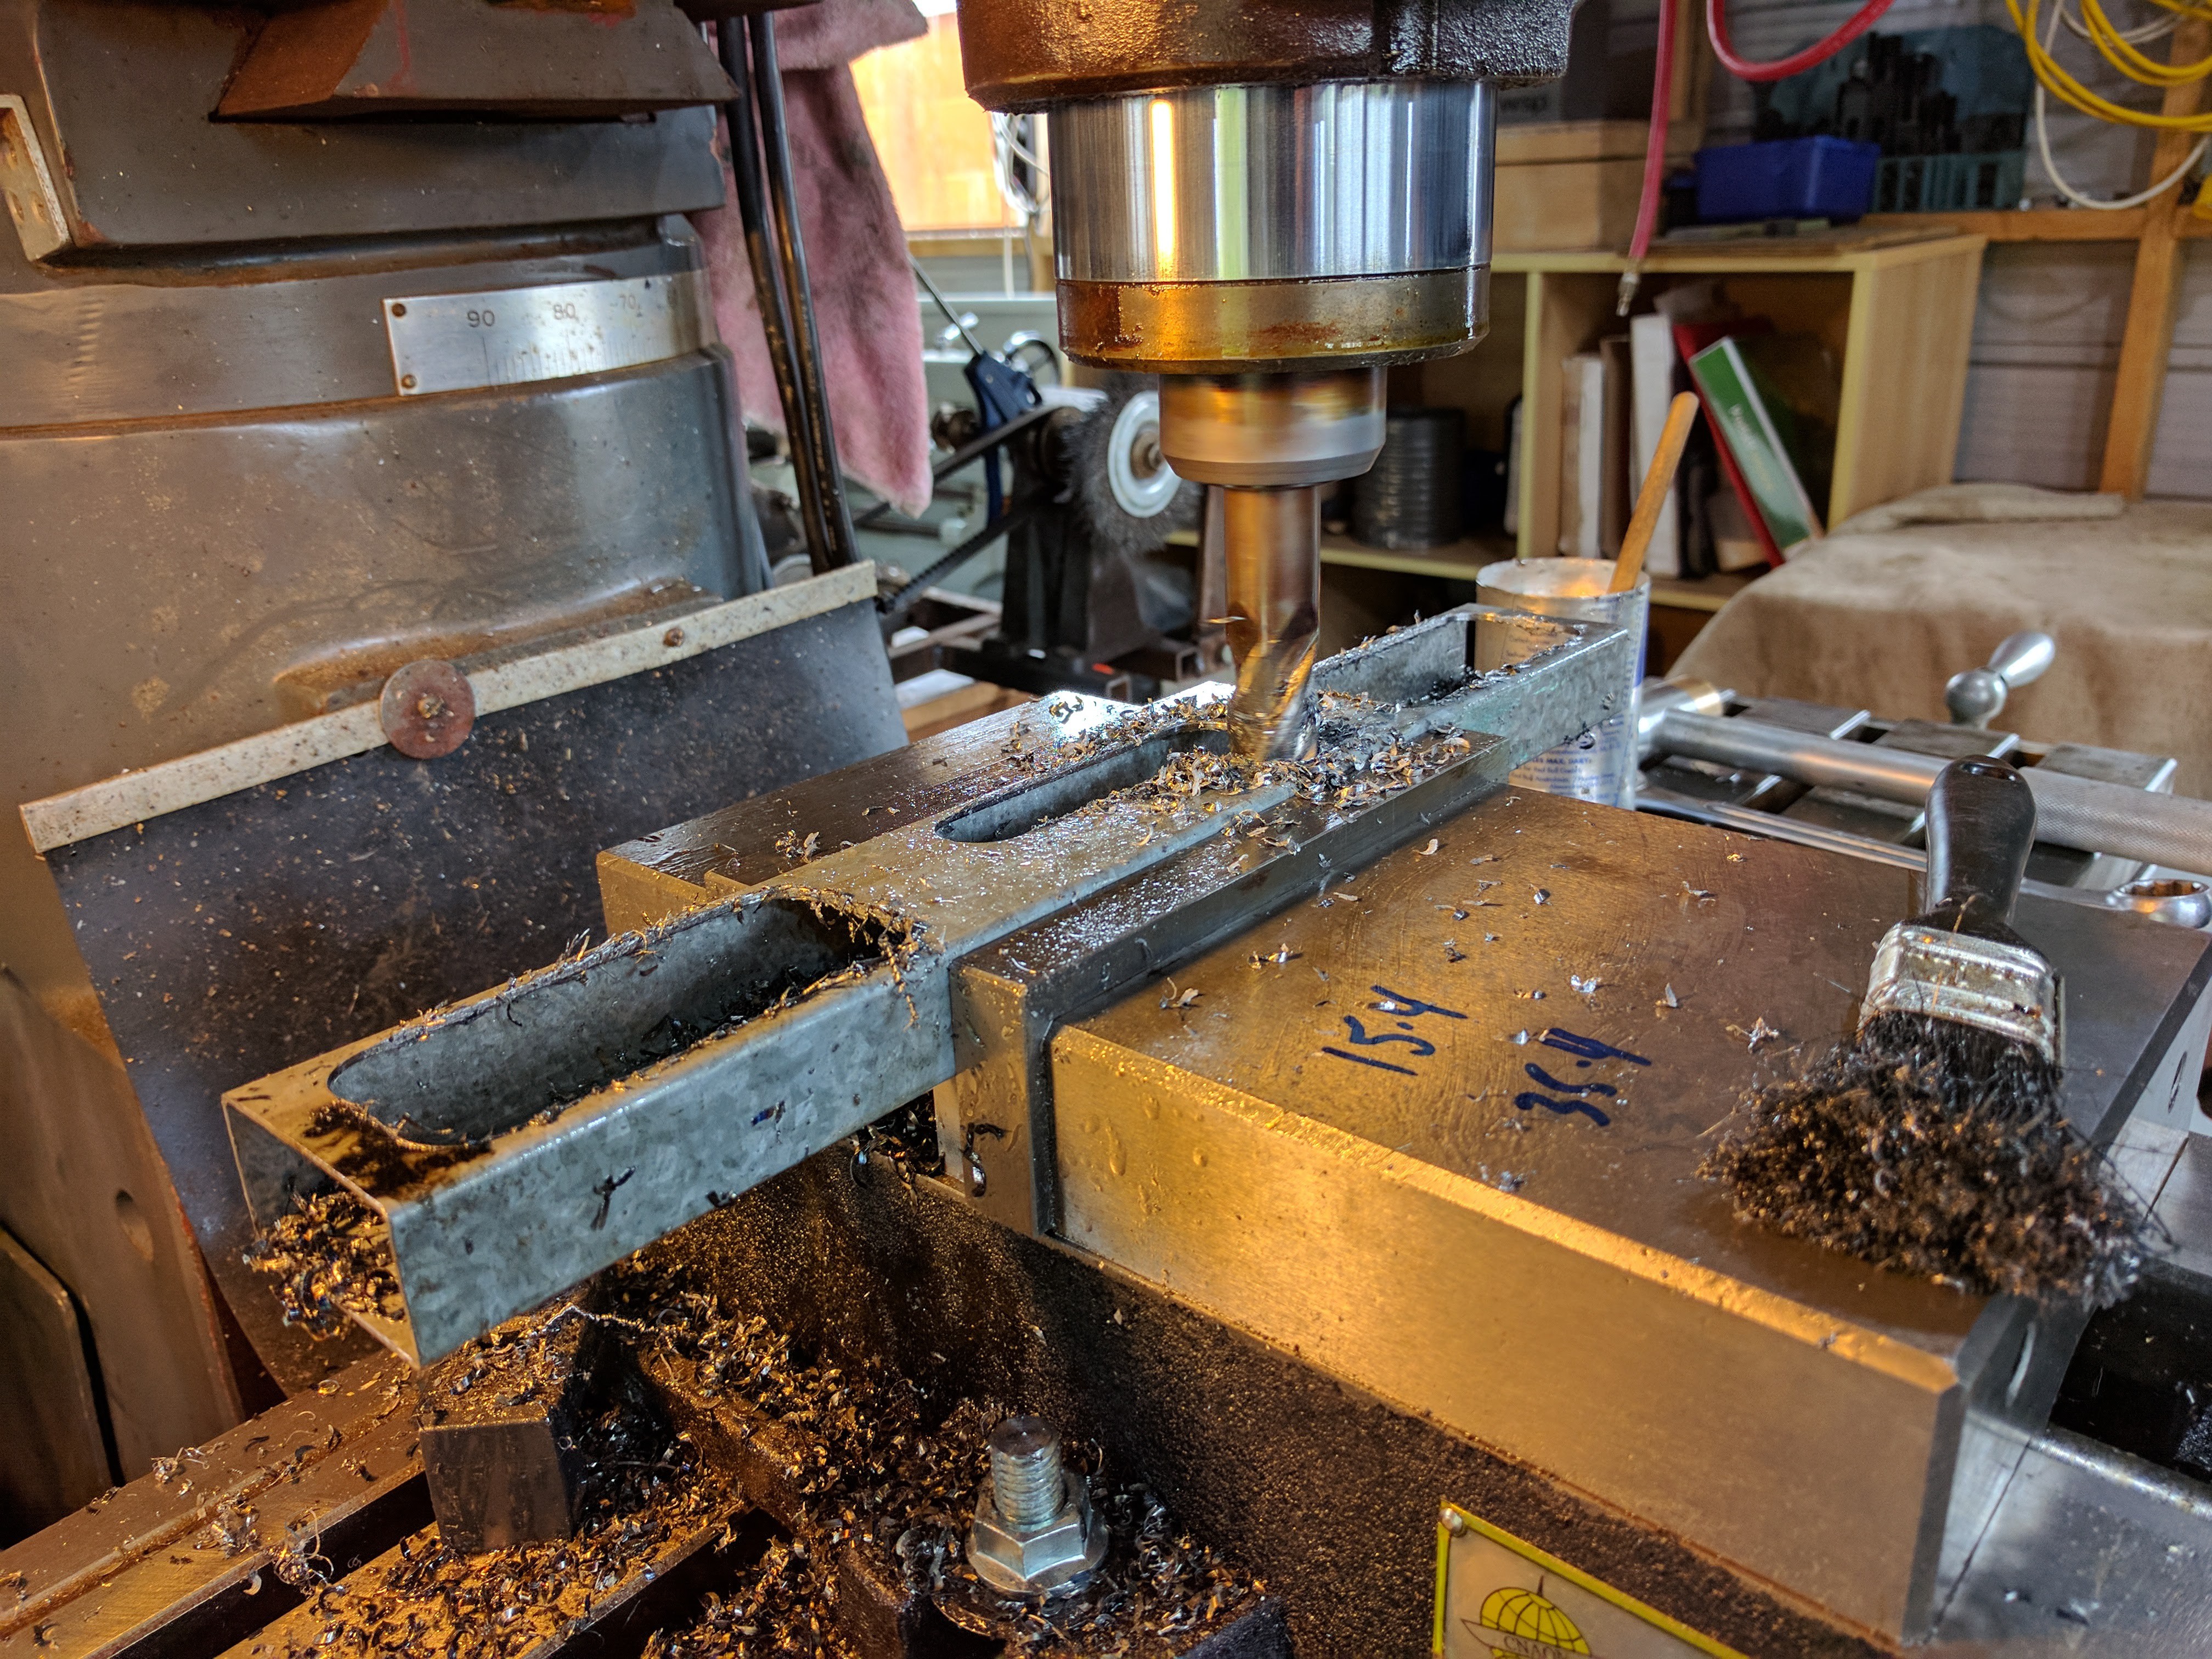
Then into the milling:

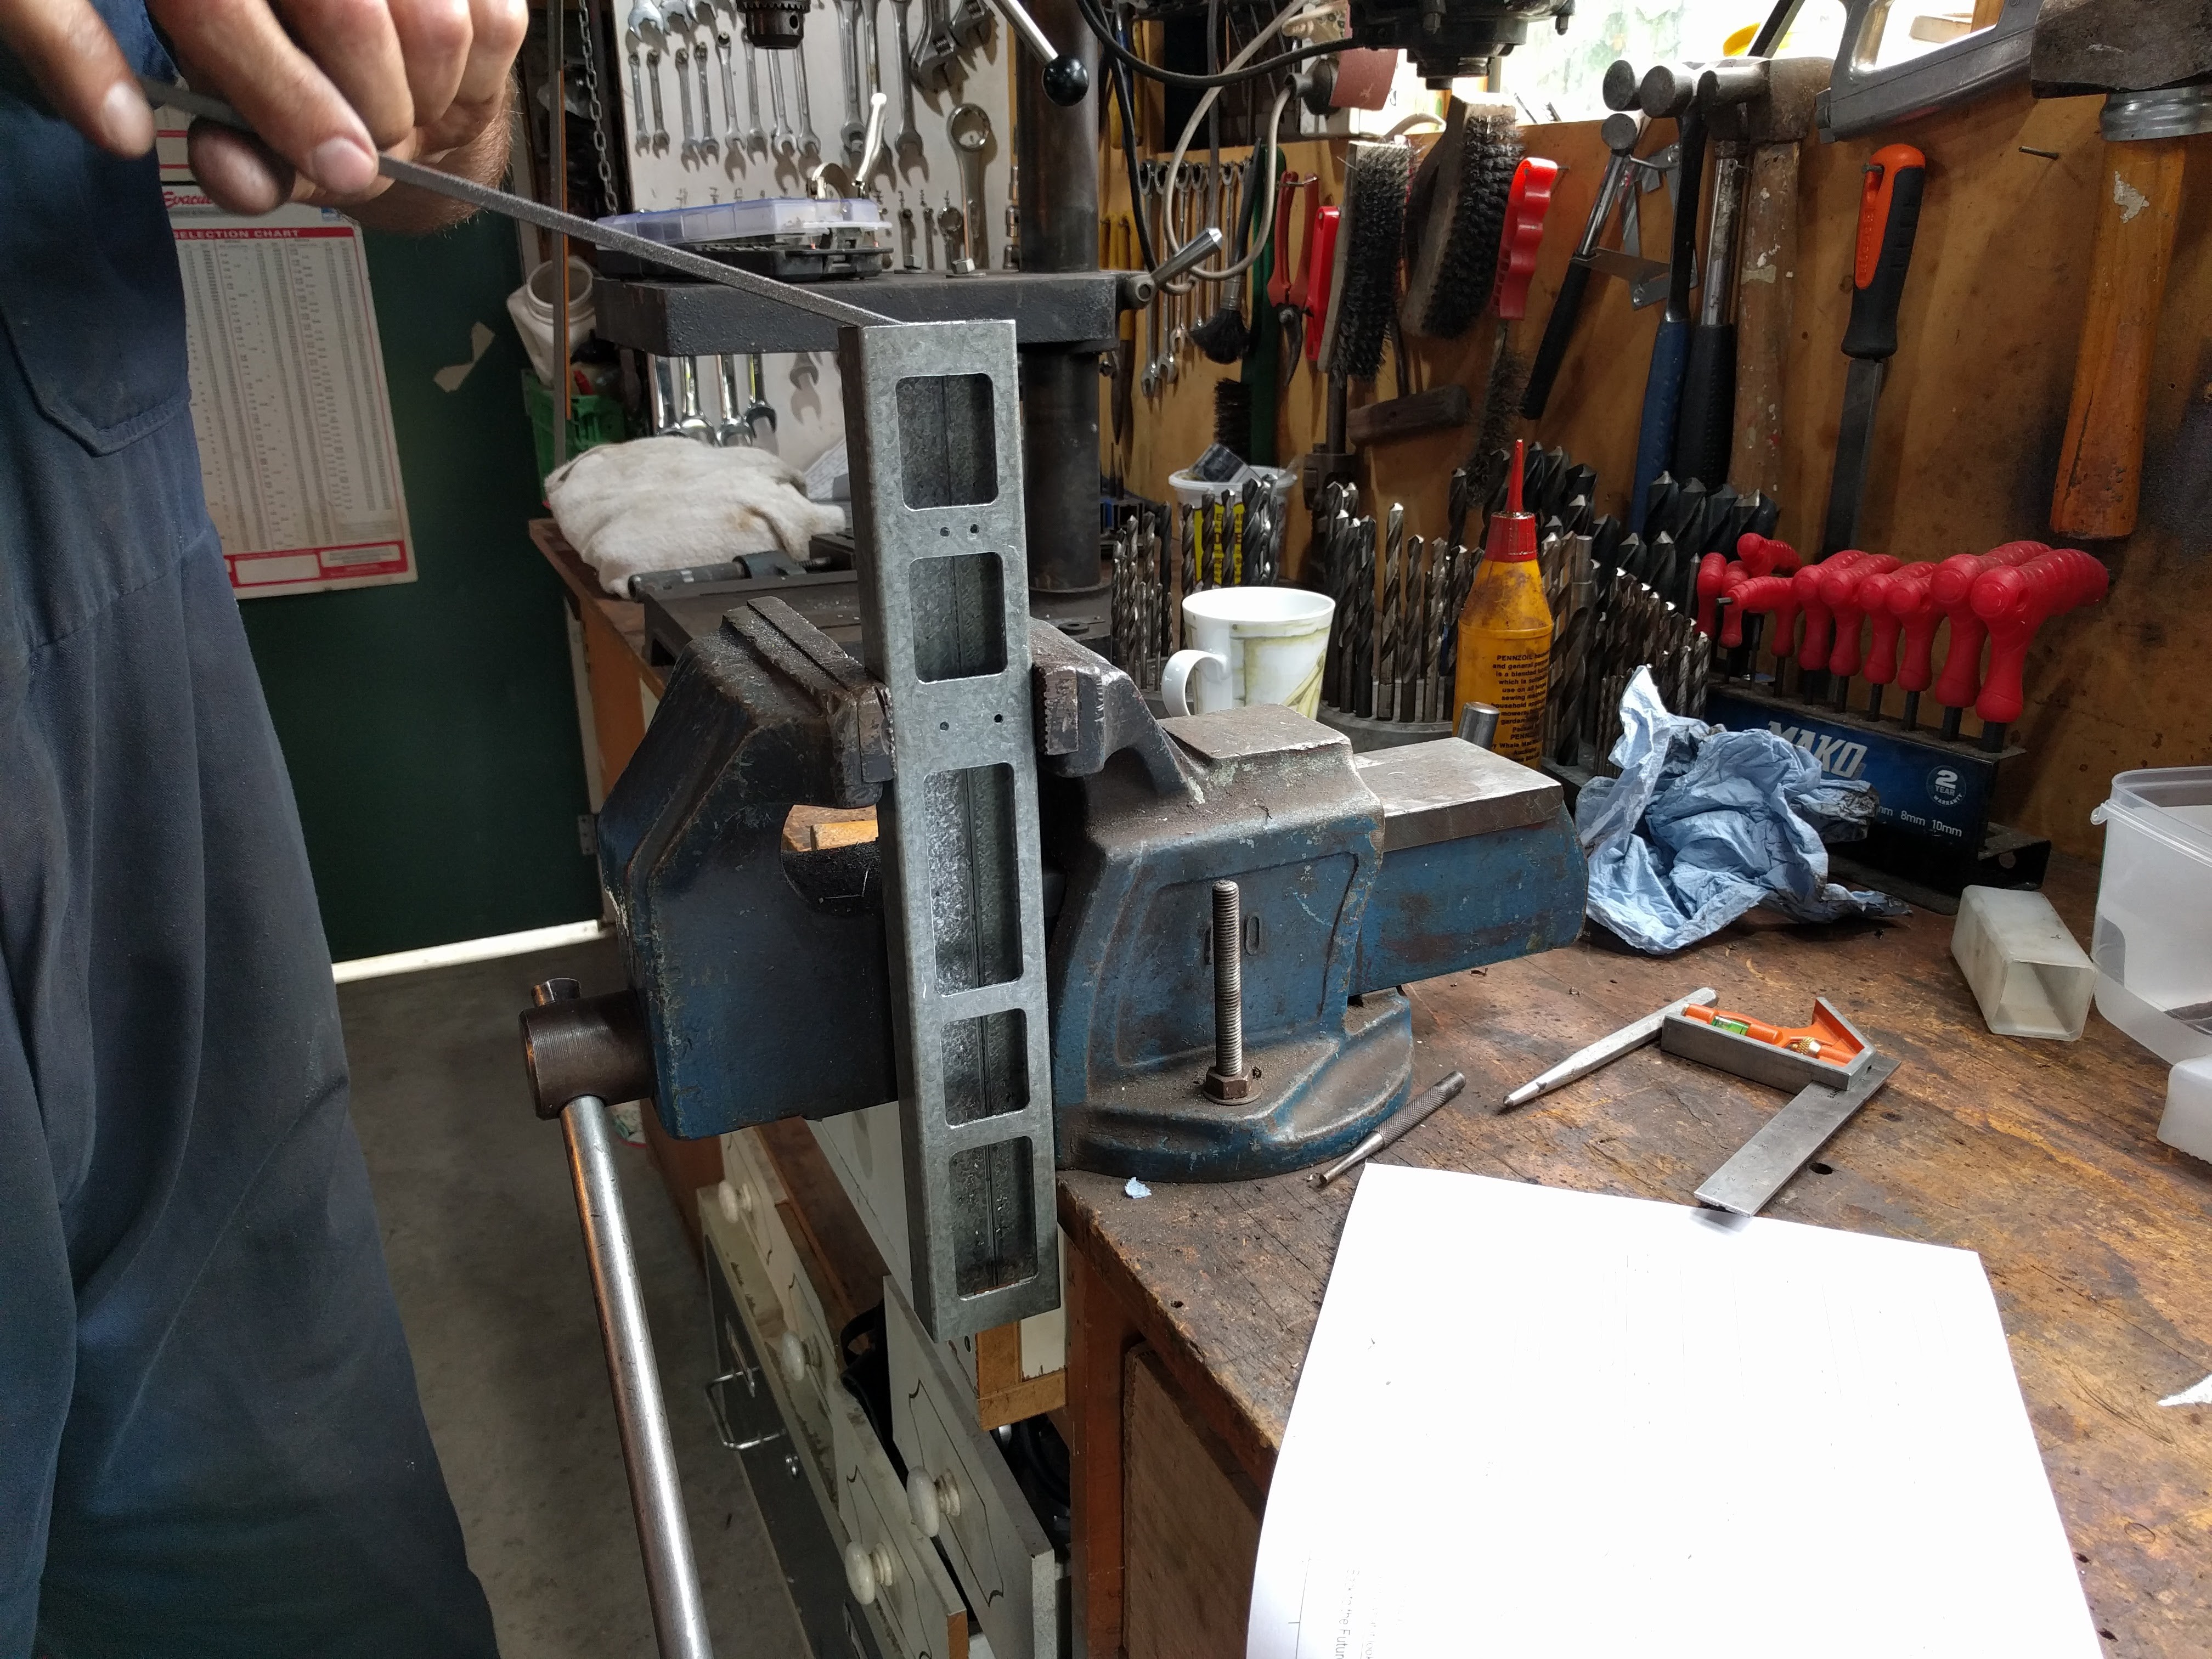
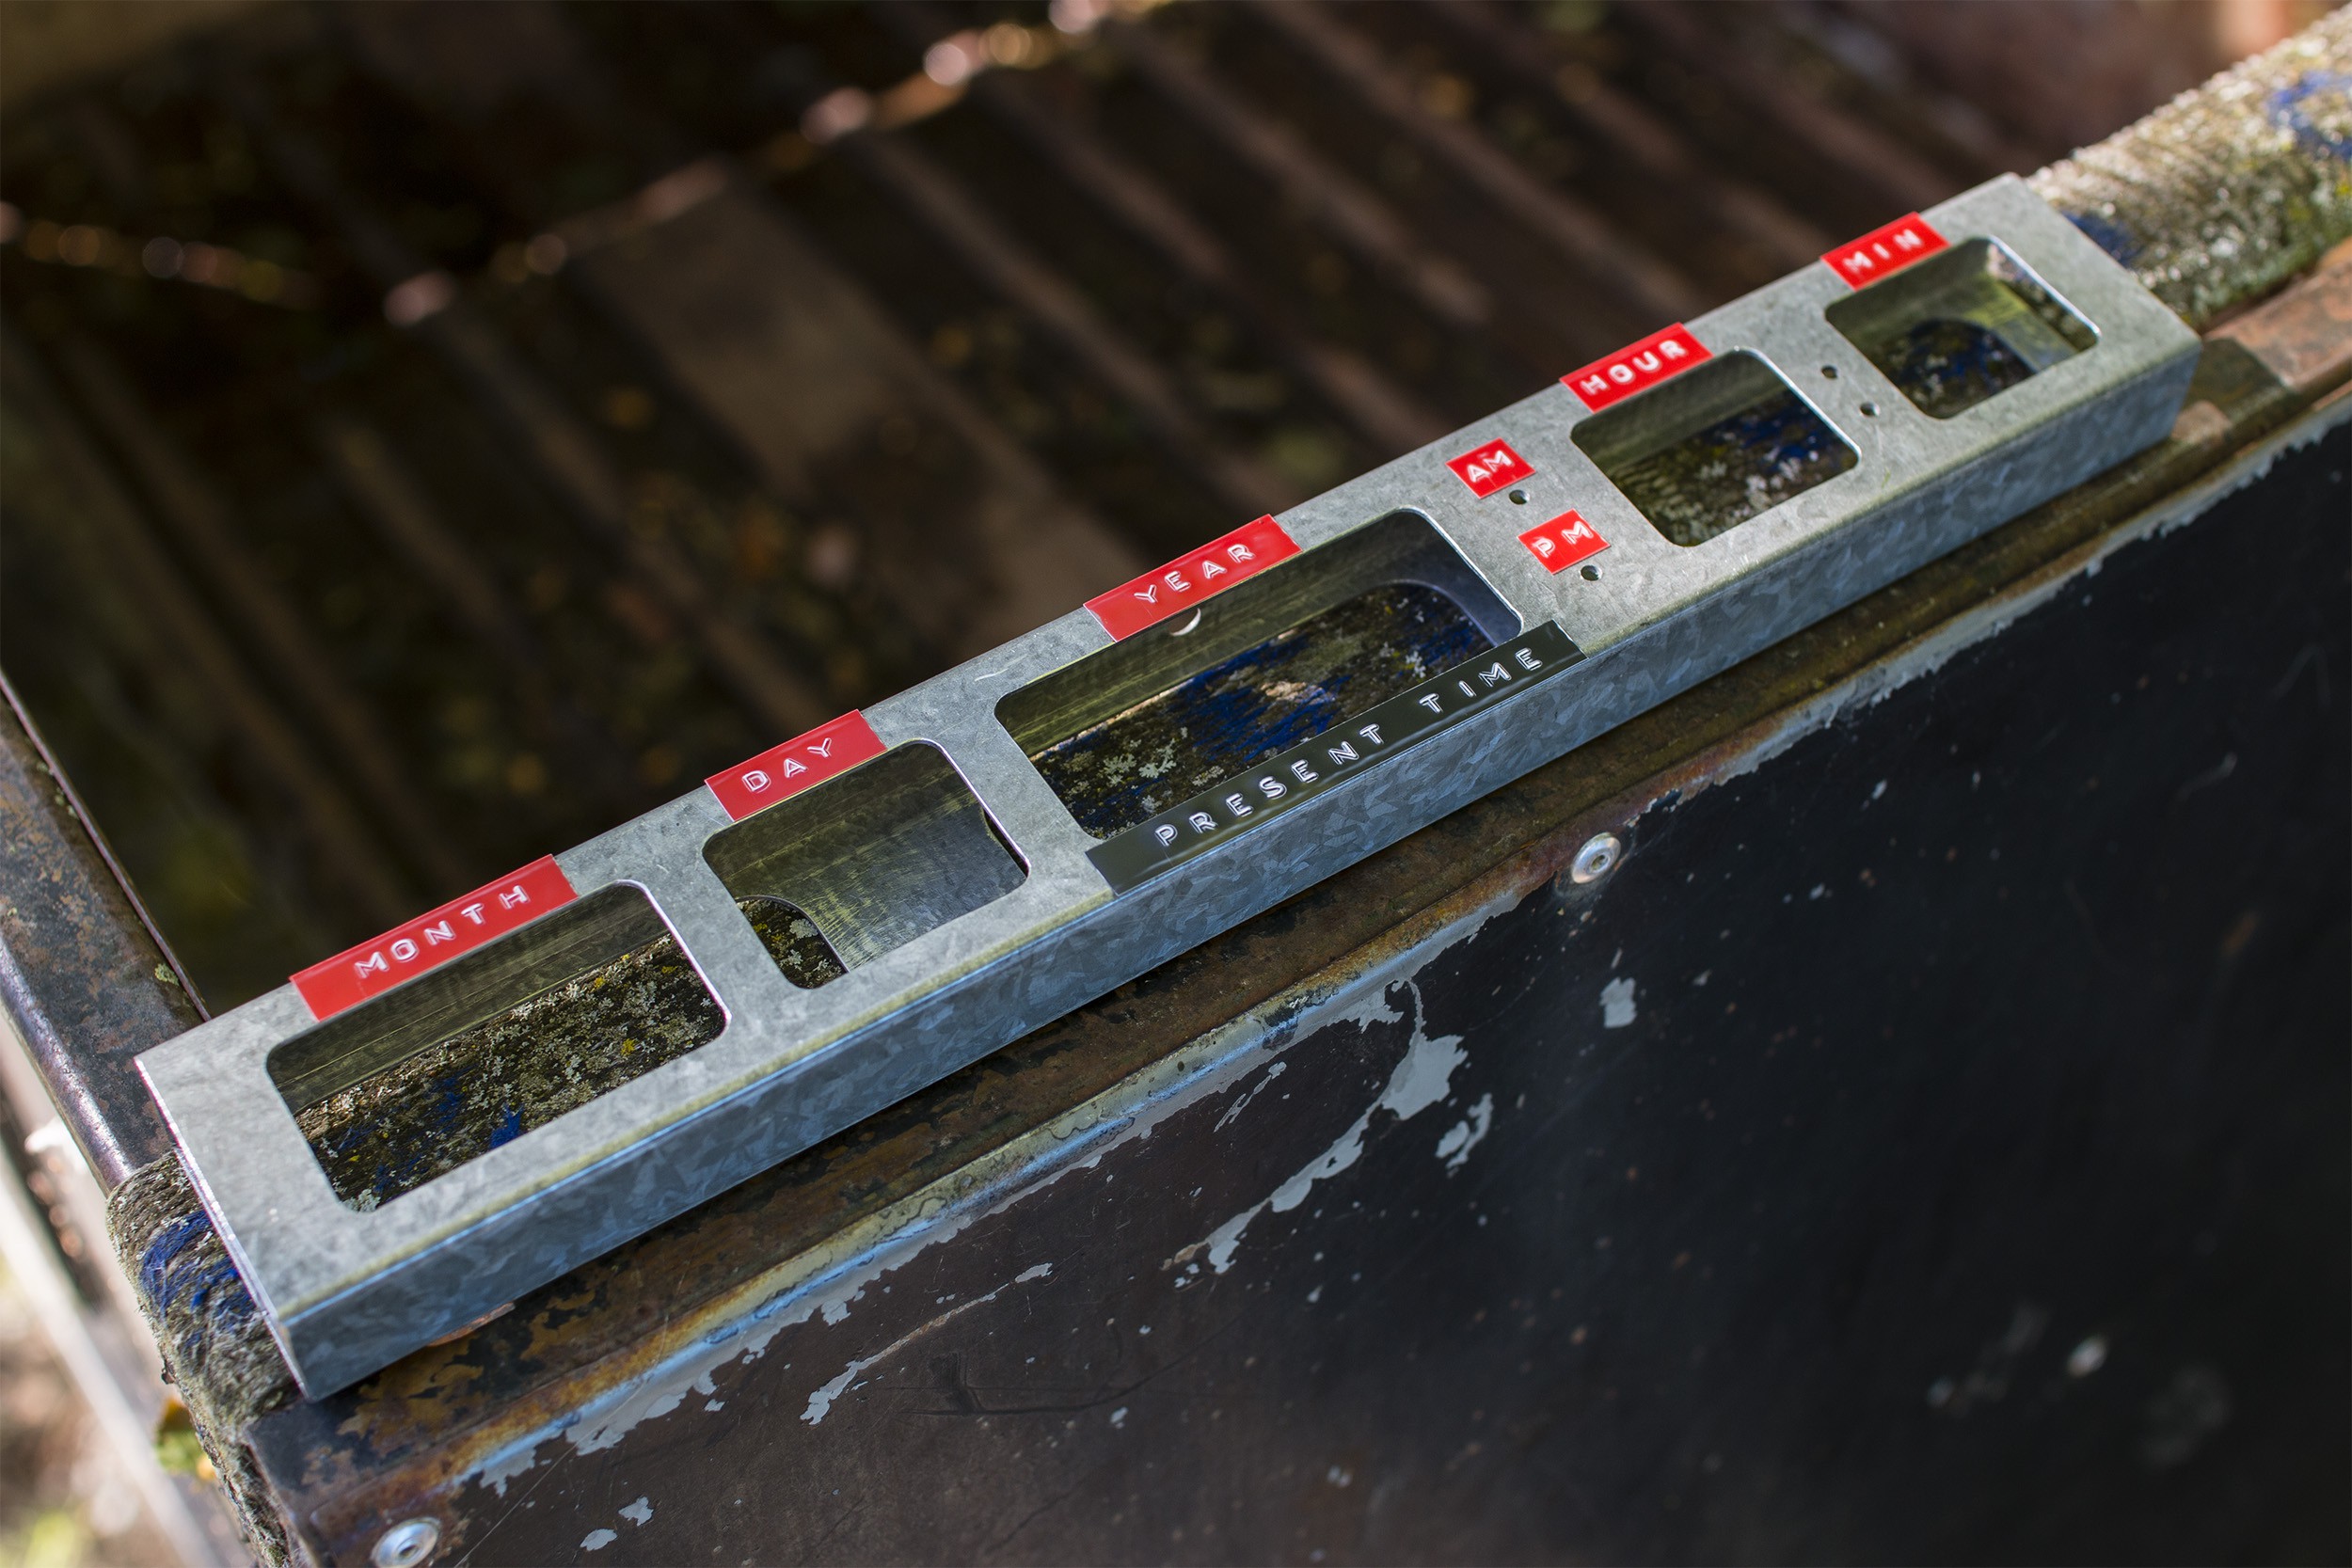
With a little more deburring and labels applied, the result was this:
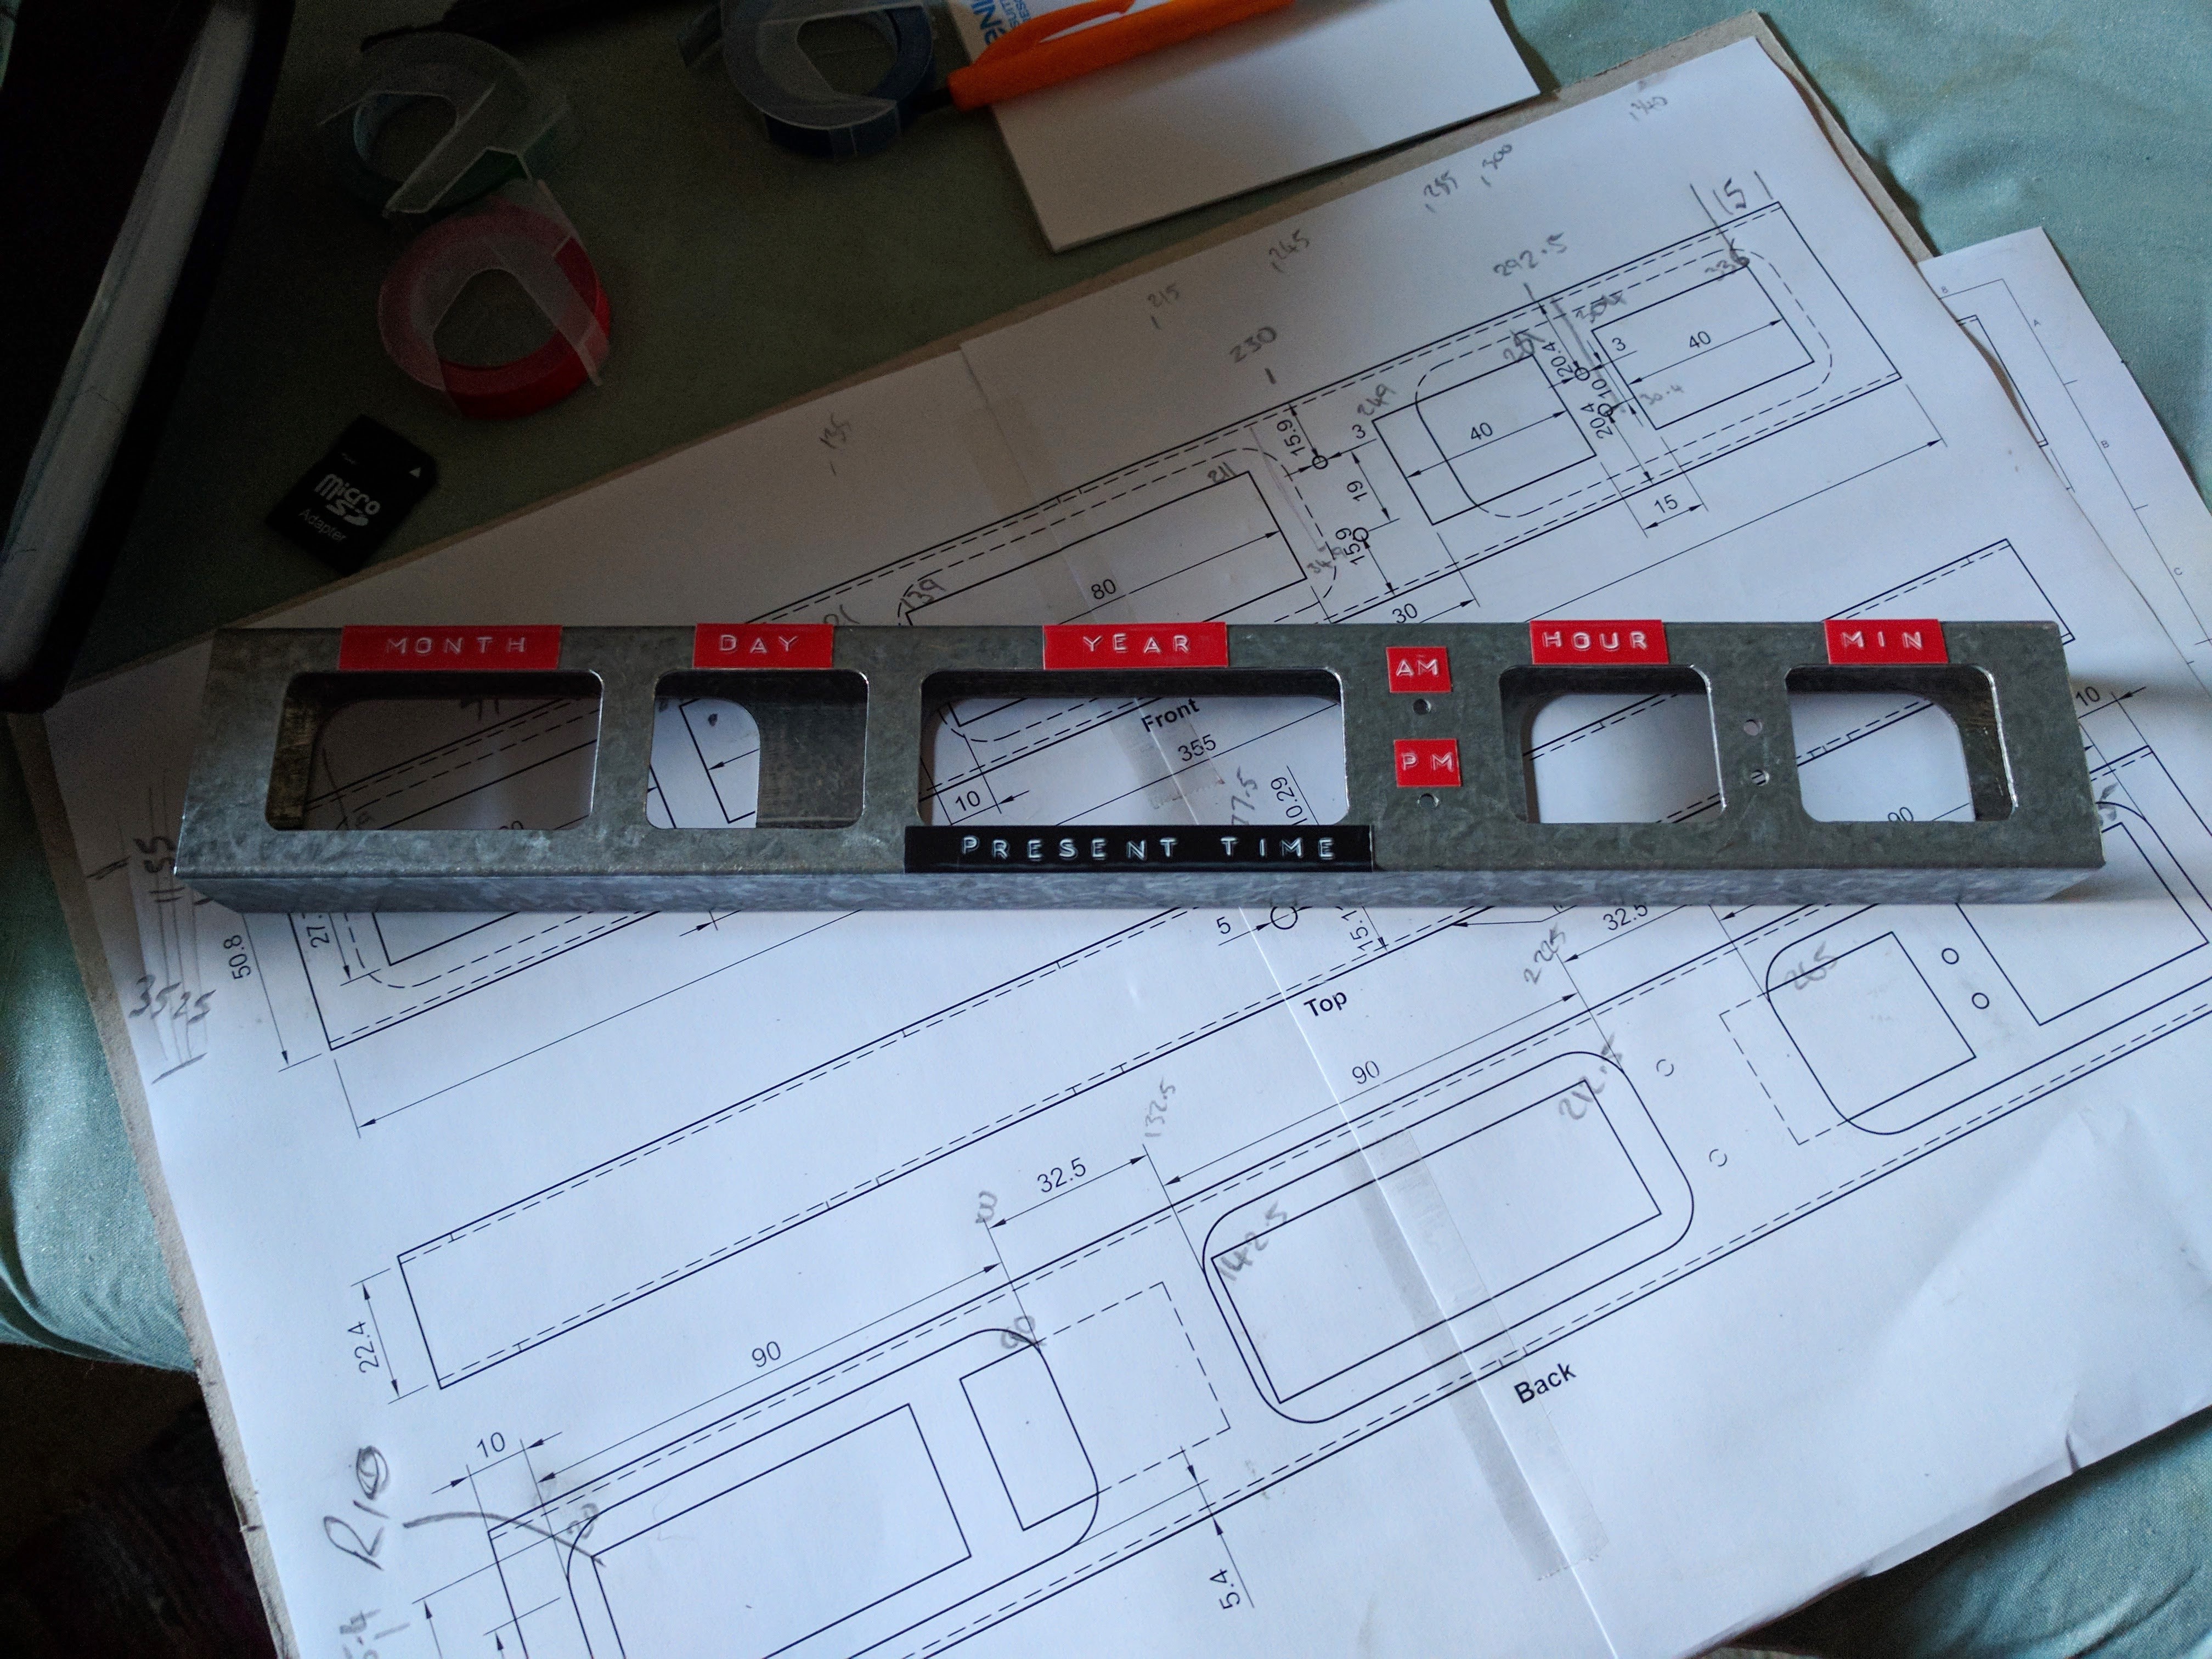
If you were looking closely, you might have noticed that the holes cut in the front are too big. You'd be right - in haste, we collectively made a few manual math errors and made the front cuts too tall. By the time we noticed, we'd milled too much to correct the error, so we just went with it. The displays will be covered by a transparent acrylic filter, so there's no problem with the larger holes other than having less space for the labels.
So that's the frame of the enclosure done - early January. There's one more backdated update about 3D printing end caps for the frame, then you'll be up to speed and we can get to the electronics!
Discussions
Become a Hackaday.io Member
Create an account to leave a comment. Already have an account? Log In.
You own that milling machine or have your own shop? The case and labels look fantastic! Really looking forward to see the finished clock. And now.... take this skull :)
Are you sure? yes | no
Thanks! I'd love to own that mill, but it and the workshop in the pictures belong to my uncle. I live in a small apartment (in a different city) where my "workshop" is the kitchen bench! ..does the job, but it would be so nice not to have to pack up every time we want to cook a meal :D
Are you sure? yes | no
You have a 3-D printer, so why don't you print lables in the correct dimensions? Do you have red, Black, and white filament?
Are you sure? yes | no
Hmm, I don't think I'd be able to achieve a high enough accuracy with my 3D printer to get a nice result (0.2mm layer height, 0.4mm nozzle). To get exactly like the film, it'd probably be easiest to have them printed at high resolution on appropriate paper stock, or just maybe a digital label maker.
I'll see if I can dig up any info on how the ones in the film are made. From eye-balling the frame above, I'd guess they're made with two layers of vinyl.
Are you sure? yes | no
Nice. I always found it funny that they've used foils for the month row, and 7 segment displays for the rest. Looking forward to see the project in action :)
Are you sure? yes | no