 rock-o-mat
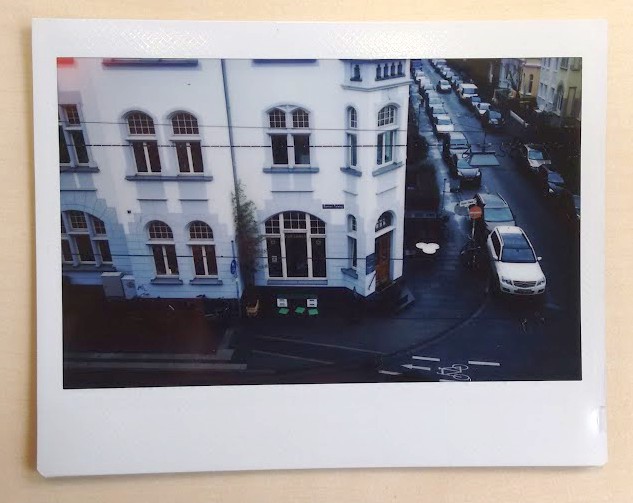
Instax Wide cameras are affordable plastic instant cameras which produce very sharp pictures with crisp colours and a nice format (62x99mm). But sometimes, I would like to have a little more control on what the camera is doing. E.g. the flash cannot be turned off. Especially in dim light this has a tremendous impact on the resulting photo since you never know whether it will fire or not. The shutter time is 1/64s to 1/200s, this is a difference of only about 2 stops between the minimum and maximum shutter time! Longer exposure times would be great. In addition, the lens has an aperture of f14. In combination with the longest shutter speed being 1/64s, this is not good for low light photography.
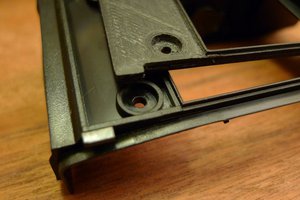
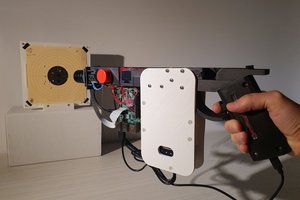
Luckily, I had a Instax 200 lying around which I decided to disassemble and improve. What a great piece of plastic technology this is! There is one DC motor inside which drives both the eject mechanism and the lens focussing mechanism. It depends on the polarity which mechanism is activated. The shutter is a circular shutter driven by a solenoid. Some switches for sensing the position of lens and eject mechanism, a simple photoresistor for light metering, built in flash, some electronics - thats it. Looking at the opened Instax I had the idea to not only make the flash controllable (by a switch) but to replace all the electronics with a microcontroller.
After unsoldering the PCB and removing the flash PCB including capacitor (discharge before touching!) the raw Instax was ready for modding. To get a fully functional instant camera again the microcontroller has to control the DC motor, read the status of the switches, control the shutter, change parameters based on input from the 4 buttons on the side of the camera, display current parameters on the OLED display, light metering using built-in photoresistor. Since I removed the built-in flash a Yongnuo flash trigger was integrated to allow triggering external flashes.
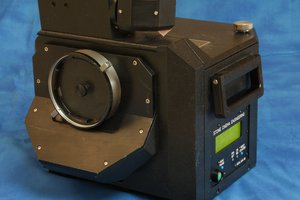
All the components fit into the plastic case. The only visual difference between this mod and a regular Instax is the display (OLED vs. crystal). The camera now features an automatic mode (automatic light metering and setting of proper exposure time) and a manual mode, where exposure times can be set between 30 seconds and 1/200s. A double exposure feature (omit ejecting photo after exposure) as well as a 10 seconds self timer are also implemented. External flashes are fired using the built-in flash trigger.
For this project I decided to go with an Arduino Nano. Main advantage is the small form factor and the already available libraries from Adafruit to drive the OLED display. The Nano is powered directly by 4 AA batteries from the Instax battery holder. A L9110S motor driver was used to drive the main parts of the camera: the solenoid for the shutter as well as the DC motor for lens position changing and eject mechanism. Shooting parameters can be controlled with the original 4 buttons on the side of the camera. Since the original PCB was removed 4 new miniature buttons were soldered on a new PCB. Shooting parameters (exposure mode, shutter time, lens position, light meter reading) are displayed on the small OLED. The flash trigger fires in-sync with the shutter. The exposure meter uses the original photoresistor and a 47kOhm resistor in a voltage divider circuit. The output voltage is measured on a analog pin of the Nano. Actual shutter times are defined in a lookup table.
PROS:
- manual and auto mode
- manual setting of shutter time (1/250s to 30s)
- radio flash trigger for triggering external flashes
- double exposure
- 10s self timer
CONS:
- Still no tripod mount
- Standby mode for Arduino and turning off external components (e.g. H bridge) not yet implemented
LICENSES:
- Adafruit_SSD1306: BSD License
- Adafruit-GFX-Library: BSD License
 theschlem
 mihai.cuciuc
This is so cool,but where are the further steps?