Close
0%
0%

Electric Bike Battery SLA to LiFePO4 Conversion

How I converted my electric bike battery from Sealed Lead Acid (SLA) to Lithium Iron Phosphate (LiFePO4).

Similar projects worth following

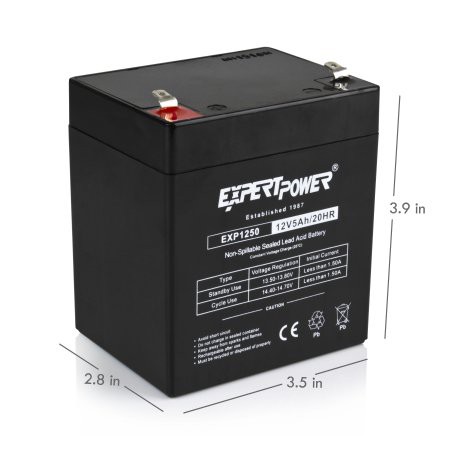
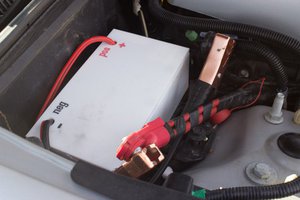
This bike was designed for Sealed Lead Acid (SLA) batteries. It used two 12V 5Ah batteries in series. The combined weight of two Expert Power EXP1250 batteries is 6.7 lbs.

Besides being heavy, SLA batteries require a constant trickle charge to maintain shelf life and should be charged immediately after use to prevent sulfation [2]. This meant I would need to charge at home and at work, carrying the charger with me at all times or buying two chargers. Another downside is SLA batteries last only 3-5 years because they are limited to 200 charge cycles.

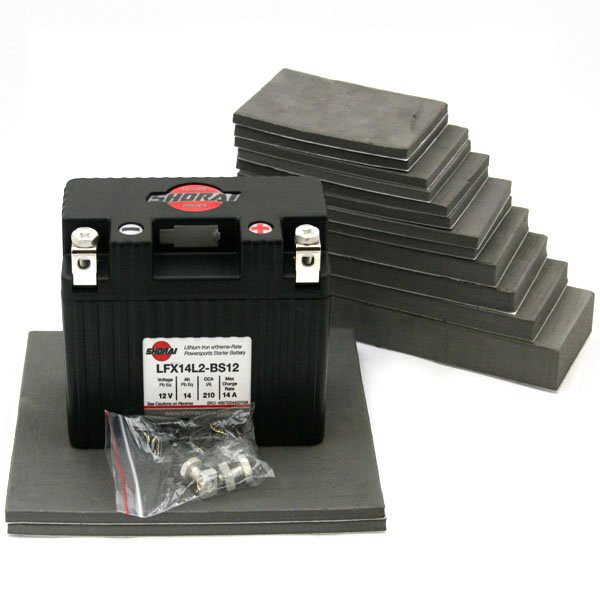
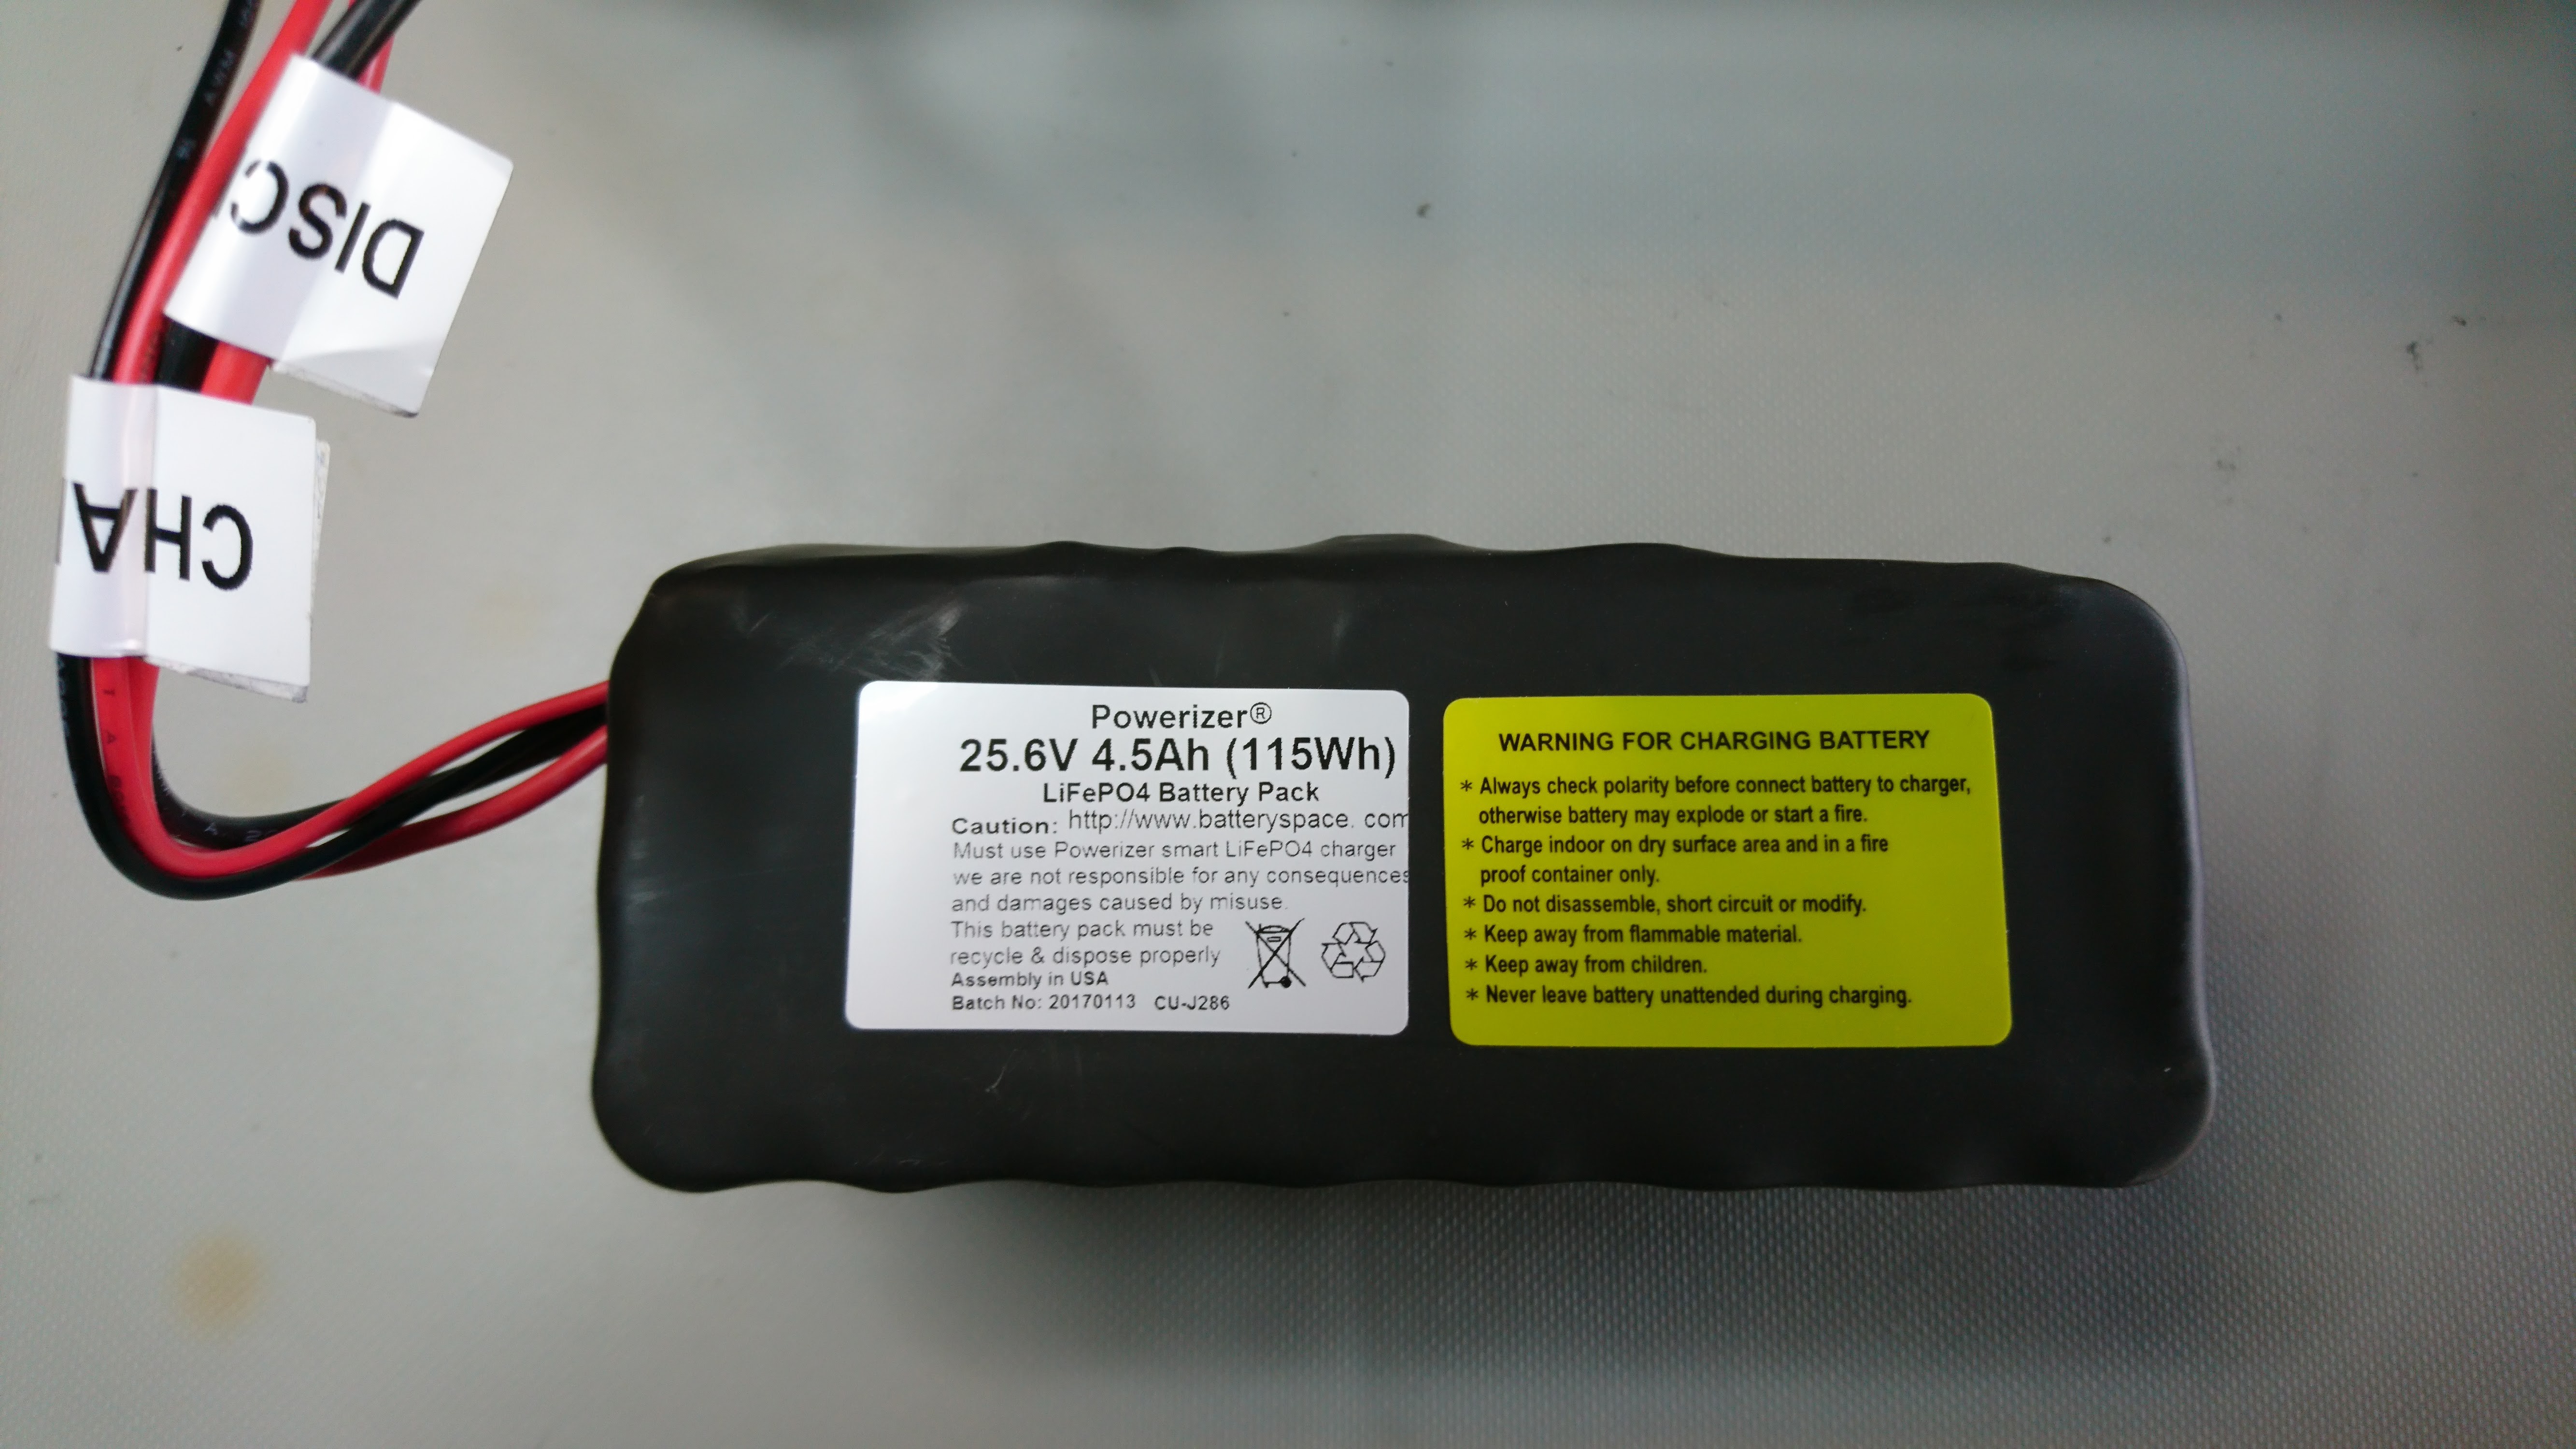
I've had this bike for almost 10 years and have replaced the batteries 3 times after they start to fail. Each time, I planned on converting the bike to Lithium or a different lighter and denser chemistry but the risk and cost deterred me. However, since it's invention in 1996 by Goodenough et al. [3], LiFePO4 is widely used in electric vehicles and bikes because they are light, safer, and support up to 2000 charge cycles. So I decided to take the plunge.

  1. EXP1250 http://www.expertpowerstore.com/EXP1250-12-Volt-5-Amp-Rechargeable-Battery
  2. Charging Lead Acid Batteries http://batteryuniversity.com/learn/article/charging_the_lead_acid_battery
  3. LiFePO4 History https://en.wikipedia.org/wiki/Lithium_iron_phosphate#History_and_production

  • Replacing a broken base connector

    Lucas Rangit MAGASWERAN03/14/2017 at 00:06 0 comments

    Upon replacement of the battery I noticed that the base of the battery connector where the battery make contact with the posts on the bike had cracked. The plastic part had weak points in its design meaning that gluing it would most likely break again.

    Thankfully, Diego Porqueras from @Deezmaker at the 2015 Hacakday Zero to Product workshop showed us how to use Tinkercad .

    Following his tutorial, I measured the sizes and spacing of the holes, the slope where the metal flaps rested, and various thicknesses with calipers. In my design, I made the part thicker and added more material to the base so that the holes were not near an edge. I started by making the main shapes and used voids to remove areas. Slopes were made by changing the plane so I could precisely control the angles. Holes for the bolts needs material for the square nuts to fit in so those were made by grouping two shapes to create a larger complex void. The hard part was making sure I had enough room on the bottom for the angled bolt and nut to fit on the bottom side of the part. Turns out I didn't and had to dremel some material away.

    Here is the finished part: https://www.tinkercad.com/things/kNUMJKz7jSd-electric-bike-battery-base-connector

    I printed it using a Stratasys Connex500 PolyJet printer I had access to. So far the part is holding up great under vibration.


  • Packing the Battery

    Lucas Rangit MAGASWERAN03/02/2017 at 02:32 0 comments

    The original battery enclosure was designed to fit two SLA batteries stacked. To secure the new battery without permanently modifying the battery enclosure or making a new one, I used high density foam spacers. These foam spacers are recycled from some packing material, so unfortunately, I do not know where or how to order these. However, they are included with batteries from BatteryStuff.com so they may be ordered from them. If anyone know what or how to order these easily please leave a comment!


  • Battery Wiring

    Lucas Rangit MAGASWERAN03/02/2017 at 02:12 0 comments

    The LiFePO4 battery came with a 4 hookup wires. 2 for charging and 2 for discharge. This is because charging must go through the battery management system whereas powering the motor comes directly off the batteries.

    The discharge wires are 16 gauge and the charge wires are 18 gauge. Since the battery is used outdoors, I bought fully insulated nylon spade wire crimps (see project parts list). They are color coded to indicate the range or wire gauge they support.

    The reason the charge wires use two different colors is because their wires are different gauge. This is okay because the current is limited by the battery management system (higher gauge is rated for less current).

    AWGColorCurrent AWire mm²
    22-18Red100.5-1.5
    16-10Blue151.5-2.5
    12-10Yellow244-6

  • Picking the battery

    Lucas Rangit MAGASWERAN02/28/2017 at 18:08 0 comments

    Picking the battery was time consuming. I had to not only try and match the voltage of the original 24V pack but also keep the size constrained to fit inside the original battery case.

    I picked a custom $125 LiFePO4 battery with 25.6V 4500 mAh from AA Portable Power Corp. (http://batteryspace.com) for the following reasons.

    • Battery management system (BMS) was pre-installed.
    • 18650 cells wired in 3 rows of 8 (8S3P) and did not exceed the inner dimensions of the battery pack.
    • mAh and voltage are close to the original.
    • Discharge current is 14 A. Well above anything the SLA battery could provide.
    • Only 2 lbs.

  • Estimated range

    Lucas Rangit MAGASWERAN02/27/2017 at 05:07 0 comments

    Based on the battery range calculations from commercial electric bike vendor Pedego, I'm estimating my range to be 7.1 miles. I computed this using the following trend line formula in LibreCalc.

    =TREND(D2:D5,C2:C5,C2:C6, )

    https://www.pedegoelectricbikes.com/faq/#battery-range

    VOLTS AMP HOURS WATT HOURS MILEAGE
    36 10 360 20
    36 15 540 33
    48 10 480 30
    48 15 720 45
    25.6 4.5 115.2 7.1

View all 5 project logs

Enjoy this project?

Share

Discussions

kamden wrote 06/28/2021 at 17:22 point

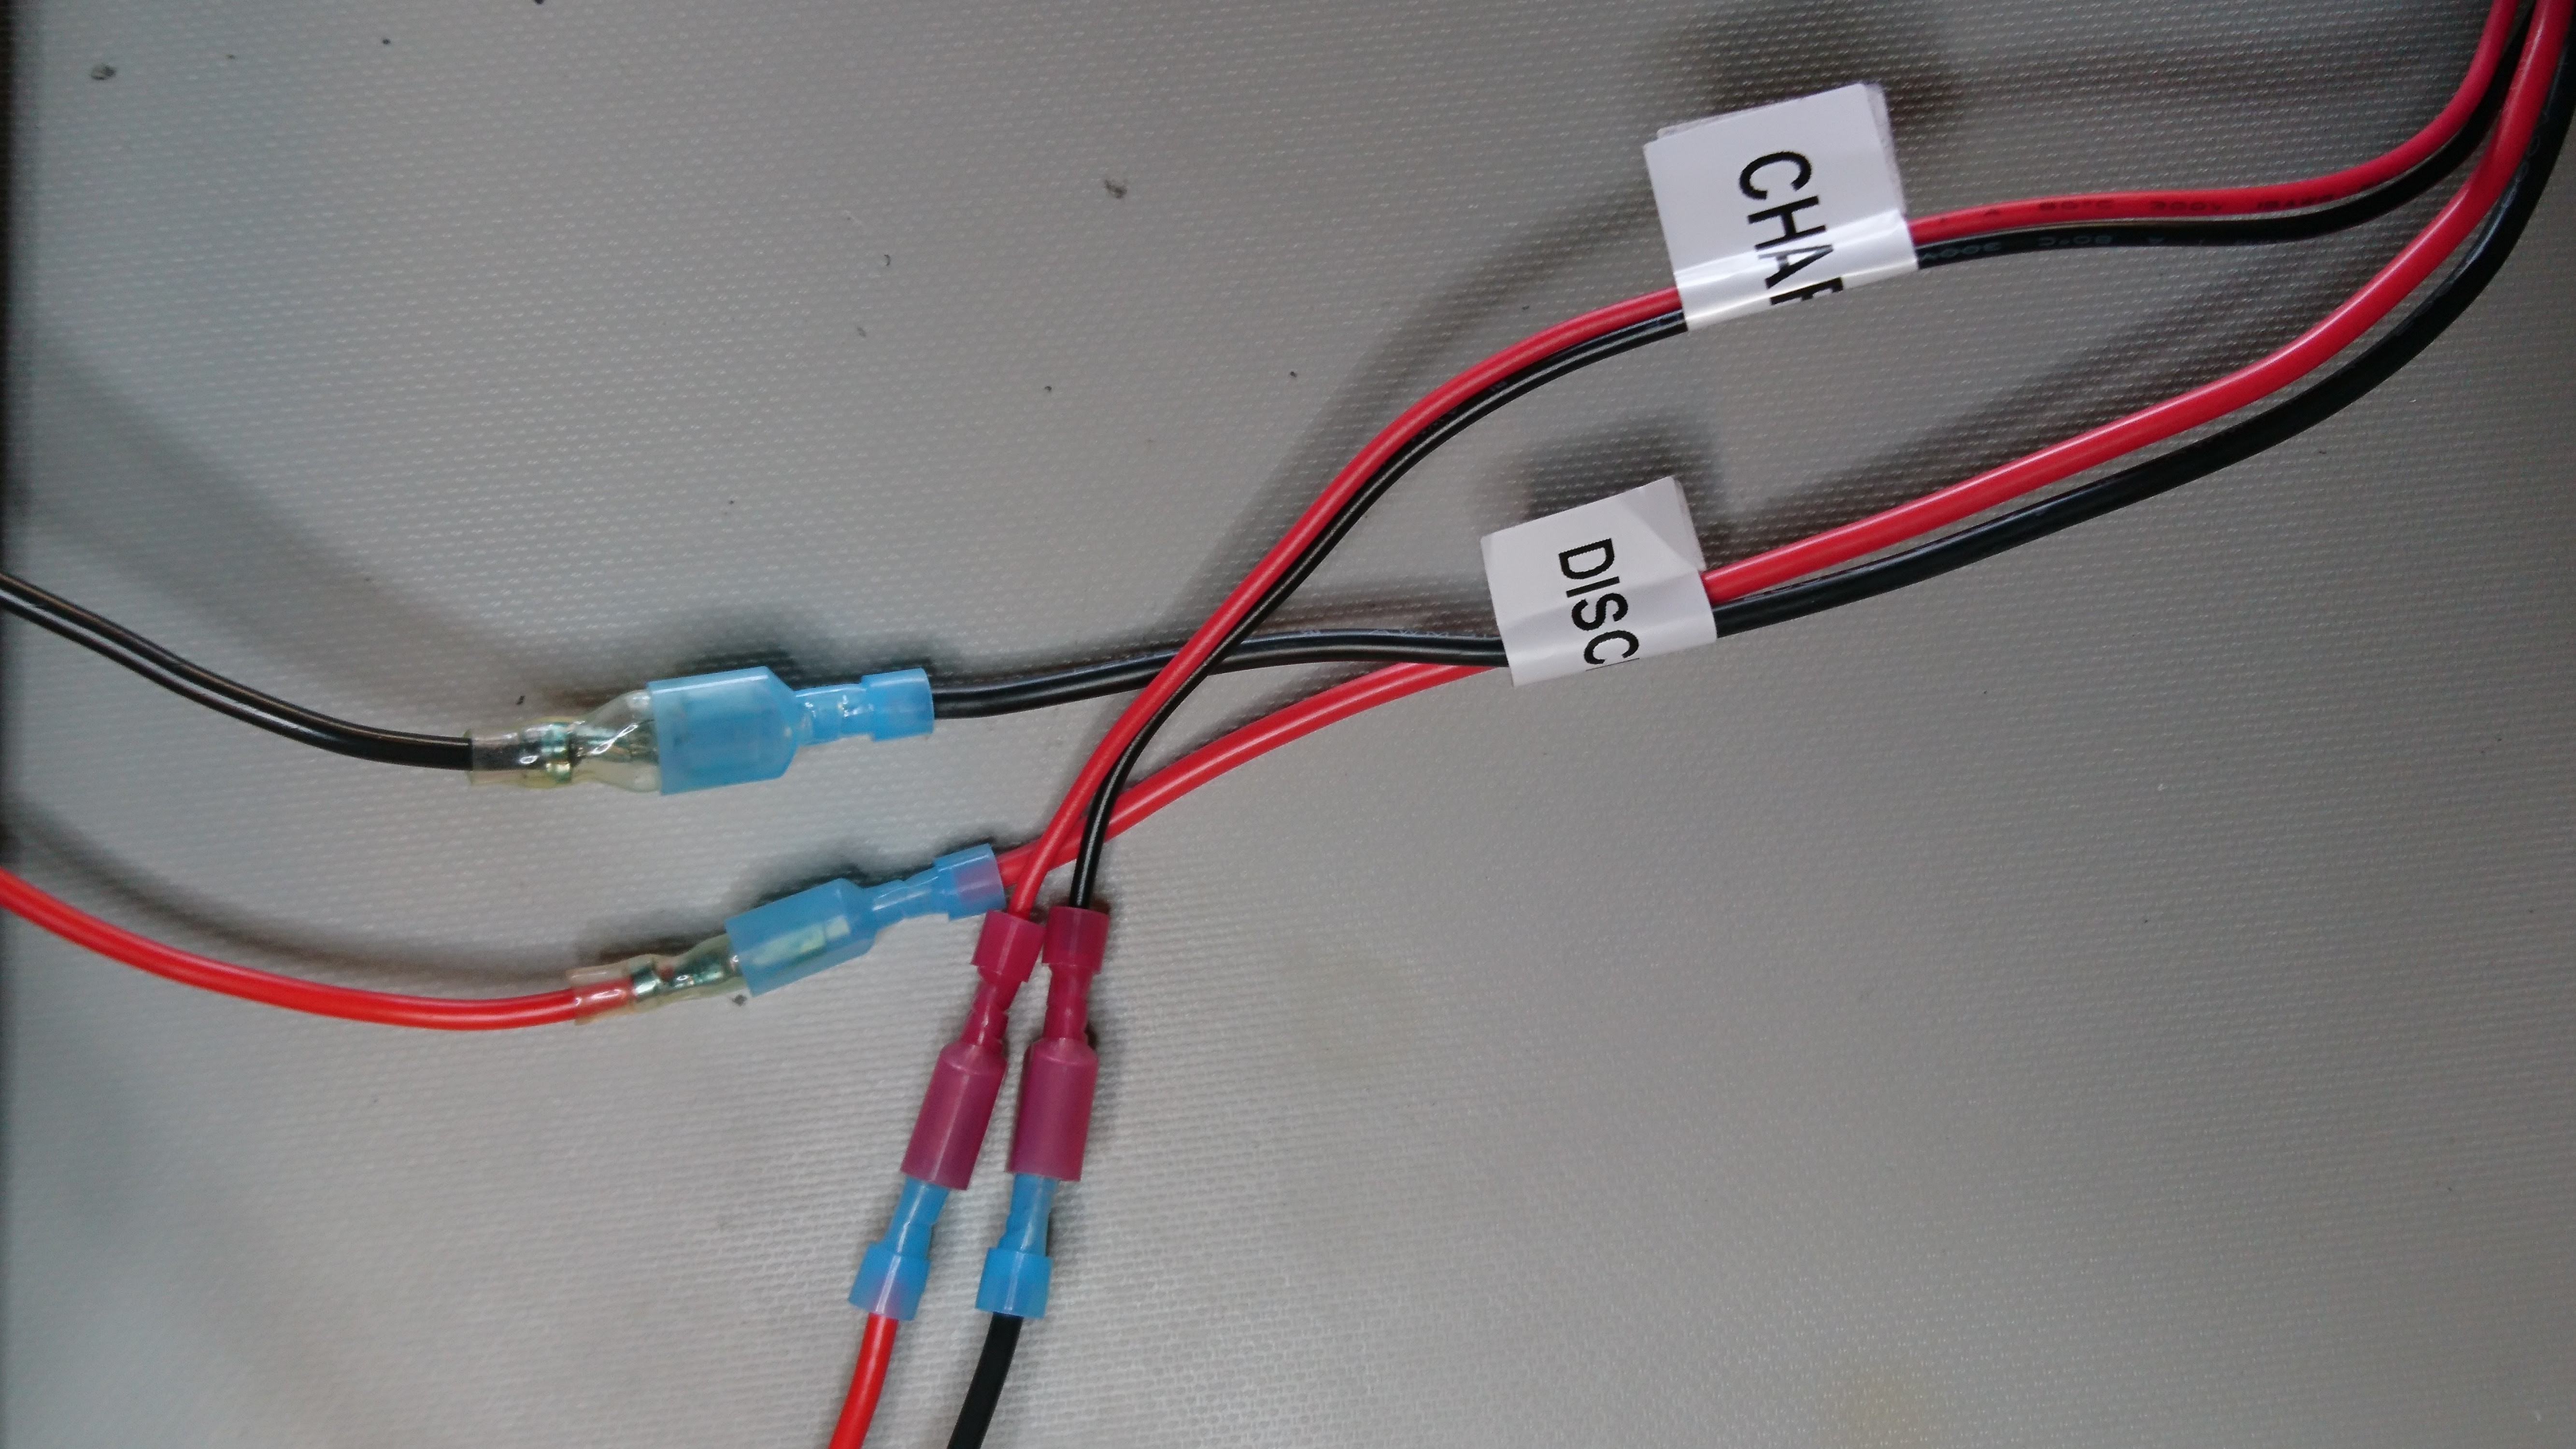
I have a couple questions. 1. What did you do for the charging wires? Just hook them up to the old port? And 2. Did you just connect the discharge wires to the old discharge port?

  Are you sure? yes | no

Similar Projects

Does this project spark your interest?

Become a member to follow this project and never miss any updates