 Will Preston
The goal in creating this rig is to create the appearance of a modern, idealized gaming rig, with the under-the-hood workings that would have made an eager IBM PC gamer of 1994 salivate.
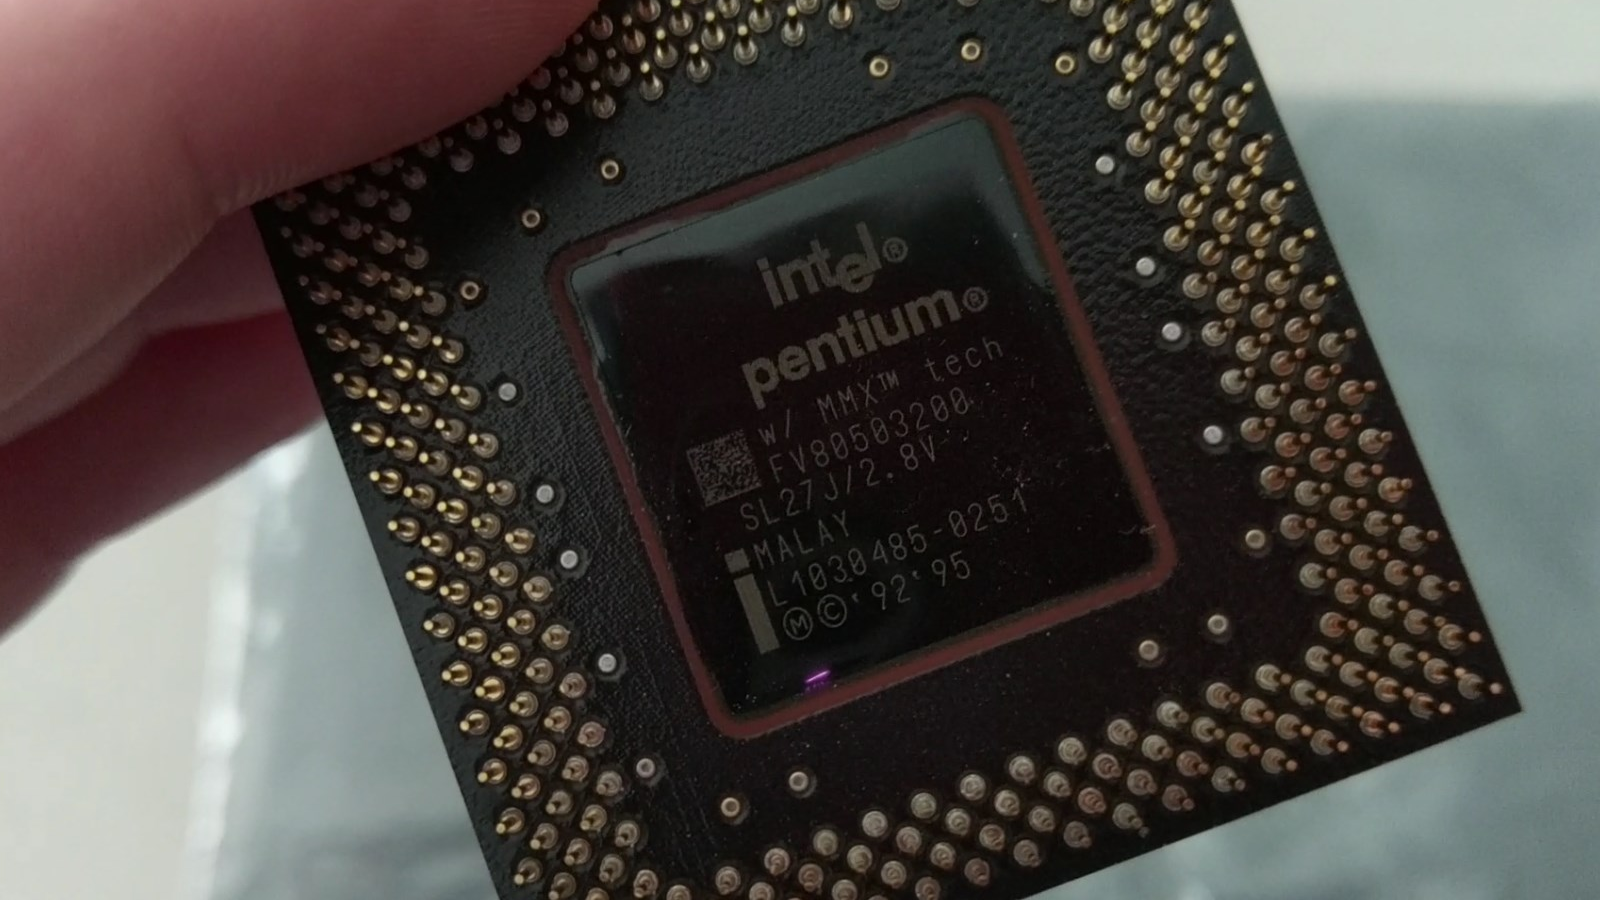
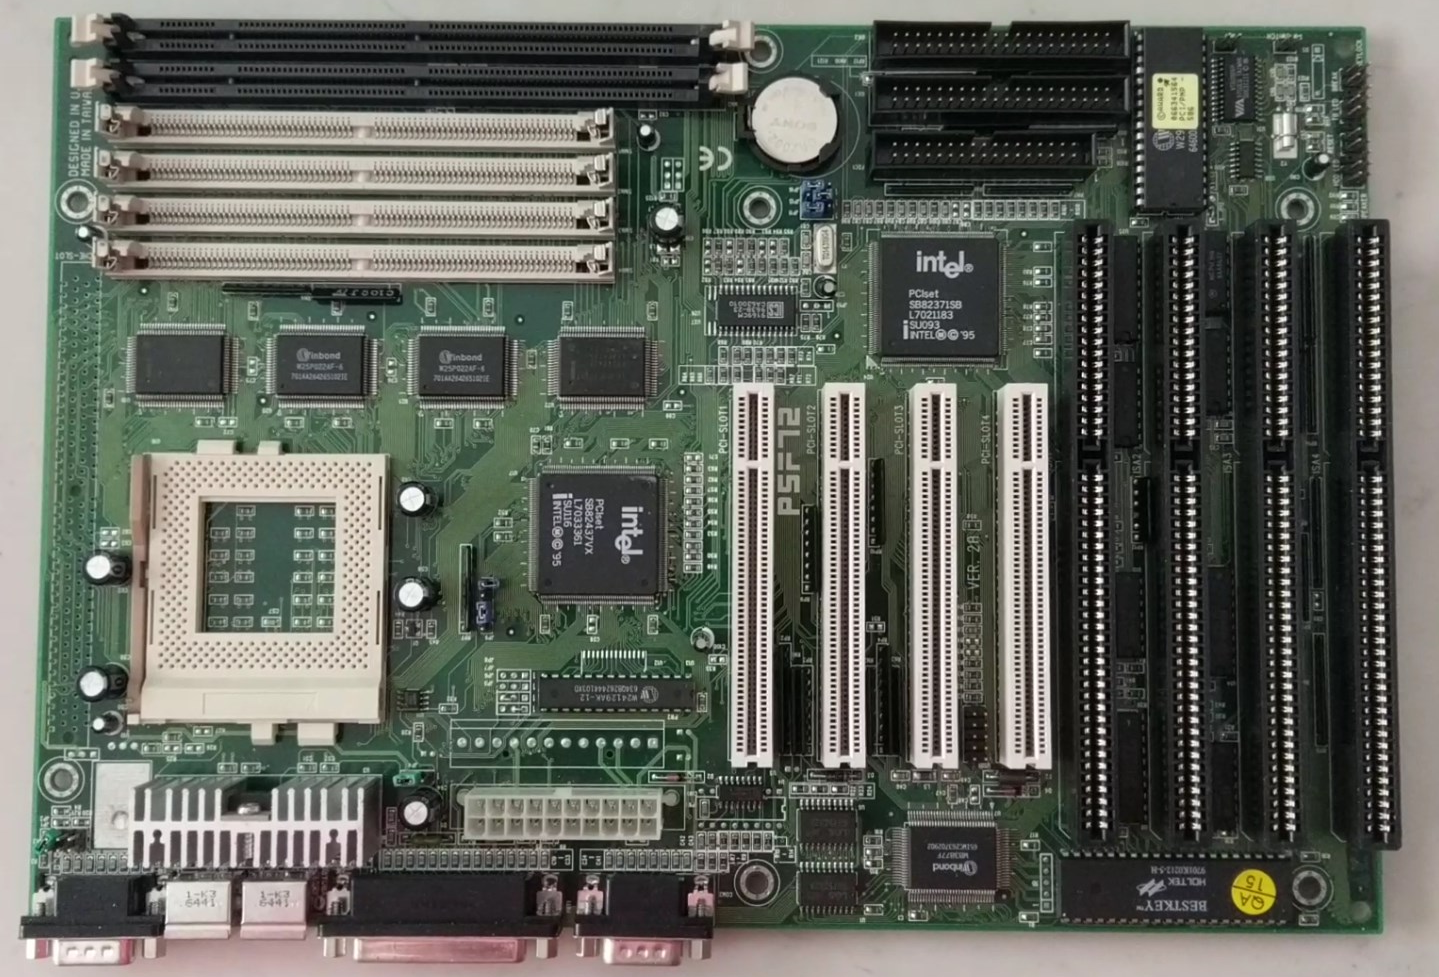
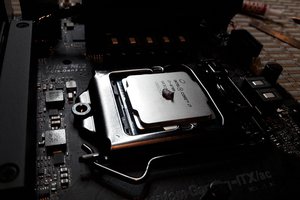
Today's rigs feature light displays, transparent cases, cold cathode tubes, liquid cooling, shiny metallic head-spreading fins, and dead-silent, lightning-fast file storage with thin connectors. Rigs of yesteryear were typically thought of as business furniture, opting to be beige or white as though they were part of the scenery, masking their bulky internals. Architecturally, they are not that dissimilar: x86 compatible CPU, dedicated graphics hardware capable of VGA or better (but backwards compatible with previous graphics standards), a basic 8-bit I/O bus with expansion buses capable of higher speeds--the list goes on.
For this reason, I'll be combining a particular Classical Age of PC Gaming with the new, by placing these historically relevant parts into a modern case.
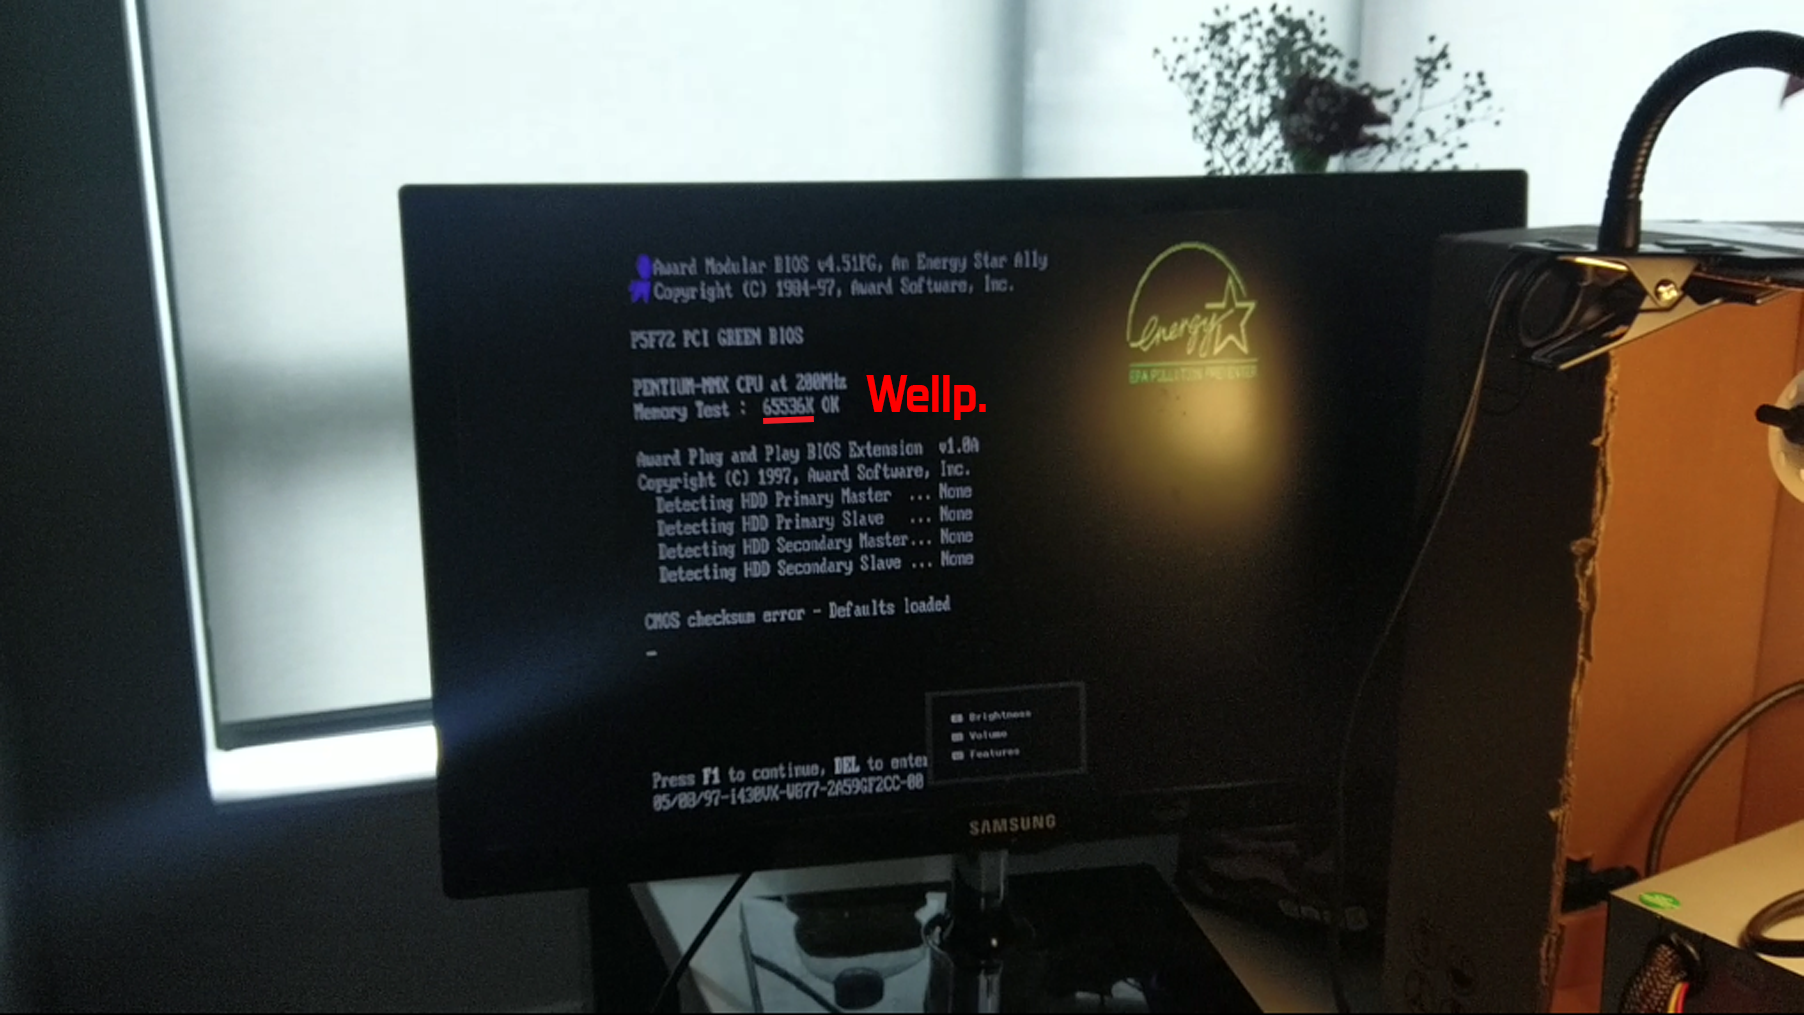
The full results are yet-to-be, but as of writing this: the computer boots to DOS and has several games working on it already, in addition to Windows 3.11 and some additional classic software I had laying around for this occasion.
The full spec list is below. I will be posting individual updates for each part to break down my rationale for picking the parts that I did, and linking to them as they are completed.

 No excess heat, no fires, none of that. If it works and it's stupid, it's not stupid, right?
 Stanislas Bertrand
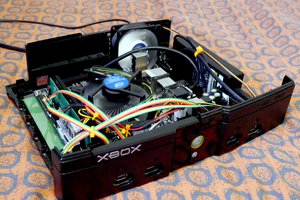
 Ryan Walmsley
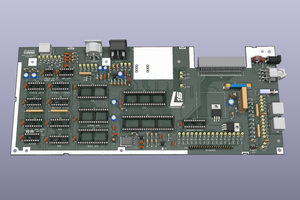
 SukkoPera