 Moritz Walter
Introduction
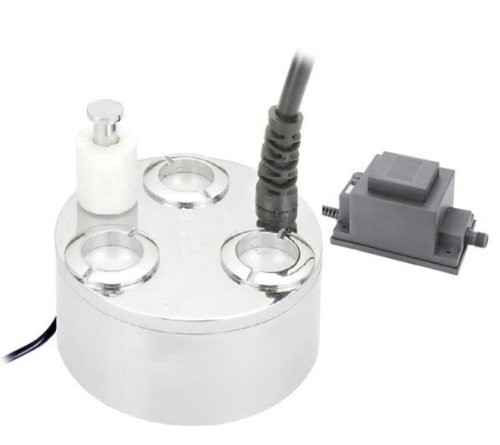
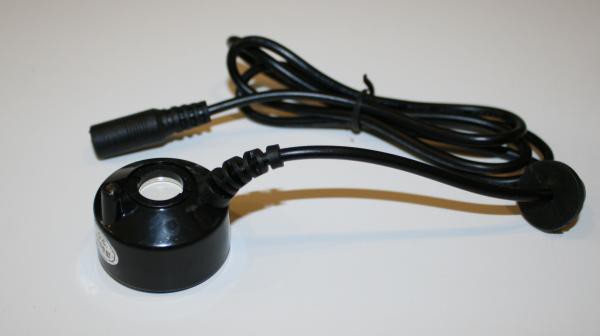
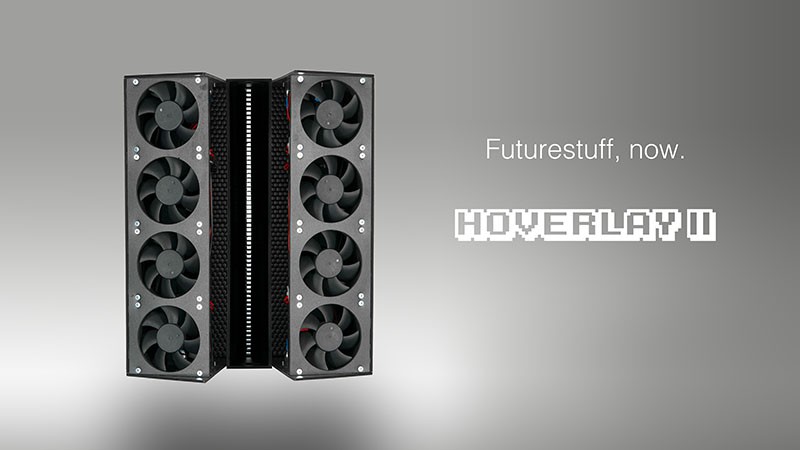
Vaporization is done by off-the-shelf ultrasonic atomizers, either really cheap ones (the black ones in the picture below, 2.50 $ each) or some more rigid ones (the silver one, a Fogstar 300, 290 € each), air is moved by an array of strong and silent pc case fans, laminar flow is formed by 3D printed flow formers. Rear projection works with any kind of video or still image (even dia-) projector.
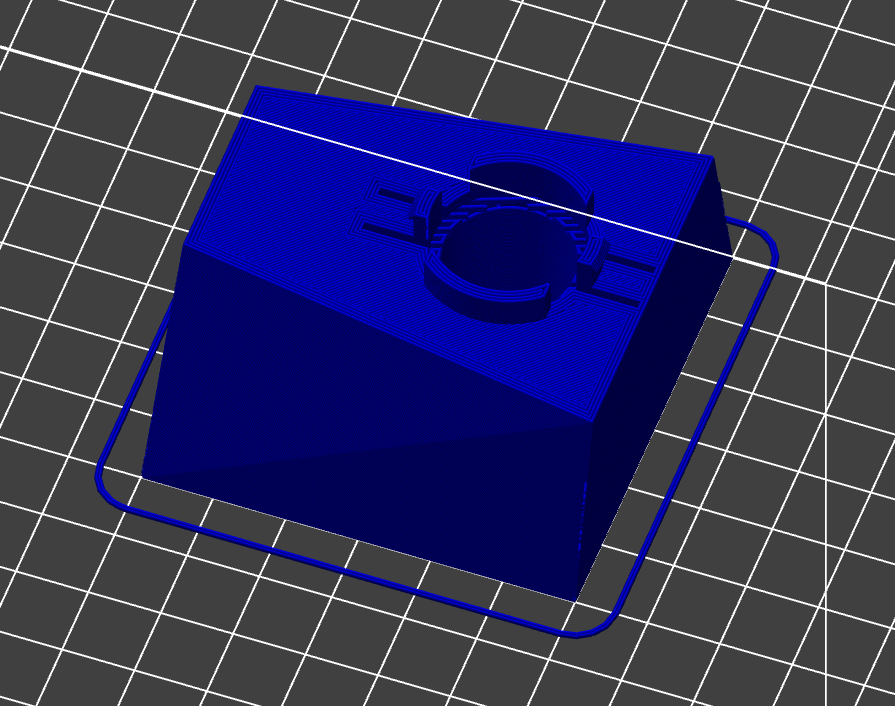
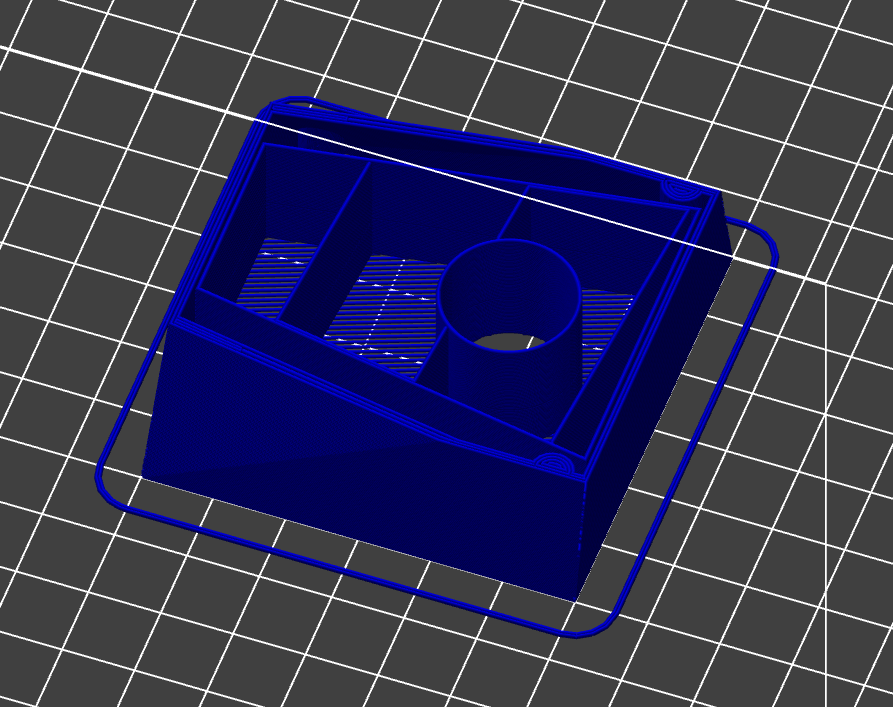
The housing
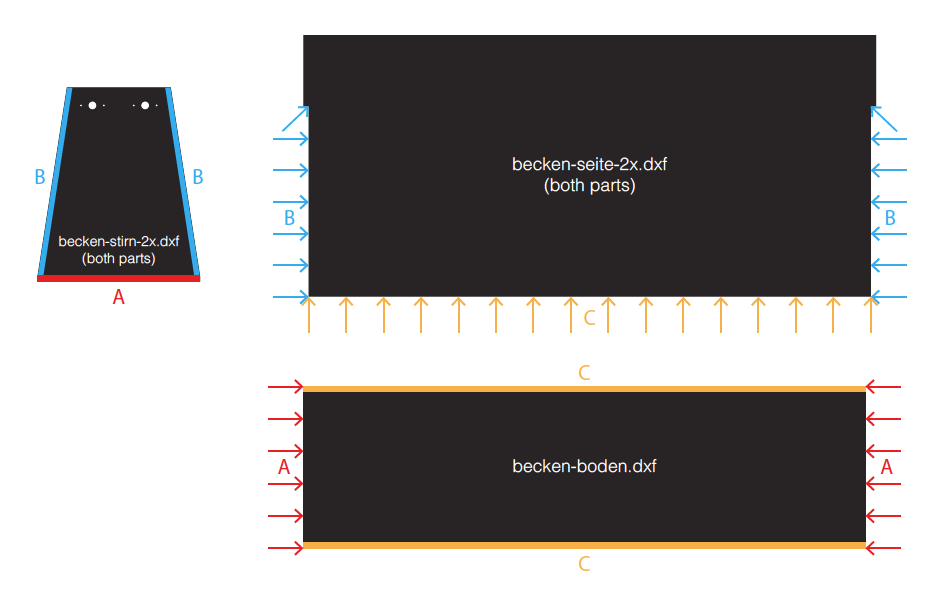
The housing is CNC-milled out of black PVC hard foam plates ("Palight", not to be mixed up with PVC soft foam plates) but can be made from pretty much any waterproof material that can be glued or welded, i.e. acrylic.
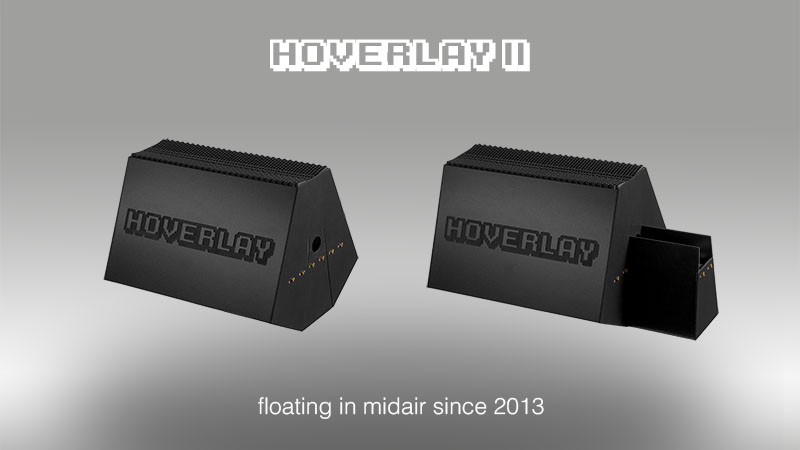
If you choose Palight, you can theoretically build this just with a paper template, patience, a steel ruler, some drill bits and a box cutter. All the DXF files for milling, lasercutting or box cutter samurai are available in the GitHub repo. Never put PVC in a laser cutter though (super carcinogenic). The BOM list in the repo tells you, how often you need to mill or cut a certain file. A single file may contain more than one part.
Operating principle
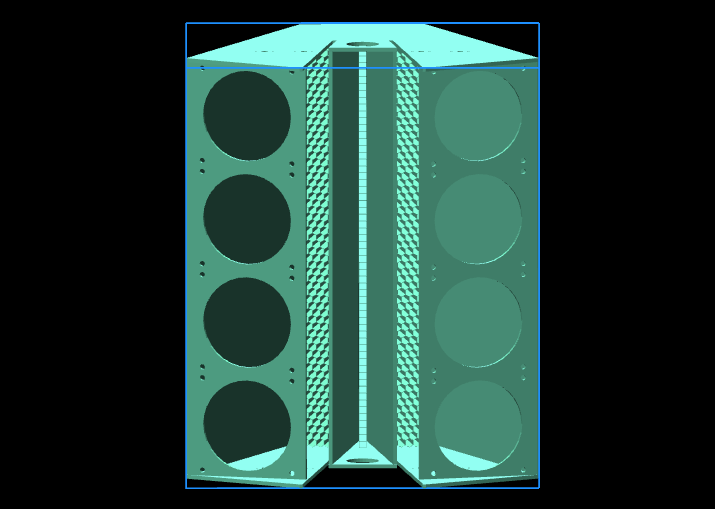
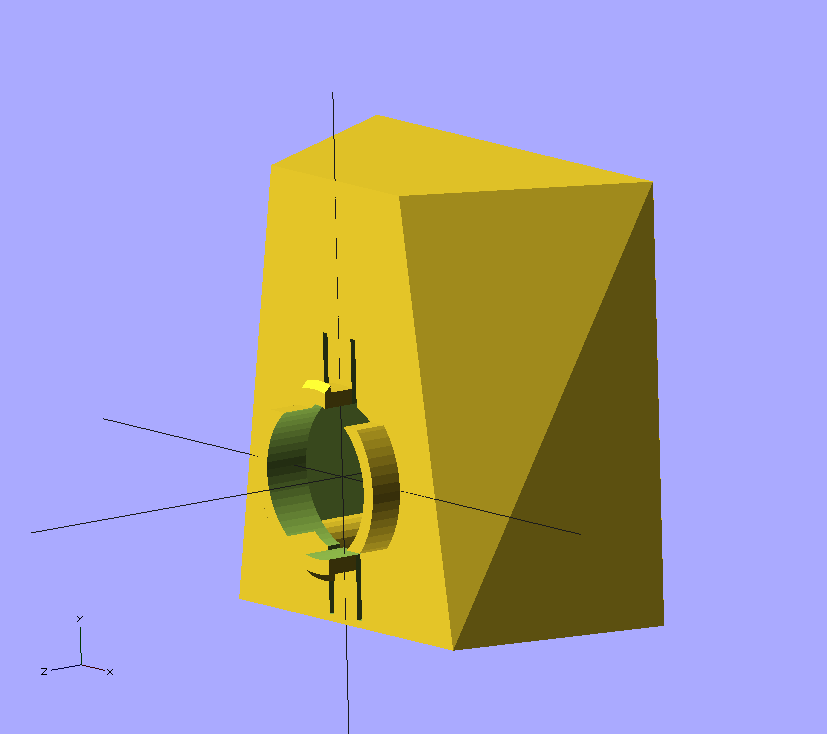
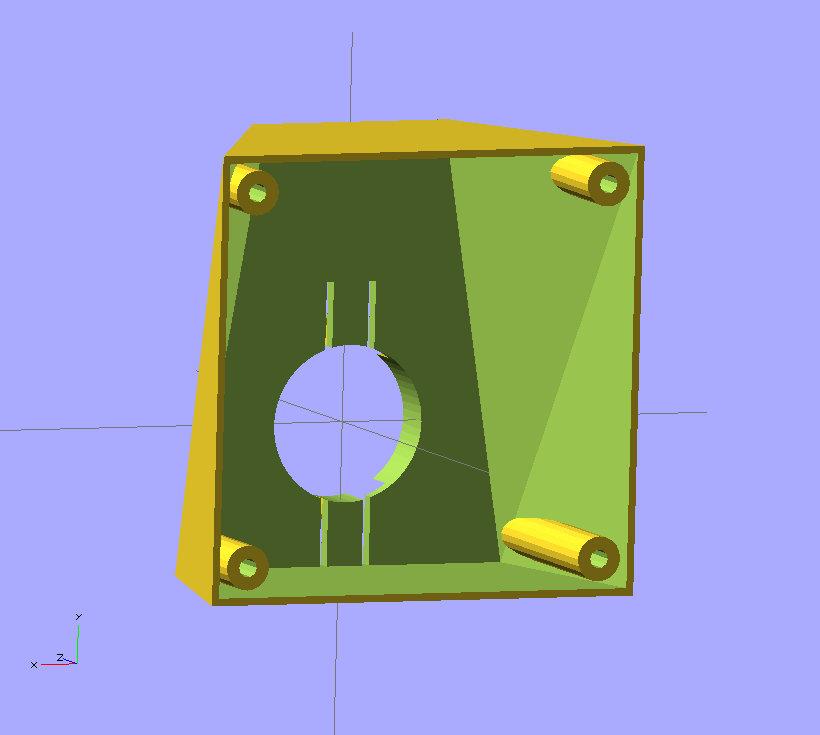
The diagram below shows an axial cross section of a Hoverlay II module, it's probably self explaining:
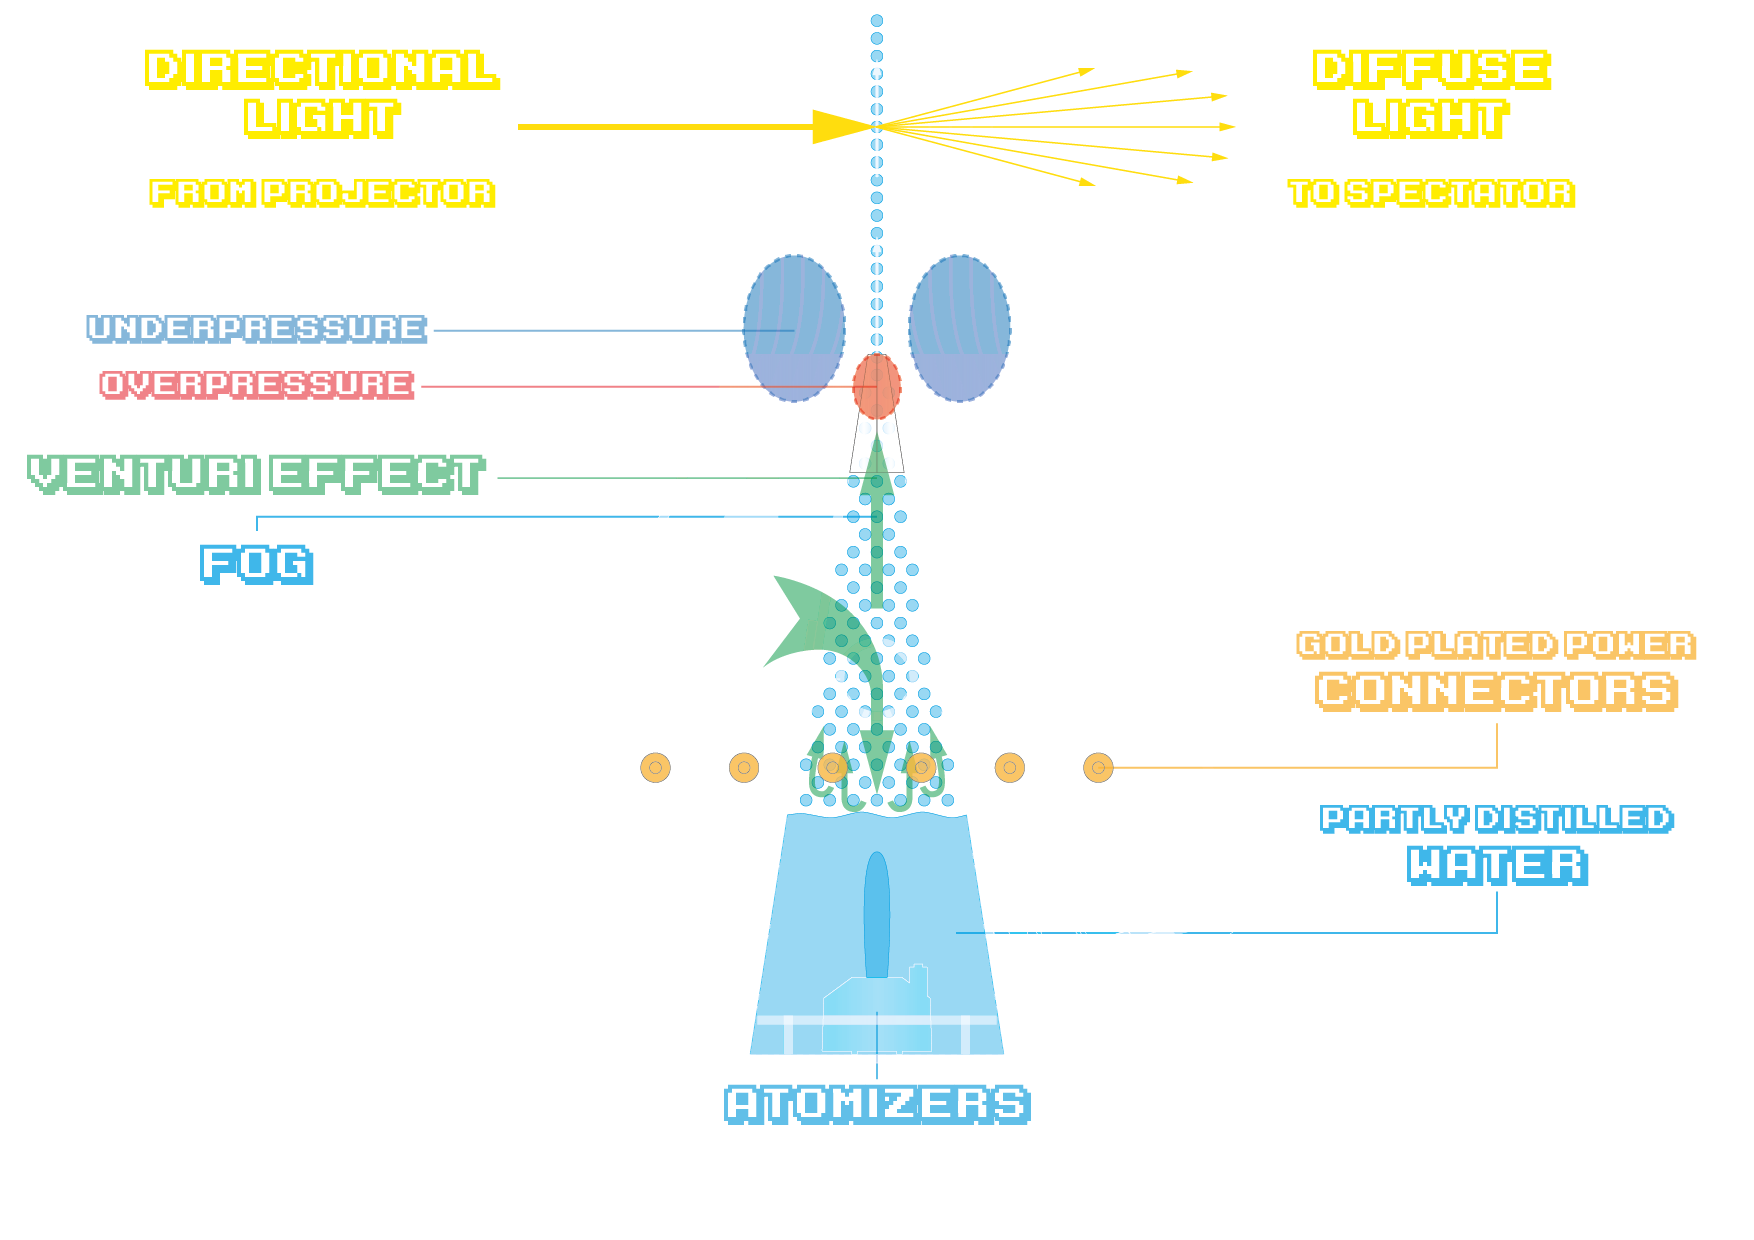
As you can see, there are three channels. The fans suck in air into the left and right channel, which then travels upwards while beeing compressed and accelerated by the convergent channel walls. The air then is pushed through the 3D printed flow formers, which is just many, many small, parallel channels packed into a honeycomb grid. When the air flow exits the flow formers, its mostly laminar, meaning it contains almost no turbulence anymore (such as rotary turbulence from the fans) and can continue travelling upwards almost turbulence-free for quite some distance (> 1 m).
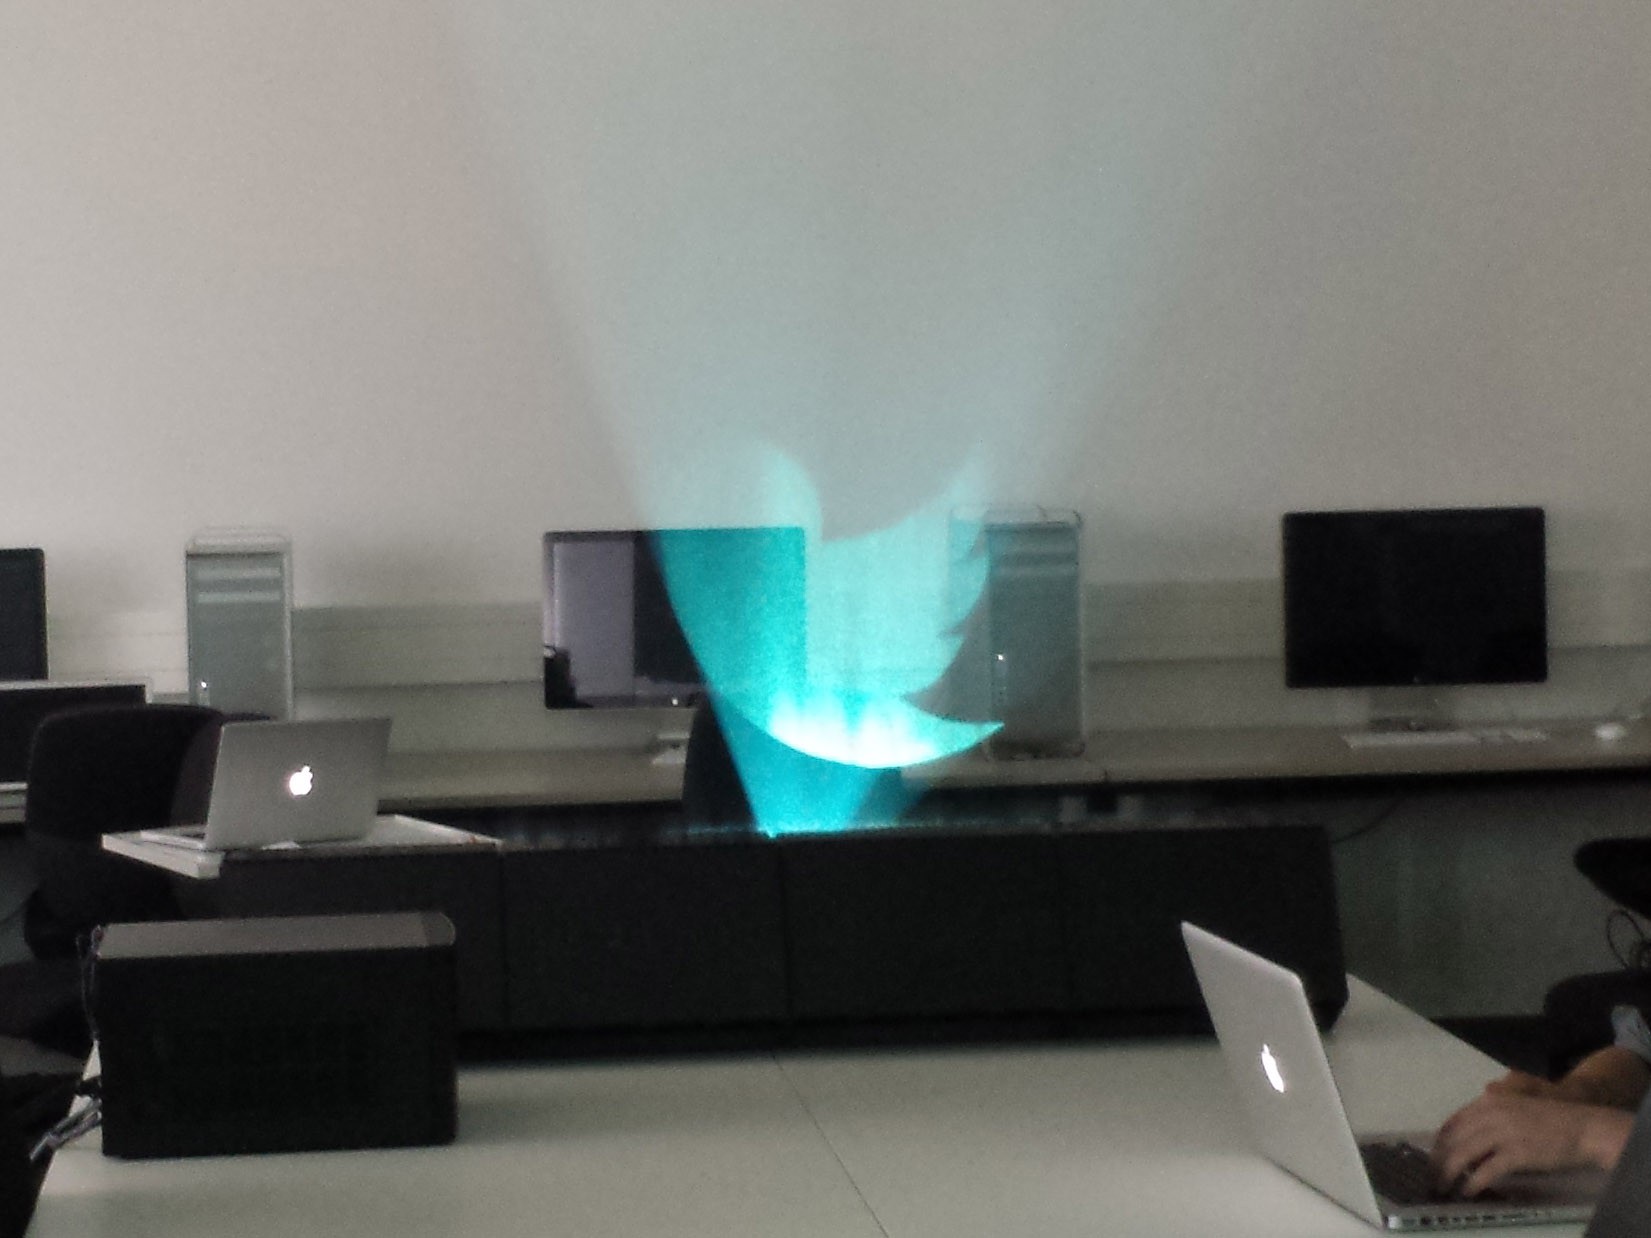
The two fast laminar air flows from the left and right air channel then carry off the fog from the center fog channel, an effect that is known as "Venturi Effect", both accelerating the fog upwards and shaping it into a thin film layer right between them, as you can see in the picture below.
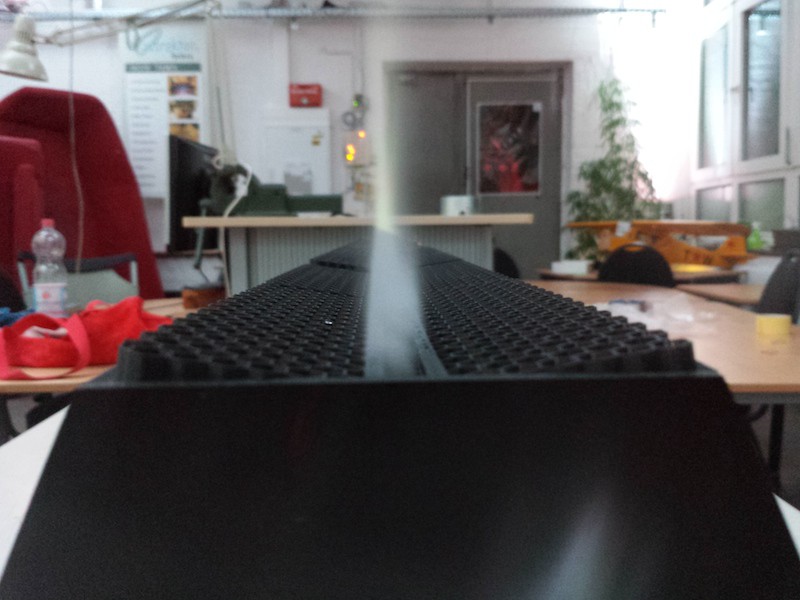
This thin layer of fog has the ability to diffuse incoming directional light (such as light from a projector), which then can be perceived as if it was diffusely emitted by the fog layer itself.
A perforated pressure compensation tube was meant to help delivering fresh air into the fog channel and lifting out the fog homogeneously. A few words about this tube: It's just a perforated (manually, on a drill press) ø 25 mm PVC tube, cut to length of one Hoverlay II module (326mm) that slides in though the corresponding cutouts in the side panels. The pressure compensation tube can be dismissed (the cutouts still have to stay there!) when only using one or two Hoverlay II modules in series. It was meant to help homogenizing the fog density over the full width of larger (3+ modules) installations. However, we found a way better method for that, by using some sort of "brightness booster" in form of two additional fans, blowing air into the pressure compensation holes on both ends of the Hoverlay II array. This both helps homogenizing the fog density over larger screens as well as visibly increasing the fog density (thus brightness). Here you can see the brightness booster in action, it's a true enhancements over all previously posted videos:
I will soon release a nice and tidy, 3D printable "brightness booster" that can be snap-fitted onto the existing pressure compensation tube holes for easy installation. Until then, just ignore the pressure compensation in the BOM, because it just turned out to be a intimidatingly dull solution to the homogeneity problem on larger screens.
Interactivity
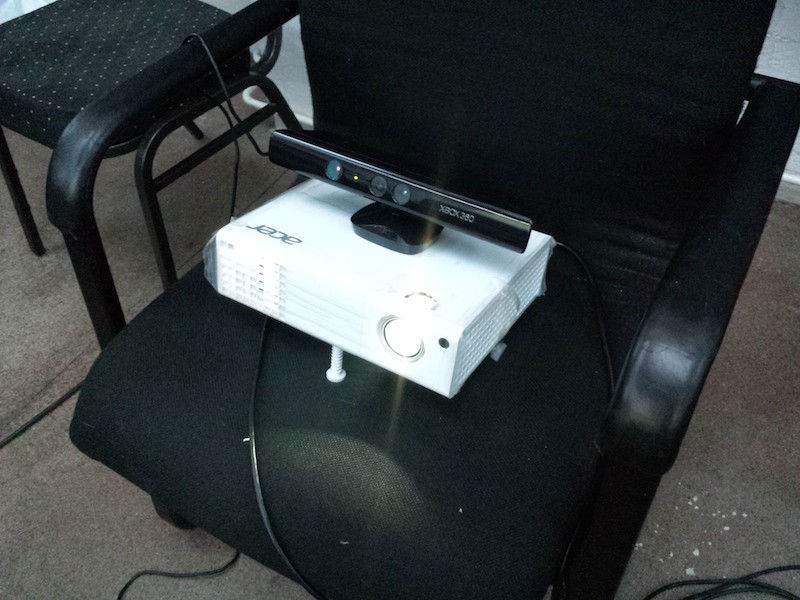
A Microsoft Kinect is sitting right on top of the projector, requiring minimal calibration and mapping. It turns out that the fog layer does not disturb the pattern recognition of the Kinect at all, so it works just fine.
Some more technical details
I spent a lot of time on optimizing the printing process of the flow...
Read more »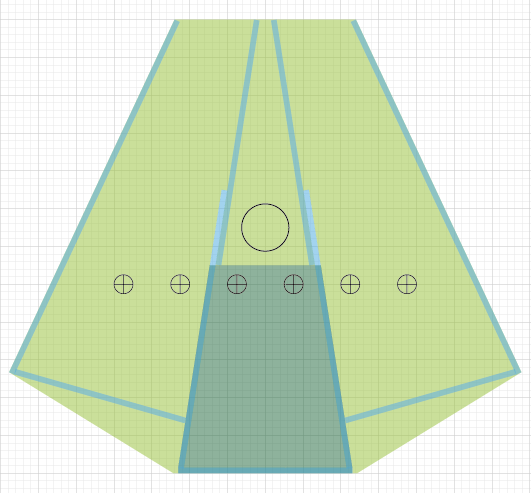


 Drix
Drix
 Jaime García
 Madaeon
 MW Motors
Hi little Question, where can i get the files