Close
0%
0%

Project Crow

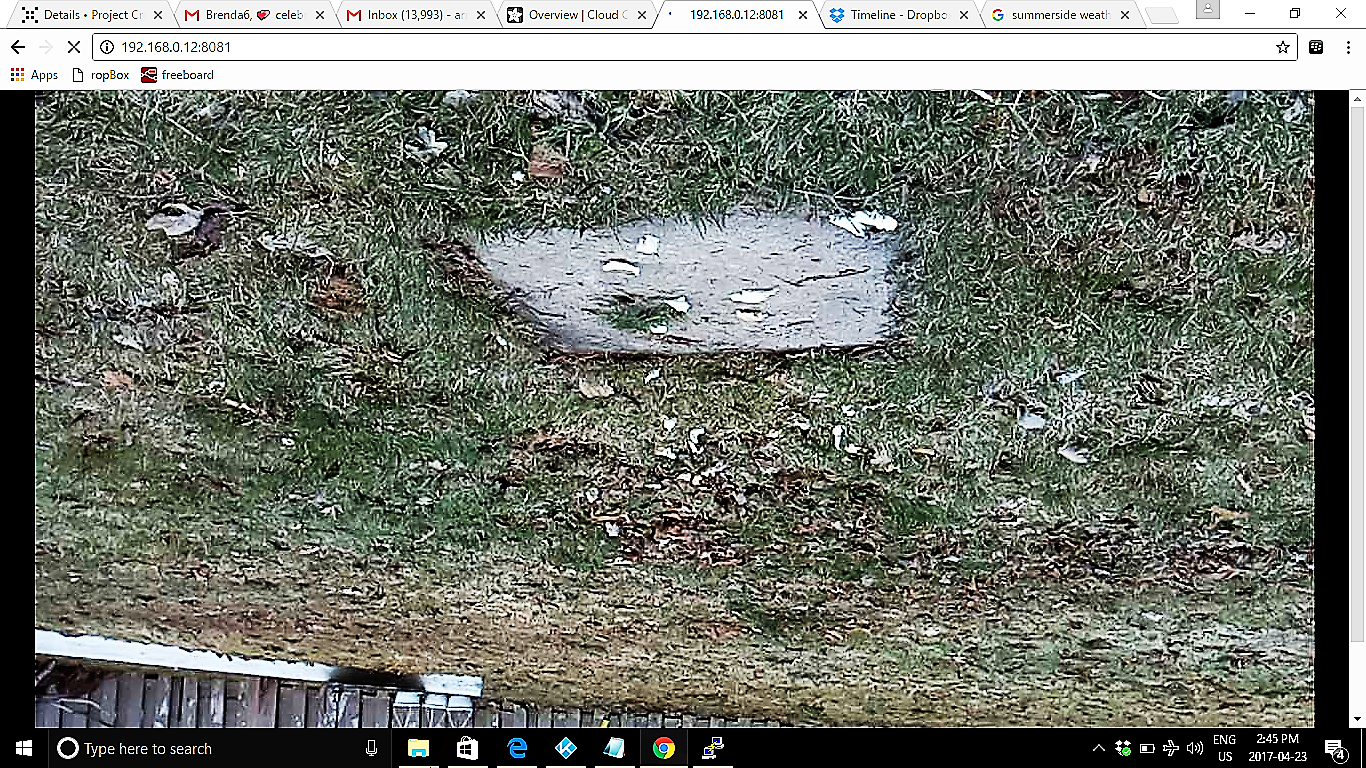
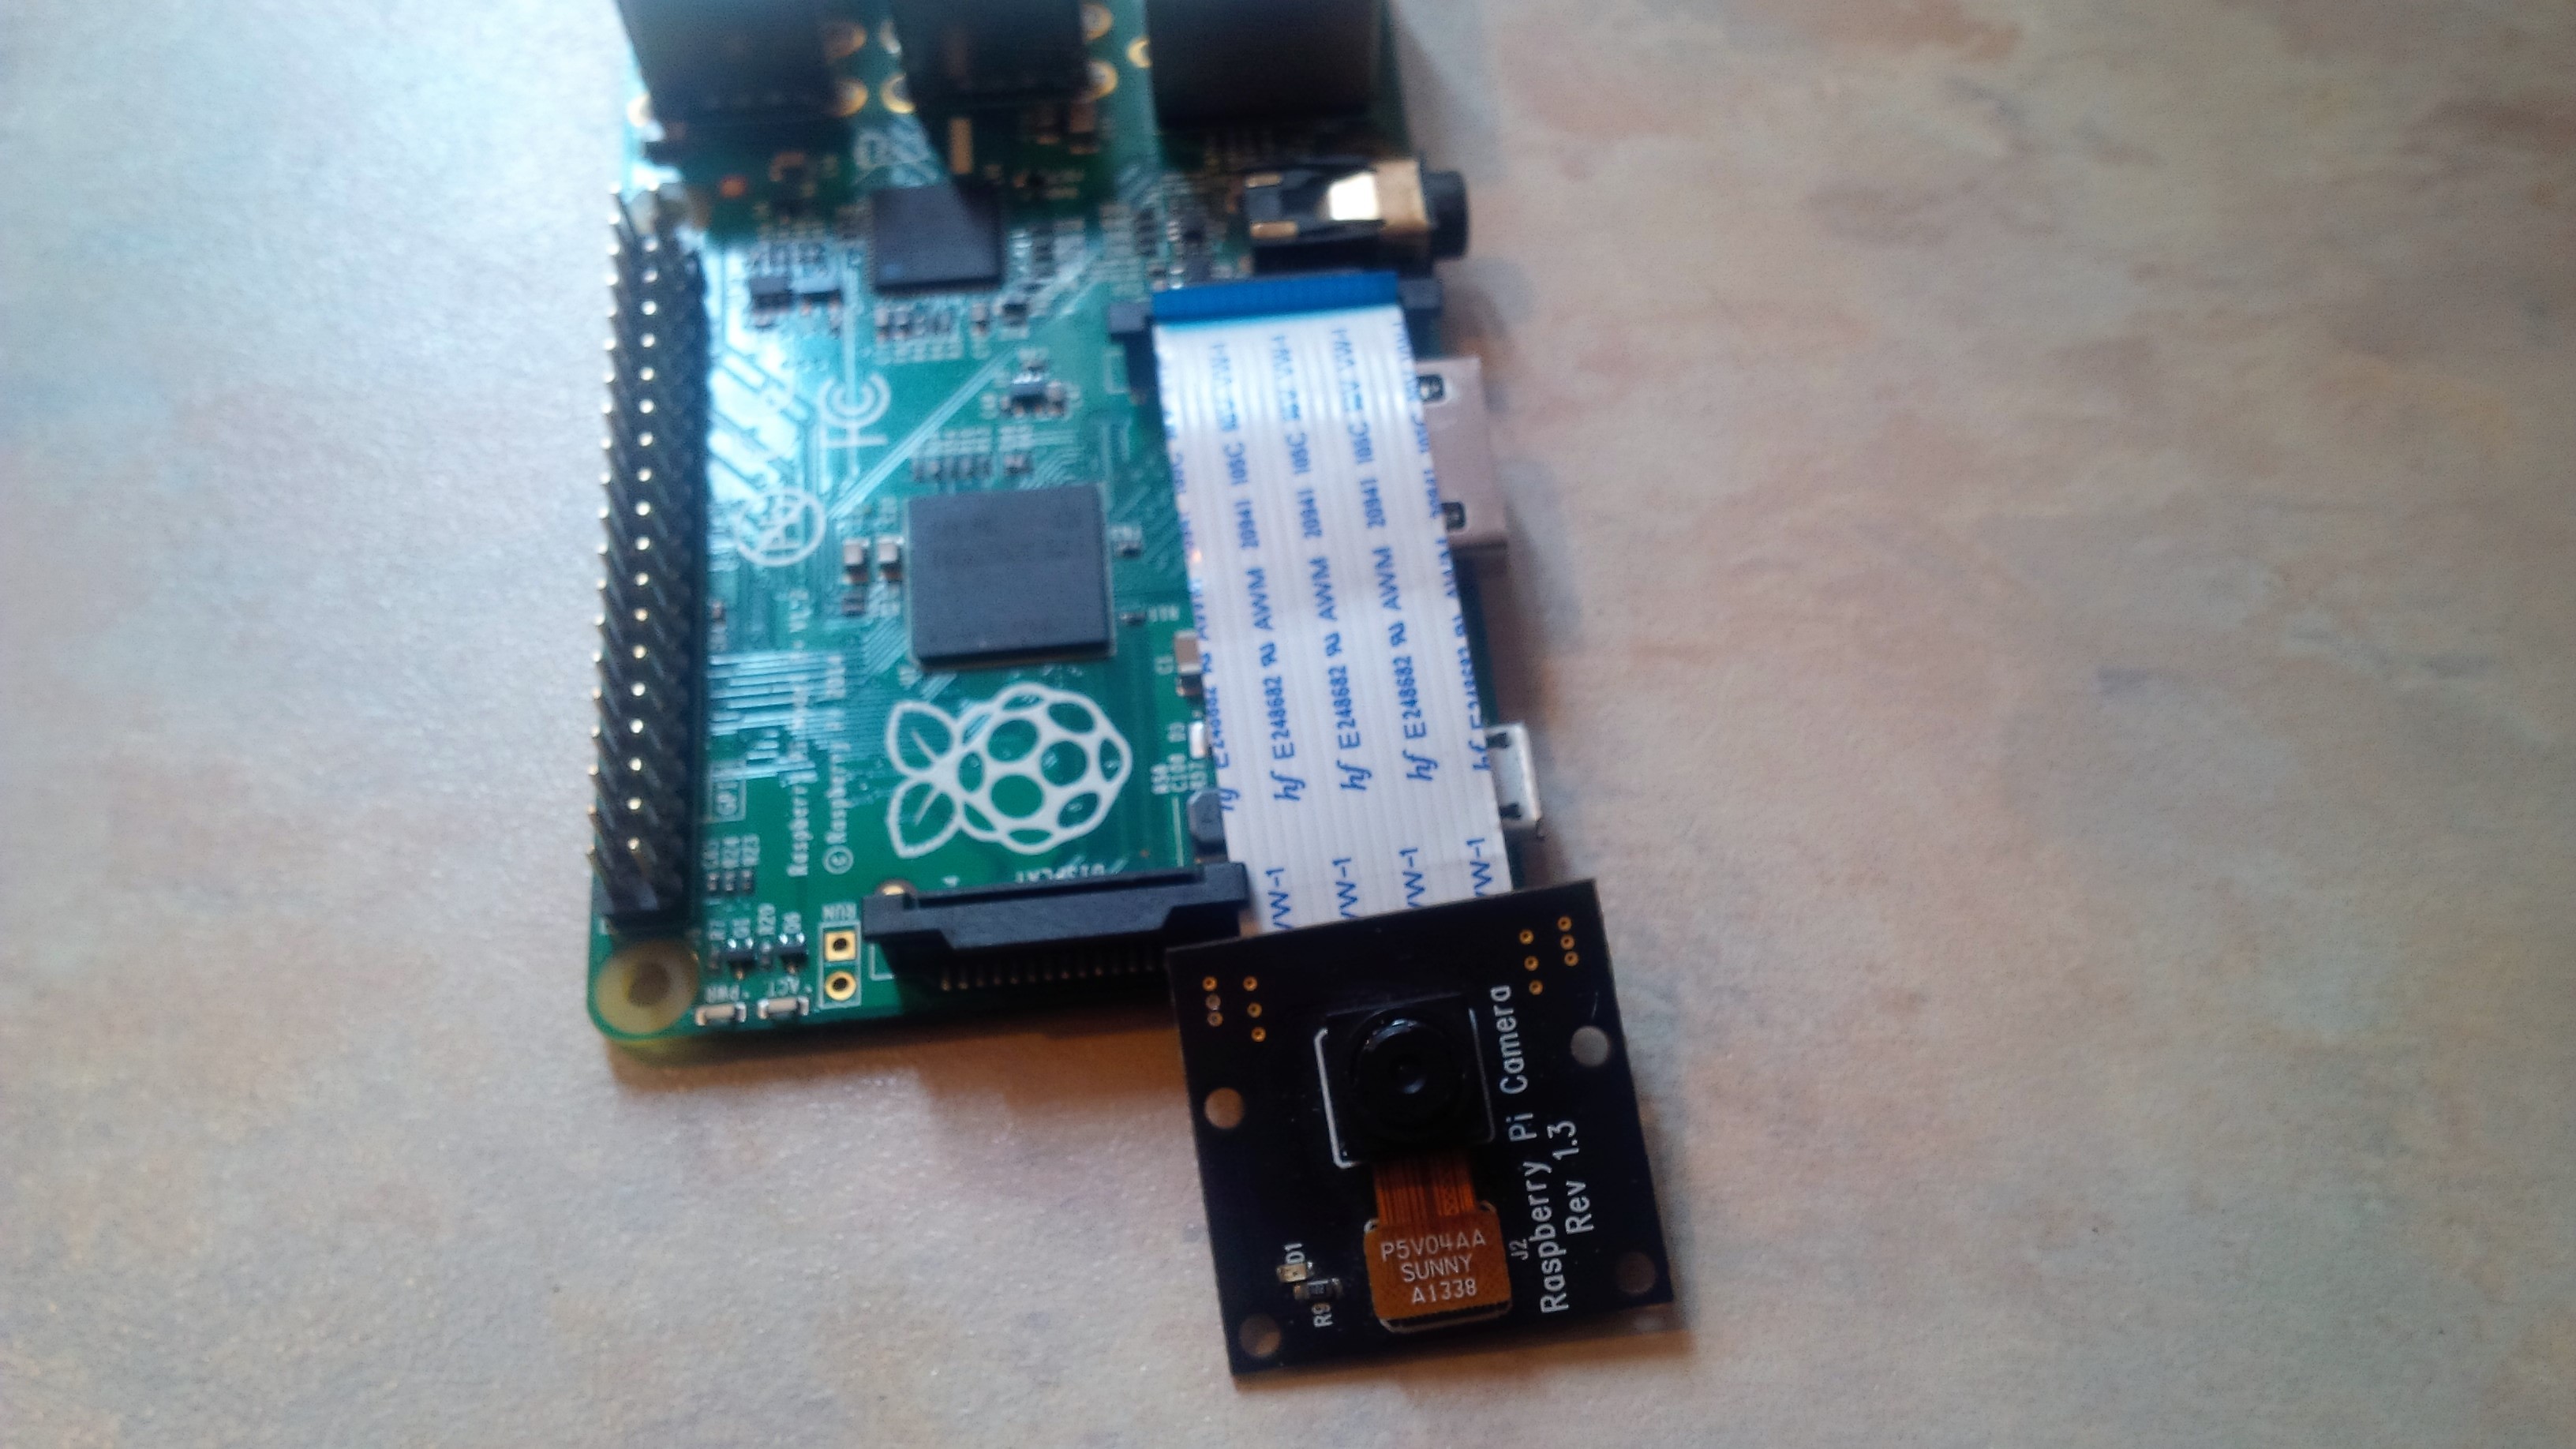
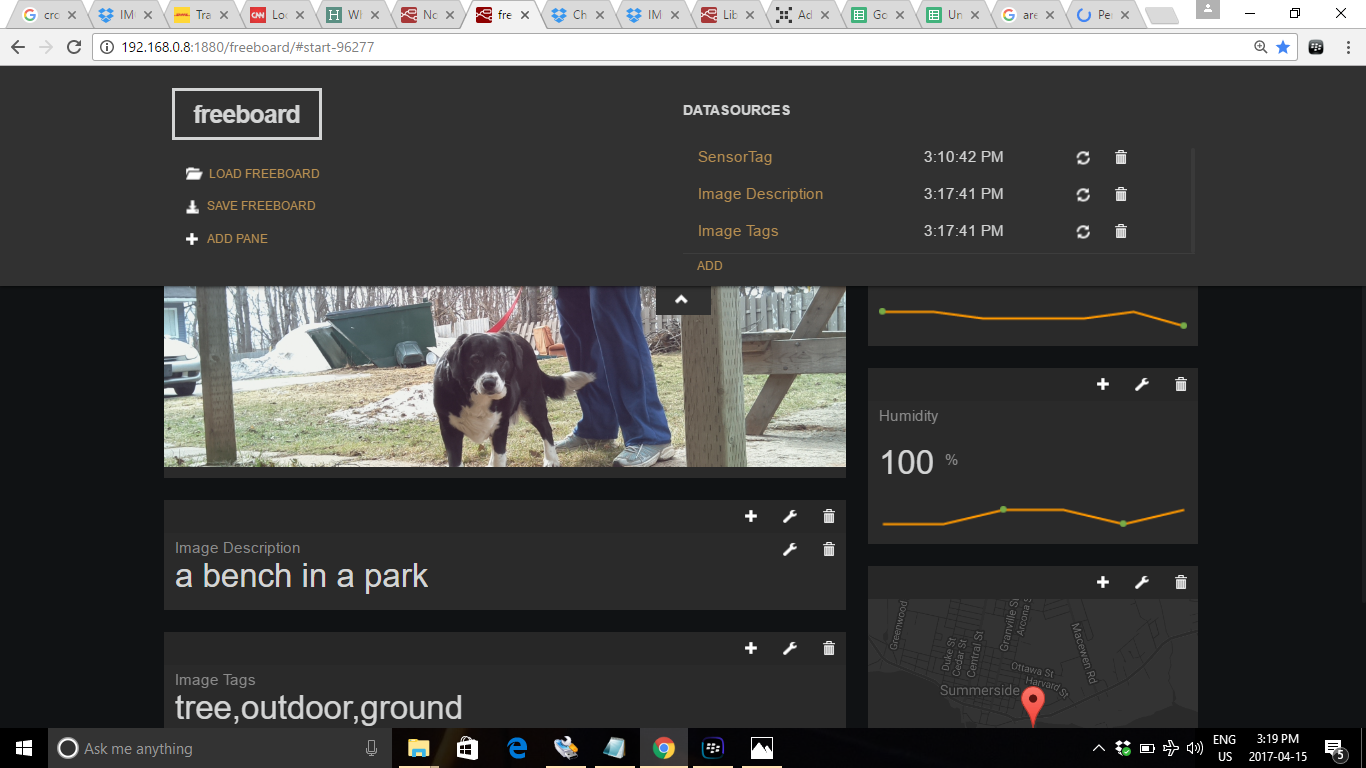
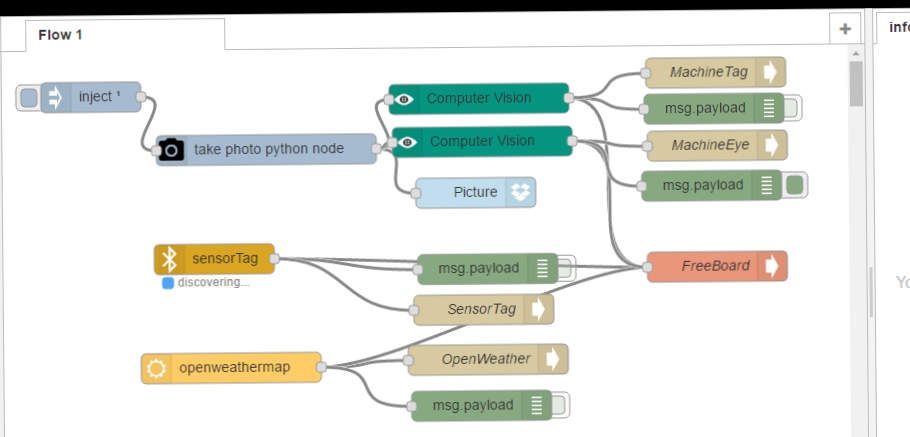
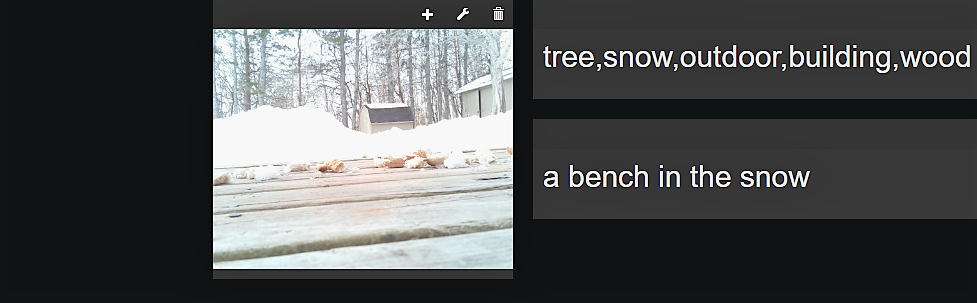
A camera and Computer Vision to capture wildlife and pipe the data feed to a variety of endpoints including a dashboard and databases.

Similar projects worth following
This project has just started. Raspberry Pi computers are used to build camera traps to capture wildlife. This model adds Microsoft Cognitive Services to the mix to process images in real time. In addition the wiring will be completed using Node Red.

Crows are common to our province and considered to be intelligent and resourceful birds. They are not endangered and plentiful outside my apartment and will be perfect for testing the model. I want certain events to be triggered when the image is identified as a crow. I also would like a count of crows that the camera sees.

Thousands of crows descend on our capital city Charlottetown causing noise and ..well a mess. Rather then poison or shoot them I believe a better way is to build a crow beacon and try to have them move to a different location.

BOM.xlsx

This is my BOM to date.

sheet - 10.86 kB - 05/01/2017 at 12:57

Download

  • 2 × Raspberry Pi 2
  • 2 × Raspberry Pi camera
  • 1 × Sensor Tag
  • 2 × Battery Packs
  • 2 × Robot Chassis

View all 8 components

  • Testing CrowBot Junior

    Brenda Armour04/22/2017 at 14:55 0 comments

    Well we are suppose to be getting rain today :( But so far no rain yet. I will be taking CrowBot Junior out side and try to get some pictures. To-morrow is suppose to be sunny with some clouds. This robot will be testing motion detection. It is not mobile yet until I fix fix the connection issue to the motors.

    The robot has been on the picnic table for a couple of hours:

    Here is a view of what the camera sees from my laptop.

  • CrowBot Bits and Crowbot Junior

    Brenda Armour04/15/2017 at 18:37 0 comments

    Well I tinkered with the Sensor Tag WIFI and now (I hope) have it running. I took the tag apart and this time tried a Panasonic AAA battery. These appear to be slightly smaller in diameter. The circuit board stayed put when I performed a reset. The red light started to flash and I was able to provision the tag to my Blackberry. I really really want to use this because the distance is longer than the Bluetooth version. I am curious to see if I can use this as a hot spot and connect the Raspberry Pi to it.

    I have a WiFi extender for the Pi coming in next week. So now I have a couple of options to extend the WiFi for the CrowBot which also includes using my laptop as a hot spot.

    I want to include my Raspberry Pi Noir camera to see in the dark. I also will be testing dressing the crowbot up to be more inviting to the birds. The weather continues to improve so I am anxious for some testing.

    Today I acquired a $3.00 toy to see if it can produce enough LED light for Night Vision and may be of some interest to the birds. Yup that's a duck head. No crow head available but I think I can take this apart and use it for my own crow head. If the button is pressed a second time than it starts blinking.

    Okay I had the Crowbot out for testing. I did get this image of my friend's dog Haley. The interesting observation is that is it identified the picnic table but not the dog. mmm...more testing

    My Crowbot Junior is now assembled . She is much smaller than the Crowbot but has three layers.

    Her purpose will be to detect motion. I have installed the motion software and tested the camera last night and this morning. I also set up a second Dropbox App for the photos. It's too sensitive and needs to be tuned up. But I am happy with the initial results.

    I will be using the PiFace Digital 2 for motor control.

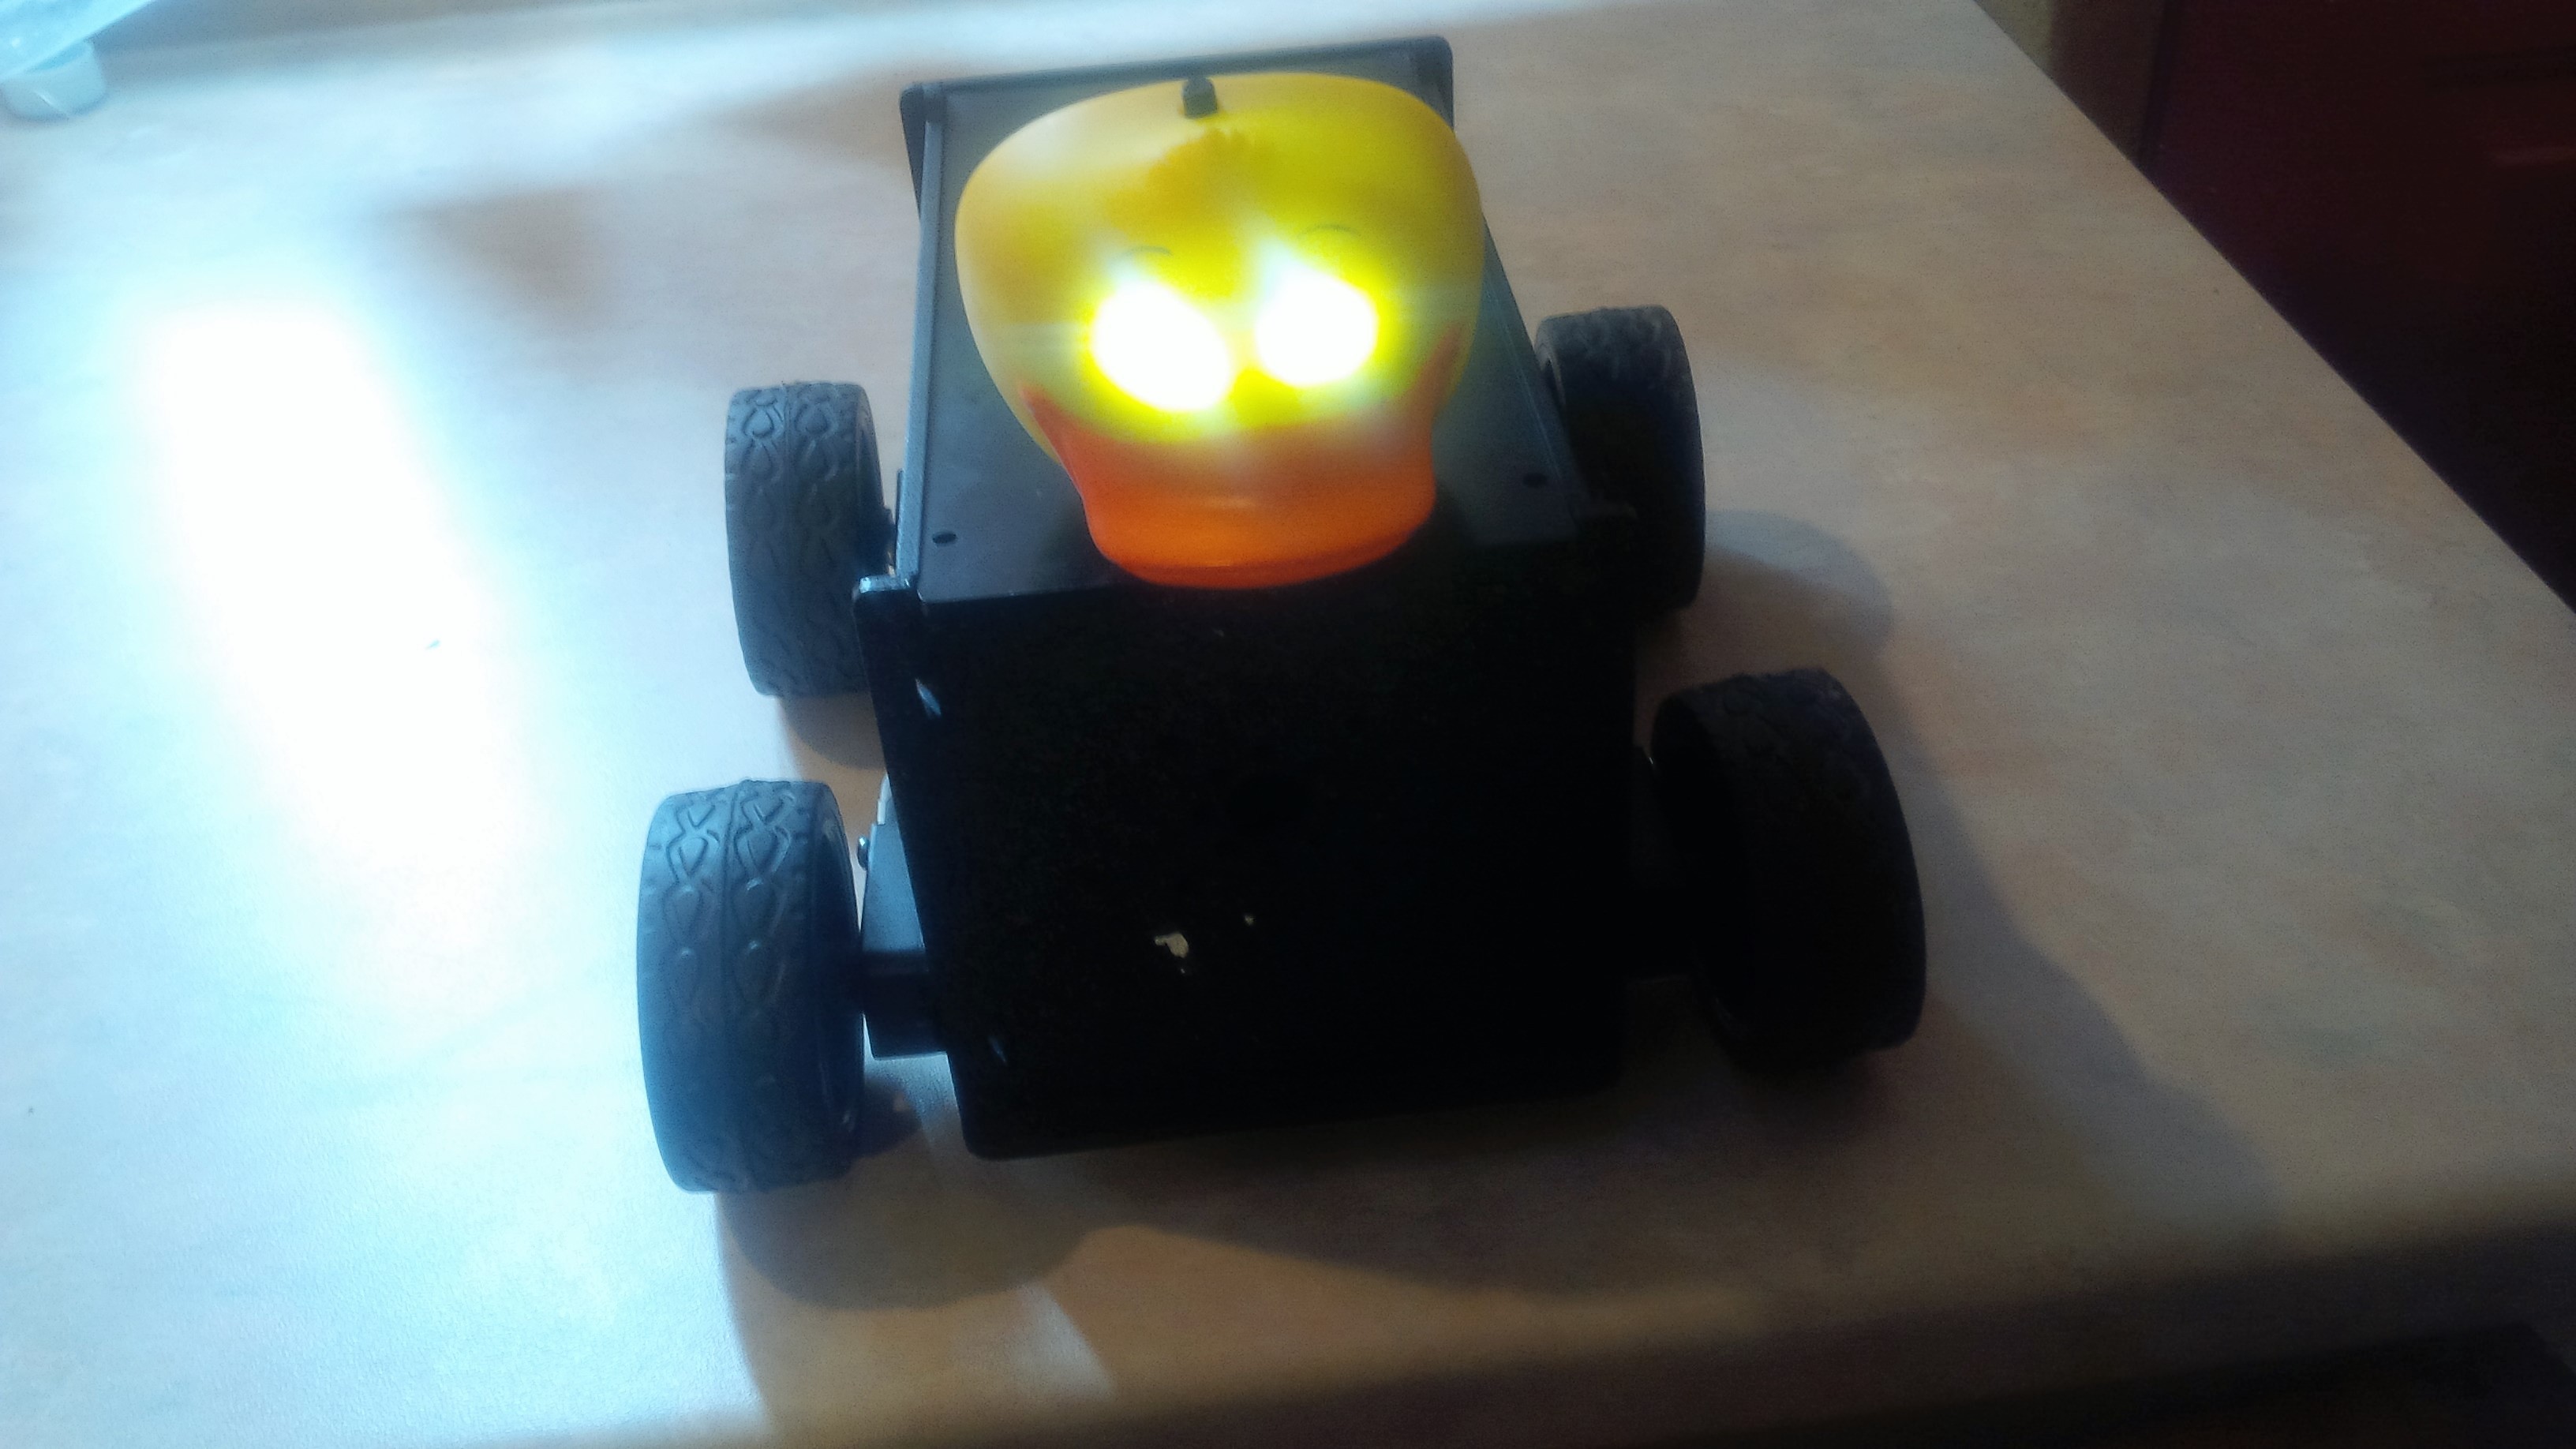
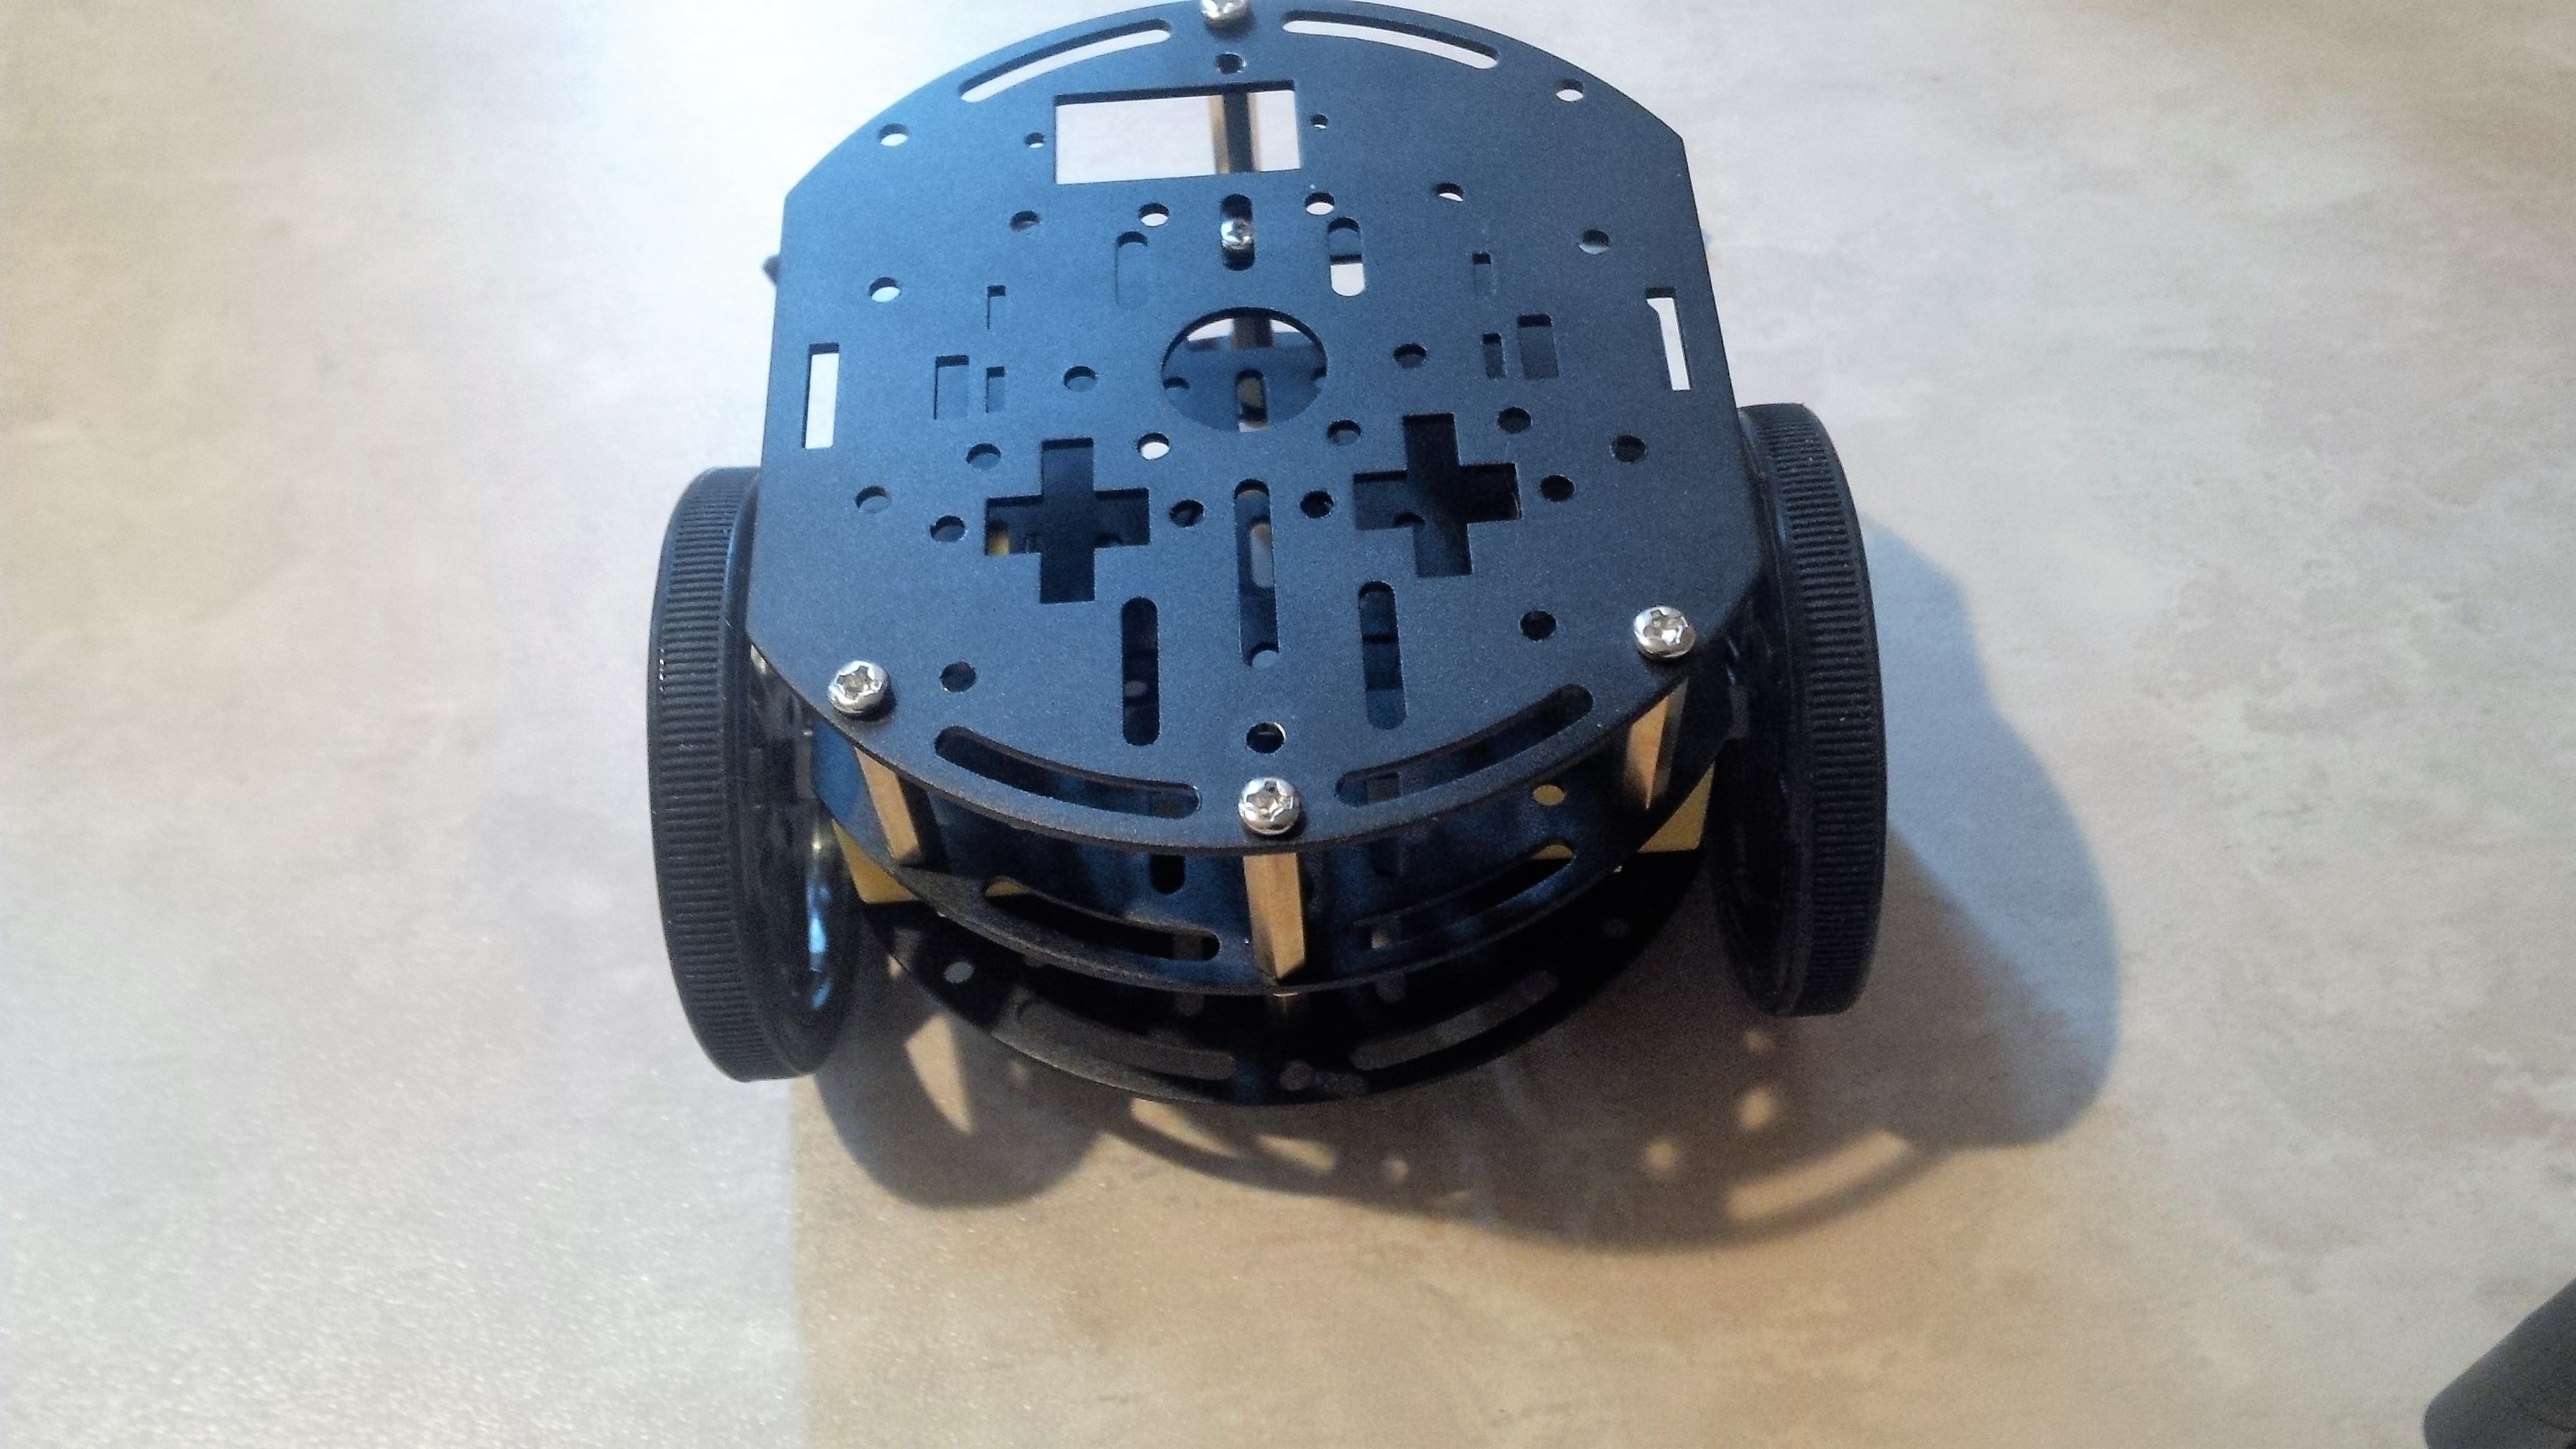
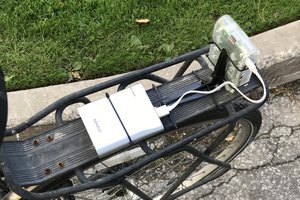
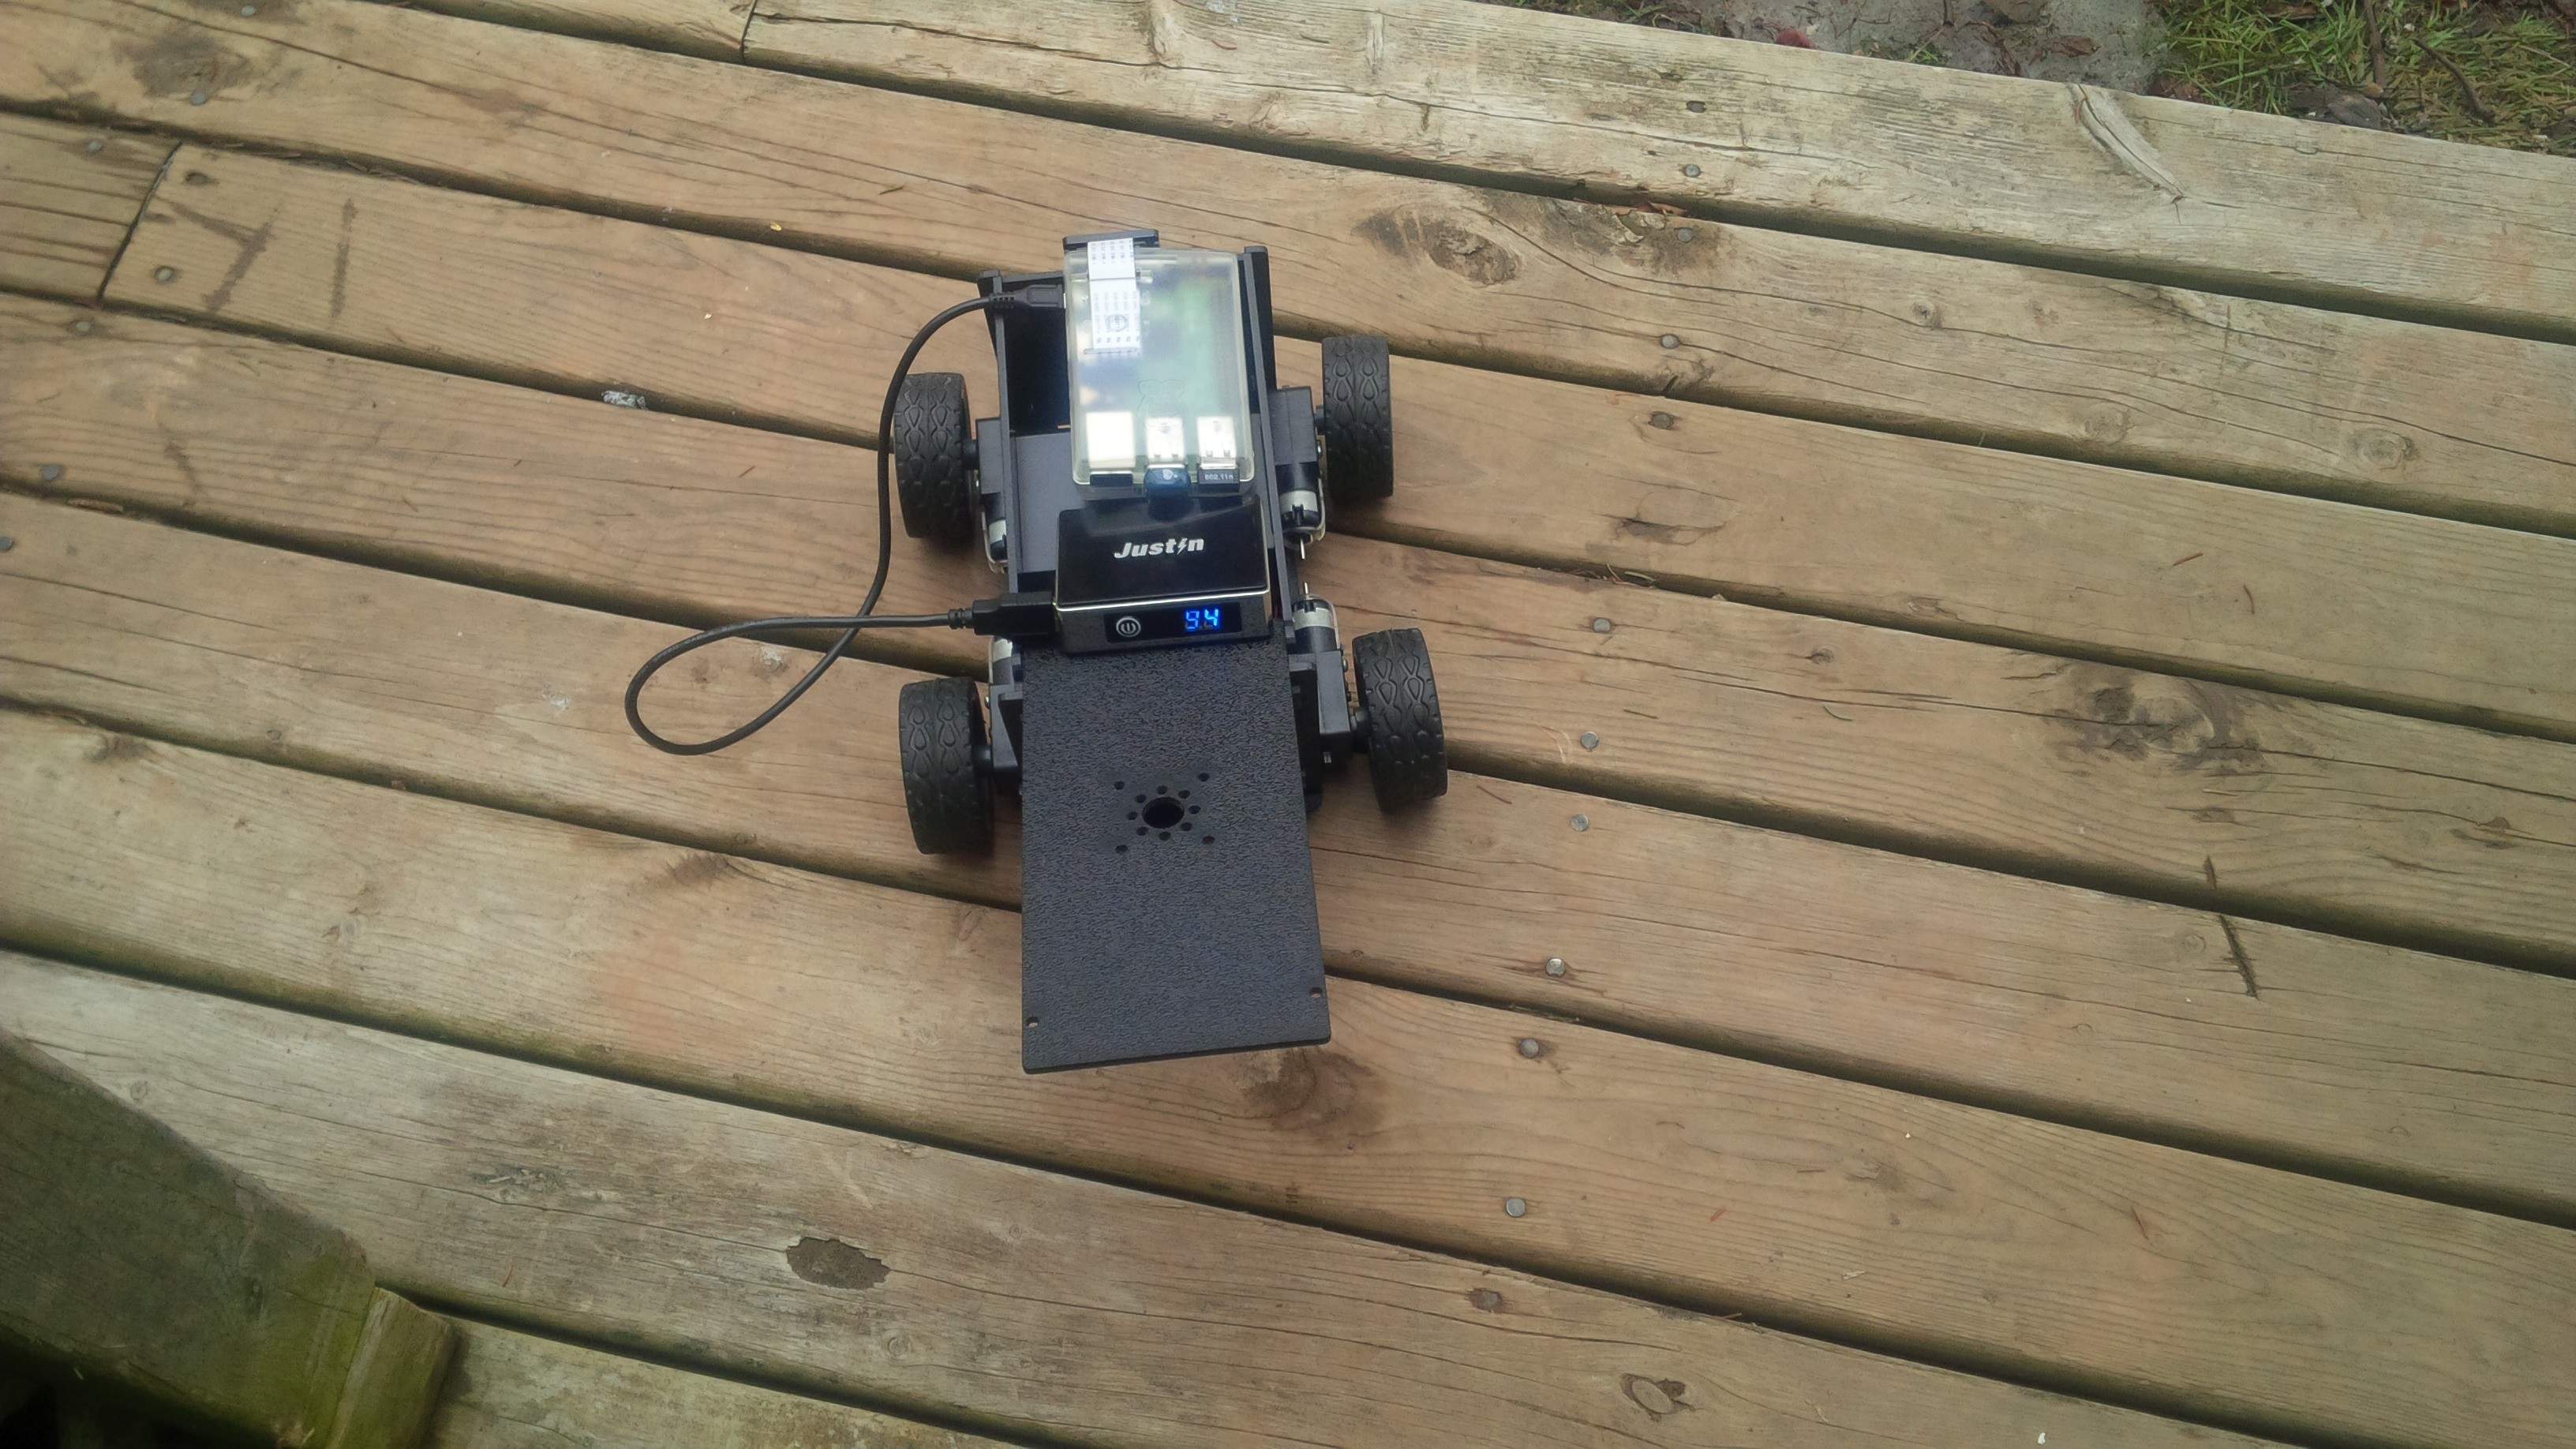
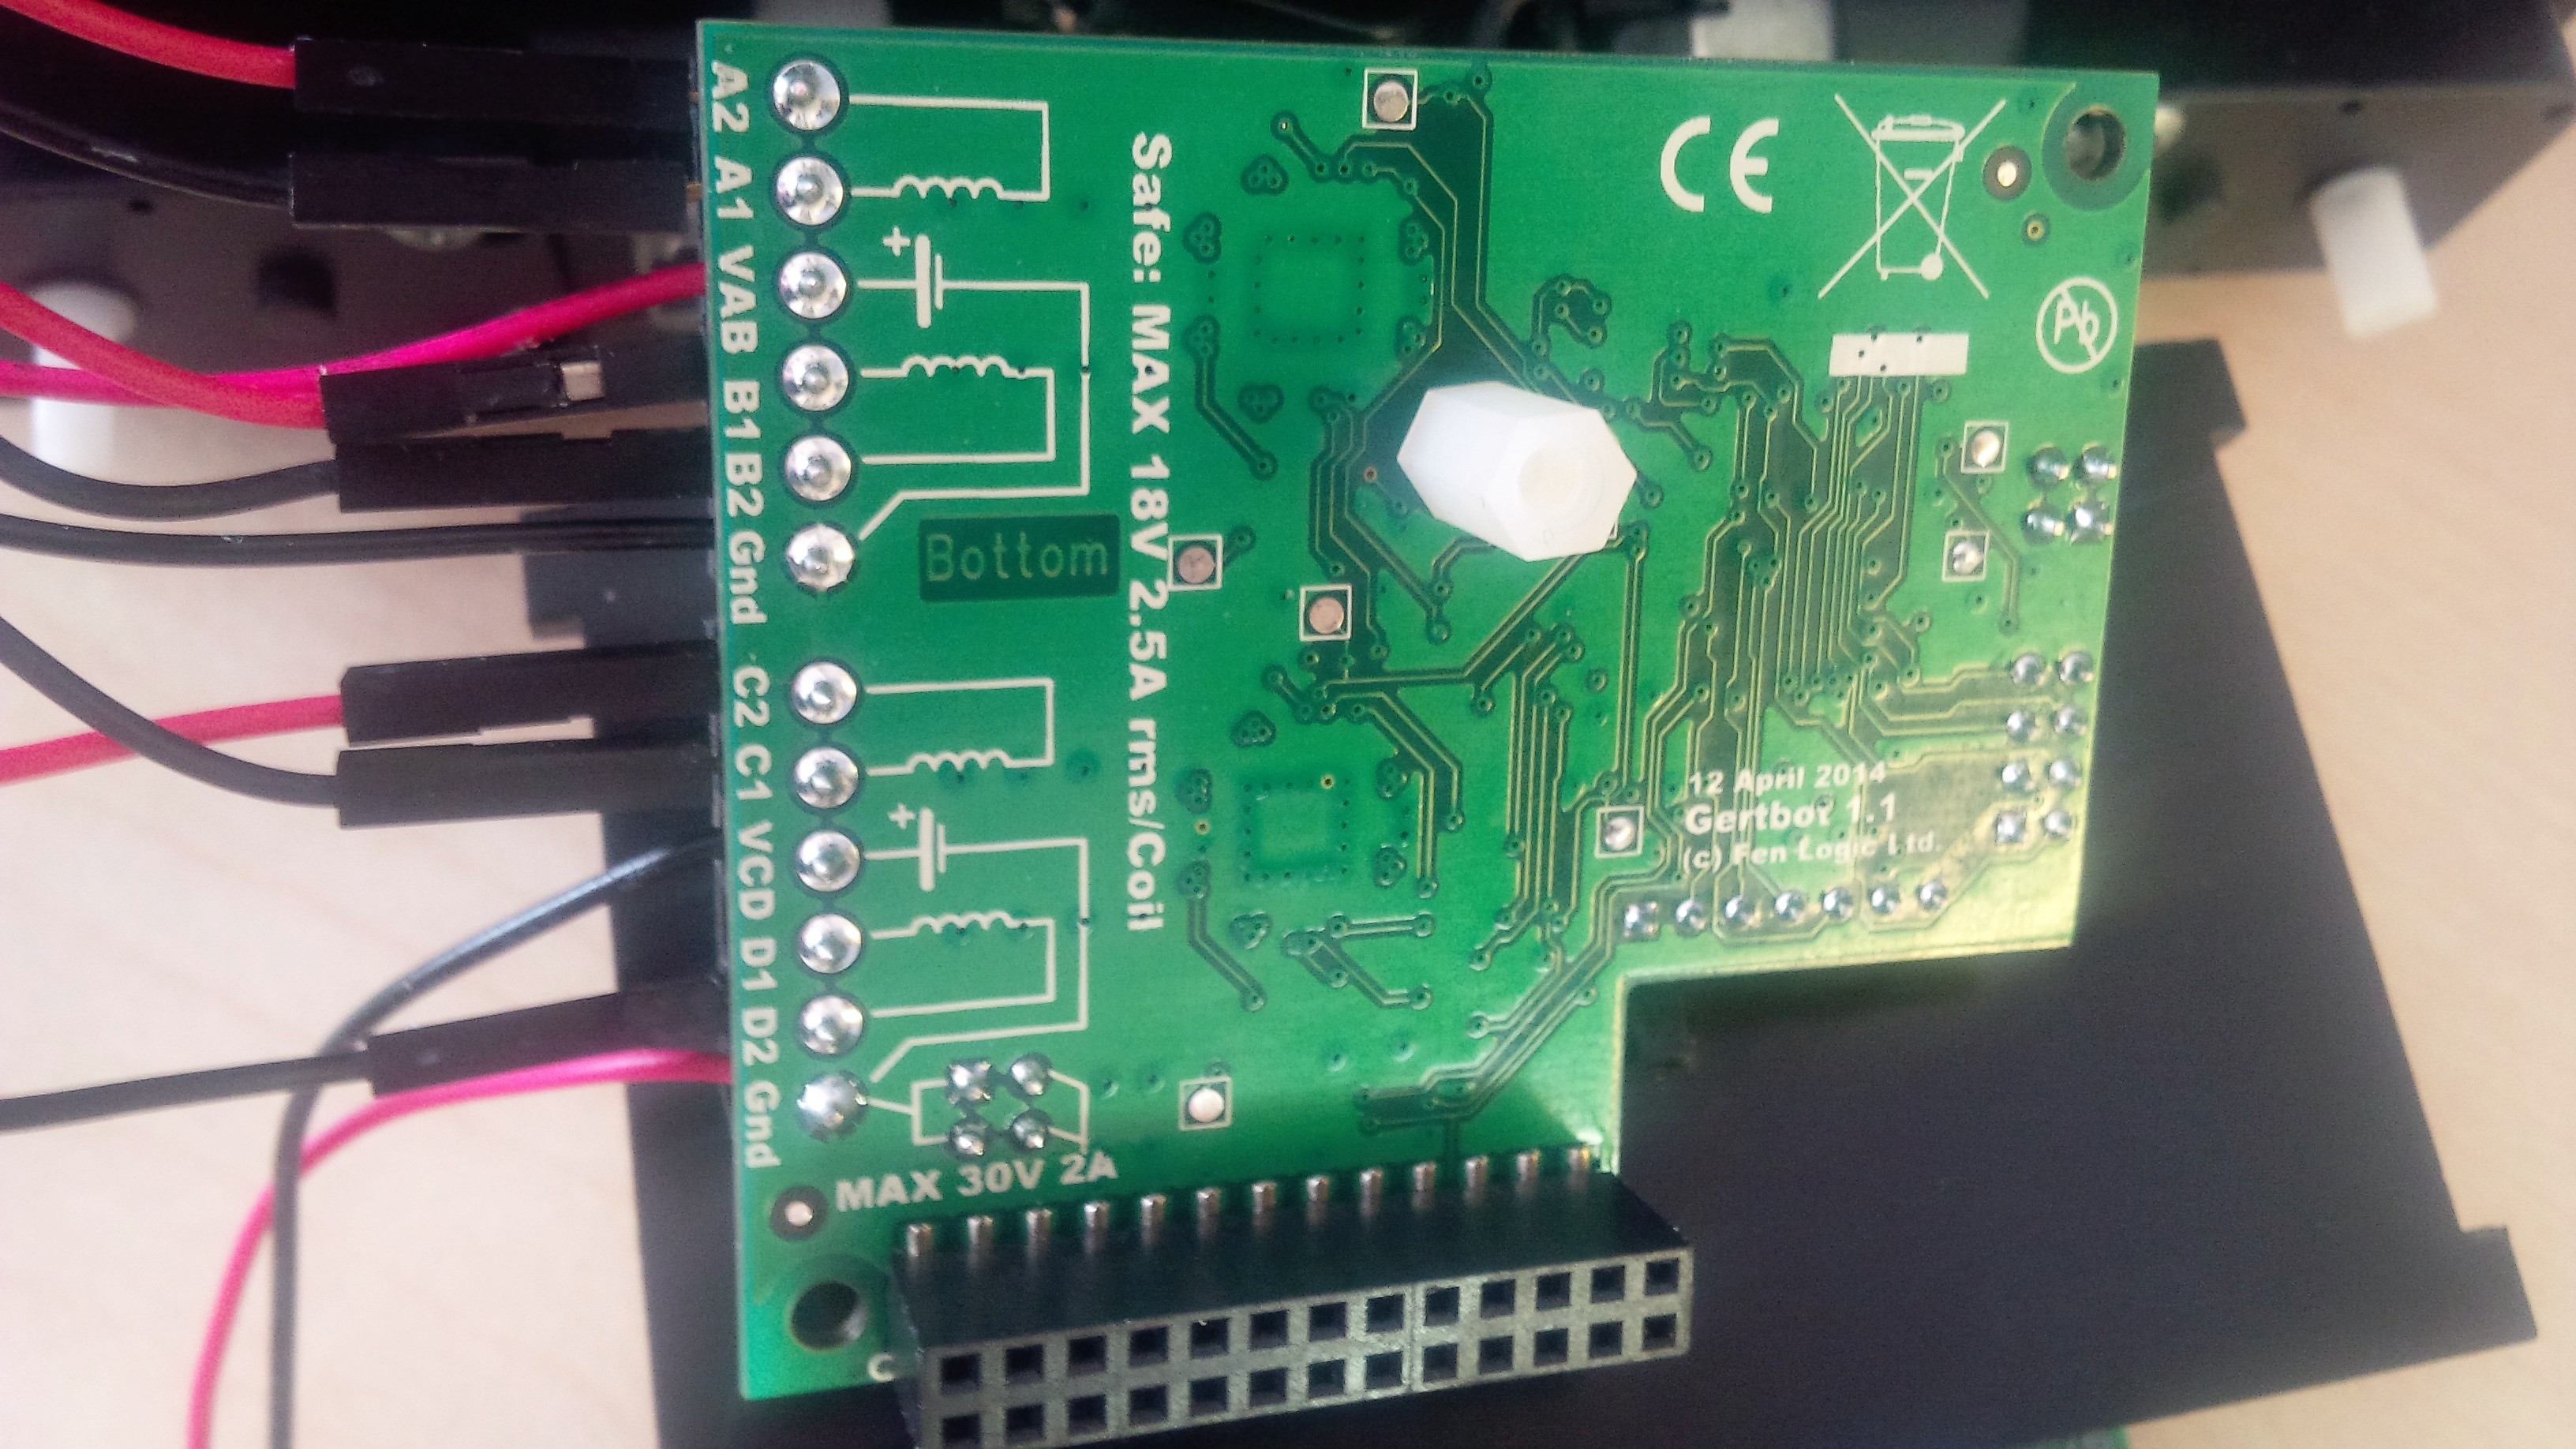
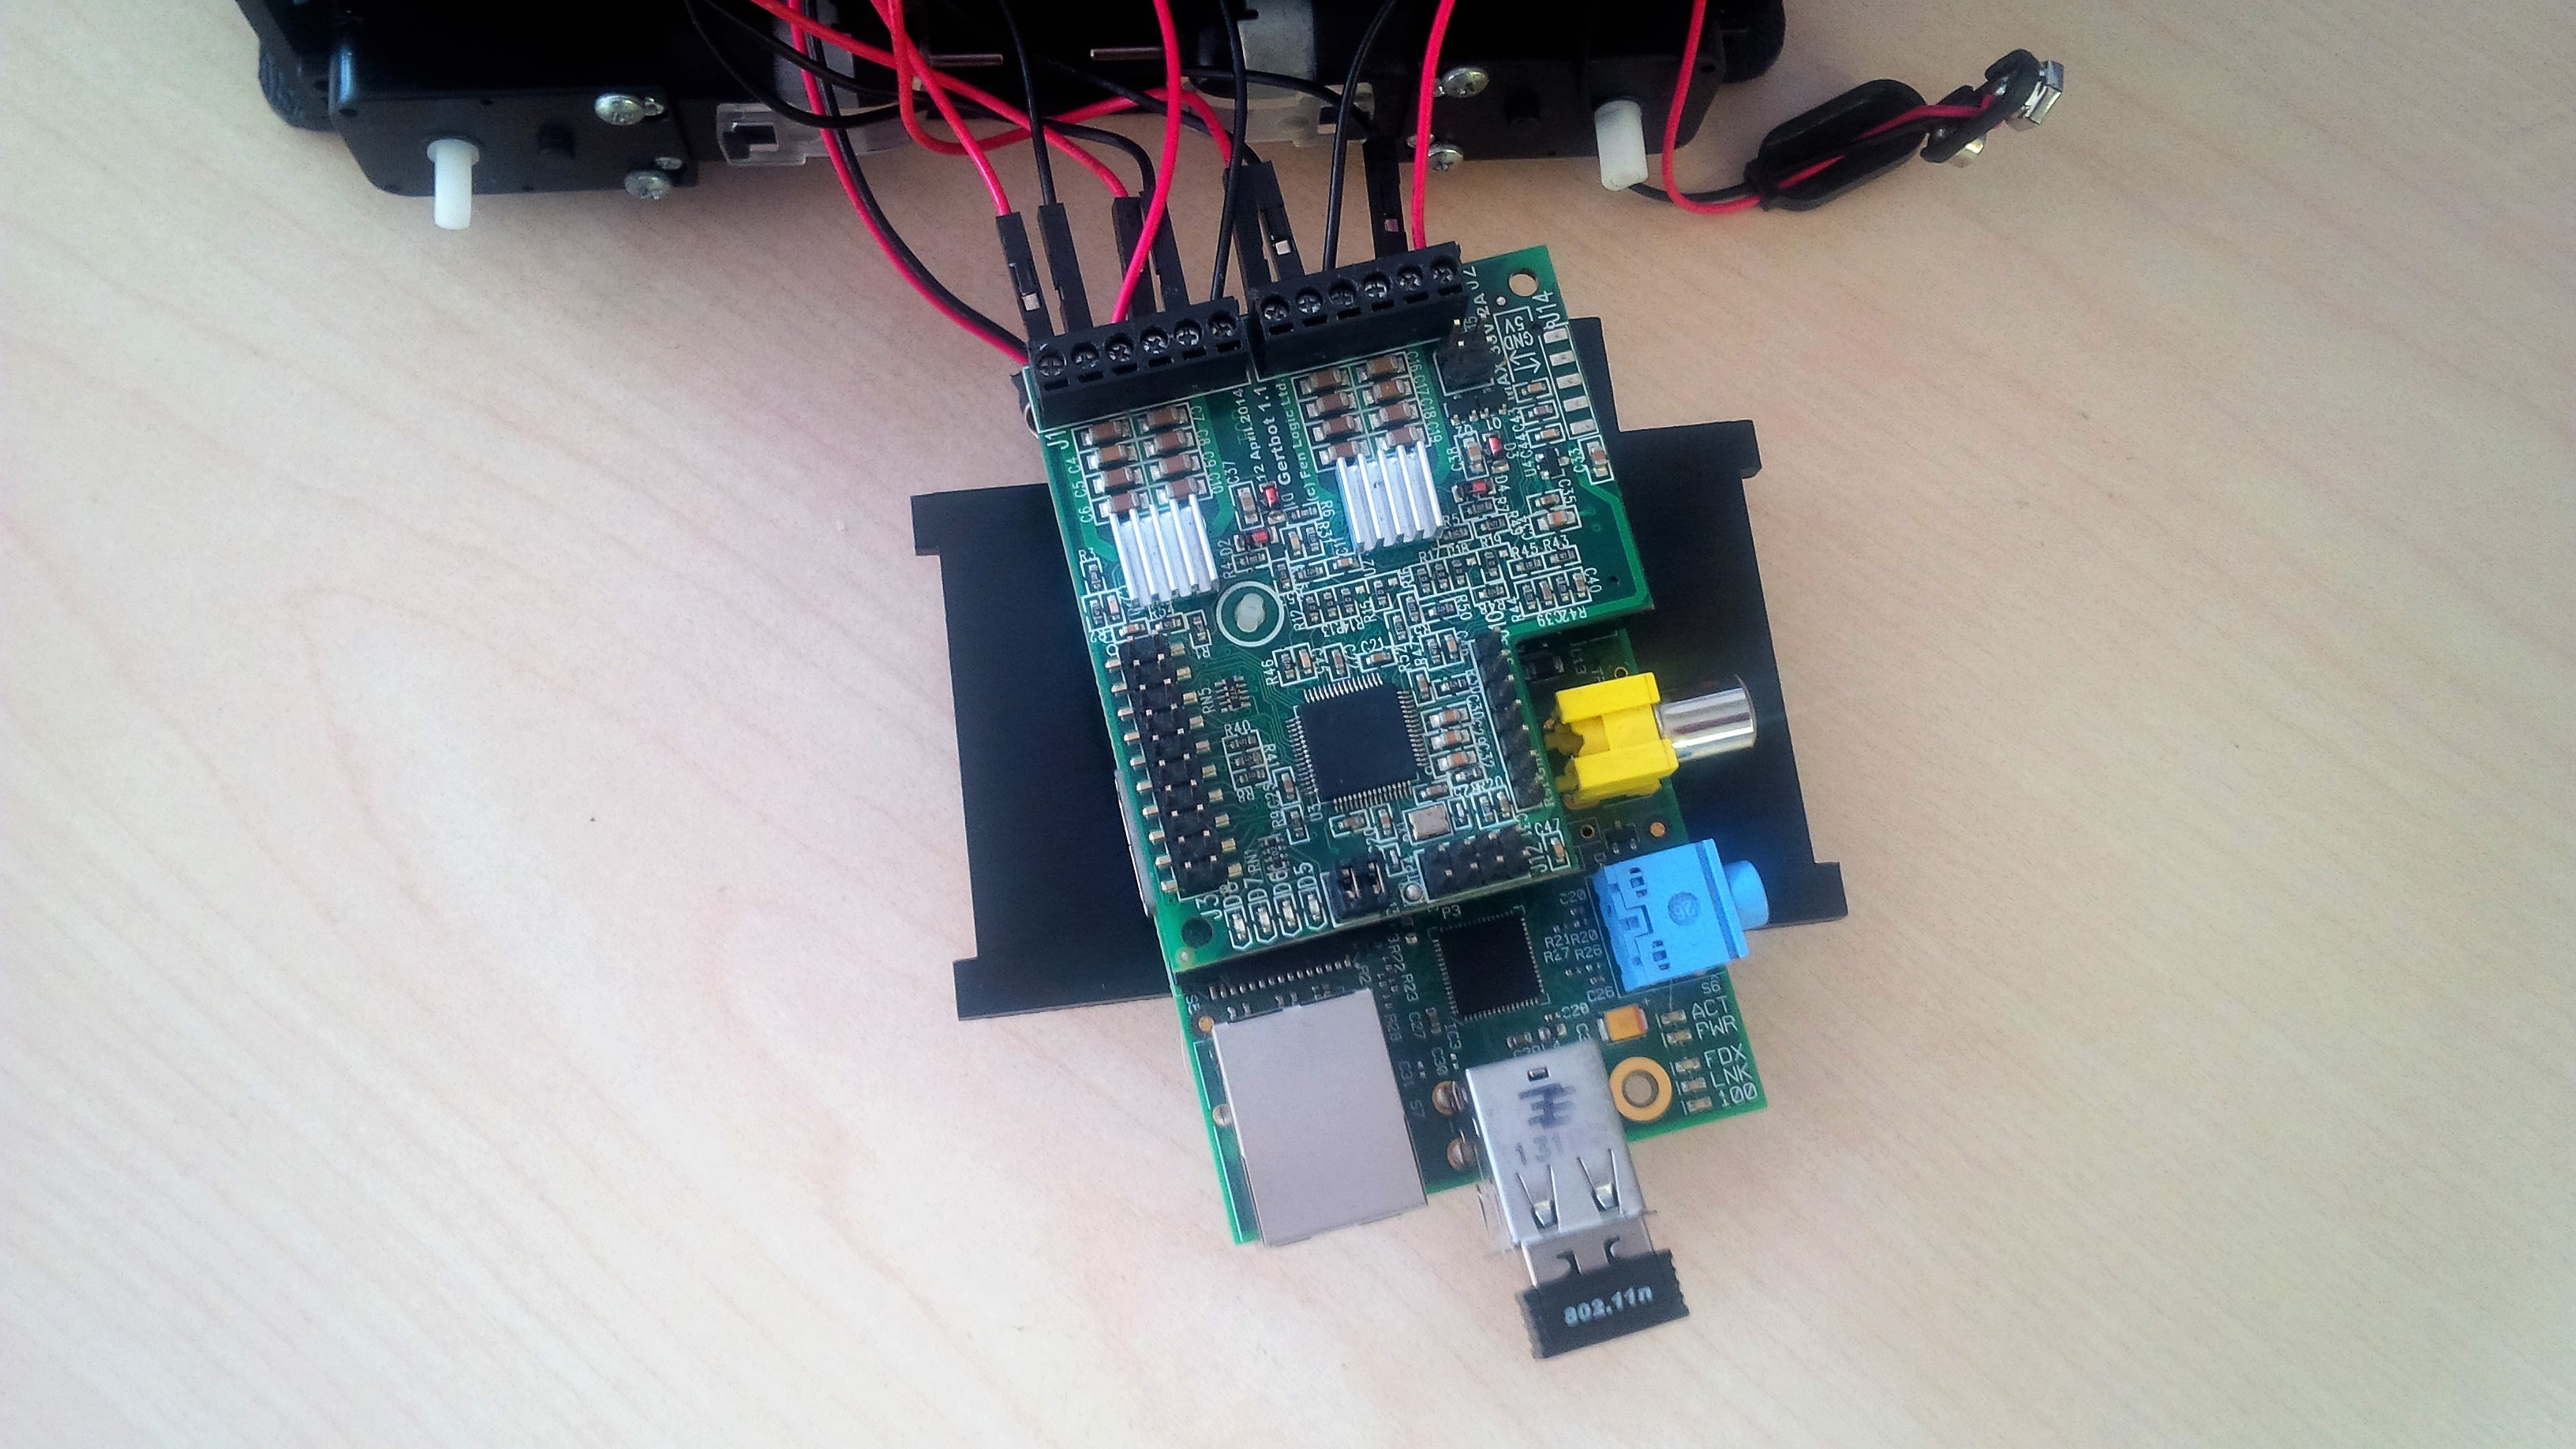
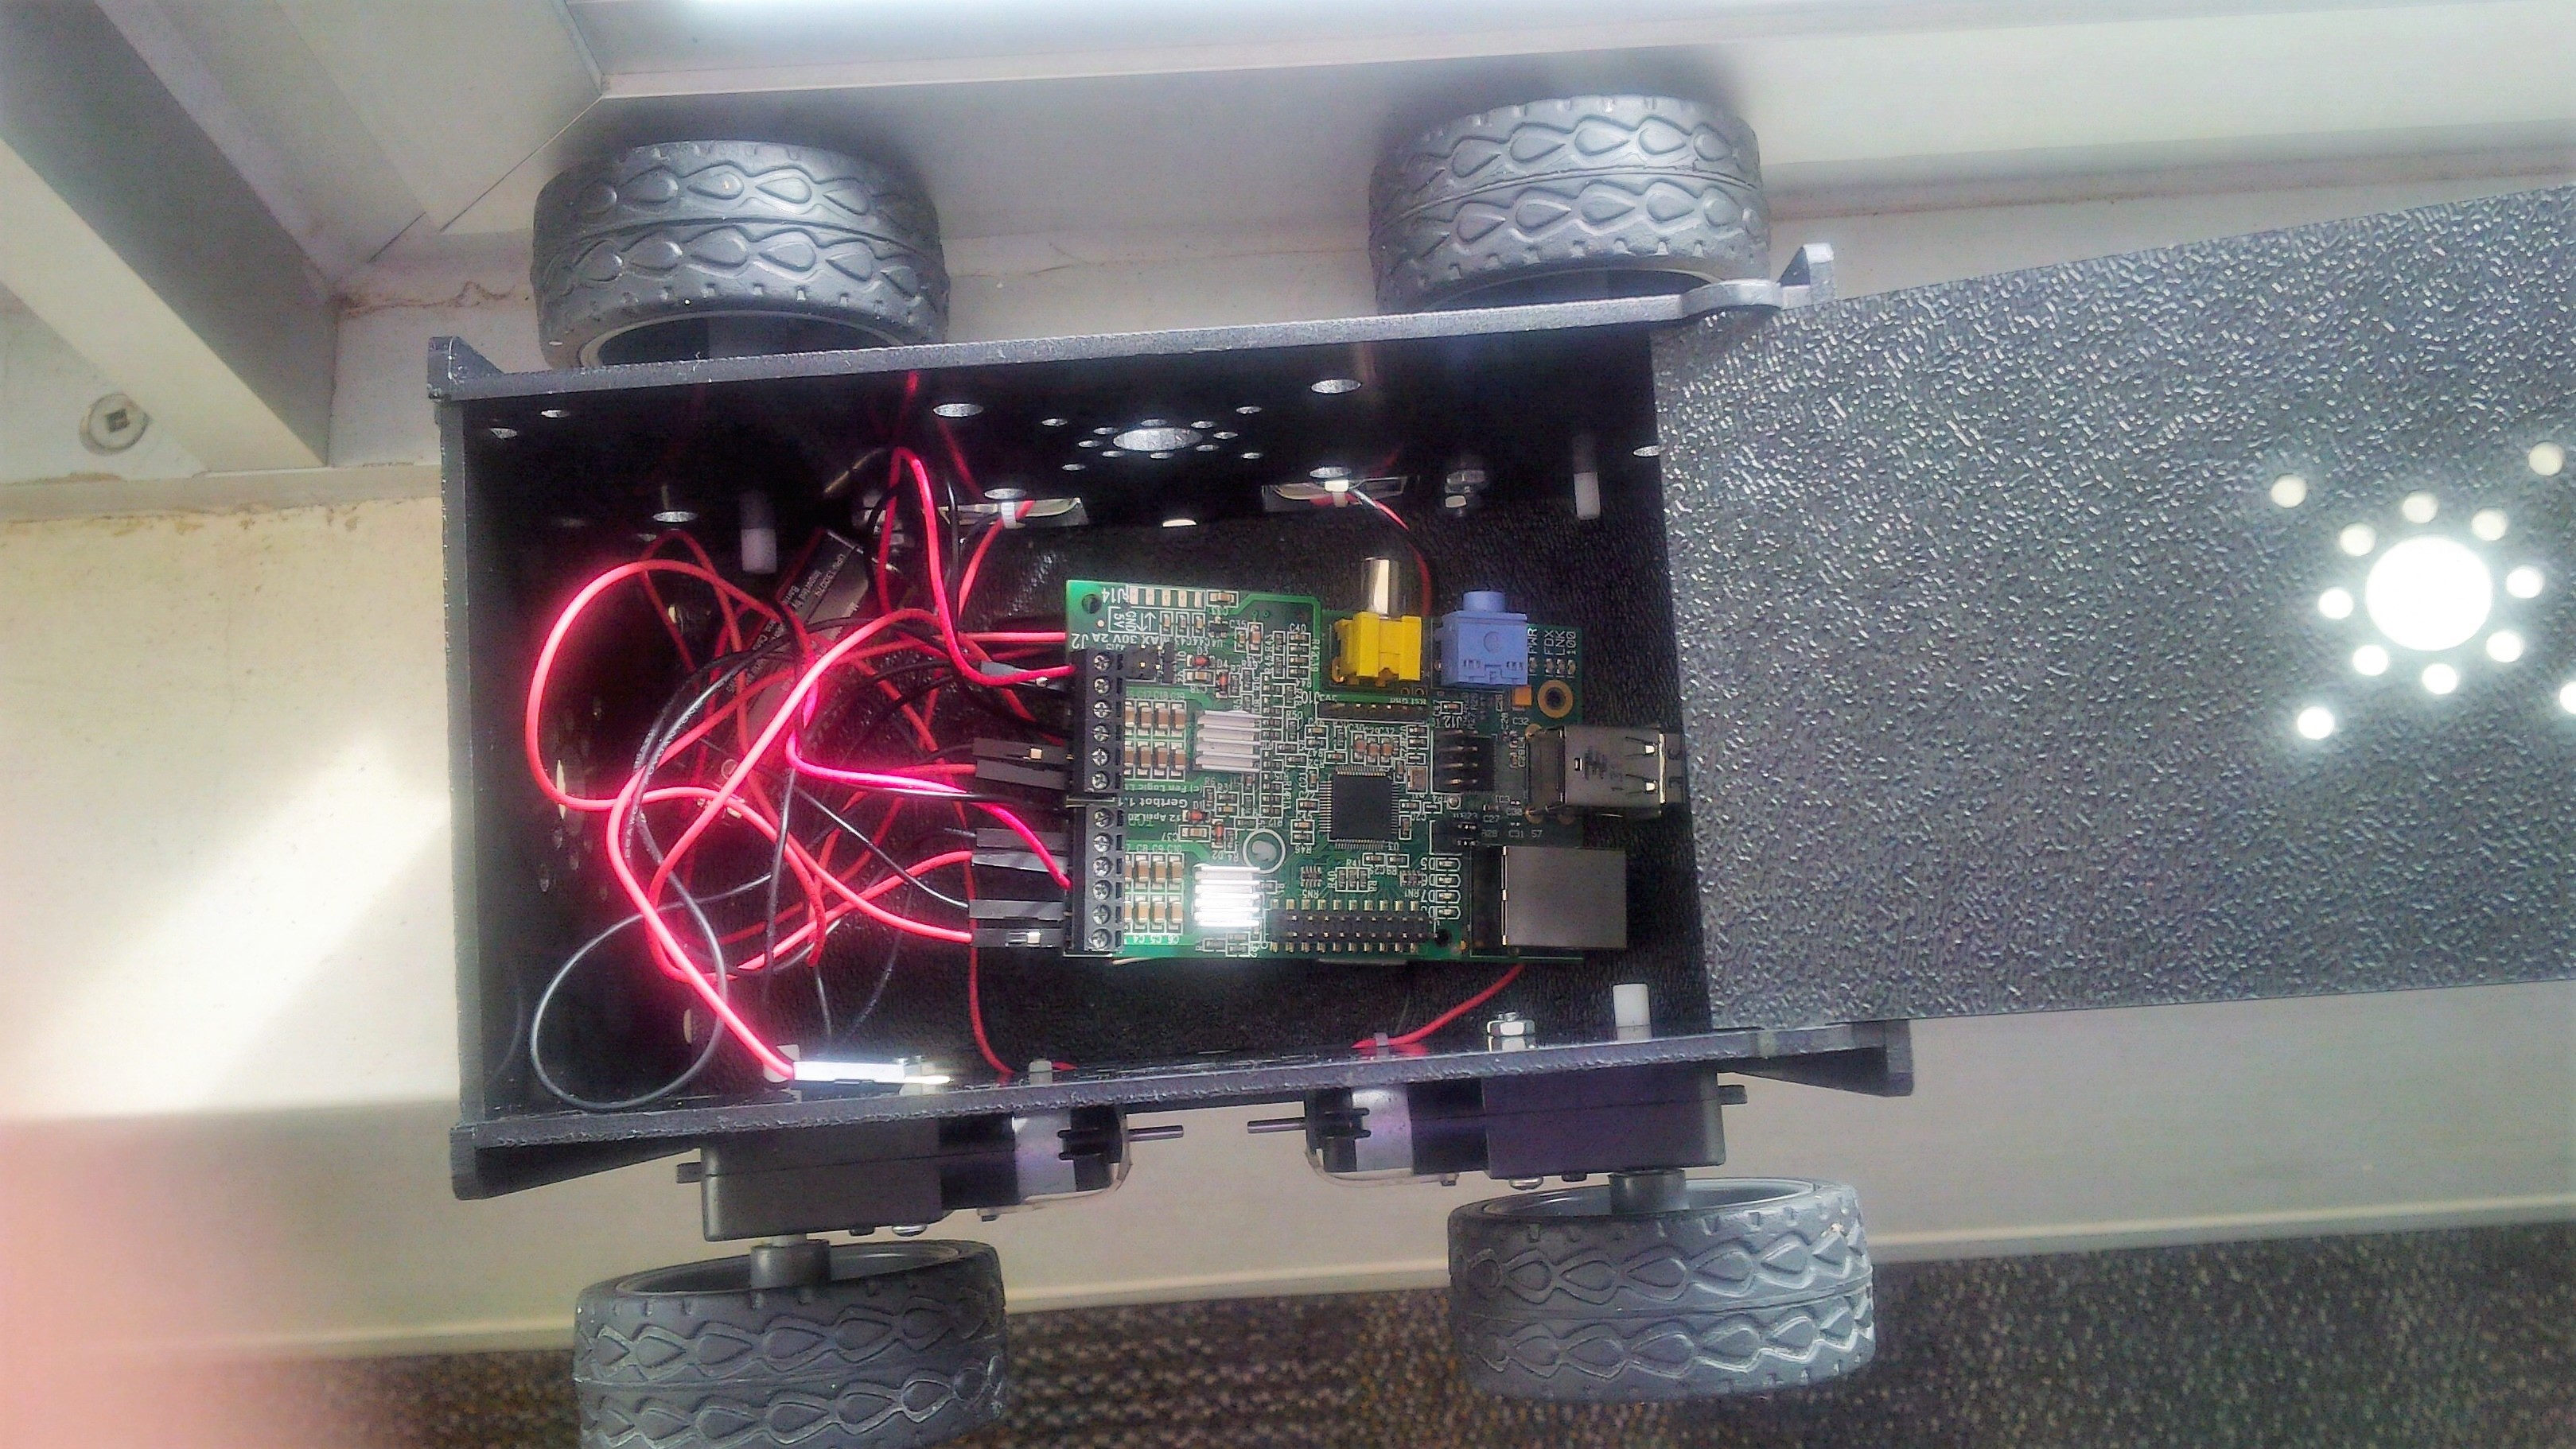
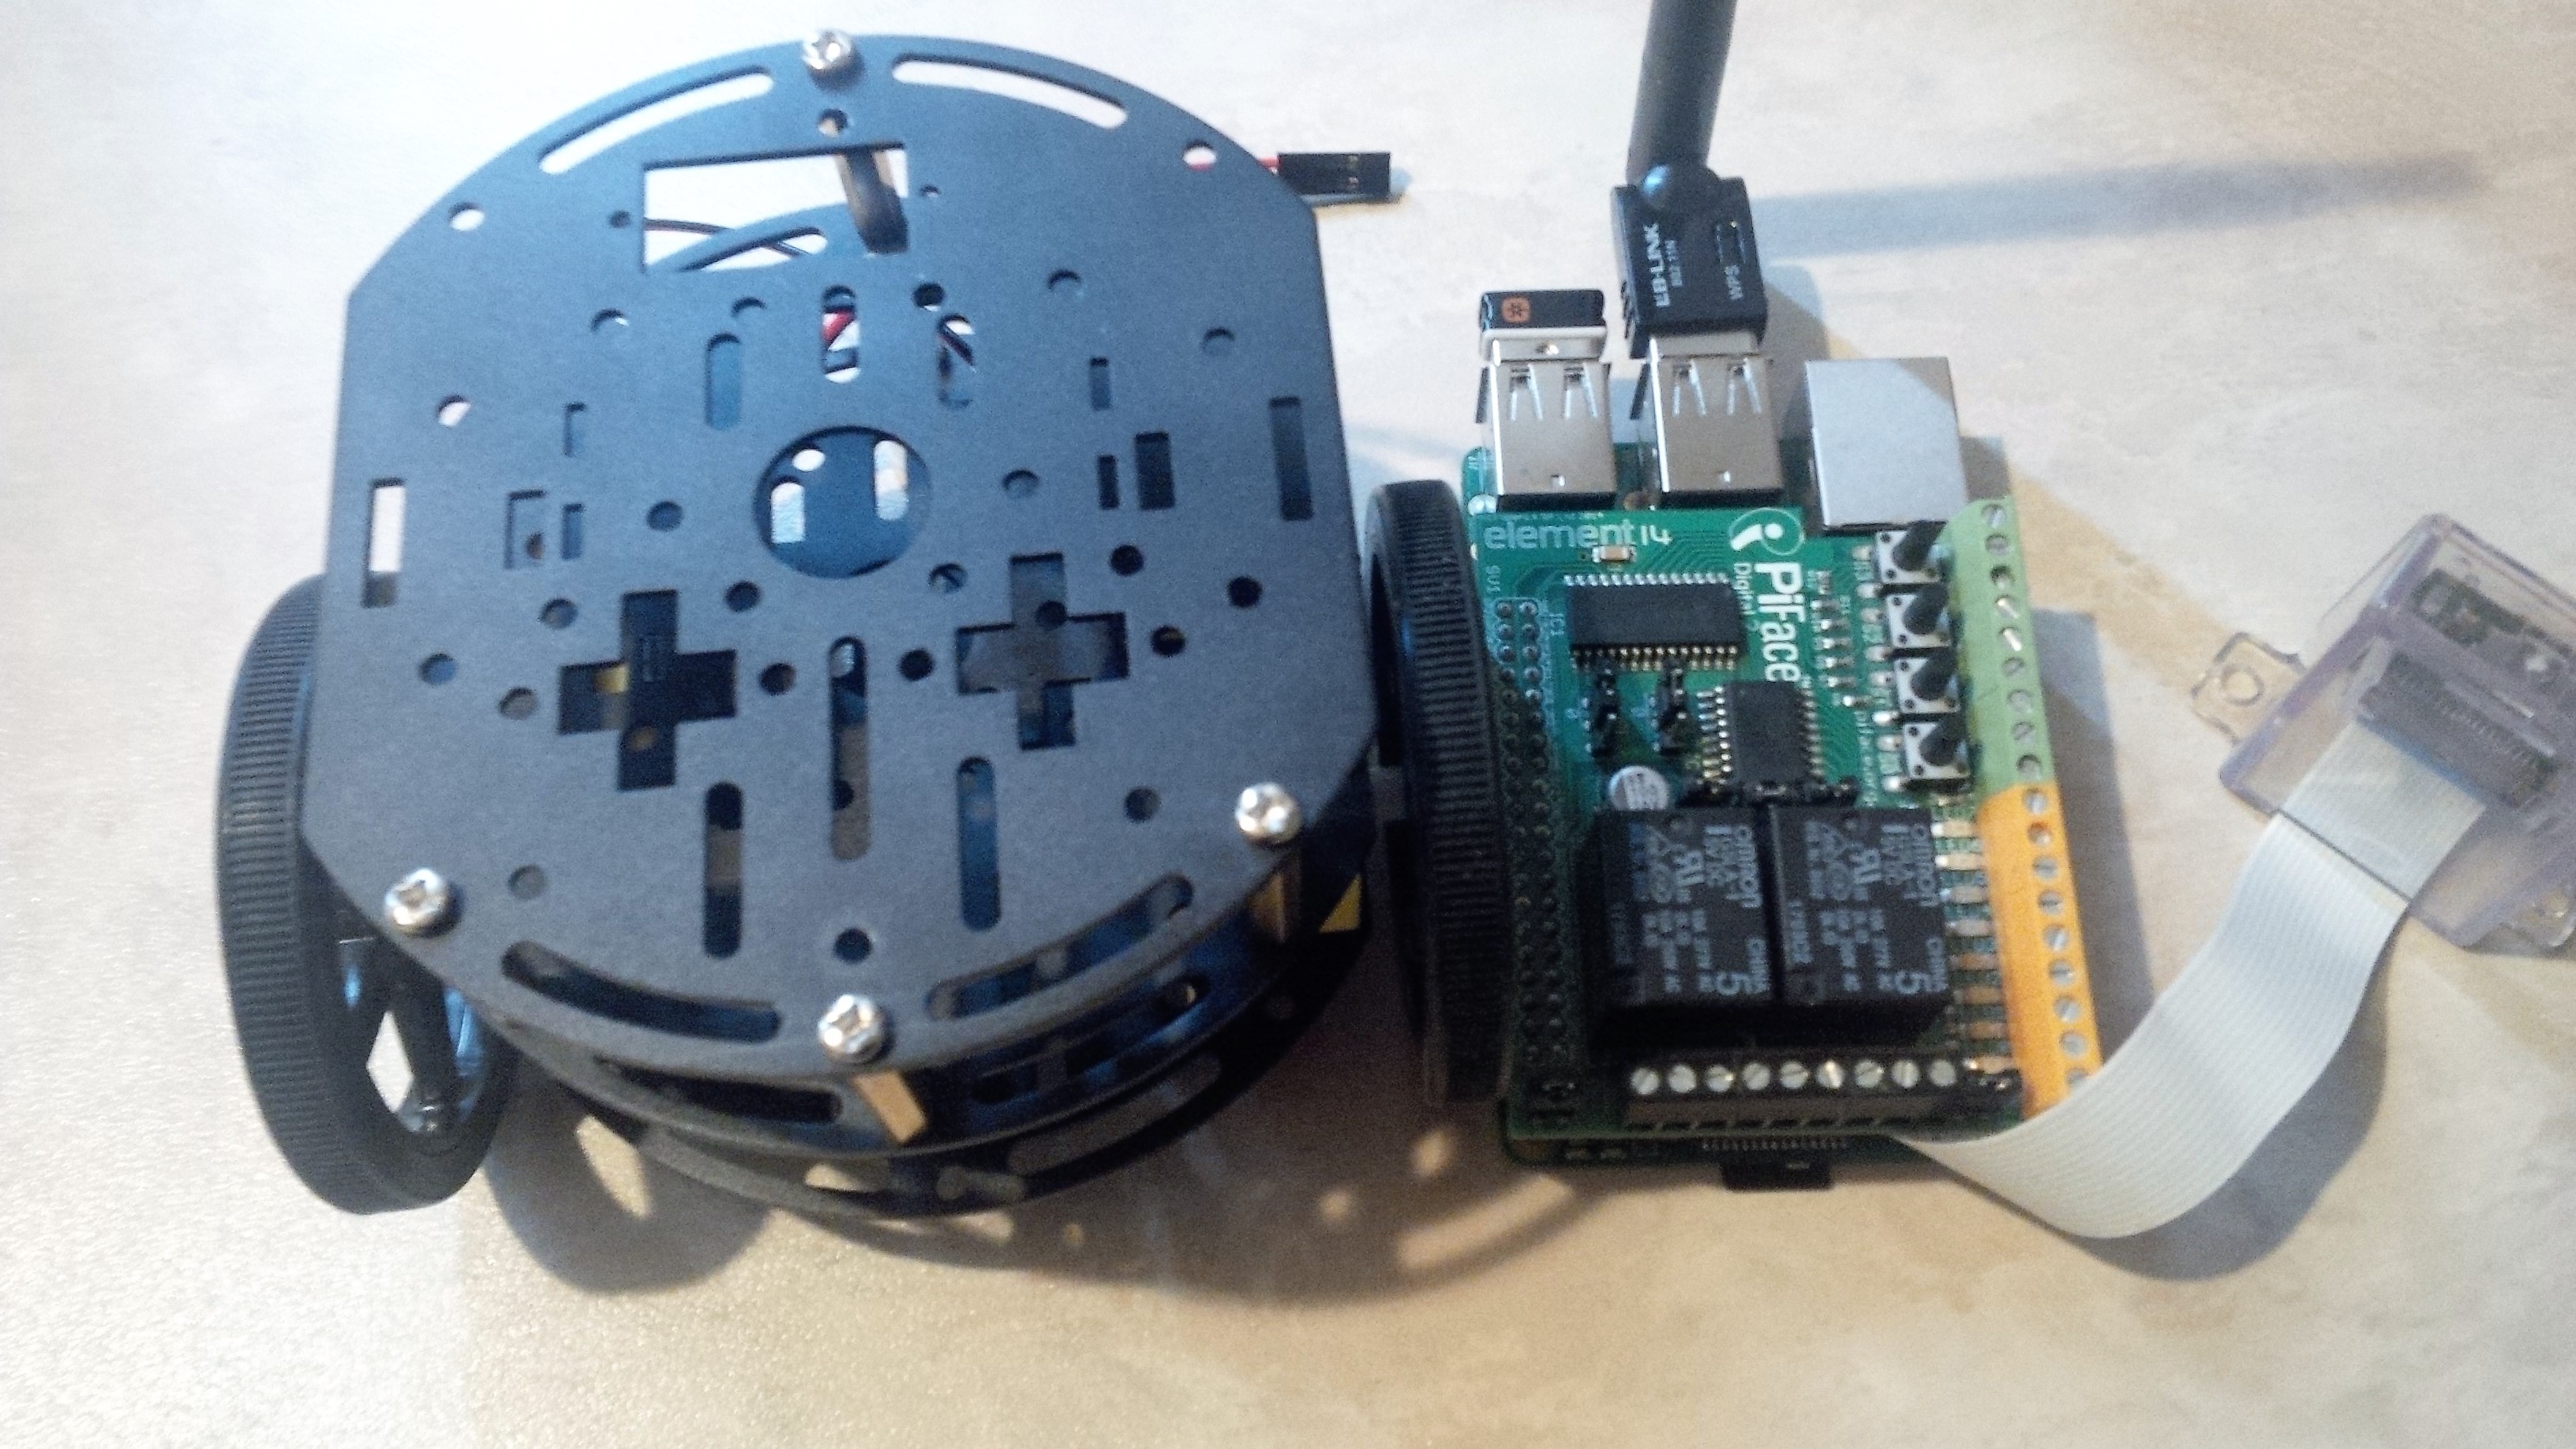
    Now I need to use a wire splicers connector to connect CrowBot Junior to the PiFace. At this point the connectors do not match. Nope not connecting to the terminals as is. The battery pack in the front is good to go.
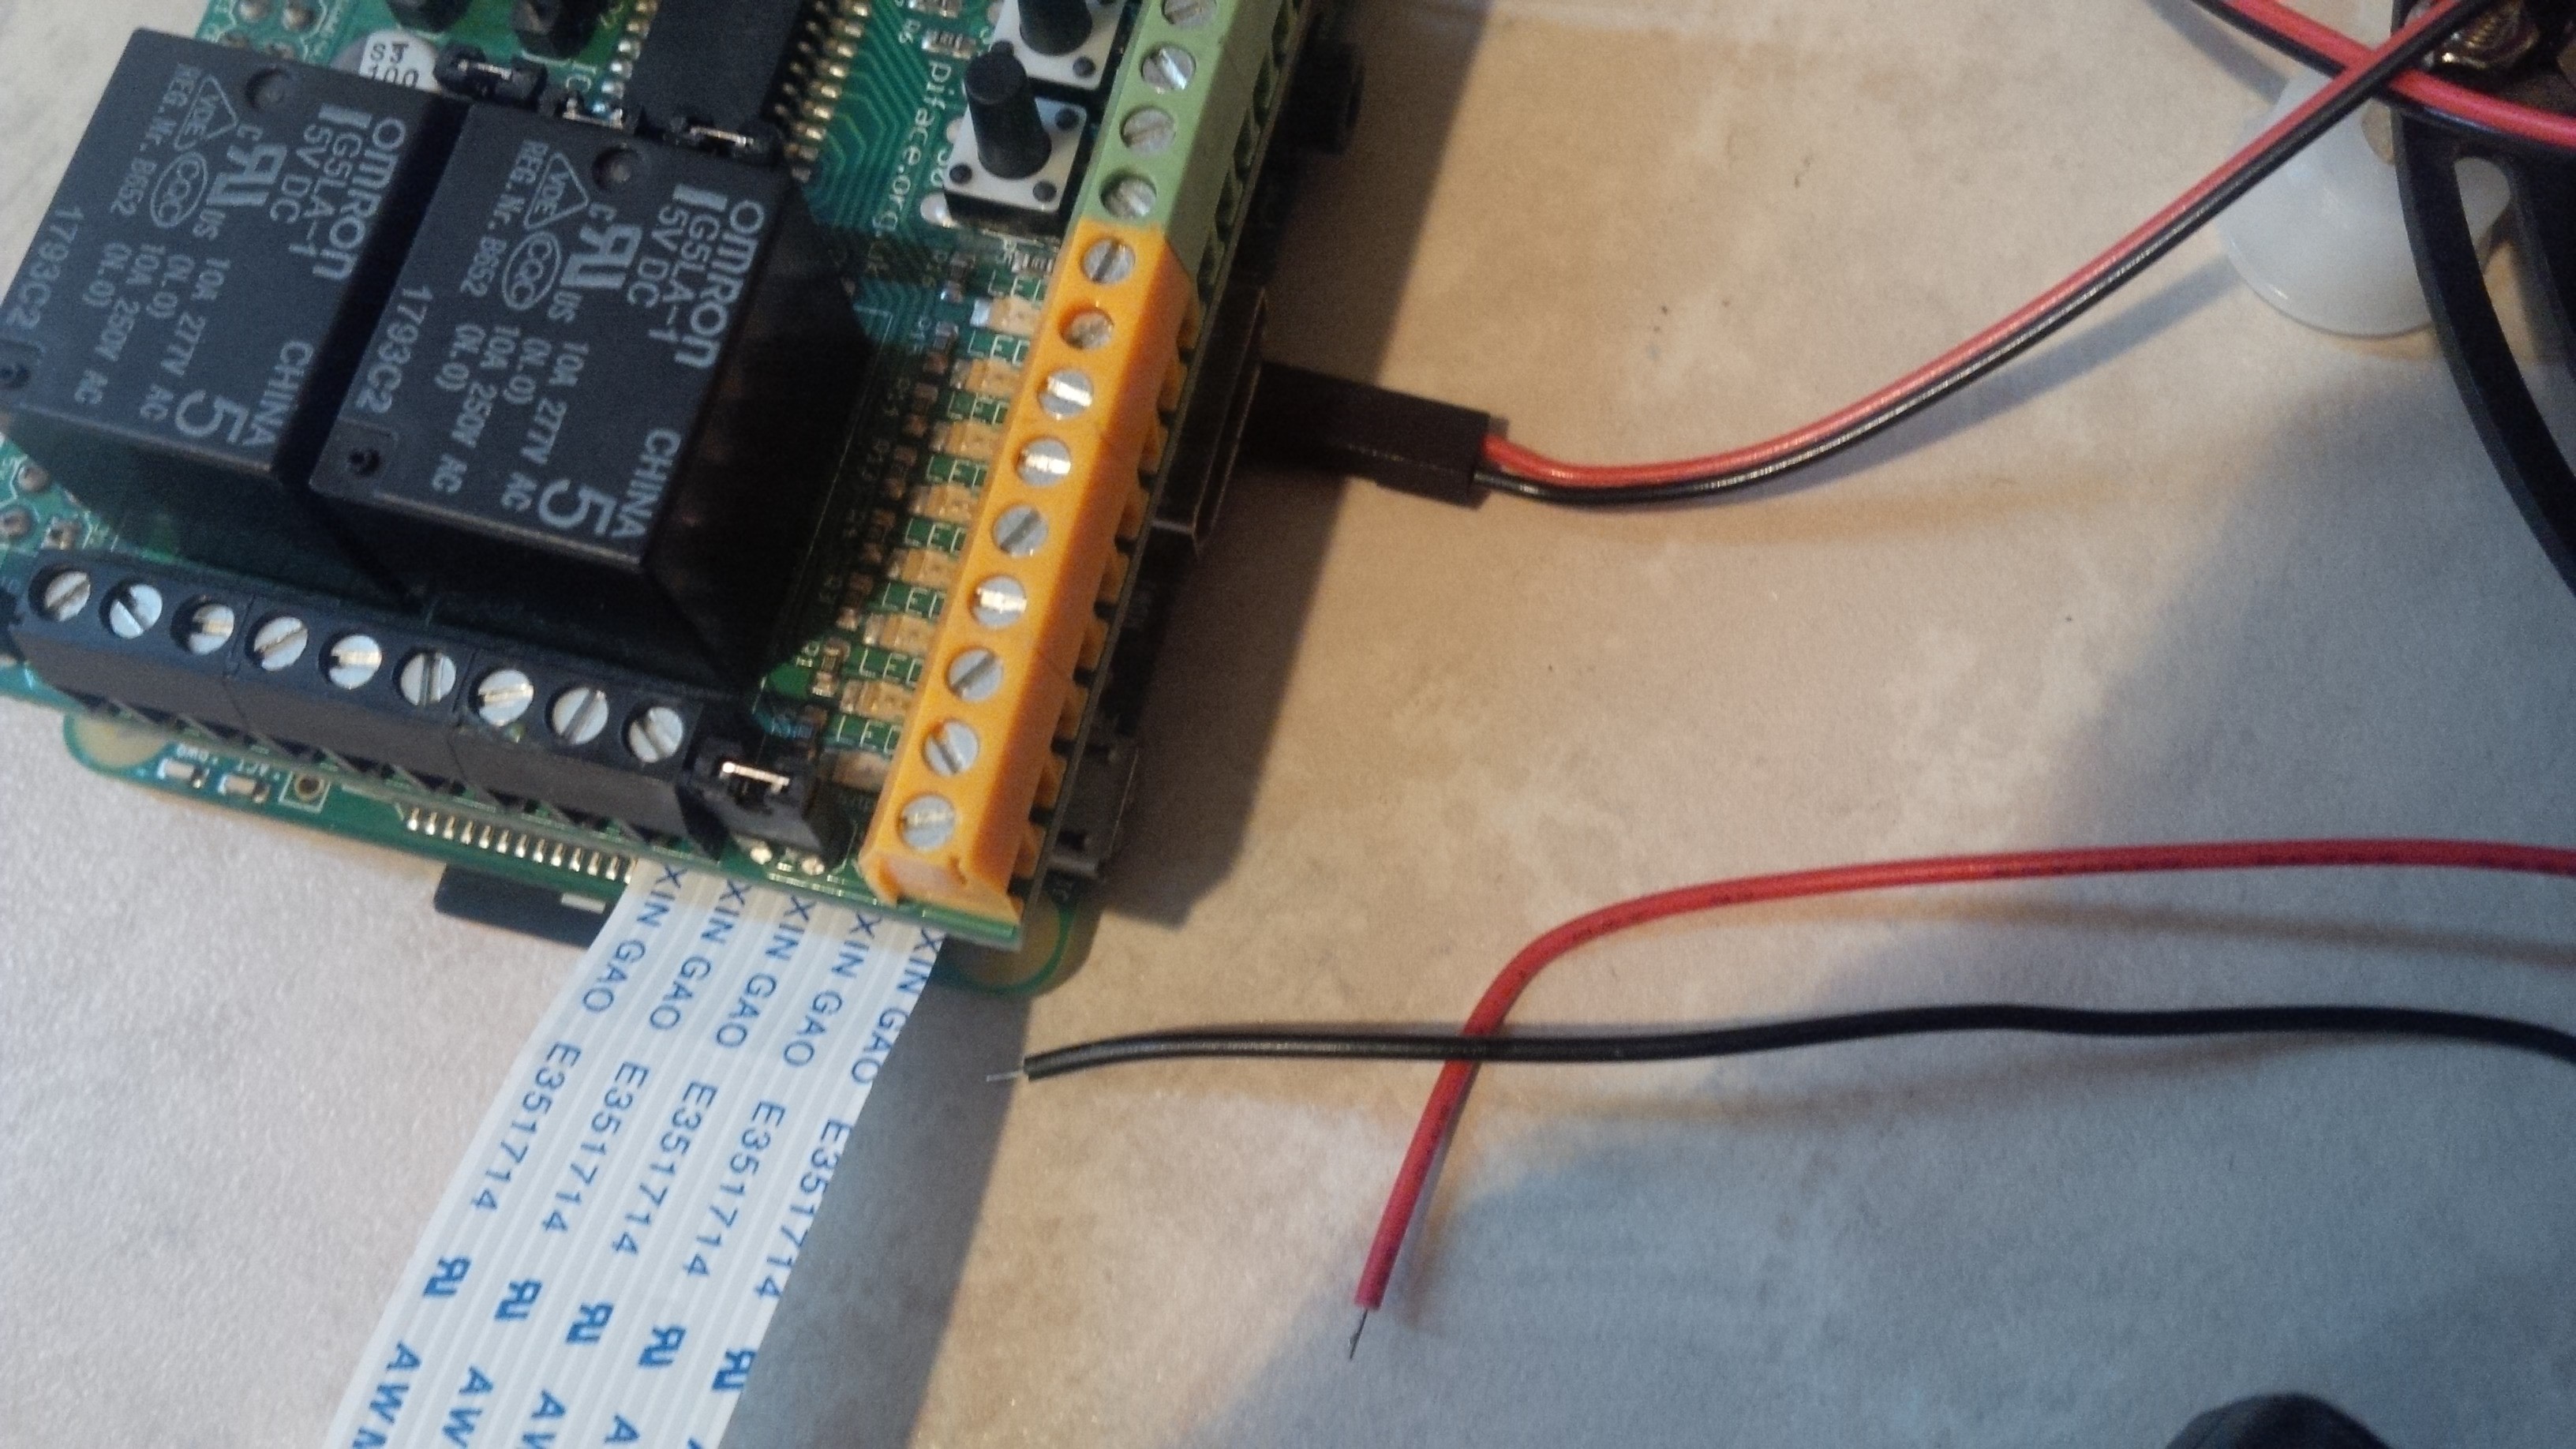

    The LB-Link Wireless USB ADAPTER was a big win. It was a simple plug and play for the Raspberry Pi and has extended the WIFI connection. I cannot wait to try it out this weekend. The weather forecast looks promising. Crows, seagulls, sparrows , foxes are welcomed to the backyard.


  • CrowBot Sensor Tag

    Brenda Armour04/08/2017 at 12:54 0 comments

    I have both the SimpleLink CC3200 and the CC2650. Texas Instrument has an excellent write up of both that can be found here.

    I recently received the CC3200 and it connected once to my phone. I thought it might be the batteries and decided to replace the two AAA batteries. Then it died:

    So I'll continue to use the Bluetooth Version and tinker with the CC3200. It appears the top of the board rises when you push the User and Power button together to reset the SensorTag. I'm thinking this is the issue.

    This Pi has a couple of roles to play in the project. The camera will capture images and return a description and tags from Computer Vision. This meta data will be stored in a database. The Pi will also connect to the SensorTag and return data for temperature, humidity and light in the enclosure.

    Still a work in progress but here is the beta version of the dashboard:

    Spring is almost upon us in Canada. The Seagulls have returned . I placed my Crowbot on the deck but again they are allusive. Also a small black bird has returned to the Island. I am not sure if these are are baby crows. Probably the best part of this project is to add a crow head and feathers and see if this bot can be accepted as a crow.

  • CrowBot Vision

    Brenda Armour04/01/2017 at 16:09 0 comments

    I have installed all the GertBot software and now I am ready to test the camera with Microsoft Cognitive Services. Below is a short video of the buggy moving:

    The camera is mounted on a Raspberry Pi 2. I have wired the connected Pi Camera using Node Red. The flow is shown here:

    I will present the details later. The most important elements for now is to trigger a picture that will connect to DropBox and Computer Vision to generate some tags and description of what the camera sees. For now I have placed the buggy on my deck:

    Let's see if we can catch some crows. I brought the camera outside and provided some tasty bread crumbs. Where are you guys ??? The tags and description are bang on but no crows today :( Google tells me to to try shelled peanuts.

  • CrowBot Base

    Brenda Armour03/30/2017 at 15:59 0 comments

    Gertbot is a daughter board for the Raspberry Pi/ I'm going to use one of the original raspberry Pi for the board. Gertbot plugs directly to the GPIO. On the back is a nice diagram showing you how to connect the motors and power supply. It's purpose will be to control the motors.

    There is also built in thermal and short-circuit protection. I will be using Python scripts to control the CrowBot from my Blackberry.

    I'm uncertain if this chassis is too big. There is plenty of room for multiple Raspberry Pis and Sensors so that is not an issue. The Half-Pint Runt Rover Kit comes with 4 x 140RPM prewire motors.

View all 5 project logs

  • 1
    Step 1

    Setup Raspberry Pi and Camera

    Setting up the Raspberry Pi and Raspberry Pi camera is covered in dozens of blogs and tutorials. The most recent version of Raspian Jessie with Pixel is April 2017.

    Below are some of the links that provide excellent tutorials in setting up your Raspberry Pi and camera:

    1. Preparing the SD card

    2. Guides to setting up the Raspberry Pi

    3. Guide to Raspberry Pi camera installation

  • 2
    Step 2

    Setup Gertbot

    The GertBot is a motor/power controller for the Raspberry Pi. I amusing model B . Although it comes with a detailed manual you can be up and running quickly.

    1. Connect the motors and power supply to the GertBot. I am m using 2 x 9 volt batteries.

    2. Connect the Gertbot to the Raspberry Pi (which is powered down)

    3. Download the software

    4. Start the program with ./gertbot

    5. Press on connect and you should see something like this :

  • 3
    Step 3

    Setting Up Node Red and Installing additional nodes:

    Node Red is an easy to use tool that is already installed on the Raspberry Pi. More info can be found here:

    https://nodered.org/

    The most important step here is to update your version on the Pi:

    sudo update-nodejs-and-node

    Now check your version. I'm using Putty for this project as my terminal.

    npm -v

    3.10.10

    node -v 

    6.10.0

    Now your Node Red is updated we are going to add some nodes to connect to our Raspberry Pi Camera and Sensor tag. The new version of Node Red allows a simple install through this option: <insert>

    These are the additional nodes I needed for the project.

    node-red-contrib-camerapi

    node-red-node-dweetio

    node-red-contrib-freeboard

    node-red-contrib-cognitive-service

    node-red-node-sensortag

    node-red-node-dropbox

    You need to get a free subscription key from Microsoft for the Computer Vision node.

    https://www.microsoft.com/cognitive-services/en-US/subscriptions?mode=NewTrials

    The Dropbox node is perfect for this project. The new setup can be found here: Dropbox setup

    But to see the picture in the Dashboard I had to tweak the link for the picture. I opted to use a Dropbox tool called Chooser to get a direct link to the picture downloaded to Dropbox. I will keep the same name for the .jpg picture and it should update the dashboard when a new picture is taken.

    To view you Node Red flow just open a browser. Below is an example

    http://192.168.1.1:1880

View all 3 instructions

Enjoy this project?

Share

Discussions

Similar Projects

Does this project spark your interest?

Become a member to follow this project and never miss any updates