 Daren Schwenke
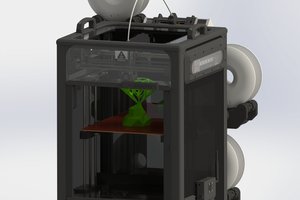
This project starts where the Arcus-3D-M1 leaves off with a more narrowly defined set of build parameters.
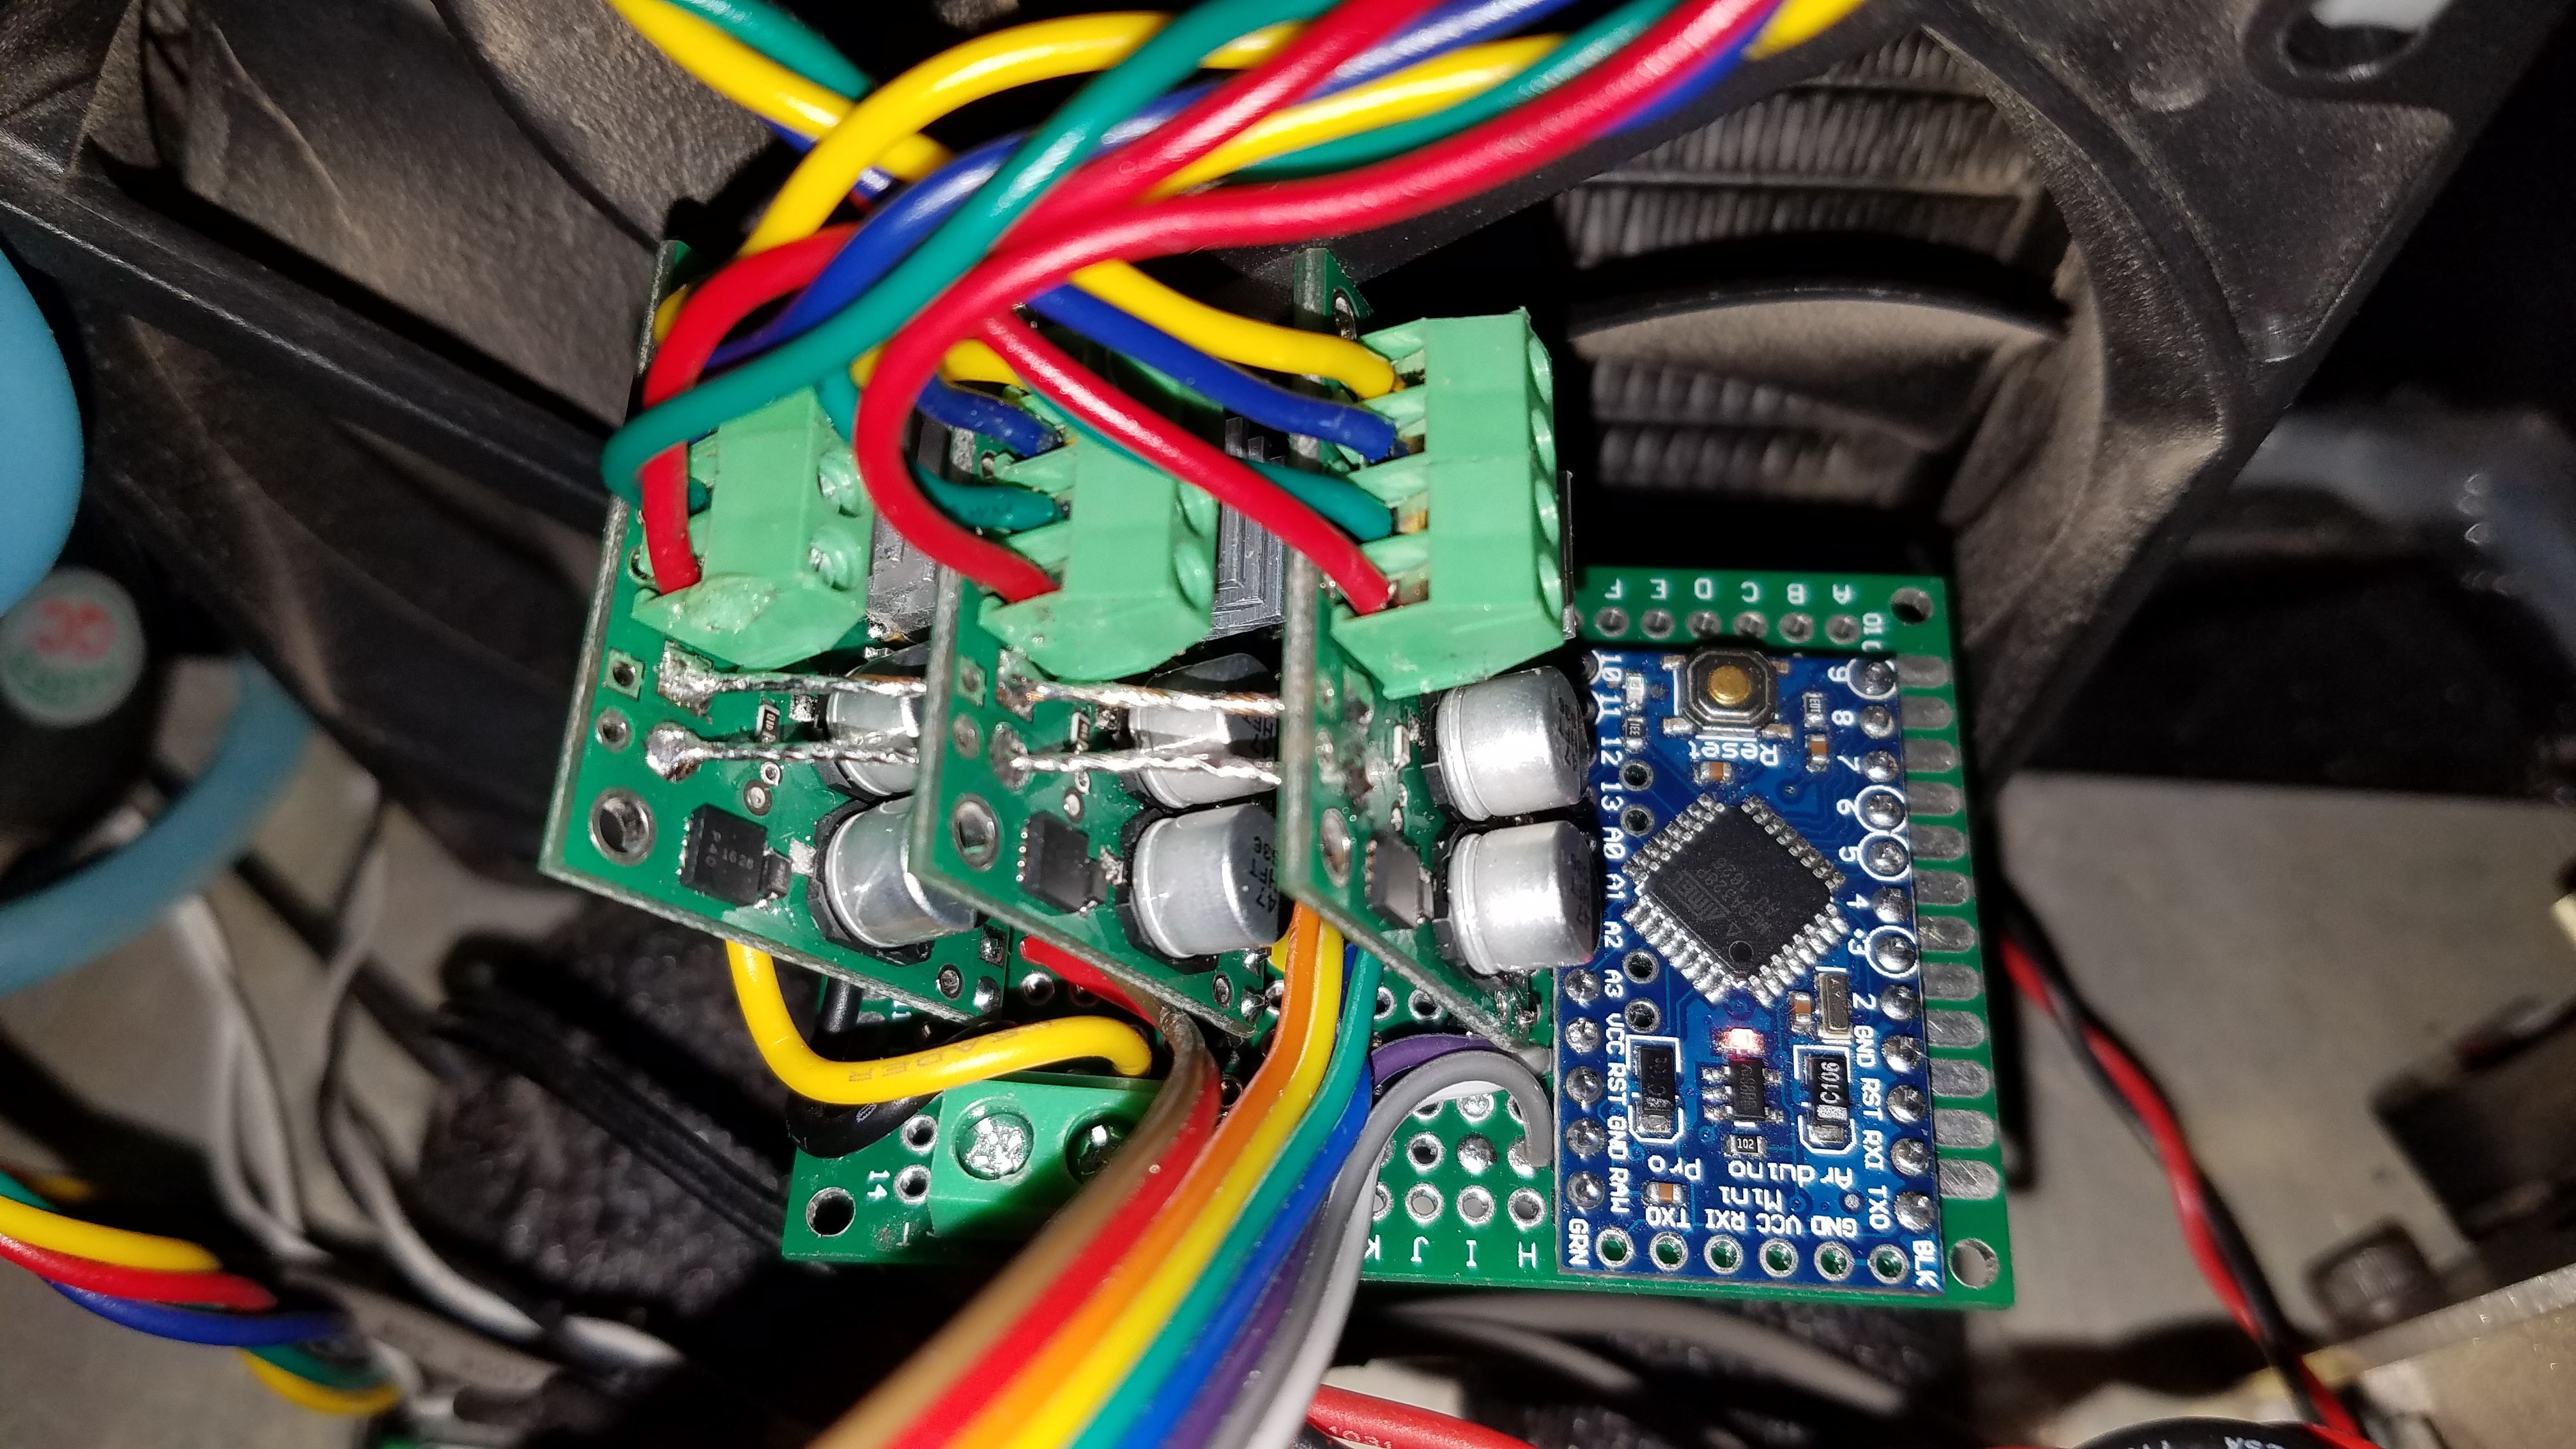
The current design is based on a Beaglebone Black/CRAMPS board running Machinekit, and some custom code. The interface is published as a network service and can be accessed locally or remotely with an Android, Windows, or Linux client.
Six stepper motors located on a floating carriage push 1.75mm filaments down short, PTFE bowden tubes to a compact, liquid cooled cold-end.
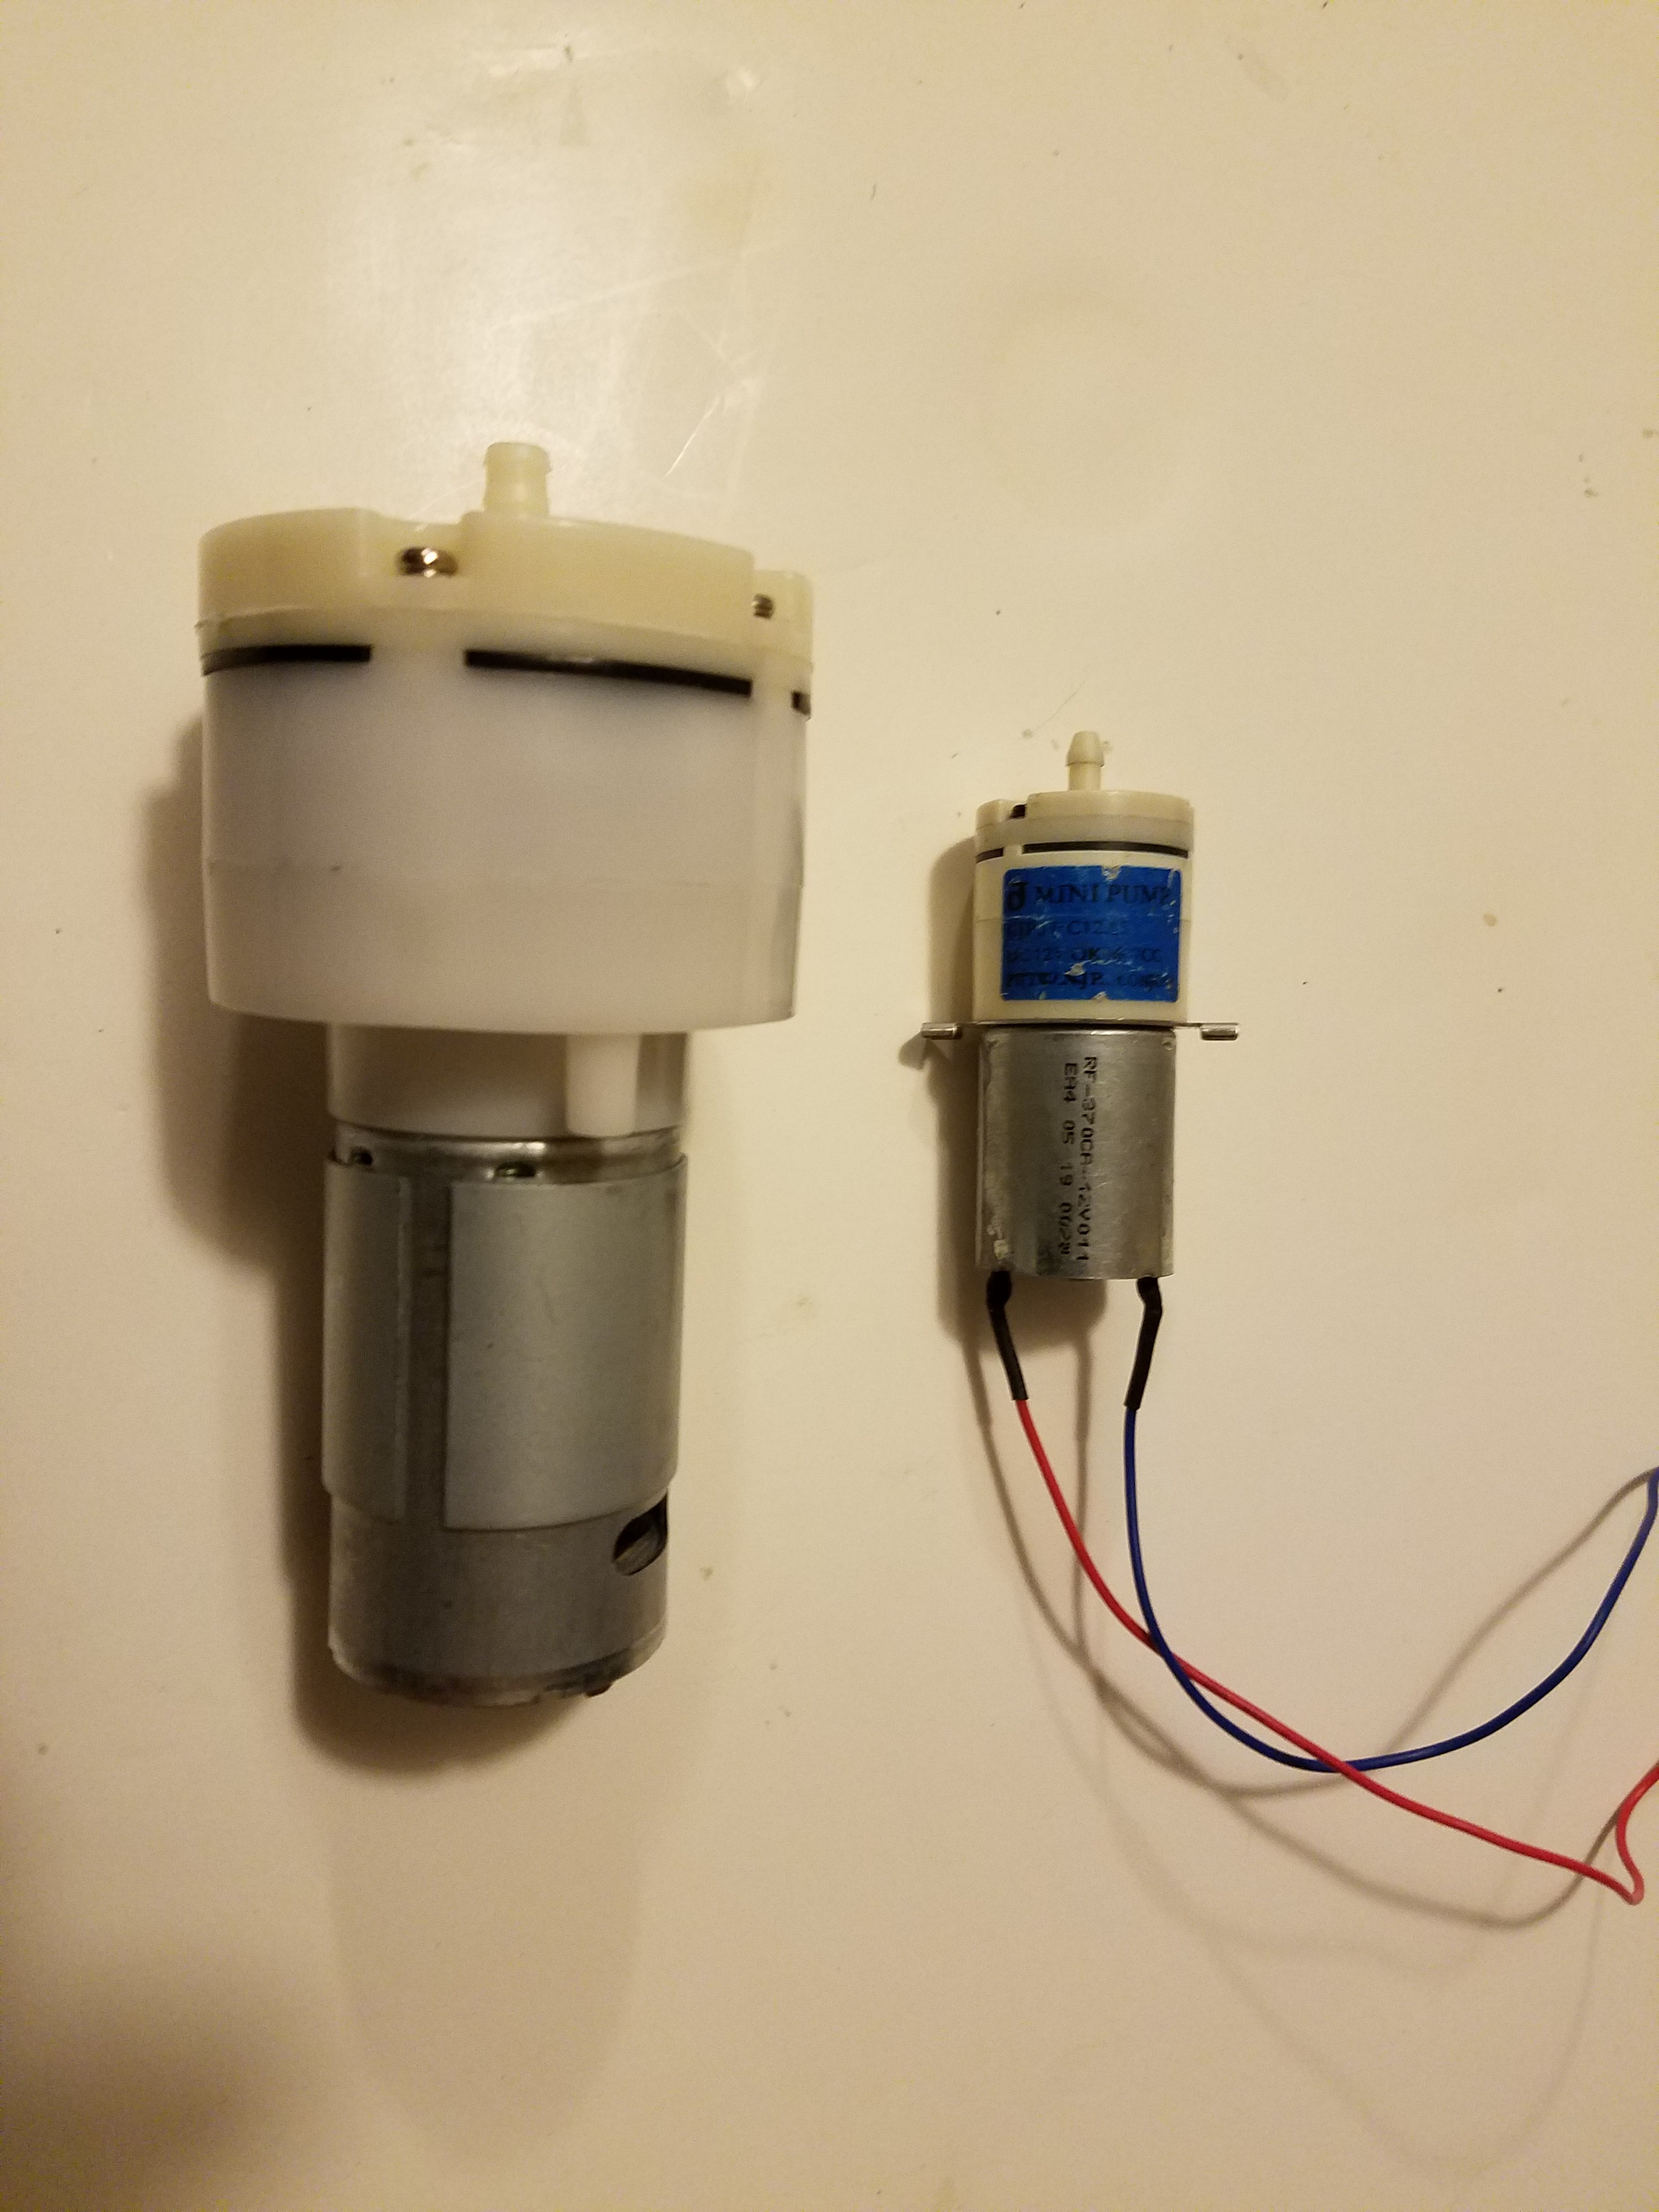
The all metal hot-end employs a tiny impeller located right at the melt-zone of the 6 distinct incoming plastic streams. The impeller spins at a relatively high speed and is designed such that it also generates it's own extrusion pressure to feed the nozzle. This greatly reduces the feed pressure required, eliminates feeding back into idle ports, dramatically improves color change performance, and helps to mitigate 'oozing'.
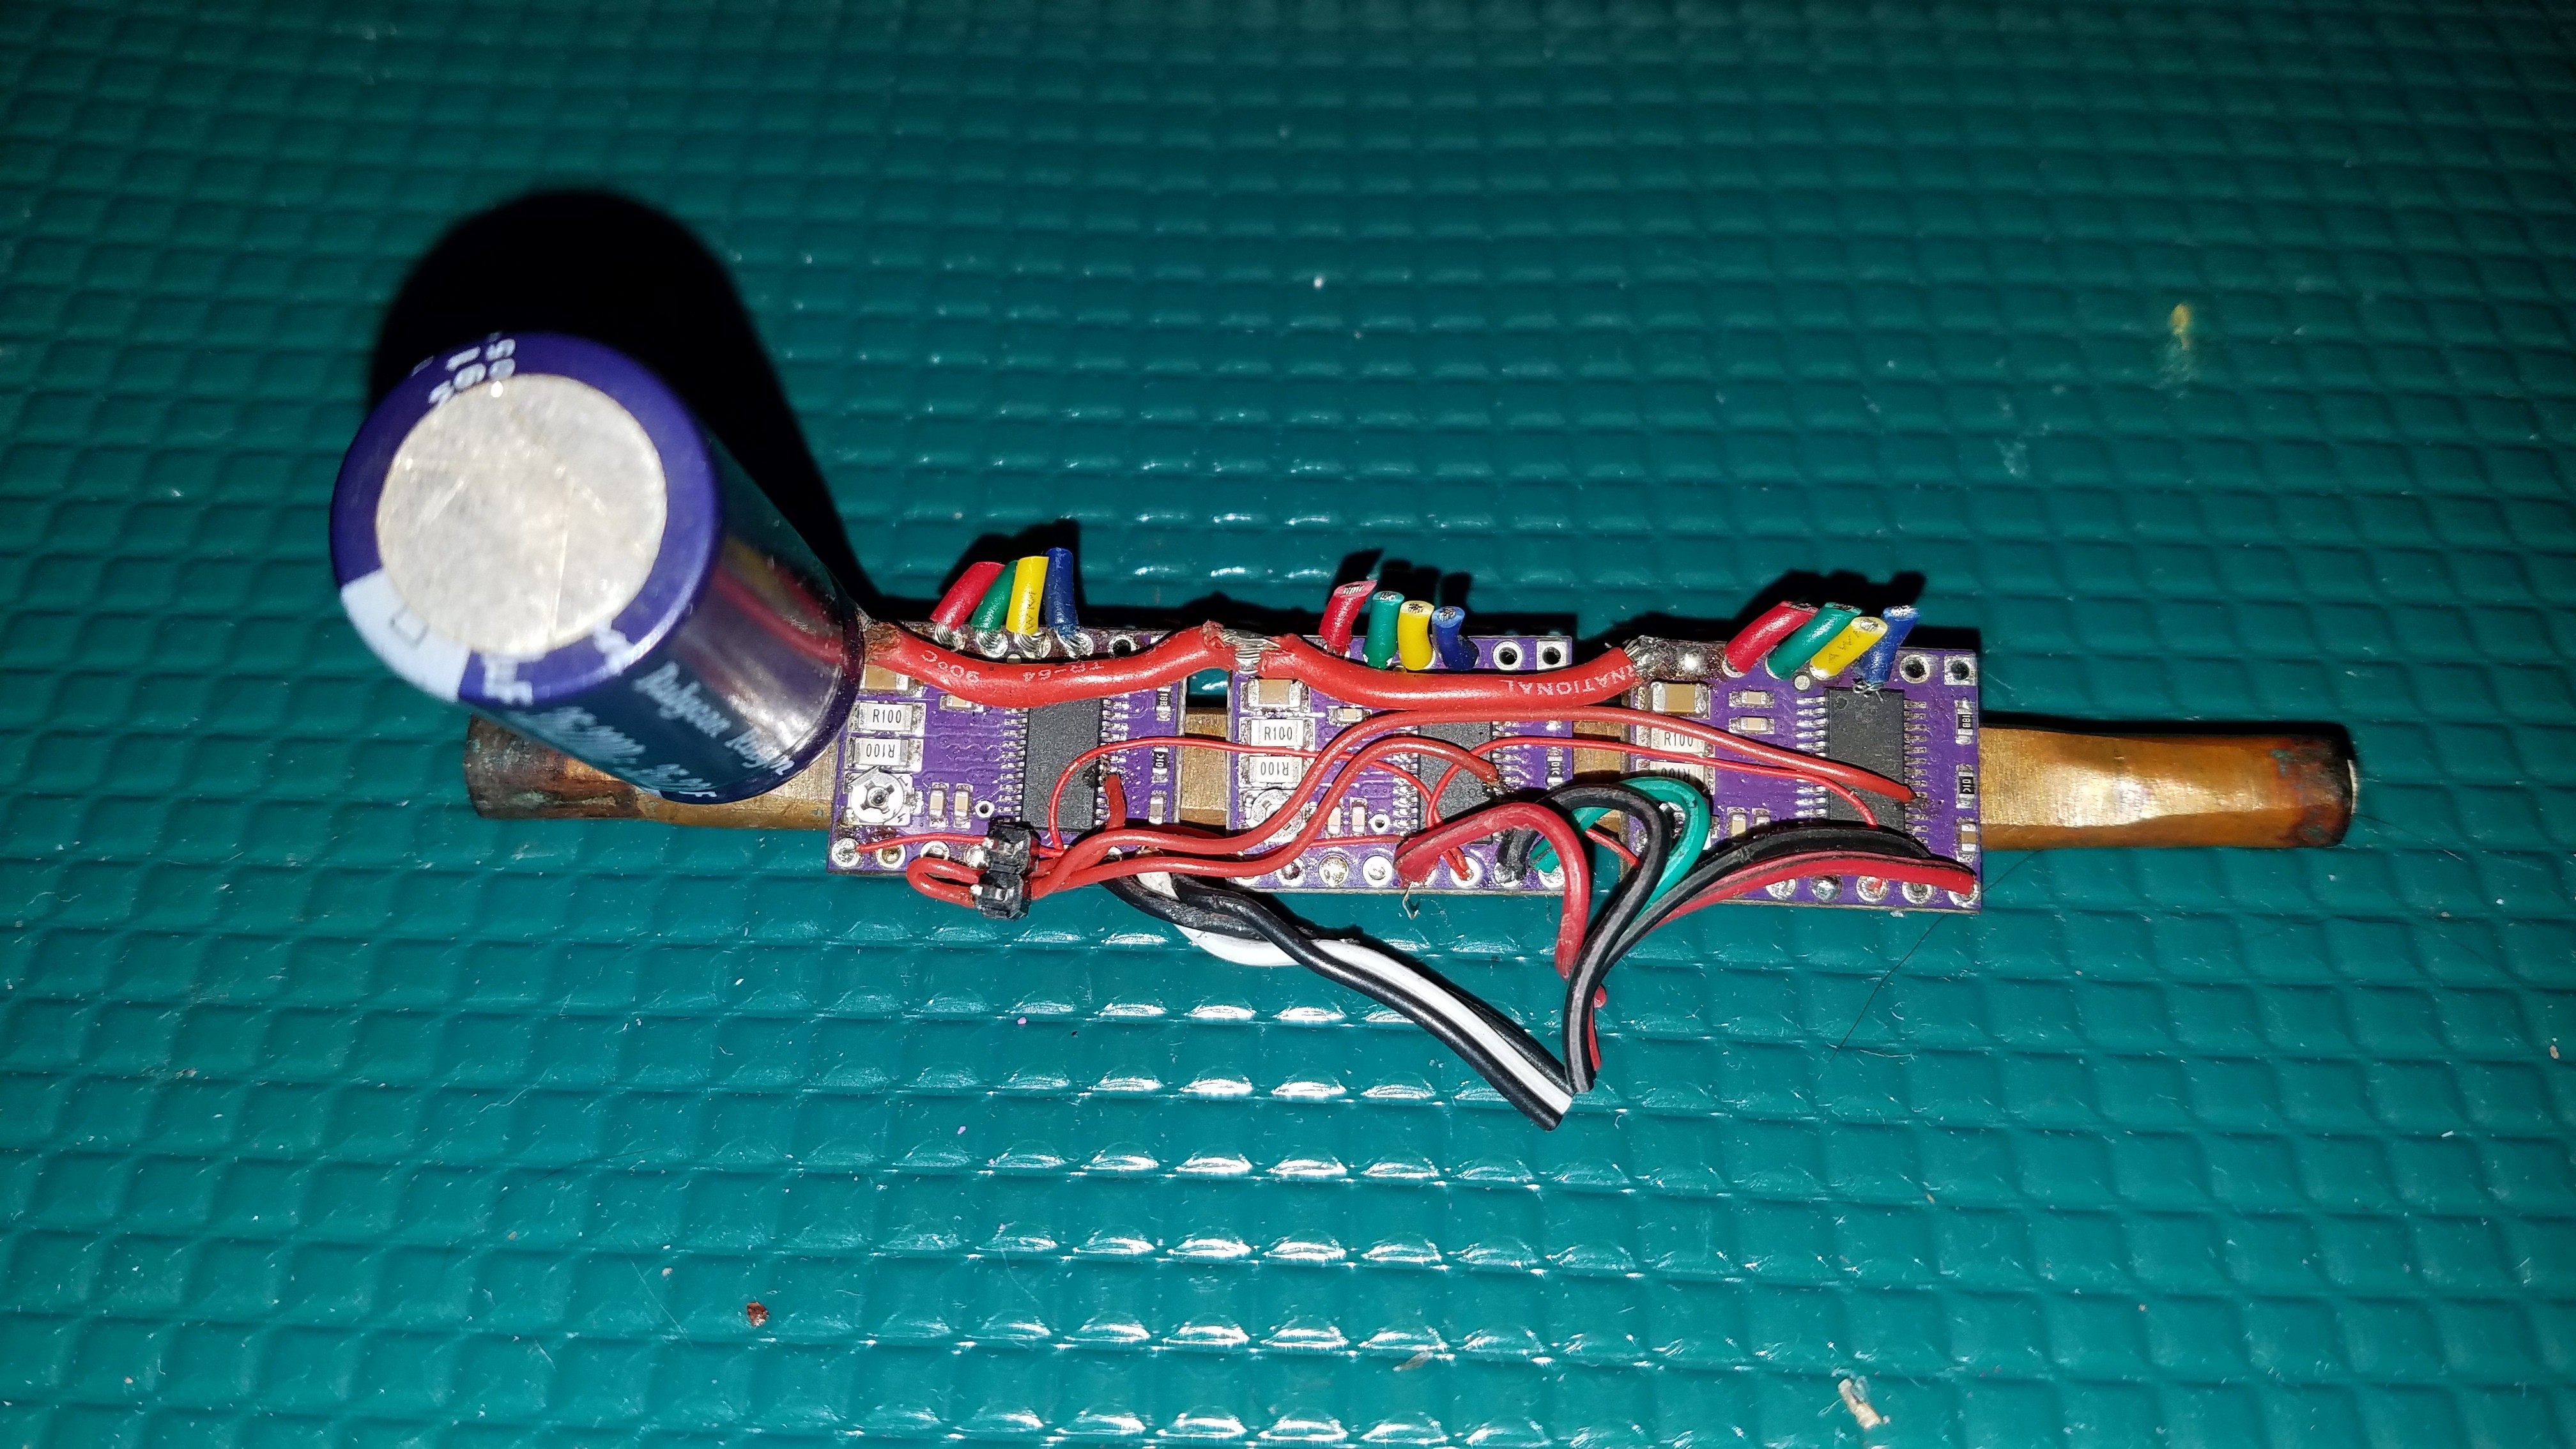
The impeller drive is a PWM controlled BLDC motor, and it is proportionally tied to the current extrusion rate.
Summing up:
- 6 materials under gcode control
- Active mixing, generating it's own extrusion pressure (no back-feeding into idle ports)
- Uses a standard, interchangeable nozzle.
- 1 cubic mm total mixed volume for fast color changes (about 20mm of 0.4mm extrusion)
- Mixing hotend weighs in at 49g, with the entire assembled end effector at 150g
- Print head can be removed/assembled in under 2 minutes with 2 screws. The entire assembly uses 4.
- Flying 6 extruders via a clockspring counterbalance so no additional load on carriages
- Short, tight fitting bowden tubes so no complicated math for compensation
- 346mm x 370mm cylindrical build volume
- Ceramic mains powered heated bed
- 500mm/sec motion and up to 180mm/sec printing with no resonance issues
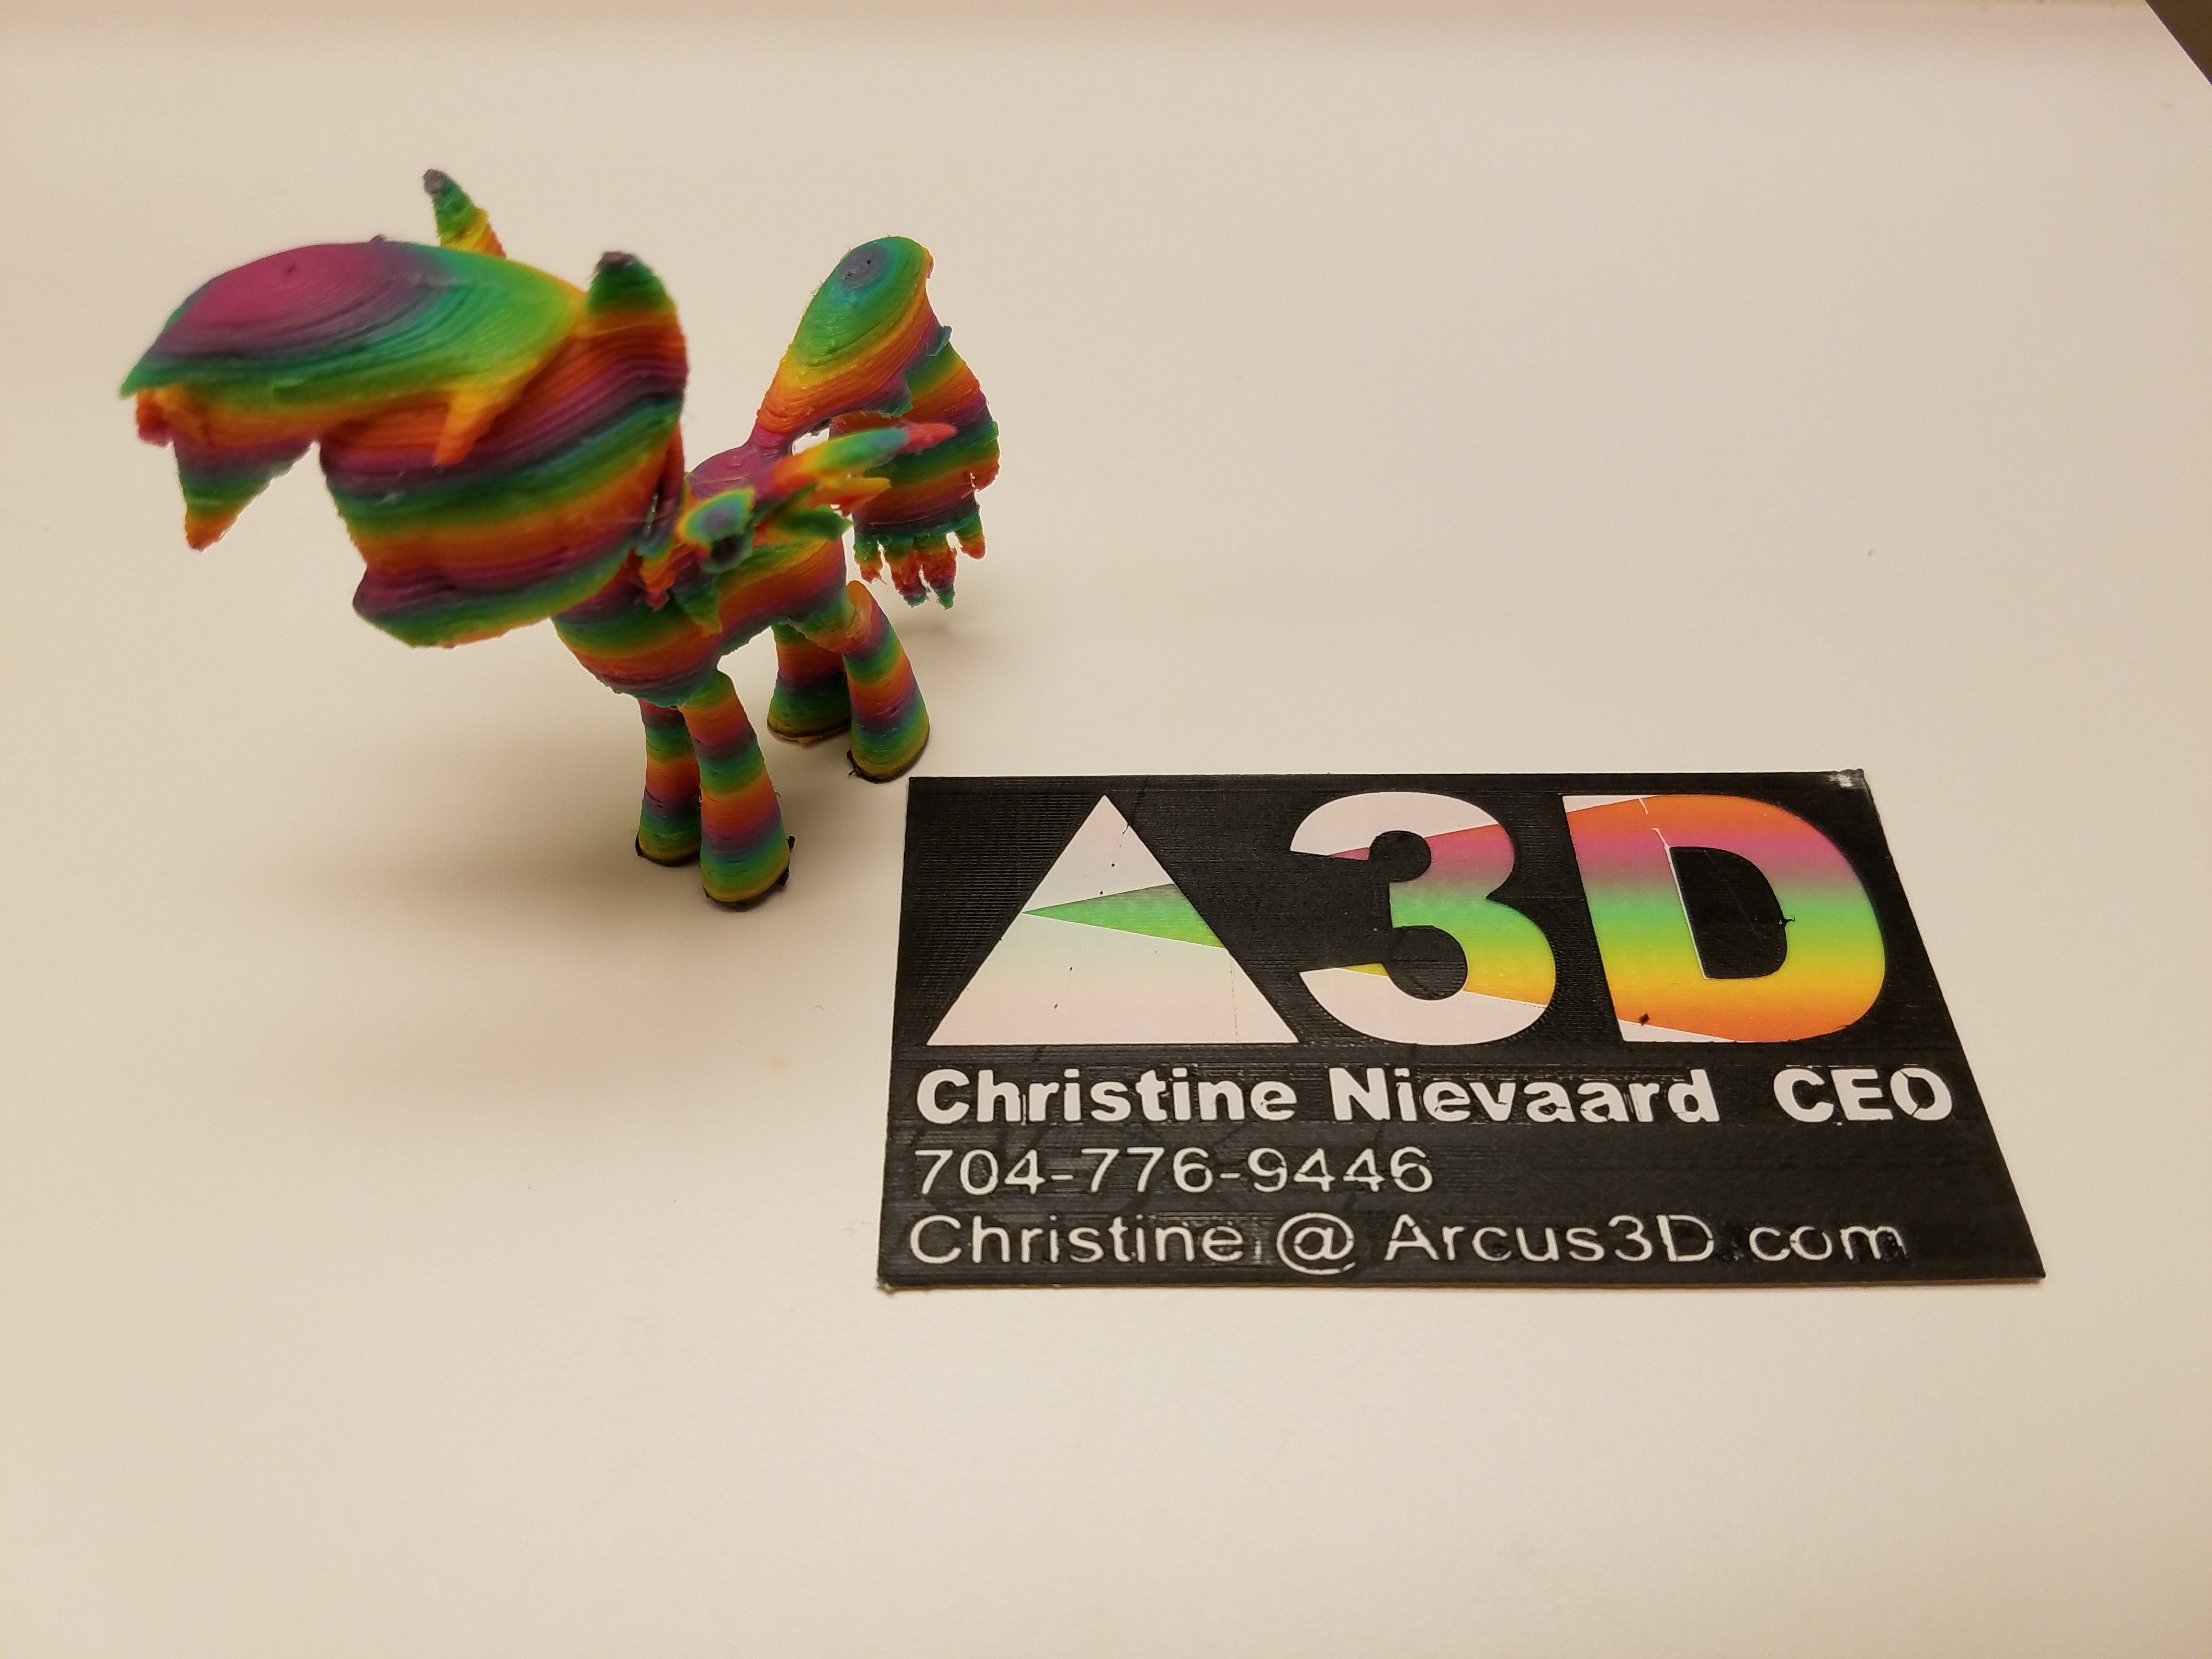
Result: The ability to pick any ratio of the loaded filaments with a few M codes and complete color changes in 20mm of 0.4mm extrusion.


 Michal Wojciechowski
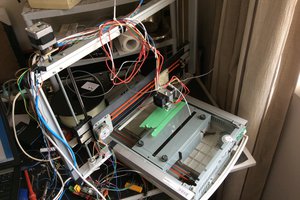
 Saabman
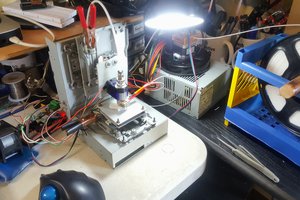
 AccidentalRebel
 Michael
what happened to this project. will there ever be a product? I wanted a mixing extruder ( 2 colors ) and even built one a few years back only to scrap it on seeing this project. great work !.