Wassim
If you would like to get support, give feedback or discuss new ideas related to this stm32 project ?
It's possible to directly discuss on the forum
https://homesmartmesh.discourse.group/
Useful command lines
List supported targets:
>mbed target -S
>mbed config --global toolchain GCC_ARM
>mbed config target NUCLEO_F103RB
>mbed new .
>mbed import mbed-os-example-blink
check dependencies:
>mbed ls -a
clean:
>mbed compile -c
download libs directories
>mbed deploy
add GCC to path:
>$env:Path +=";C:\toolchain-gccarmnoneeabi\bin"
check elf size:
>arm-none-eabi-size -B -d .pioenvs\bluepill_f103c8\firmware.elf
add st tools to path:
>$env:Path +="C:\tool-stlink"
>st-flash write .pioenvs\bluepill_f103c8\firmware.bin 0x08000000
>st-util
Links to log entries for different steps :
pwm 'hello world' Arduino vs Mbed
Arduino not successfull here, and mbed get it out of the box.
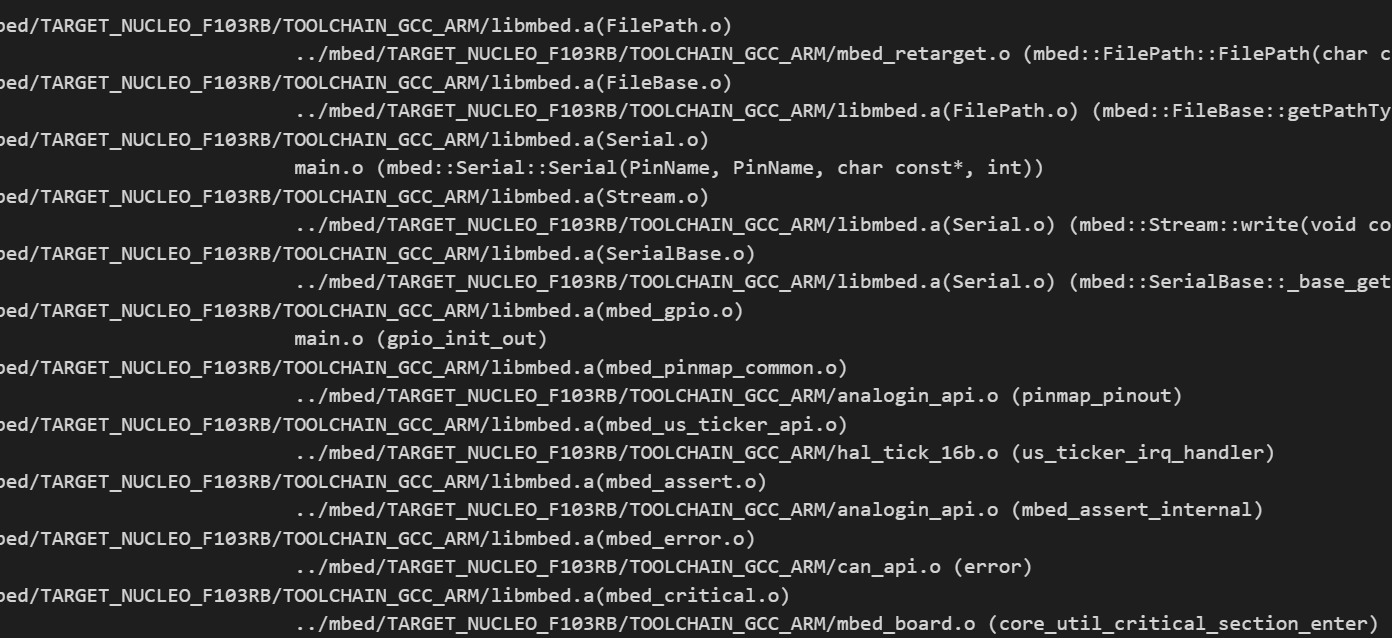
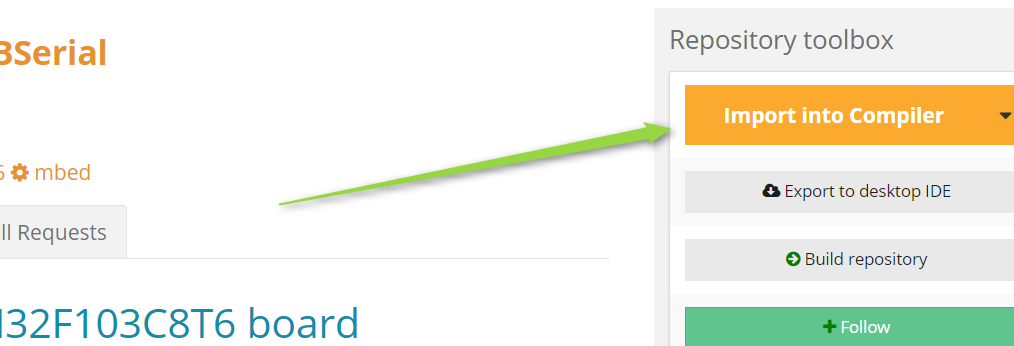
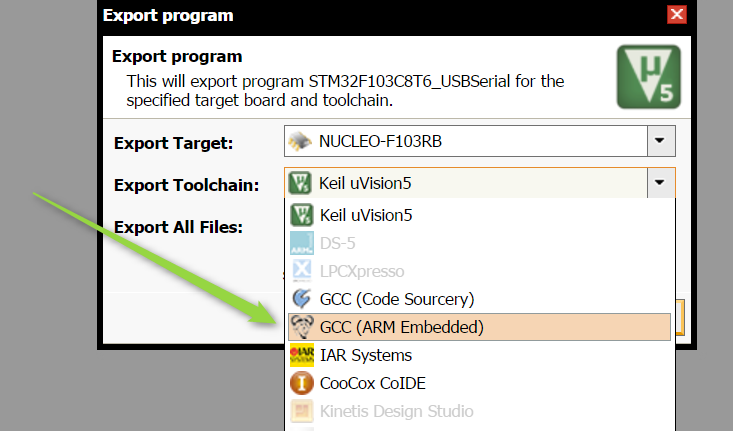
new mbed Project from online to the command line
There we would see how to manage libraries, add blue pill support, fork and patch the mbed-os and solve the flash size problem by including the nano library flag
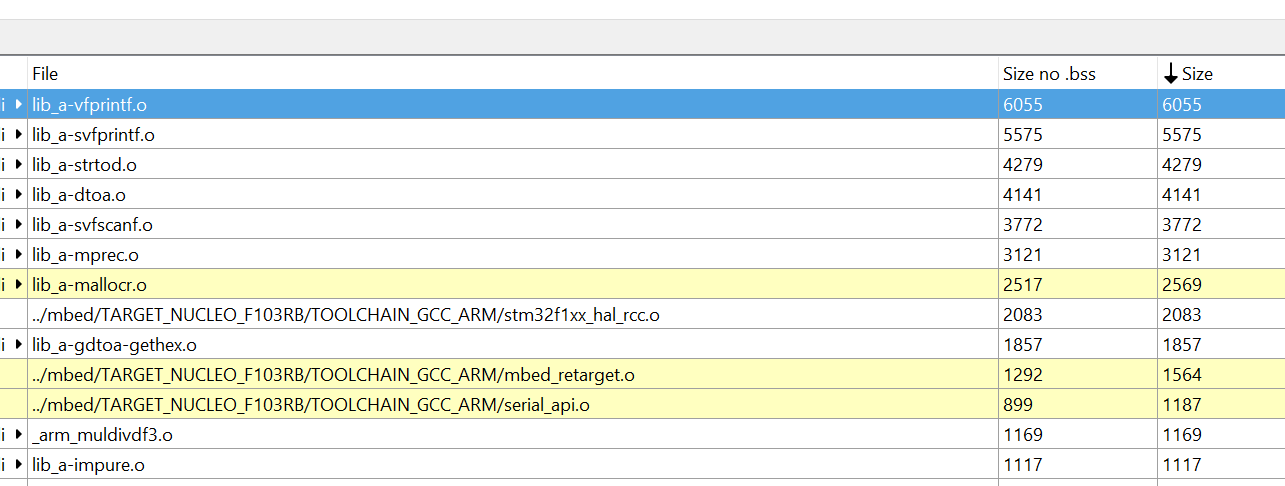
Where does my money go ? Check the build with a Map File GUI
A nice gui to easily check the content of the bin by file, module,...
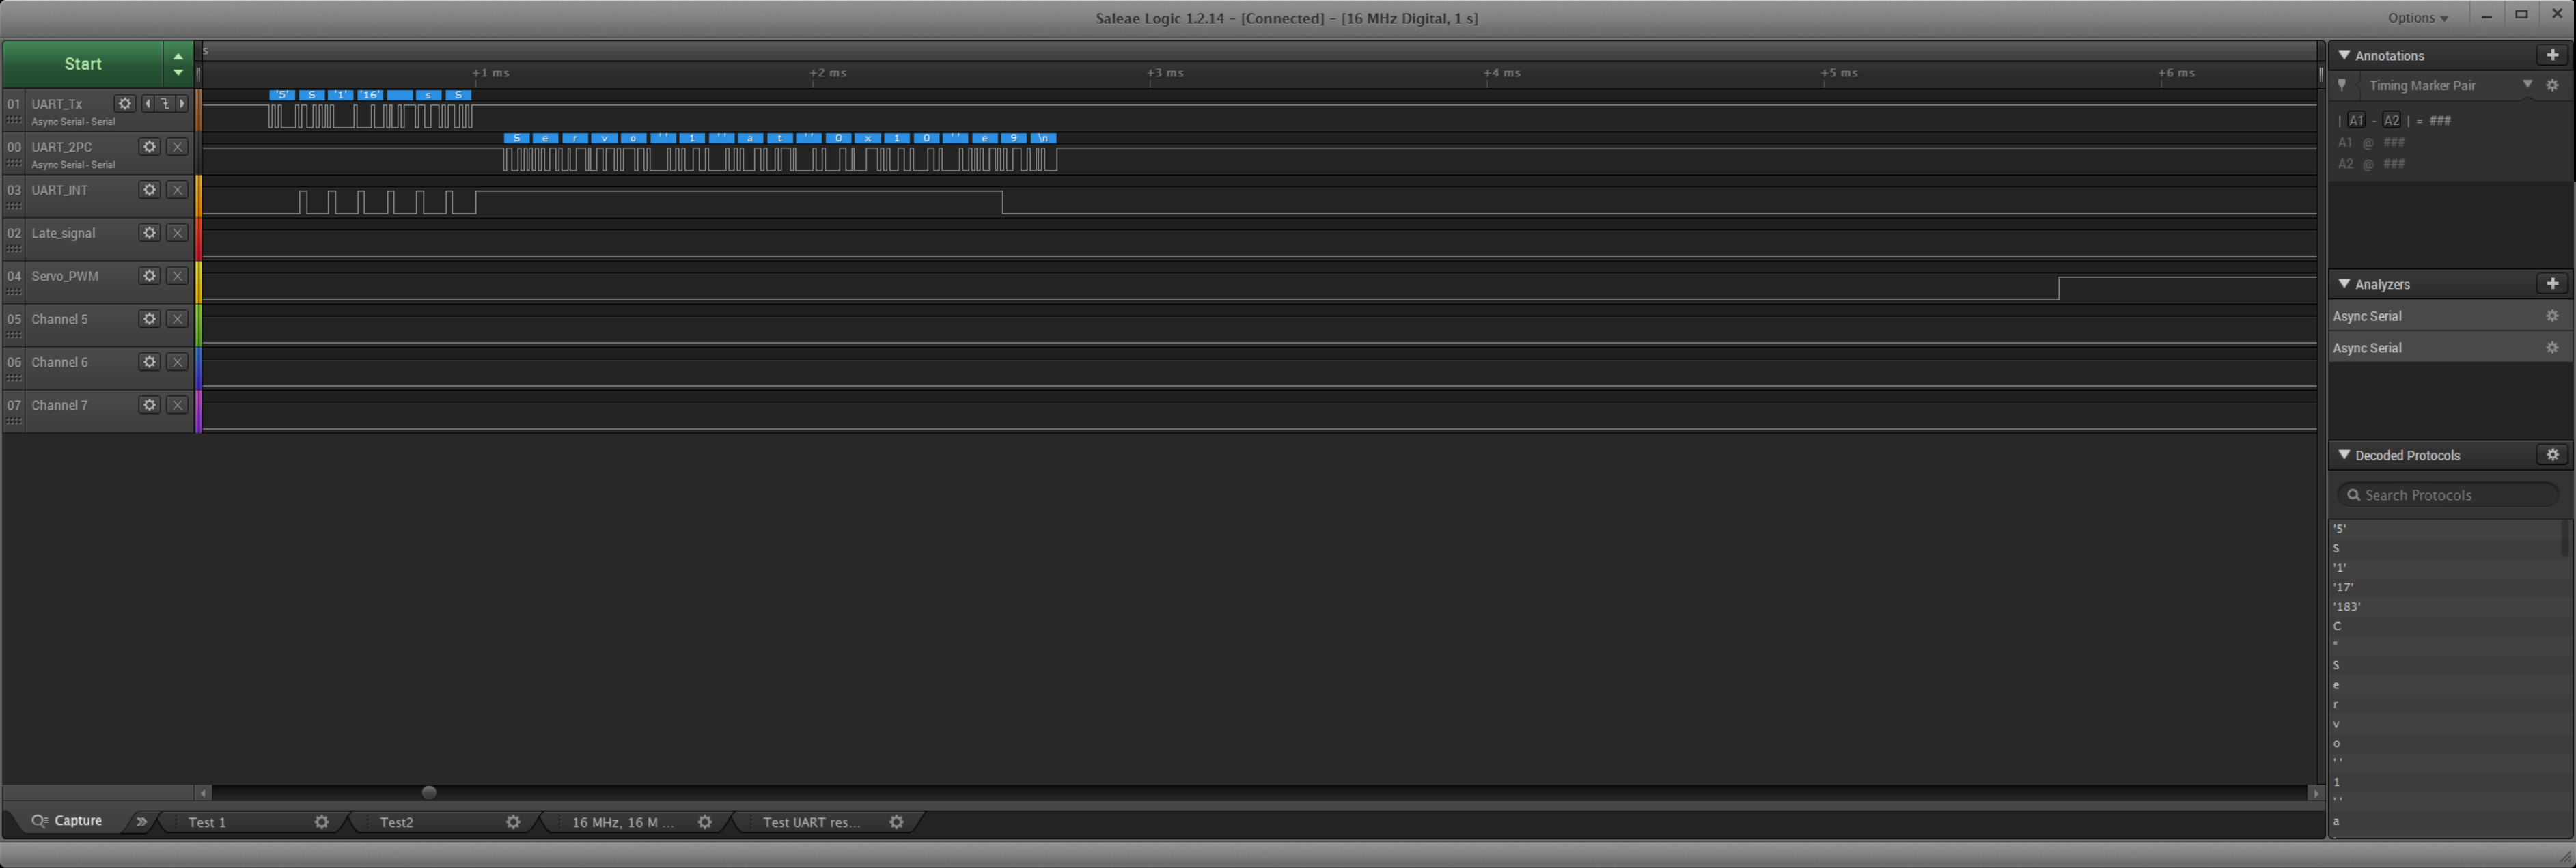
STM32 Hello world and PS4 Joystick to servo
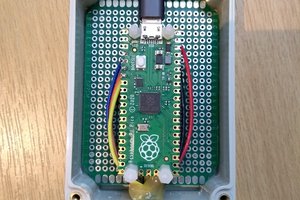
Here we go through a list of Hello world examples and then stick to the PS4 Joystick used by the raspberry pi to control a servo motor. This is a preparation for the RF connection and the up to 12 PWM of the Bluepill.
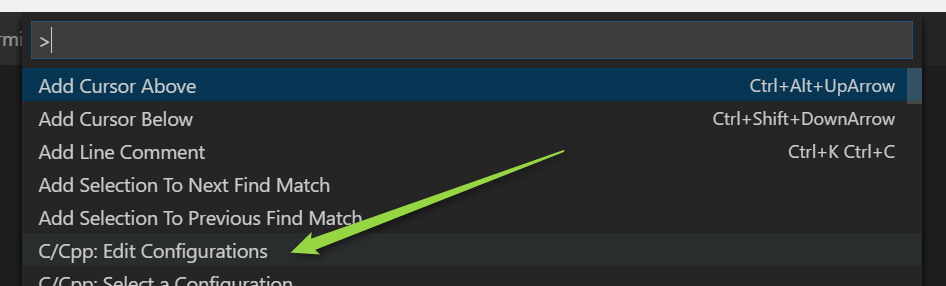
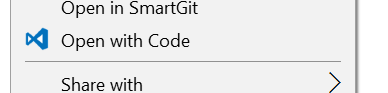
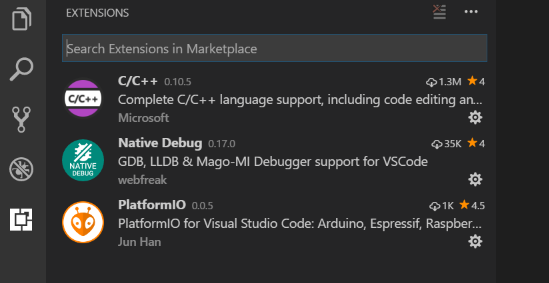
VSCode Configuring and Debugging
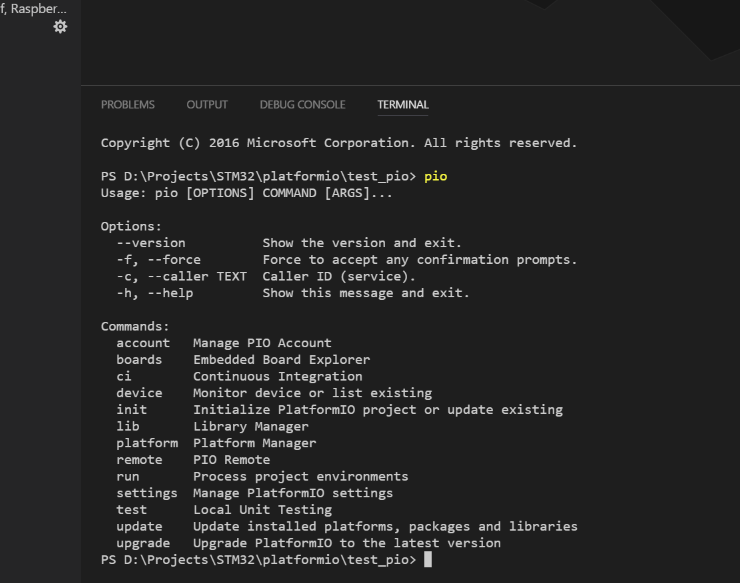
New mBed Project with PlatformIO command line
Clean and easy, but in case someone stick with mbed and wants to use mbed libraries, what's the point of learning how to use a new complete environment ?
New Arduino Project with PlatformIO command line
PIO toggle Startup and Power Consumption
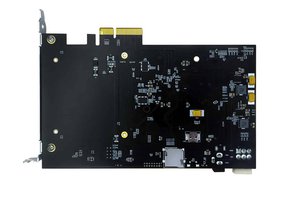
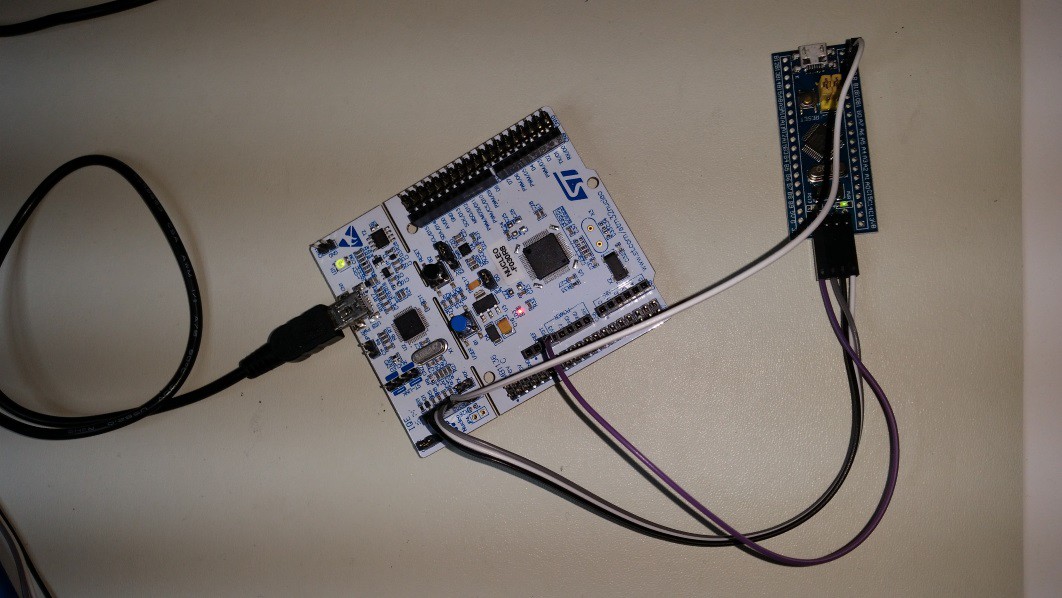
Two twin BluePills are shown below for a power measure where each has a 22 Ohm resistor in series and fed with 6V for an expected drop of around 1V.

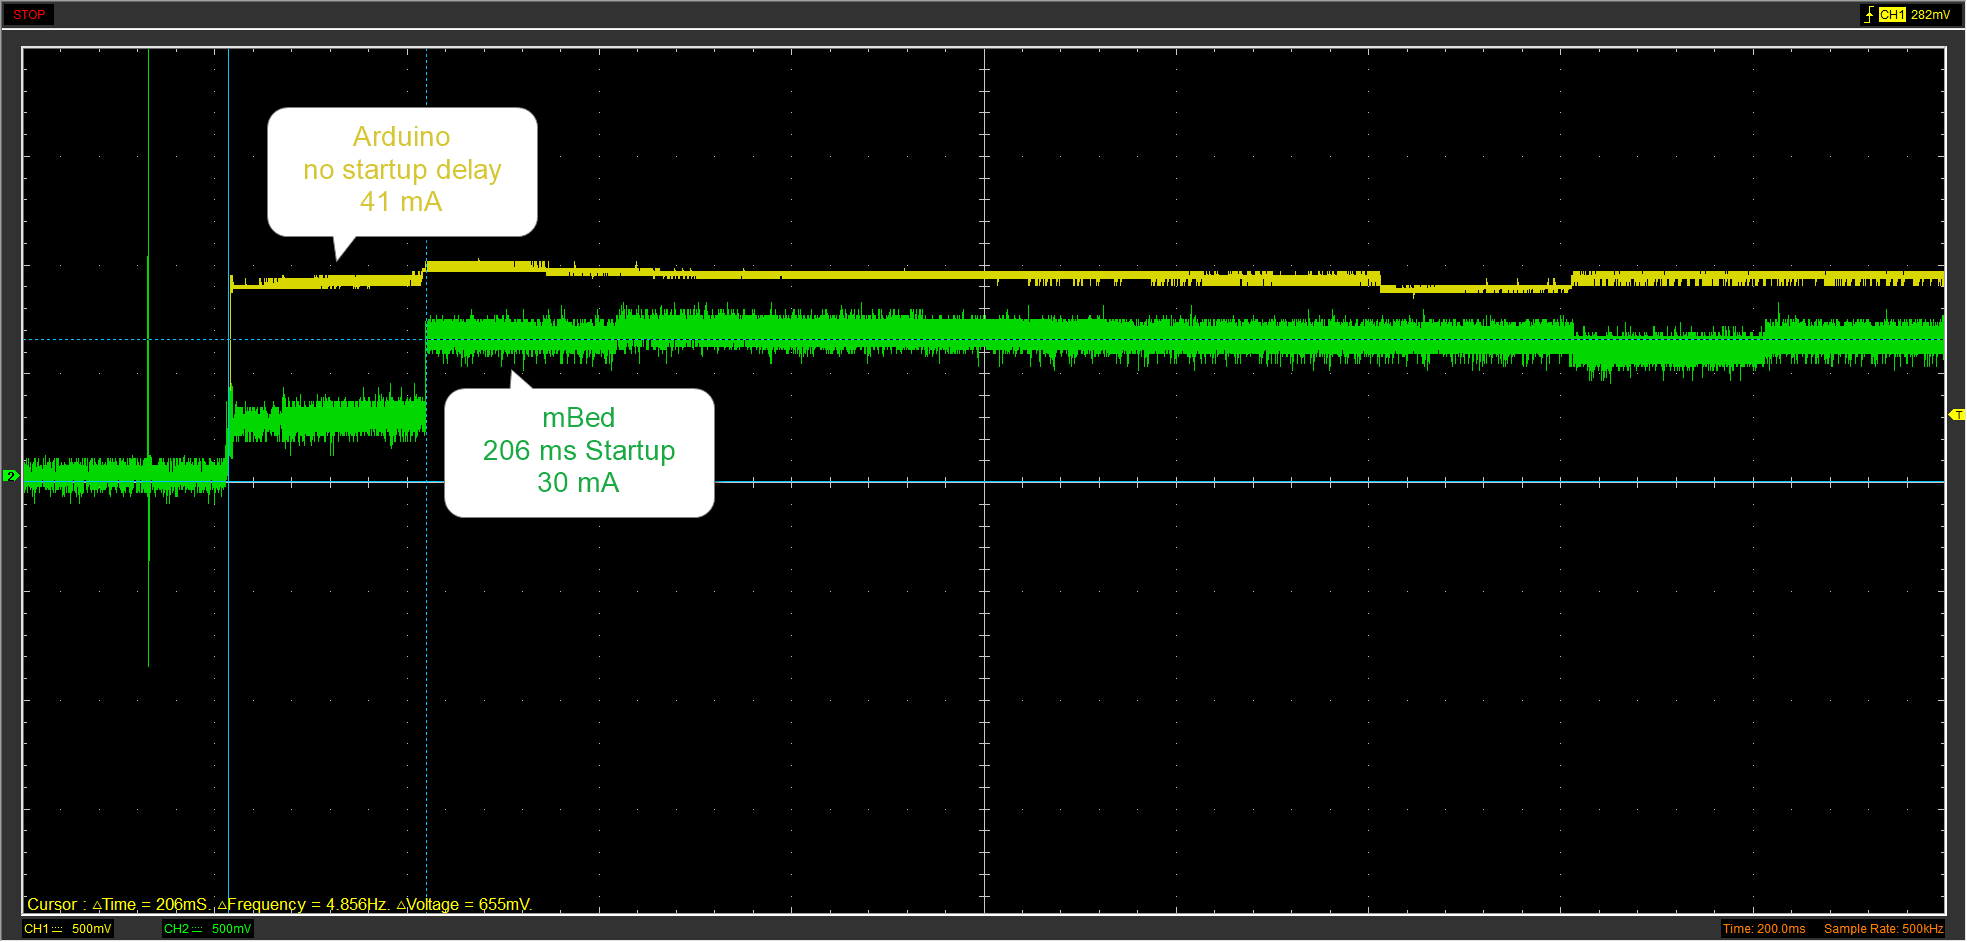
The result is measured with a cheap Hantek scope for a timing power startup profile
Other frameworks status
| cmsis |
|
compil failing |
| libopencm3 |
|
compil ok Flash fail |
| mBed online |
|
success on bluepill |
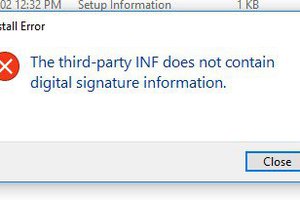
| mBed cli |
|
code > 64KB |
After failing to use these libraries that are obviously compatible with the chip but platformIO still does not know that, I realised that adding a custom device or board require full understanding of this new yet another scons based build toolchain.
Summary
It is non sense to compare an OS running system to a bare metal one, this is nevertheless what you get out of the box, so nice to note that the mBed is smarter (lower power on delays) and in this case the Arduino simpler with faster startup. The OS size overhead is also of course significant, so I'm not sure if it's easy to use mBed libraries without the OS to reduce the footprint.
Pin Toggle Program:
| ARM mBed gcc | Arduino gcc | |
| Code Size : Led Blink (4 lines of code) | 28 KB | 8 KB |
| Power Consumption | 30 mA | 41 mA |
| Startup | 206 ms | N.A |
USB VCom Program:
Note that here we're comparing the same source code with two compilers
| arm online | gcc offline normal lib | gcc offline nano lib | |
| code size | 33 KB | 67 KB | to be checked ~ 35KB |


 Nick
Nick