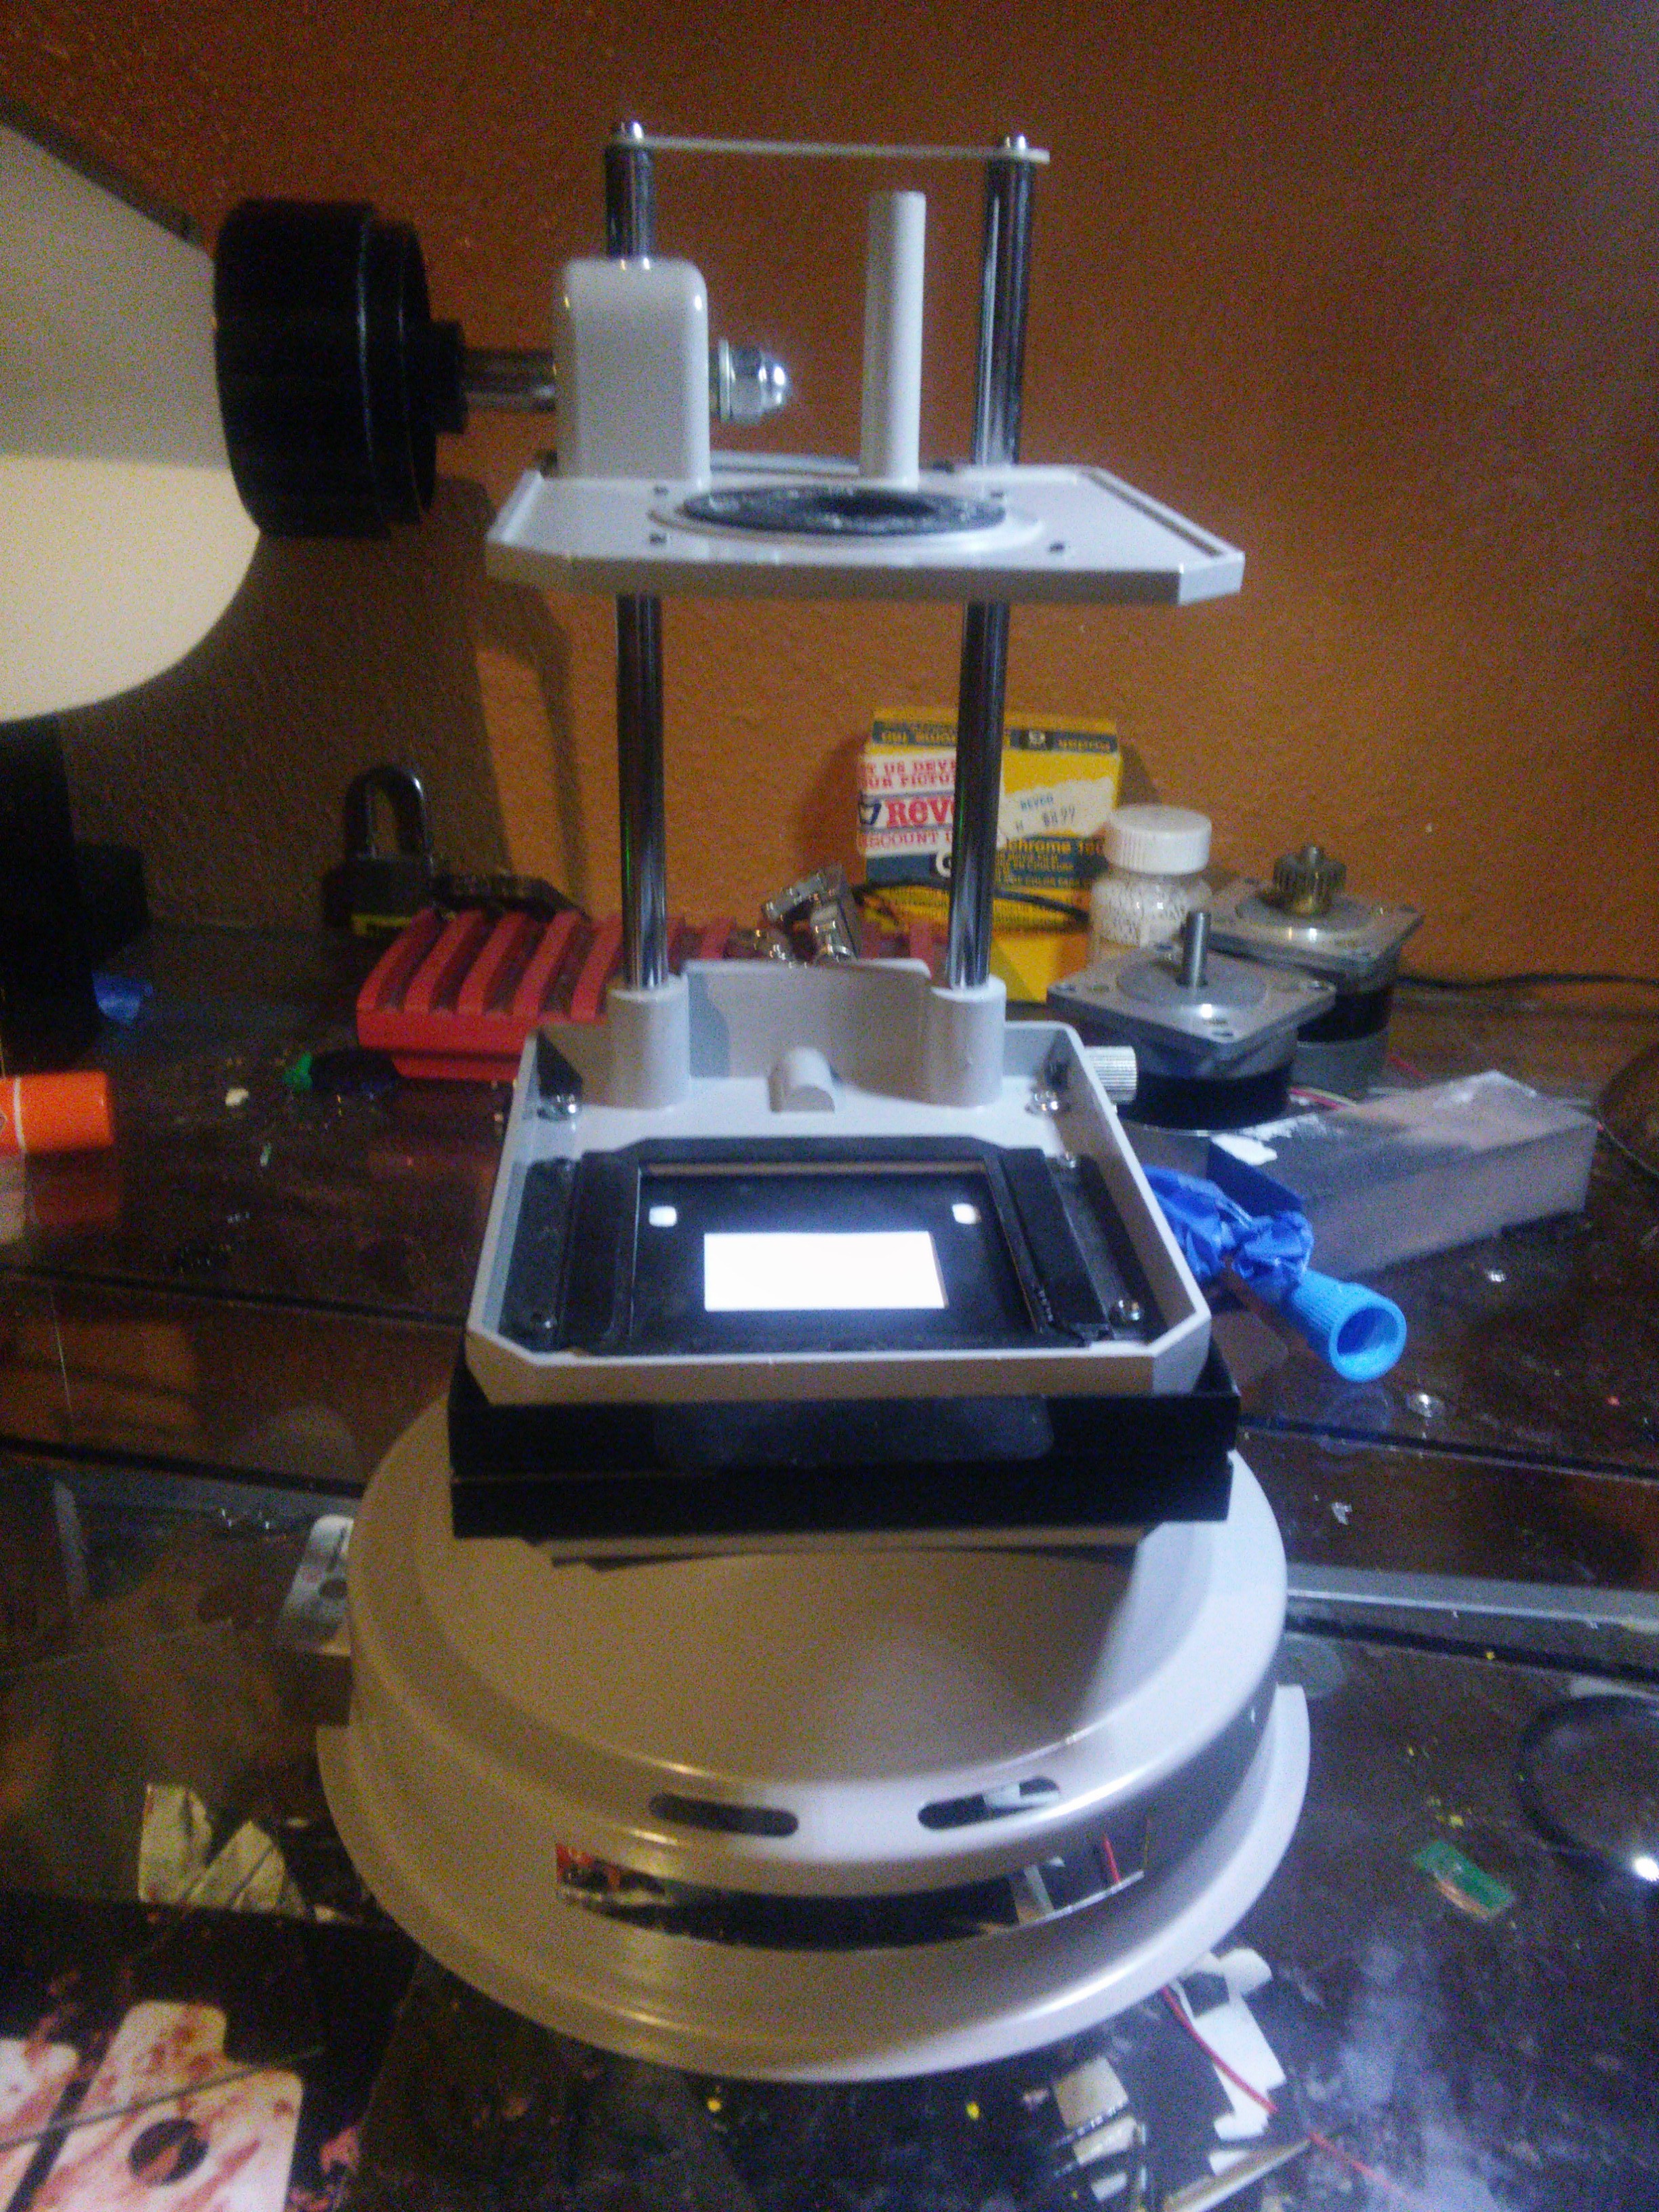
I decided to build a simple usb microscope from parts I had laying around and 3d printing and amazon . The frame is from a photo projector that I was given and it has a nice adjustable focus that could be used as Z axis for a microscope.Which is one of the reason I decided on using it.The first post is mostly discussing the bed and lighting i installed . The next few posts will be discussing the actual microscope and how i'm modifying it and attaching it .Here is a photo of the original frame before modifications start
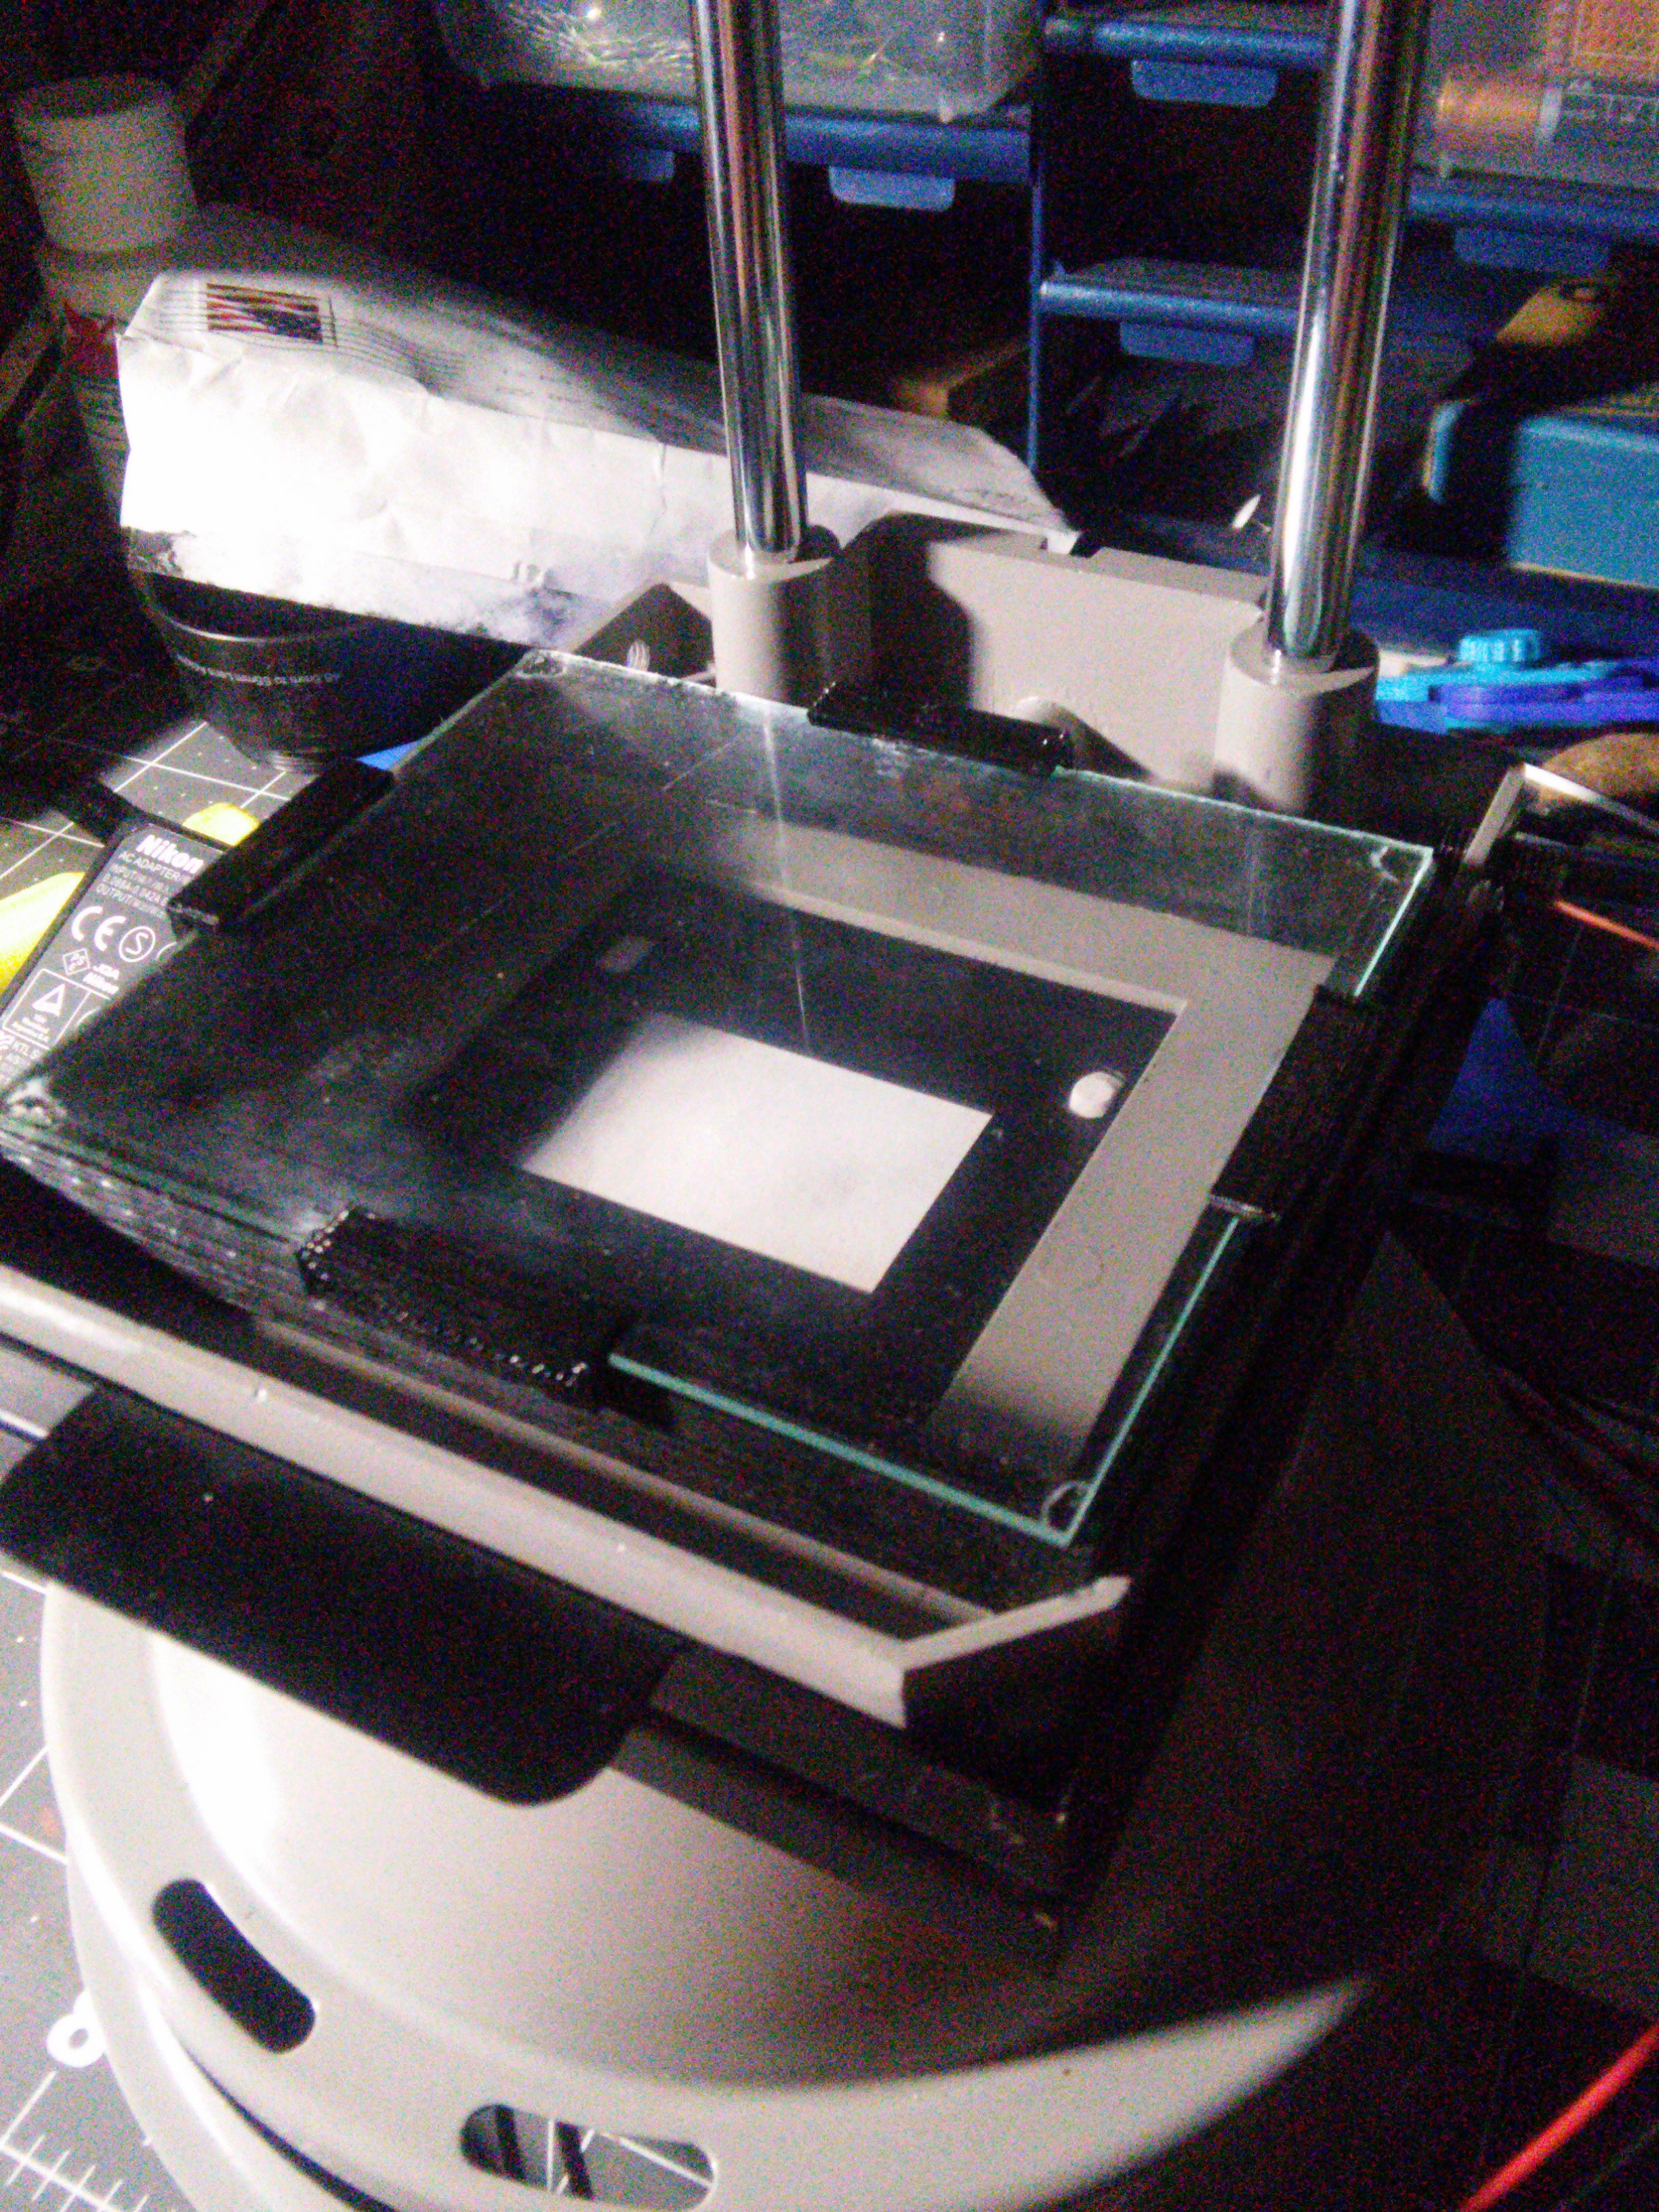
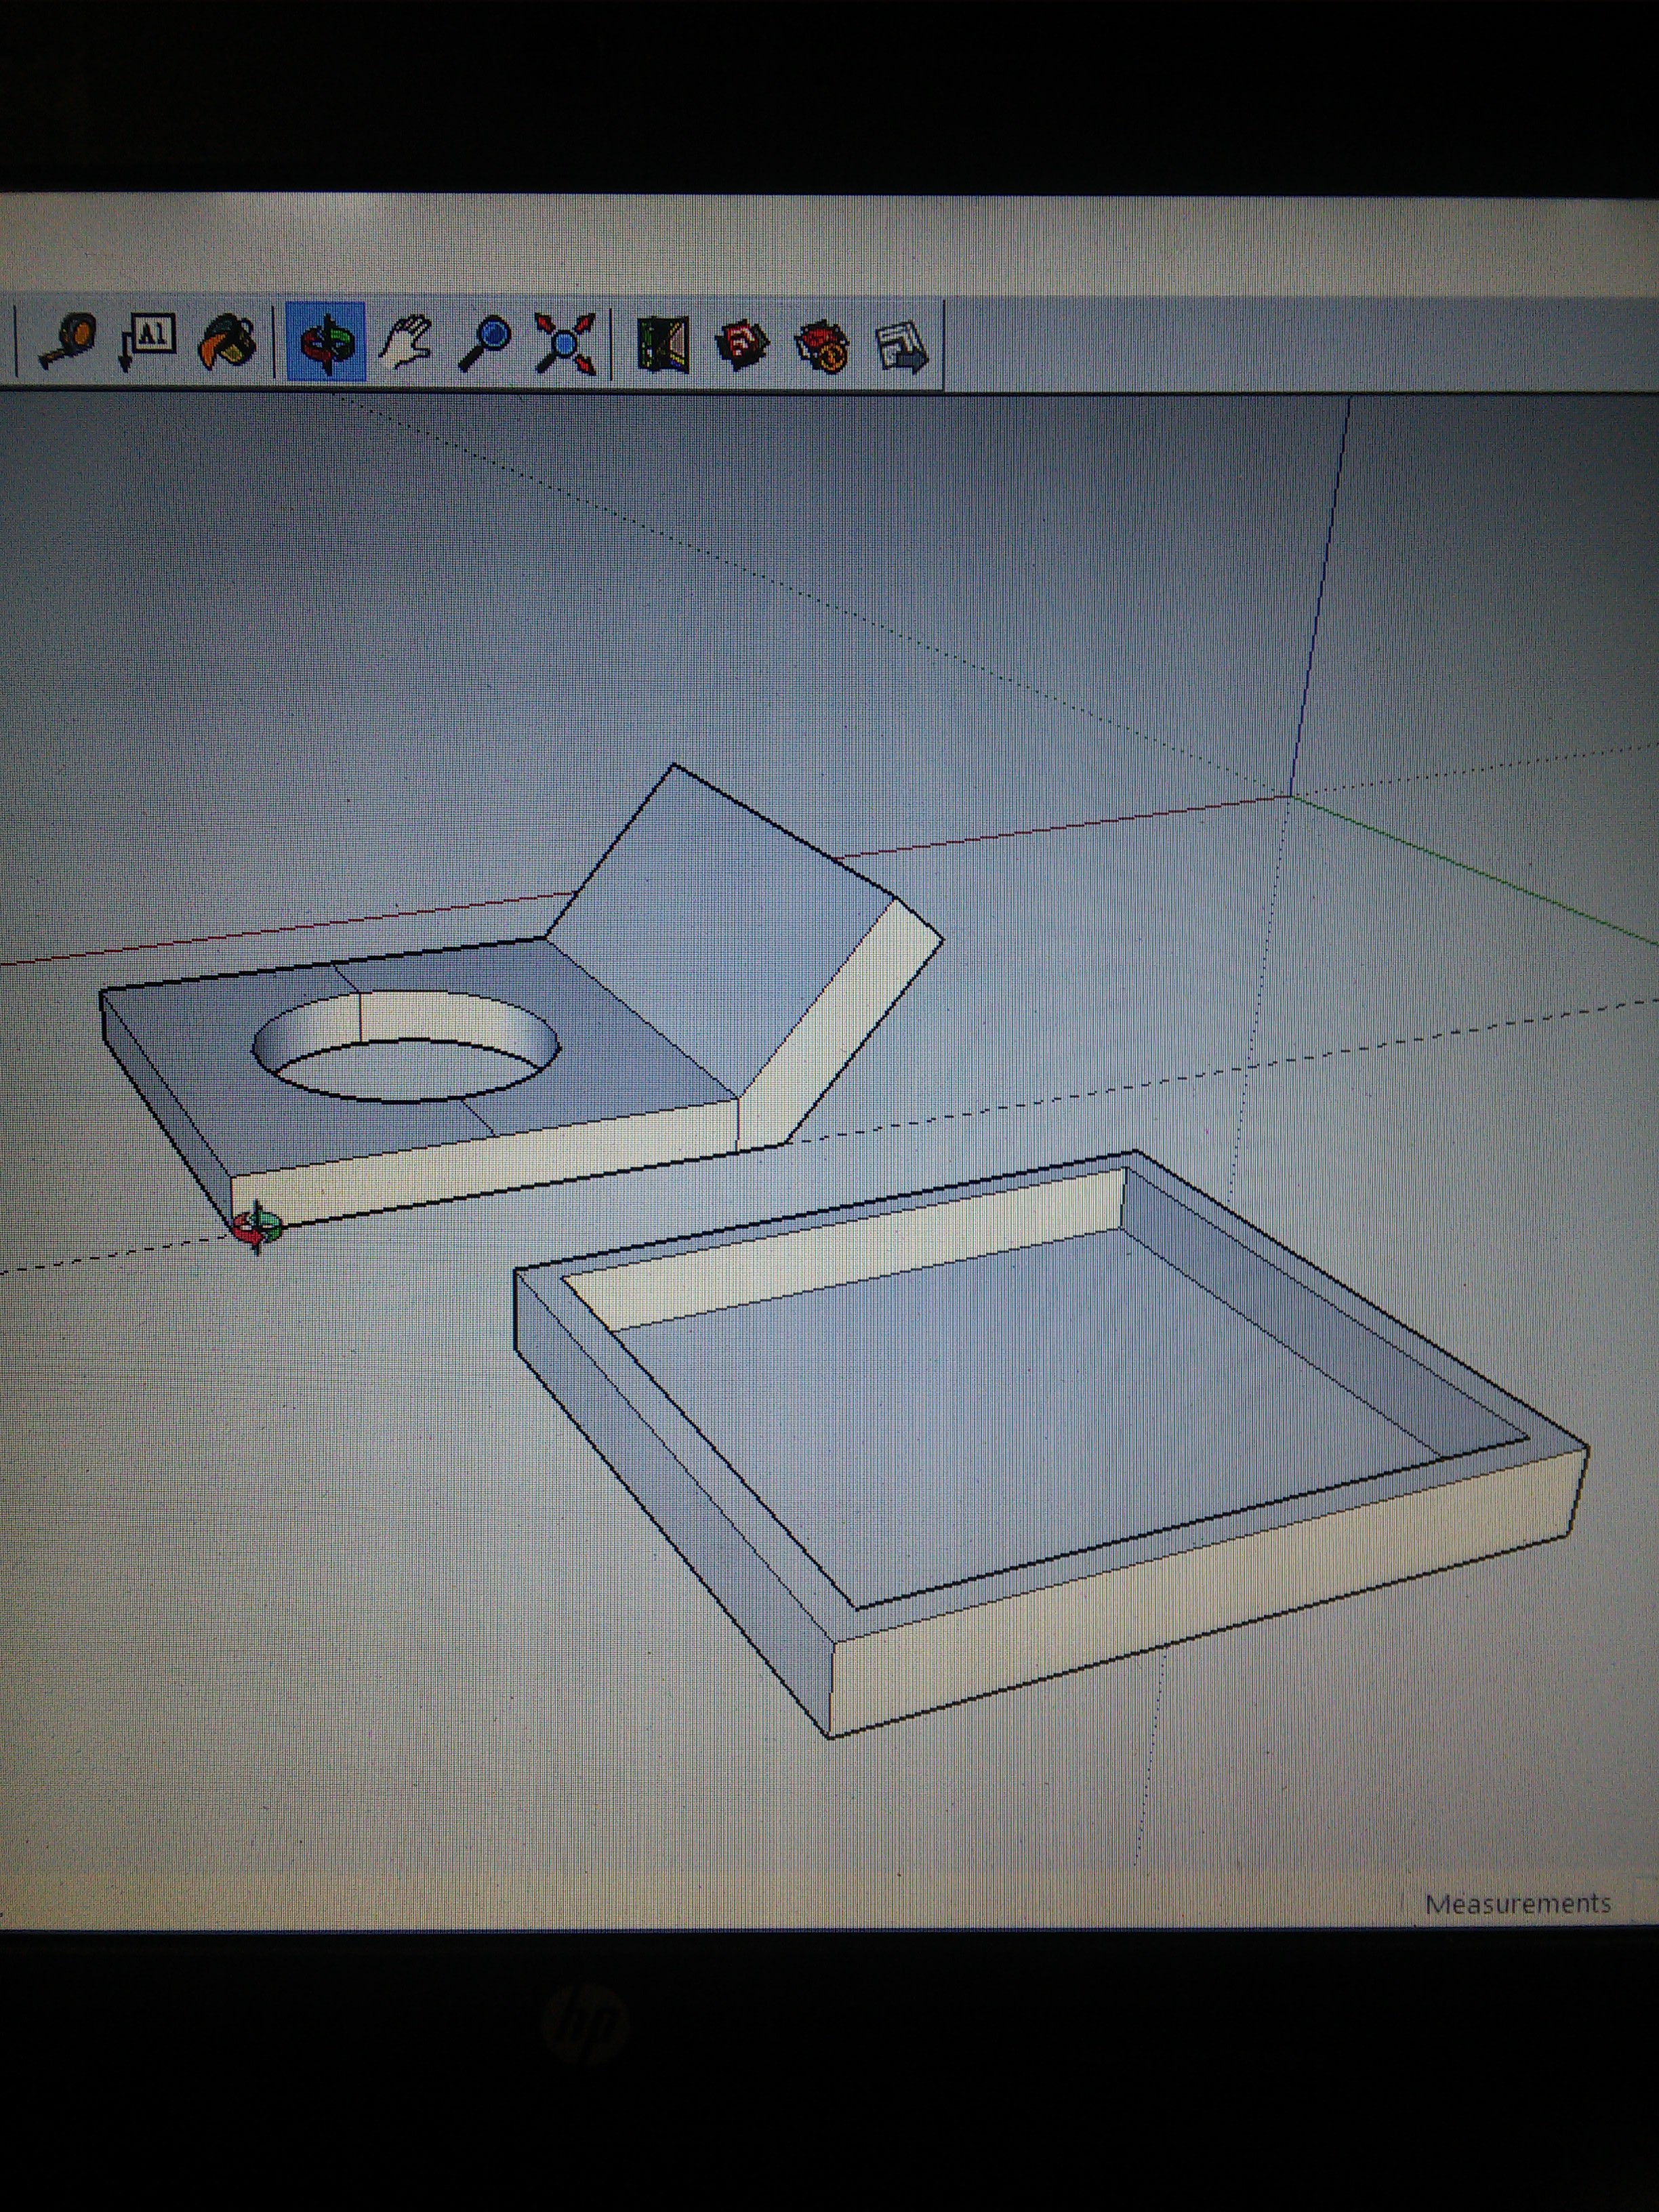
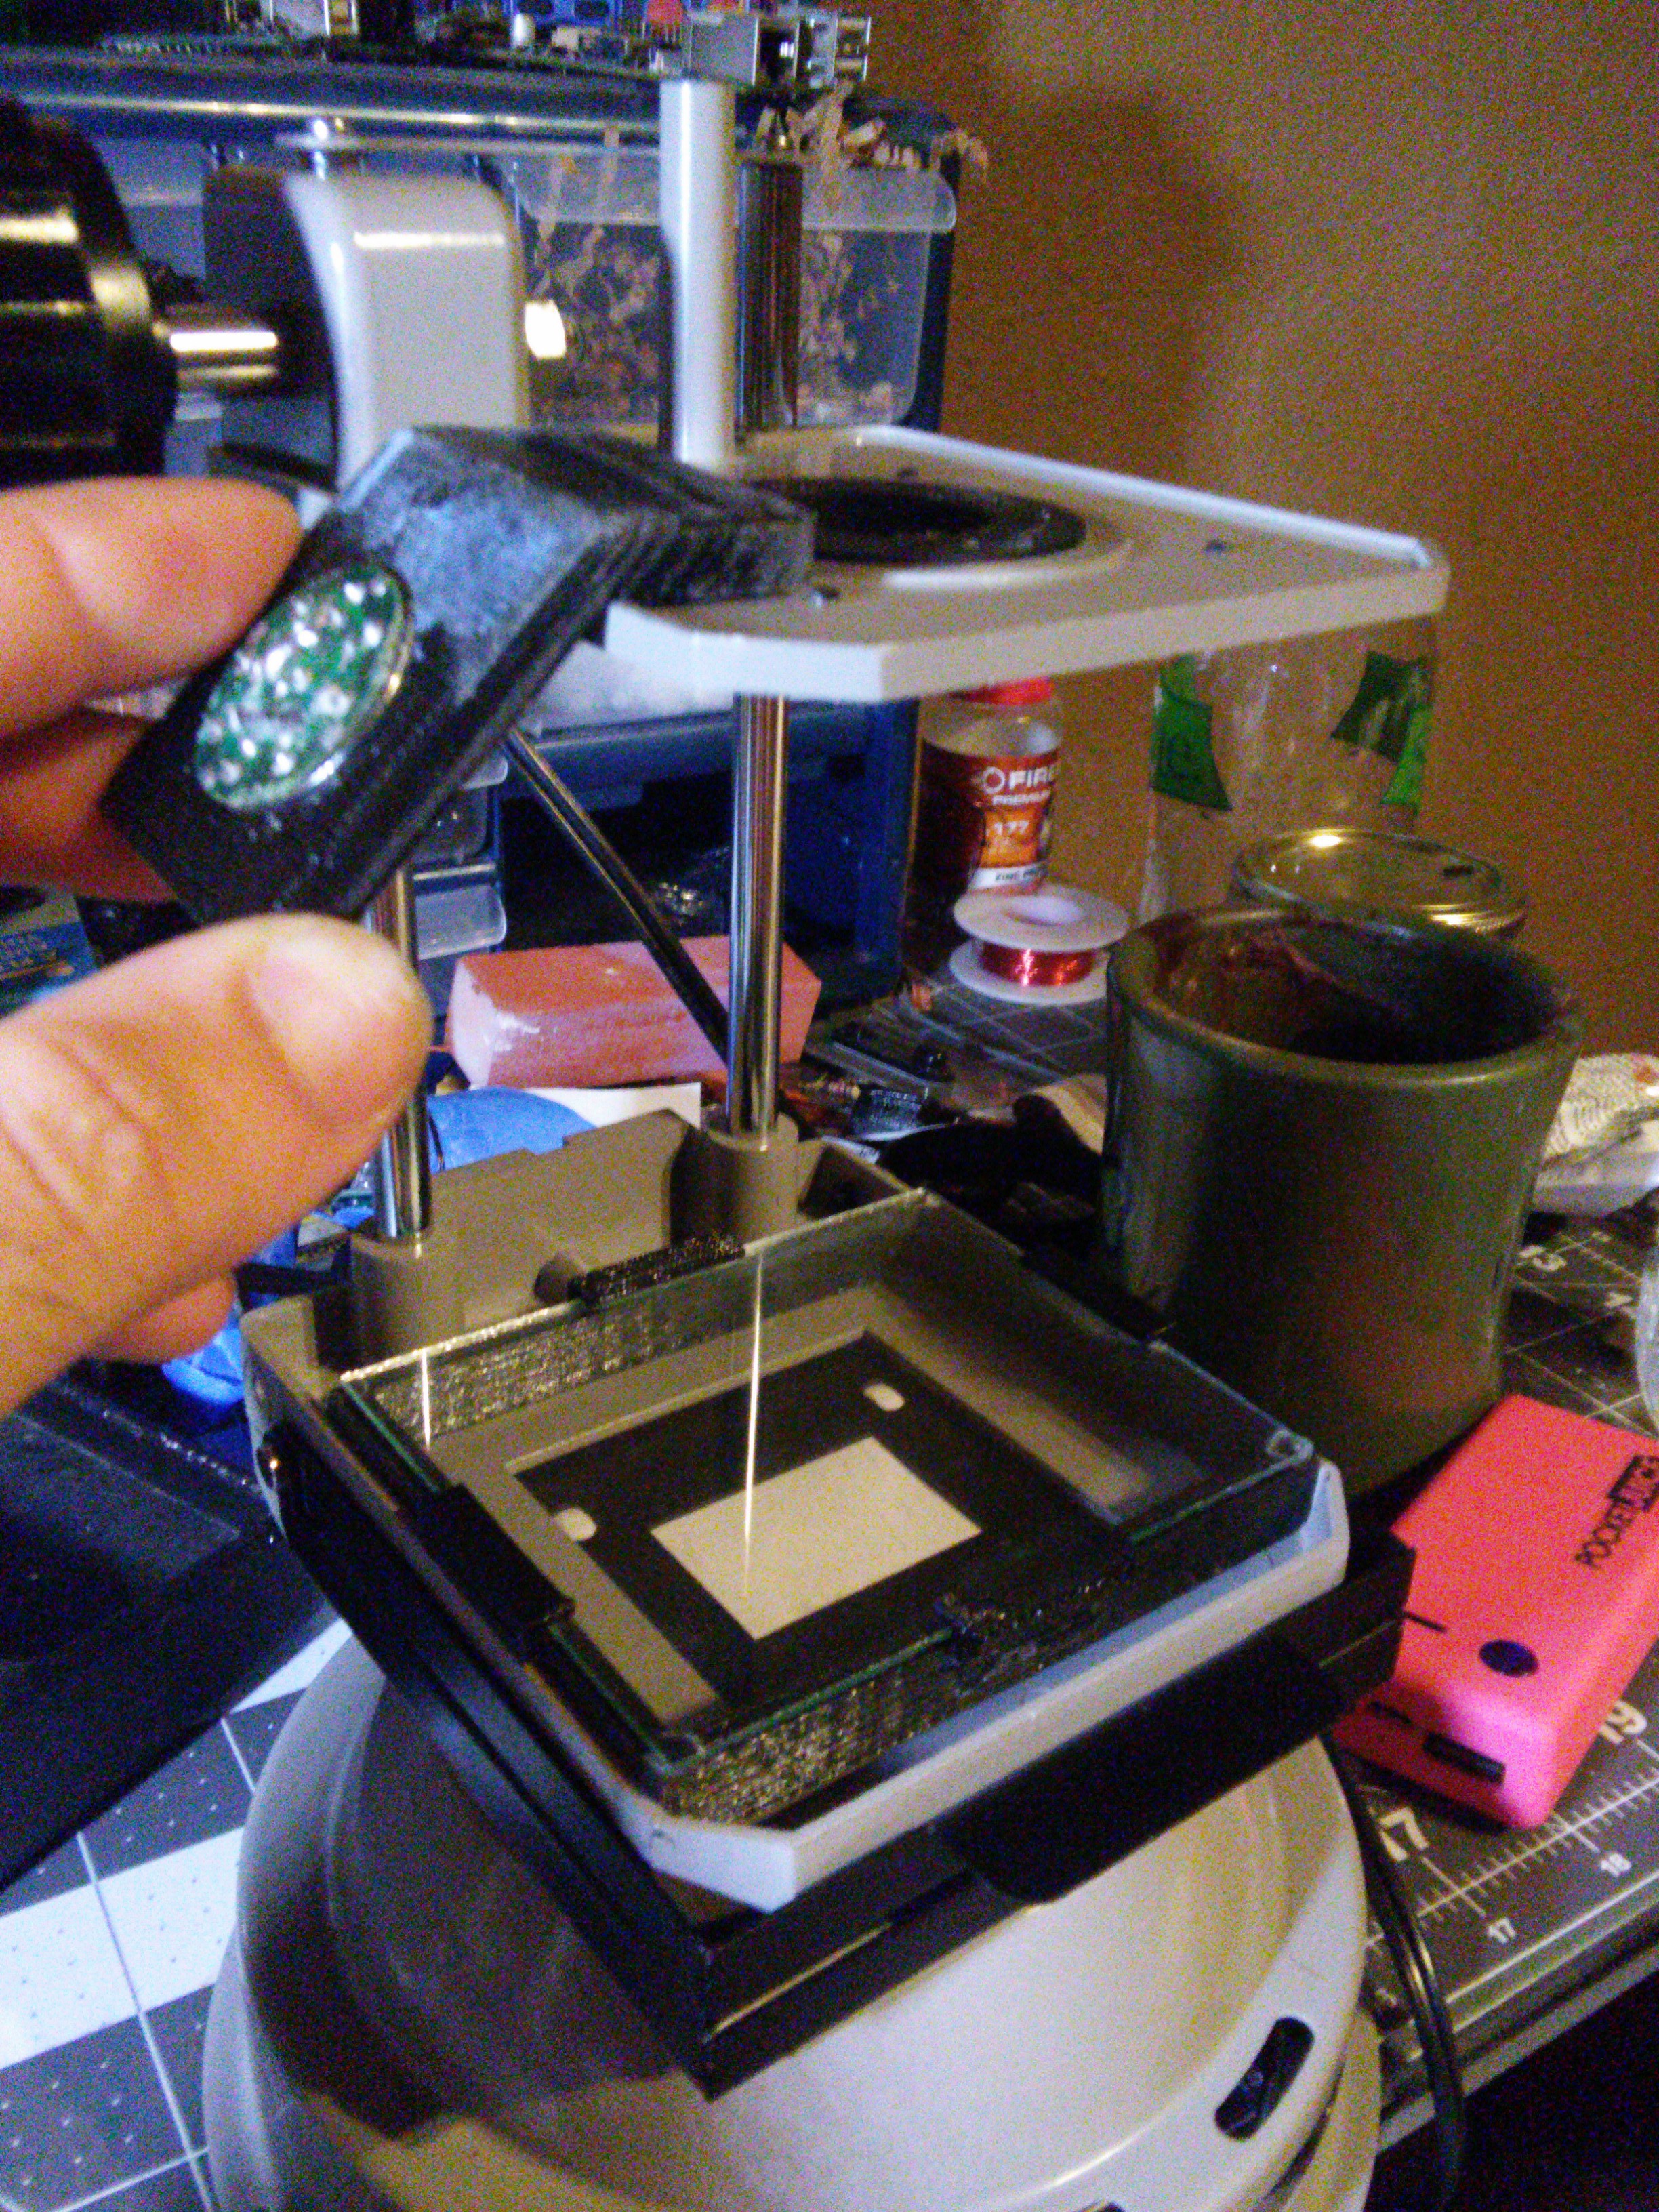
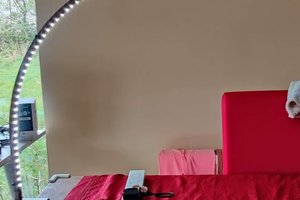
The first step of this project was creating a glass area that I could use to view all the specimens and samples I wanted. I simply measured the area that I thought would work and 3d printed a lift for the area. I then cut a piece of glass to sit on top of this lift and the glass was kept in place with some 90 degree side clamps that you can see in the photos
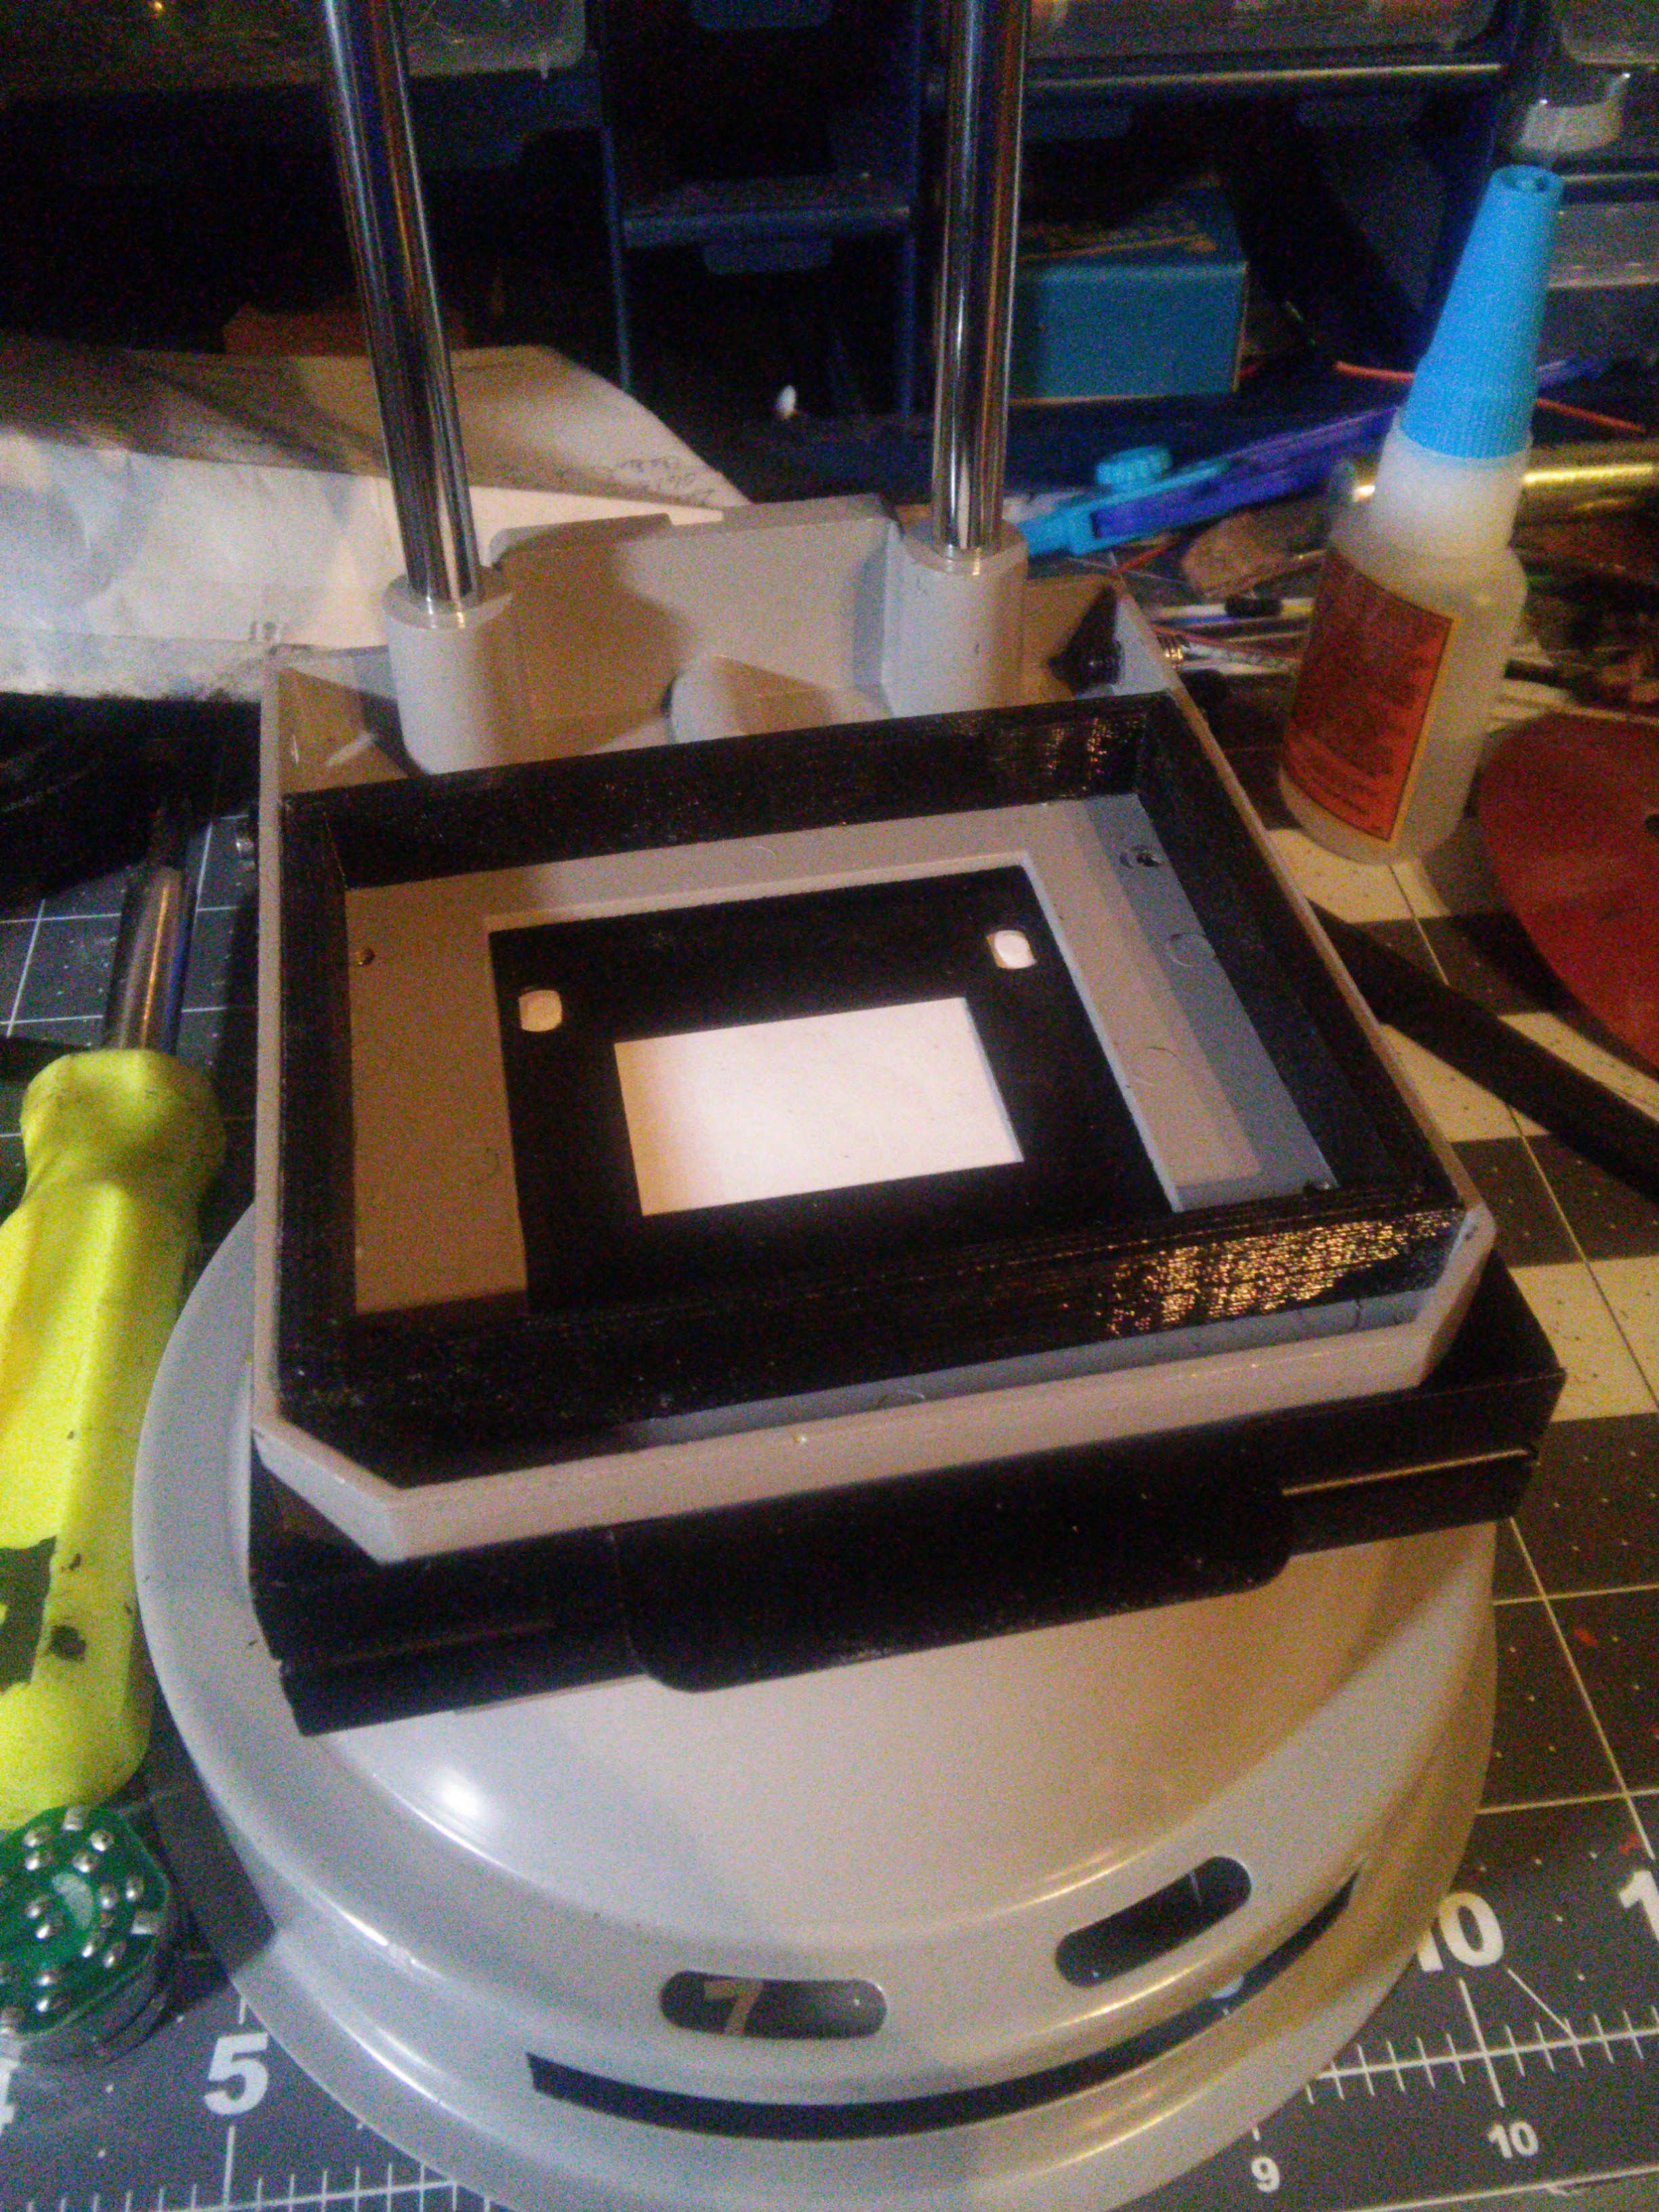
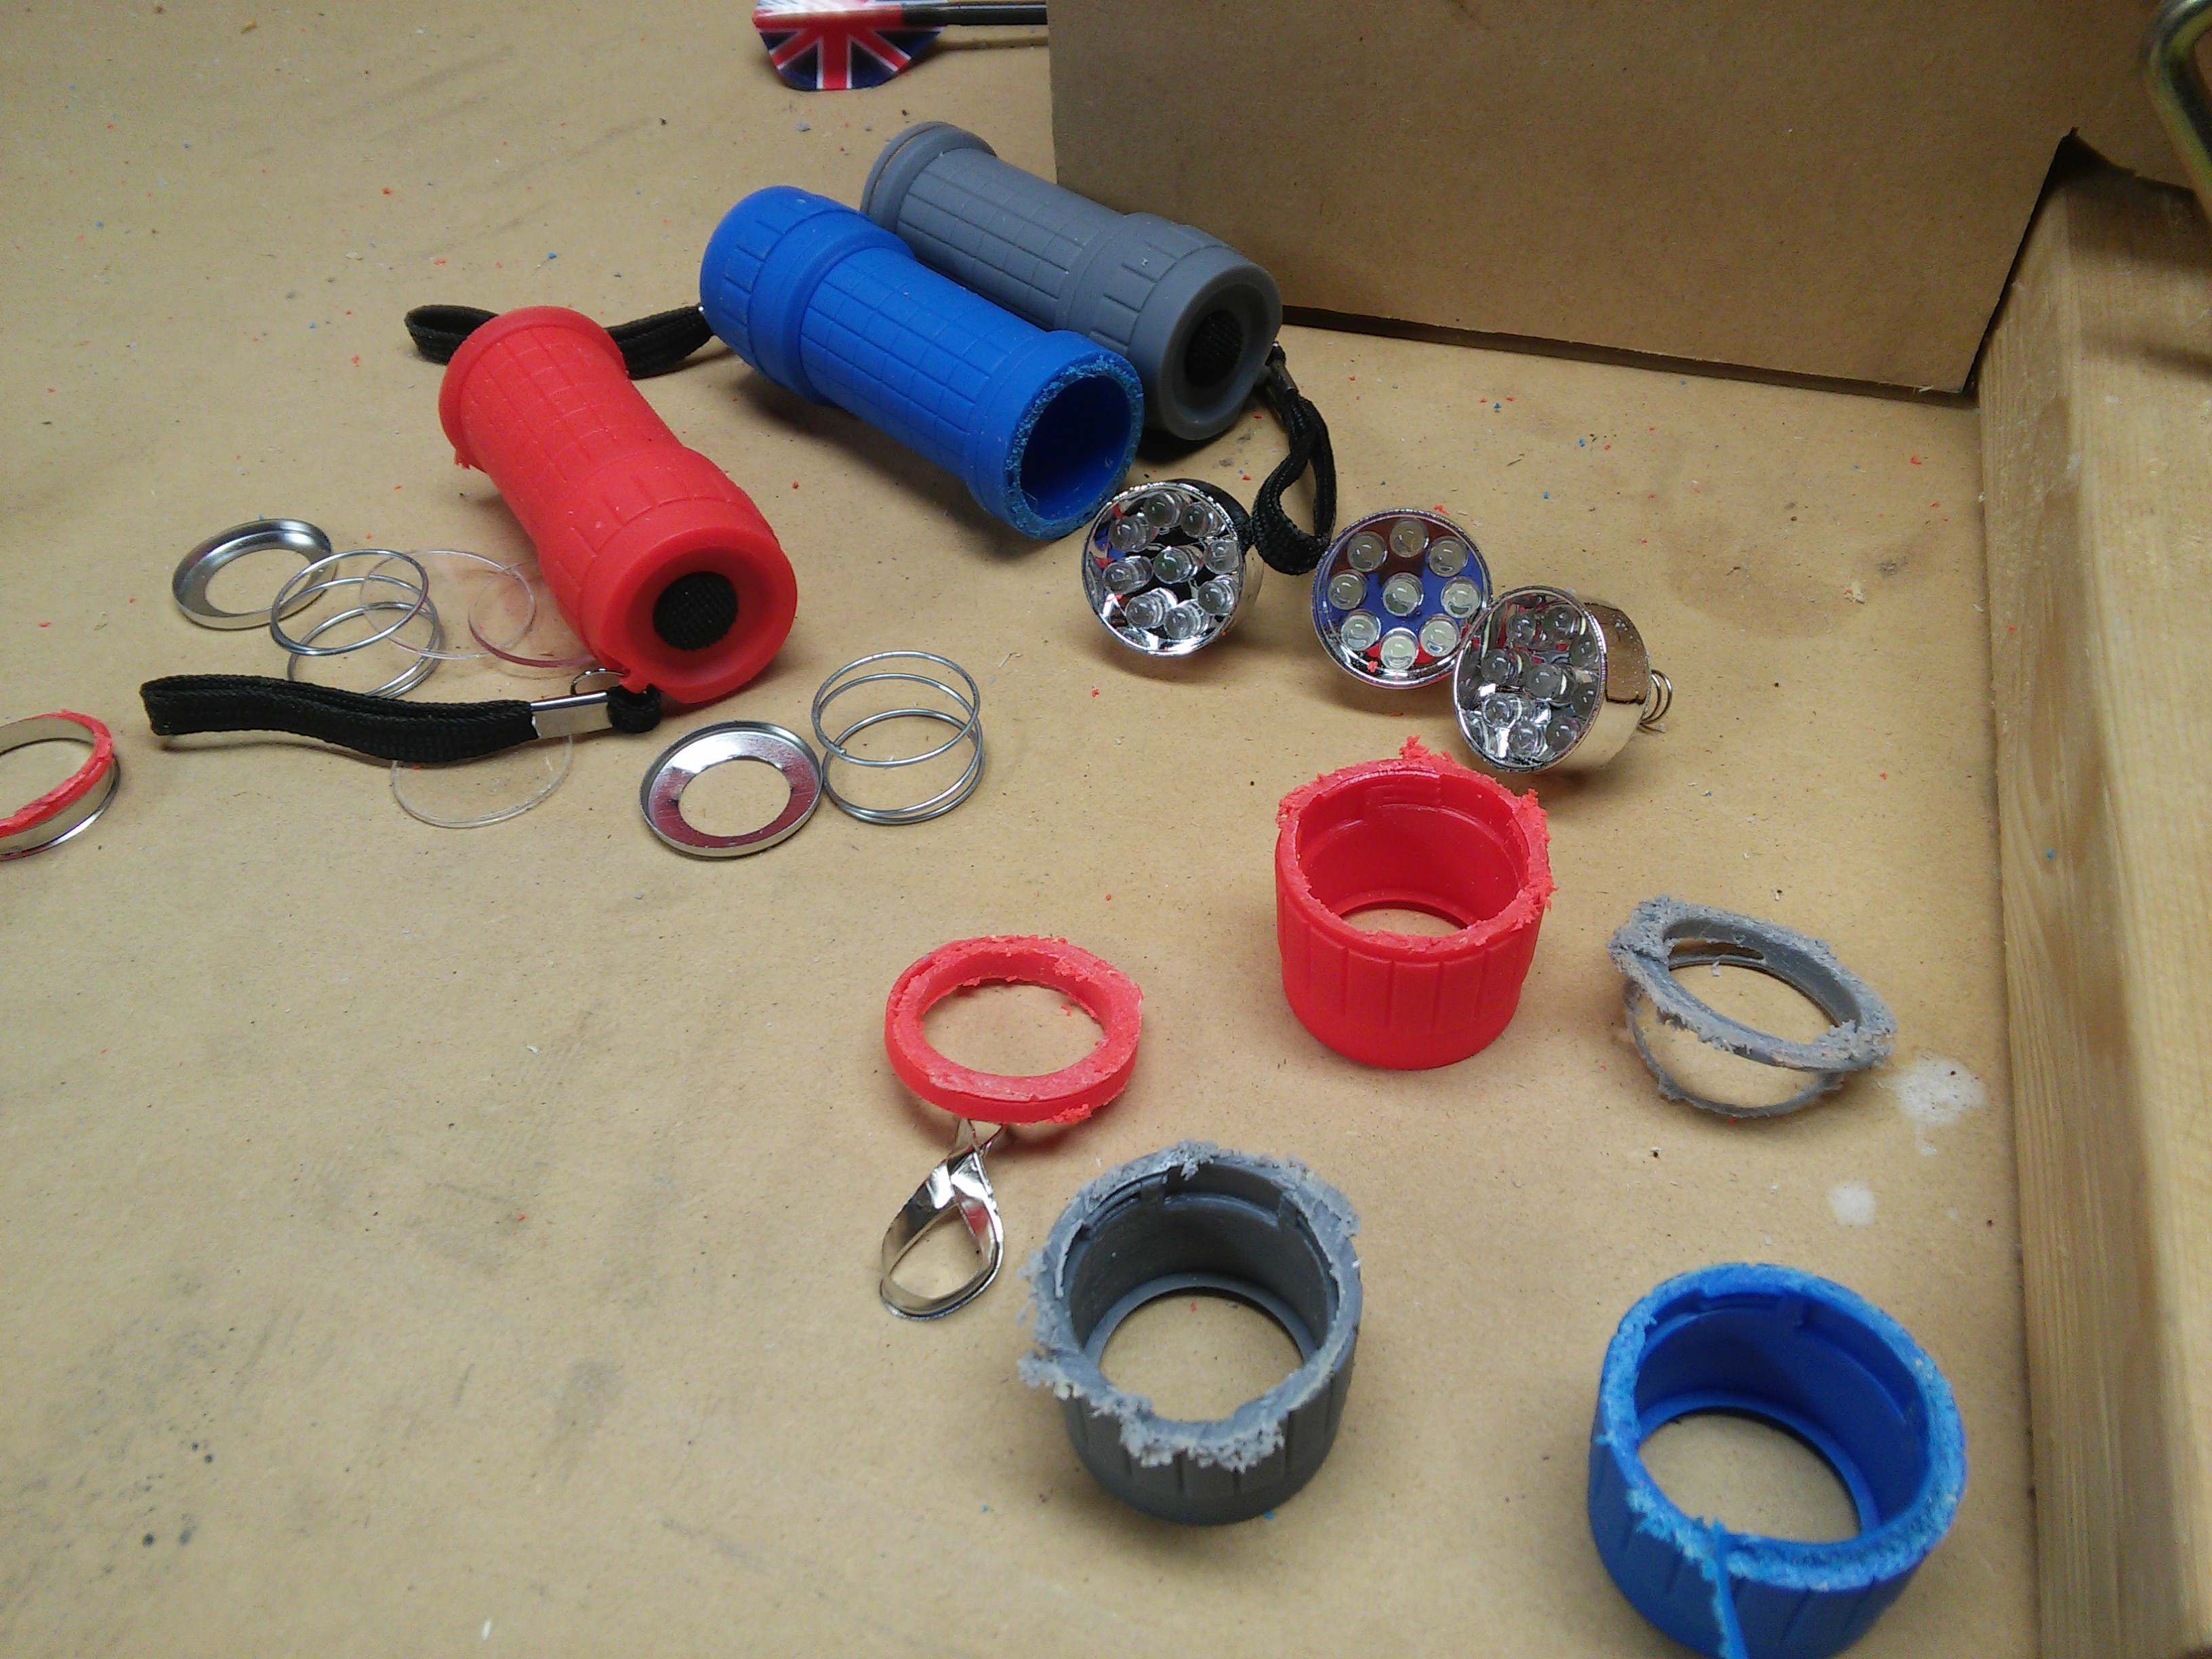
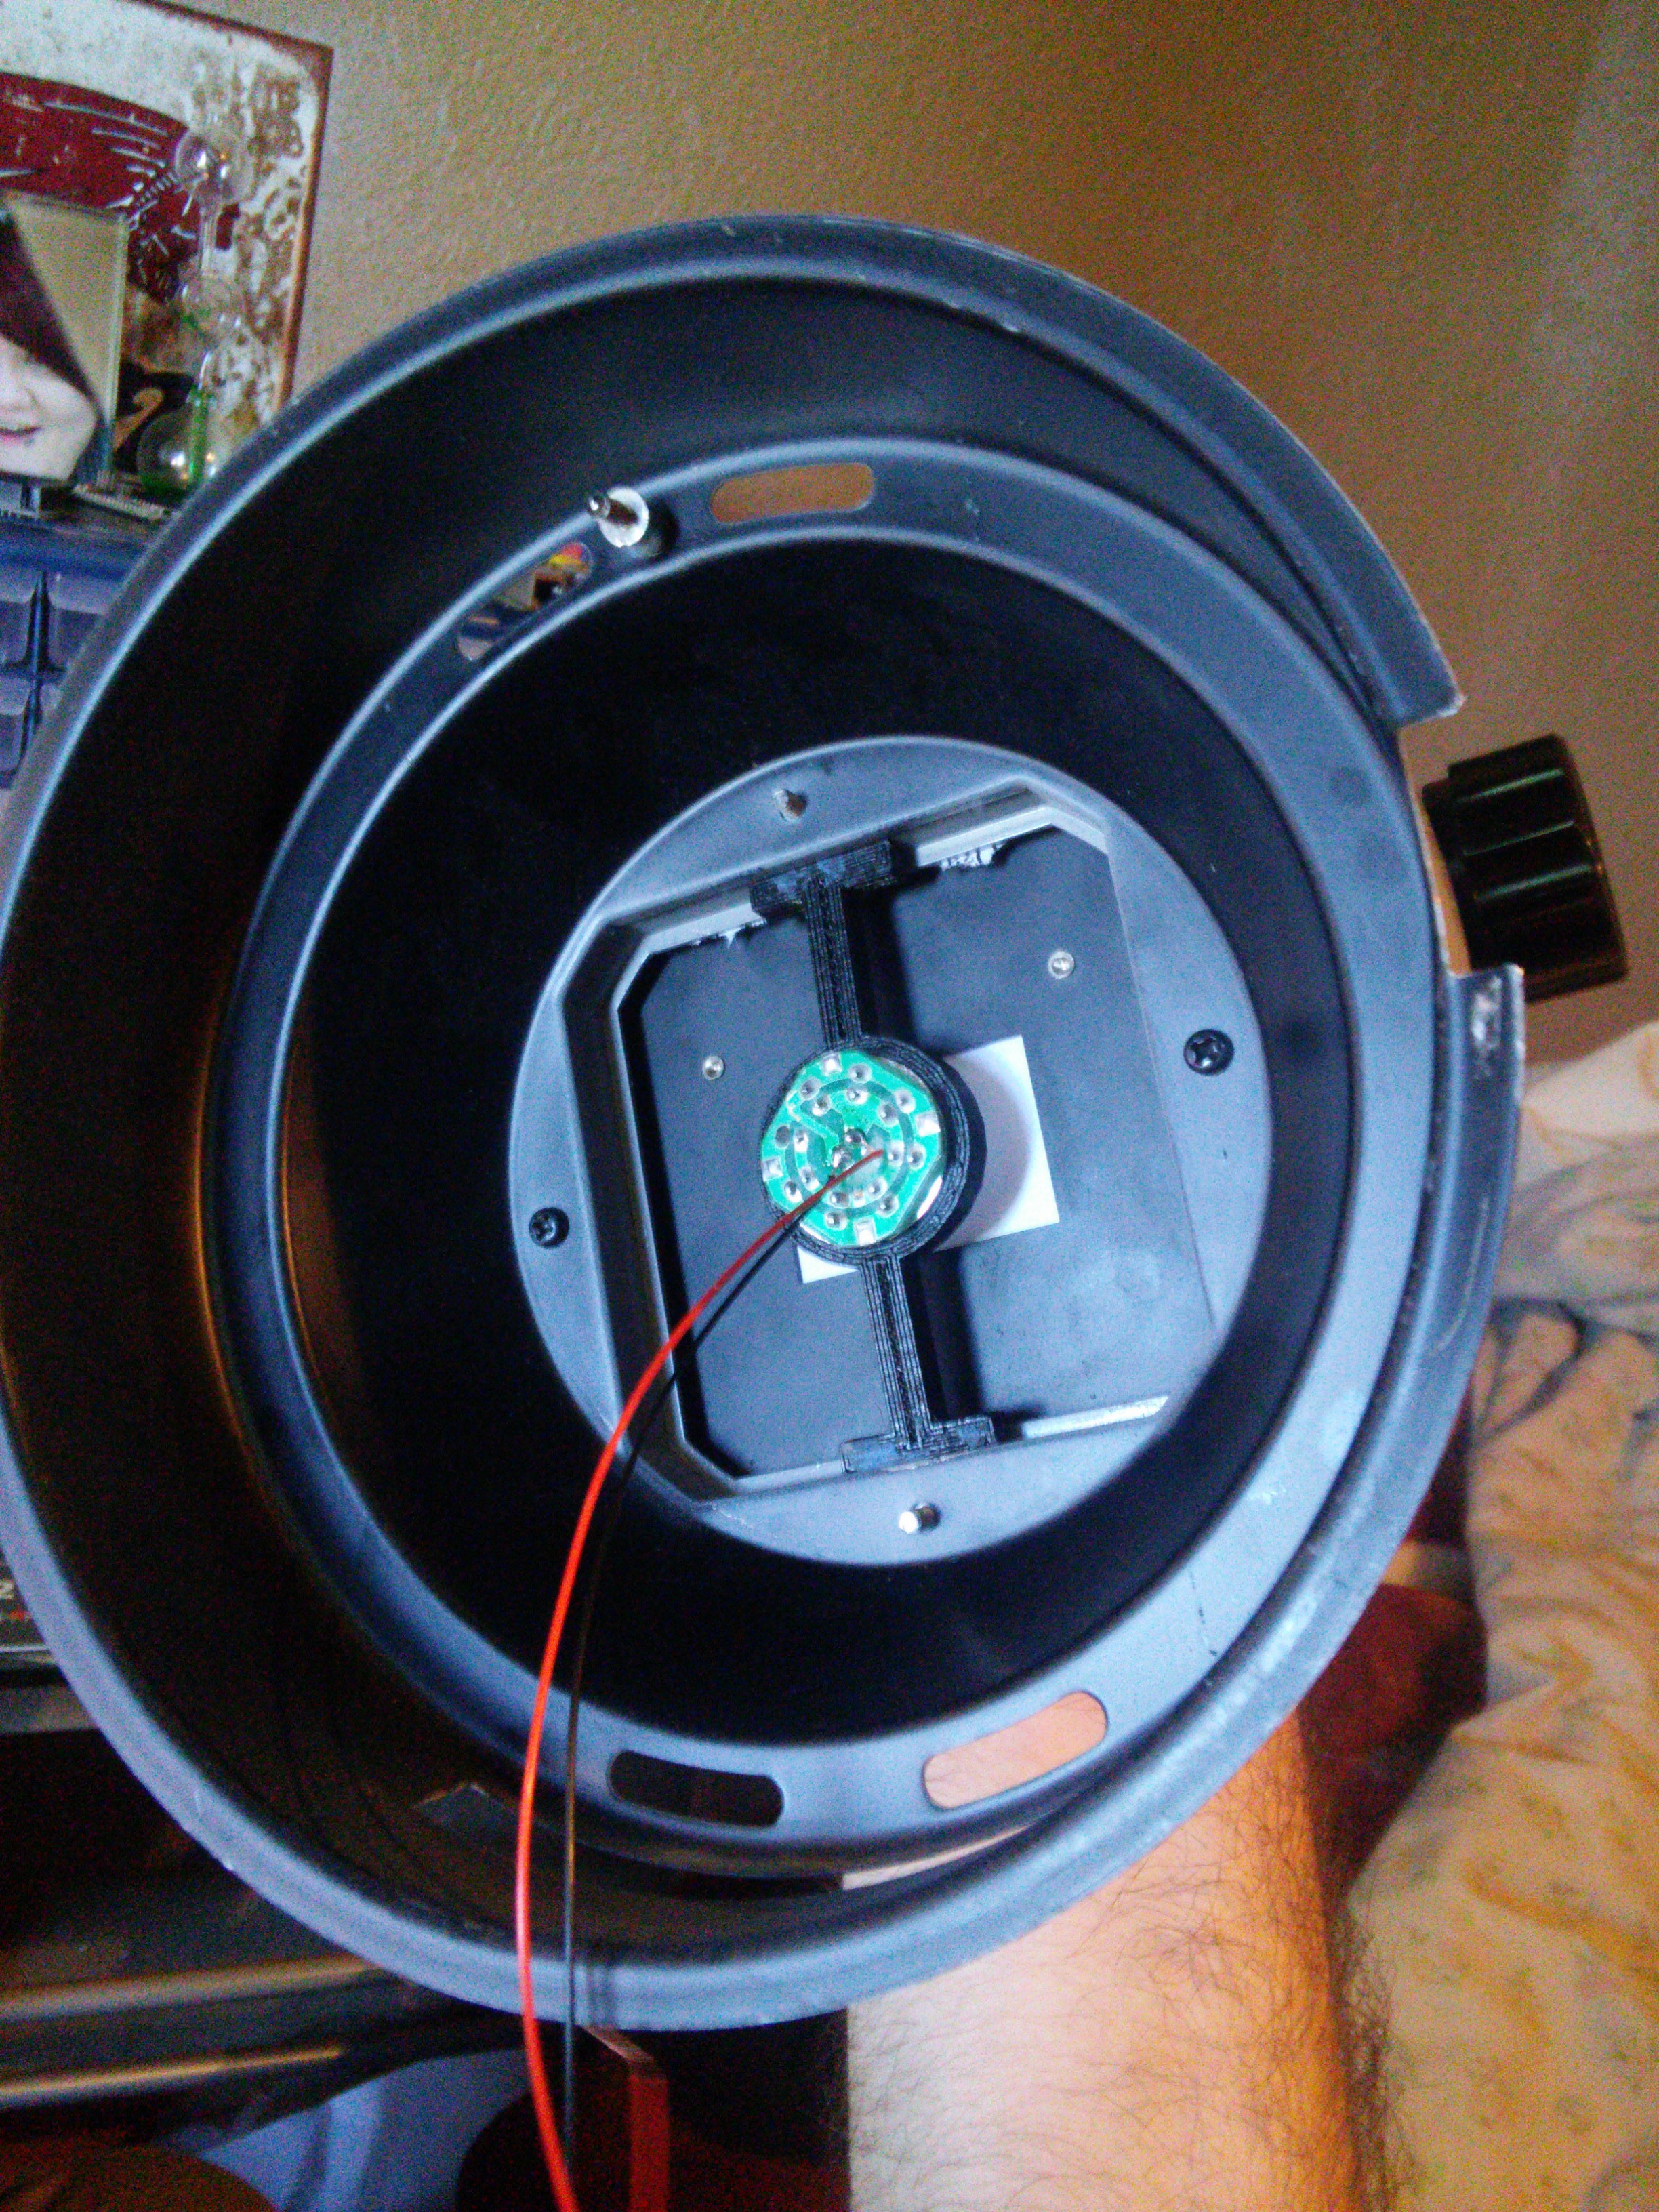
Now the entire lighting of this build is based on $1 flashlights that can be purchased at Walmart . The bottom design was 3d printed and mounted to the bottom . Also for your information the frame has a built in tray that I re purposed for a defuser so the light would not be so bright and it worked perfect.
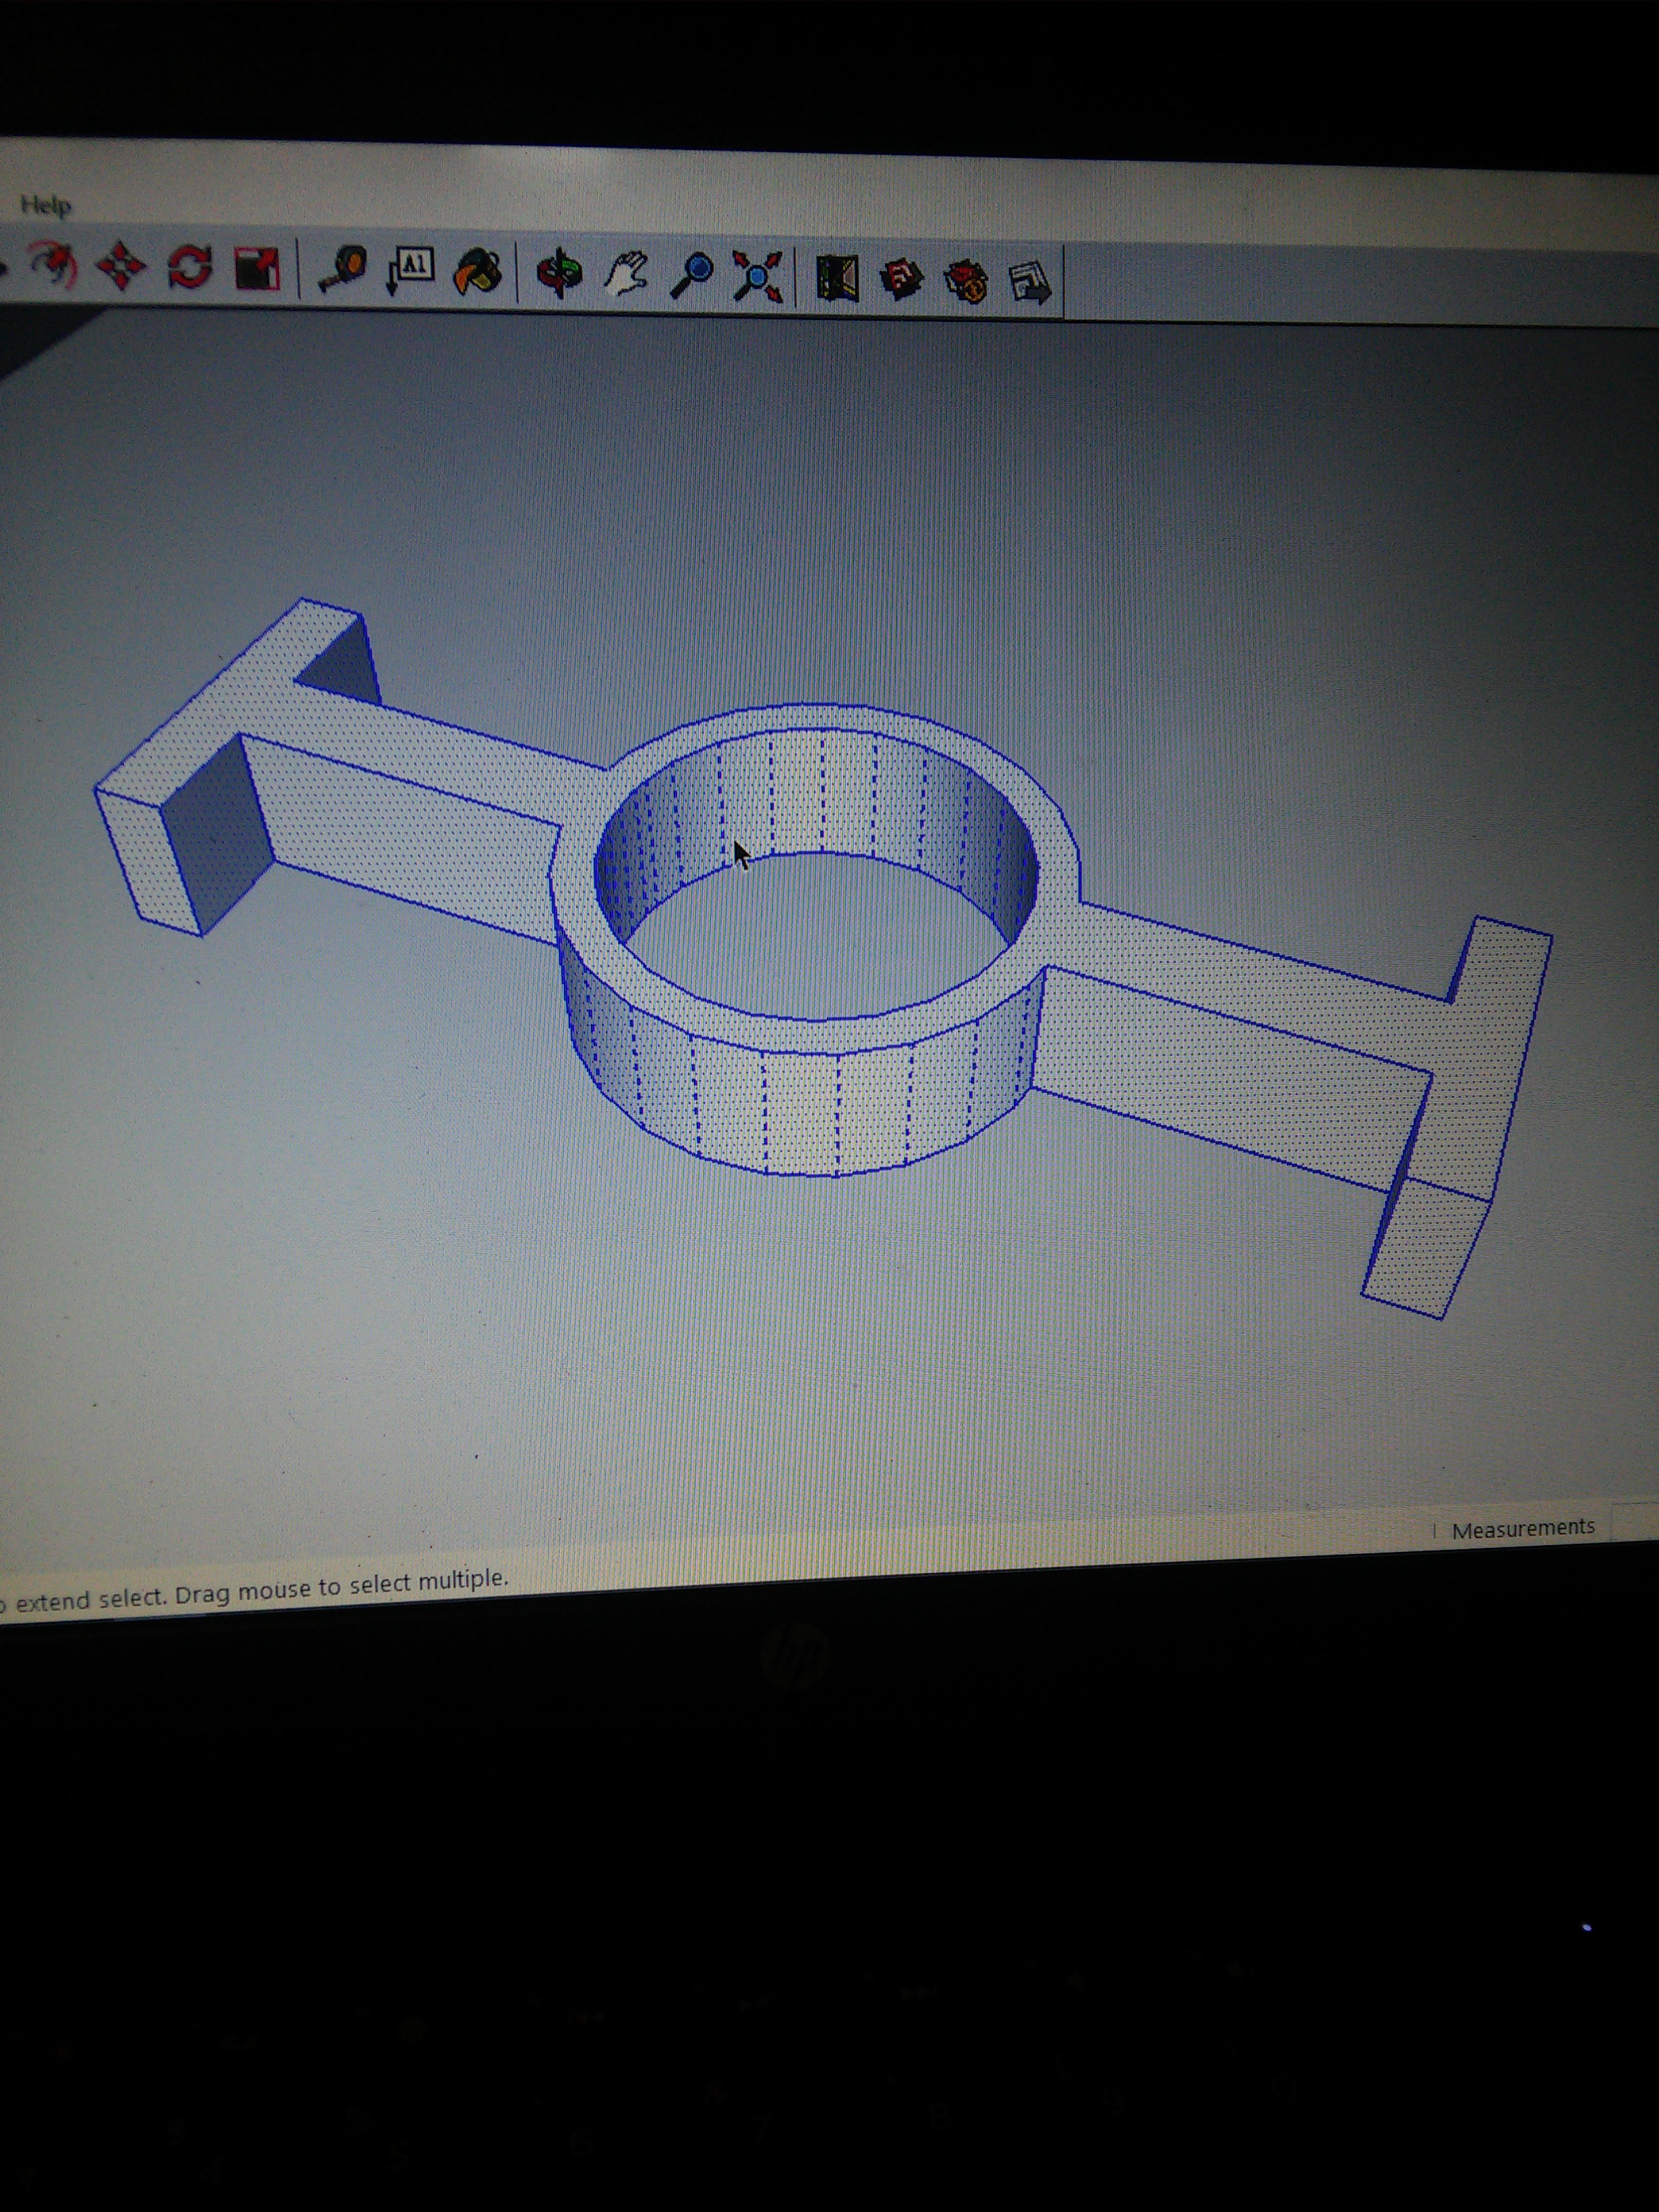
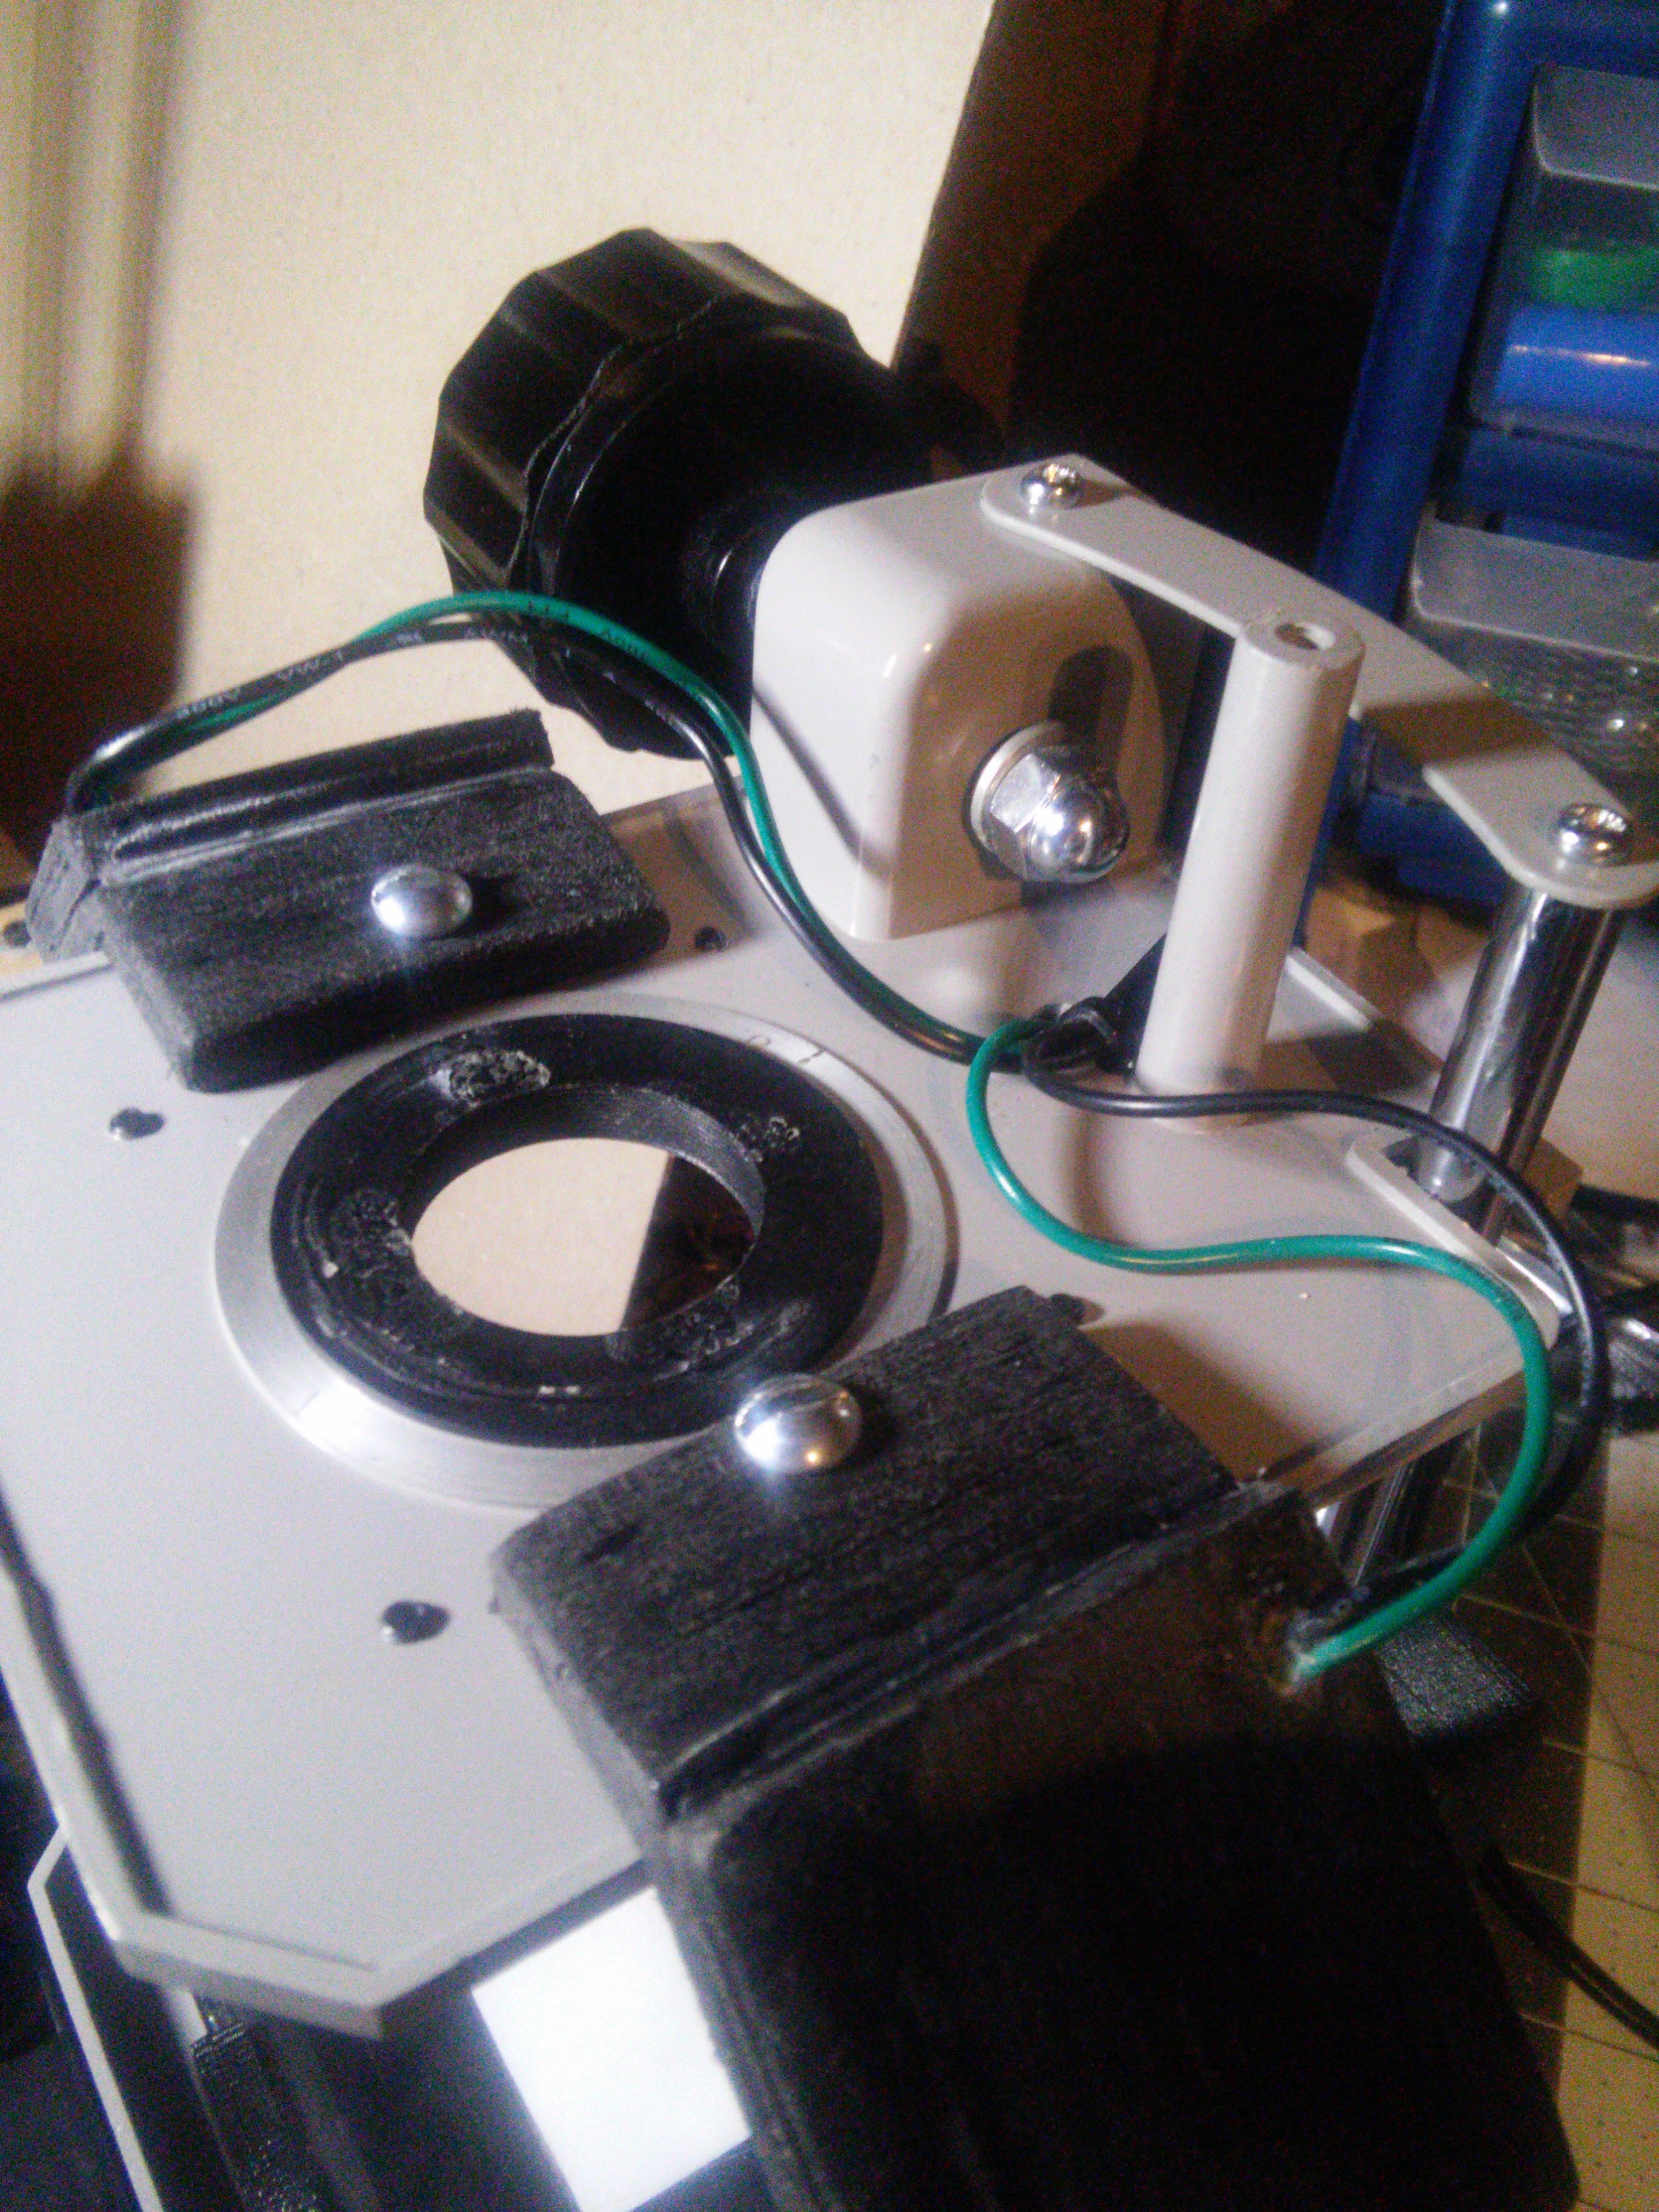
The top lighting was a little more complicated because i wanted the lights to be directed toward the bed area so they needed to be at about a 45 degree angle and on both sides . I designed this to be as simple as possible just needing to insert the round circuit and attach with one bolt each.
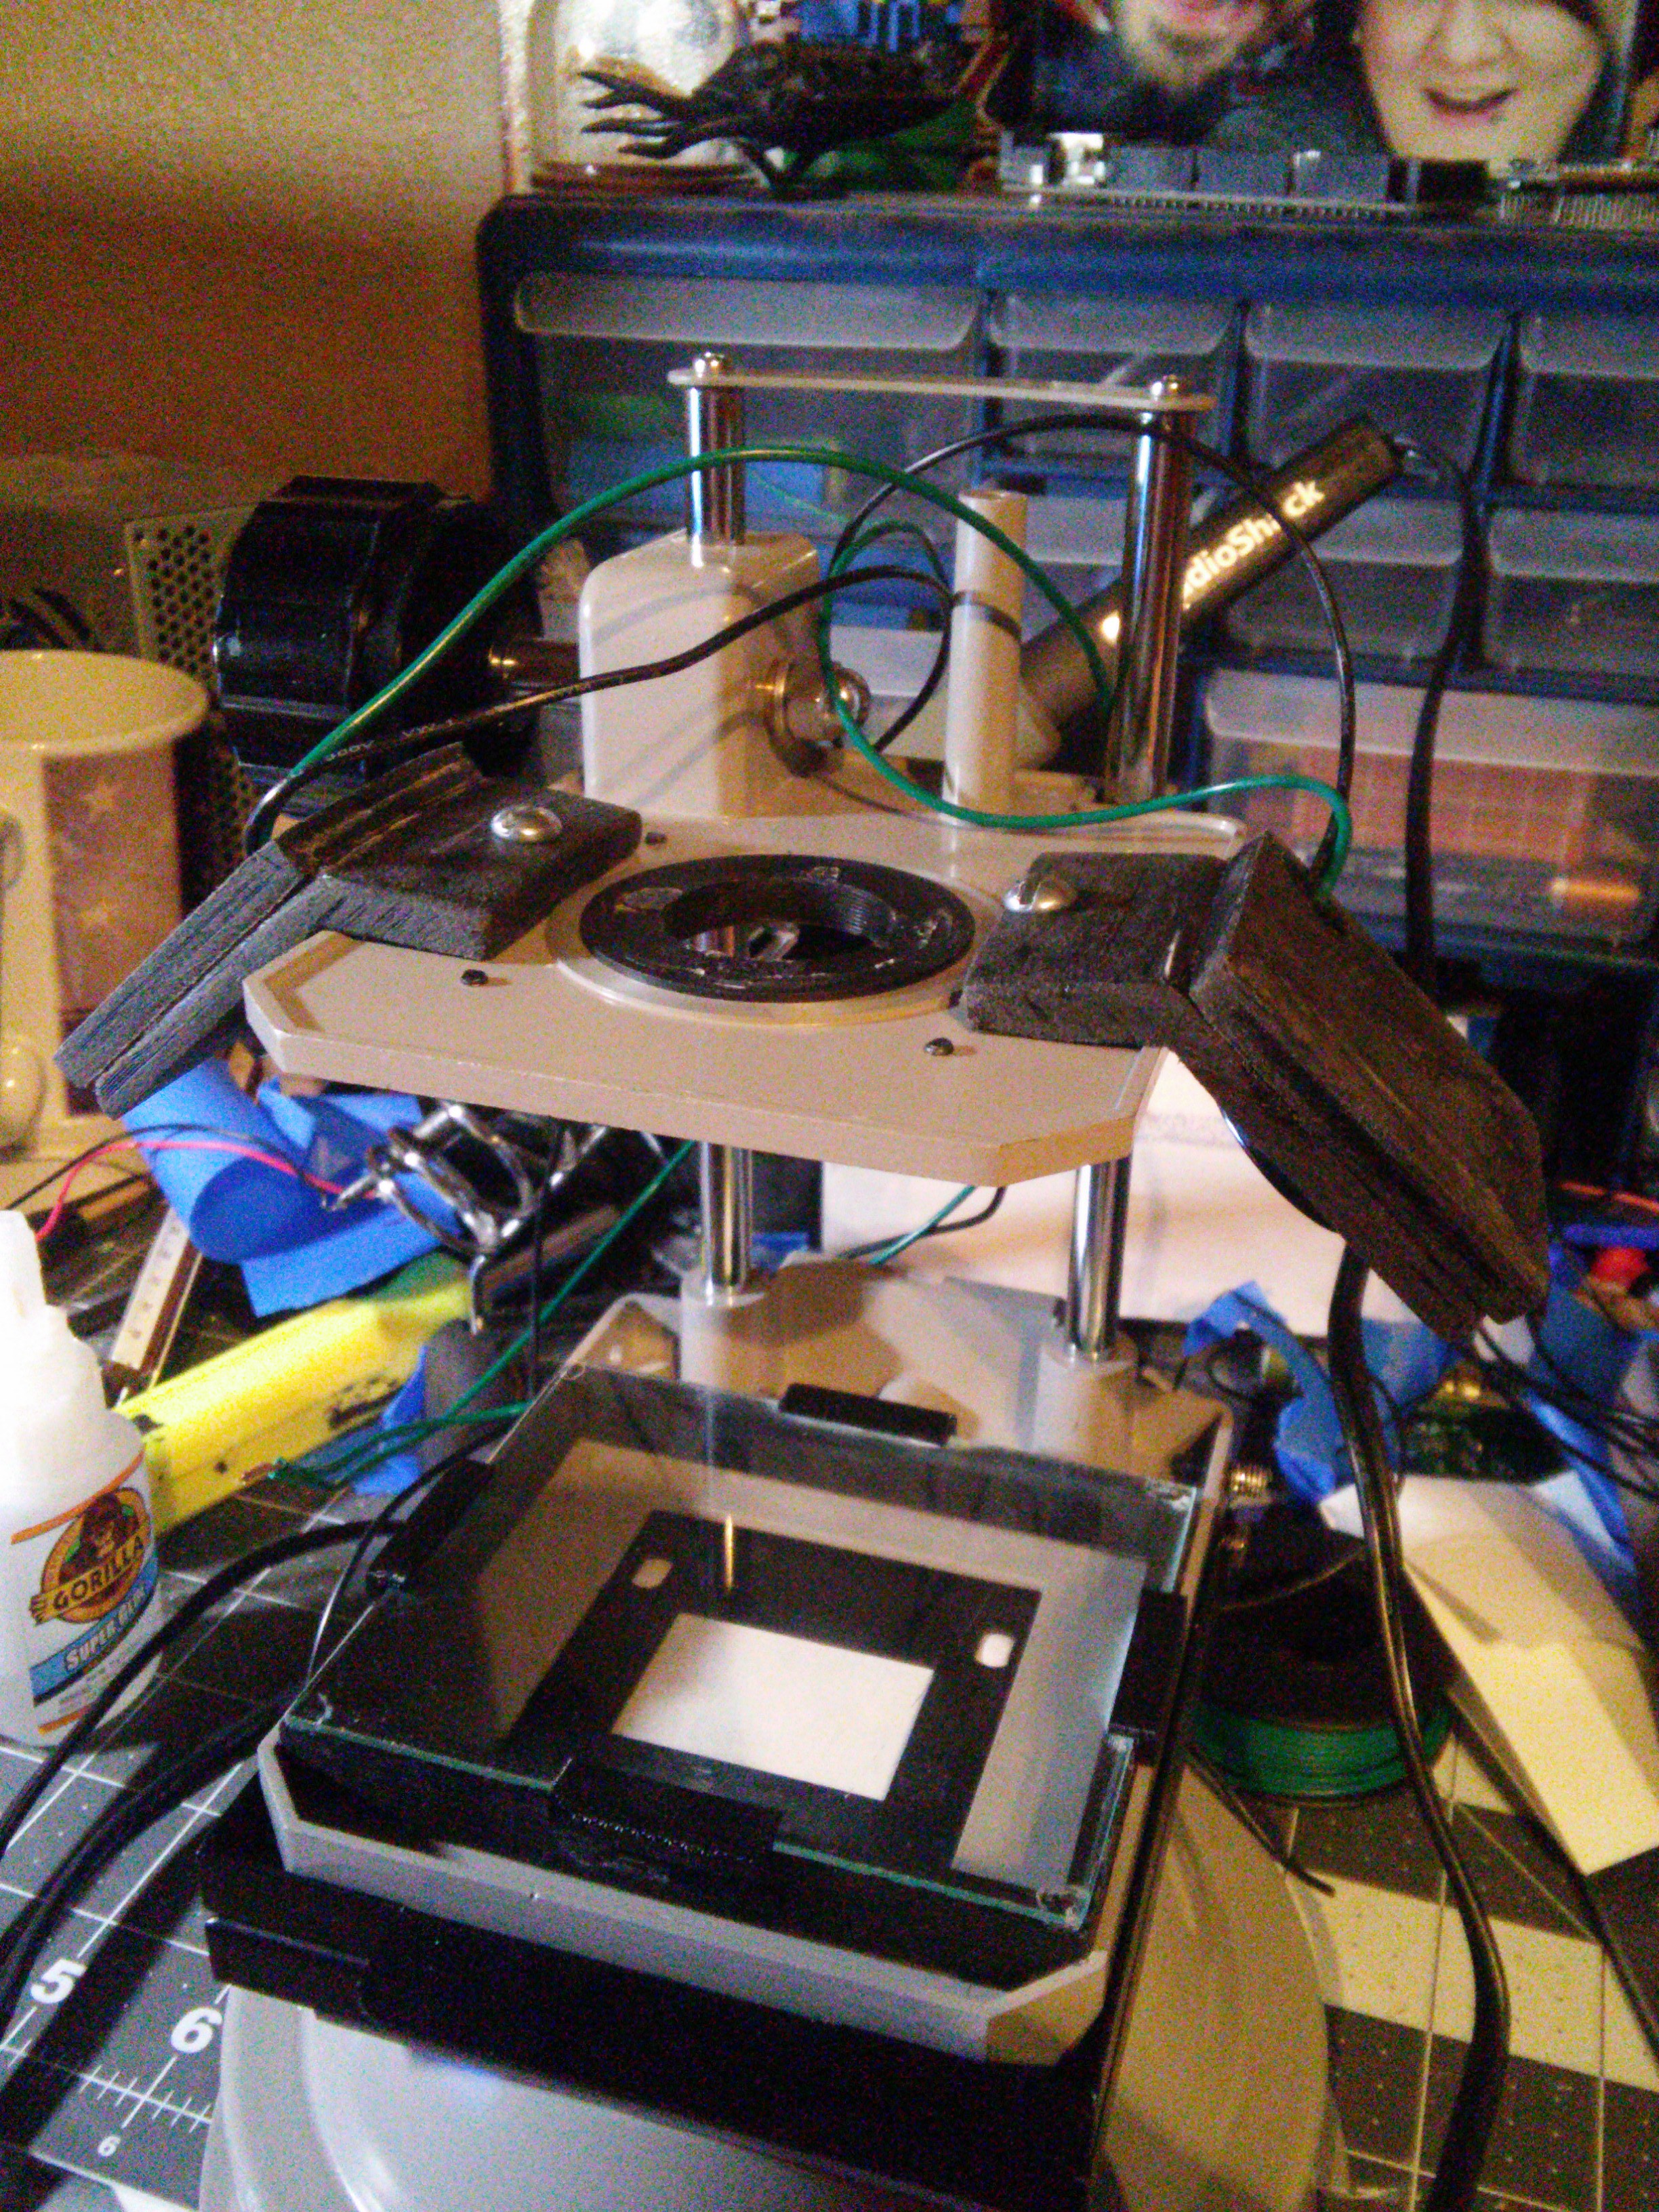
Which brought me to wire control and power , the wiring control was going to be simple. I just needed to find the right amount of wiring needed to have compete mobility of the machine . To make sure I don't cut it too short I simply always go long and I decided 18 inches would be plenty and could easily be shorted later and I did shorten it by about 4 inches . My method of controlling the wires is probably the same as most people drilling attachment holes and zip ties . The 4 inch zip ties worked perfect in this build.
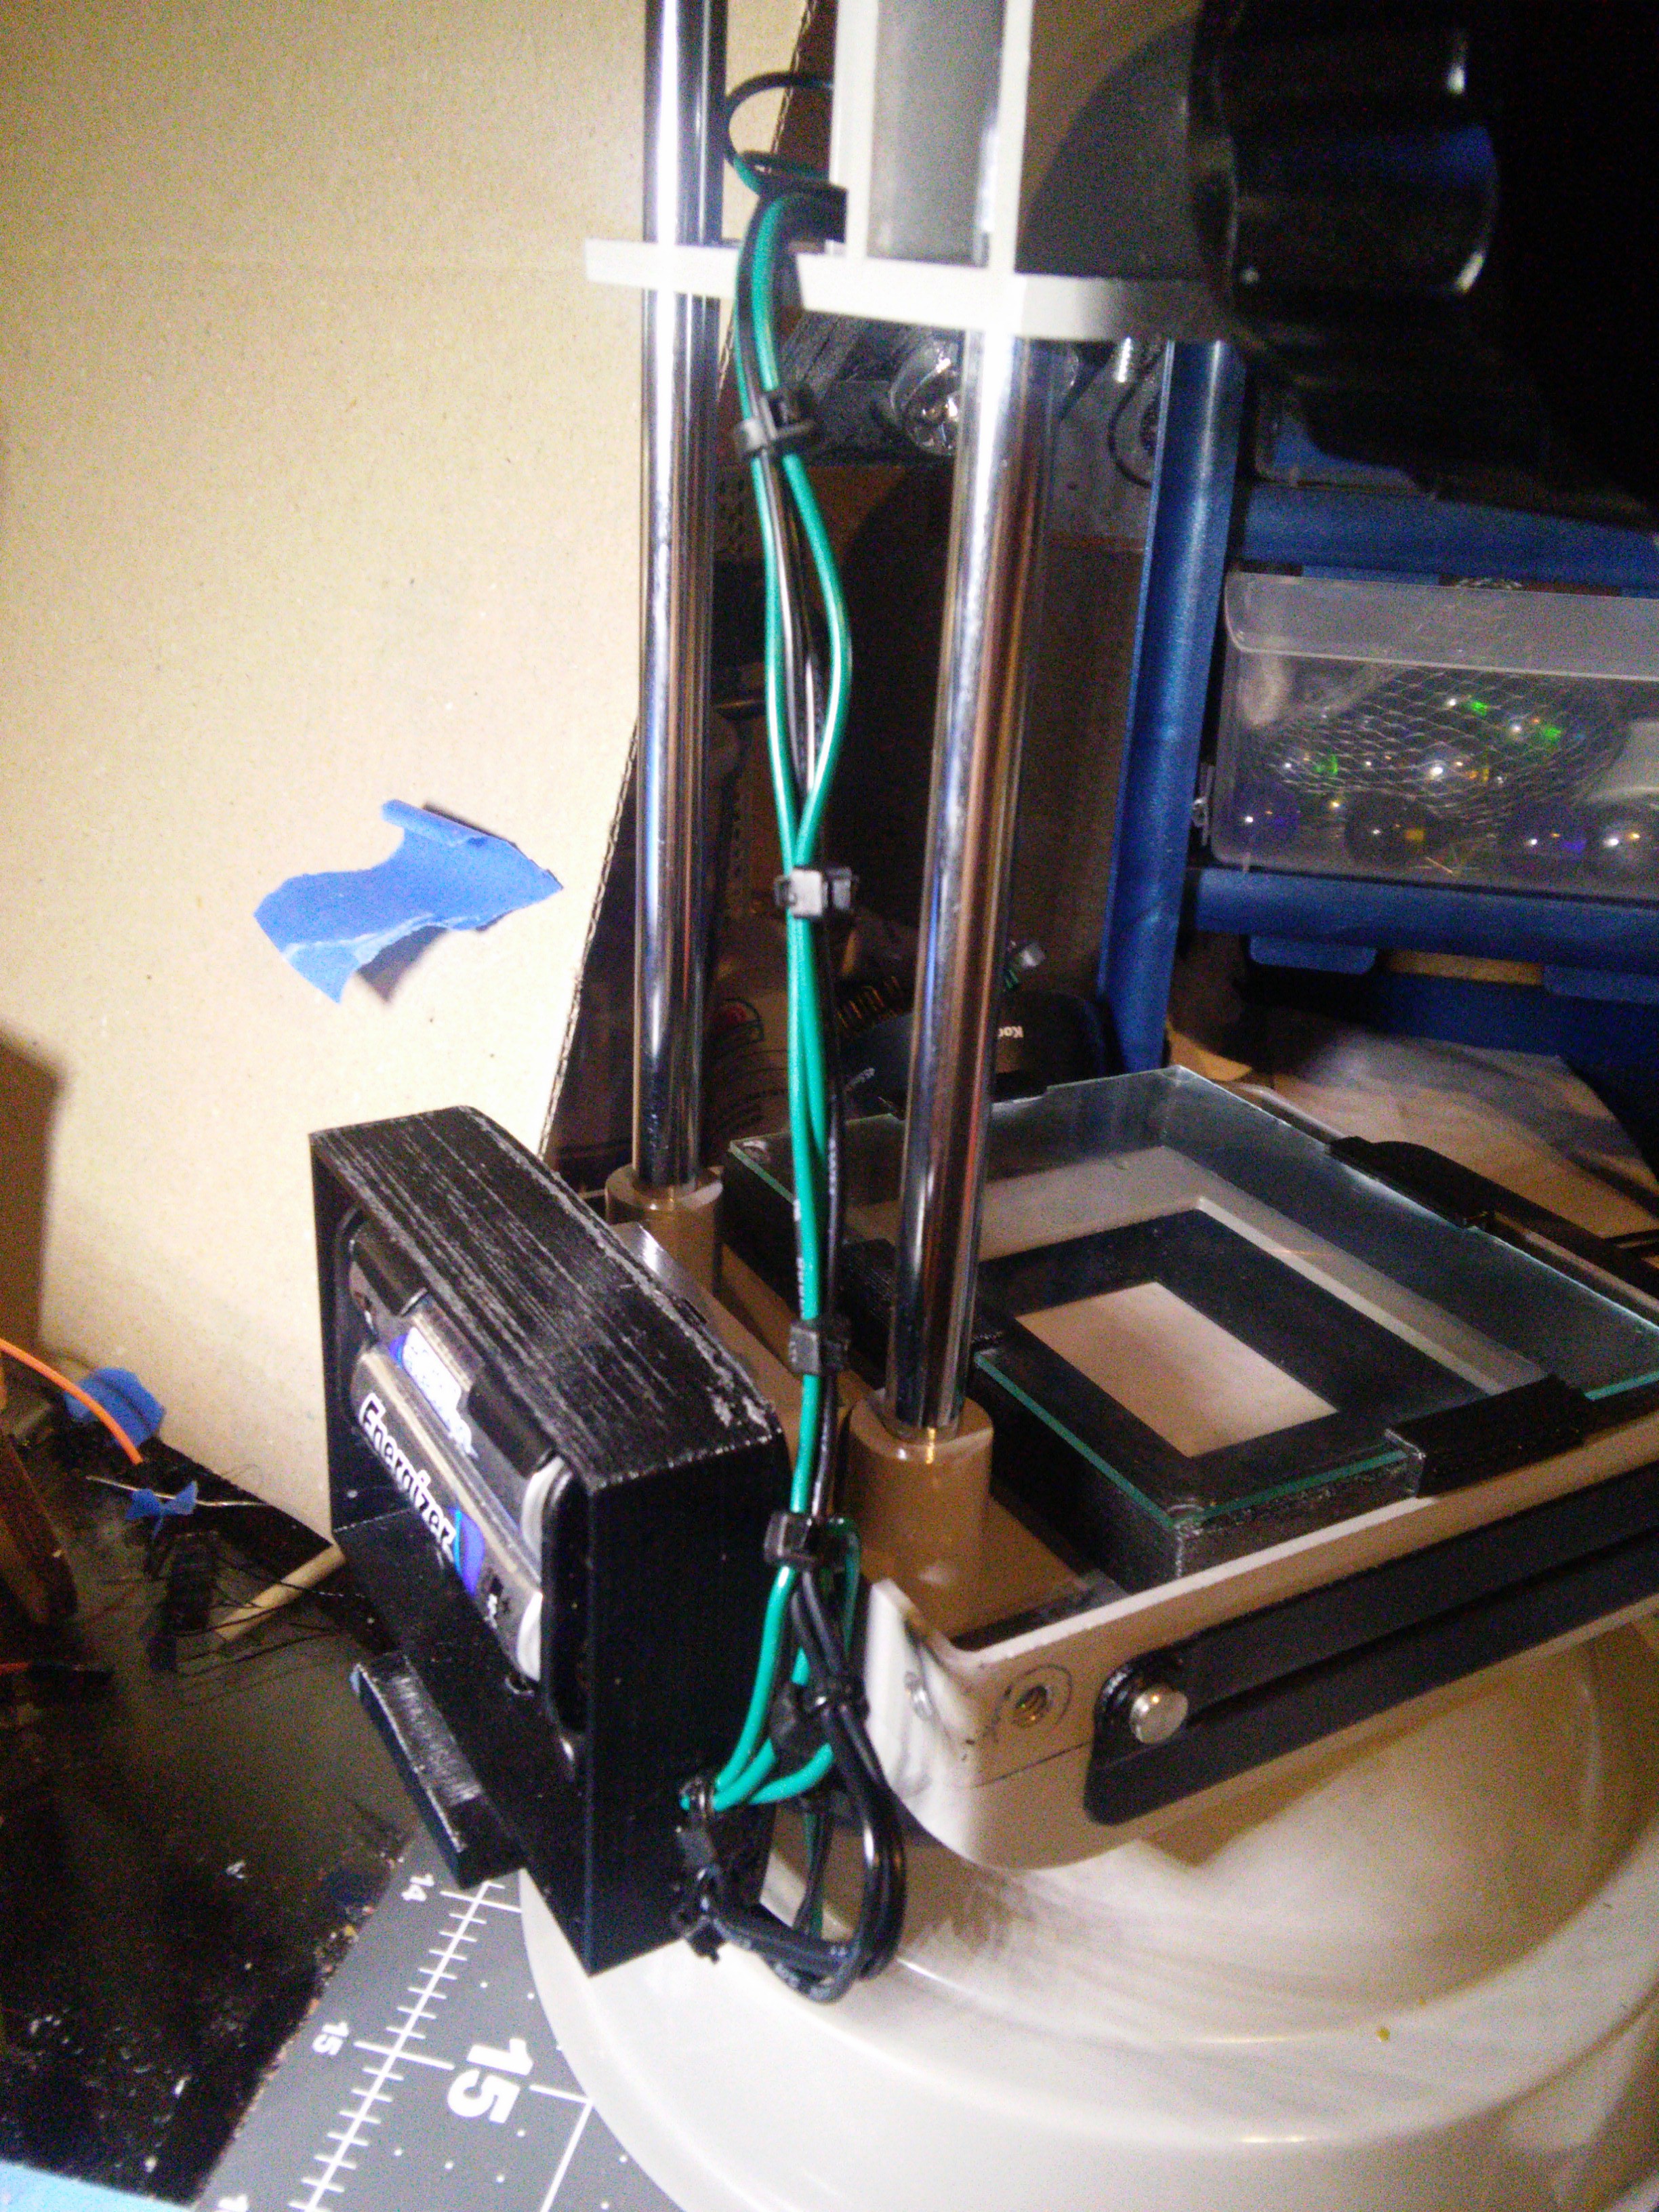
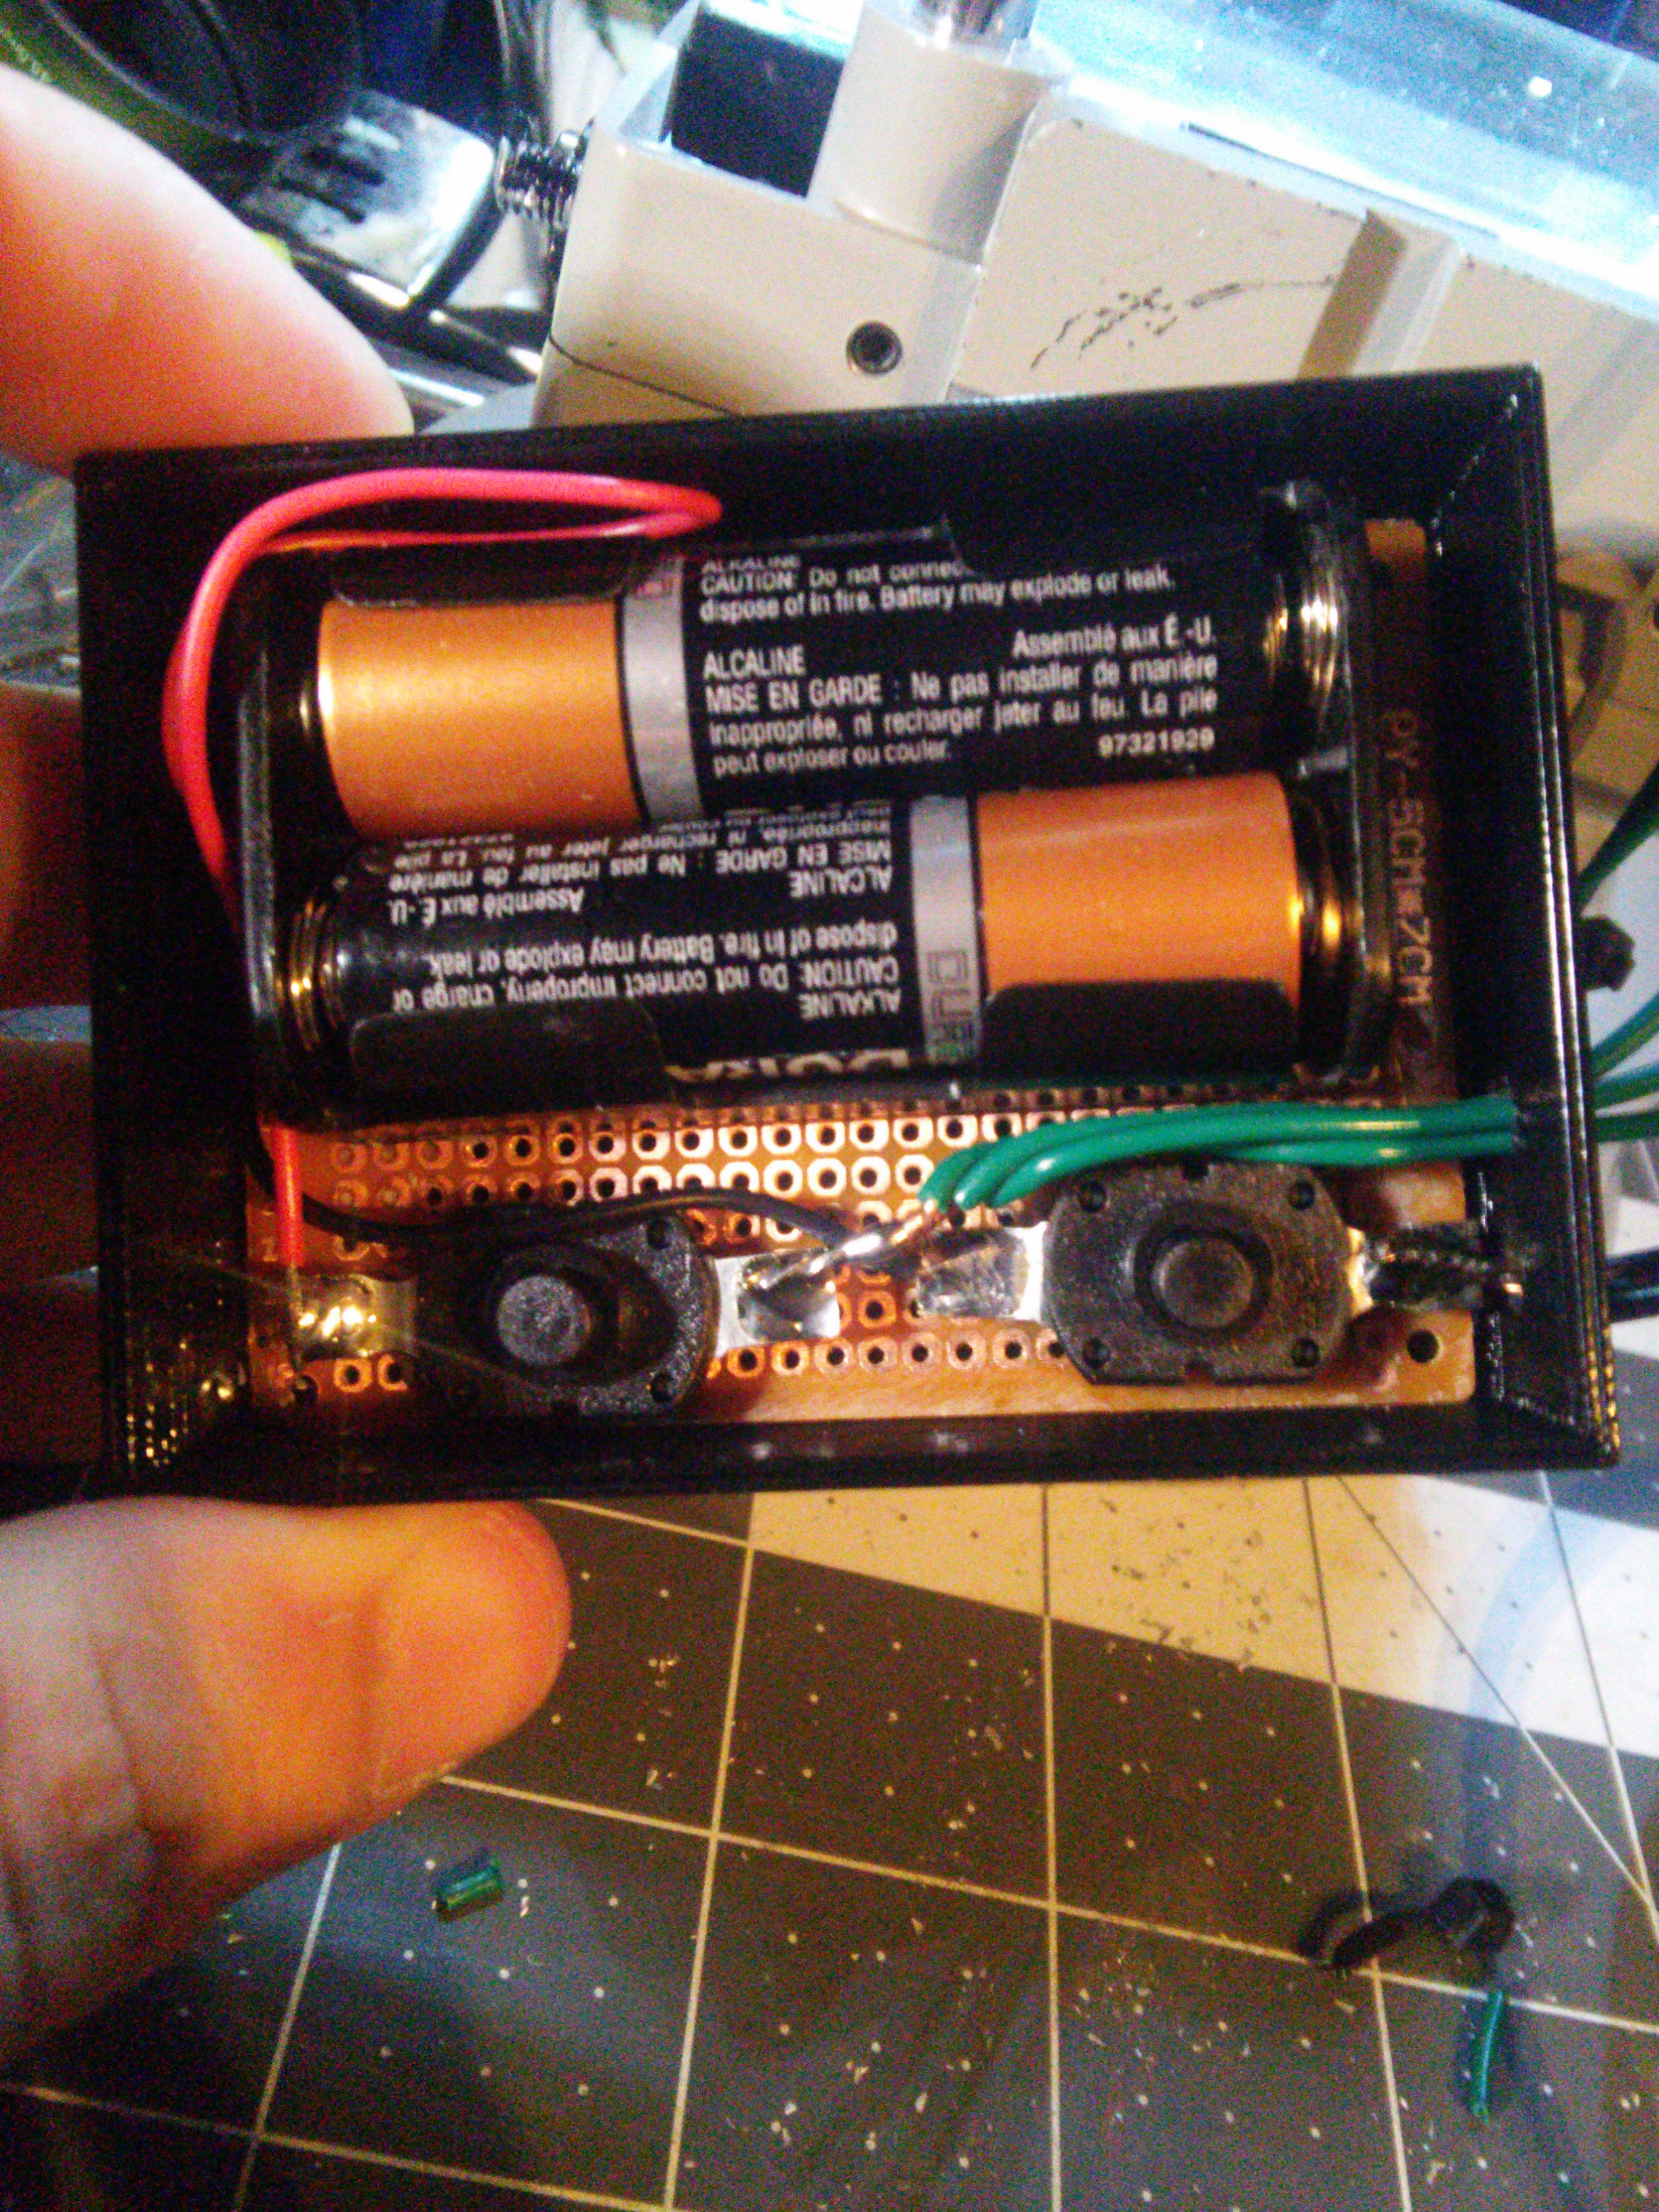
The next part is the power supply for the lights .All 27 leds are being powered by 2 double AA batteries that are stored in a small 3d printed box in the back . Now I understand that the doubles AA probably wont last all to long but I'm not planning on using this machine very often simply when I need to take photos for my research.There is also a cover planned for this case just hasn't been printed yet.
The circuit I built would probably bother some people due to its roughness but it works perfect for this project because each 9 leds have its own resistor. So all I needed to set up was a power supply and switch. Now from the photo below of the circuit you can see that there is two switches. Honestly I only needed one switch but I wanted both the power and ground to lead into the box so I simply put in a switch on both sides . So there is a switch on both the ground and the power.
Yes I know crude and not professional at all but definitely hacked ;) and it works which is a bonus. Here is what it looks like so far.
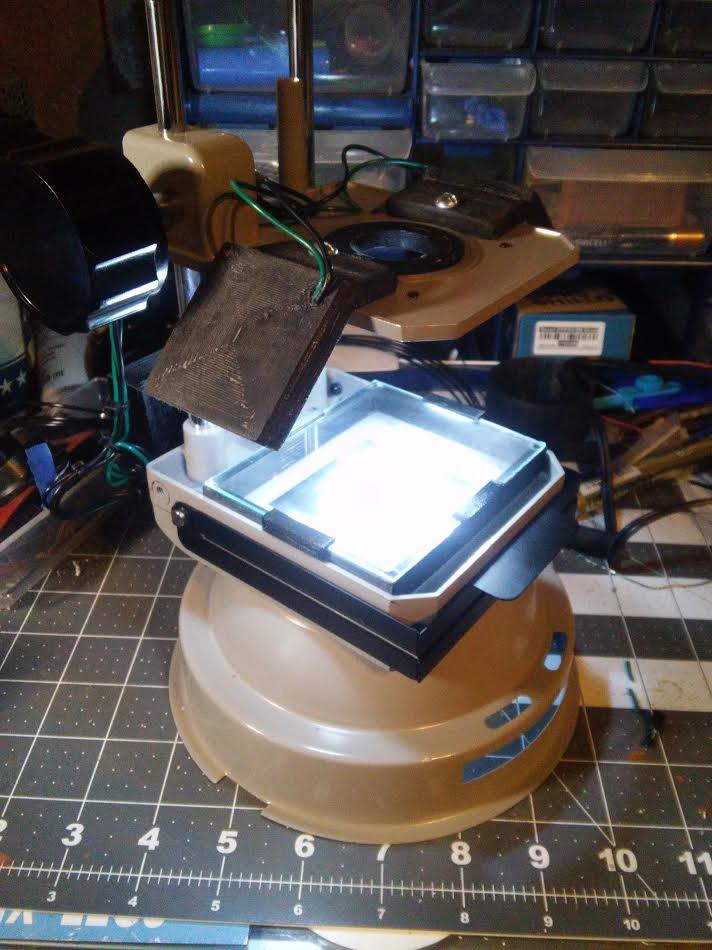
Works pretty good :)
 Colin Russell-Conway
 CriptasticHacker
 Cedric Anné
 Paul McClay