 shamylmansoor
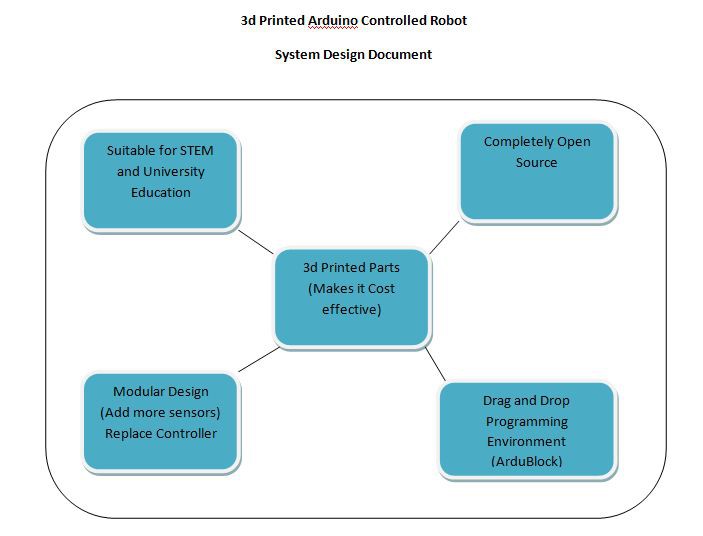
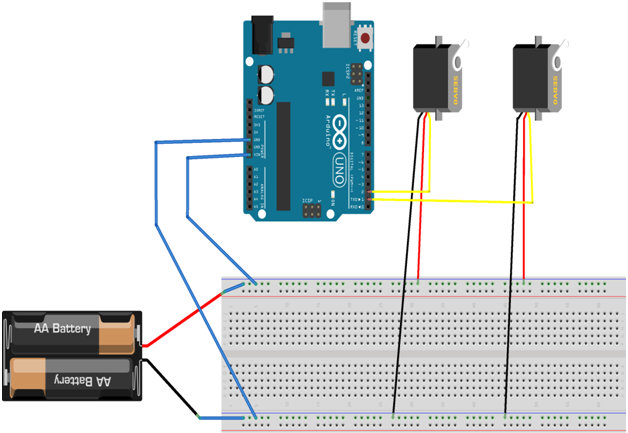
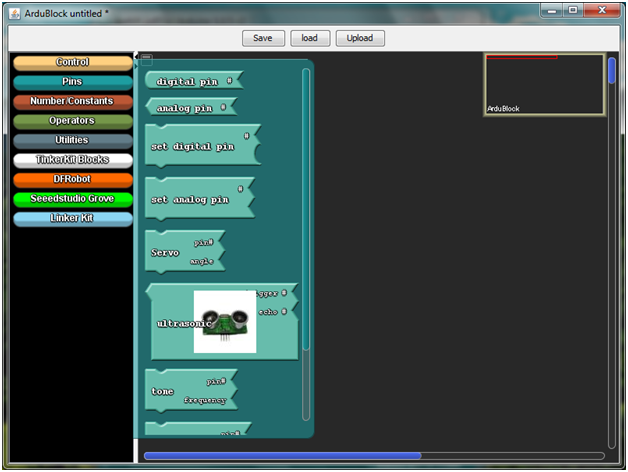
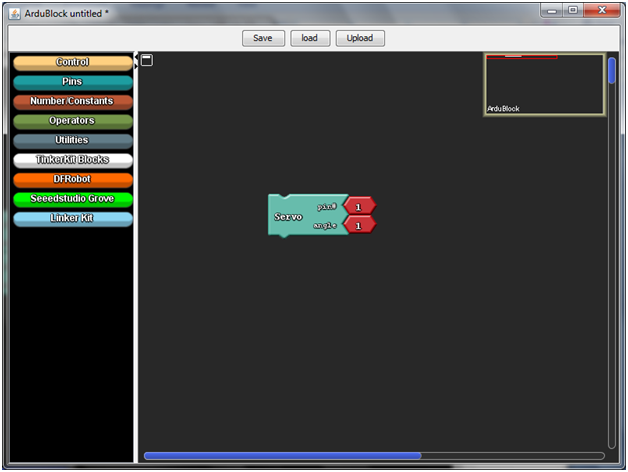
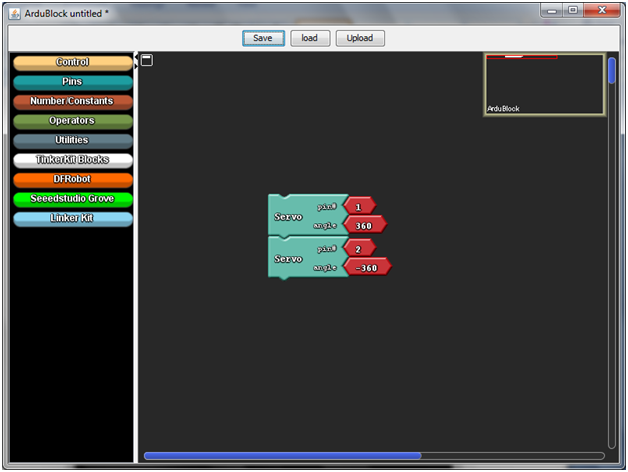
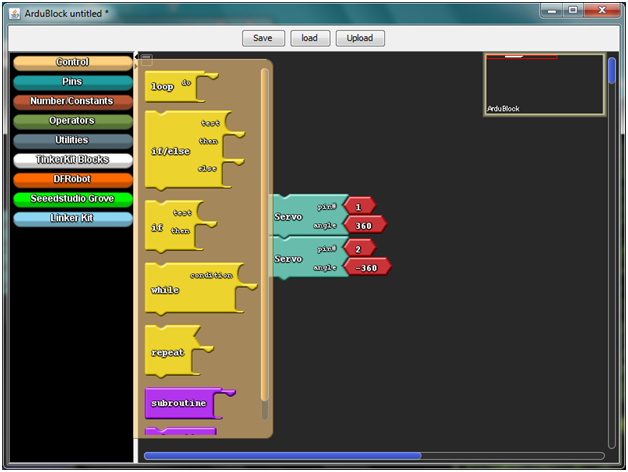
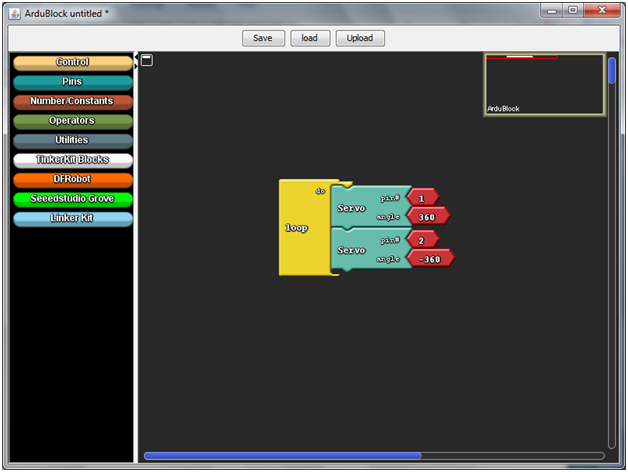
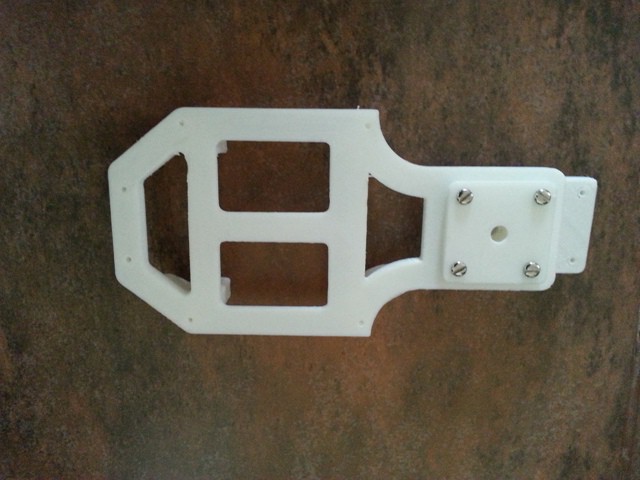
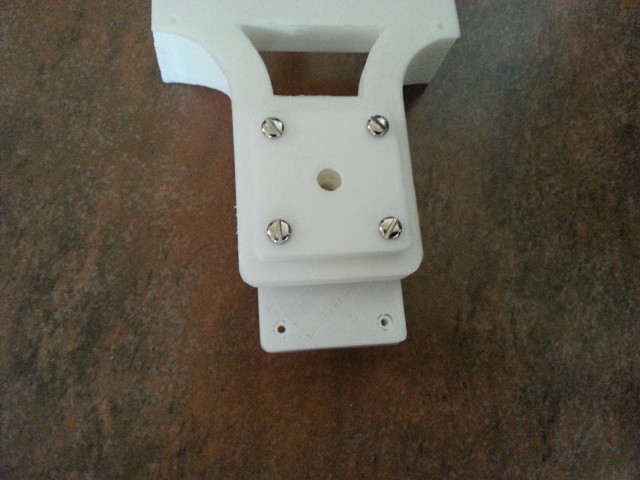
The robot chassis is an open source design utilized from thingiverse. Please note that the 3d model was originally designed by user outcastrc on thingiverse, it is not my design. The electronic parts include an Arduino Uno or Mega (Can be any other arduino as well), an ultrasonic distance sensing module, a bluetooth module for controlling via a mobile, continuous servos for driving. The drive is differential drive and the kit can be easily programmed using Ardublock an open source drag and drop tool for programming.
The robot has three components
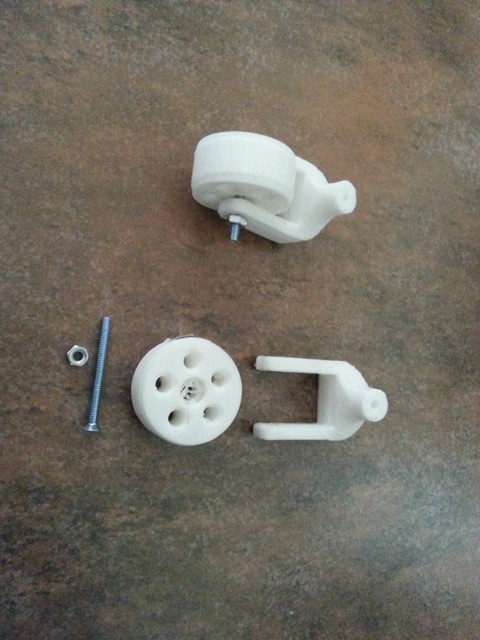
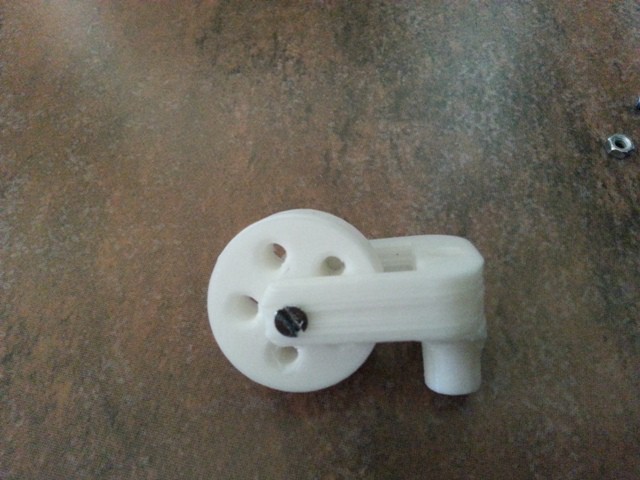
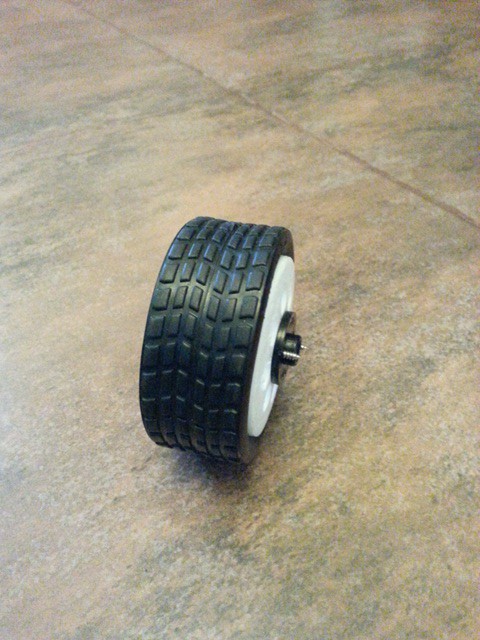
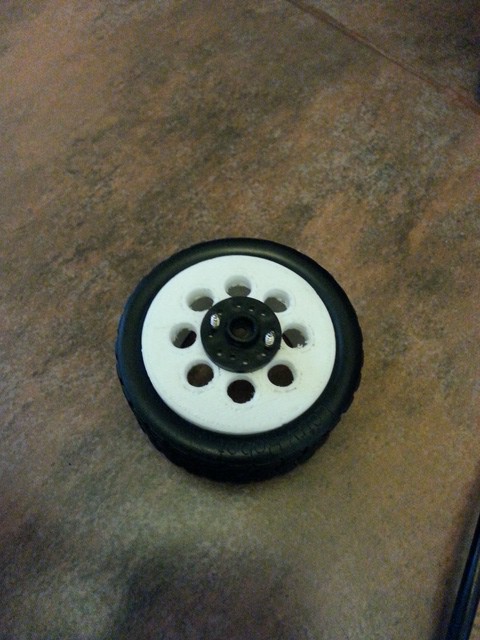
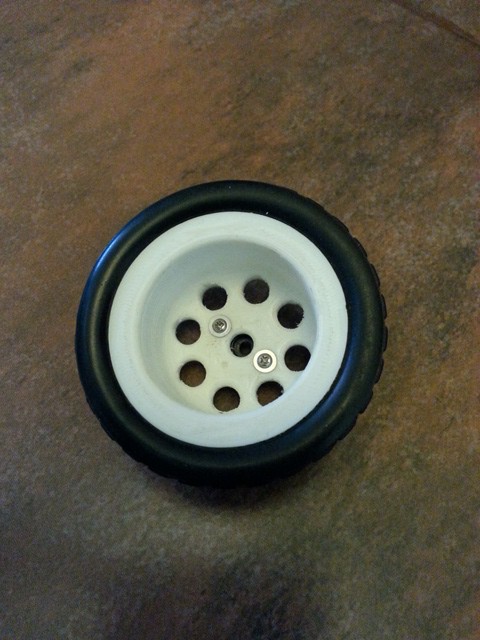
1. The 3d printed chassis
2. The electronic parts and sensors
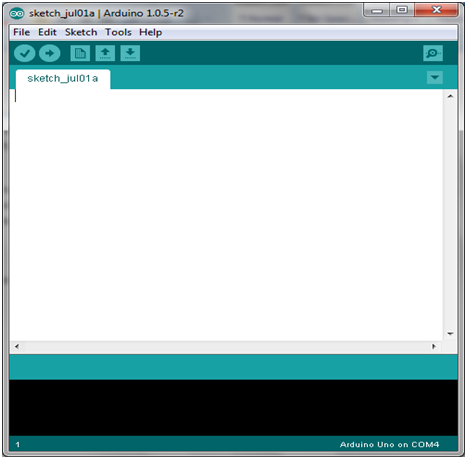
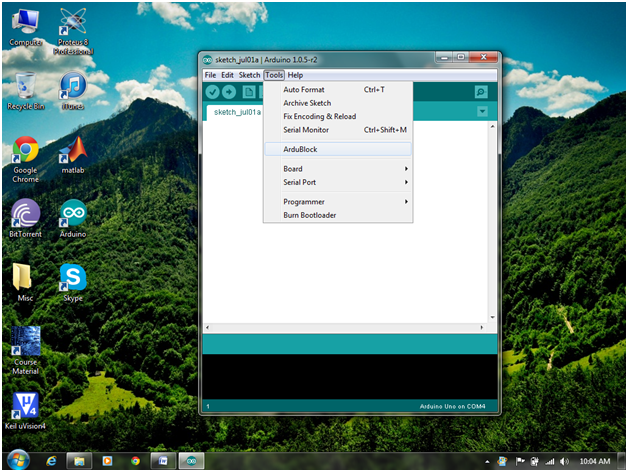
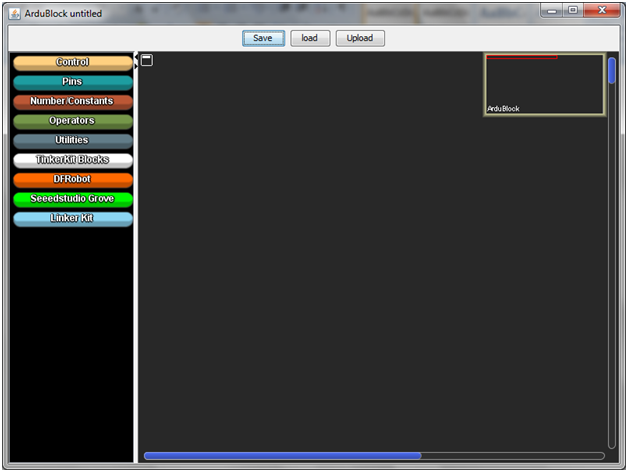
3. The programming environment
All of these components are completely open source and can easily be used by anyone to create their own kit and start to learn about robotics, programming and electronics.
Here is a video
Here is a video of kids using this kit in a workshop.


 BINGOBRICKS
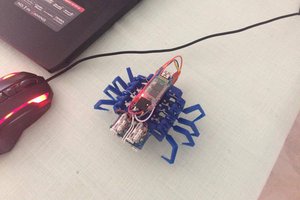
 Brian Brocken
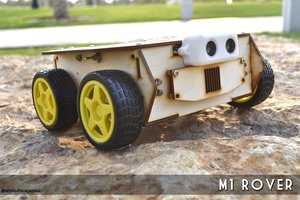
 Ahmed Azouz
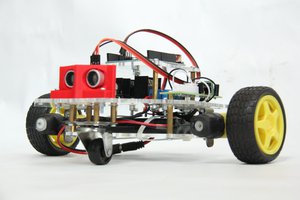
Endurance is offering a FREE SelfieBot to all colleges and universities!
Now any school or college can make a fully 3D printed practical robot.
Endurance provides free open source code of the SelfieBot for any school or
university.
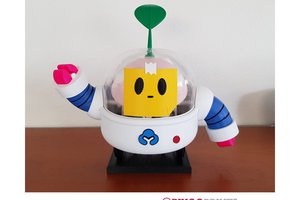
The SelfieBot is a stationary telepresence system that can be developed by a student or a group
of students entirely on their own (Do It Yourself). The SelfieBot DIY platform is a tool that empowers students to turn mobile device into a smarter machine.
With the help of the SelfieBot you can record video and broadcast yourself to others and the
camera will follow you while you speak and move around.
The SelfieBot automatically tracks your face meaning that you will be always in focus
while recording.
The SelfieBot allows you to attend classes remotely.
The SelfieBot is the perfect tool to interact with team members that cannot be present at your
location.
The key thing is that a SelfieBot is a movable mount for a smart device.
The good thing is that all of the SelfieBot’s parts can be purchased on Amazon or Ebay and the
assembling process is every easy. Simply follow Endurance’s step-by-step
instructions, and you can quickly create your own SelfieBot robot, improve it,
and even share it with others. We are looking forward to create a SelfieBot
community! Some discussions groups with discussions are here:
http://www.thingiverse.com/thing:1508489
https://pinshape.com/items/21195-3d-printed-selfiebot-by-endurance
https://plus.google.com/communities/100896515560132679200
https://www.facebook.com/Endurance-1399951053640252/
https://www.linkedin.com/groups/8247327 https://www.linkedin.com/pulse/selfiebot-education-diy-mobile-driven-robot-george-fomitchev
http://www.instructables.com/id/DIY-SelfieBot/
https://hackaday.io/project/10571-selfiebot-for-education-diy-mobile-driven-robot
Developing a SelfieBot will not require a lot of time or special knowledge. We tried to make
the tutorial as simple as possible and we are keep improving it.
We provide everyone with the following items:
A CAD scheme
STL files for 3D-printing
The firmware for Arduino
An APK file for Android
A list of all the parts that you need to build your own robot.
Should be enough for a quick start.
Key features of the SelfieBot:
Turns your mobile device and tracks the faces using Google API and our application.
Can be controlled remotely and allows you to rotate on two separate axes.
The DIY SelfieBot can be used to help improve your skills in robotics by providing you the
opportunity to create your own robot based on the SelfieBot foundation.
Current beta features which we plan to have finalized in the near future:
IOS /Windows support
IR tracking system.
Wireless charging.
Additional external battery bank
Motion sensoring
Voice control systems
Our mission is to educate and encourage students and others by creating a friendly robotics
network and to empower them by providing the skills necessary to create and
develop their own robots that will help people in the field of Education.
Hobbyists and students are welcome to join us: Improve your skills, knowledge and gain more
experience by teaming with Endurance and our DIY SelfieBot.
Useful slide decks:
http://www.slideshare.net/GeorgeFomitchev/endurance-selfiebot-presentation
http://www.slideshare.net/GeorgeFomitchev/selfiebot-for-educational-purposes
http://www.slideshare.net/GeorgeFomitchev/diy-selfiebot-for-education-slide-deck-for-teachers-and-professors
Video footages
Together we will move the robotic industry forward!
As soon as we do it for free any donations are welcome on our official
page:
http://endurancerobots.com/diy-selfibot/